Research on Jacob Jensen

Jacob Jensen was a Danish designer, best known for creating sound systems, portable radios, and recording players for electronics manufacturer Bang & Olufsen.

IMG_1722

He was the first Dane to become an industrial designer, and opened his own consultancy in 1958. He then became part of B&O where he developed more than 200 products, and created a form language for that and several other companies.

He had a huge impact in design history, because he developed a new ultramodern minimalistic form language with a timeless appeal. His concept of design made B&O a more globalized company, and increased its worldwide popularity.

Jensen was a pioneer in a forward-looking, technological aesthetic. He looked at alternative materials to create his products, instead of doing it the mainstream. Himself, described his own work as “different but not strange.”

IMG_1717_1

IMG_1718

The design complements that Jensen established since 58, were based on perspective, innovation, creativity, understanding, and most importantly reworking technique. Creating proposals and re-designing them over and over until optimal design was achieved.

These are some words in a New York Times article by Bruce Weber, about the Jensen’s process found on his website:

“In my view, constructing a fountain pen, writing a poem, producing a play or designing a locomotive, all demand the same components, the same ingredients: perspective, creativity, new ideas, understanding and first and foremost, the ability to rework, almost infinitely, over and over. That ‘over and over’ is for me the cruelest torture.

“The only way I can work,” he continued, “is to make 30-40 models before I find the right one. The question is, when do you find the right one? My method is, when I have reached a point where I think, O.K., that’s it, there it is, I put the model on a table in the living room, illuminate it, and otherwise spend the evening as usual, and go to bed. The next morning I go in and look at it, knowing with 100 percent certainty that I have 6-7 seconds to see and decide whether it’s right or wrong.

“If I look at it longer, I automatically compensate. ‘Oh, it’s not too high,’ and ‘It’s not so bad.’ There are only those 6-7 seconds; then I make some notes as to what’s wrong. Finished. After breakfast, I make the changes. That’s the only way I know.”

IMG_1721

Apart from this, with my class, I went to the MoMA (Museum of Modern Art) and all of the images portrayed in this research are pictures, taken by me, of some objects Jensen designed during his lifetime that are found in exhibitions in the museum.

Bibliography:

Dawood, Sarah. “Bang & Olufsen Design Pioneer Jacob Jensen Dies Aged 89.” Design Week (Online) May 18, 2015 ProQuest. 31 May 2015 .

“Jacob Jensen Design.” JACOB JENSEN DESIGN. Accessed May 31, 2015.

Weber, Bruce. “Jacob Jensen, Designer in Danish Moder Style, Dies at 89.” Business Day, New York Times (Online) May 21, 2015. 7 June 2015

Mandala

This project is called Memory Mandala, and it is a Mandala about my memories and my past. It was an awesome project, because I got to get into my oldest memories, investigate, and travel through them to create the final pieces.

This link is a presentation to show the process for the final piece.

MandalaPresentation

The final Mandalas are these 2:

FinalMandala1

FinalMandala2

Value Collage

This is a set of different collages, achieved with a long process of working really hard. The first step was to copy a set up of different geometrical objects, then to enlarge them. Secondly, we had to do a grey scale with charcoal and determine the value of each shade in the drawing, then cut and paste each value.

IMG_0608 IMG_0646 IMG_0666

Lastly, the final drawing was put into photoshop and was done in two different ways of shading; with patterns, and with color saturation. The final pieces look like this:

Collage PATTERNVALUEFINAL ValueColor

Contour Line Drawings

Contour line drawing: A technique in which the drawing is made out of only one line, which is the outline of the object/scene/person being portrayed.

These are practices of contour line drawings looking at the paper 25 percent of the time, and at the subject 75 percent of the time

.IMG_0205

IMG_0206

IMG_0325

24 x 18 in.


IMG_0744

24 x 18 in.

IMG_0745


Shoe Final. Phase IV: Animal Shoe (Bear-owl)

The final part of the shoe project was to create an animal-looking shoe investigating materials. For  Bear-owl, the idea was to create a combination of a bear and an owl. The bear part is on the bottom and the front, and you can see the claws. As for the owl, it represents the buckle of the final piece.

Title: Bear-owl

Materials: Planar; Aluminum, Copper, Wood, Fabric. Linear; 24 & 28 Gauge Wire, Thread, Rivets.

Tools: Needle, Sewing Machine, Blunt Nose & Needle Nose Pliers, Scissors, Drill, Drill Machine, Sanding Machines, Woodcutting Machines, Rivet Gun,

Easiest part: There were no easy parts when doing this project, but the least complicated was cutting the aluminum.

Most challenging part: This is a tough question because every piece was complex and hard to connect, so I would say cutting the copper, and sewing it with wire was the hardest part.

These next pictures are of the first draft of the shoe, done with cardboard, tracing paper, foamier board, aluminum foil, and masking tape.

IMG_0805   IMG_0806


The process and final product of the Bear-owl looks like this:

IMG_0693   IMG_0732  IMG_0747 IMG_0748  IMG_0753  IMG_0754 IMG_0766 IMG_0767

The final pieces altogether look like this:

IMG_0808

Shoe. Phase III: Sewing it.

The first images shown are from a project Kate did. In our class we have been going on field trips to the 92 Y most Fridays since the beginning of the semester. Kate is an 8 year old girl whom I have been helping with her sewing project. As you can see, here is the process and the evolution of her own “stuffed animal” (which looks like bloo from “Fosters Home for Imaginary Friends.”)

image image

IMG_0433


These next photos represent the shoe I sewed. Sewing was a new experience for me, but alongside my classmate, Kate, and my awesome teacher, I feel like I am getting pretty good at it. I will definitely get more into sewing now, and keep practicing to help with future projects.

IMG_0499      IMG_0500

IMG_0515

Screen Shot 2015-03-11 at 12.48.58 PM

Shoe. Phase II: Wire

Making the shoe in wire was a challenge for me because I had never worked with wire before. However, I ended up liking the final piece, and enjoying the process. The first phase (drawing) helped me to get to know my own shoe and create a better measurement of the wire shoe. I am really enjoying this whole project, because it has helped me find a shoemaker side within myself.

IMG_0319 IMG_0338  IMG_0347 IMG_0350  IMG_0341 IMG_0345

Shoe. Phase I: Drawing.

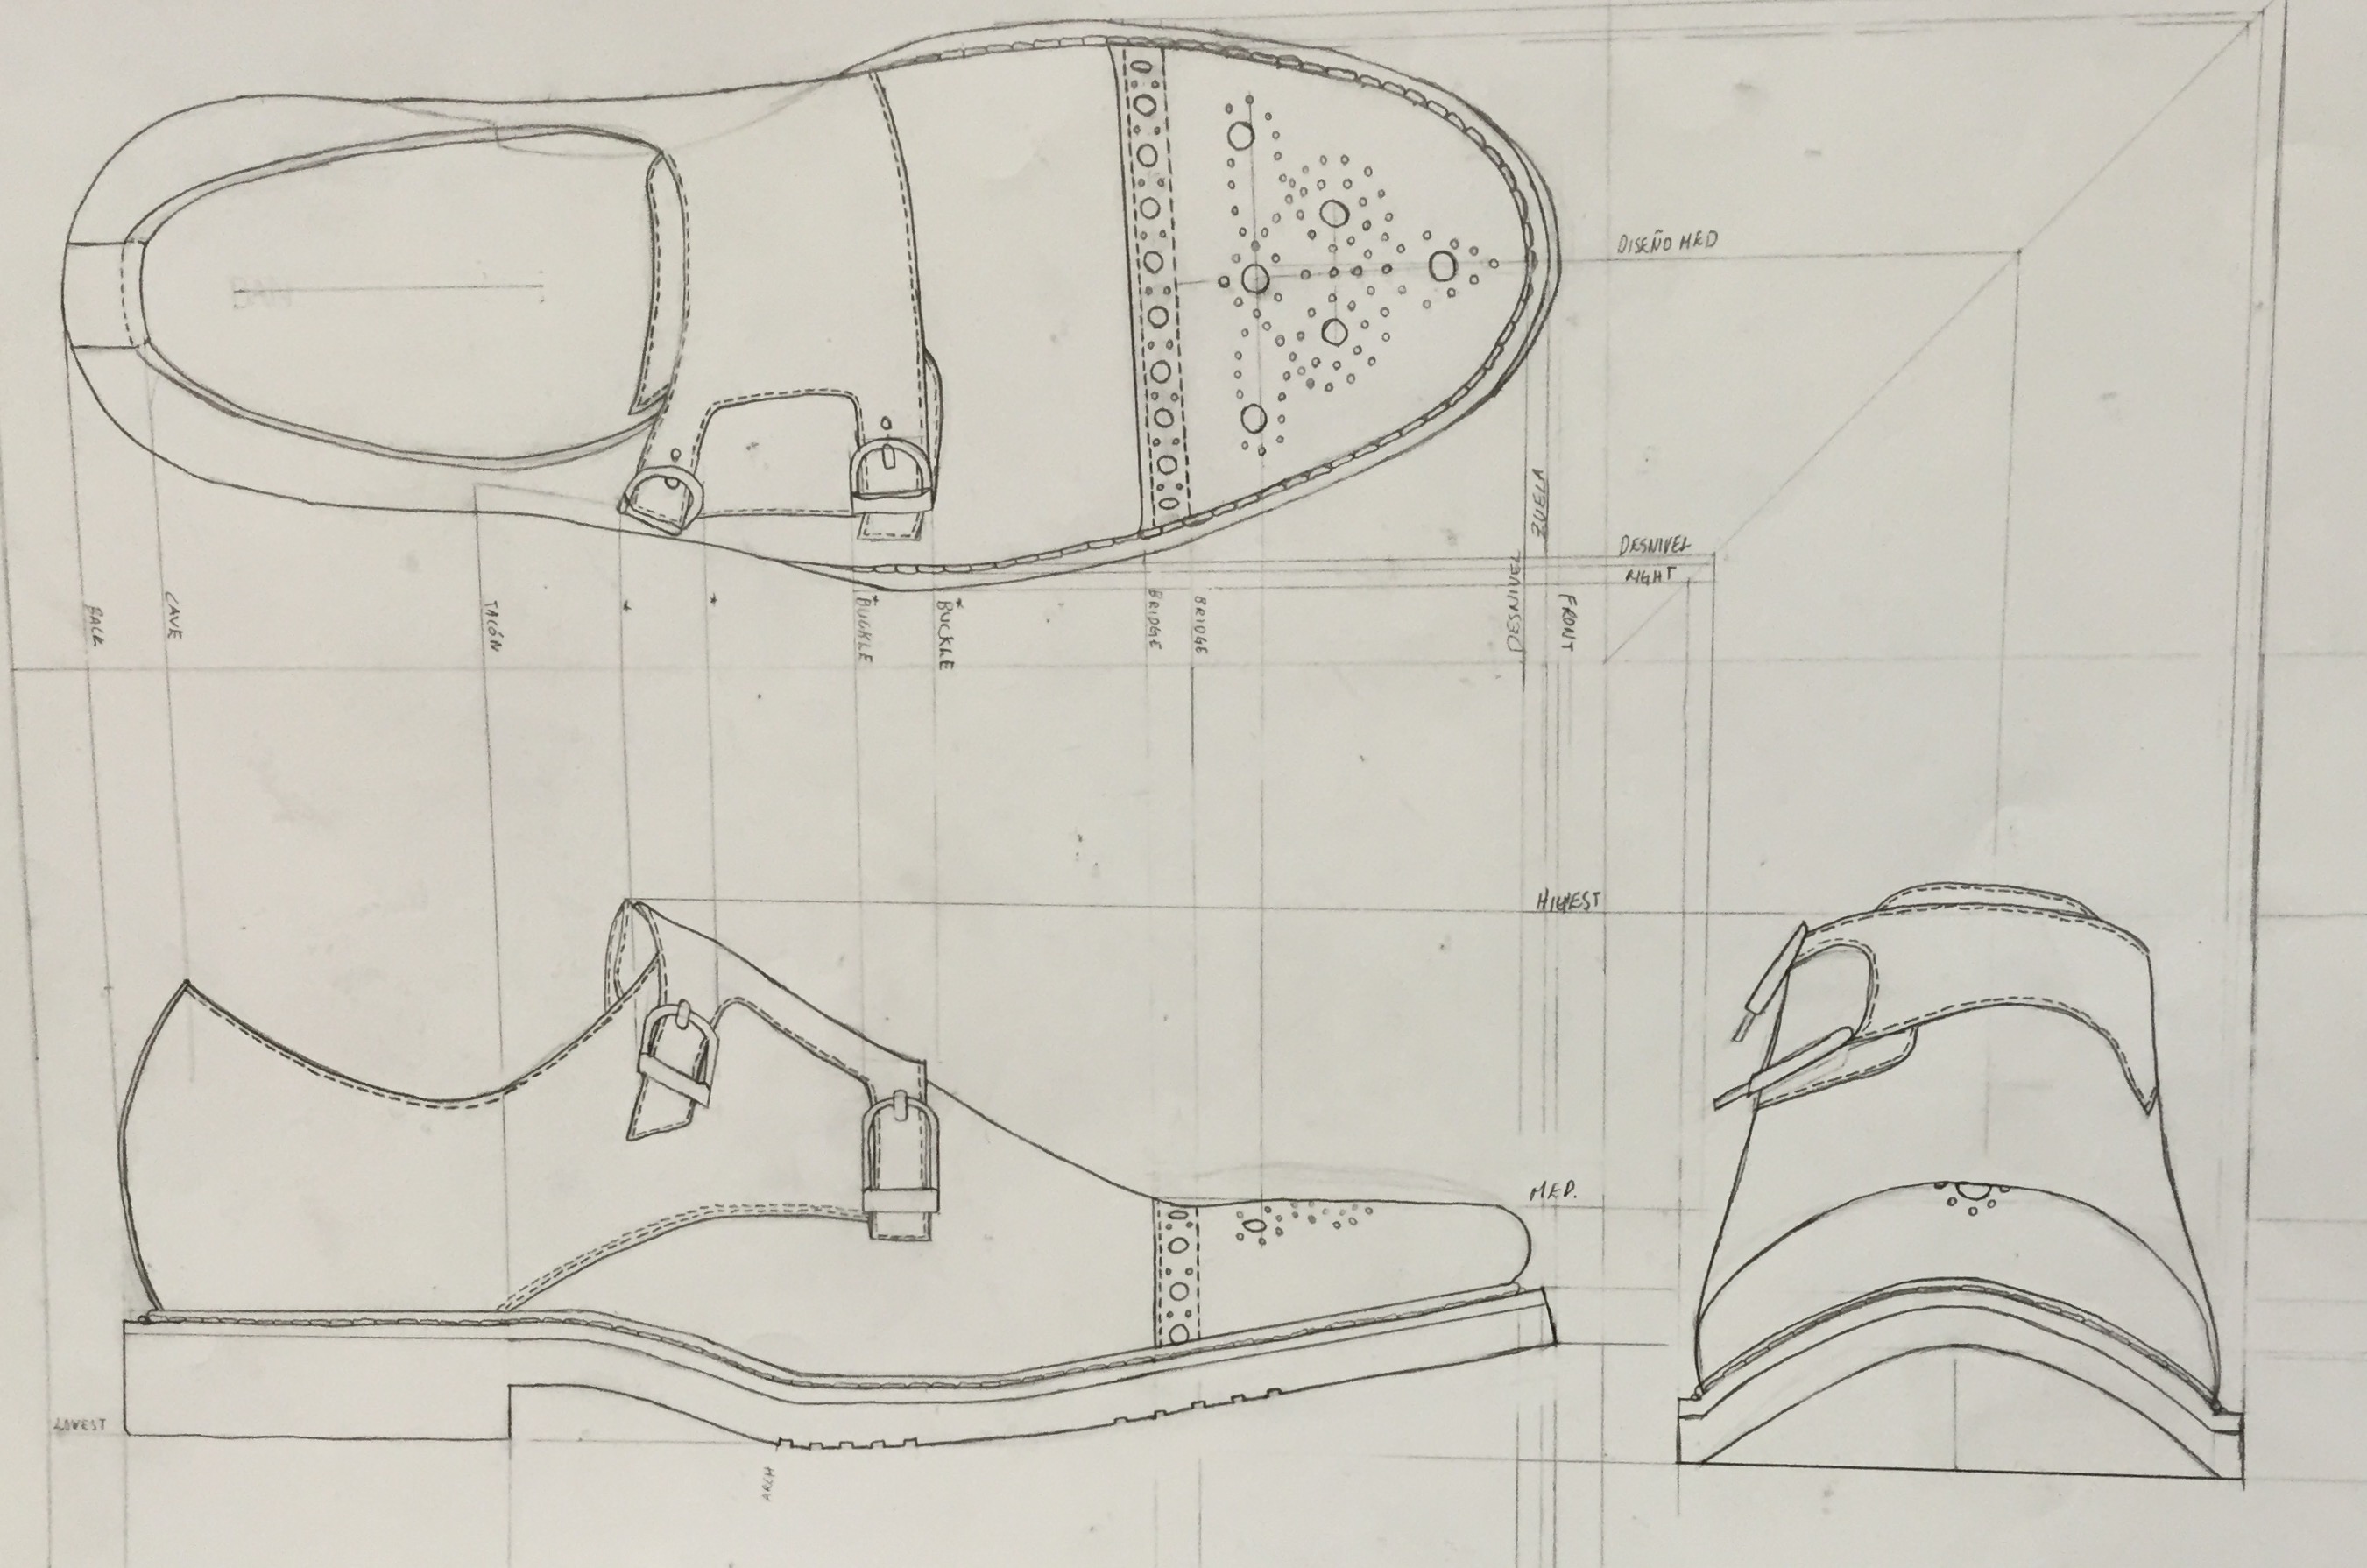
With these drawings I depict the process and the final piece of a Shoe. This was a project with a great impact on me, because I want to be a product designer, maybe even a shoe designer, and it is a basic step towards mechanical/technical drawing. I learned how to measure volume of an object, and portray it in six different drawings from 6 different point of views.

IMG_0286  IMG_0291  Shoe  IMG_0474                 IMG_0480  IMG_0471            IMG_0477