
You will need:
– paper
– marker
– neoprene (whatever color you please)
– a battery
– conductive thread
– conductive fabric
– foam/ padding
– LED light
– embroidery thread
– sewing needle
– non-conductive thread
– small sewing scissors
Let’s begin…
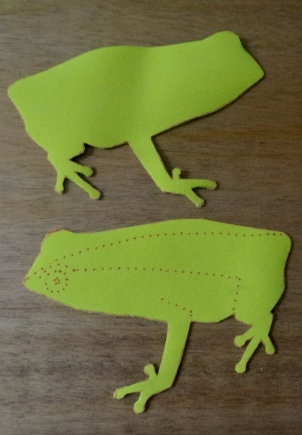
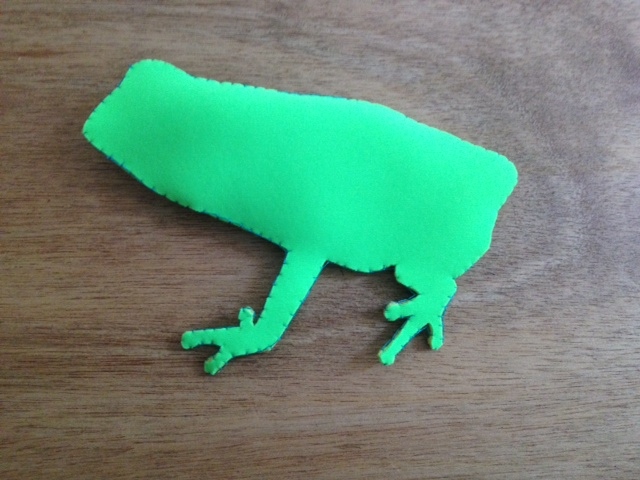
First make your frog stencil in paper. Include any lines you would like to embroider on the frog.
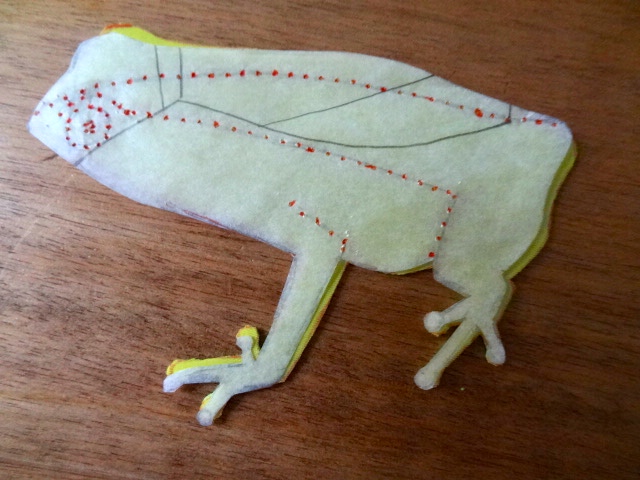
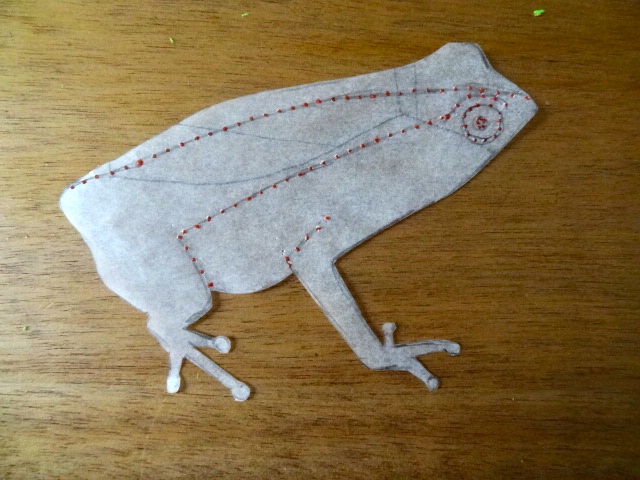
Trace your stencil on the neoprene twice. The first time be sure to copy on your lines to embroider (on the INSIDE). Then cut them out.

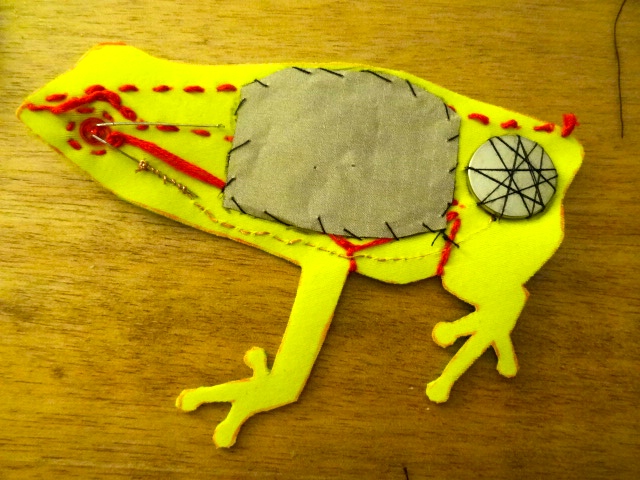
Next, you will need to make a small circular incision at the center of the eye, just the size of the top of your LED light.

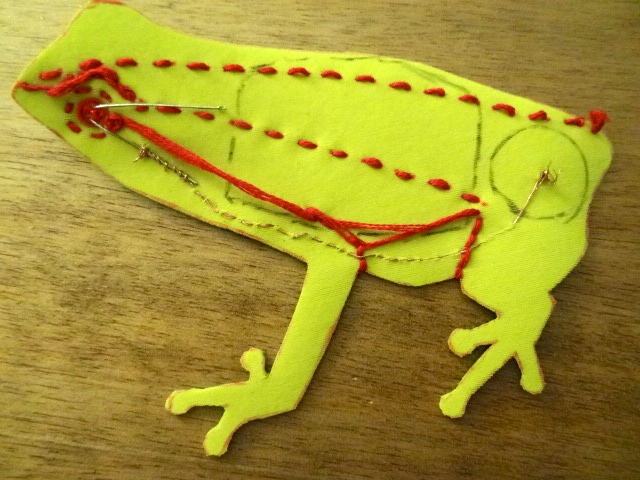
Use your embroidery thread to create the pattern you drew on your fabric using whatever stitch you prefer. I used a simple running stitch.
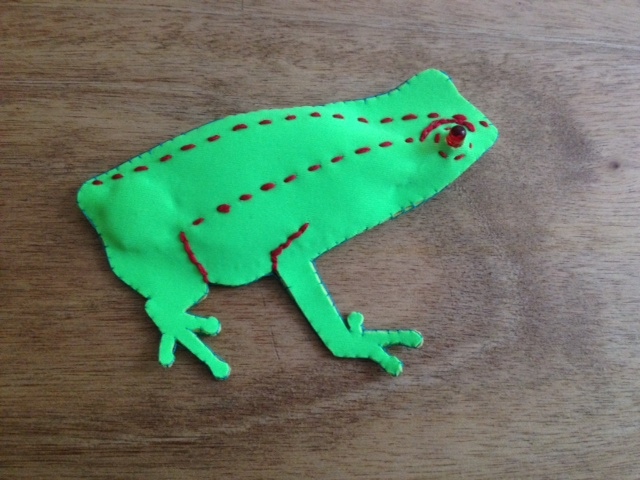
The top piece of your fabric should look like this.
You can now insert your LED light. You may have to bend the positive and negative legs horizontally so that they can lay flat inside your frog.
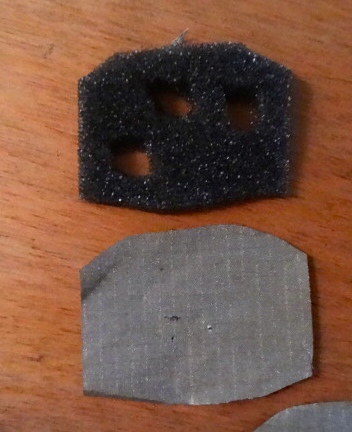
Next, you will need to cut out two oval-like pieces in your conductive fabric and one oval-like piece in the foam/padding. All three pieces should be the same size, however you will need to cut a few holes out (or the entire inside) of your foam piece. Where you place the holes is where you will need to apply pressure in order to turn the light on once your frog light switch is complete. The more holes you cut, the more sensitive your switch will be.
These pieces will become the button for the switch in the belly of your frog. So make sure to measure what size your oval needs to be based on the size of your frog stencil.
*do not make them the entire size of your frog belly! Leave at least 5mm space at the bottom.*
You can trace one oval-like piece and the battery on the inside of your frog to make sure everything will fit.
Then use your conductive thread to connect the negative side of your battery to the negative leg of your LED light. Place a large knot at the center of where you will place the negative side of your battery. Sew between the neoprene (without going through the fabric completely) until you reach the negative leg of the LED light. Then wrap your thread thoroughly around it and knot it off once you are sure it is secure.
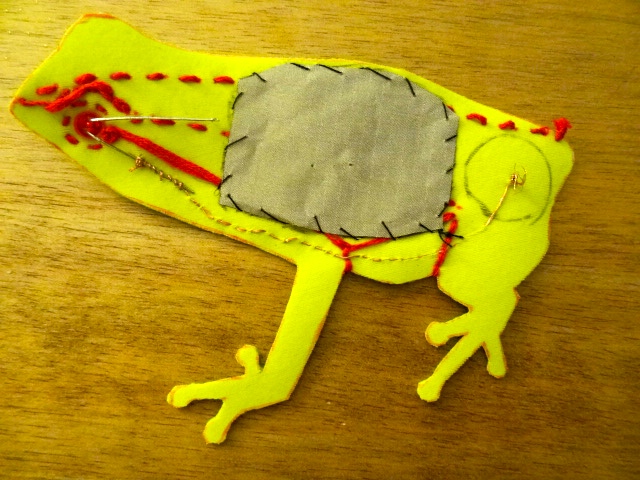
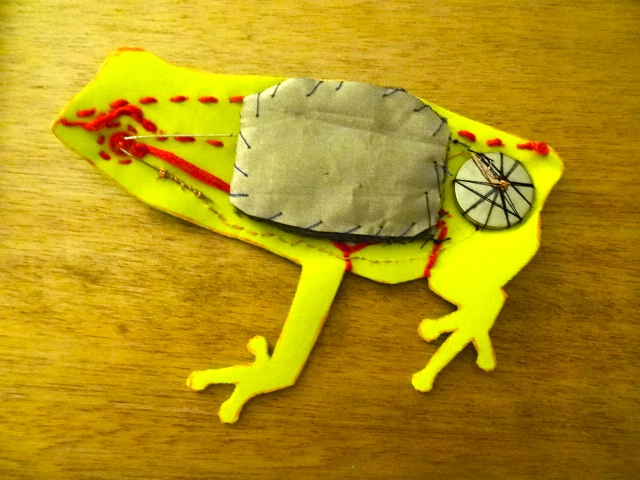
Use your non-conductive thread to attach the first layer of your conductive fabric to the inside of the frog.
Place your battery (negative side down) and attach it with non-conductive thread so that it does not wobble of fall out of place.
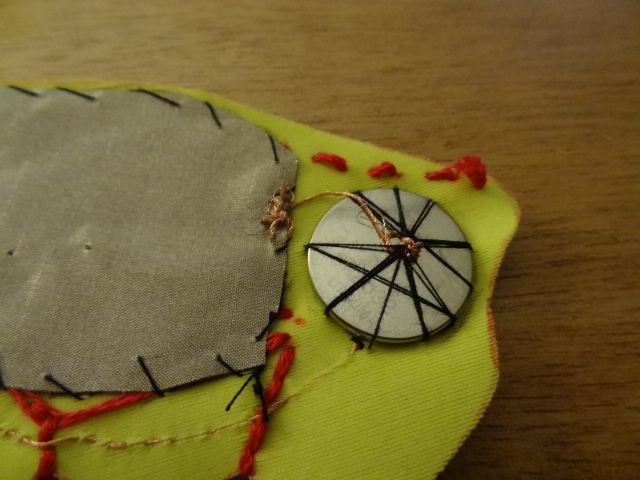
Now you will need to use your conductive thread to attach the first layer of your conductive fabric to the positive side of your battery. I suggest you use about seven stitches to secure it to the conductive fabric and about seven stitches and a large knot to connect it to the battery.
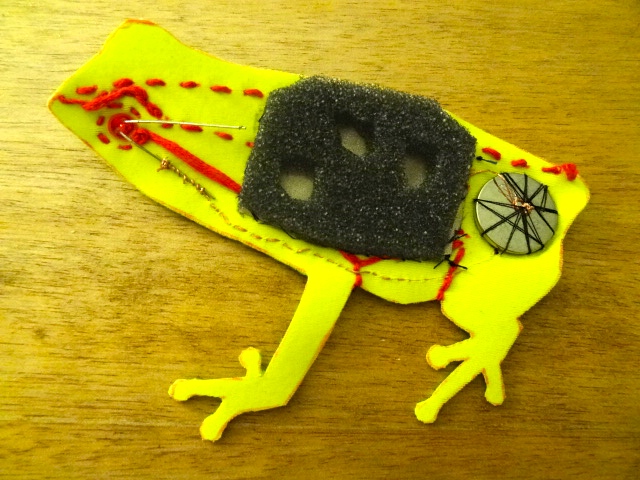
You can now attach your foam directly on top of the first layer of conductive fabric. To attach it use a few stitches with non-conductive thread around the bottom edges.
Place your second piece of conductive fabric on top of the foam and attach it to the foam with non-conductive thread.

To complete your switch, use your conductive thread to connect the second layer of your conductive fabric to the positive side of your LED light. Again, use about seven stitches to secure the thread to the fabric and then wrap the thread around the positive leg until it is secure and knot it off.
*Test to make sure it works by pressing on the button in the belly to complete the circuit and see if the light lights up!*
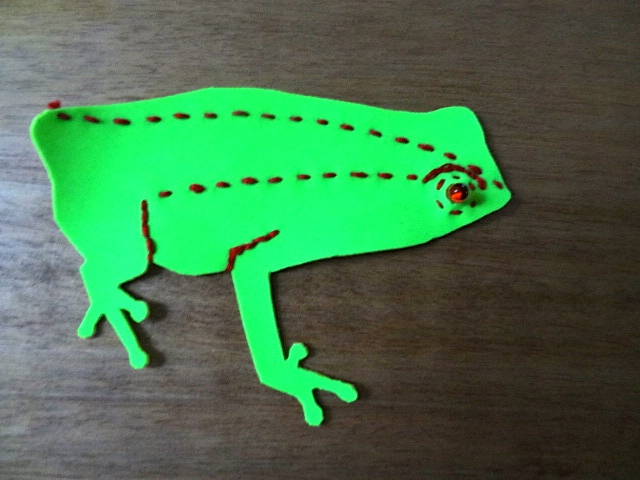
Final touch, you can close your frog up with the second piece of neoprene using non-conductive thread.
Front:
Back:
Below is a video of the little guy lighting up!