Materials and Tools
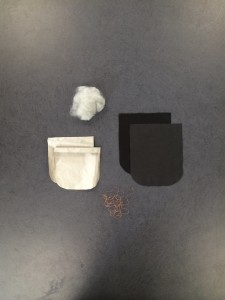
Materials
-Patch pocket fabric (this is the fabric that will be seen)
-Conductive fabric (this will be hidden)
-Resistive wool
-Conductive thread
-Regular thread
-Pencil and paper
Tools
-Sewing needle
-Scissors
-Iron
-Ruler
-Sewing machine
STEP 1 : Create Stencils
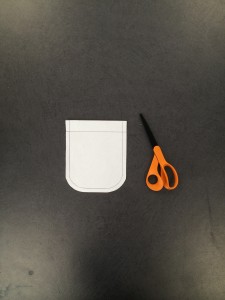
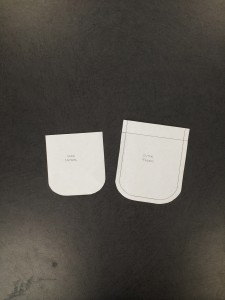
Using a ruler and pencil, trace two stencils in the shape of your desired pocket (one without seam allowance and one with seam allowance for sewing).
Step 2 : Cut out fabric and prepare materials
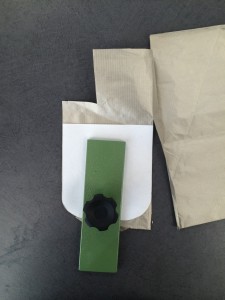
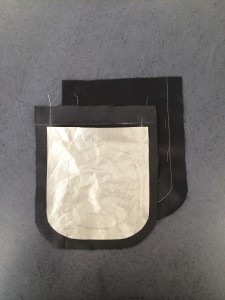
Trace the stencil without seam allowance onto the conductive fabric and cut two pieces (using a weight if necessary). Repeat, using the stencil with seam allowance onto the outer pocket fabric.
Step 3 : Secure conductive fabric
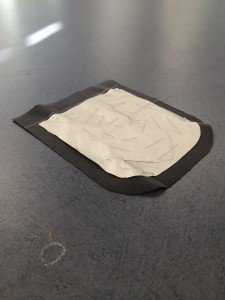
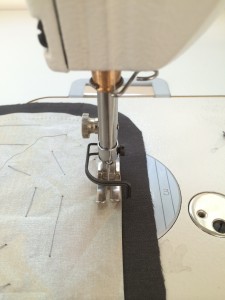
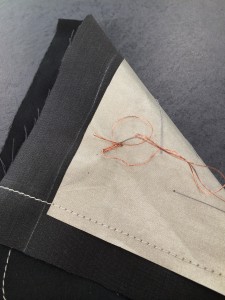
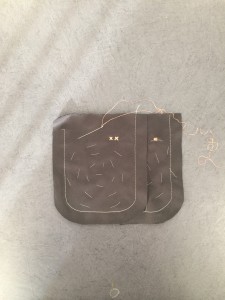
First, hand baste the conductive fabric onto the outer fabric, leaving the seam allowance evenly around the conductive fabric. Once it is in place, machine stitch around the edge of the conductive fabric to secure it.
Step 4 : Hand-sew conductive thread
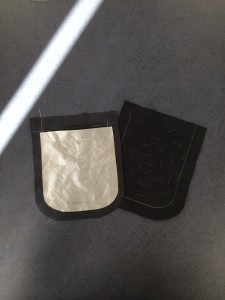
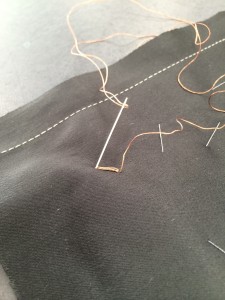
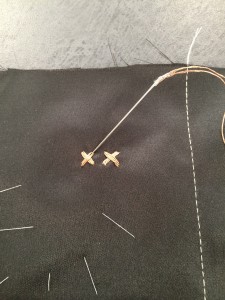
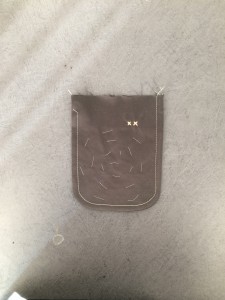
In order to continue the circuit, hand sew (using conductive thread) a small detail through both layers of fabric. You will do this twice, one for each set of fabrics.
Step 5 : Machine-sew pocket pieces
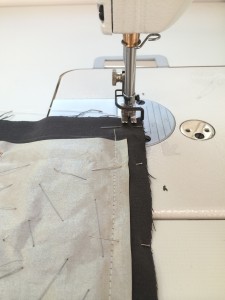
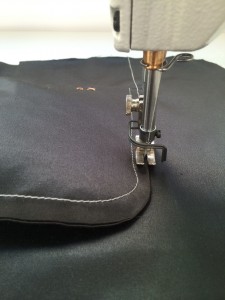
Pin the two pocket pieces together so that the conductive fabric is on the outside. Stitch all around the edge, leaving the top side open.
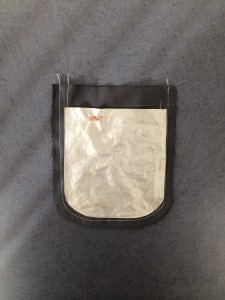
Once you have finished sewing, turn the pocket inside out. It should look like this.
Step 6 : Fill pocket with resistive wool
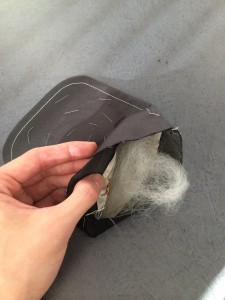
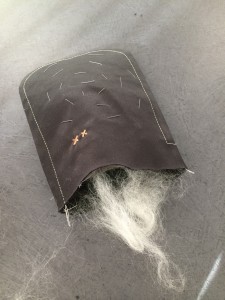
Take small pieces of the resistive wool and insert evenly into the pocket, making sure to cover all of the conductive fabric. The goal is to create a layer of padding in between the two pieces of conductive fabric.
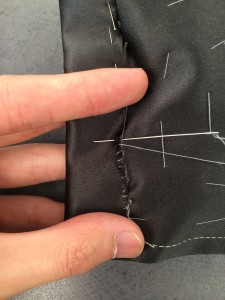
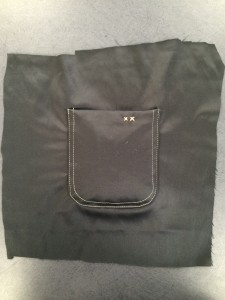
Once the wool is in place, hand-stitch the pocket closed, folding the top edge over. Your patch pocket should now look like this.
Step 7 : Attach patch pocket to fabric
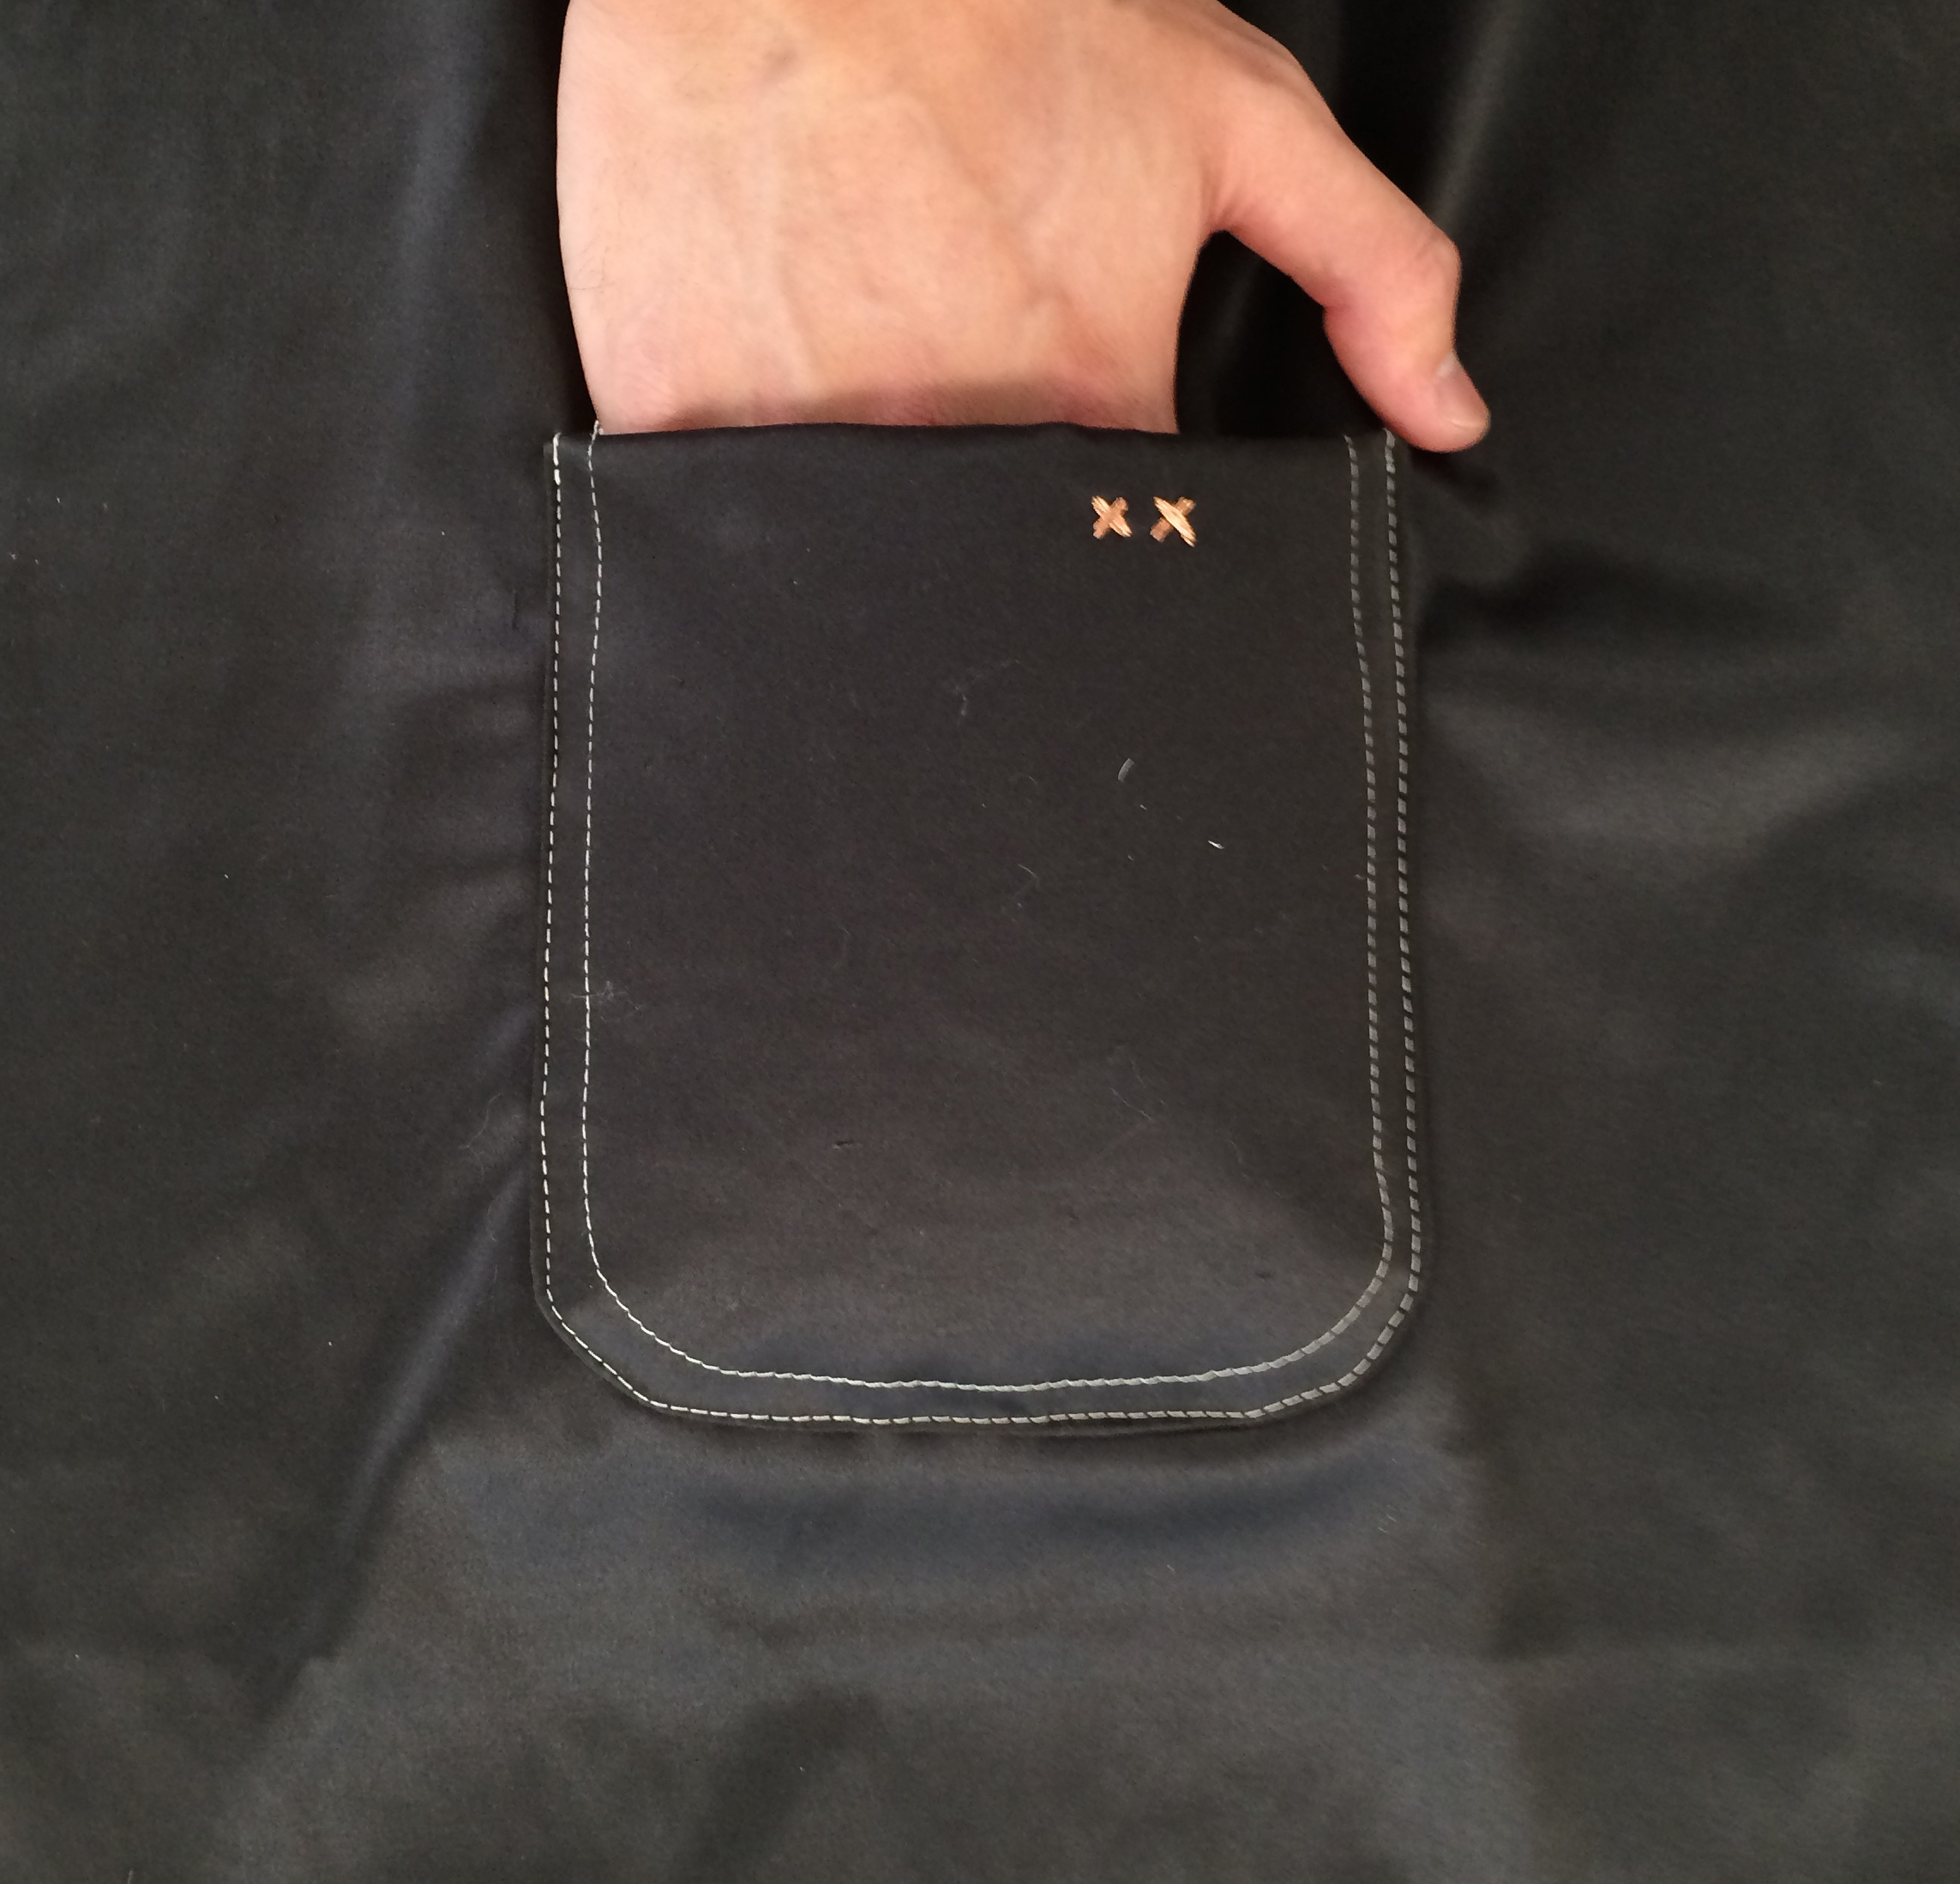
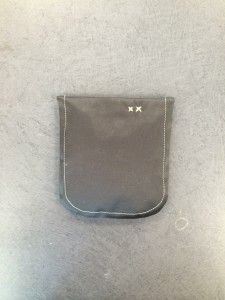
Place your patch pocket onto your desired garment fabric and secure in place. Machine stitch around the edge of the patch pocket, leaving the top edge open.
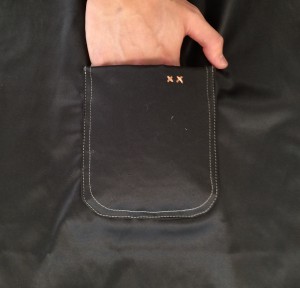
Your finished product should look like this.

