
An easy-to-make fabric button to use in prototypes and when teaching. Perfect for children, as it is candy shaped, making technology more fun and interesting!
MATERIALS
-1.5mm thick neoprene -stretch conductive fabric -cotton pads
-thread
-pen
-paper
-glittery, colorful fabric
-ribbon
TOOLS
-scissors
-sewing needle
STEP 1

Create this shape shown in the picture using paper. For the paper to have this exact shape, use a round form (such as the base of a glass). Cut around using the scissors.
STEP 2
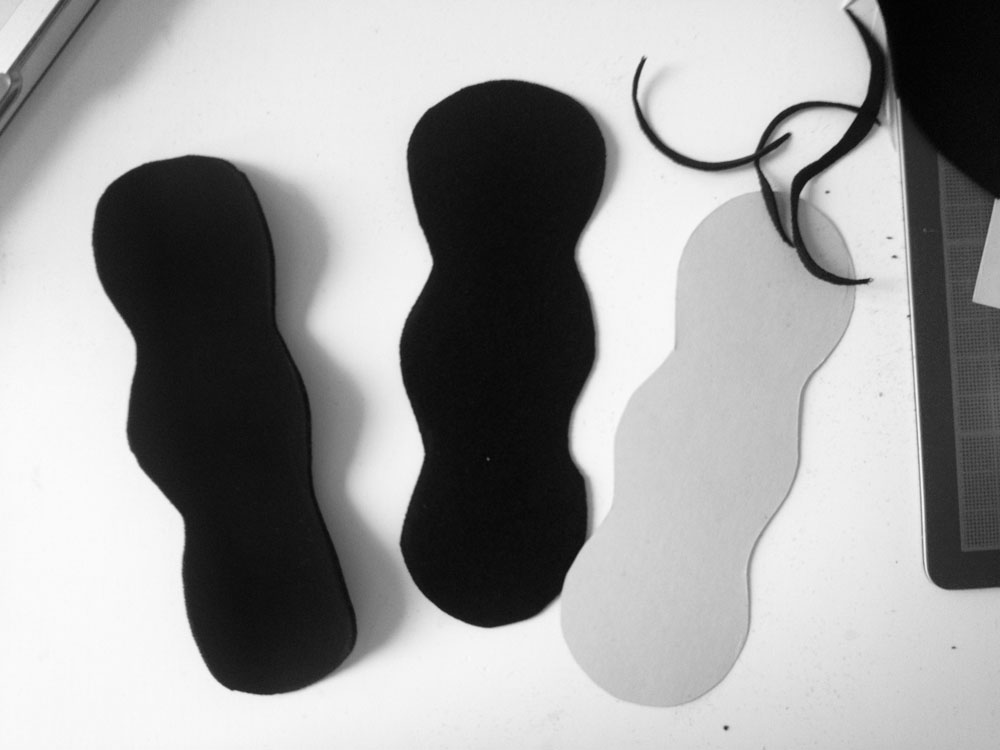
Trace the shape twice on neoprene and cut it out.
STEP 3
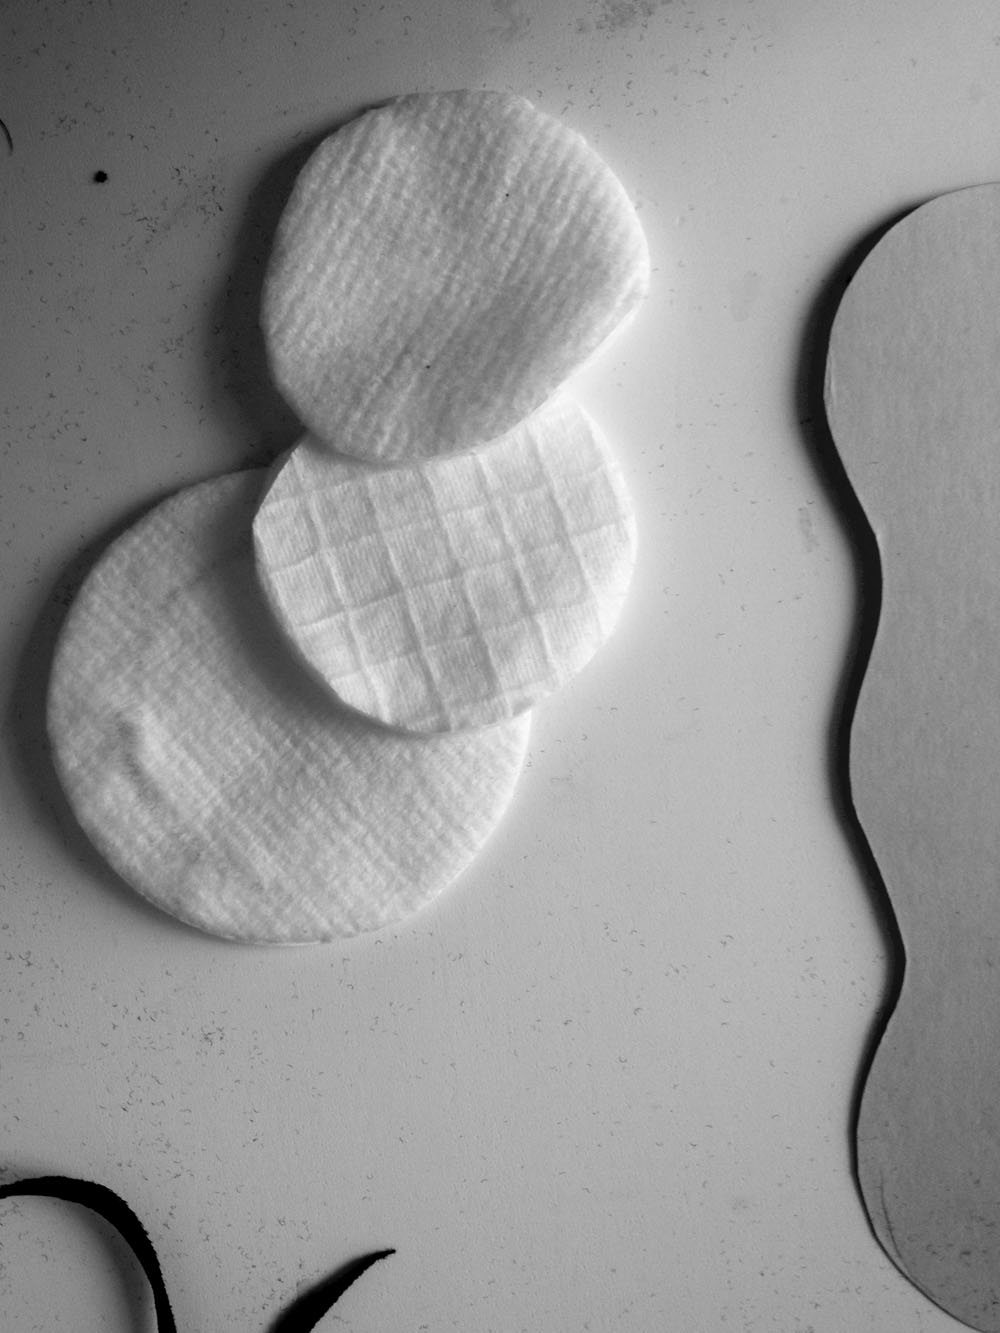
Take 3 cotton pads.
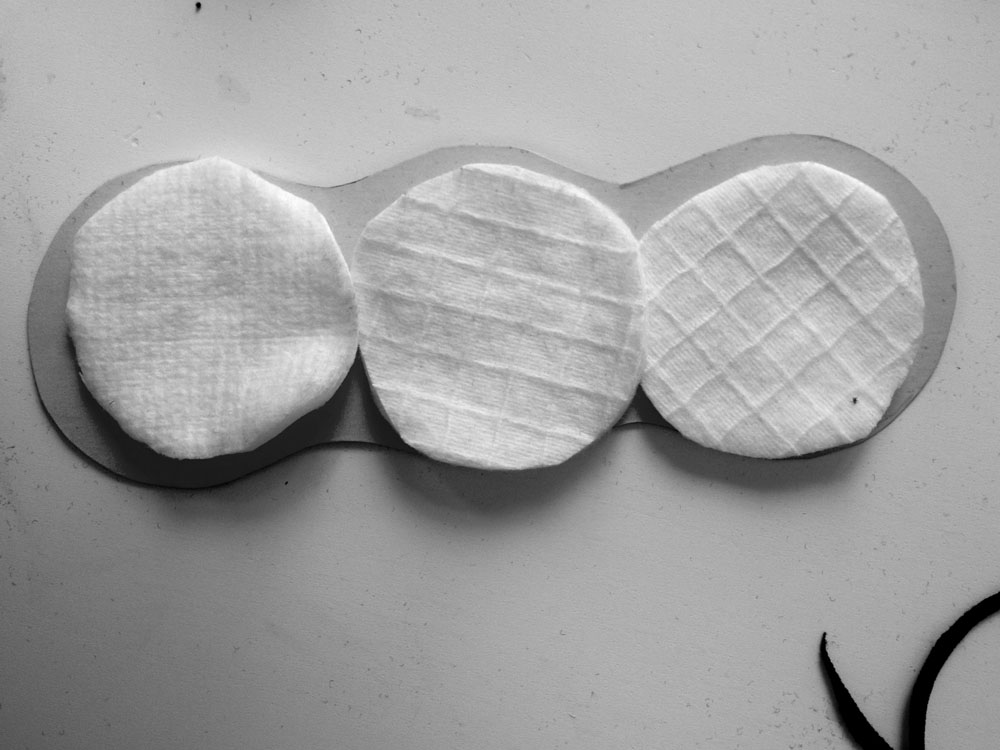
Place one on each circular area.
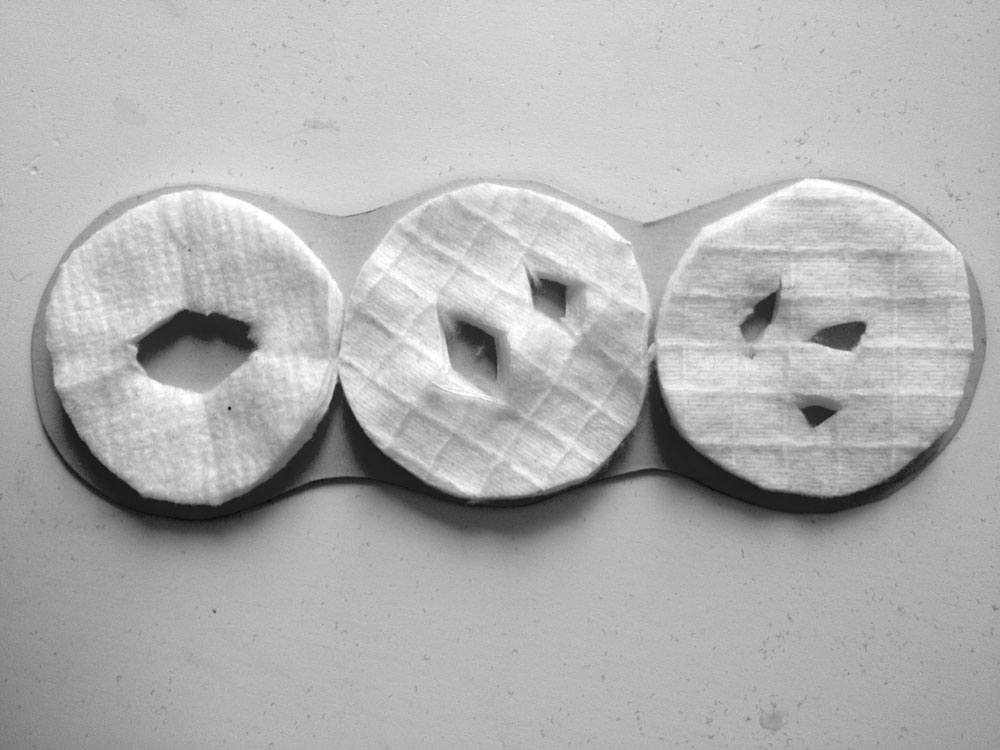
Cut them out as shown.
STEP 4
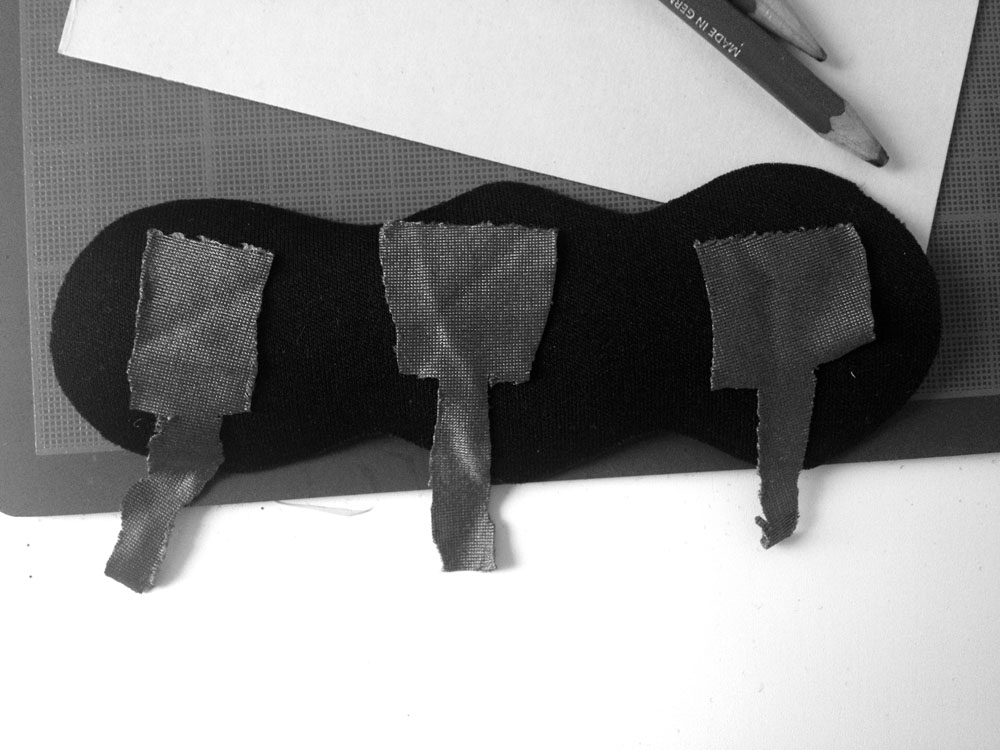
Cut the conductive stretch fabric as shown and place on one neoprene part.
Cut a long piece as shown in the next photograph and place it on the other part of neoprene.
(Glossy part of fabric on the inside-this is the part that is conductive. Thus, these parts of the fabric are the ones that should be able to touch when the buttons will be pushed.)
STEP 5
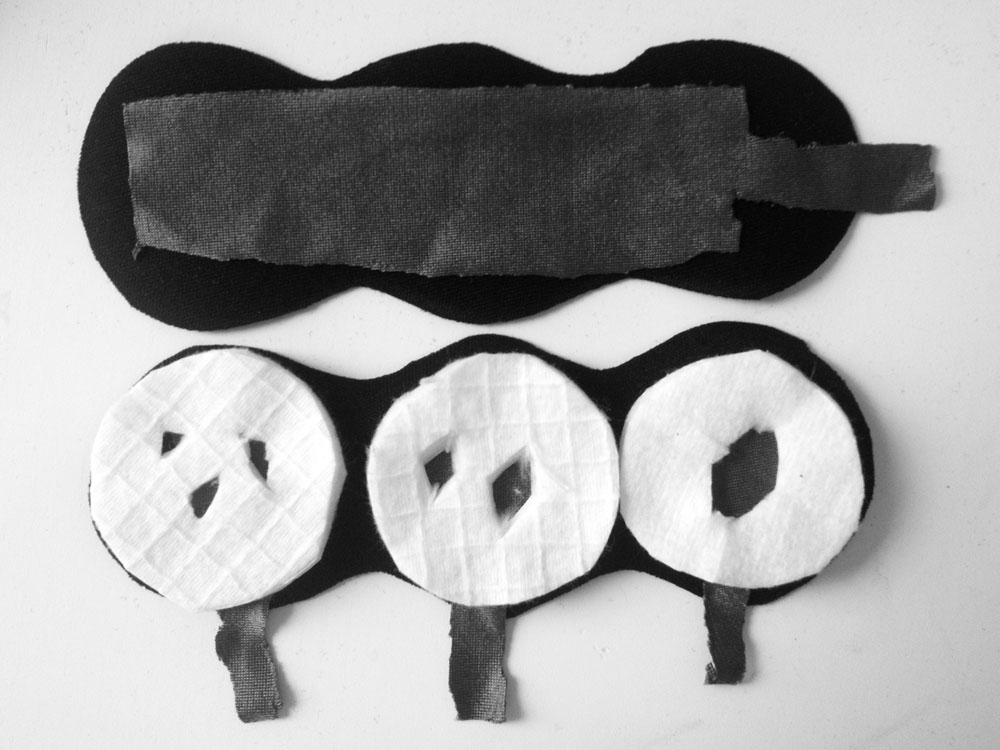
These are the parts that you should have at this point. These must be sewn together. Therefore, when putting pressure on the center of the circular shapes, the conductive fabrics will touch each other. The cotton pads will prevent the fabrics from continuously being in contact.
STEP 6
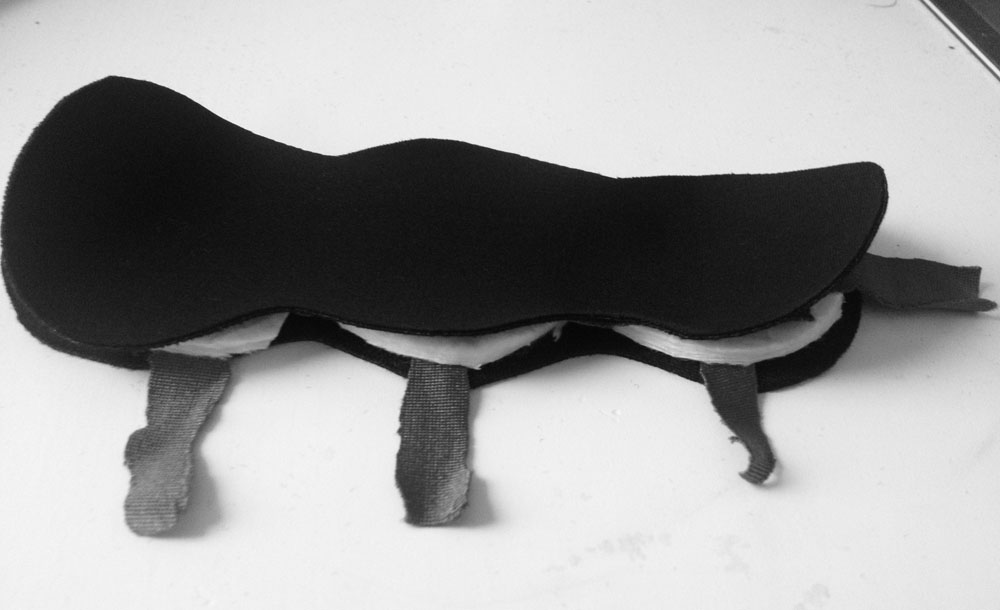
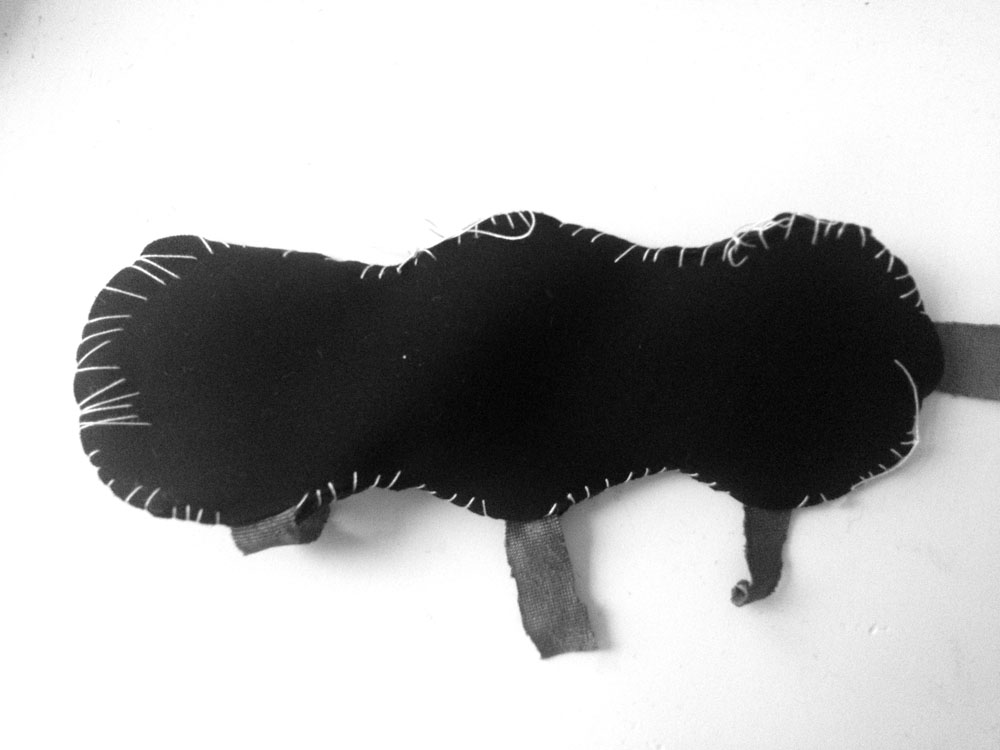
Sewing the parts together (not too tightly to prevent continuous contact).
STEP 7
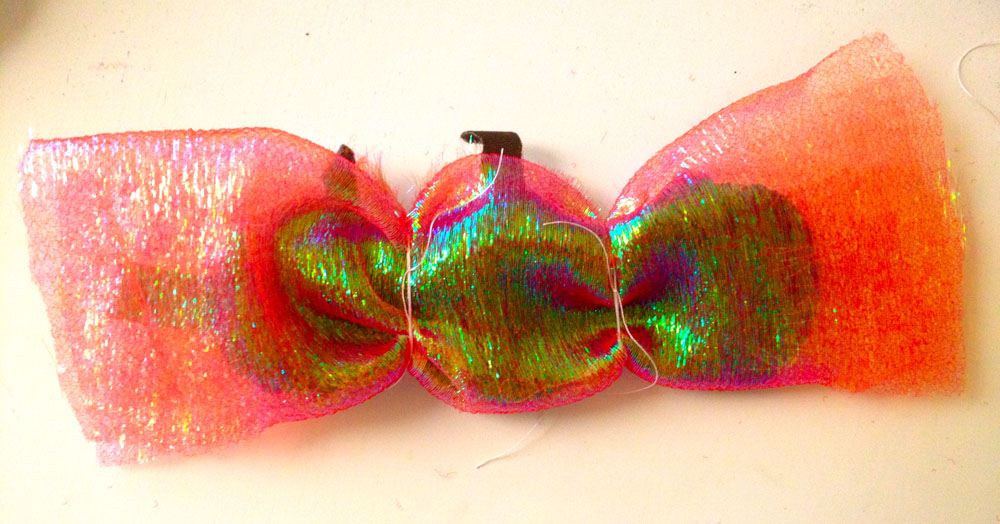
Add glittery, colorful fabric to turn the triple button into candy.
Try it using LEDs. Connect the common tab to your battery plus pole, the the LED minus legs to the minus pole of the battery. Connect the plus legs of the LEDs to
the small button tabs. Try pressing the buttons. This should result in the lighting of the corresponding LED.
WOW! WE LOVE TECHNOLOGY.