
Today we play with thermochromic paint and nitinol !
First, here is a little video of some experimentation with thermochromic paint and 3V of electricity:
Now let’s learn how to make a paper crane with thermochromic paint and wire!
You will need:
– pencil
– masking tape
– conductive metal wire
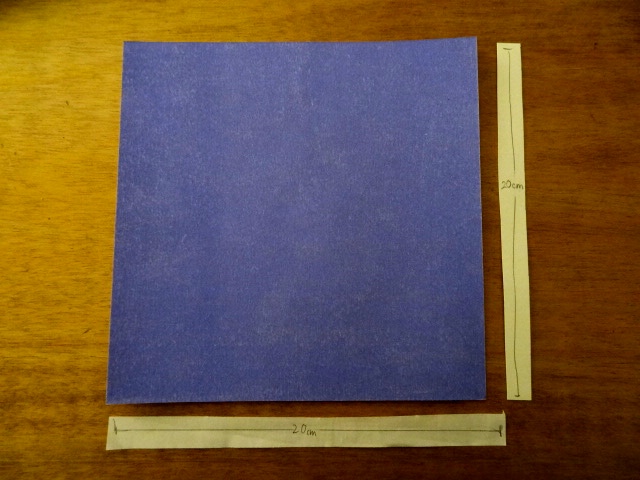
– 20cm x 20cm card stock covered in thermochromic paint
– conductive copper tape
– nitinol wire
– sewing needle
– thread
1. Cut a square 20cm x 20cm
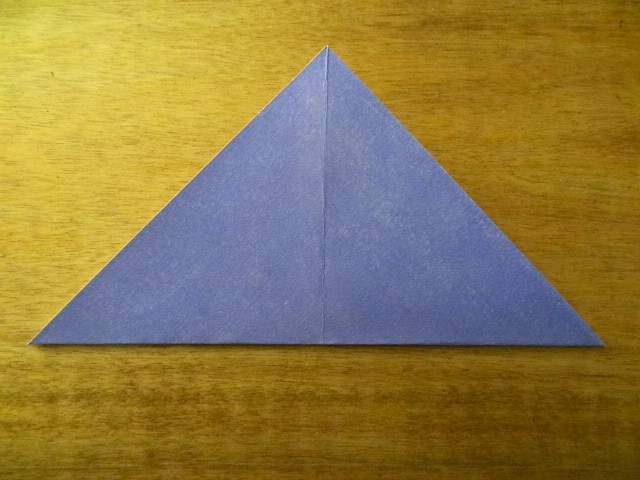
2. Fold the square diagonally

3. Both ways
4. Fold in each flat side from the midpoint to the point along the diagonal line
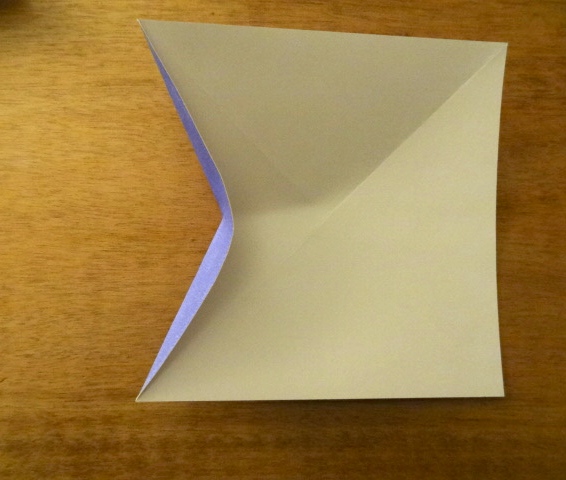
5. Proceed with each side
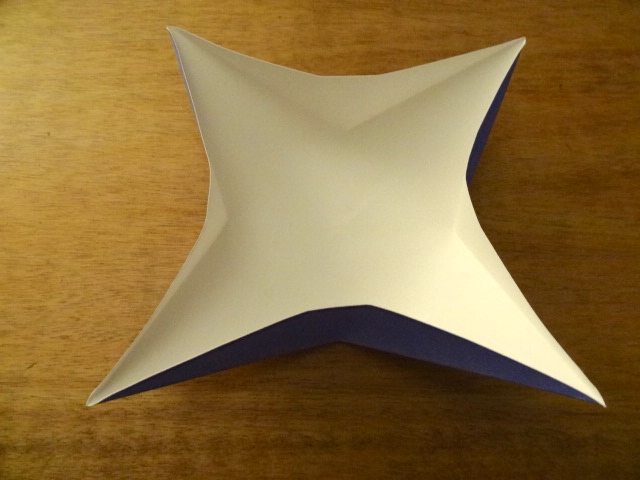
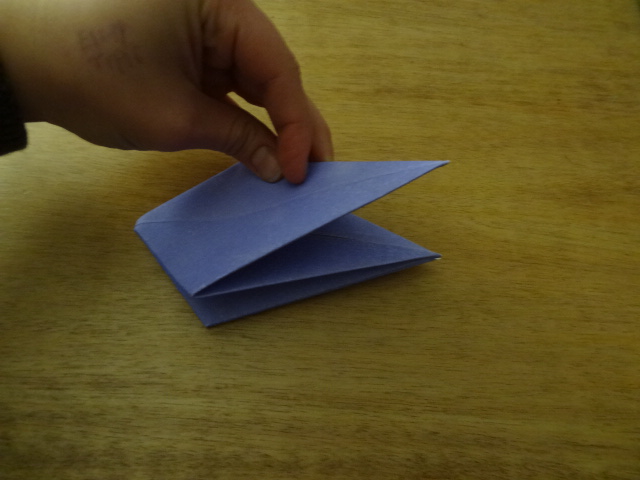
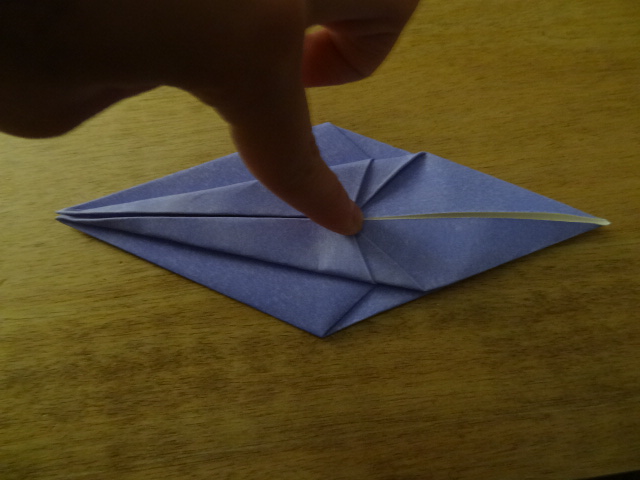
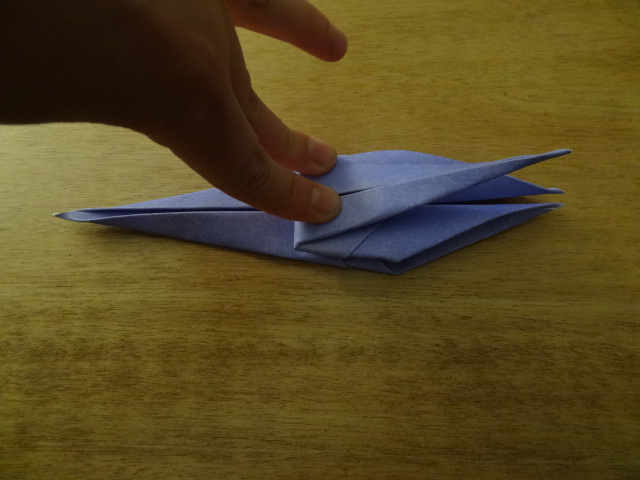
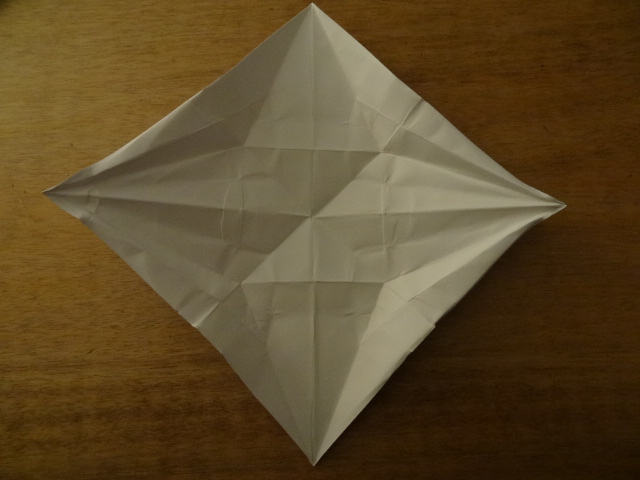
6. Gather the sides together
7. Group all four points at the top
8. Flatten
9. Two of the sides fold in and the others become the flat outsides 
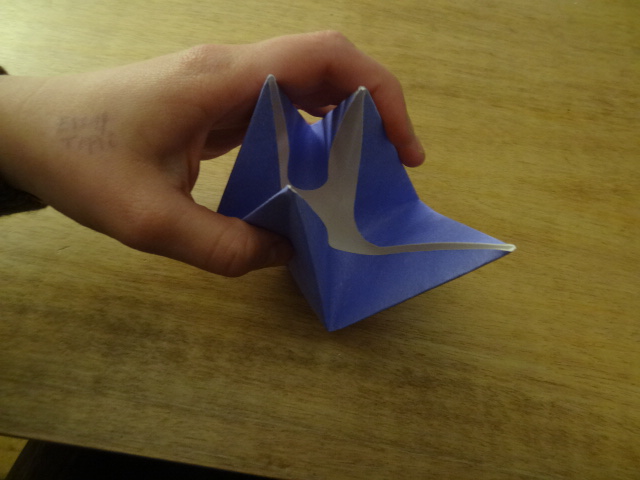
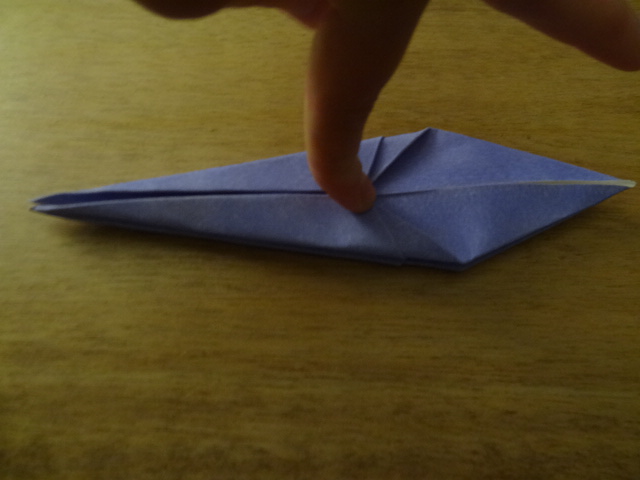
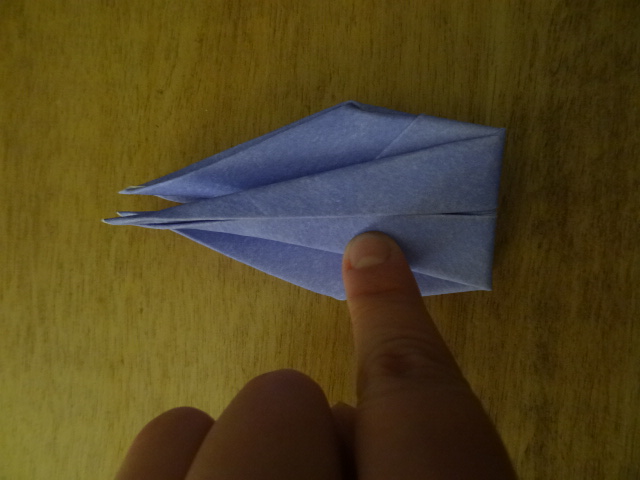
10. Lift up one side and press it back
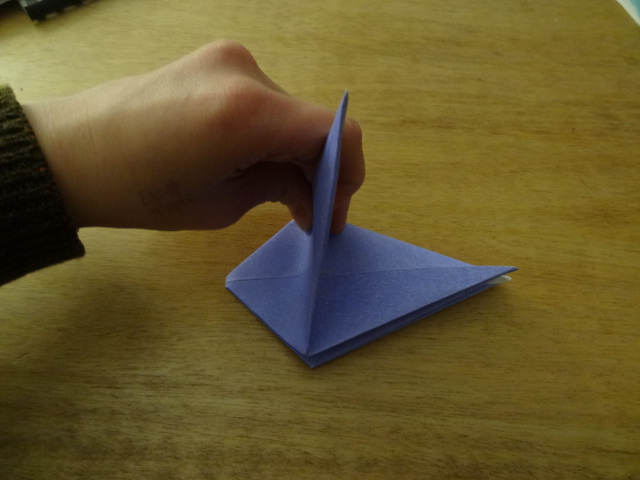
11. Fold in each width point up to the top (the top is the side where the paper is separated in the middle)
Flip over and do the same to the other side
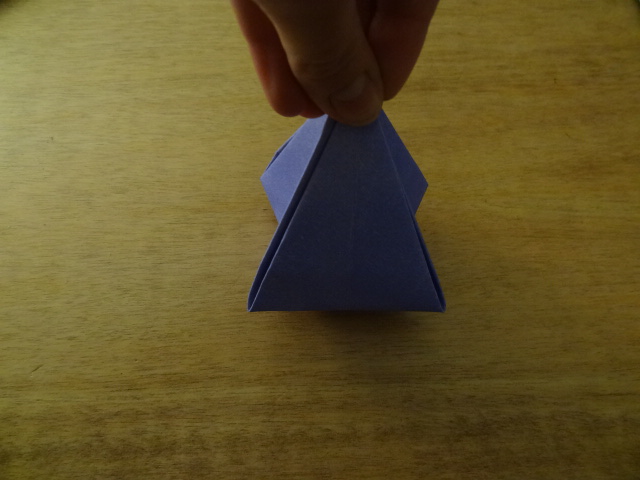
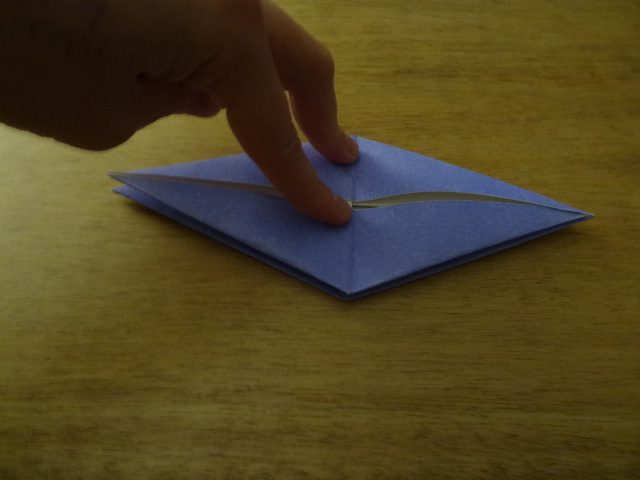
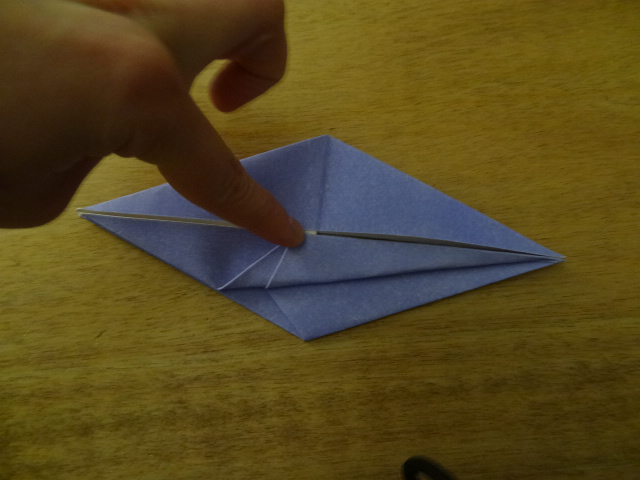
12. Open from the sides and re-flatten in the opposite sense

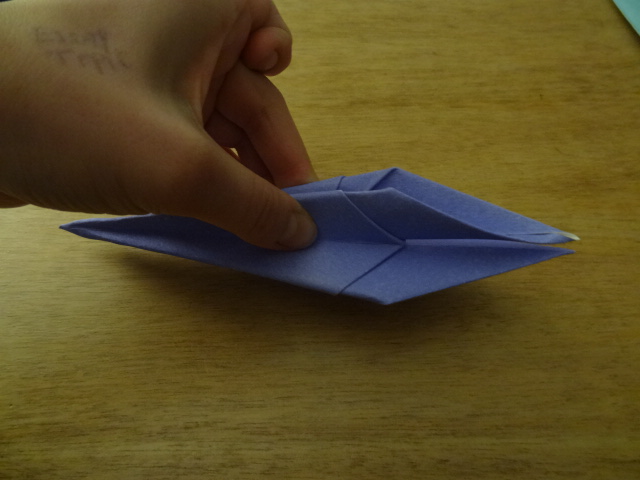
13. Grab the taller end and pull it back
Do the same the the other side
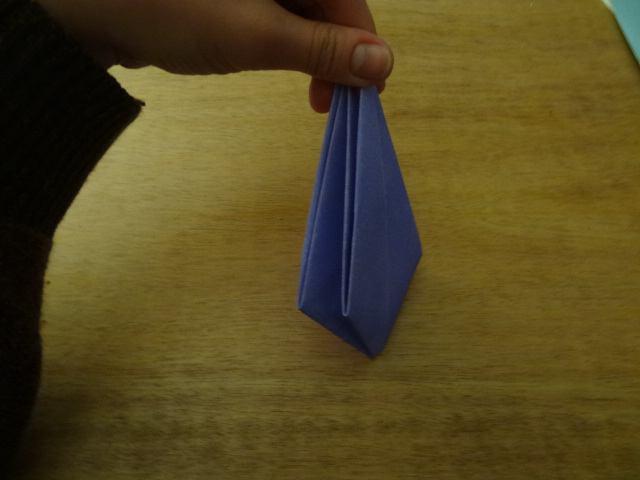
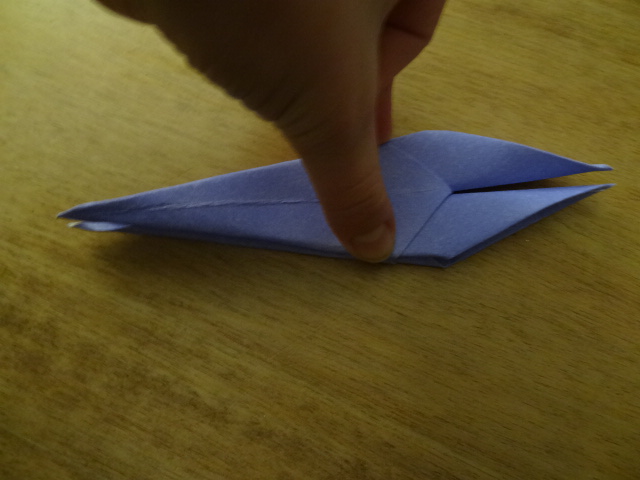
14. Now open the sides up and flatten again in the opposite sense
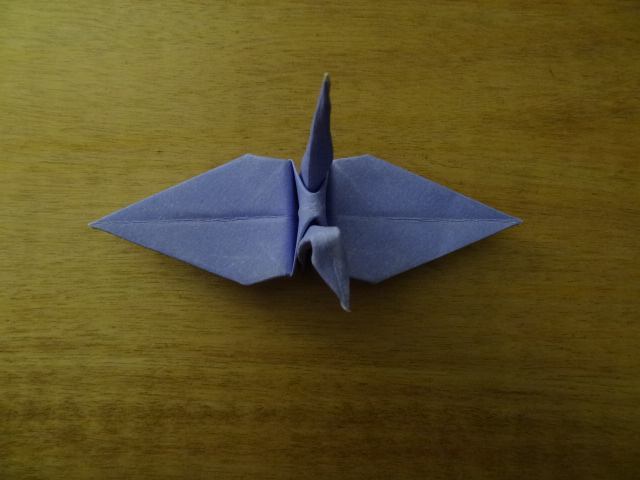
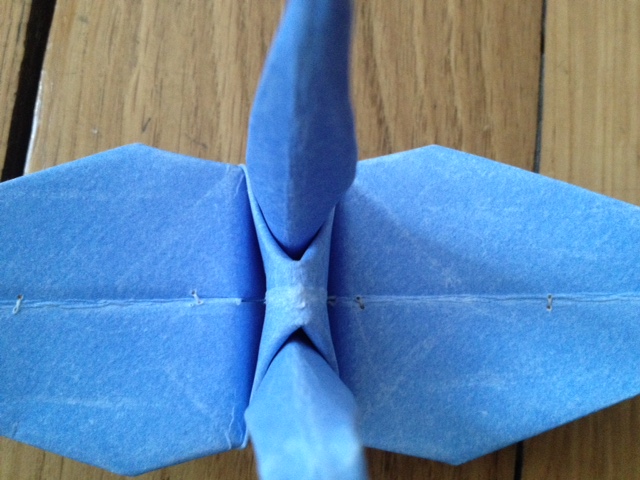
15. Pull down the newly exposed flap (on both sides). These become the wings

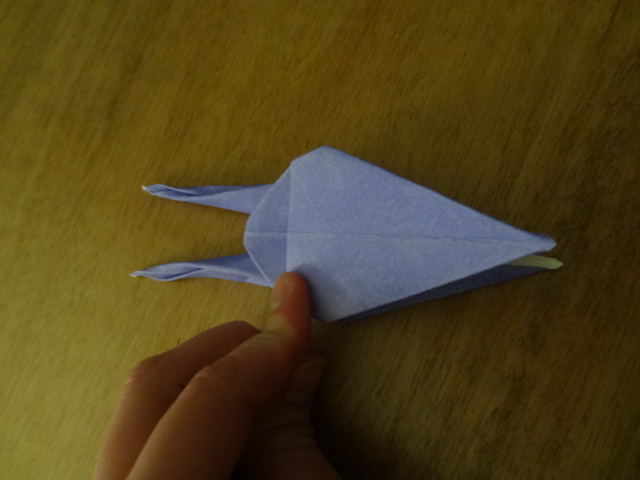
16. Now just bend one of the pointy ends to make the head!
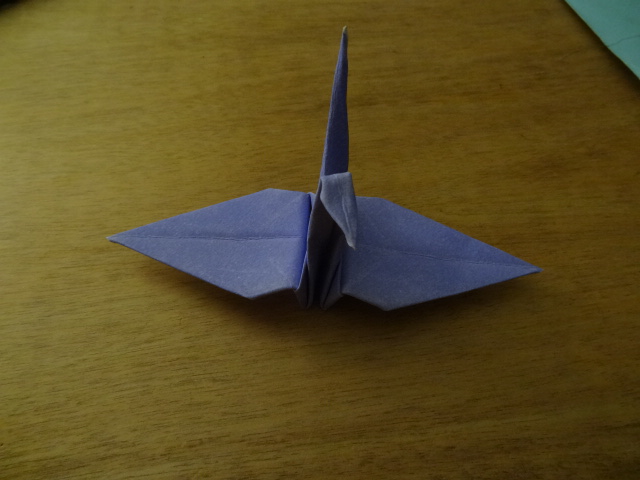
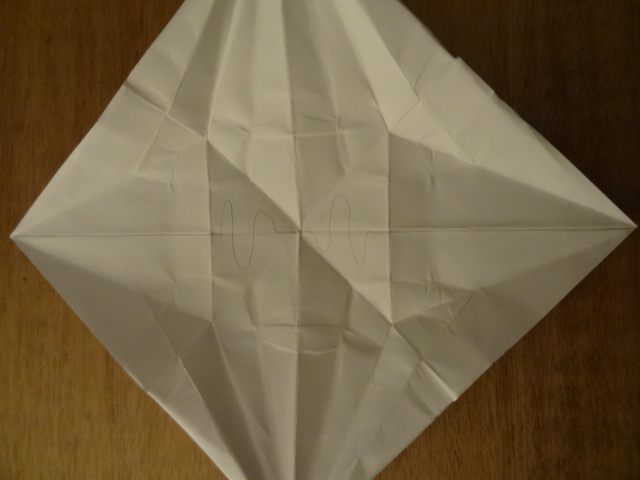
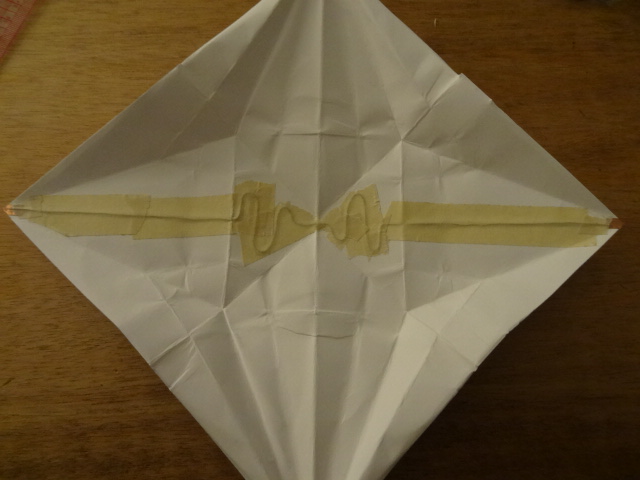
Now for the wiring. Open up your crane
Draw on your design from wing tip to wing tip
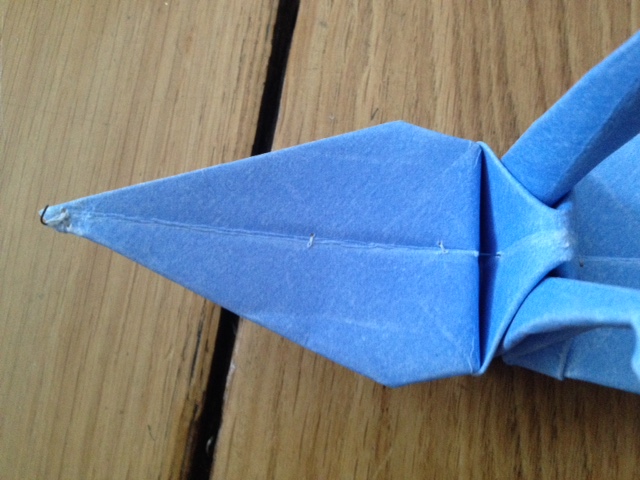
Add small segments of copper tape at each wing tip
Now start applying your wire on top of your pencil drawing. Make sure you leave a bit of wire on top of the copper tape to complete the connection. Tape it down with masking tape.
When complete, re-fold your crane following your pre-creased lines
Your copper tape should peek out from underneath each wing at the tip
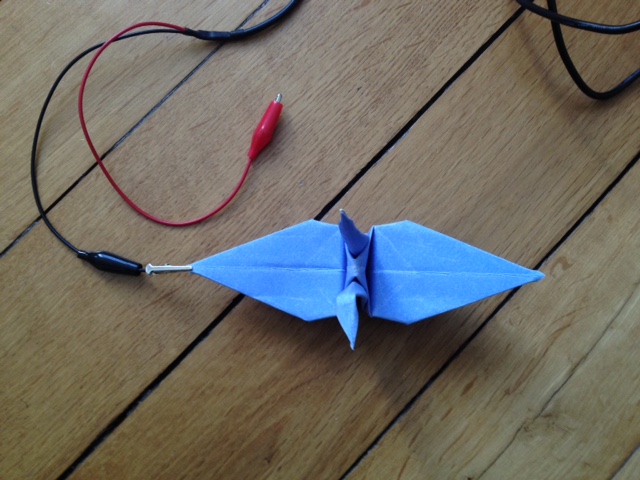
In order to test your thermochromic paint, plug in an adaptable voltage plug, set to 3V at first.
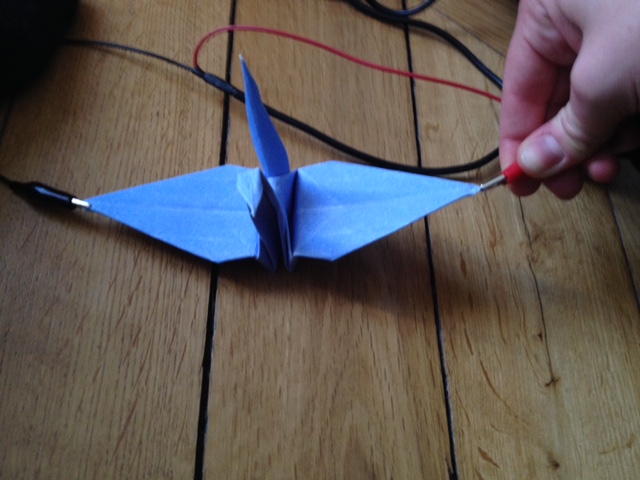
Connect one crocodile clip from the adaptable voltage plug to each wing tip
Here is a video of what it looks like set to 6V:
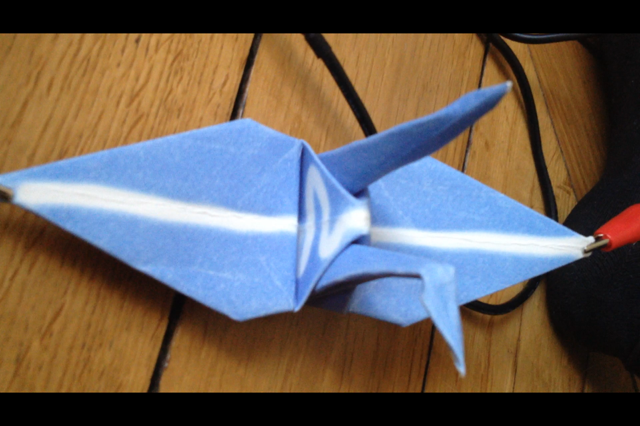
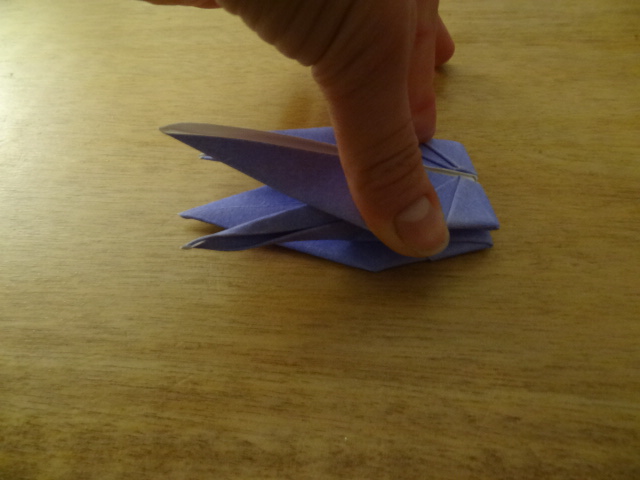
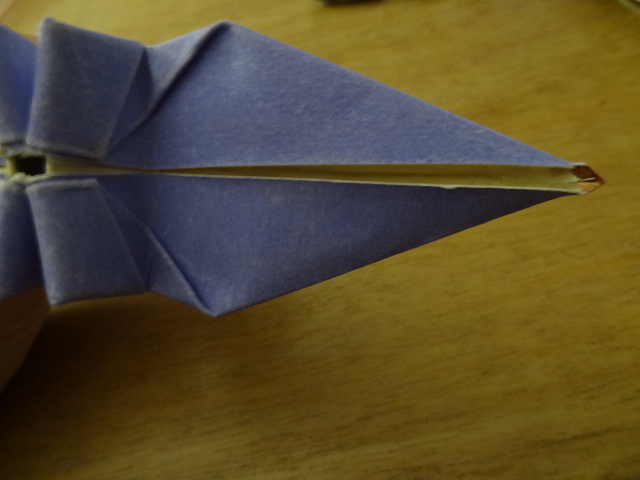
To experiment with nitinol wire, I threaded a piece of nitinol wire (the length of the wingspan) from each wing tip through the body by poking a hole with a sewing needle.
Then sew loops around the wire into the wing to hold it in place
The nitinol wire can be seen from each tip running along the open fold under each wing
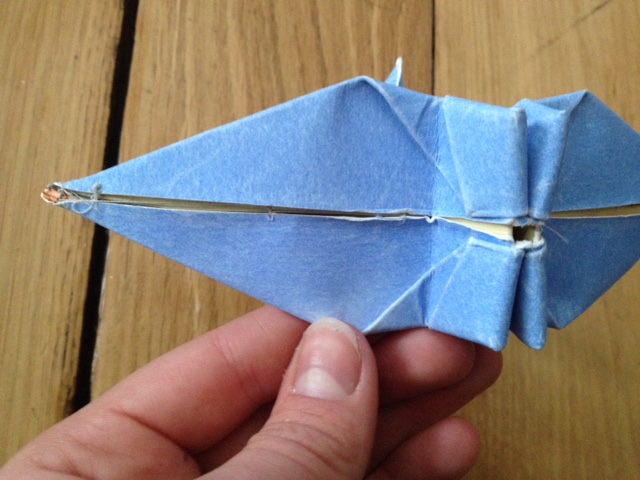
Unfortunately, the paper I used for the crane appears to be too thick, so it is hard to see the nitinol contracting the wings… but it moves slightly in the video below:
(Both videos use 6V)
To make another experiment, I tried attaching the nitinol from wing tip to wing tip above the cranes body. In the video below we can see the nitinol wire contracting but it does not move the wings.