Experiments with Thermochromic Paint
In this experiment I use electricity combined with wire and thermochromic paint to see how much voltage you need in relation to the length of wire used to make the thermochromic paint react.
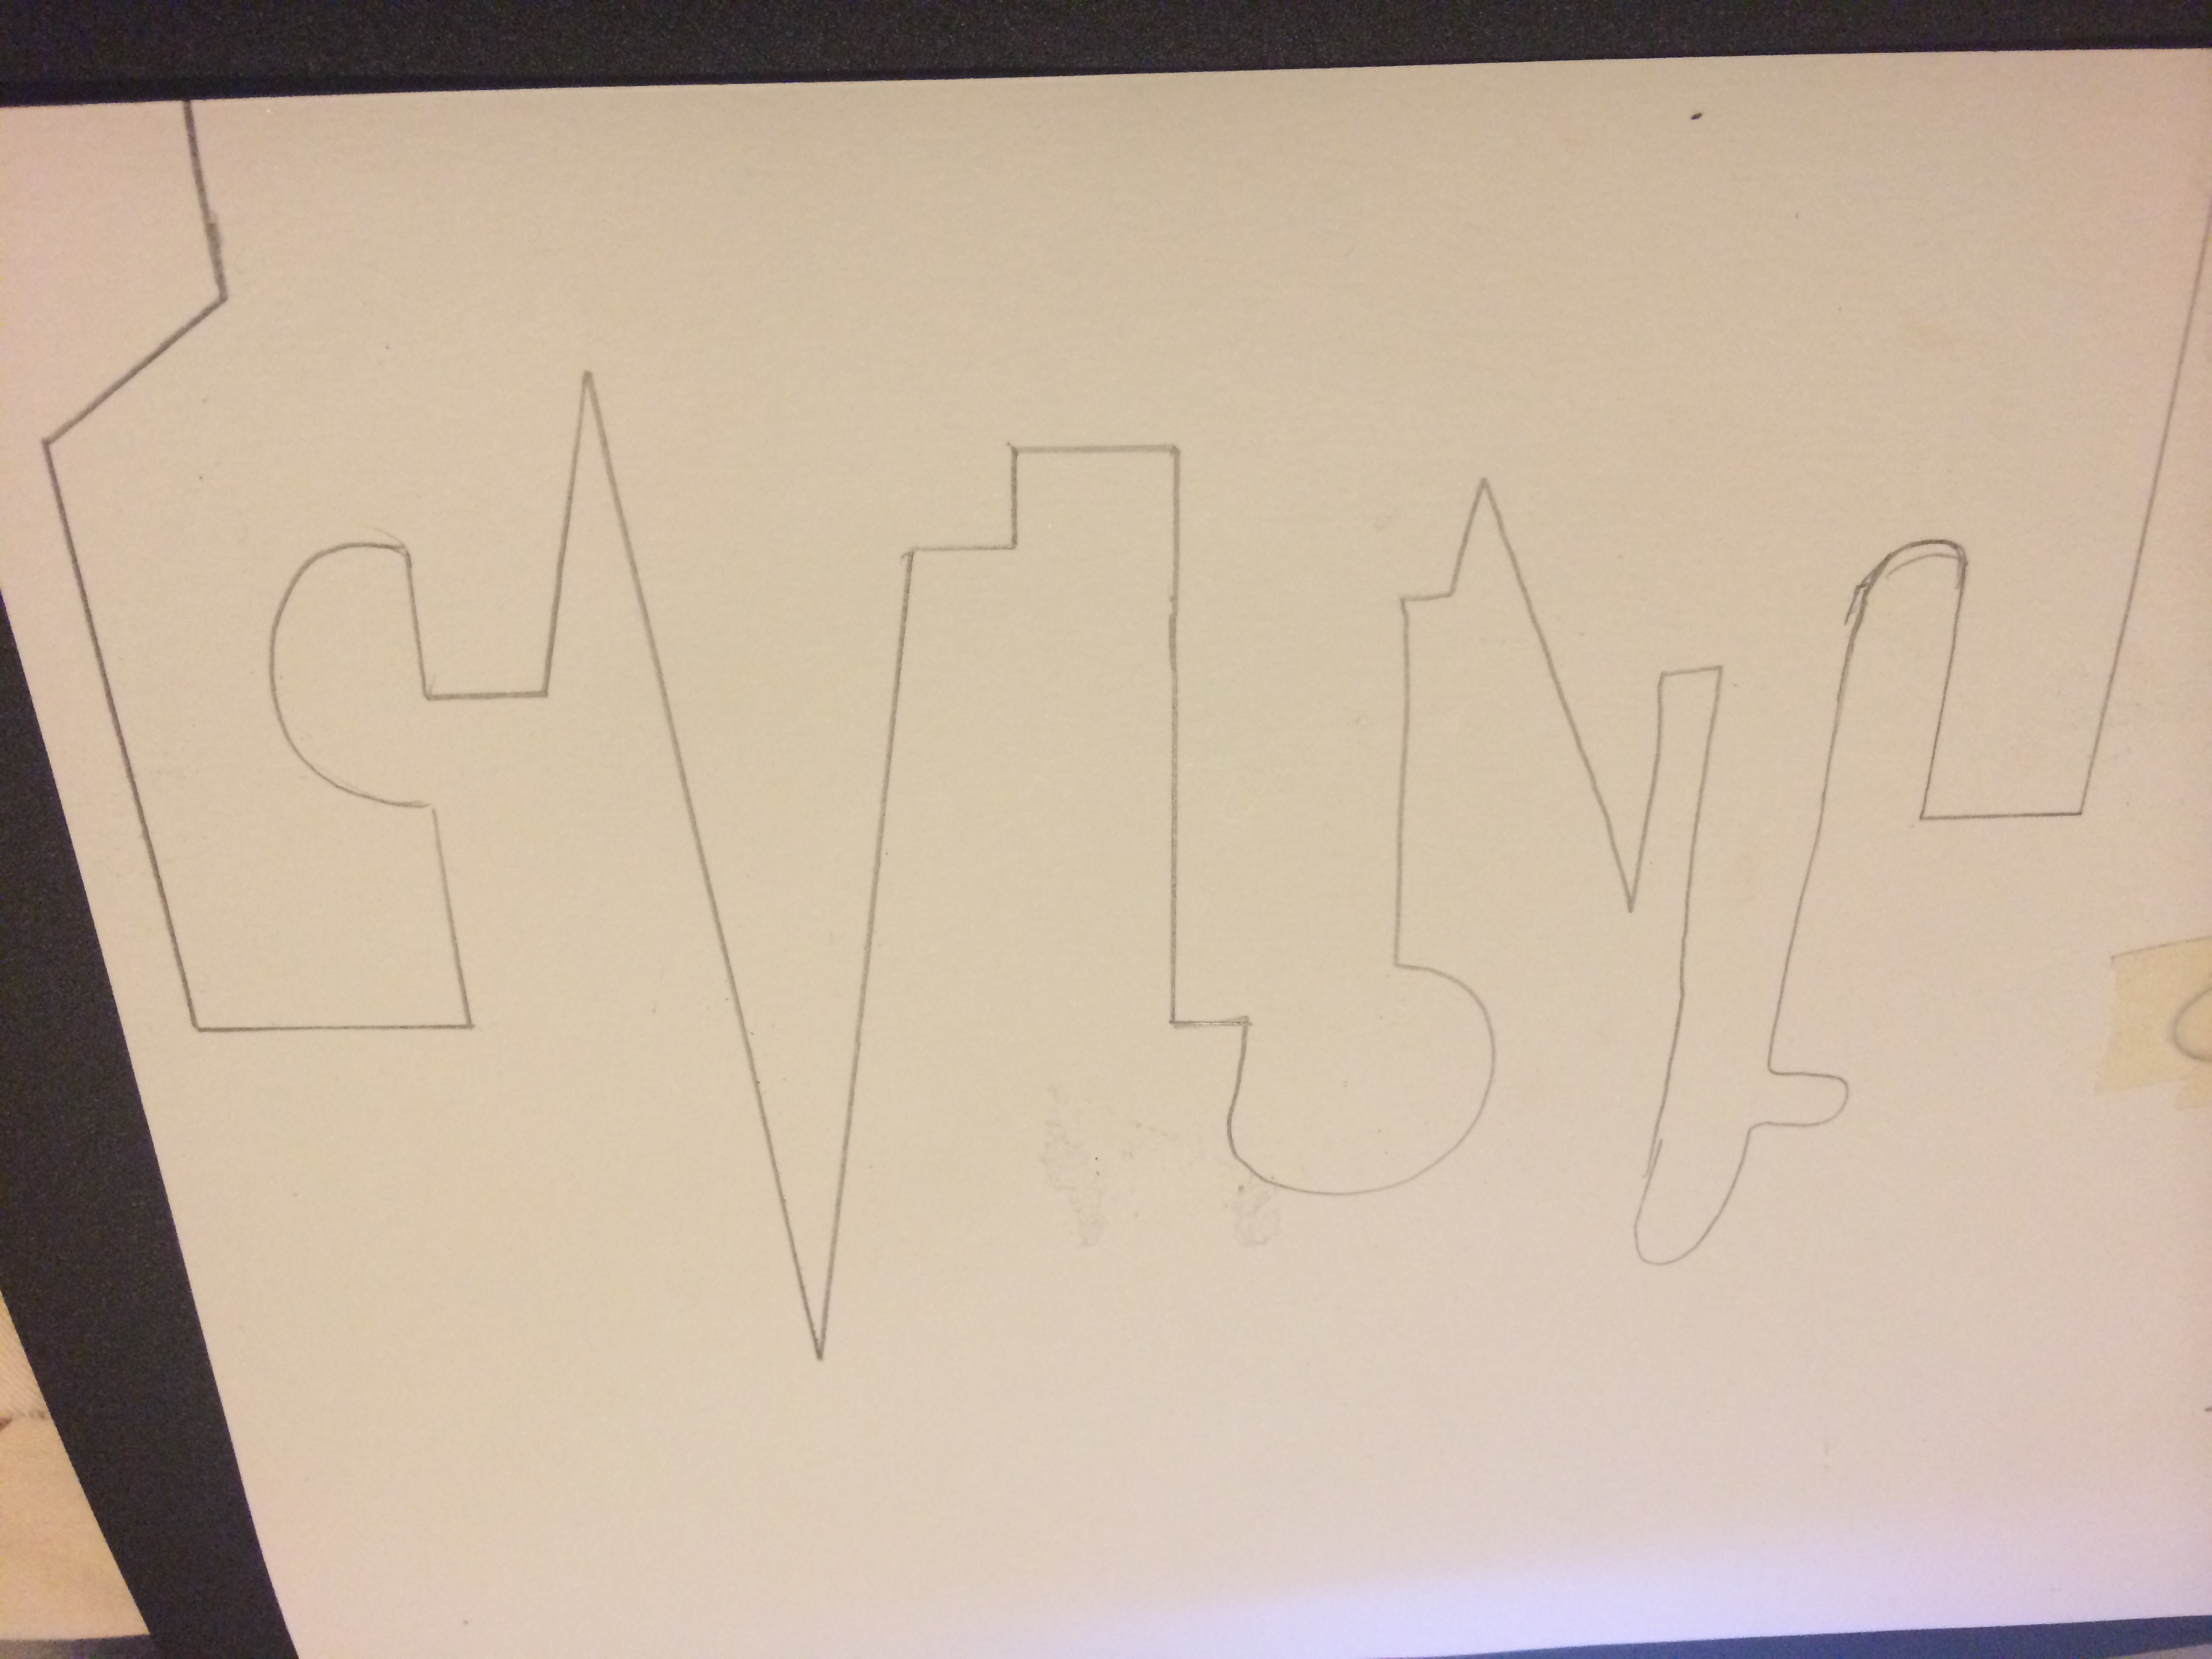
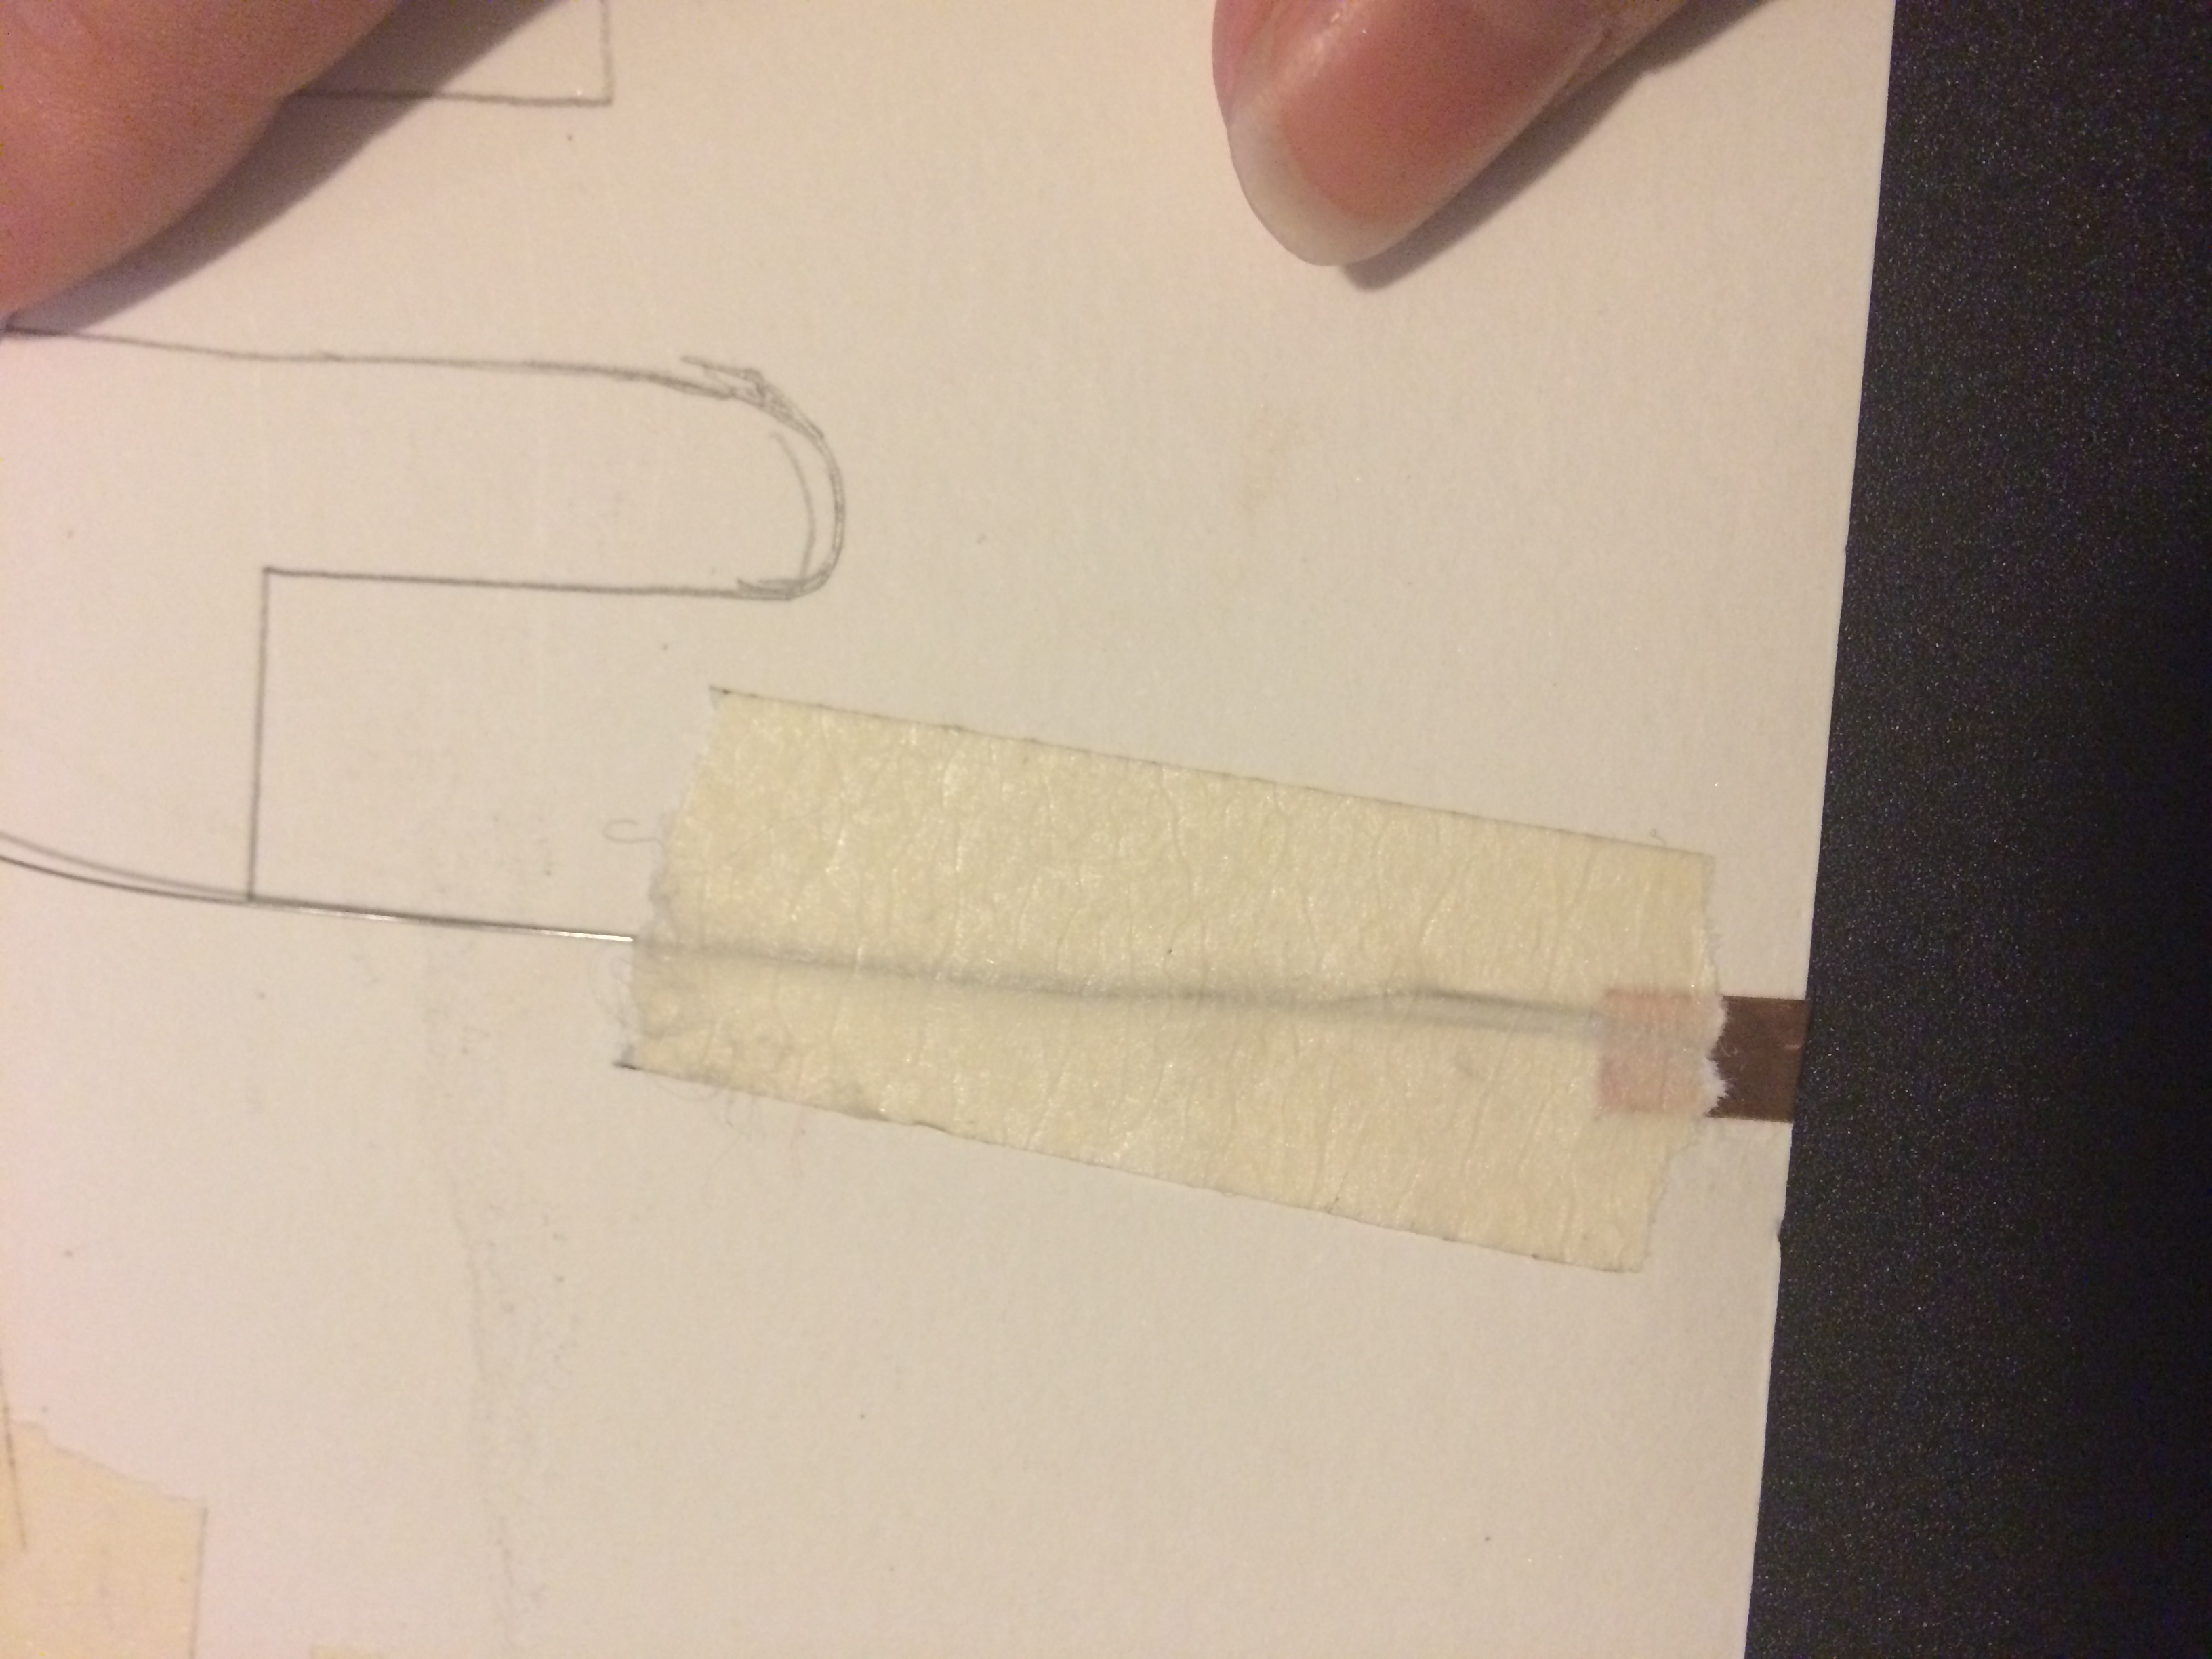
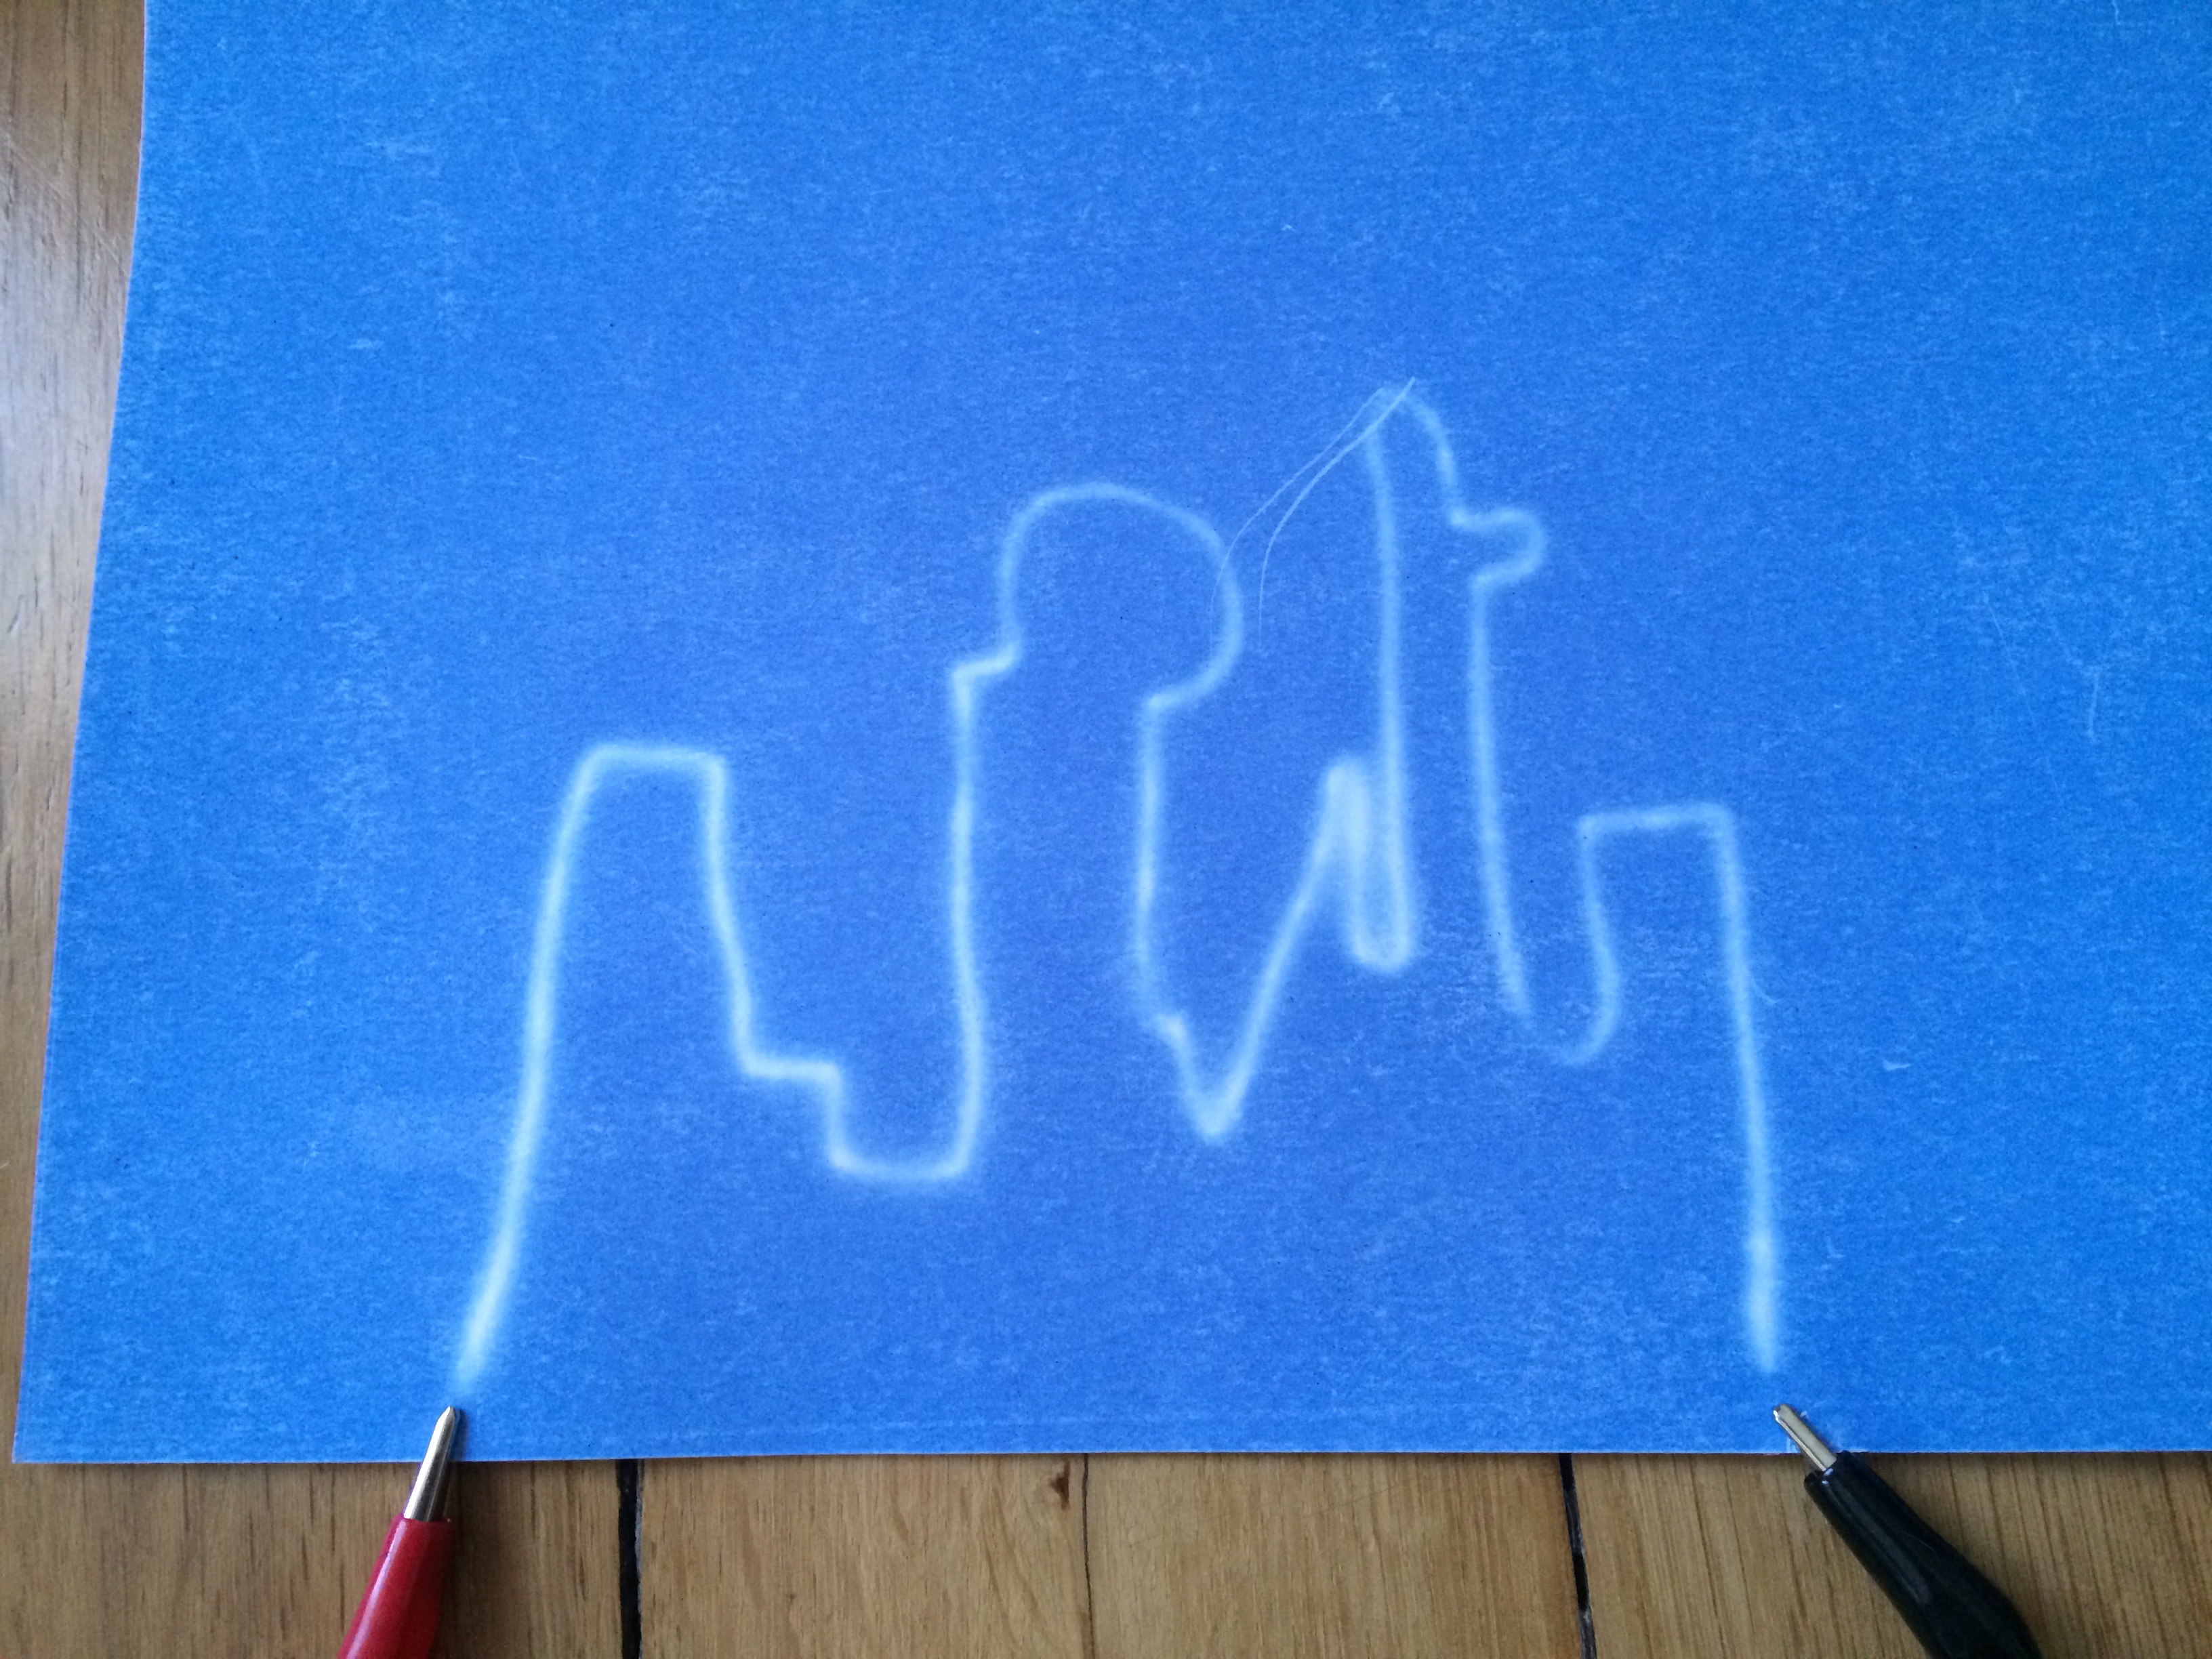
On the back of the paper where you have painted on the thermochromic paint draw out a little design to test out the voltage you will need to affect the thermochromic paint.
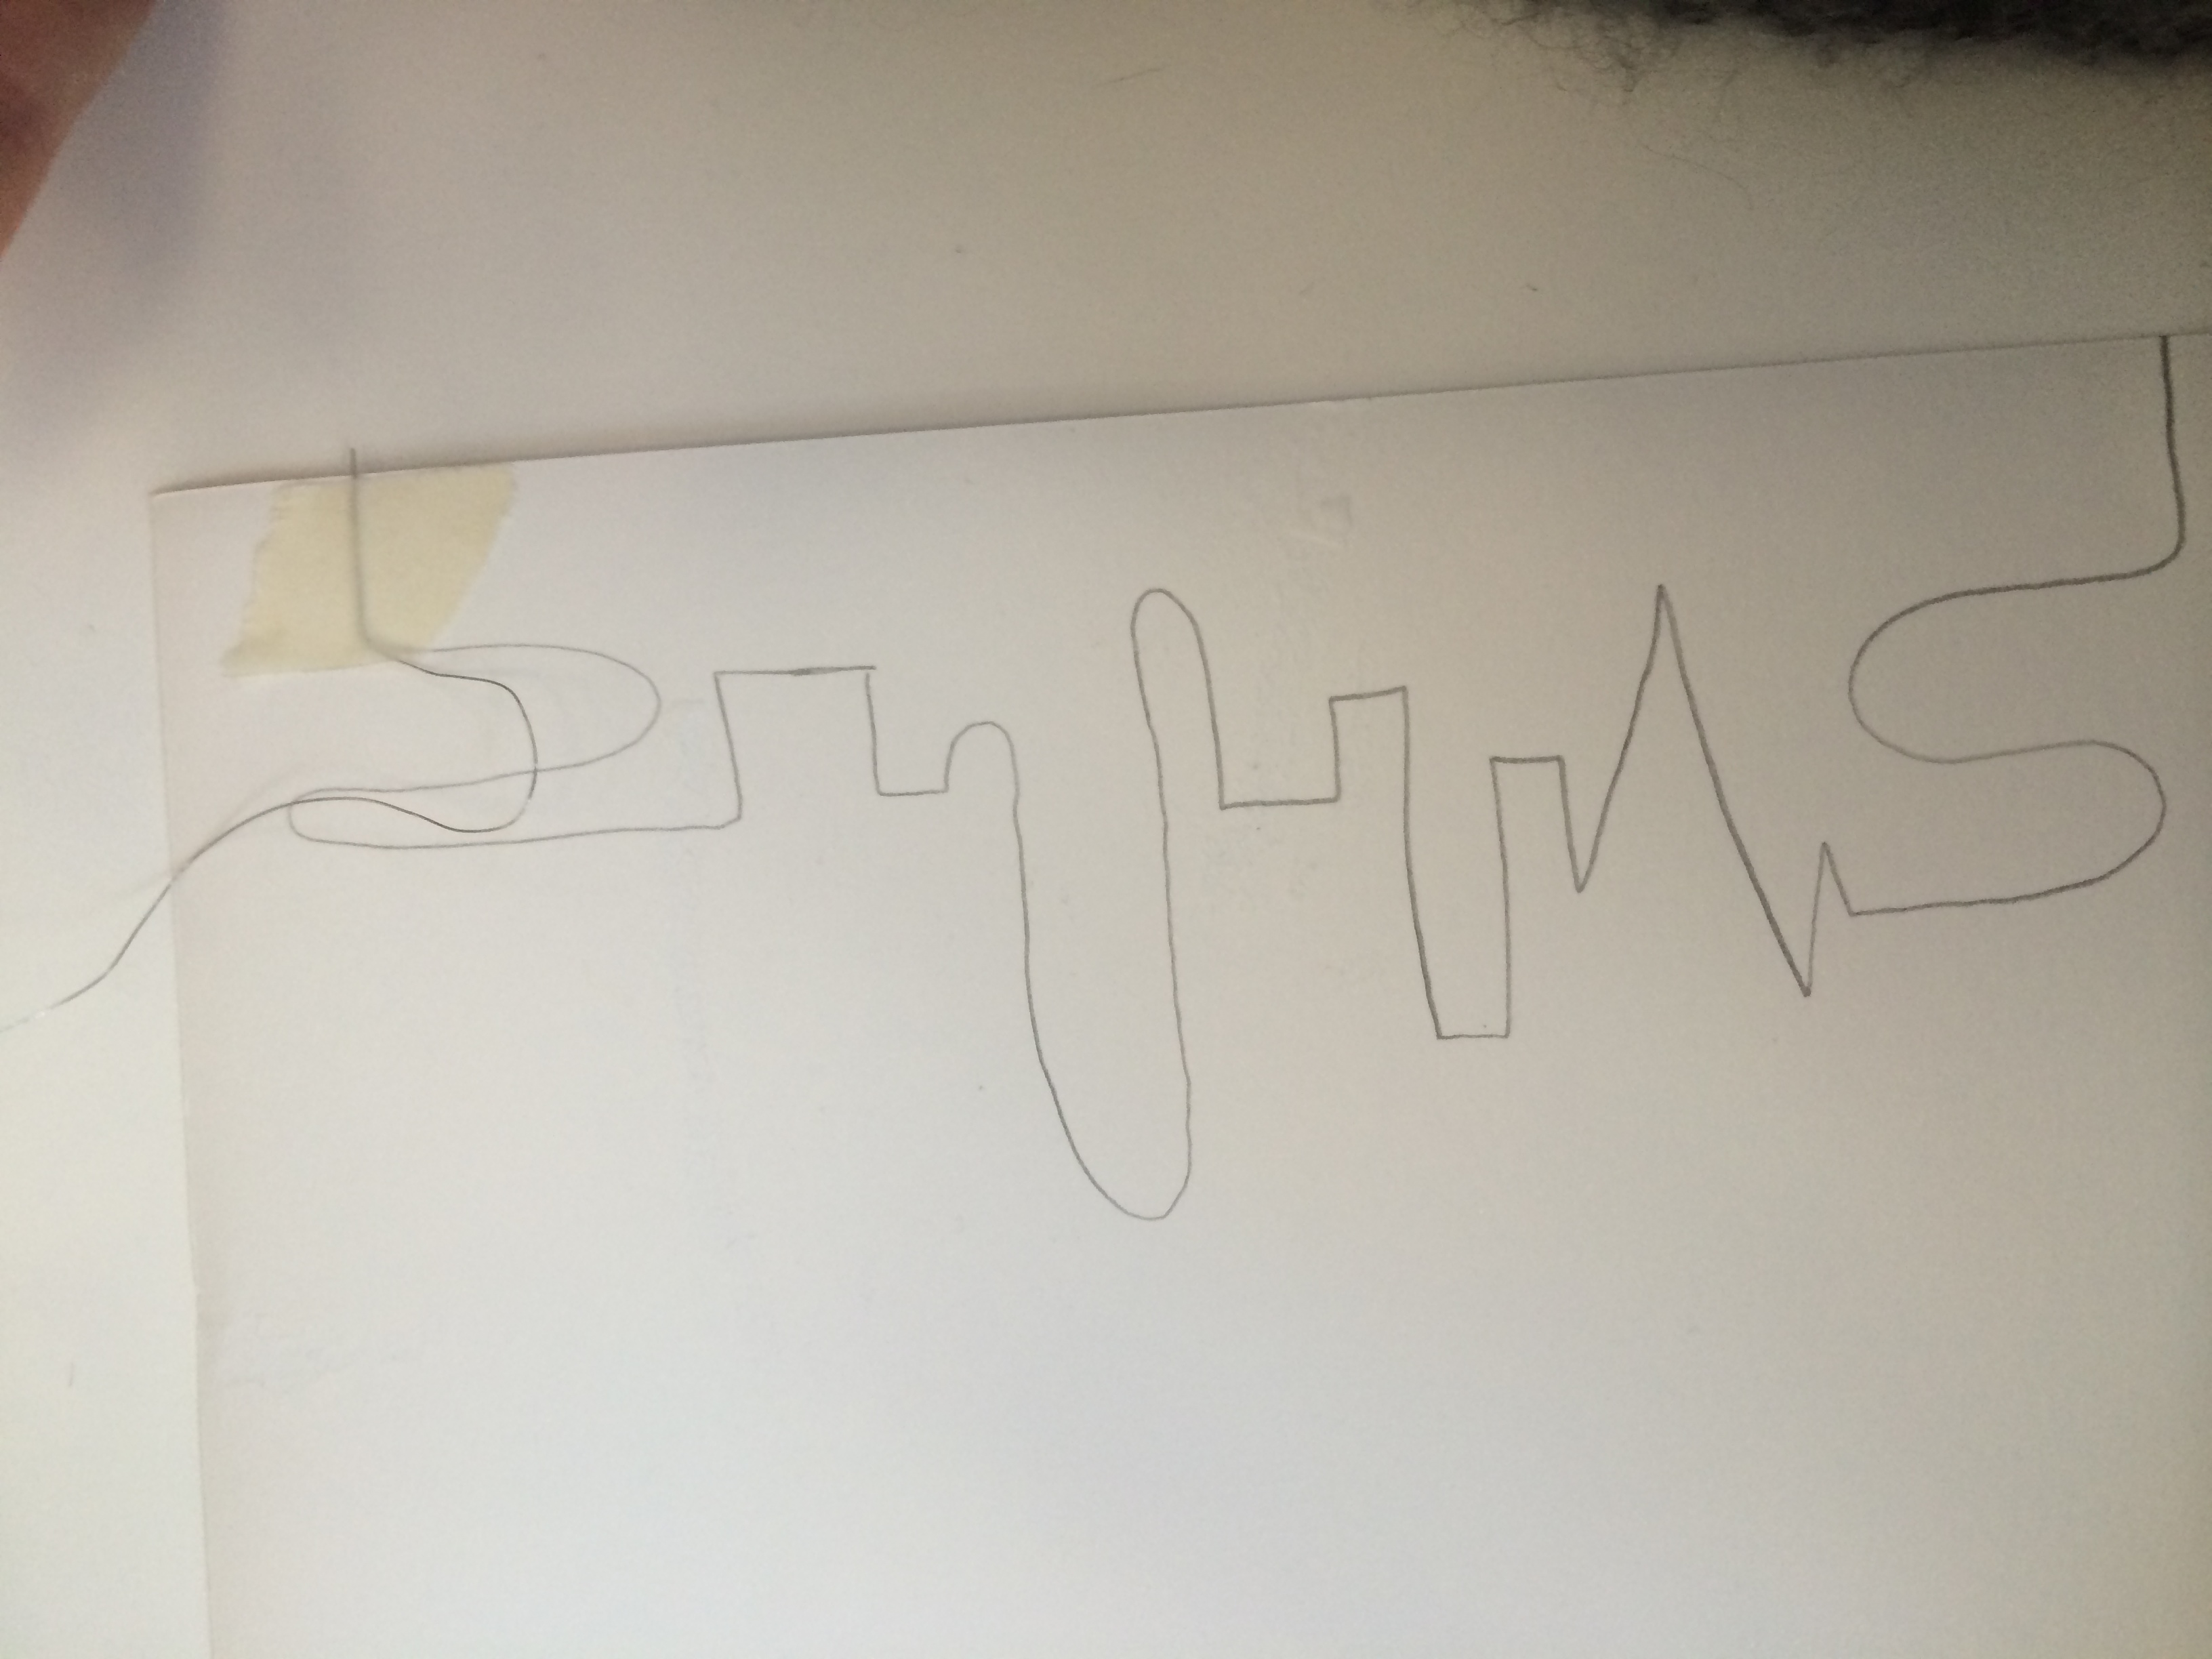
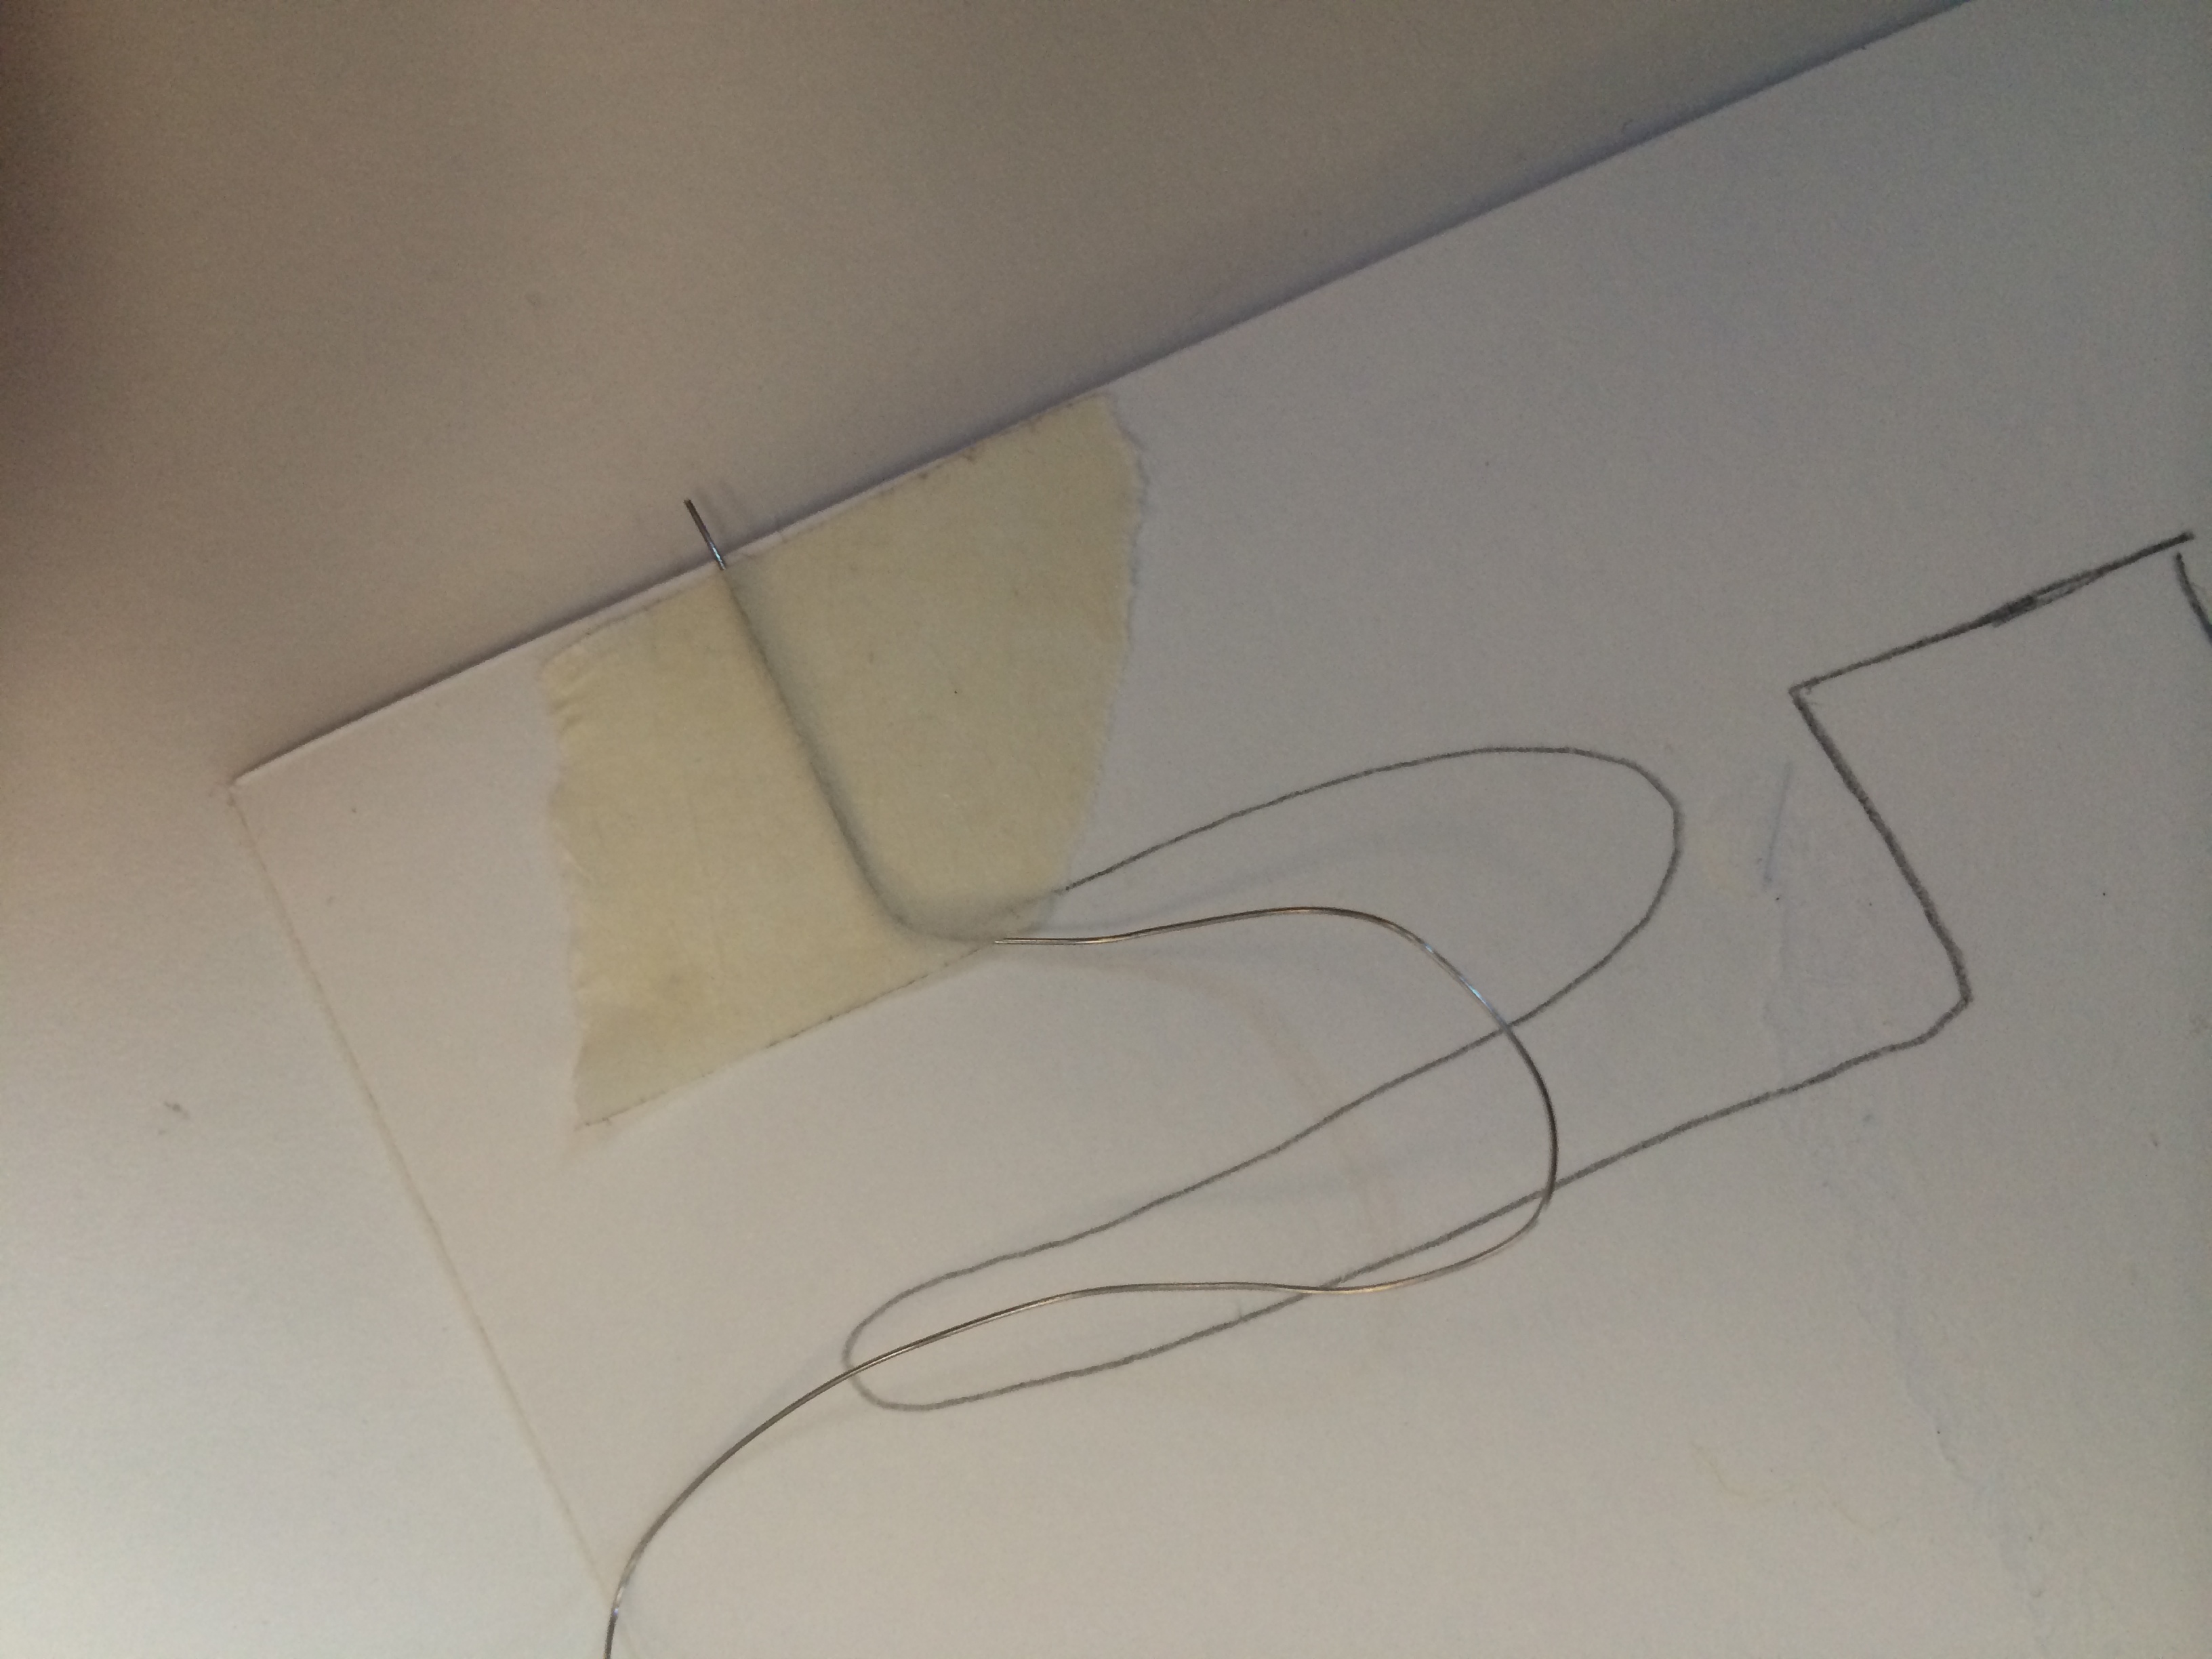
Step 2 : Add the wire to your design
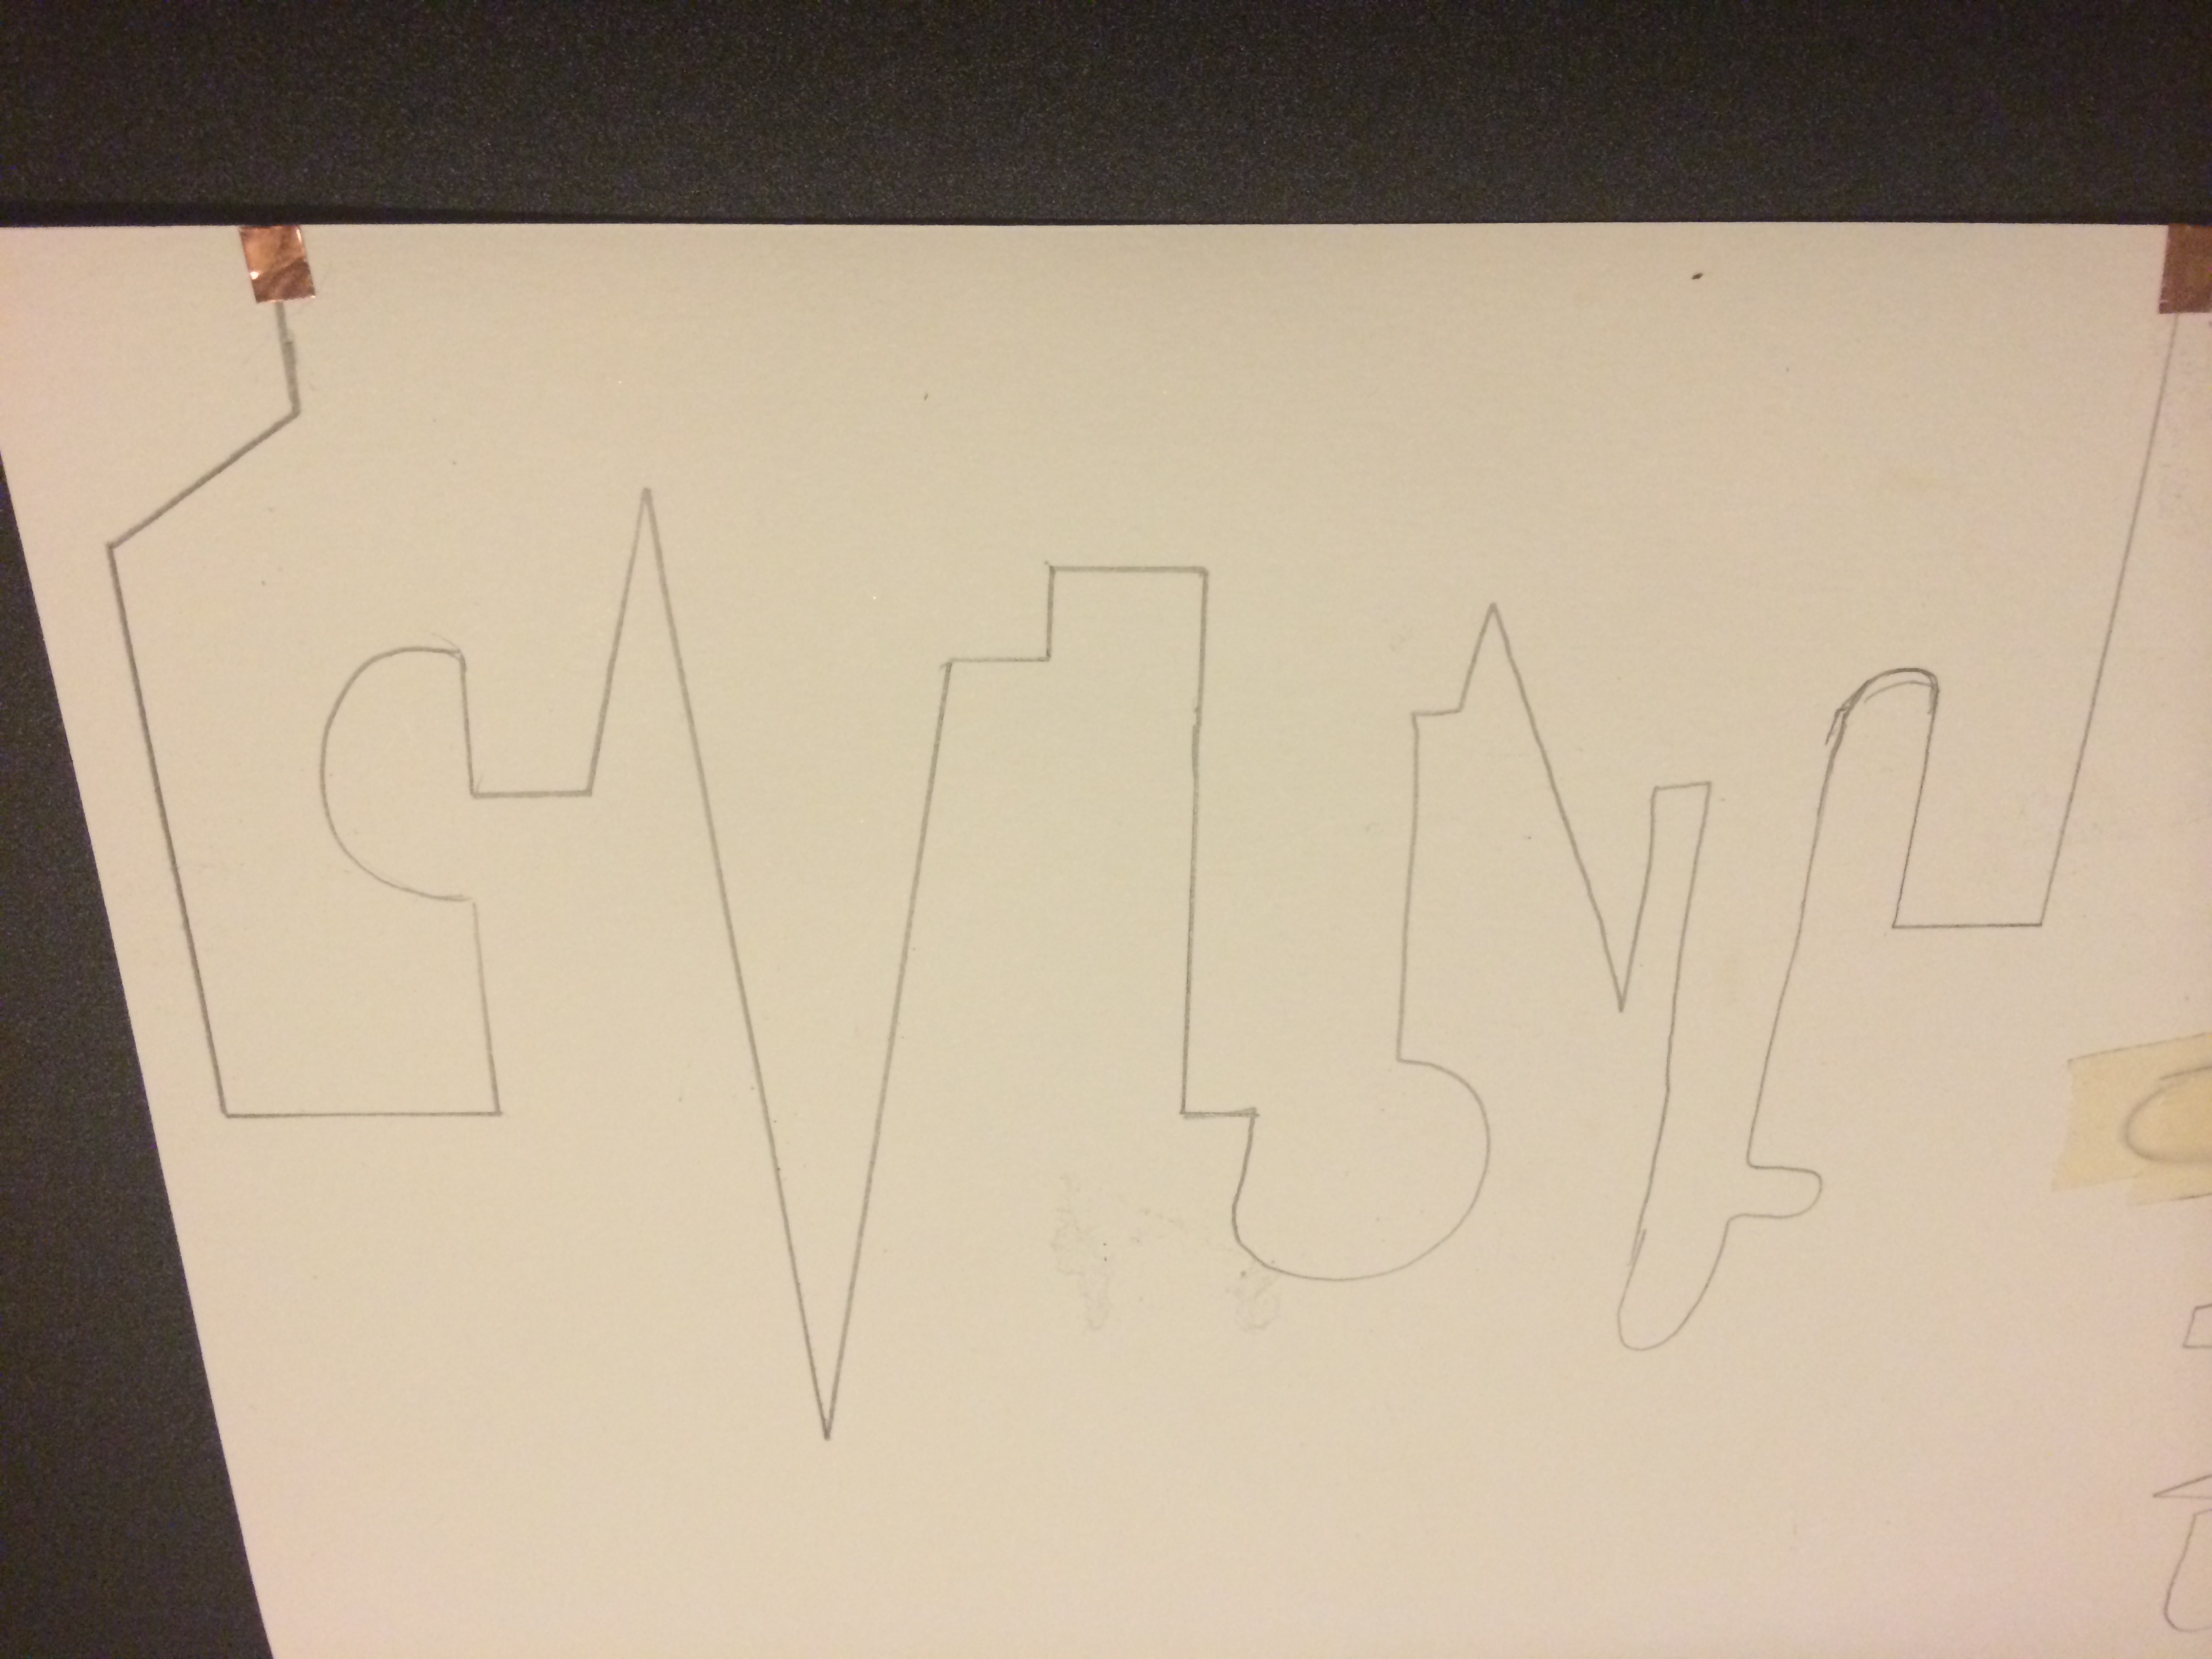
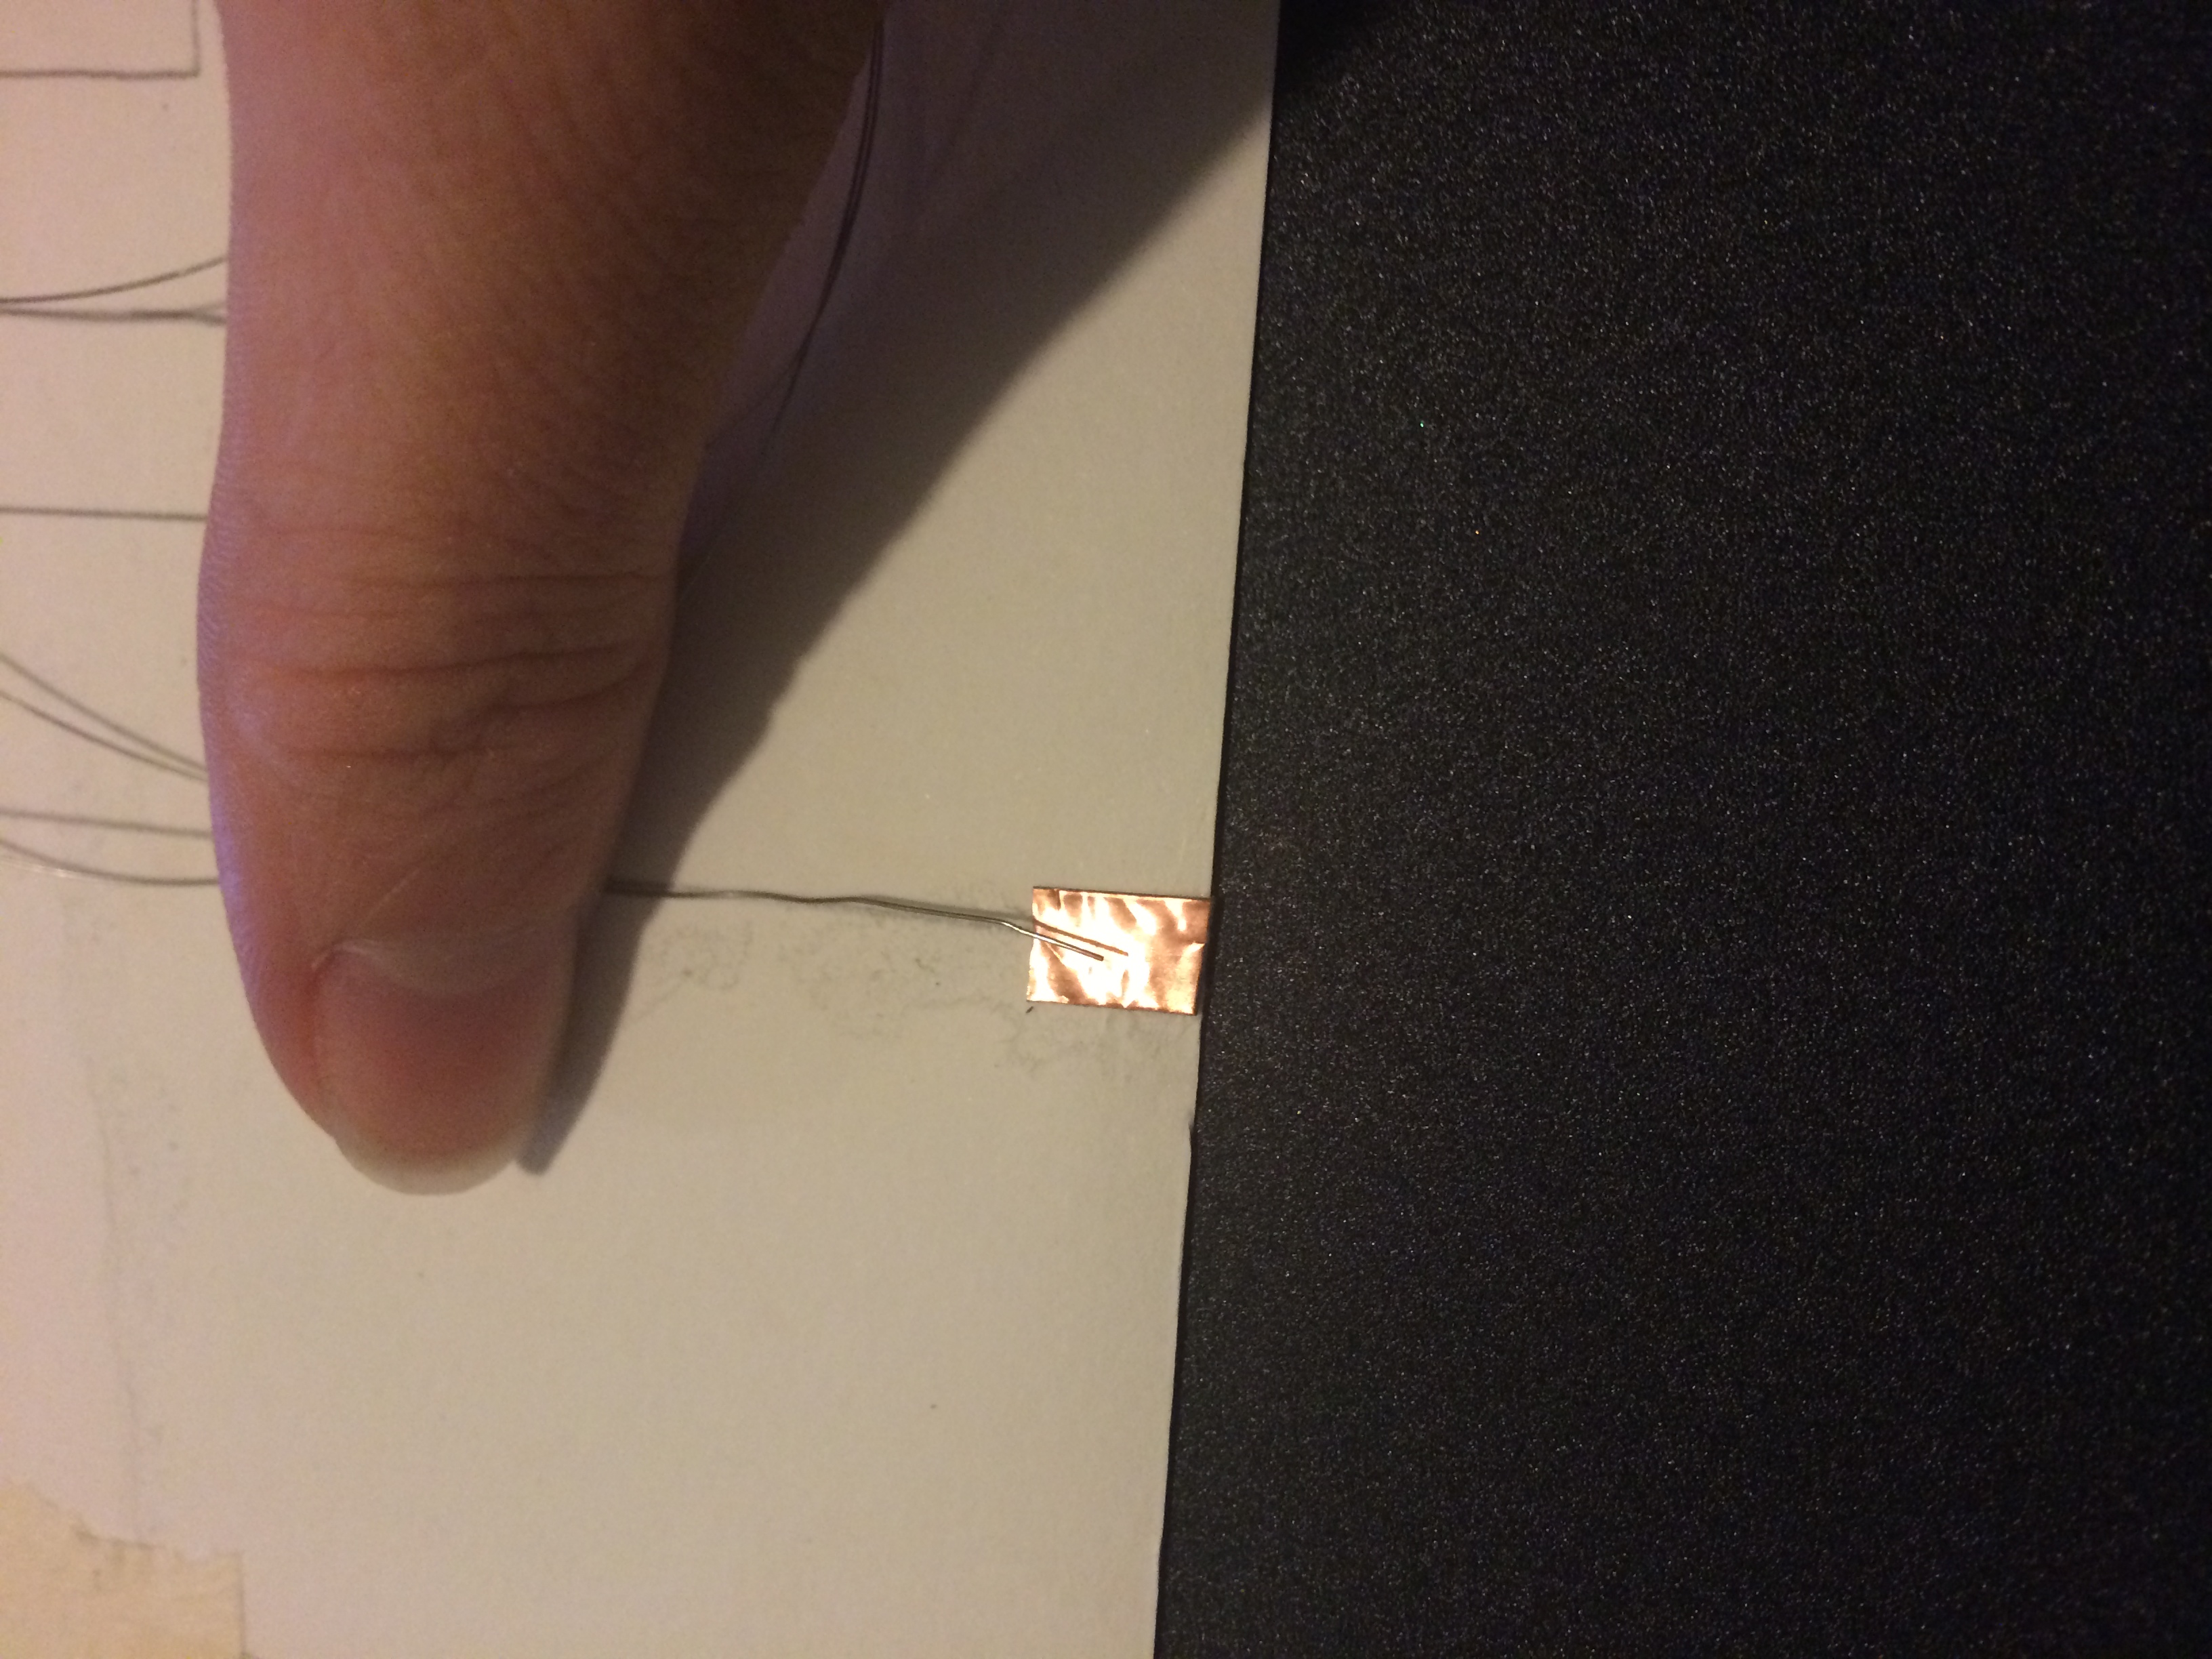
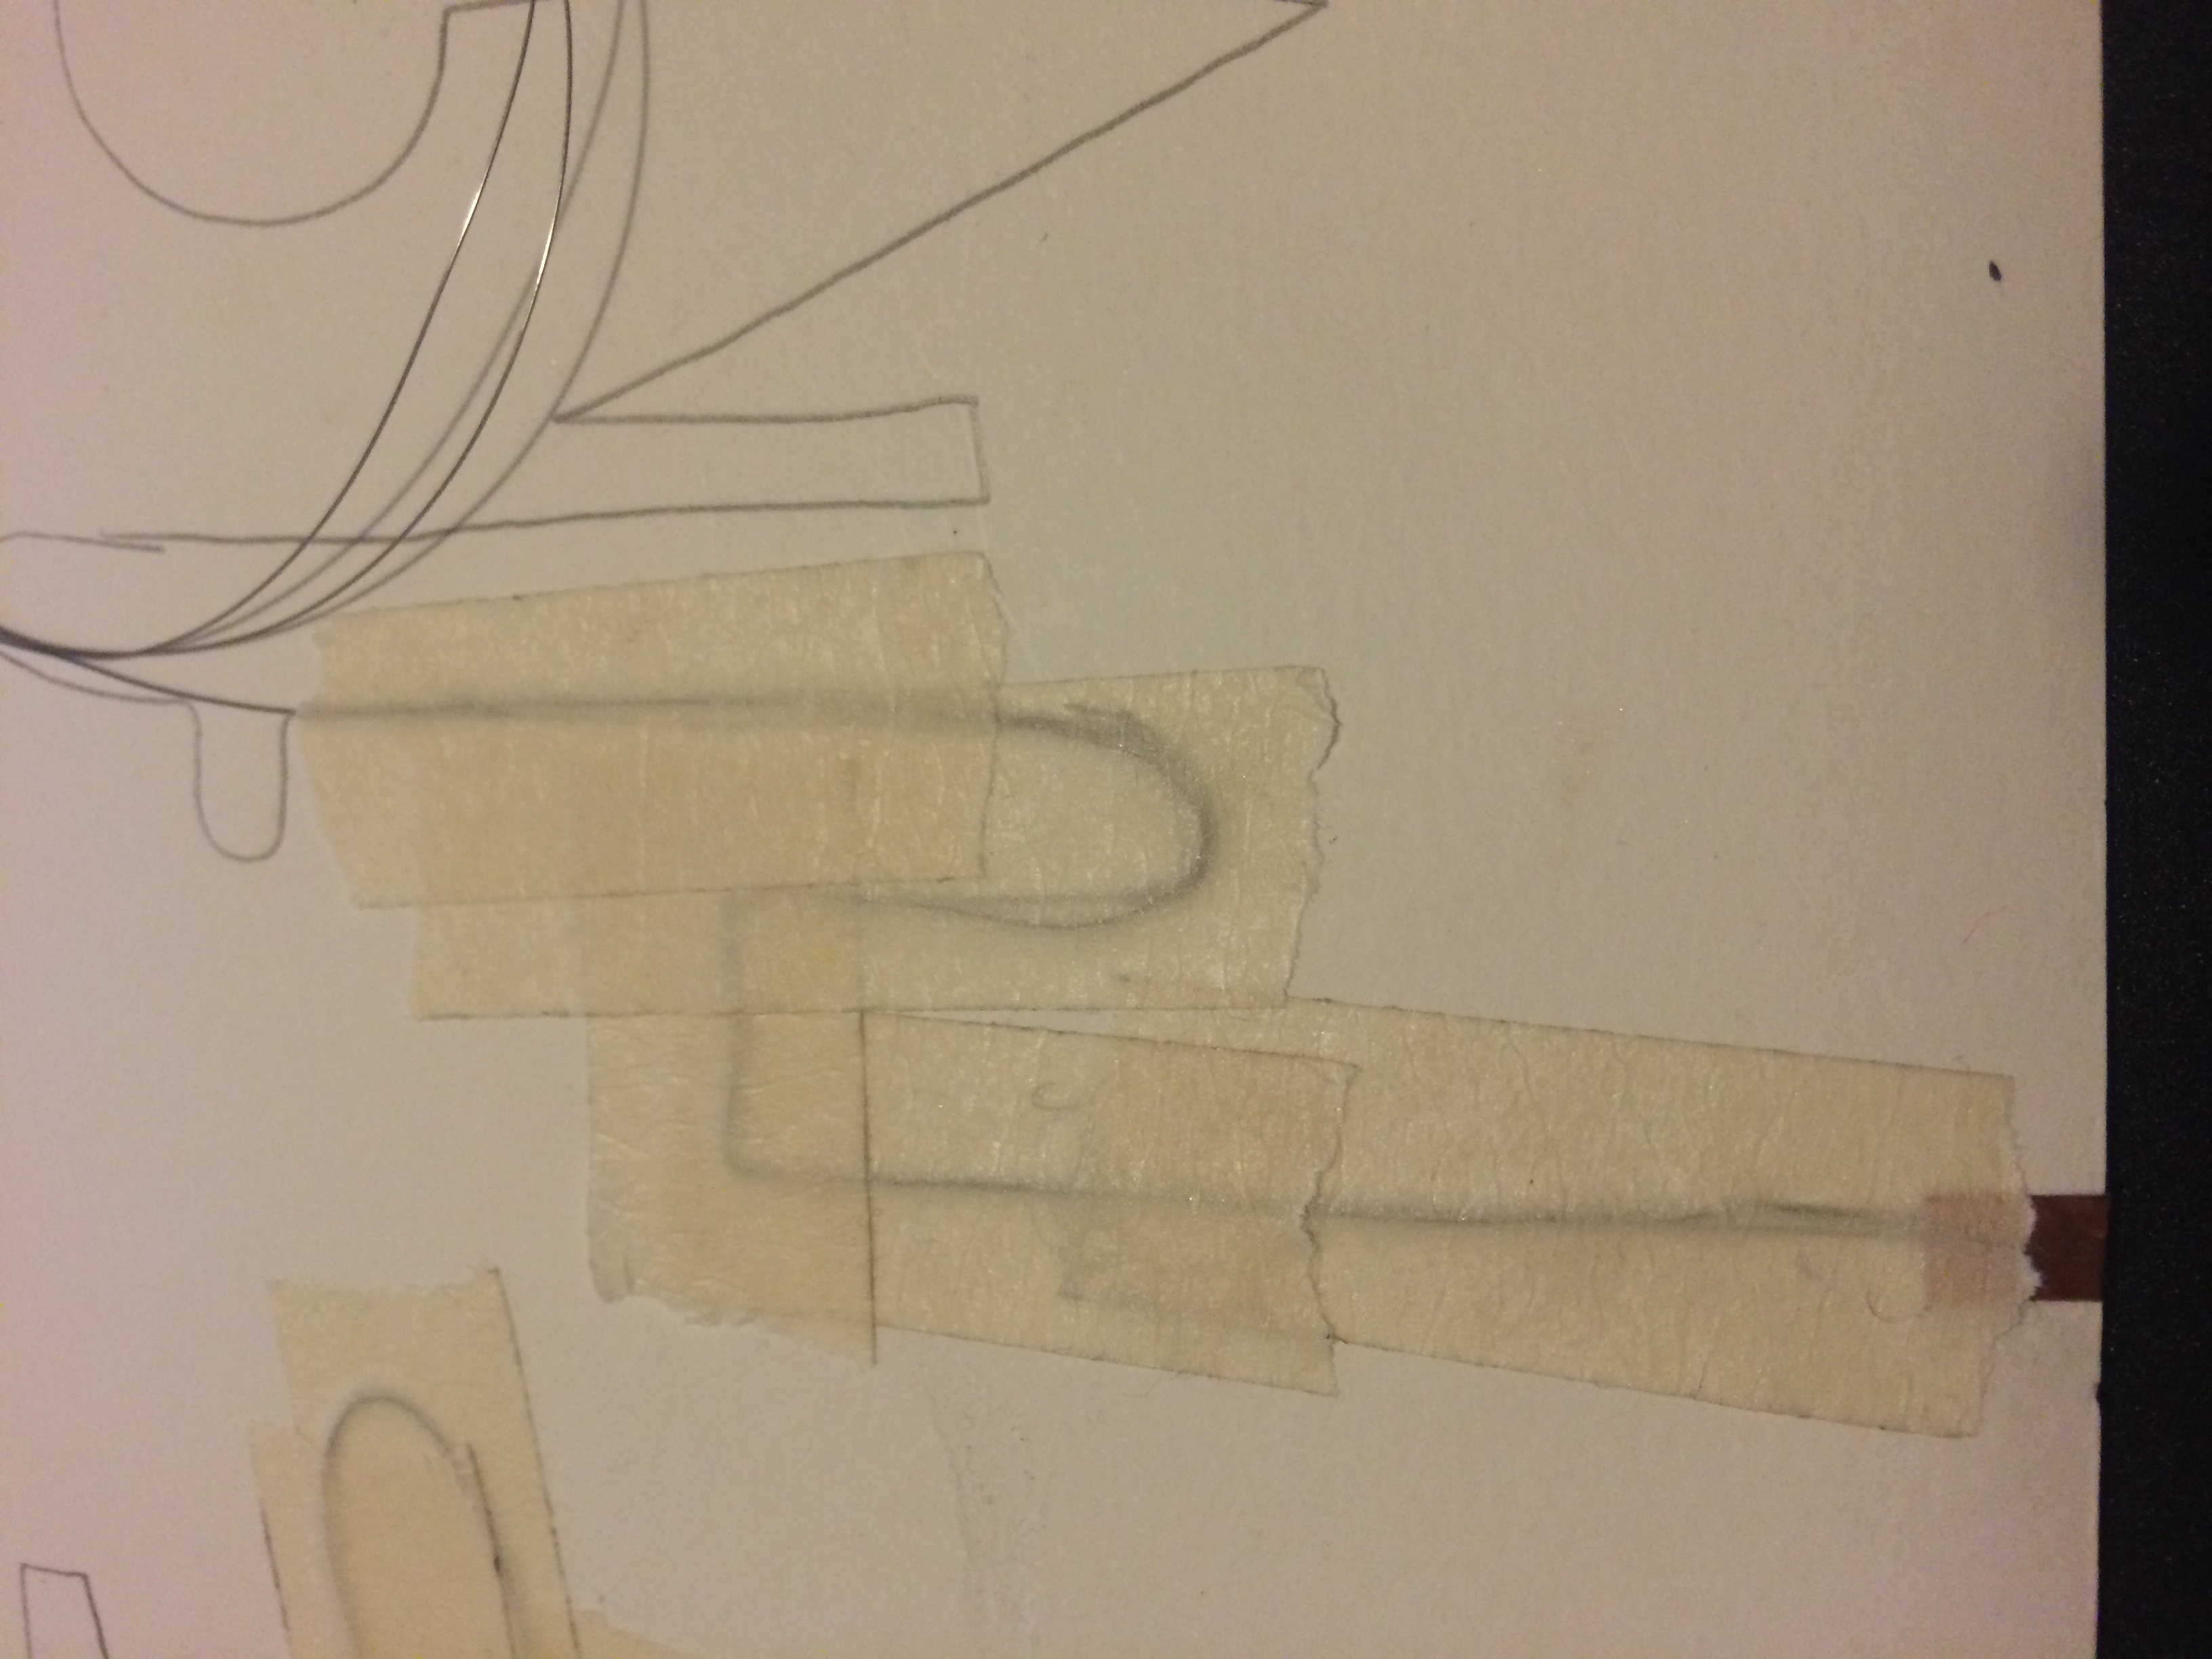
Now that you have your design drawn you add copper tape to the beginning and end of the pattern and then you can add the wire following on top of the pattern you drew. Use your fingers to bend the wire and at the same time stick masking tape over the wire to secure it to the paper. Don’t forget to overlap the wire onto of the copper tape.
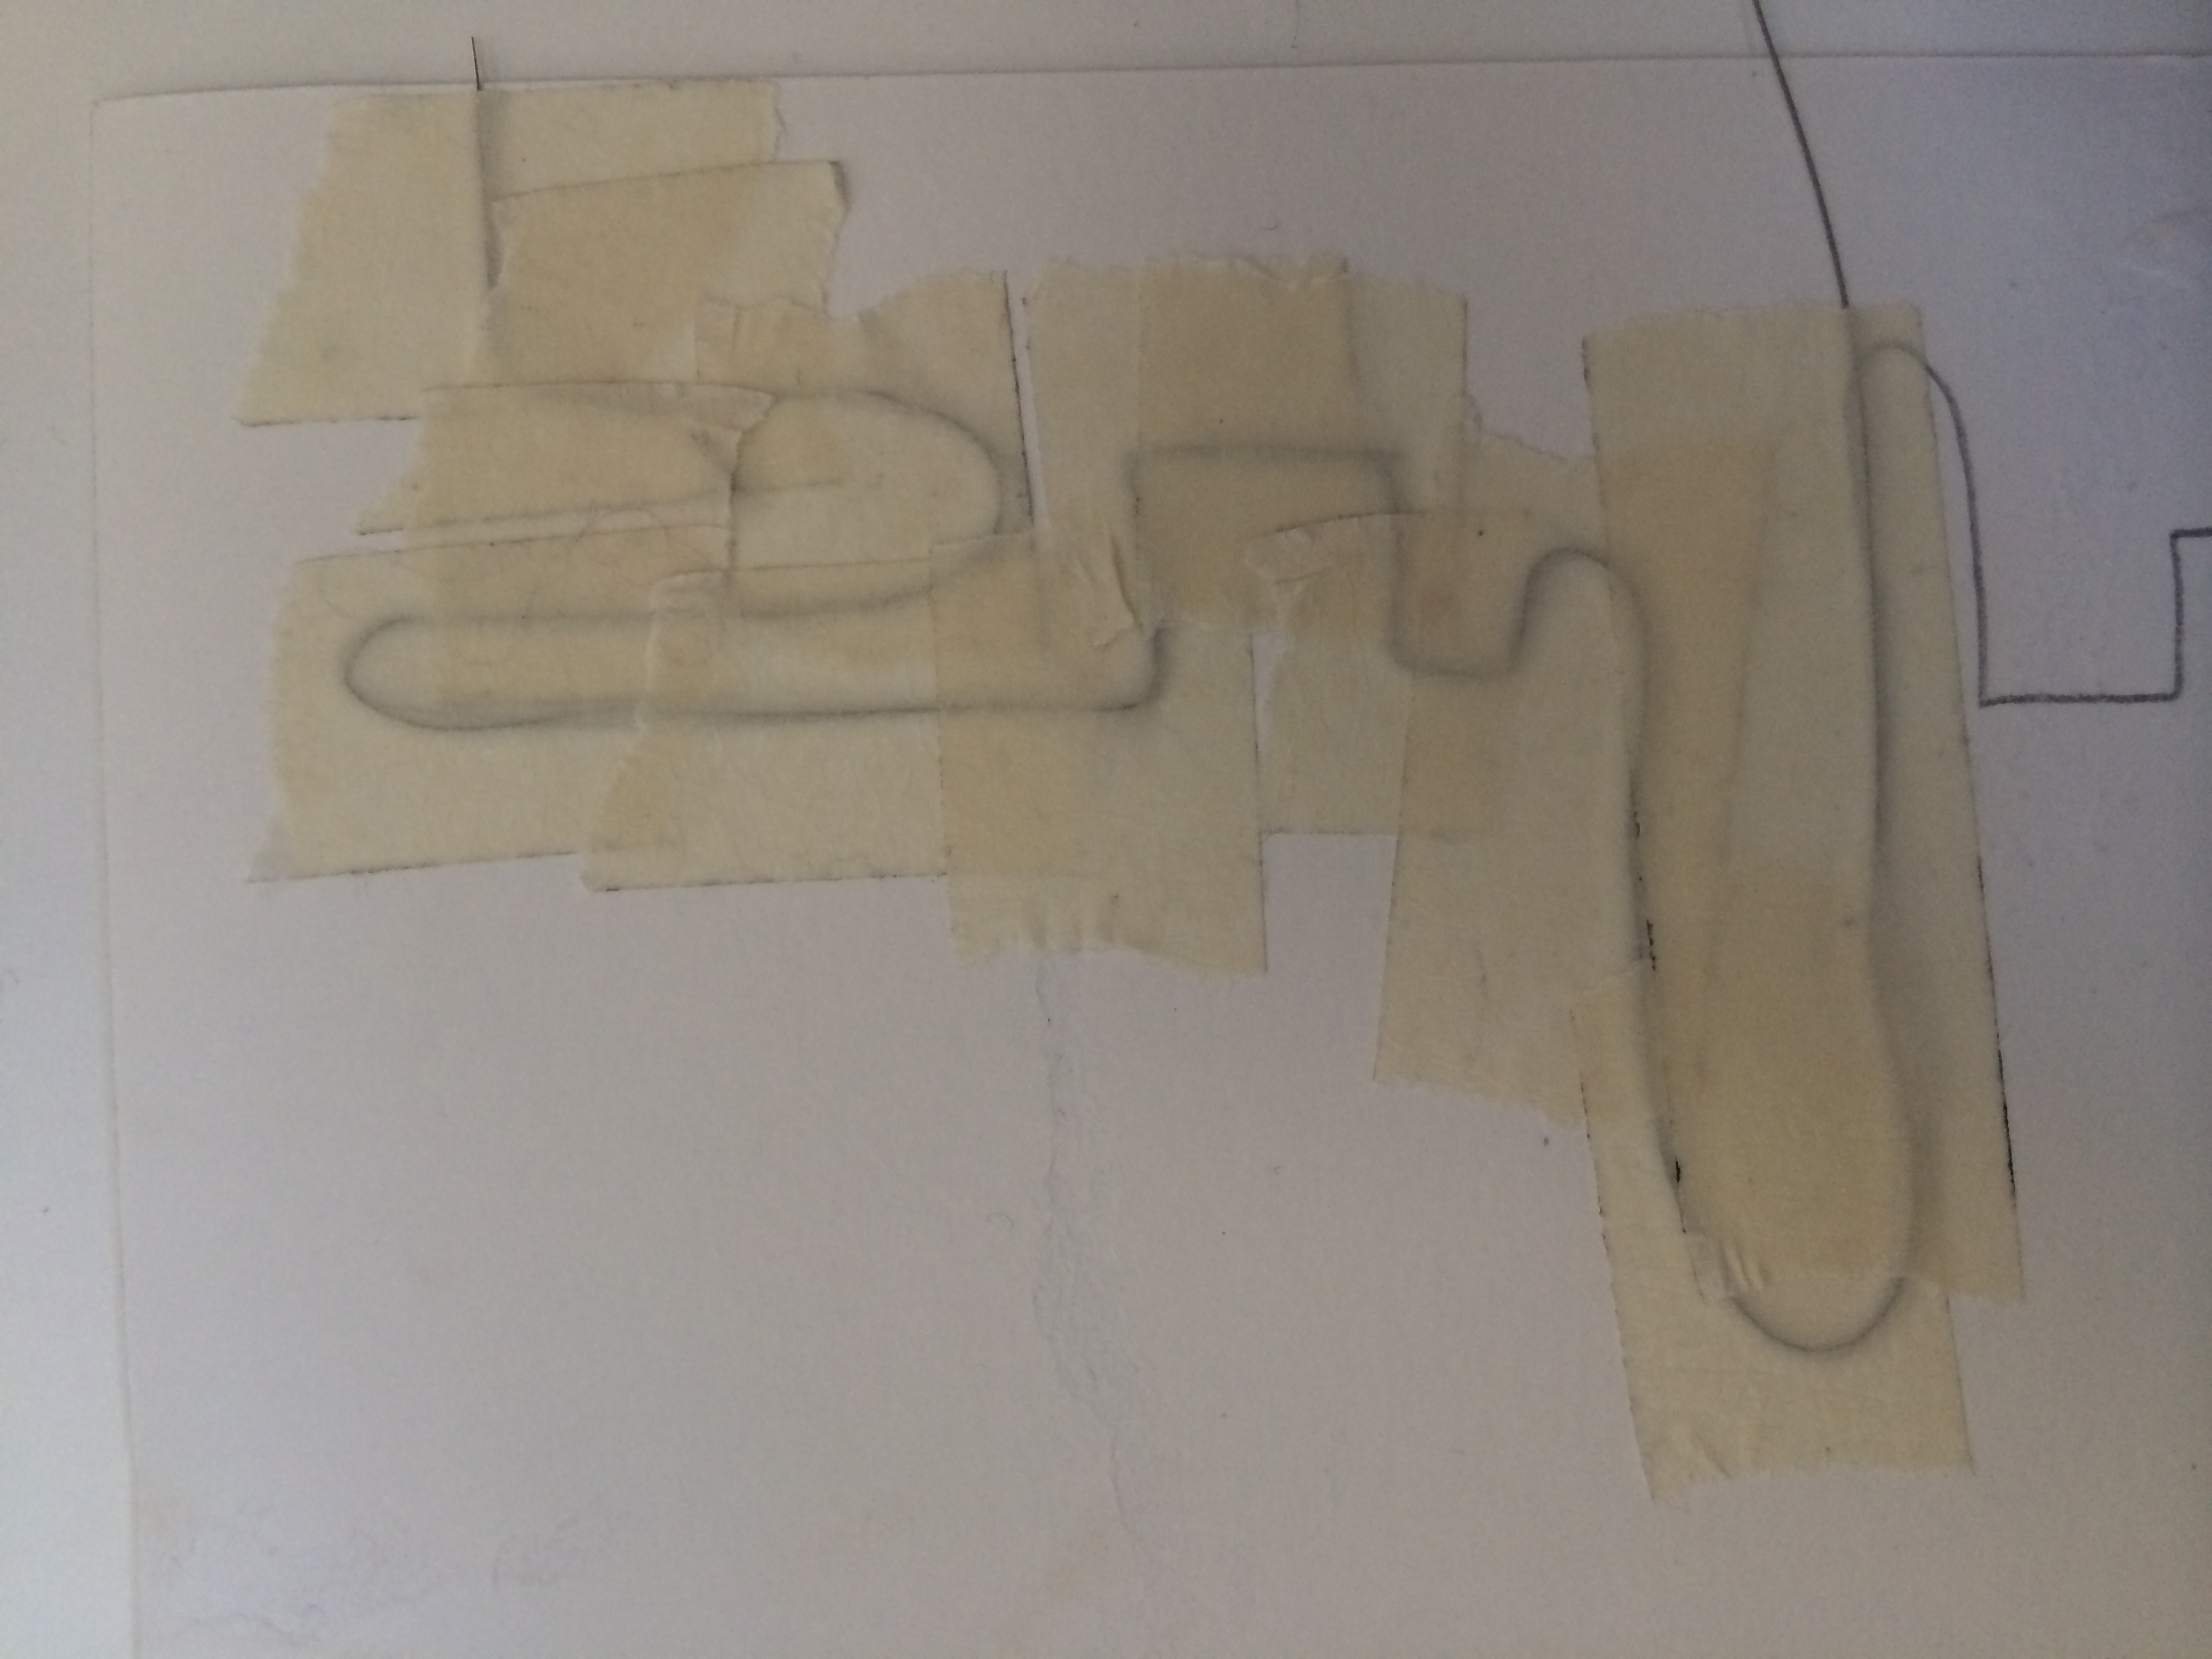
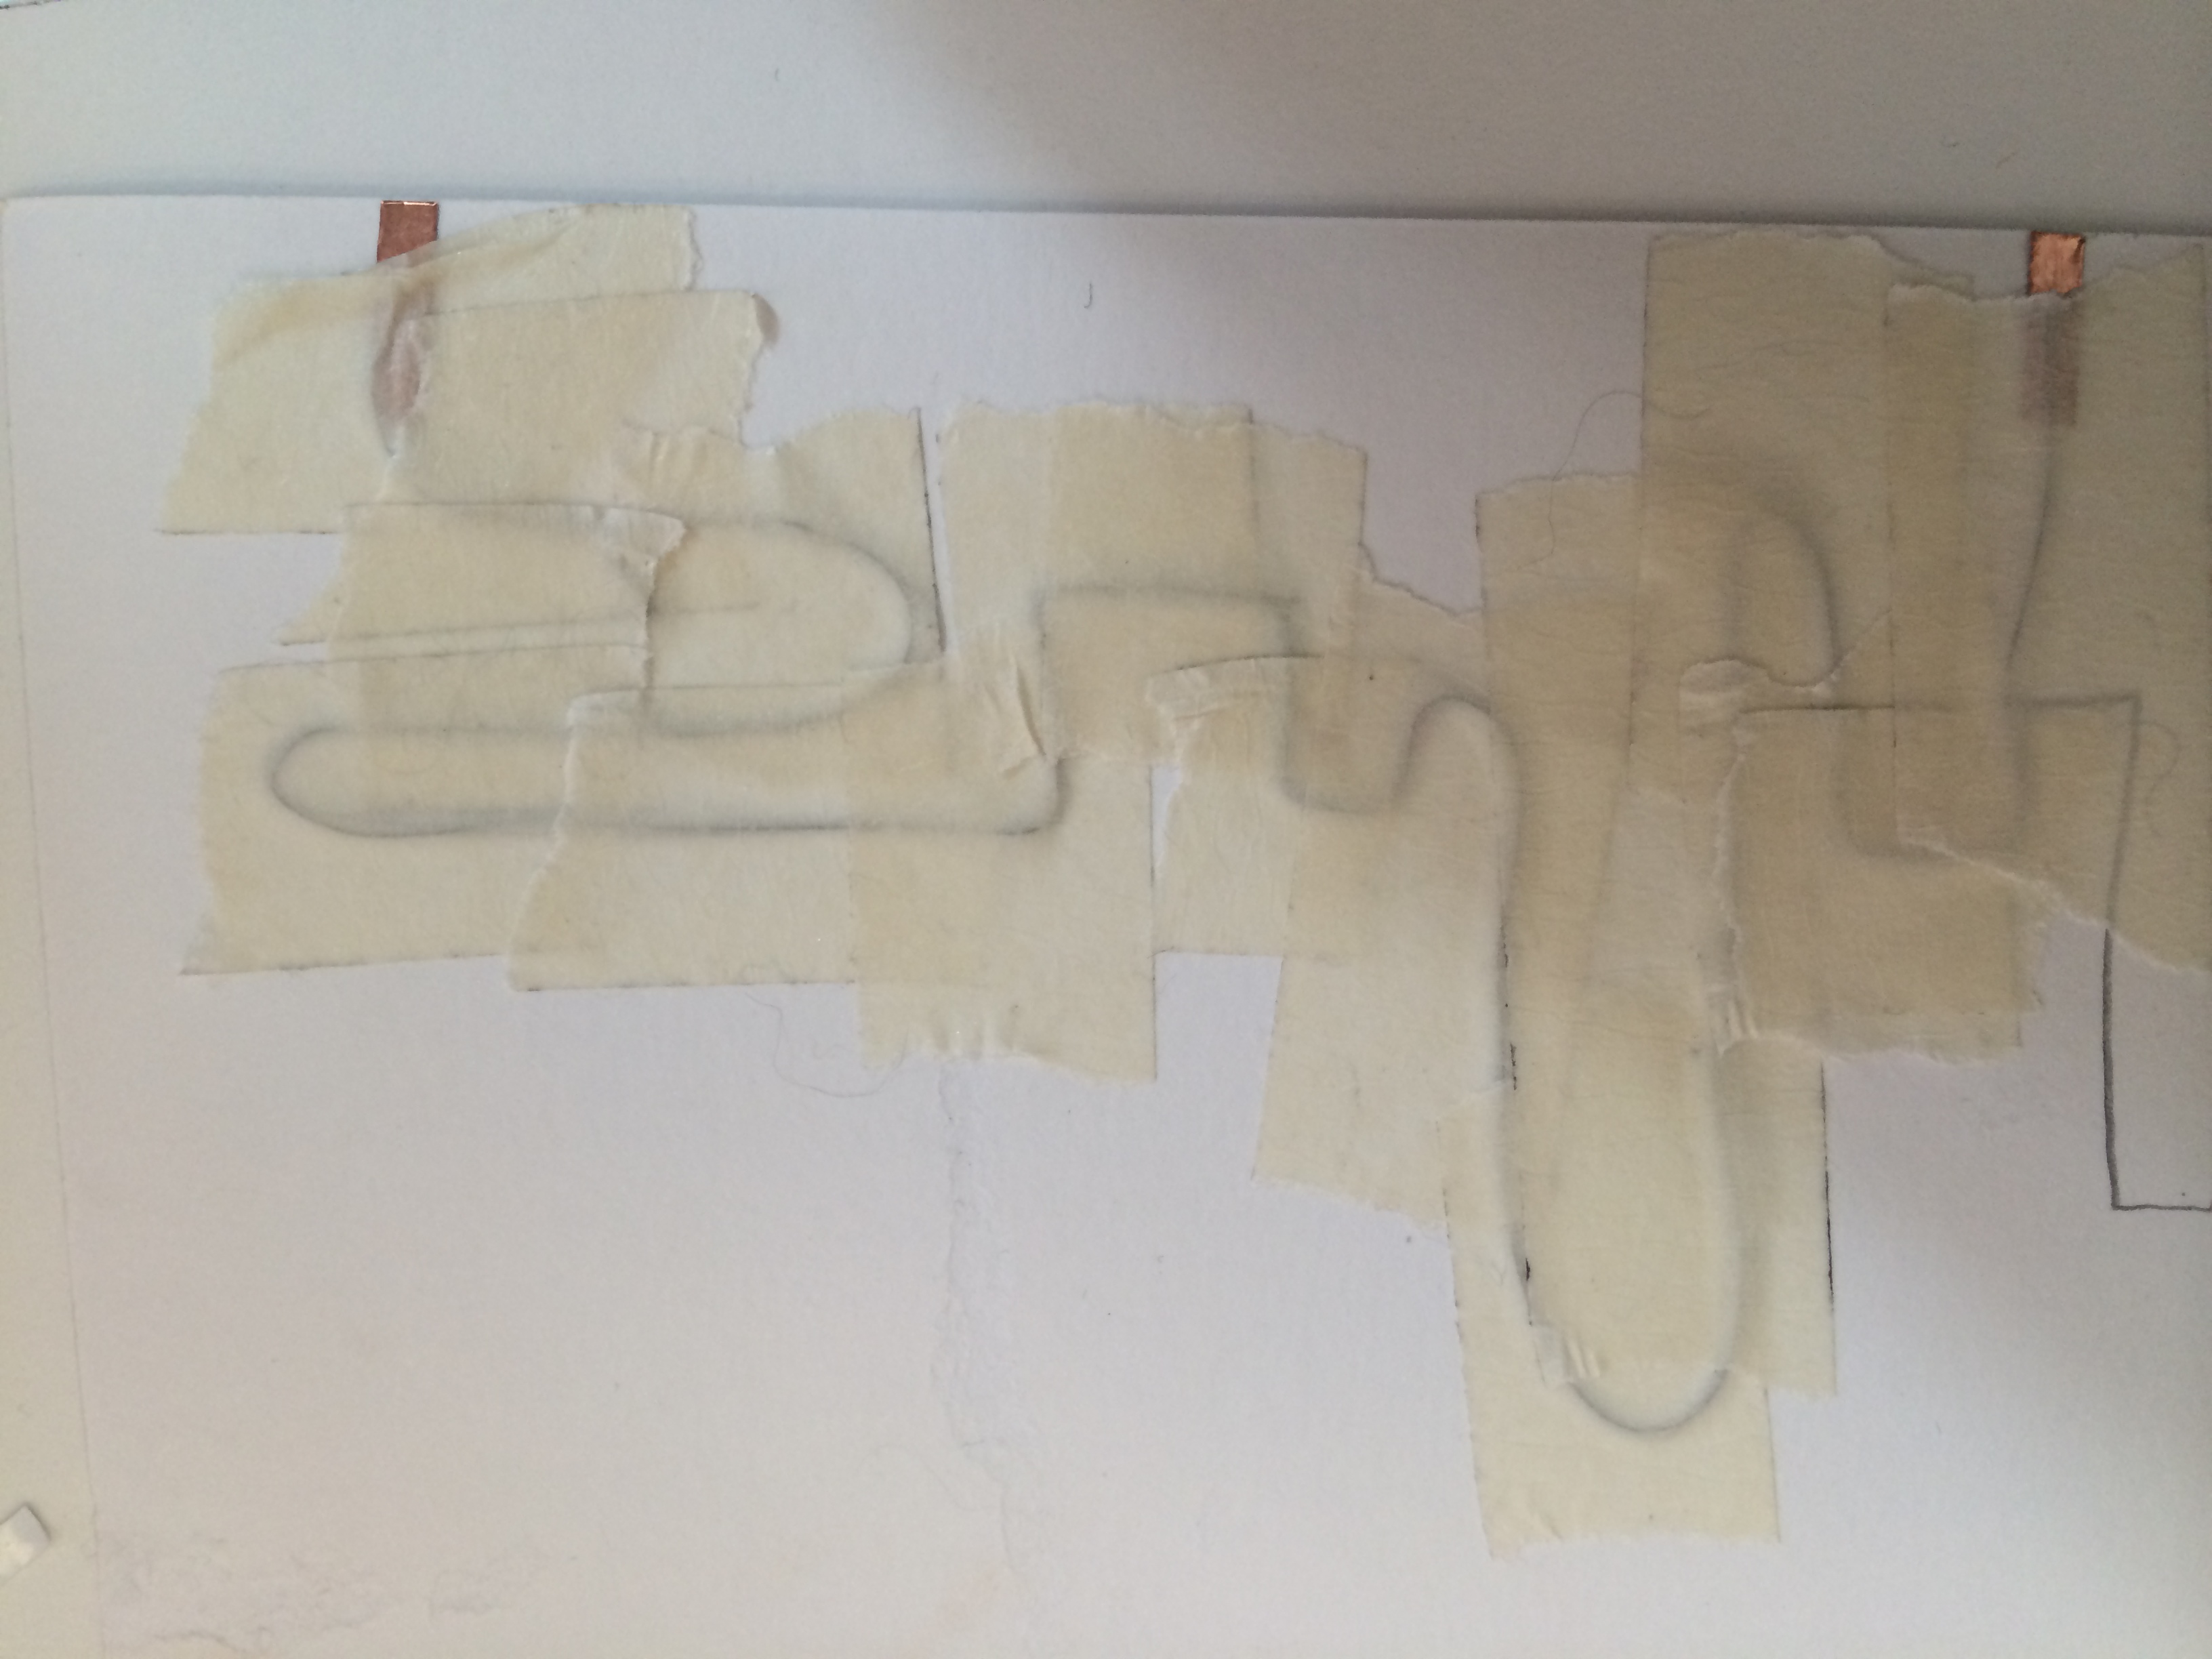
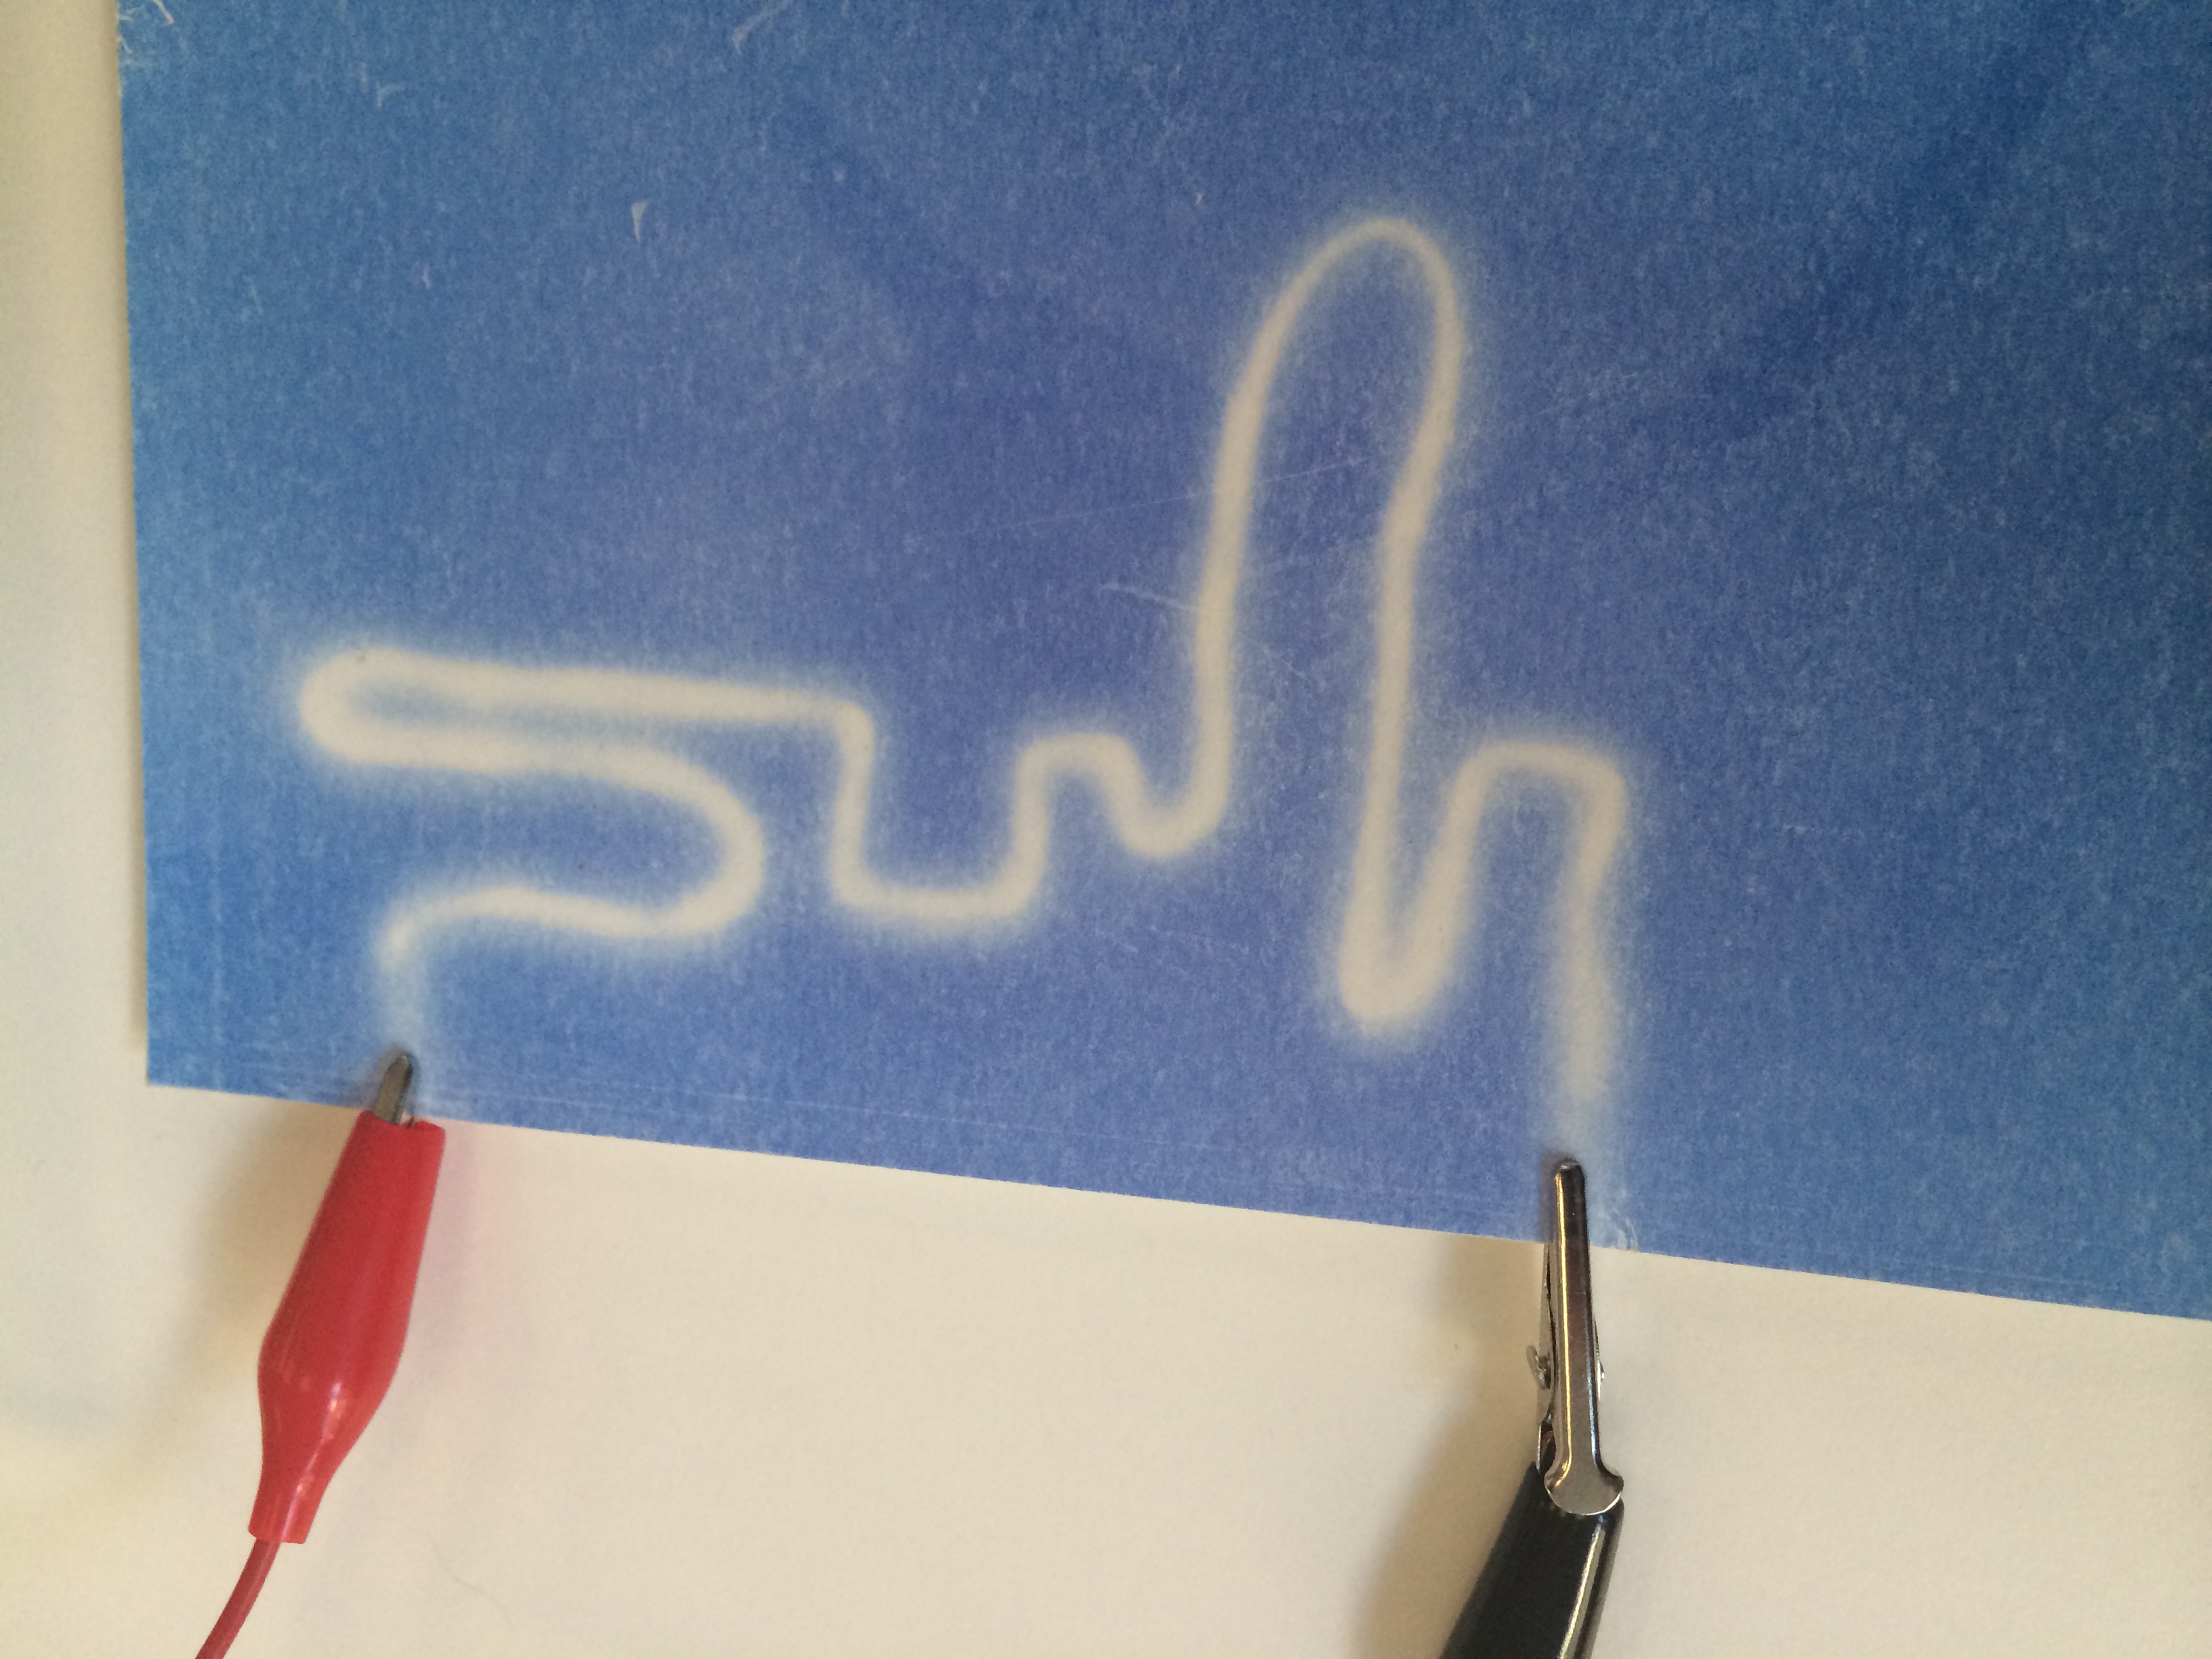
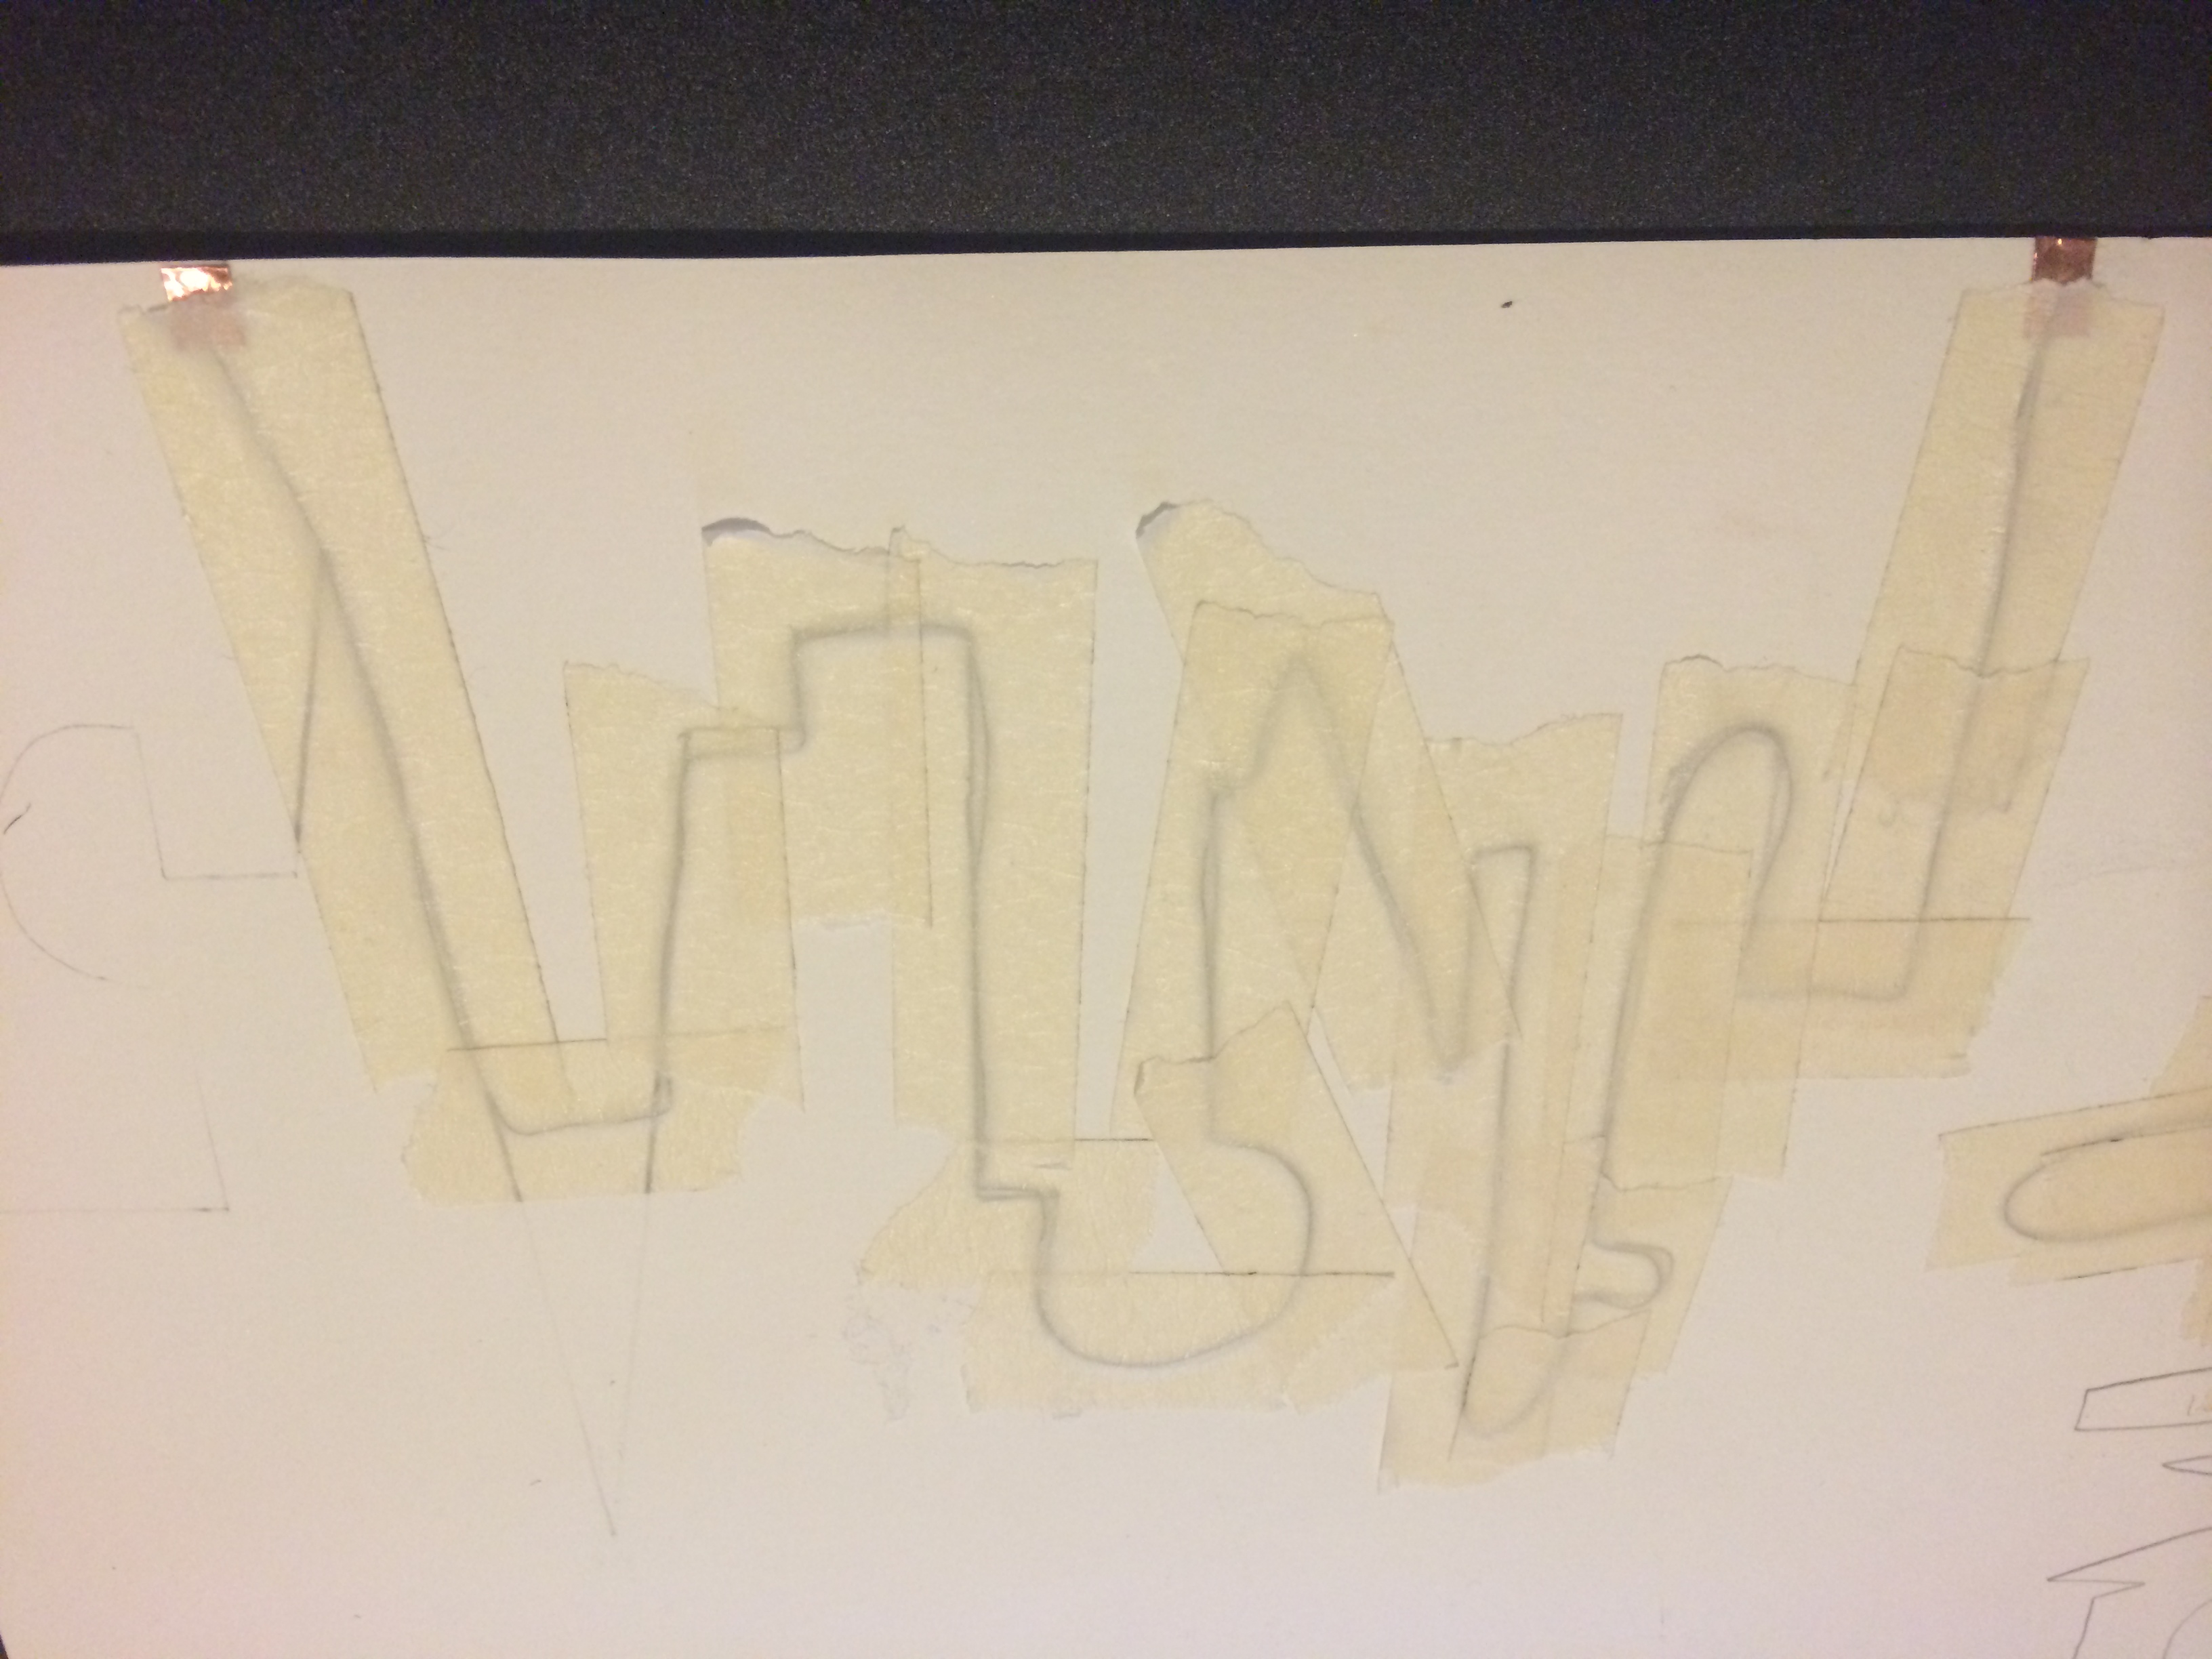
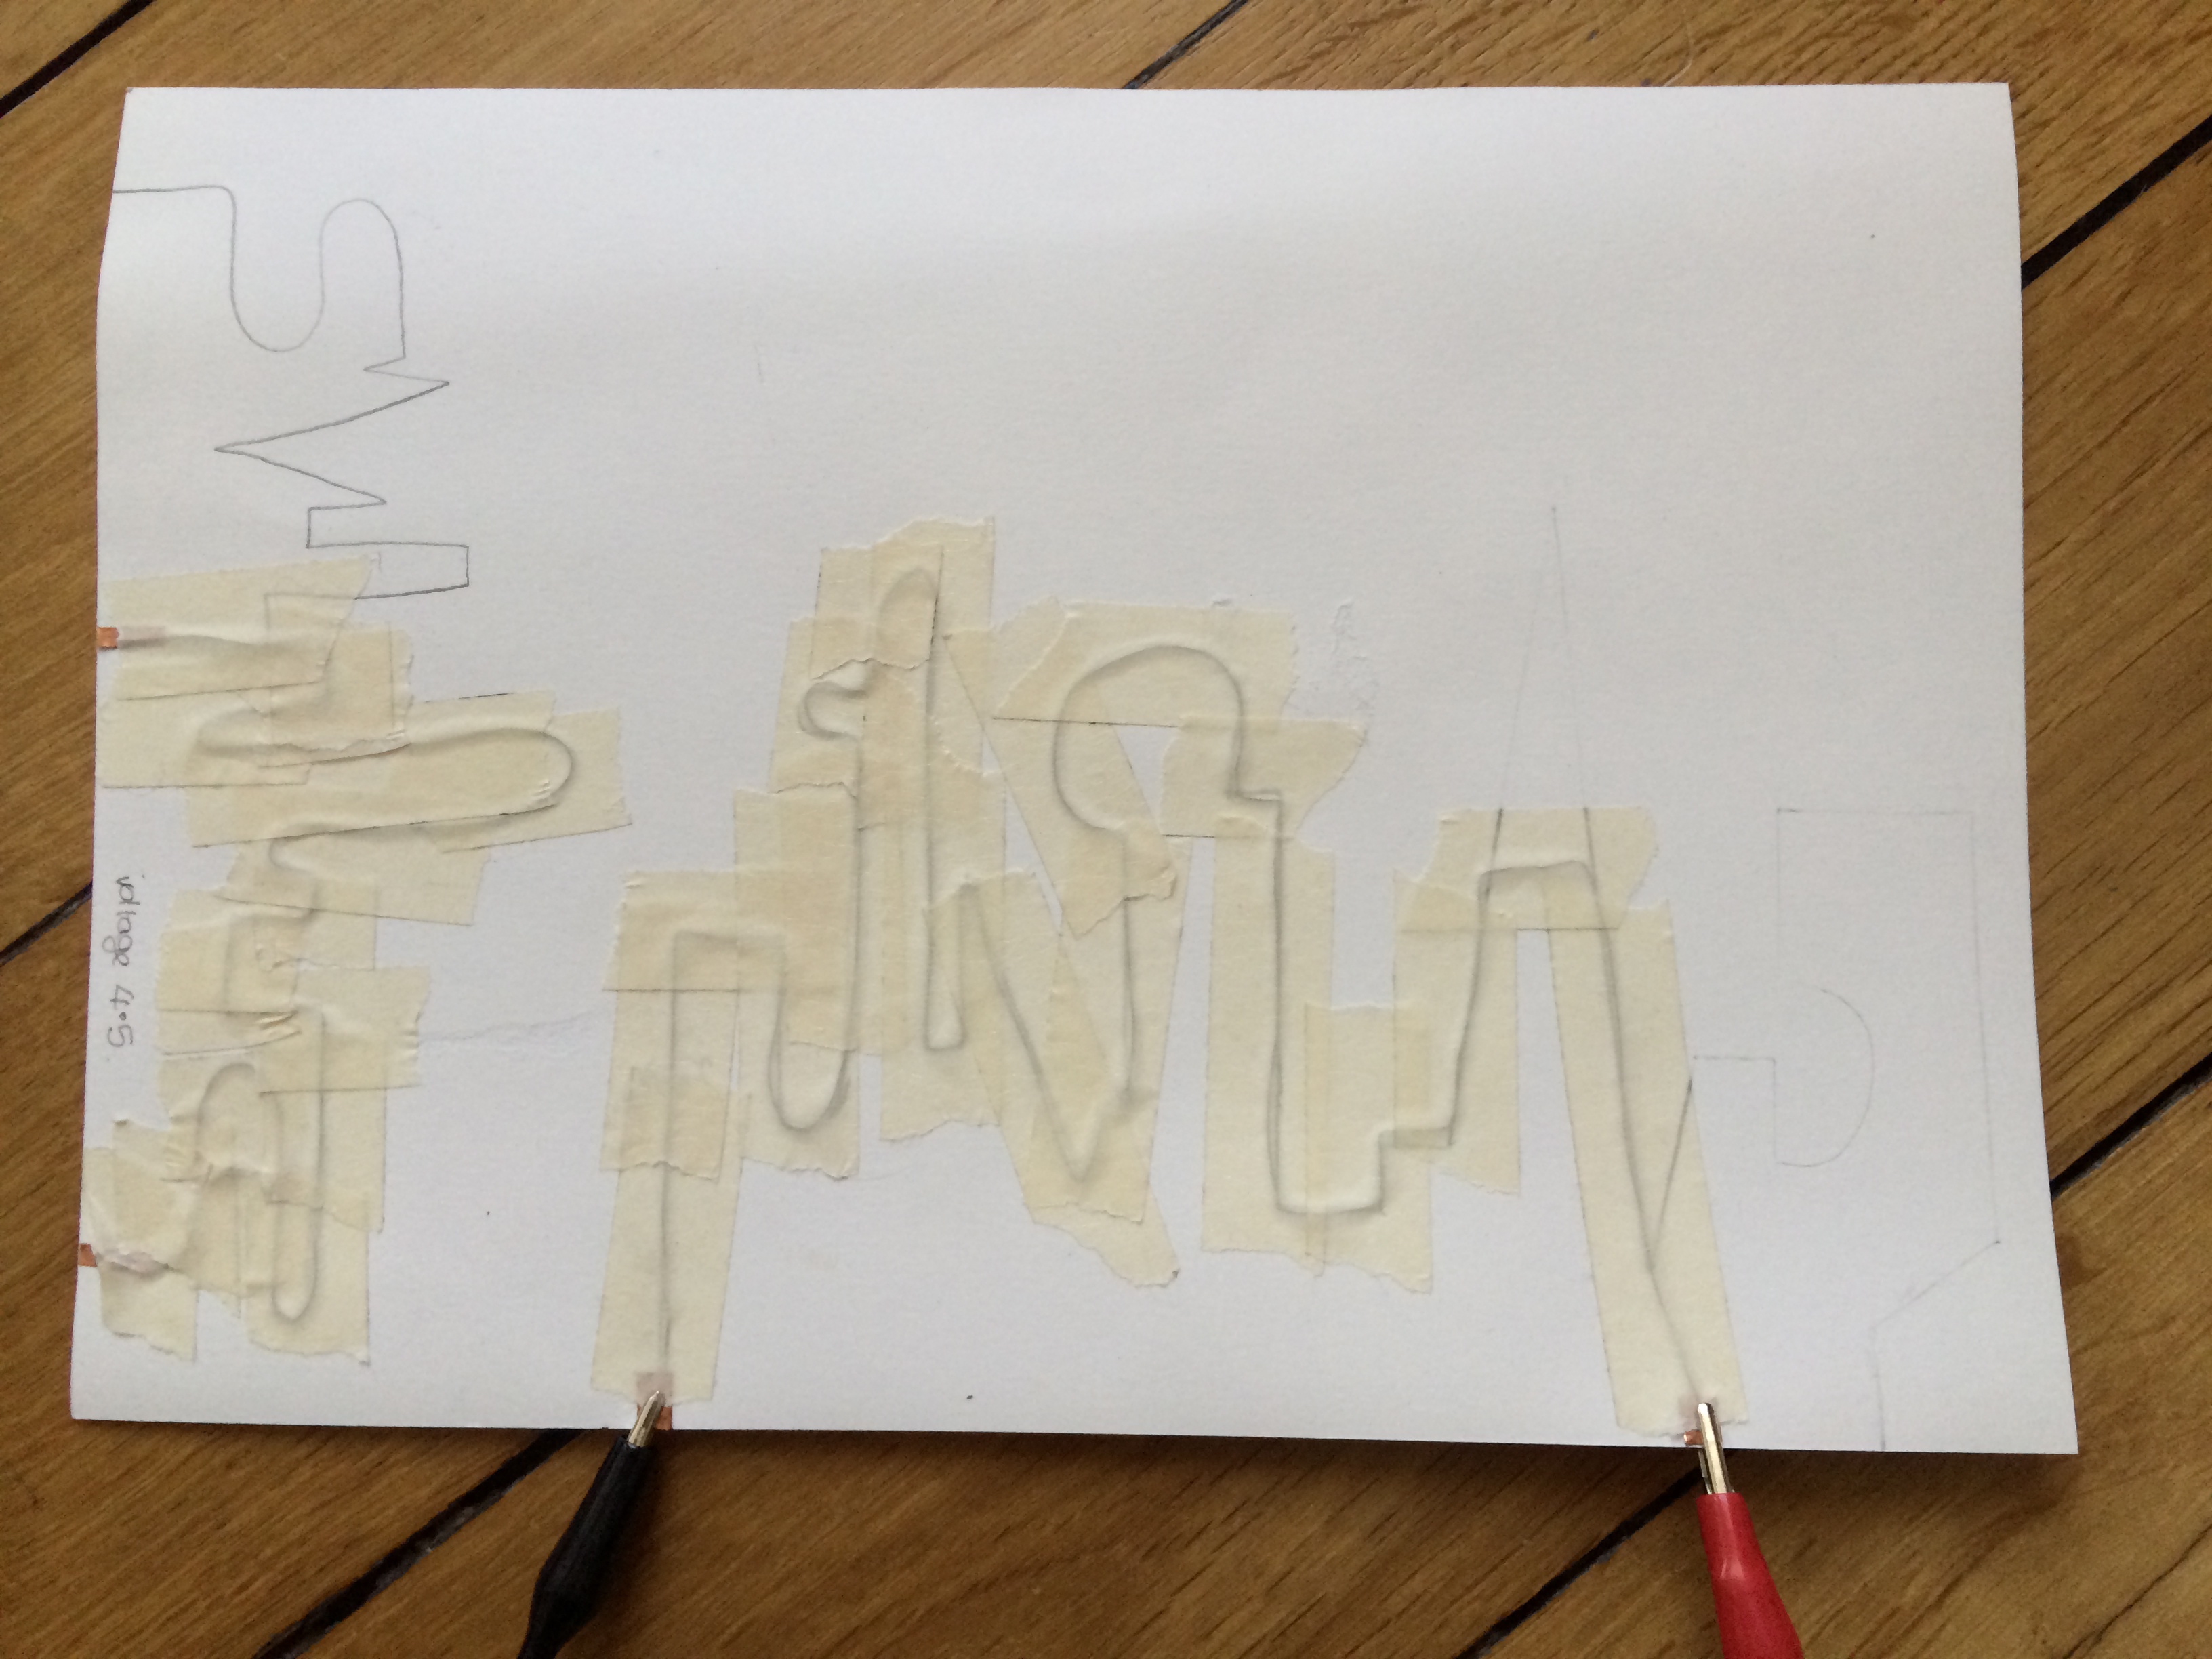
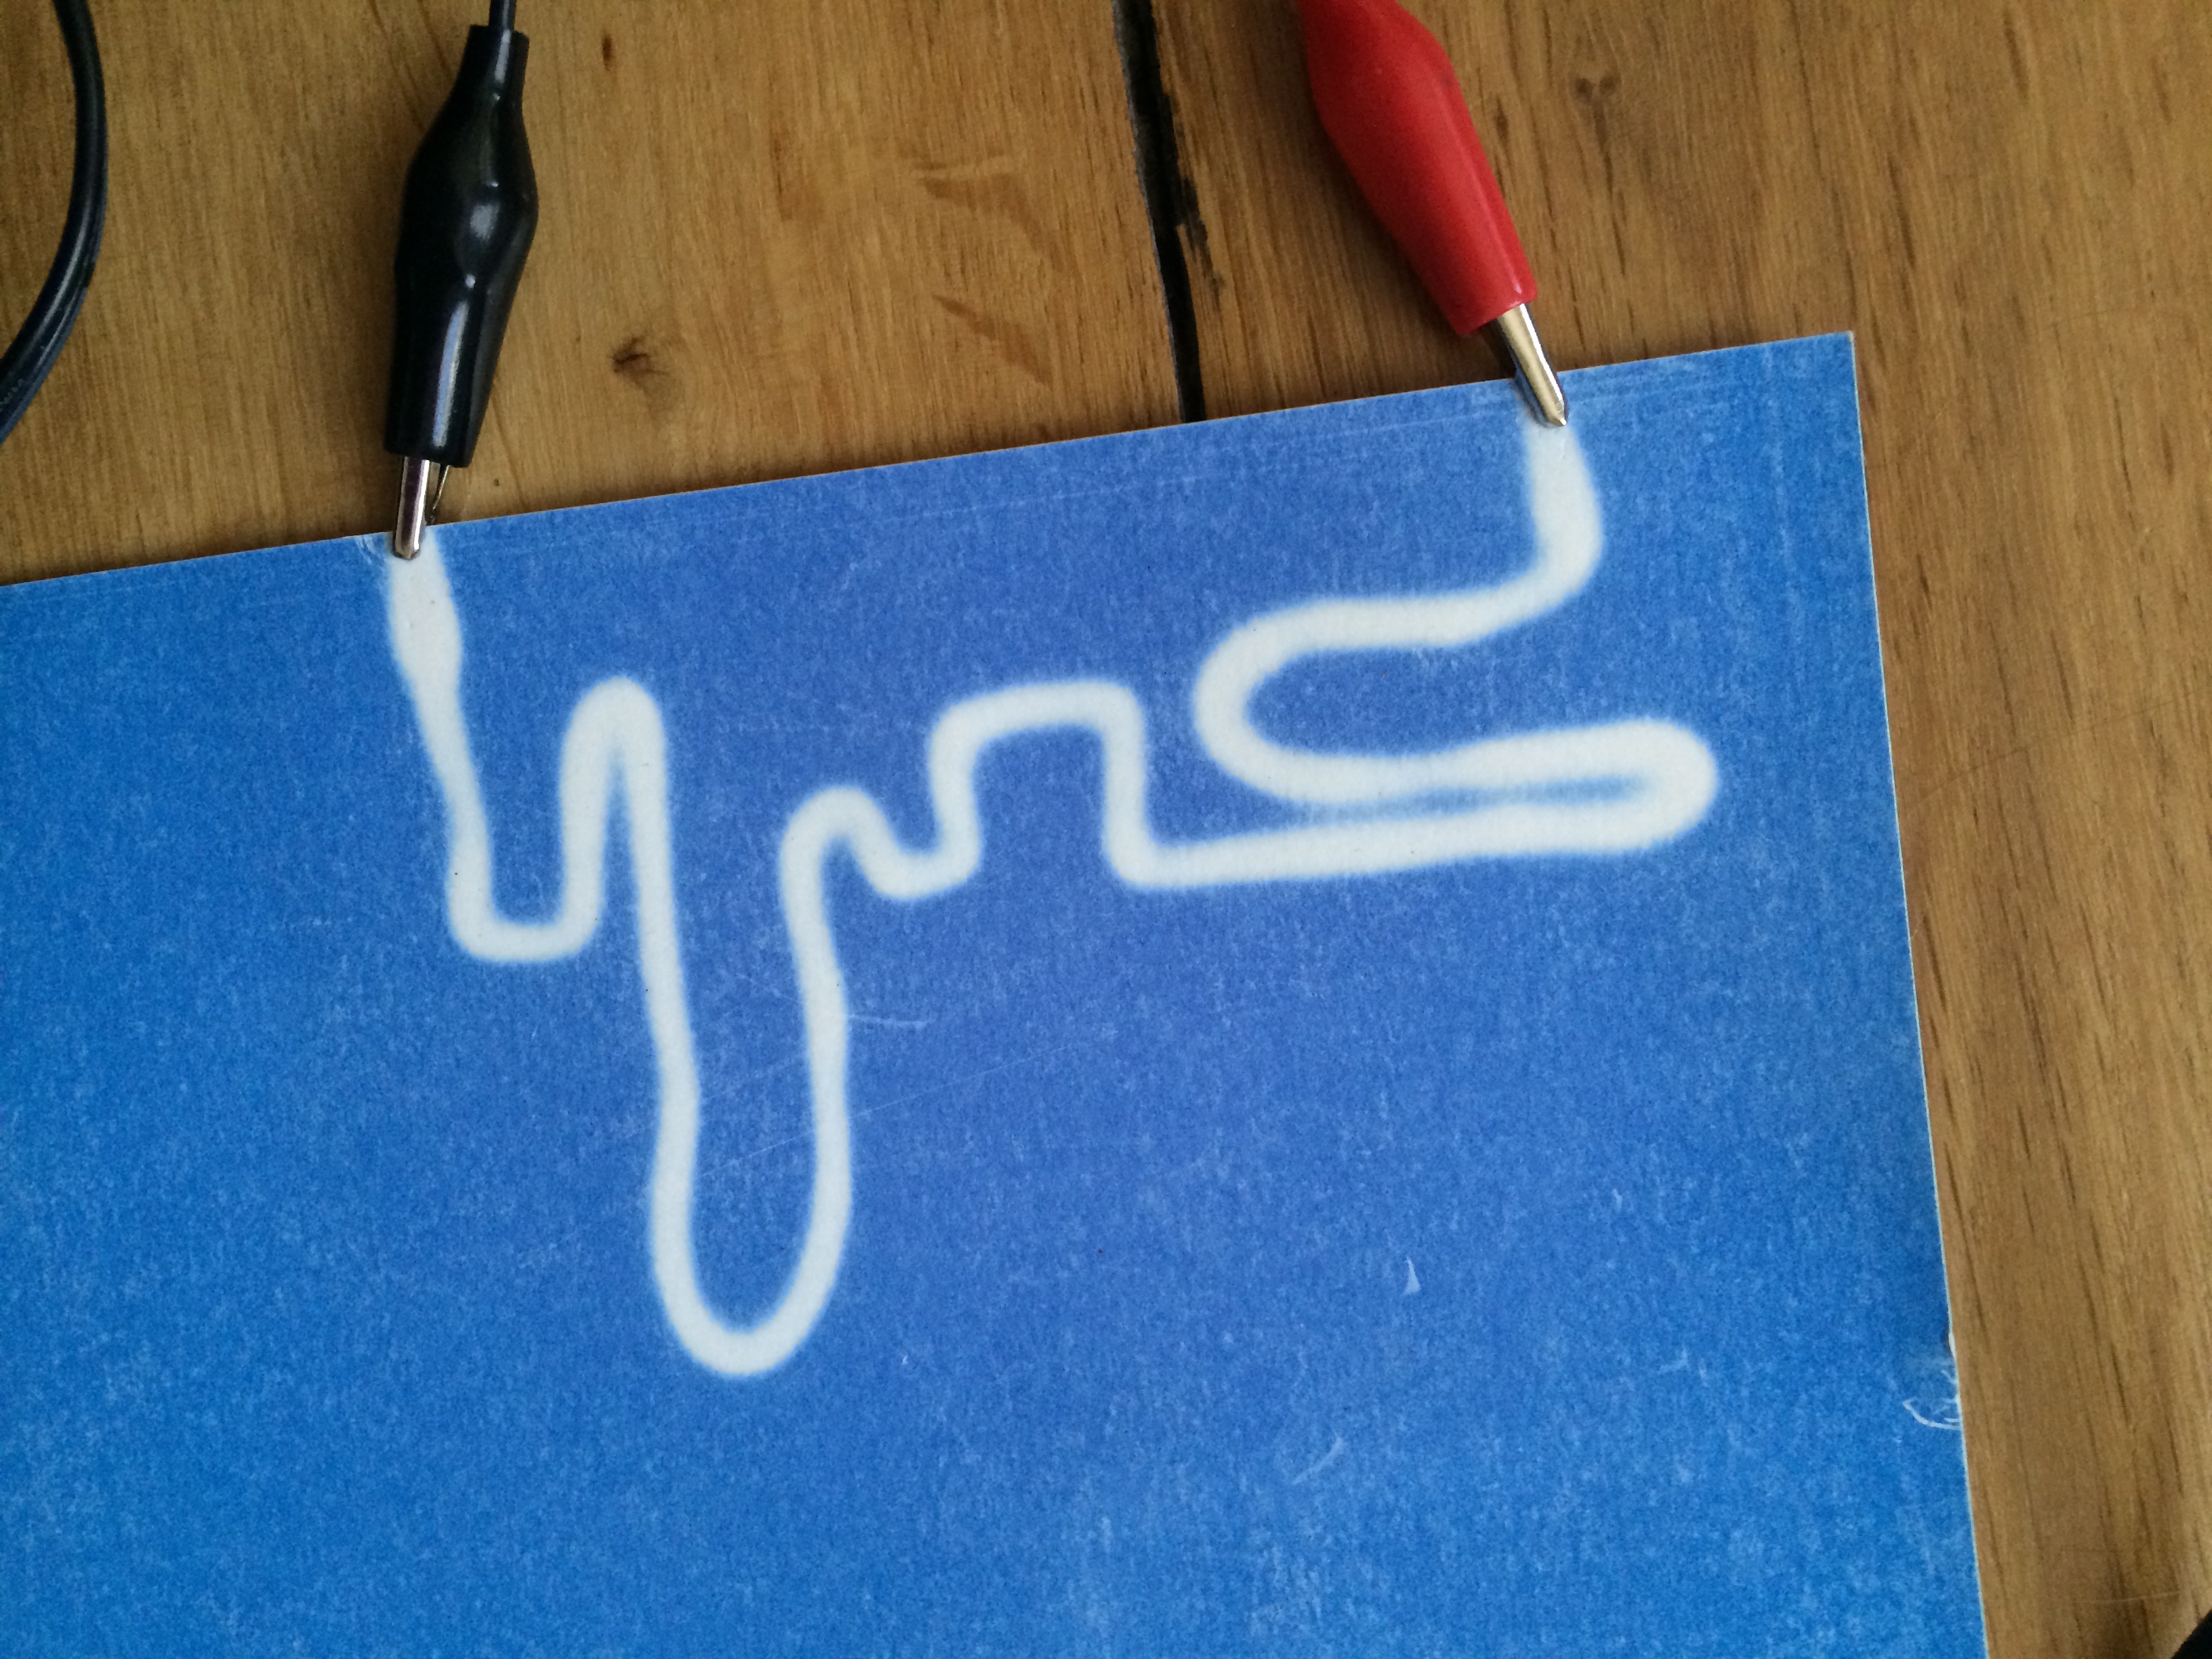
Now you should have all your design covered in wire with copper tape at each end and masking tape covering the whole design, you can now test with electricity to see if the pattern appears on the other side. To do this you attach the crocodile clips to the copper tape, make sure the voltage is is at it lowest to begin, 3 volts, so that you don’t burn the design, if you can’t see the design appear you can slowly turn the voltage up. Here I used 4. 5 volts.
Step 4 : Playing with voltage
Repeat all the steps above but enlarge the original pattern to see how much more voltage it would take to make the thermochromic react.
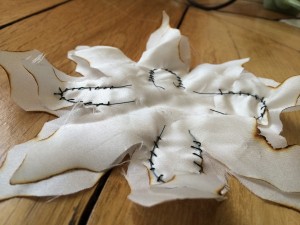
Experimenting with Nitinol
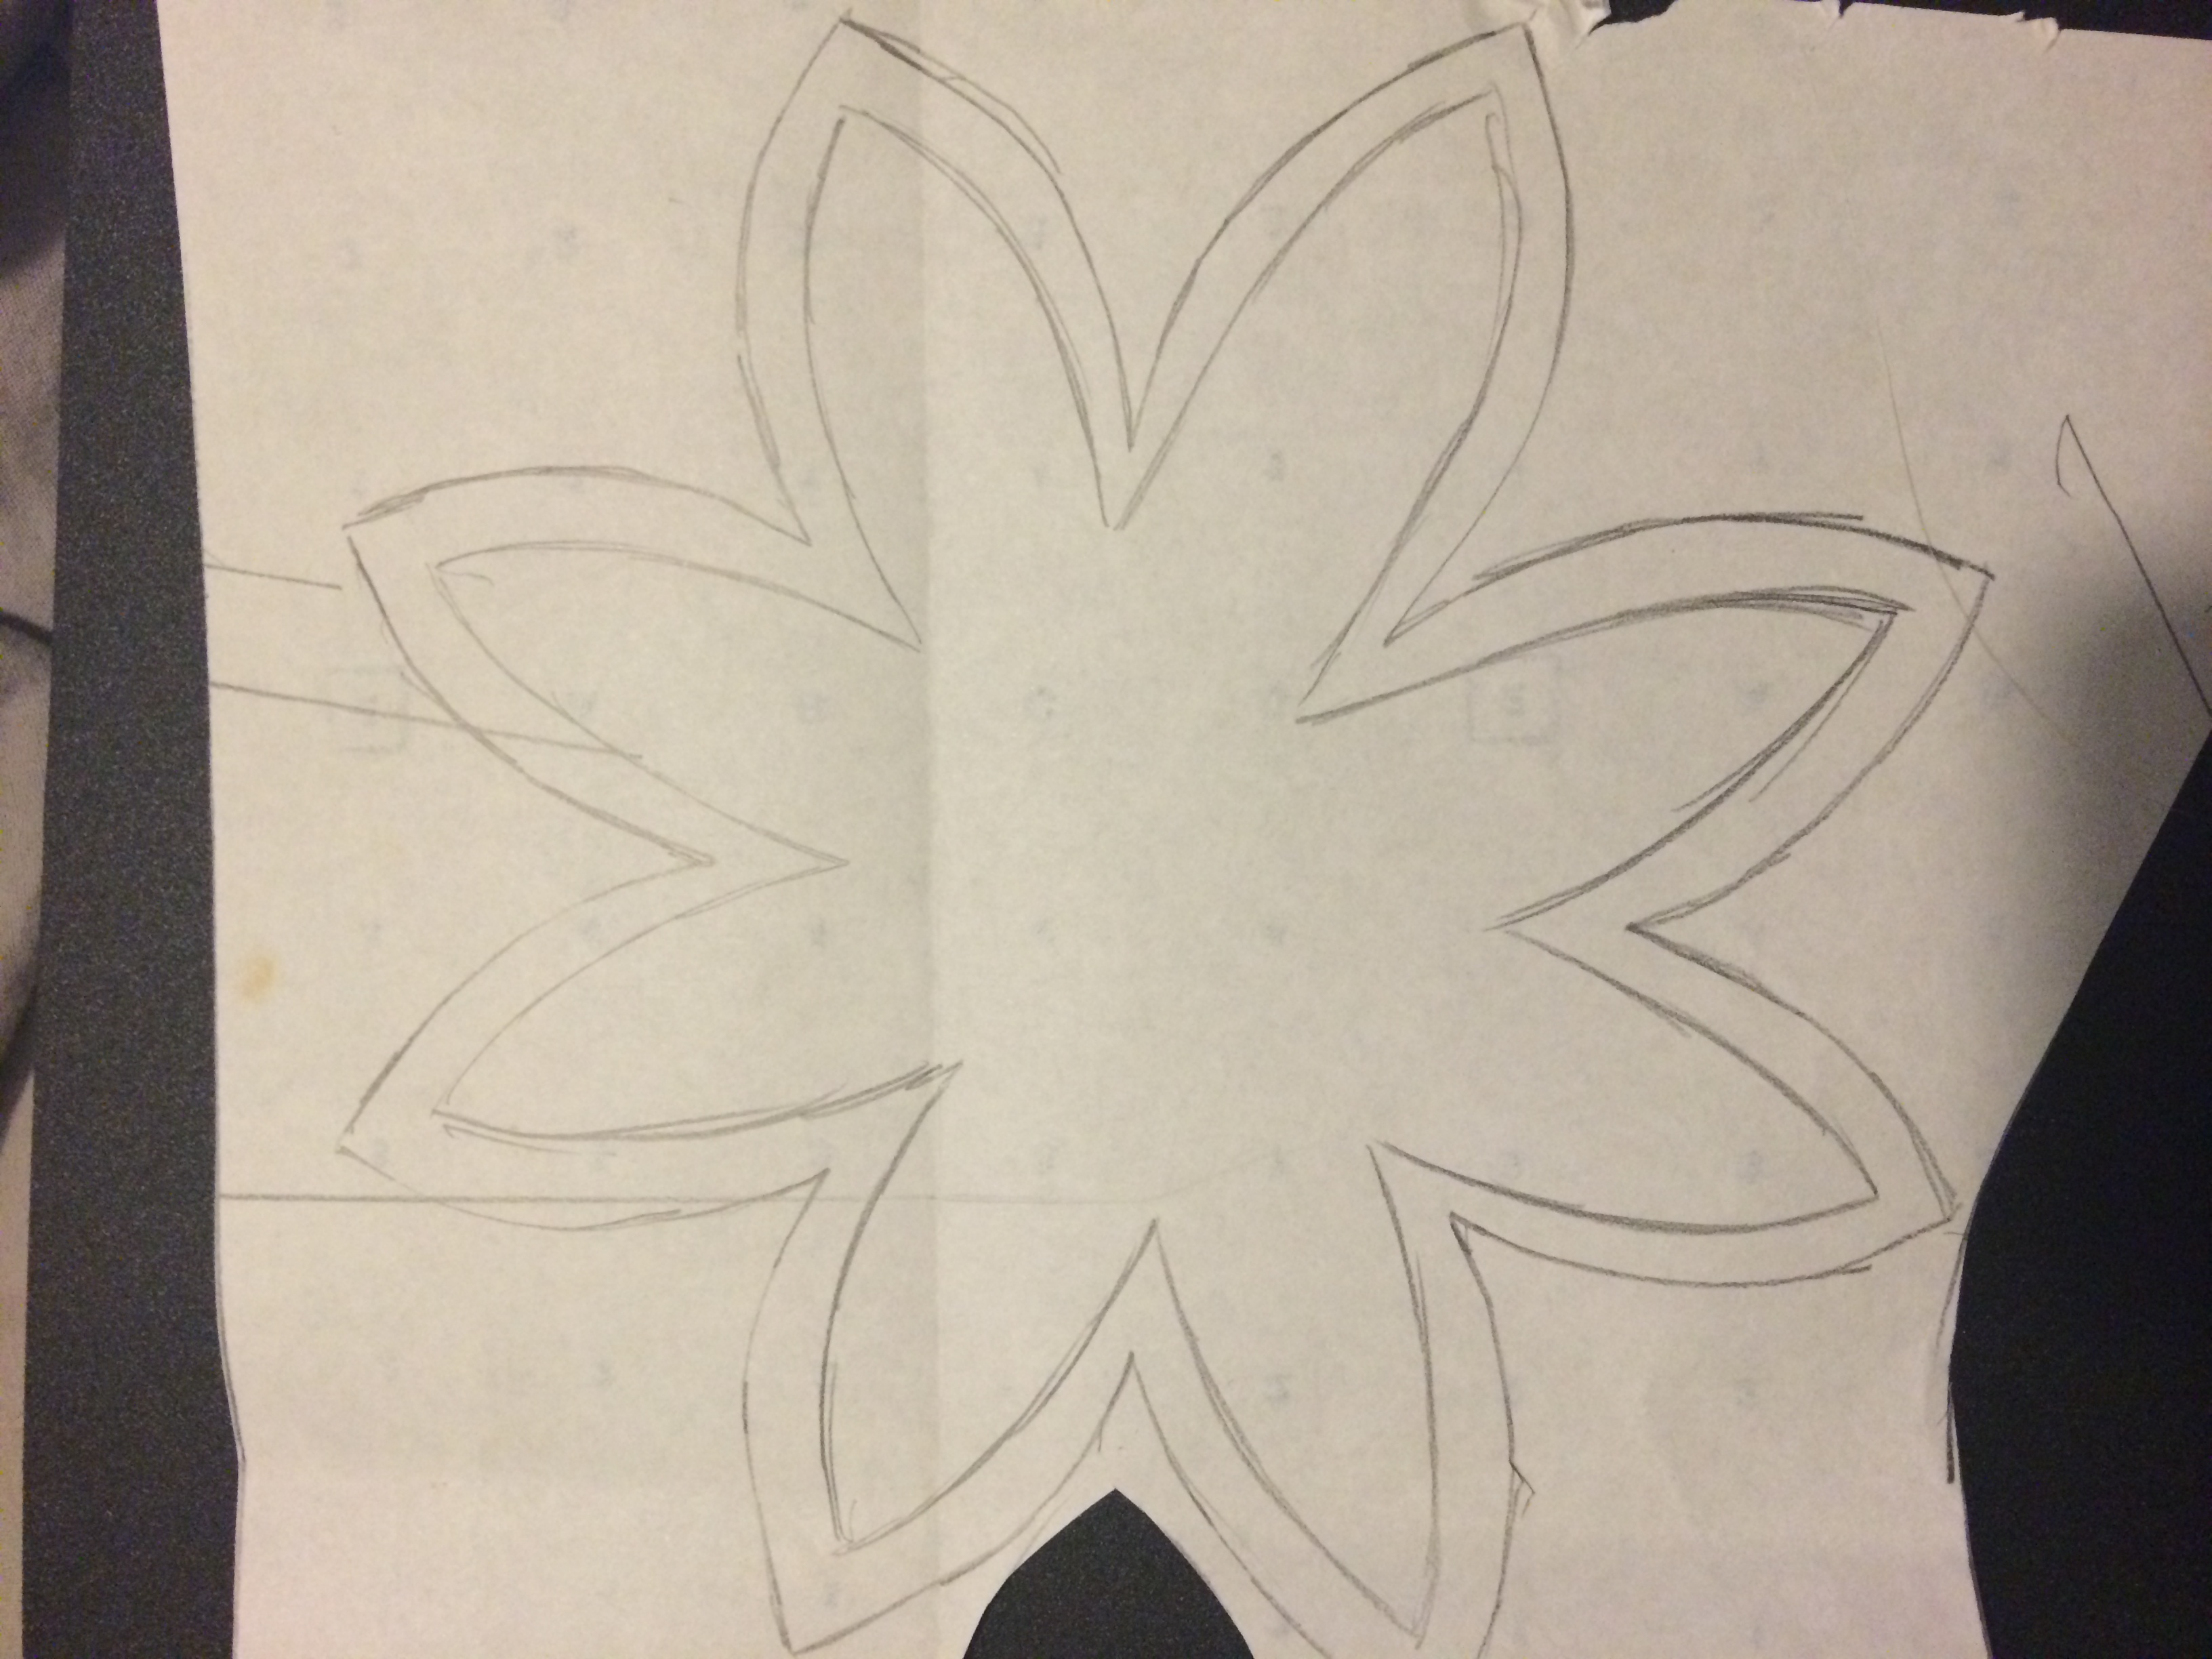
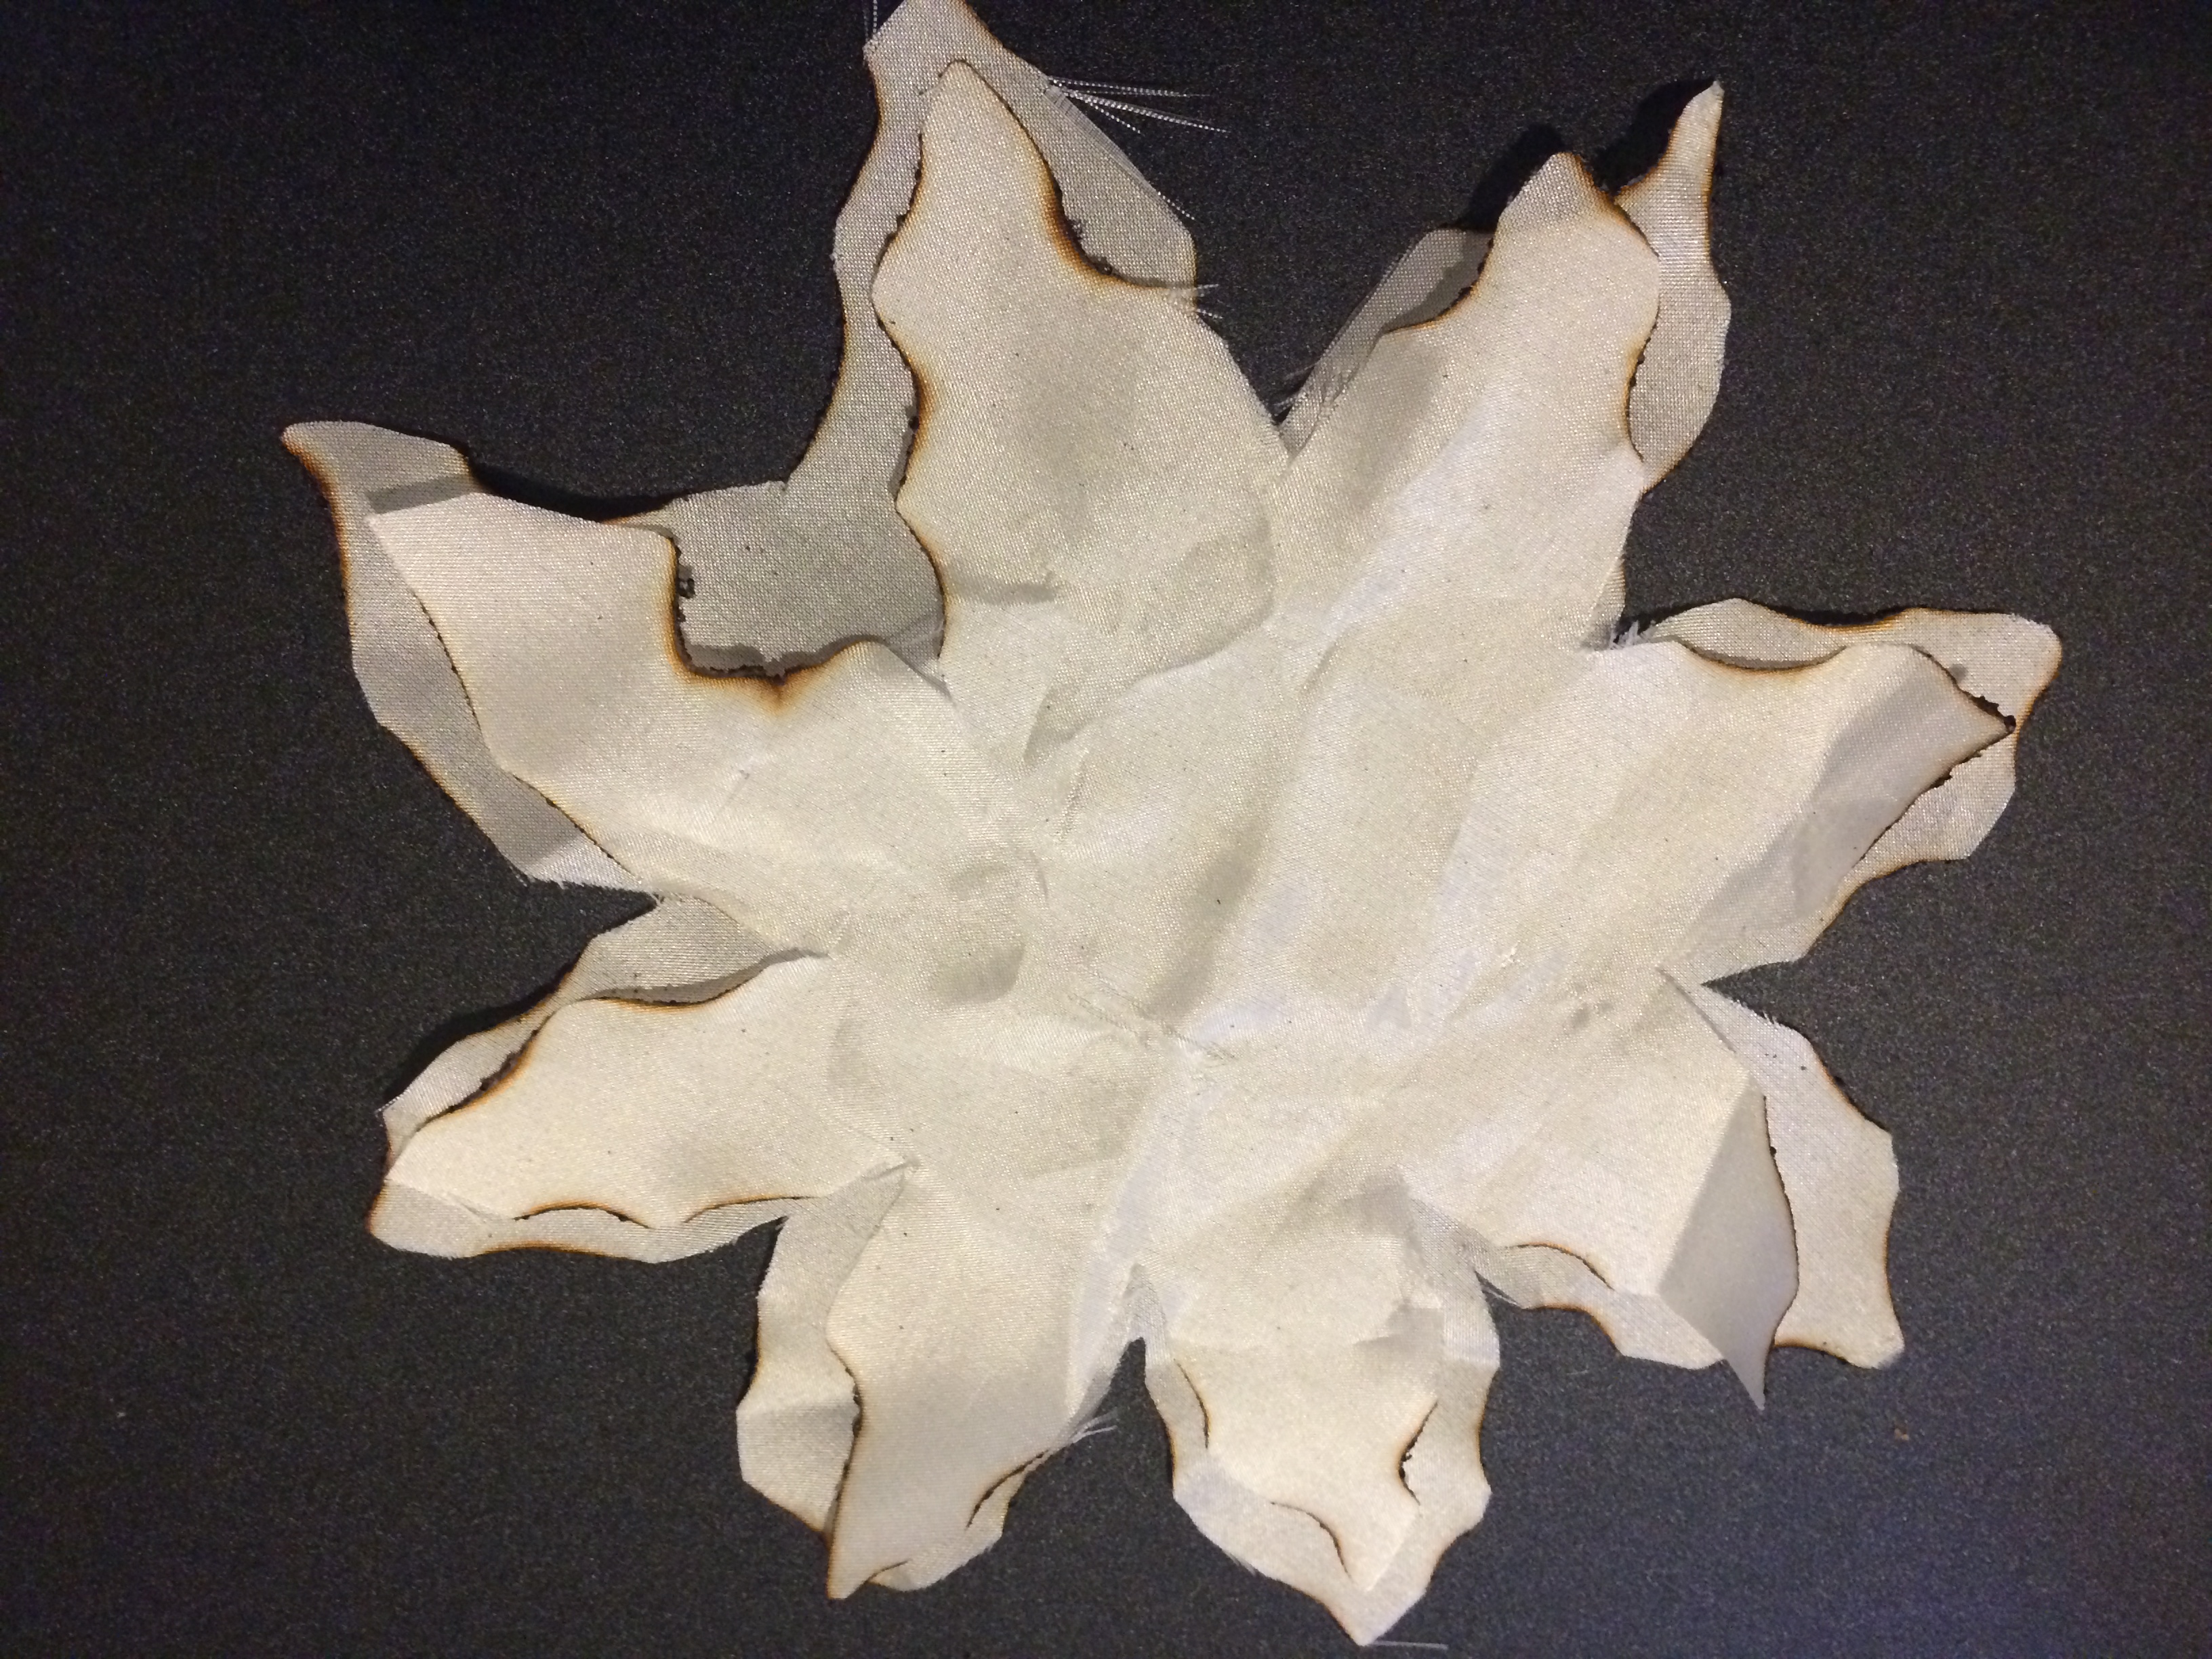
In this experimentation I made spooky halloween flowers that petals curl up “mysteriously” except for it isn’t so mysteriously – it is the nitinol that makes the petals move.
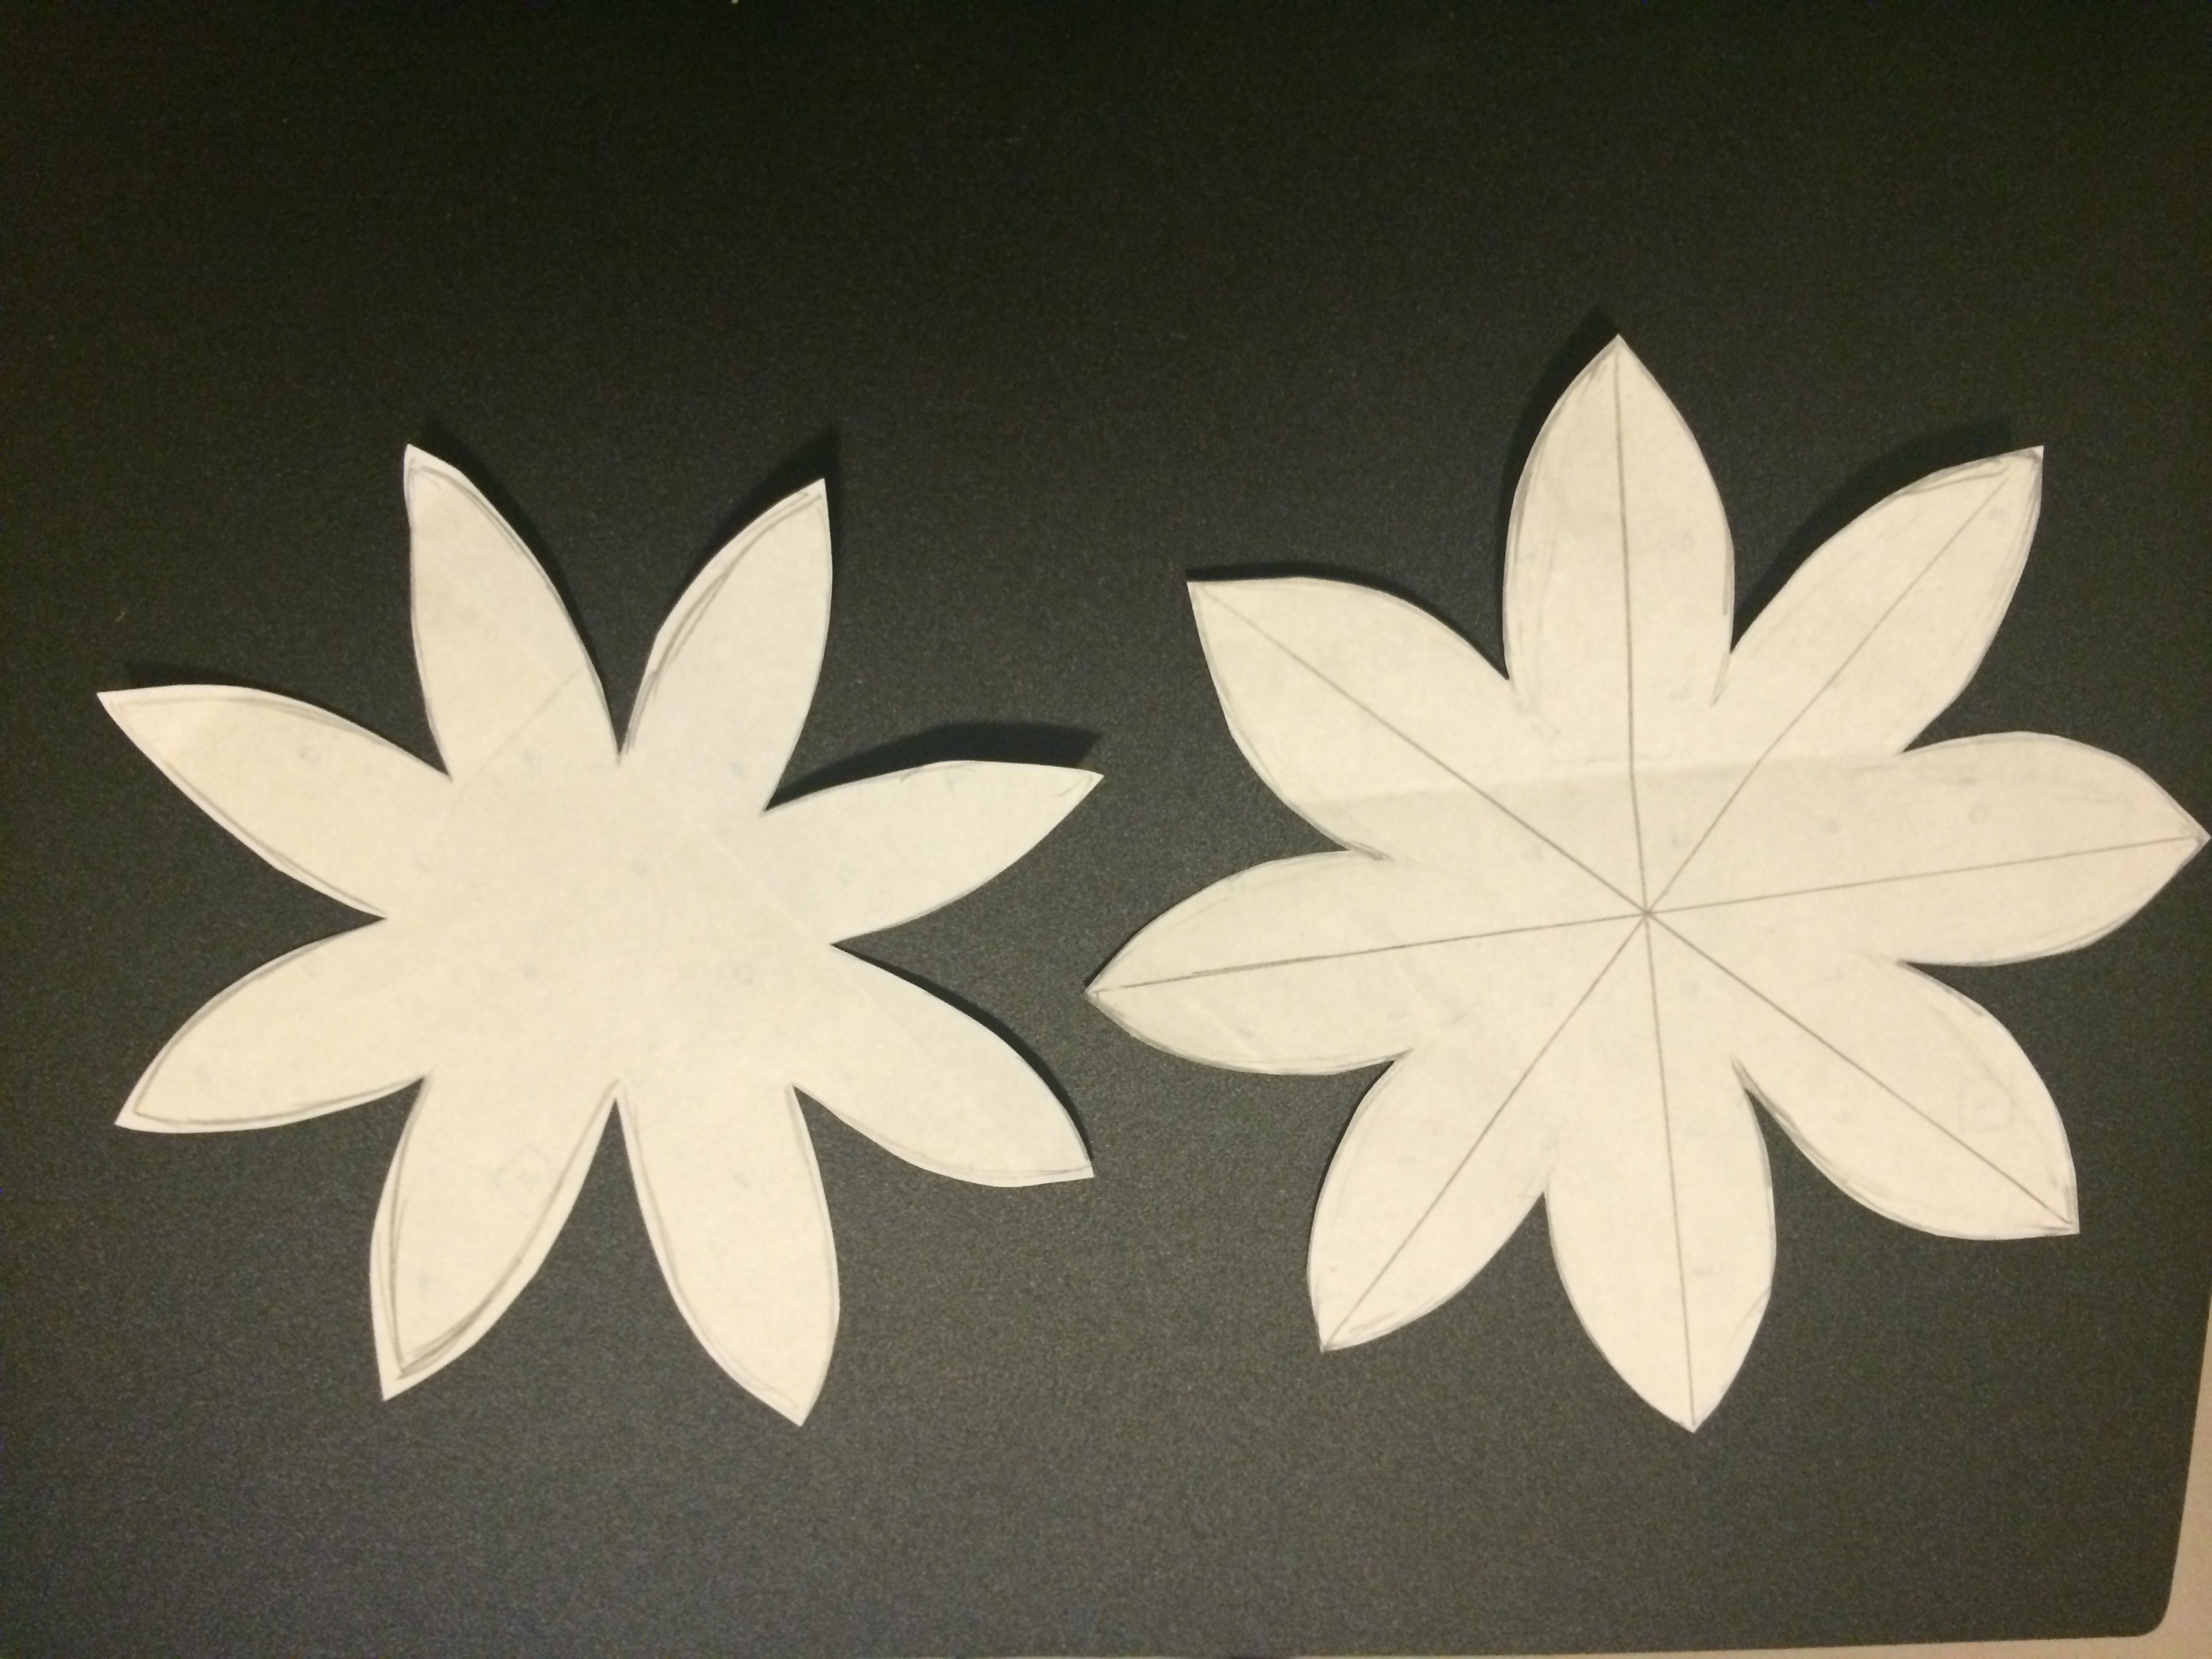
Firstly draw out two different sized flowers on paper and cut it out.

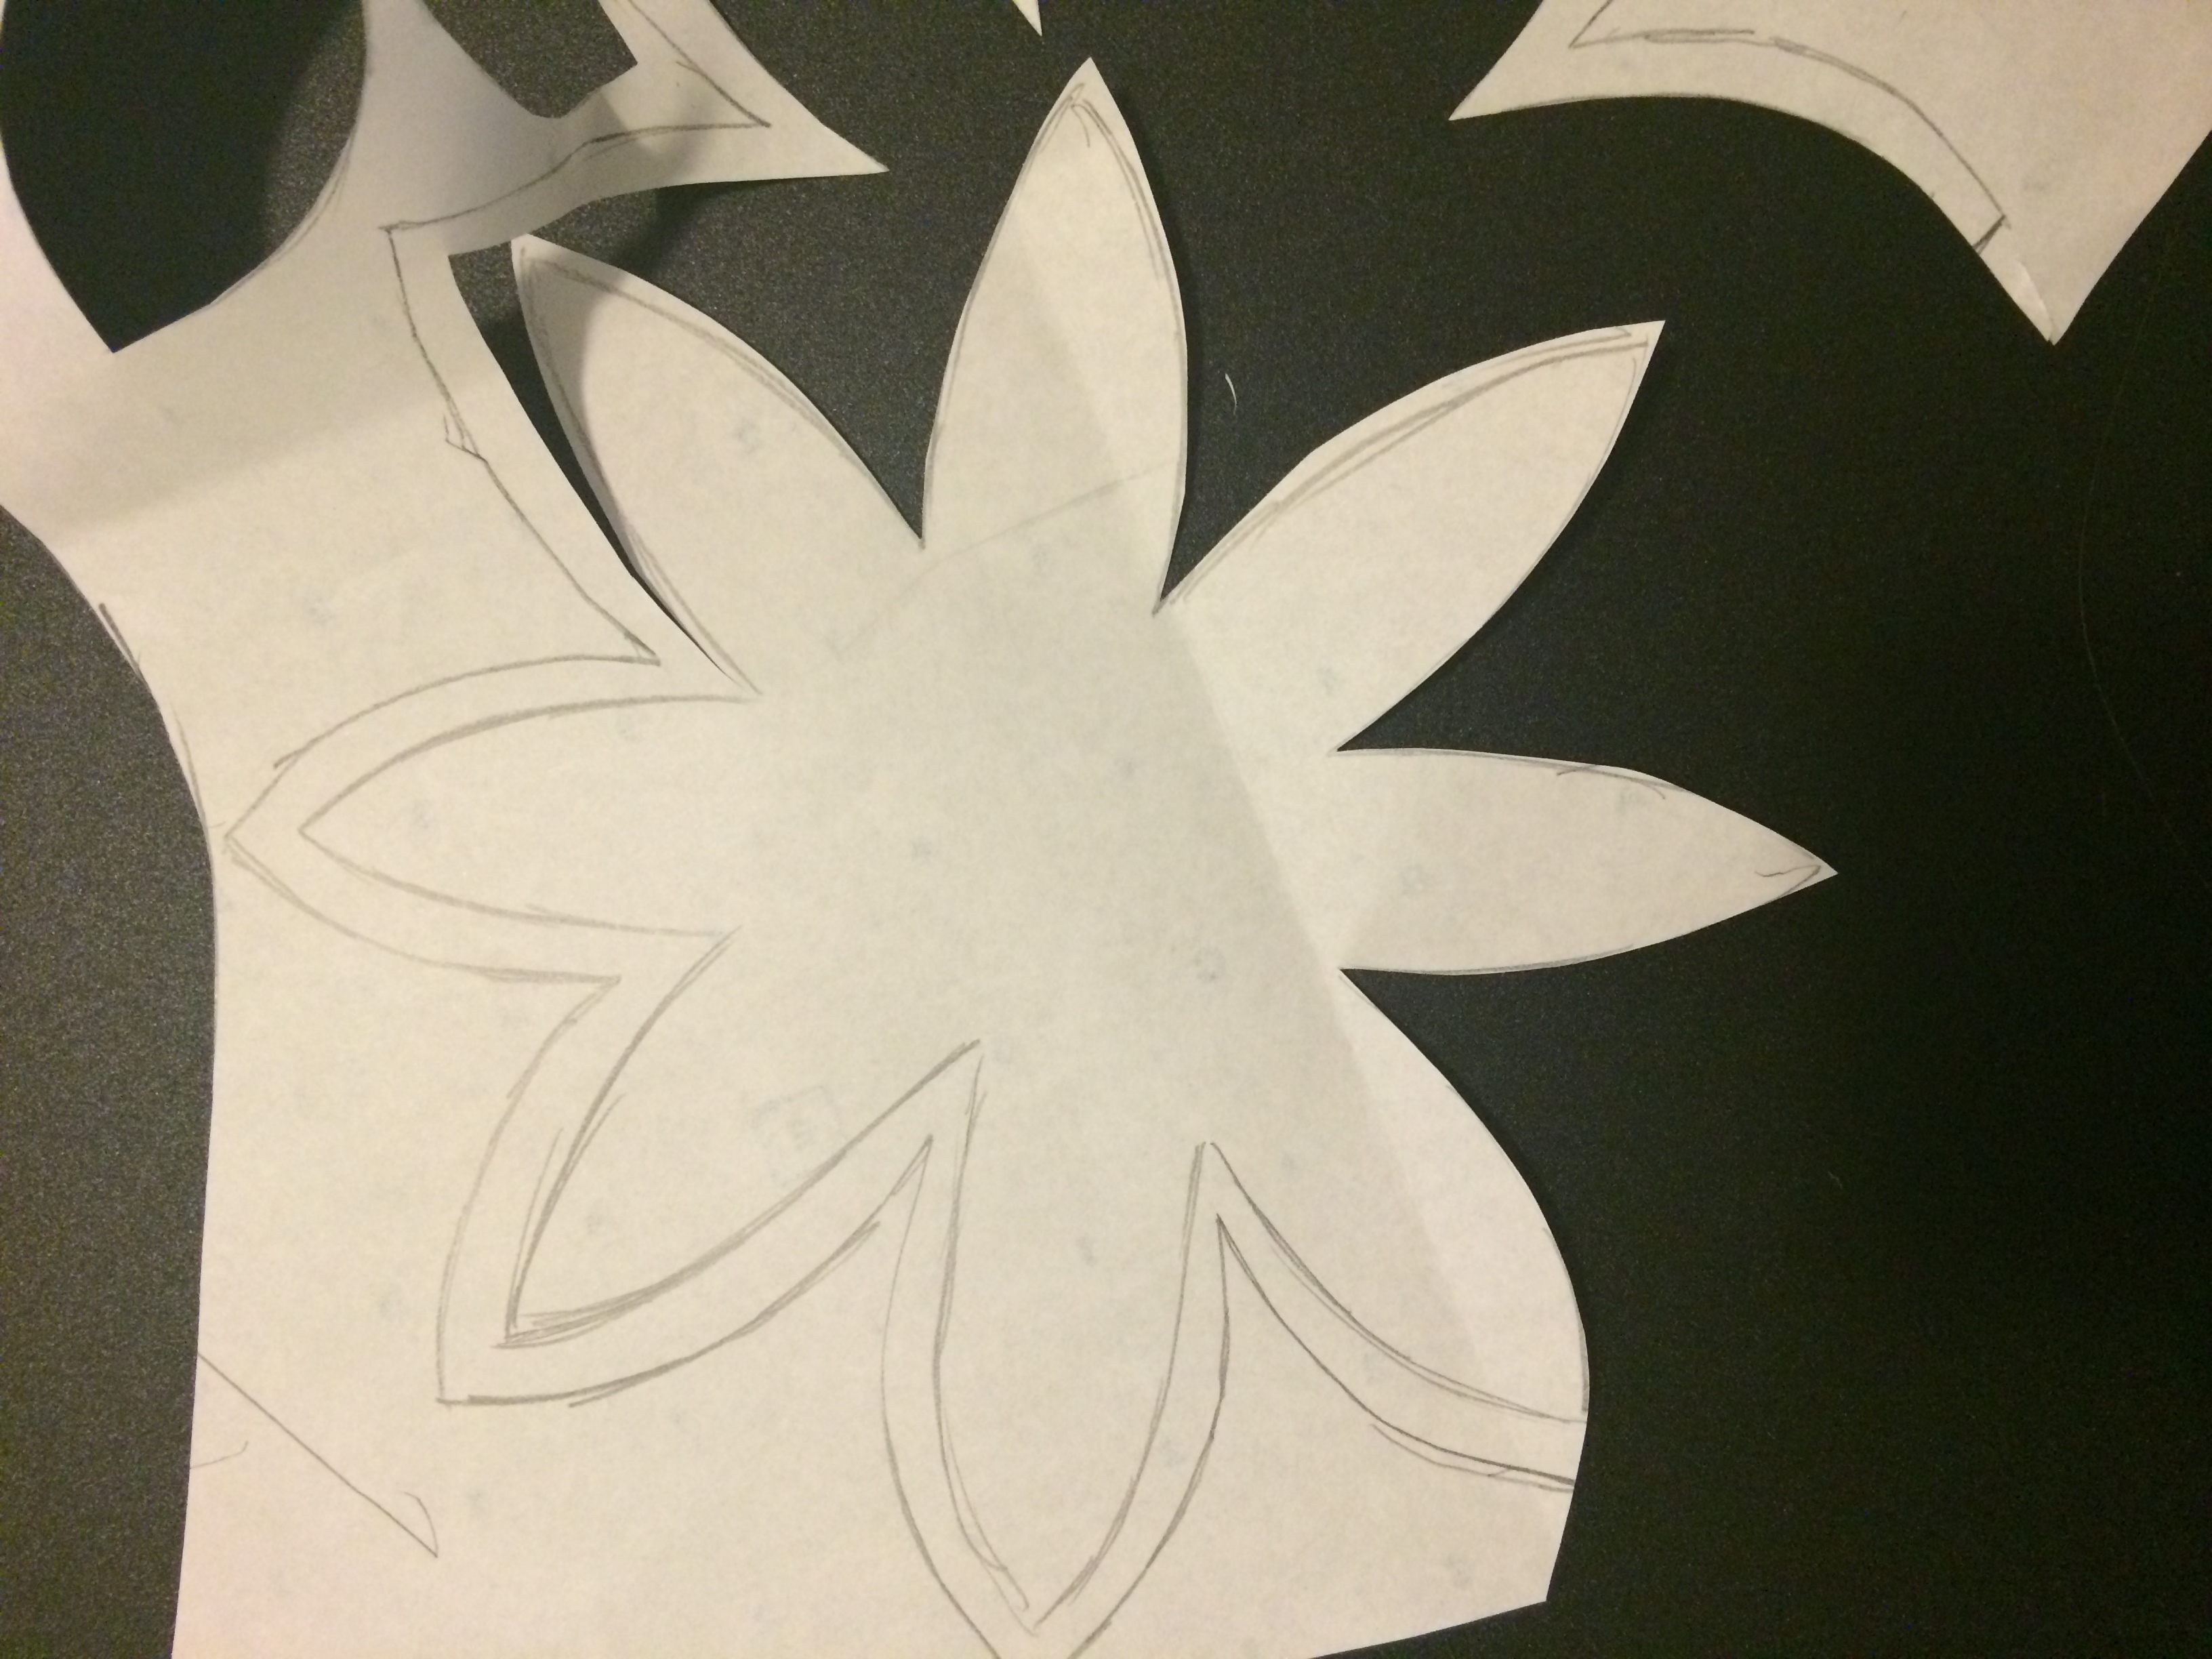
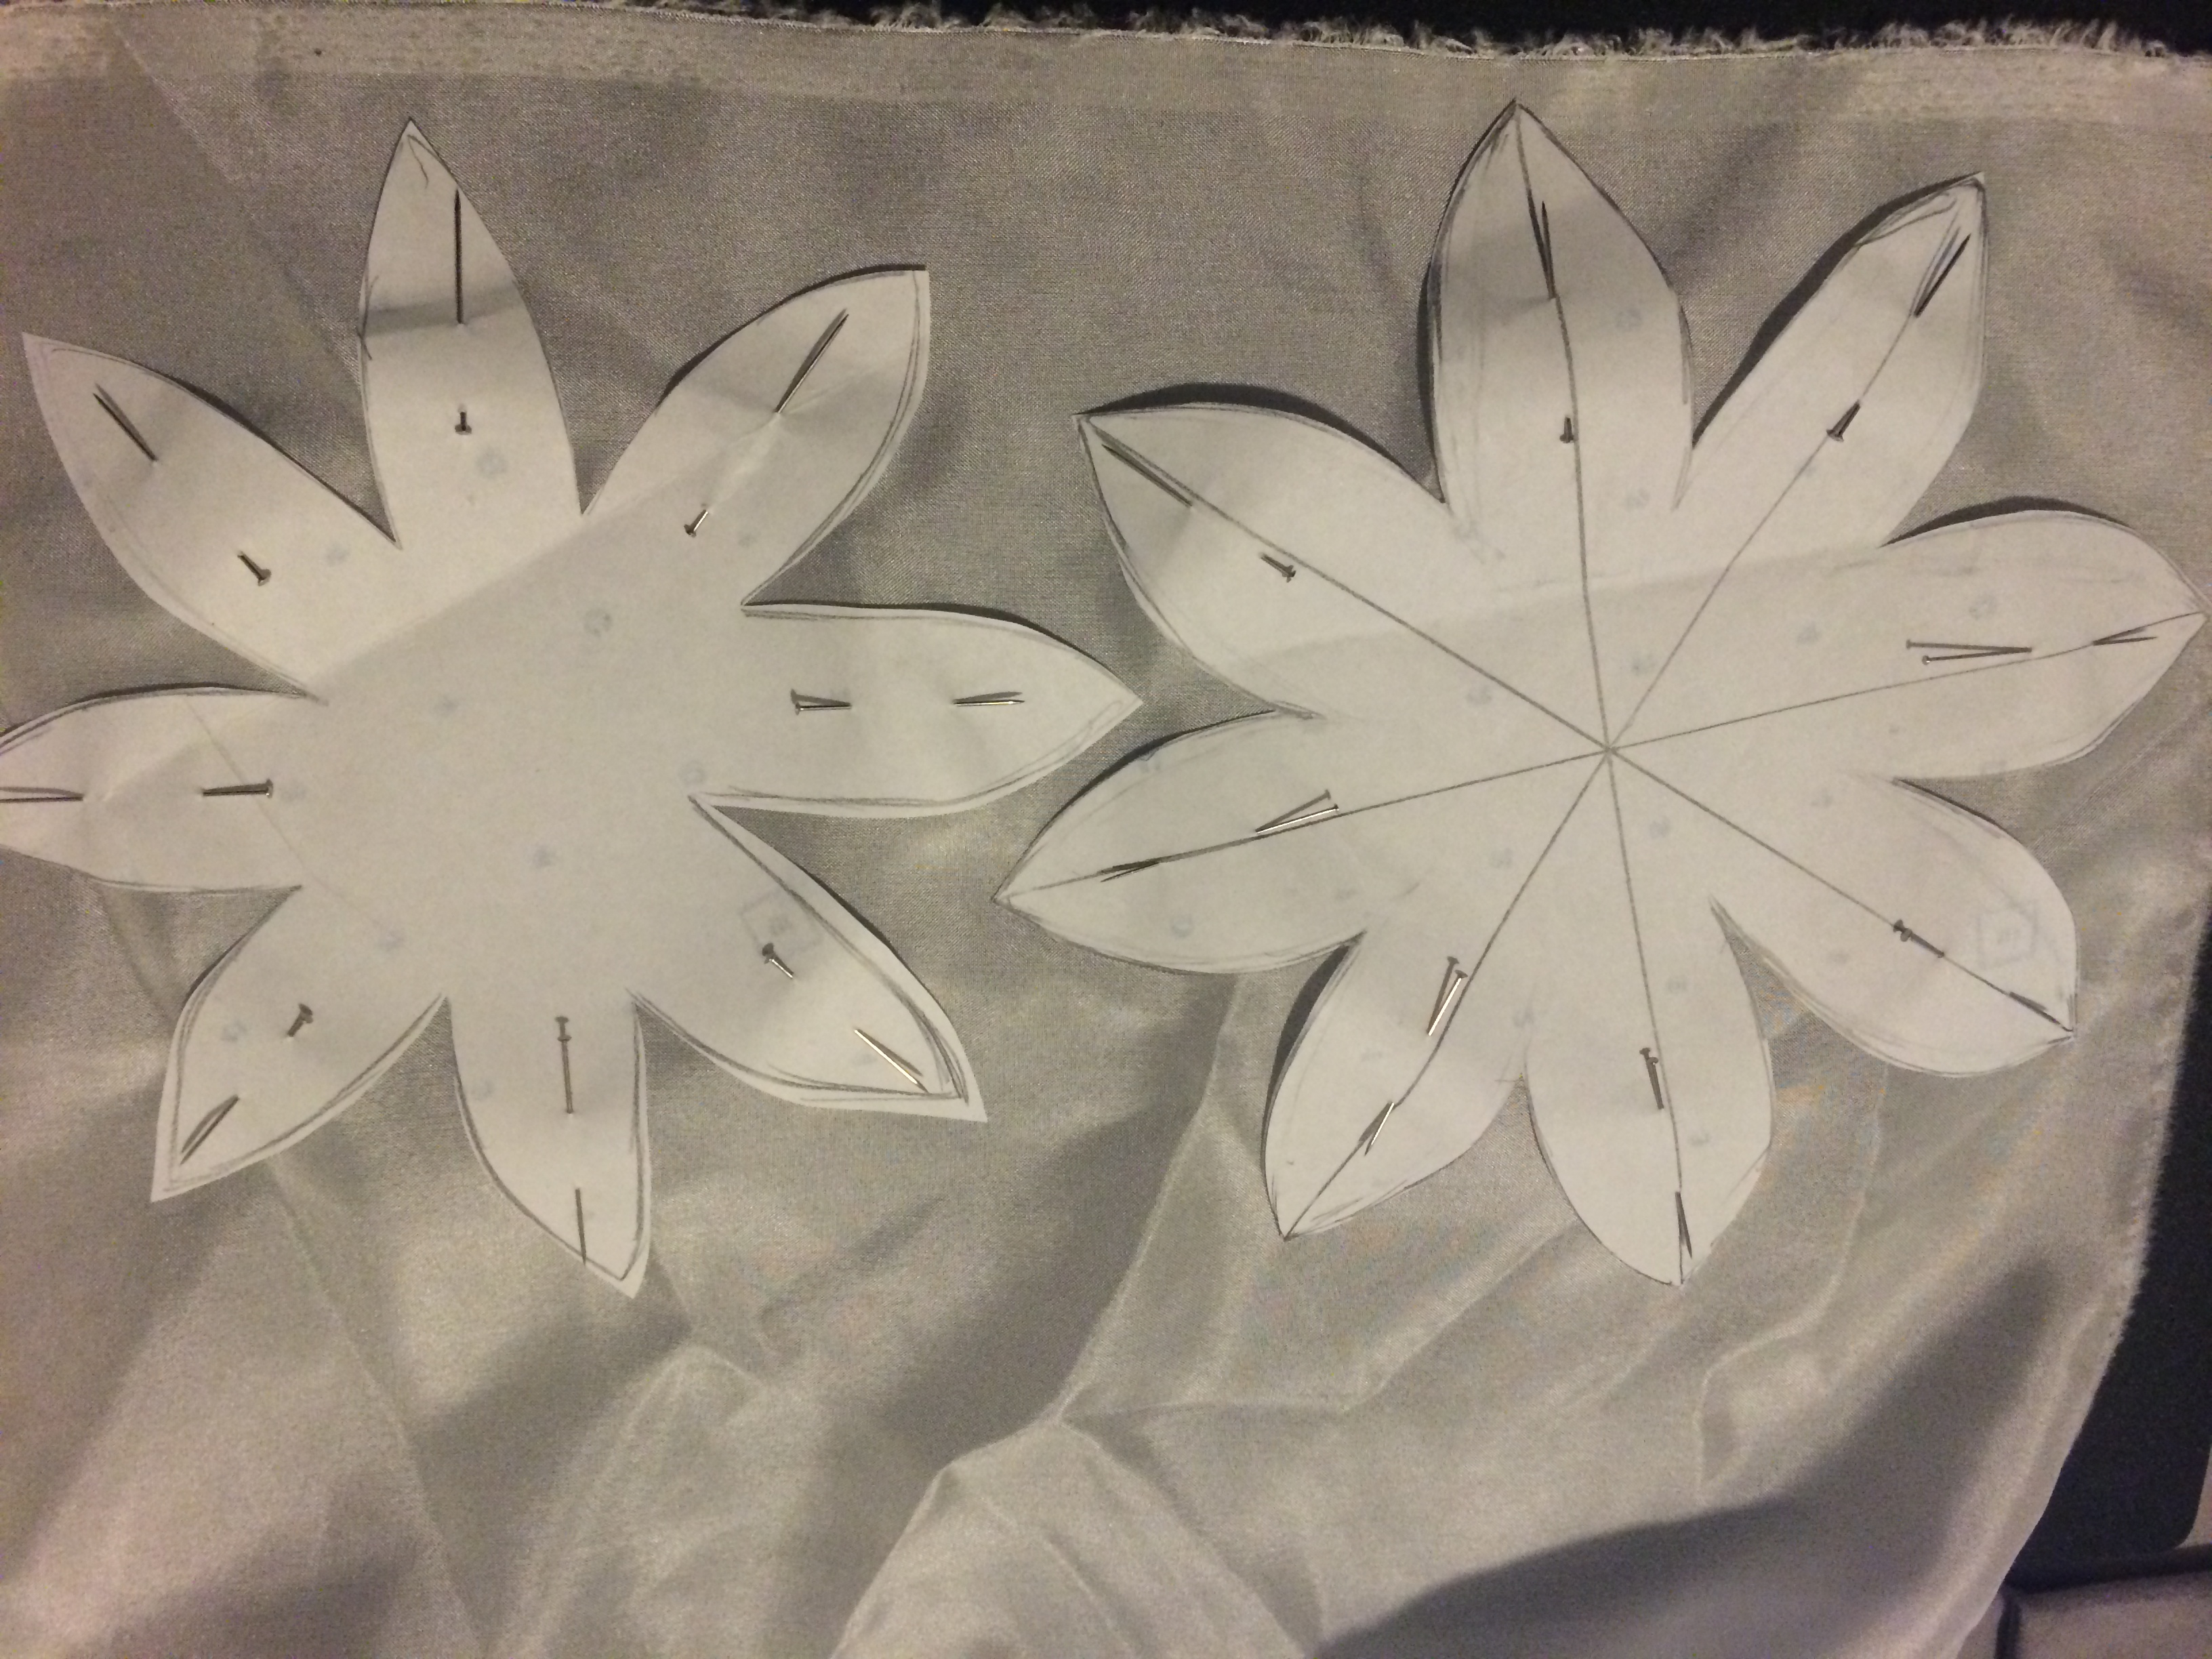
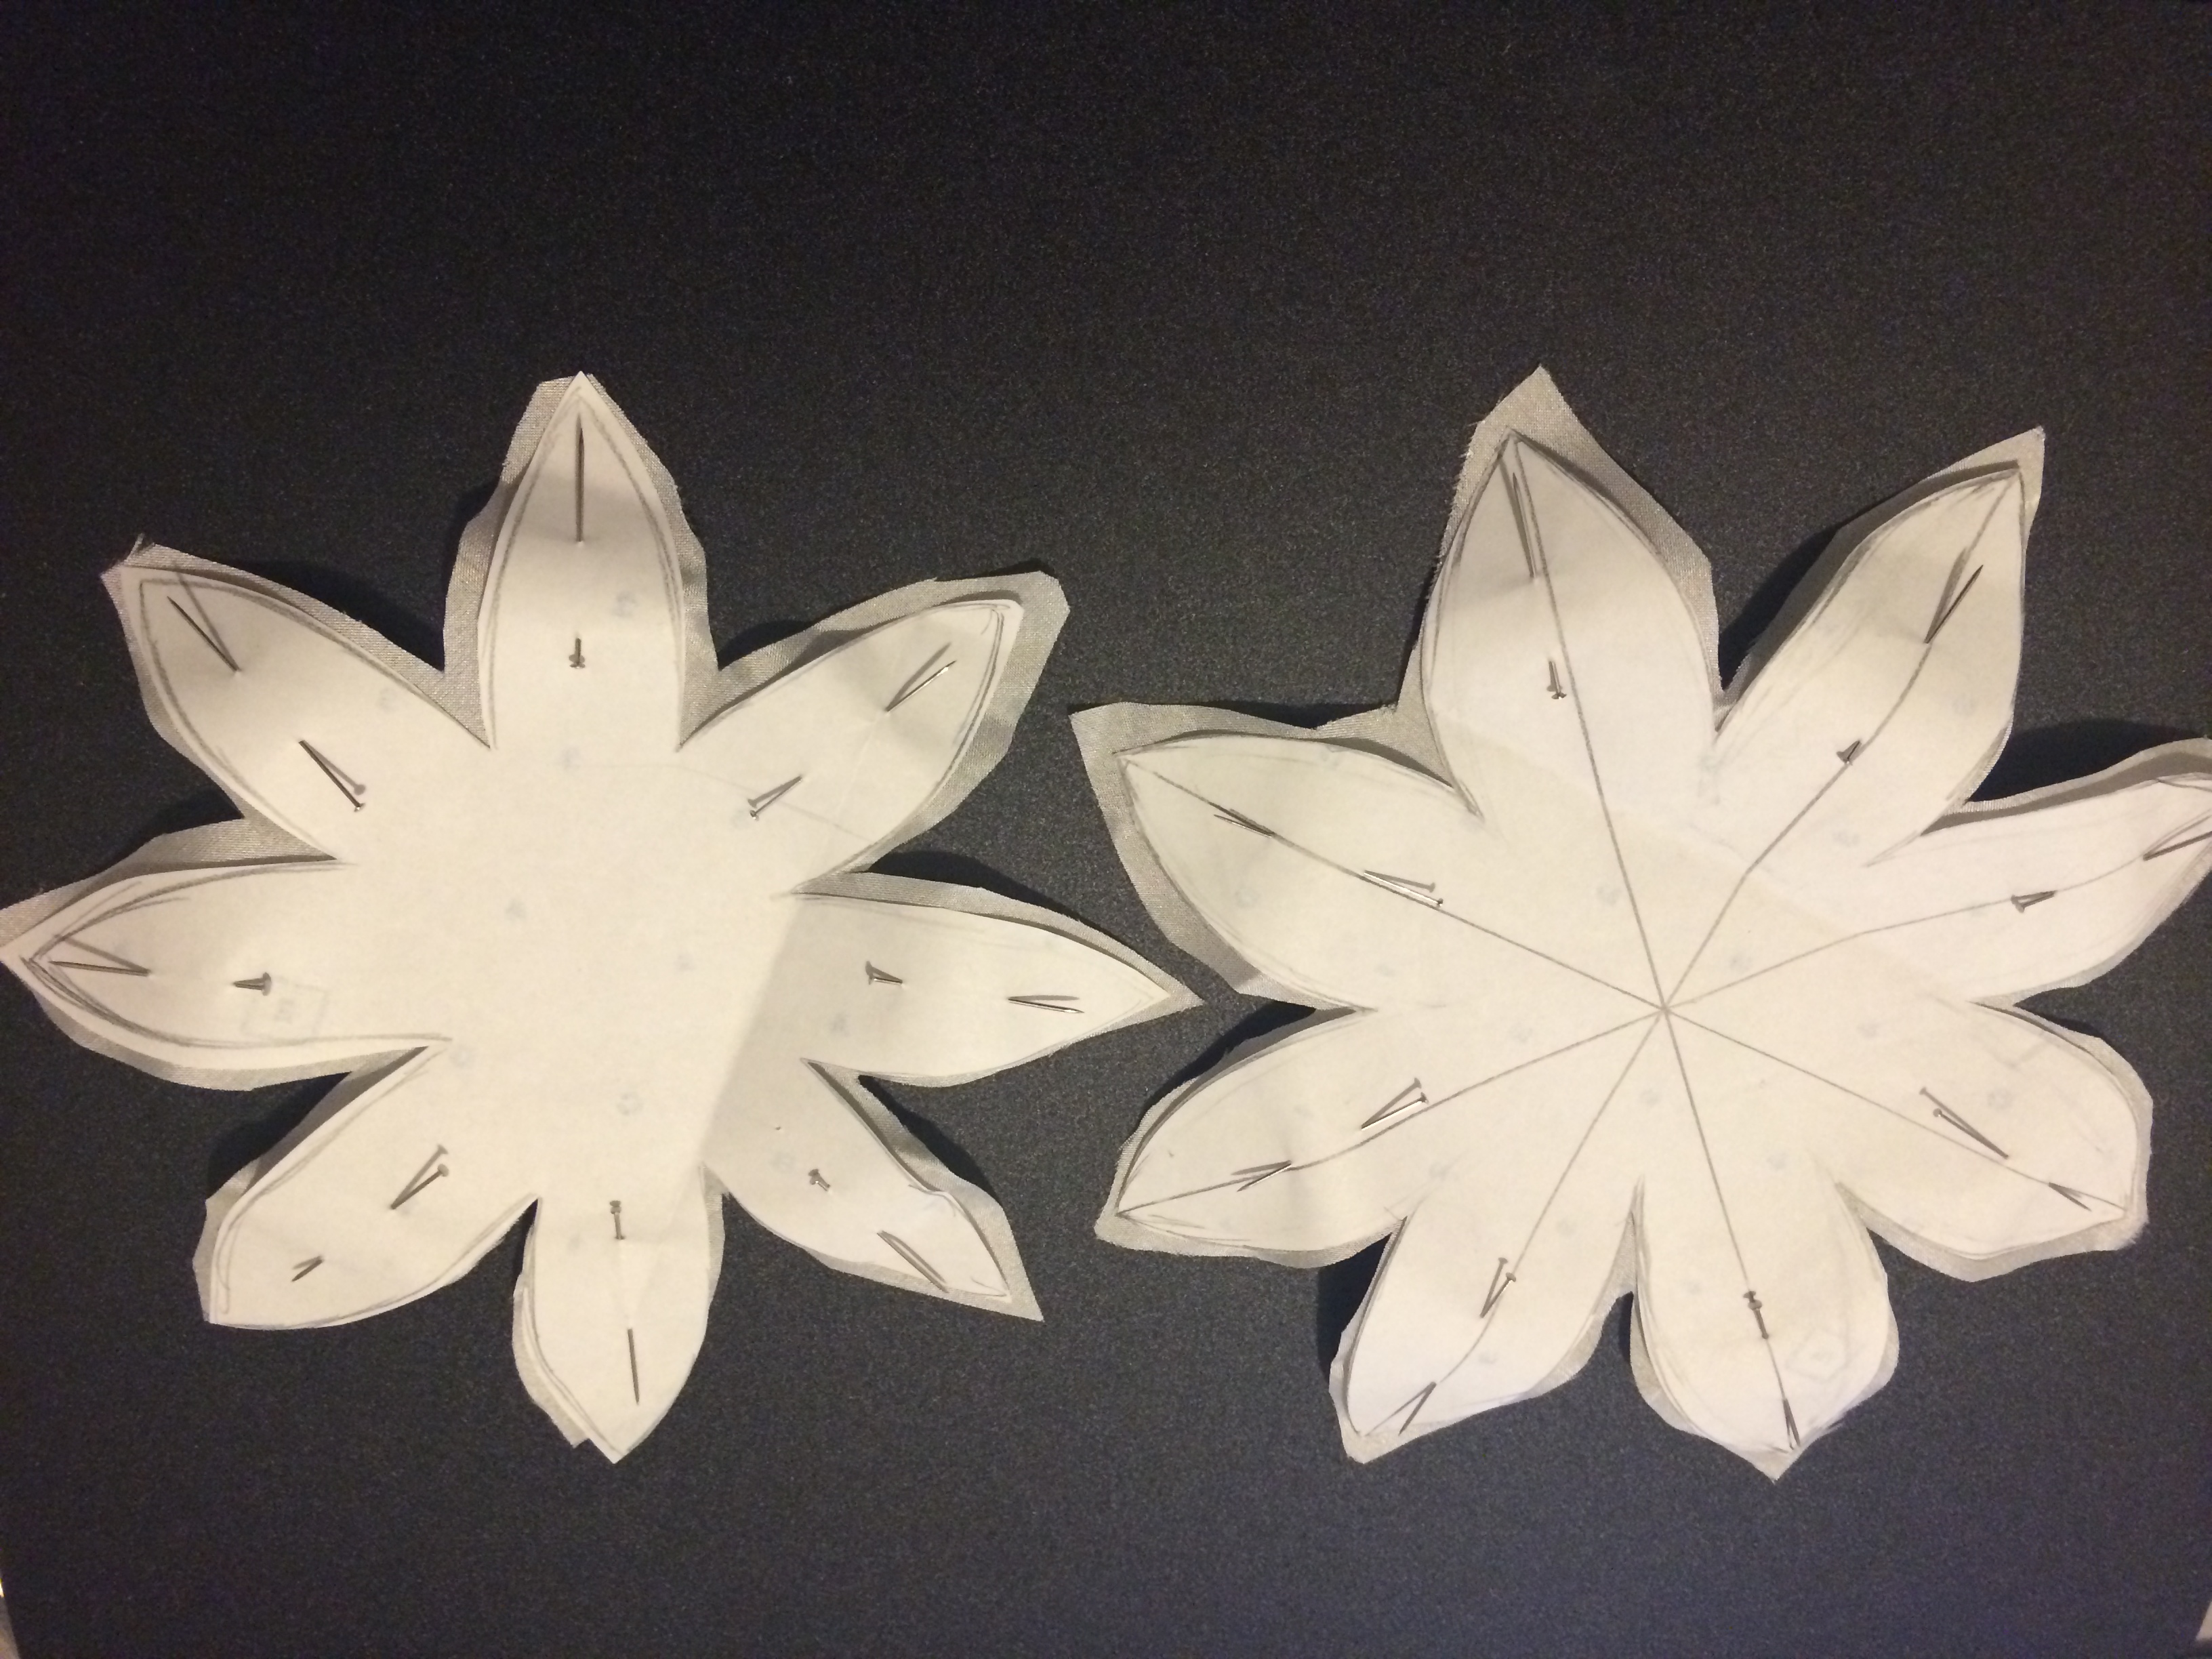
Next take your two flower pattern pieces and pin them onto fabric, I chose silk. Once they are pinned into place, cut them out using fabric scissors.
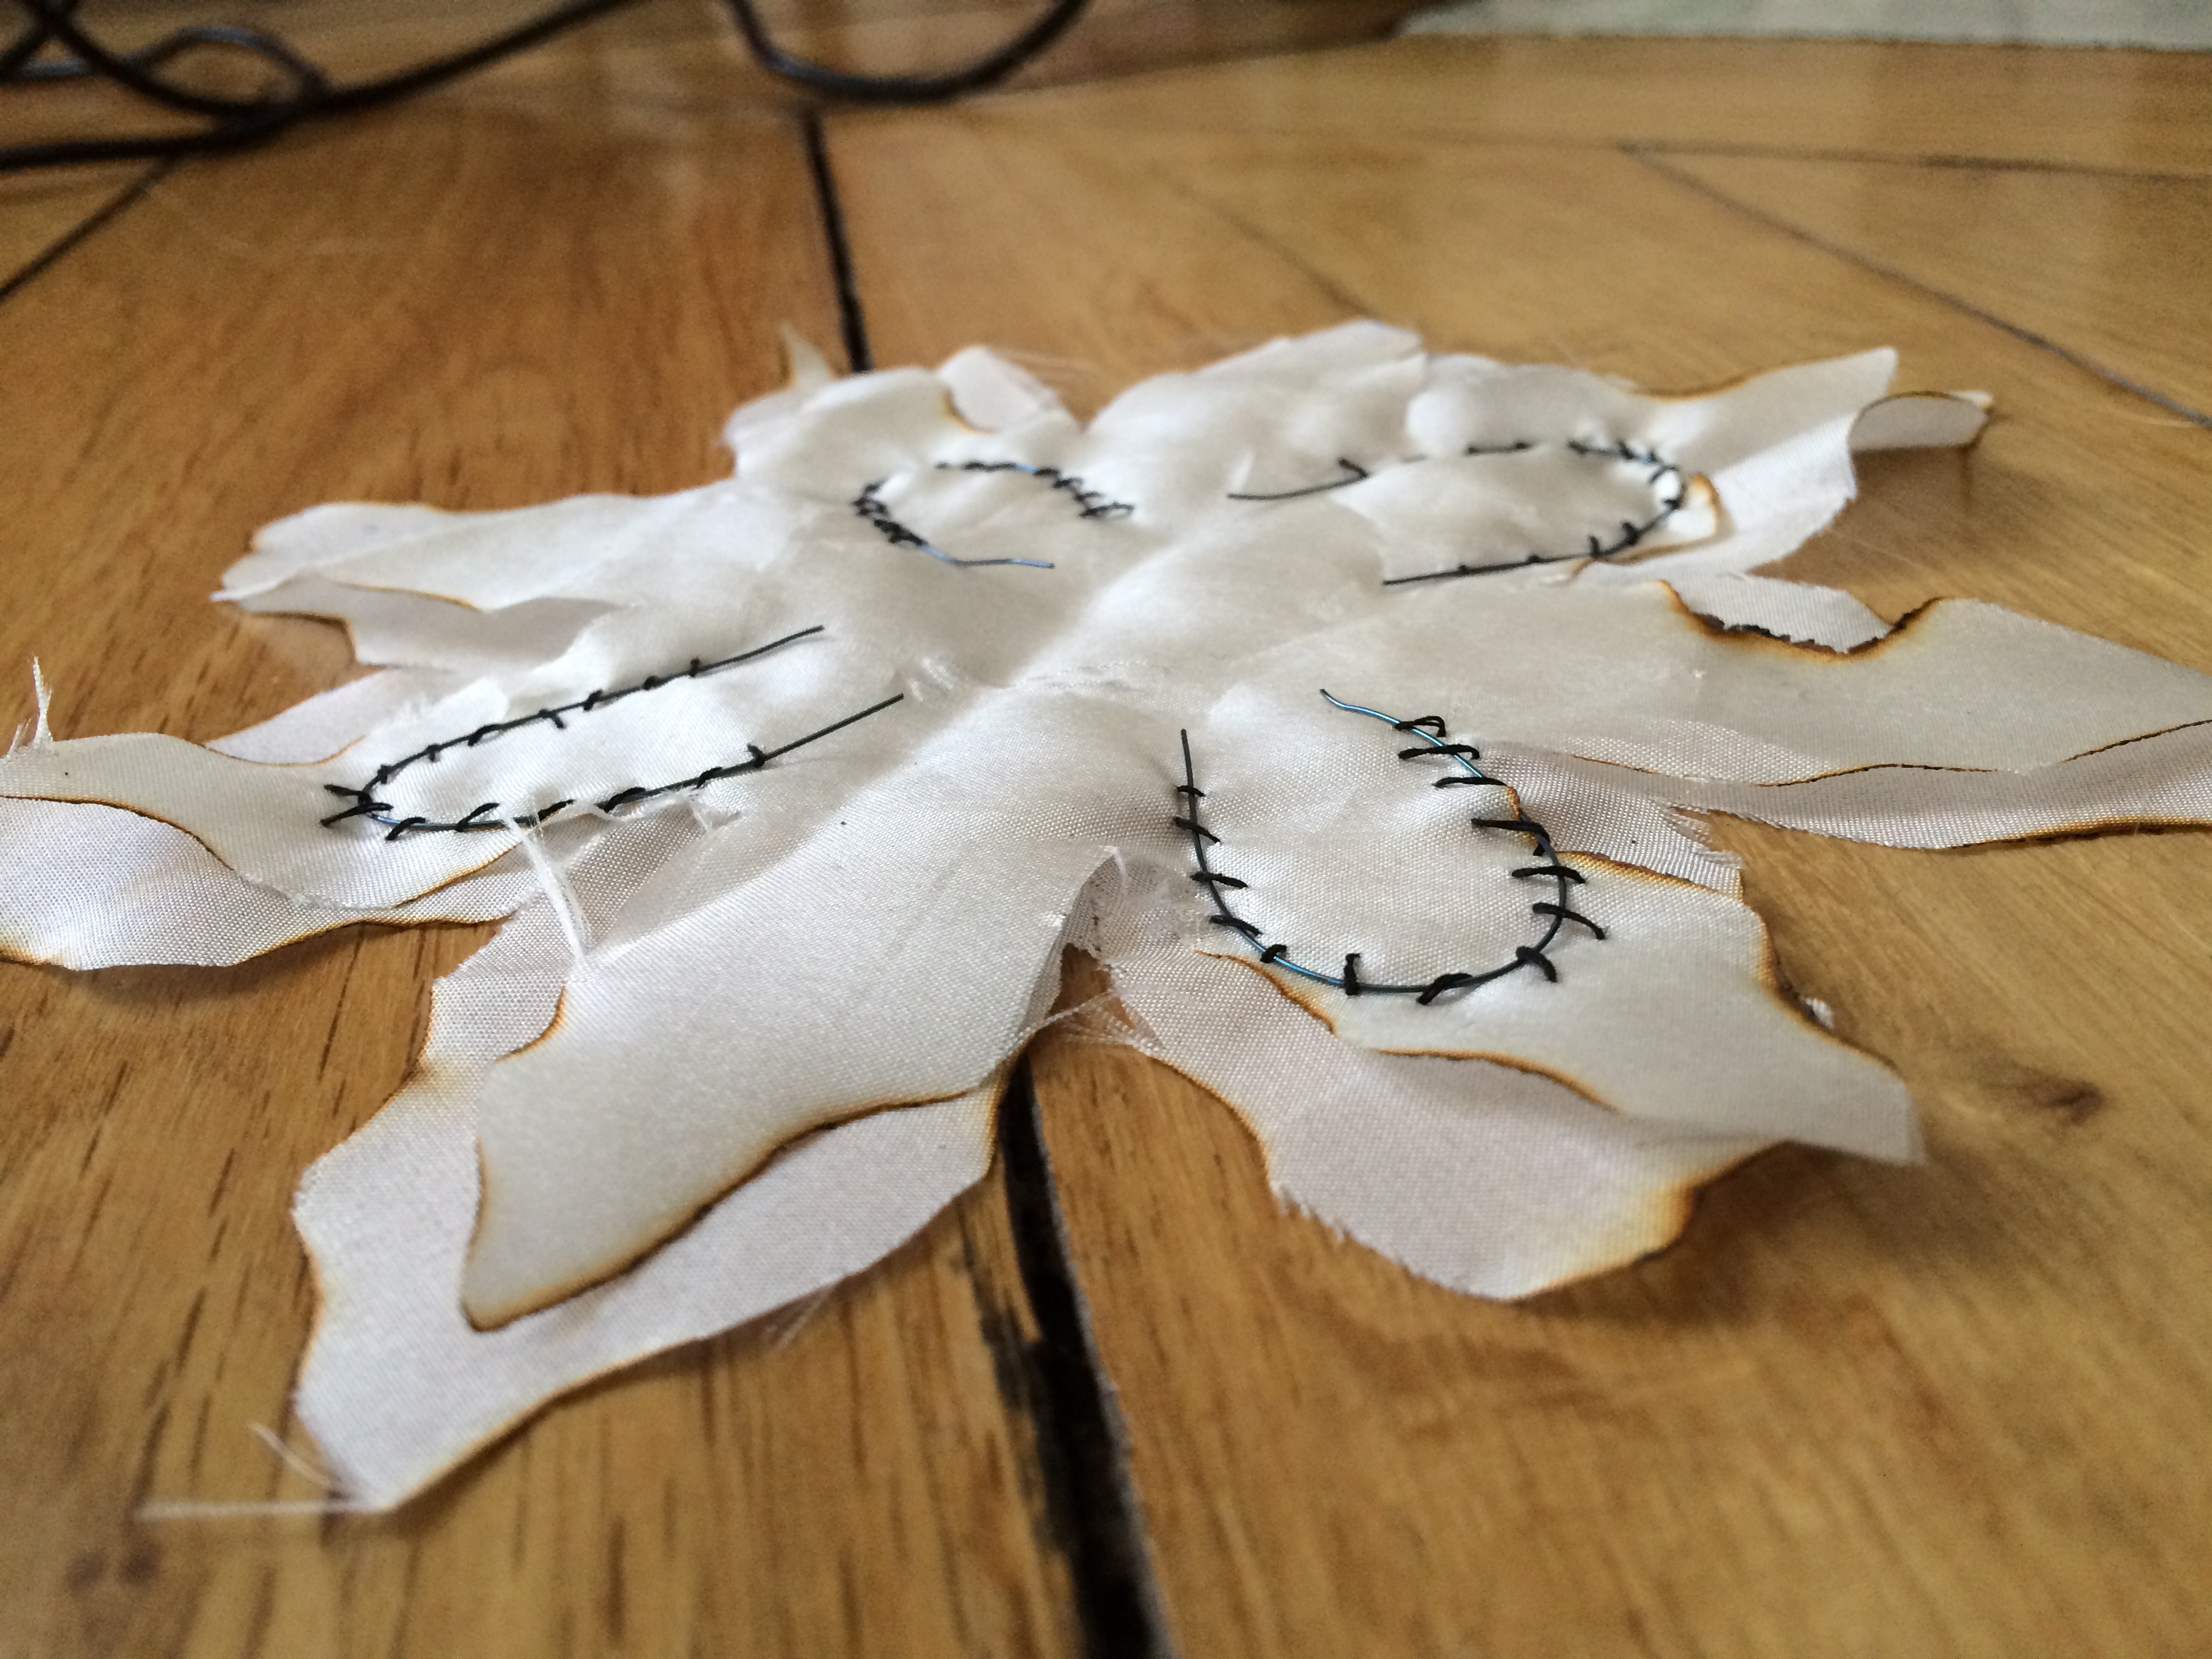
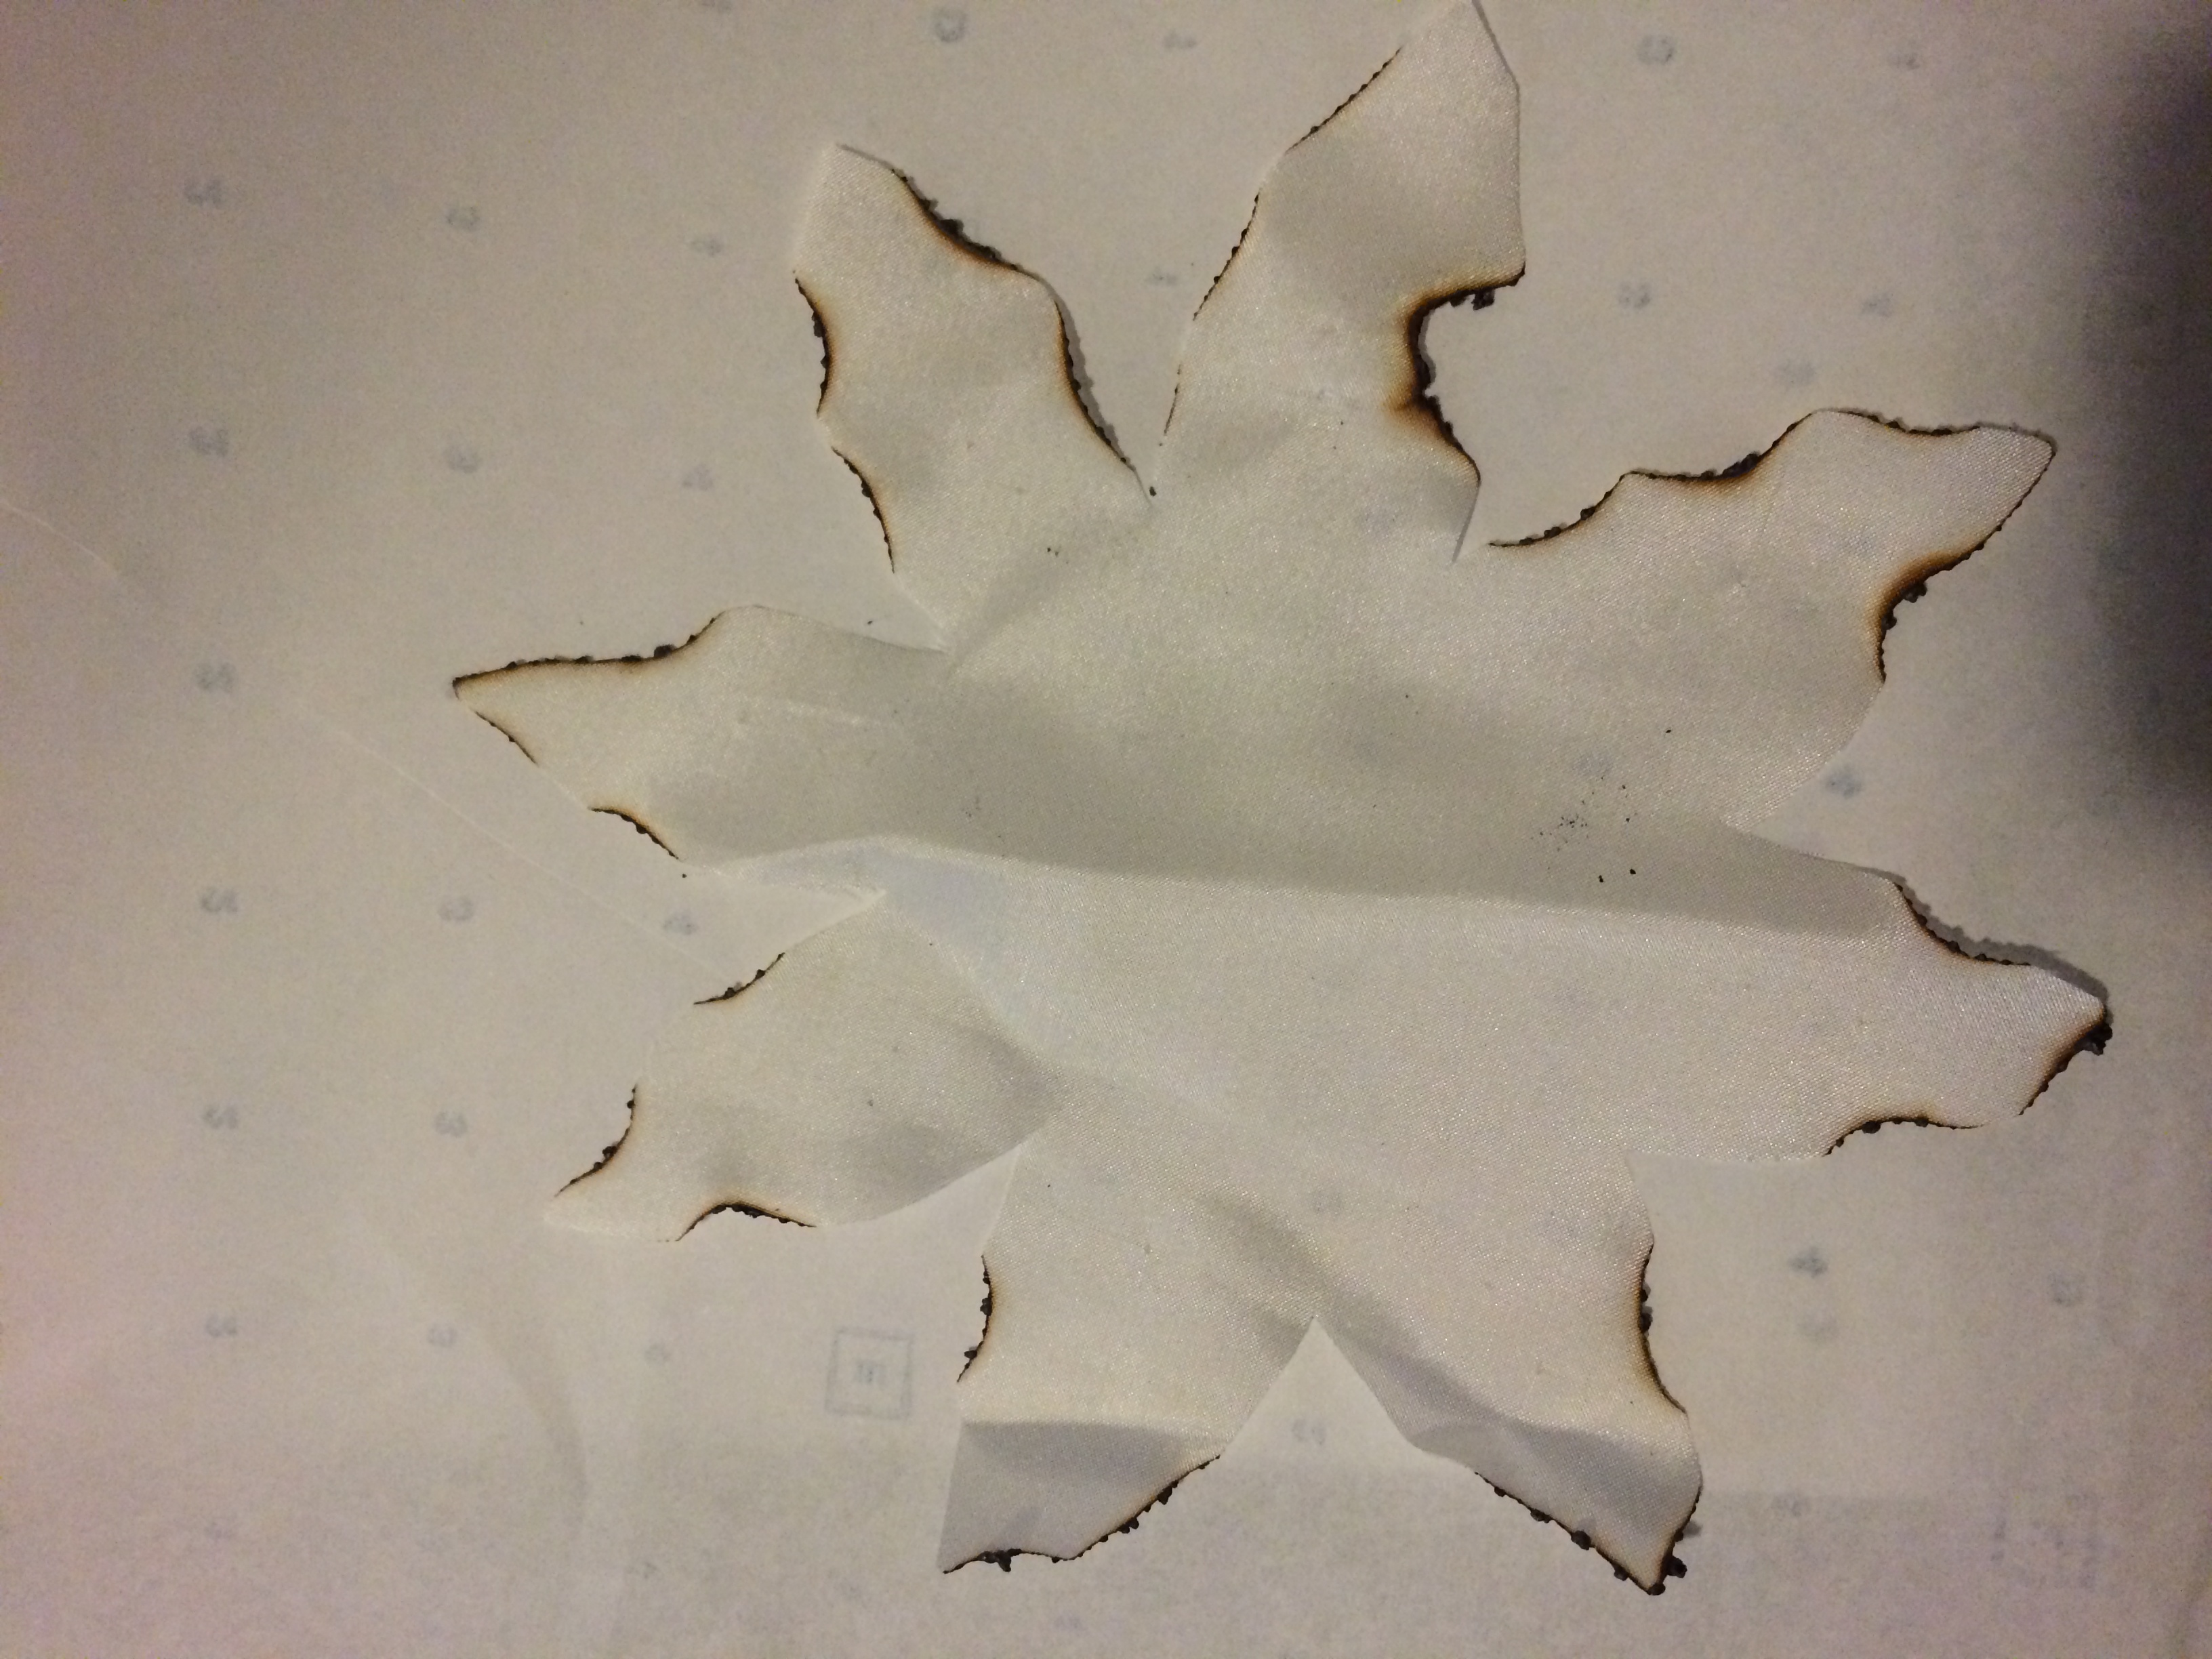
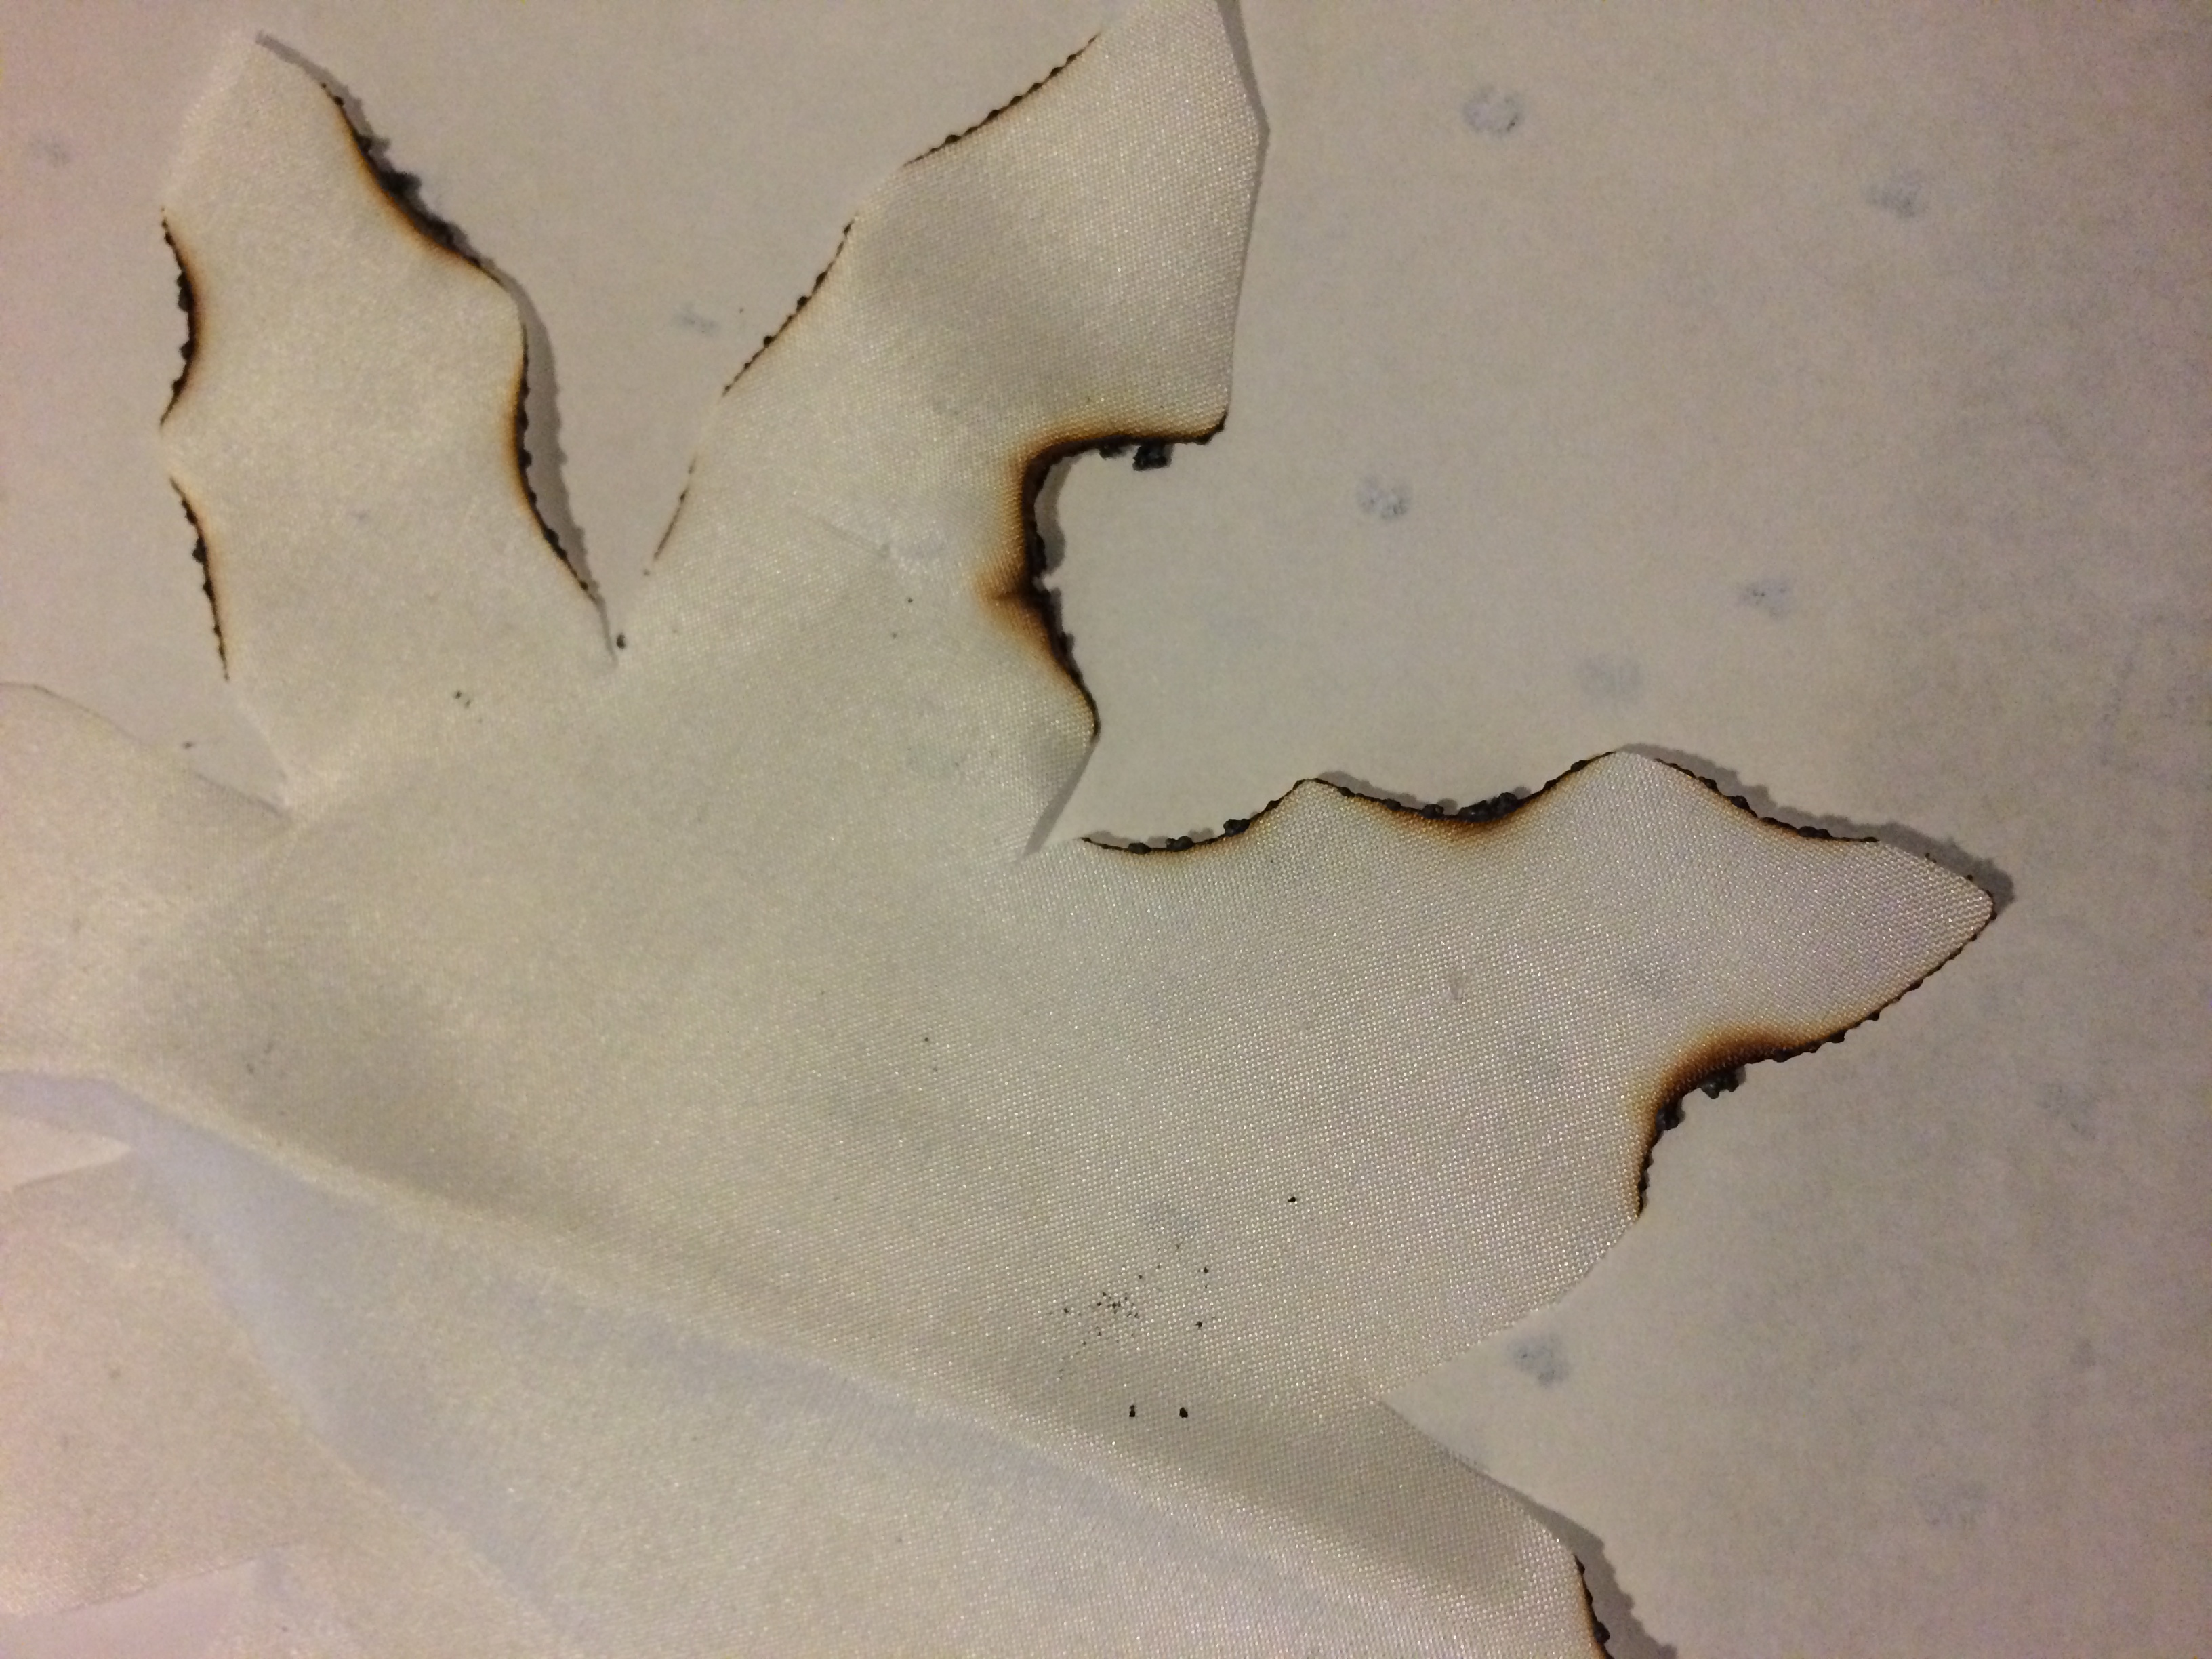
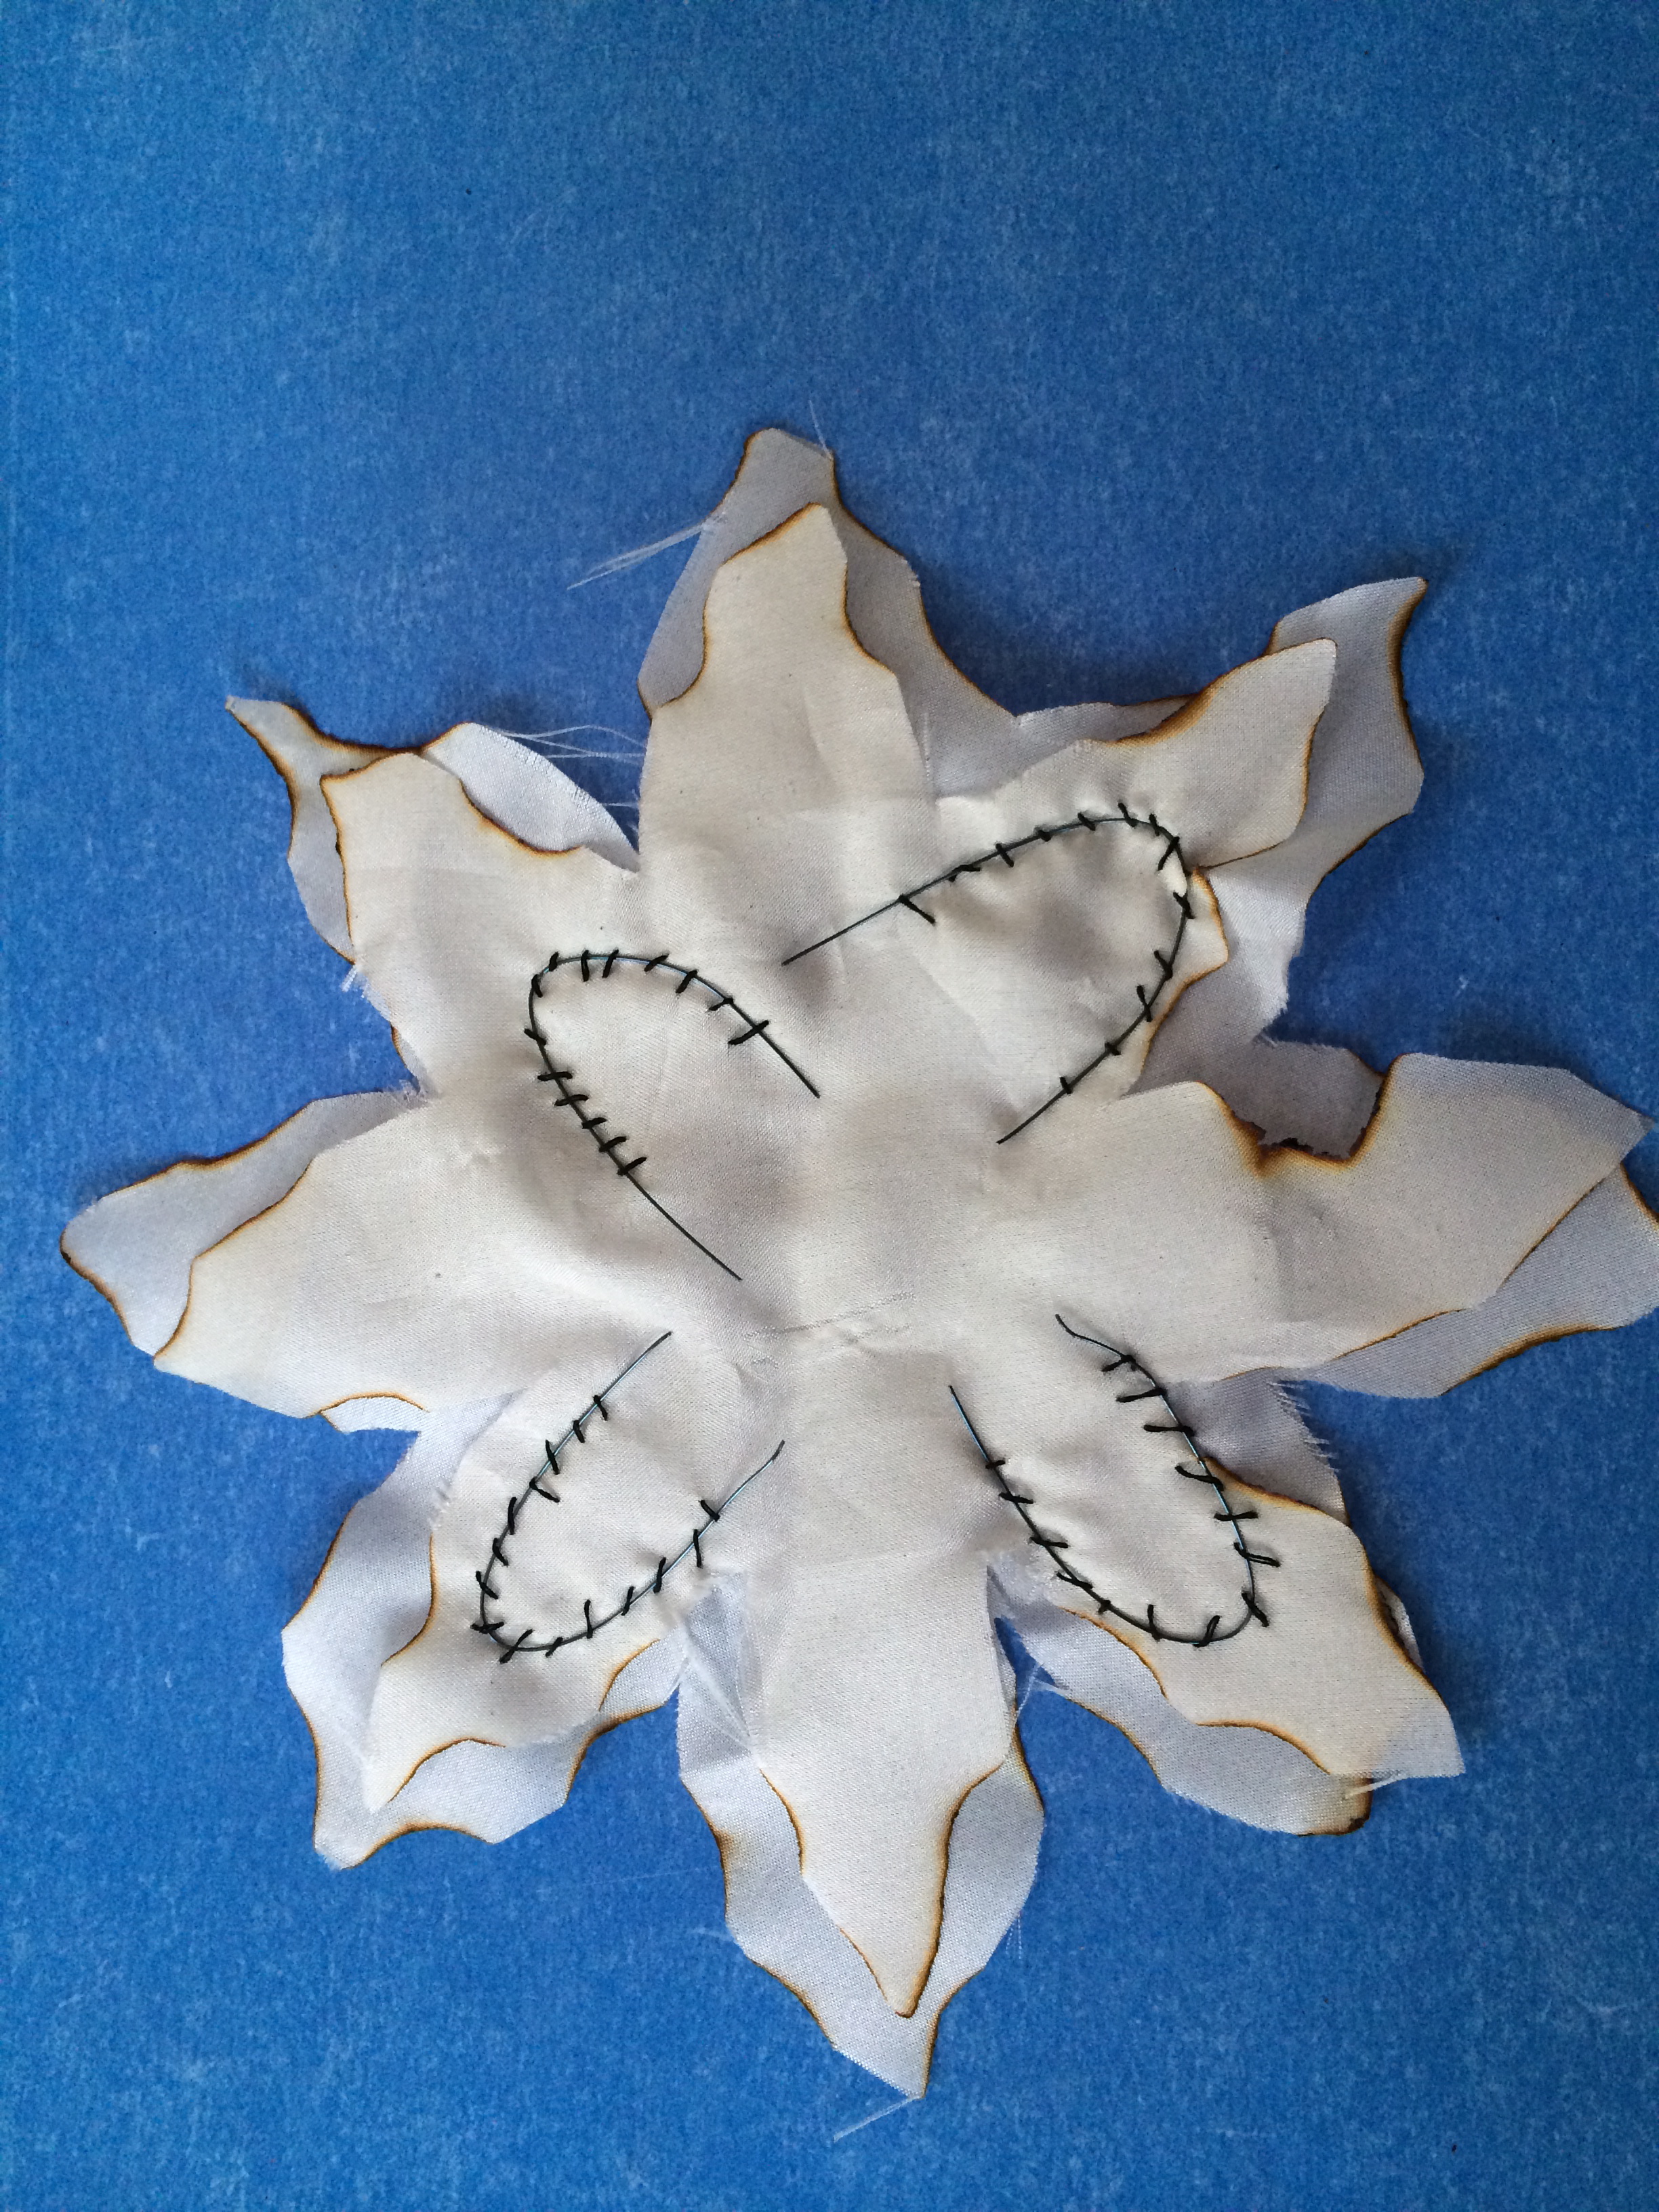
Step 3: Burn the edges
Now to add a spooky effect to your halloween flowers burn the edges – be careful not to burn the whole flower as silk is very flammable.
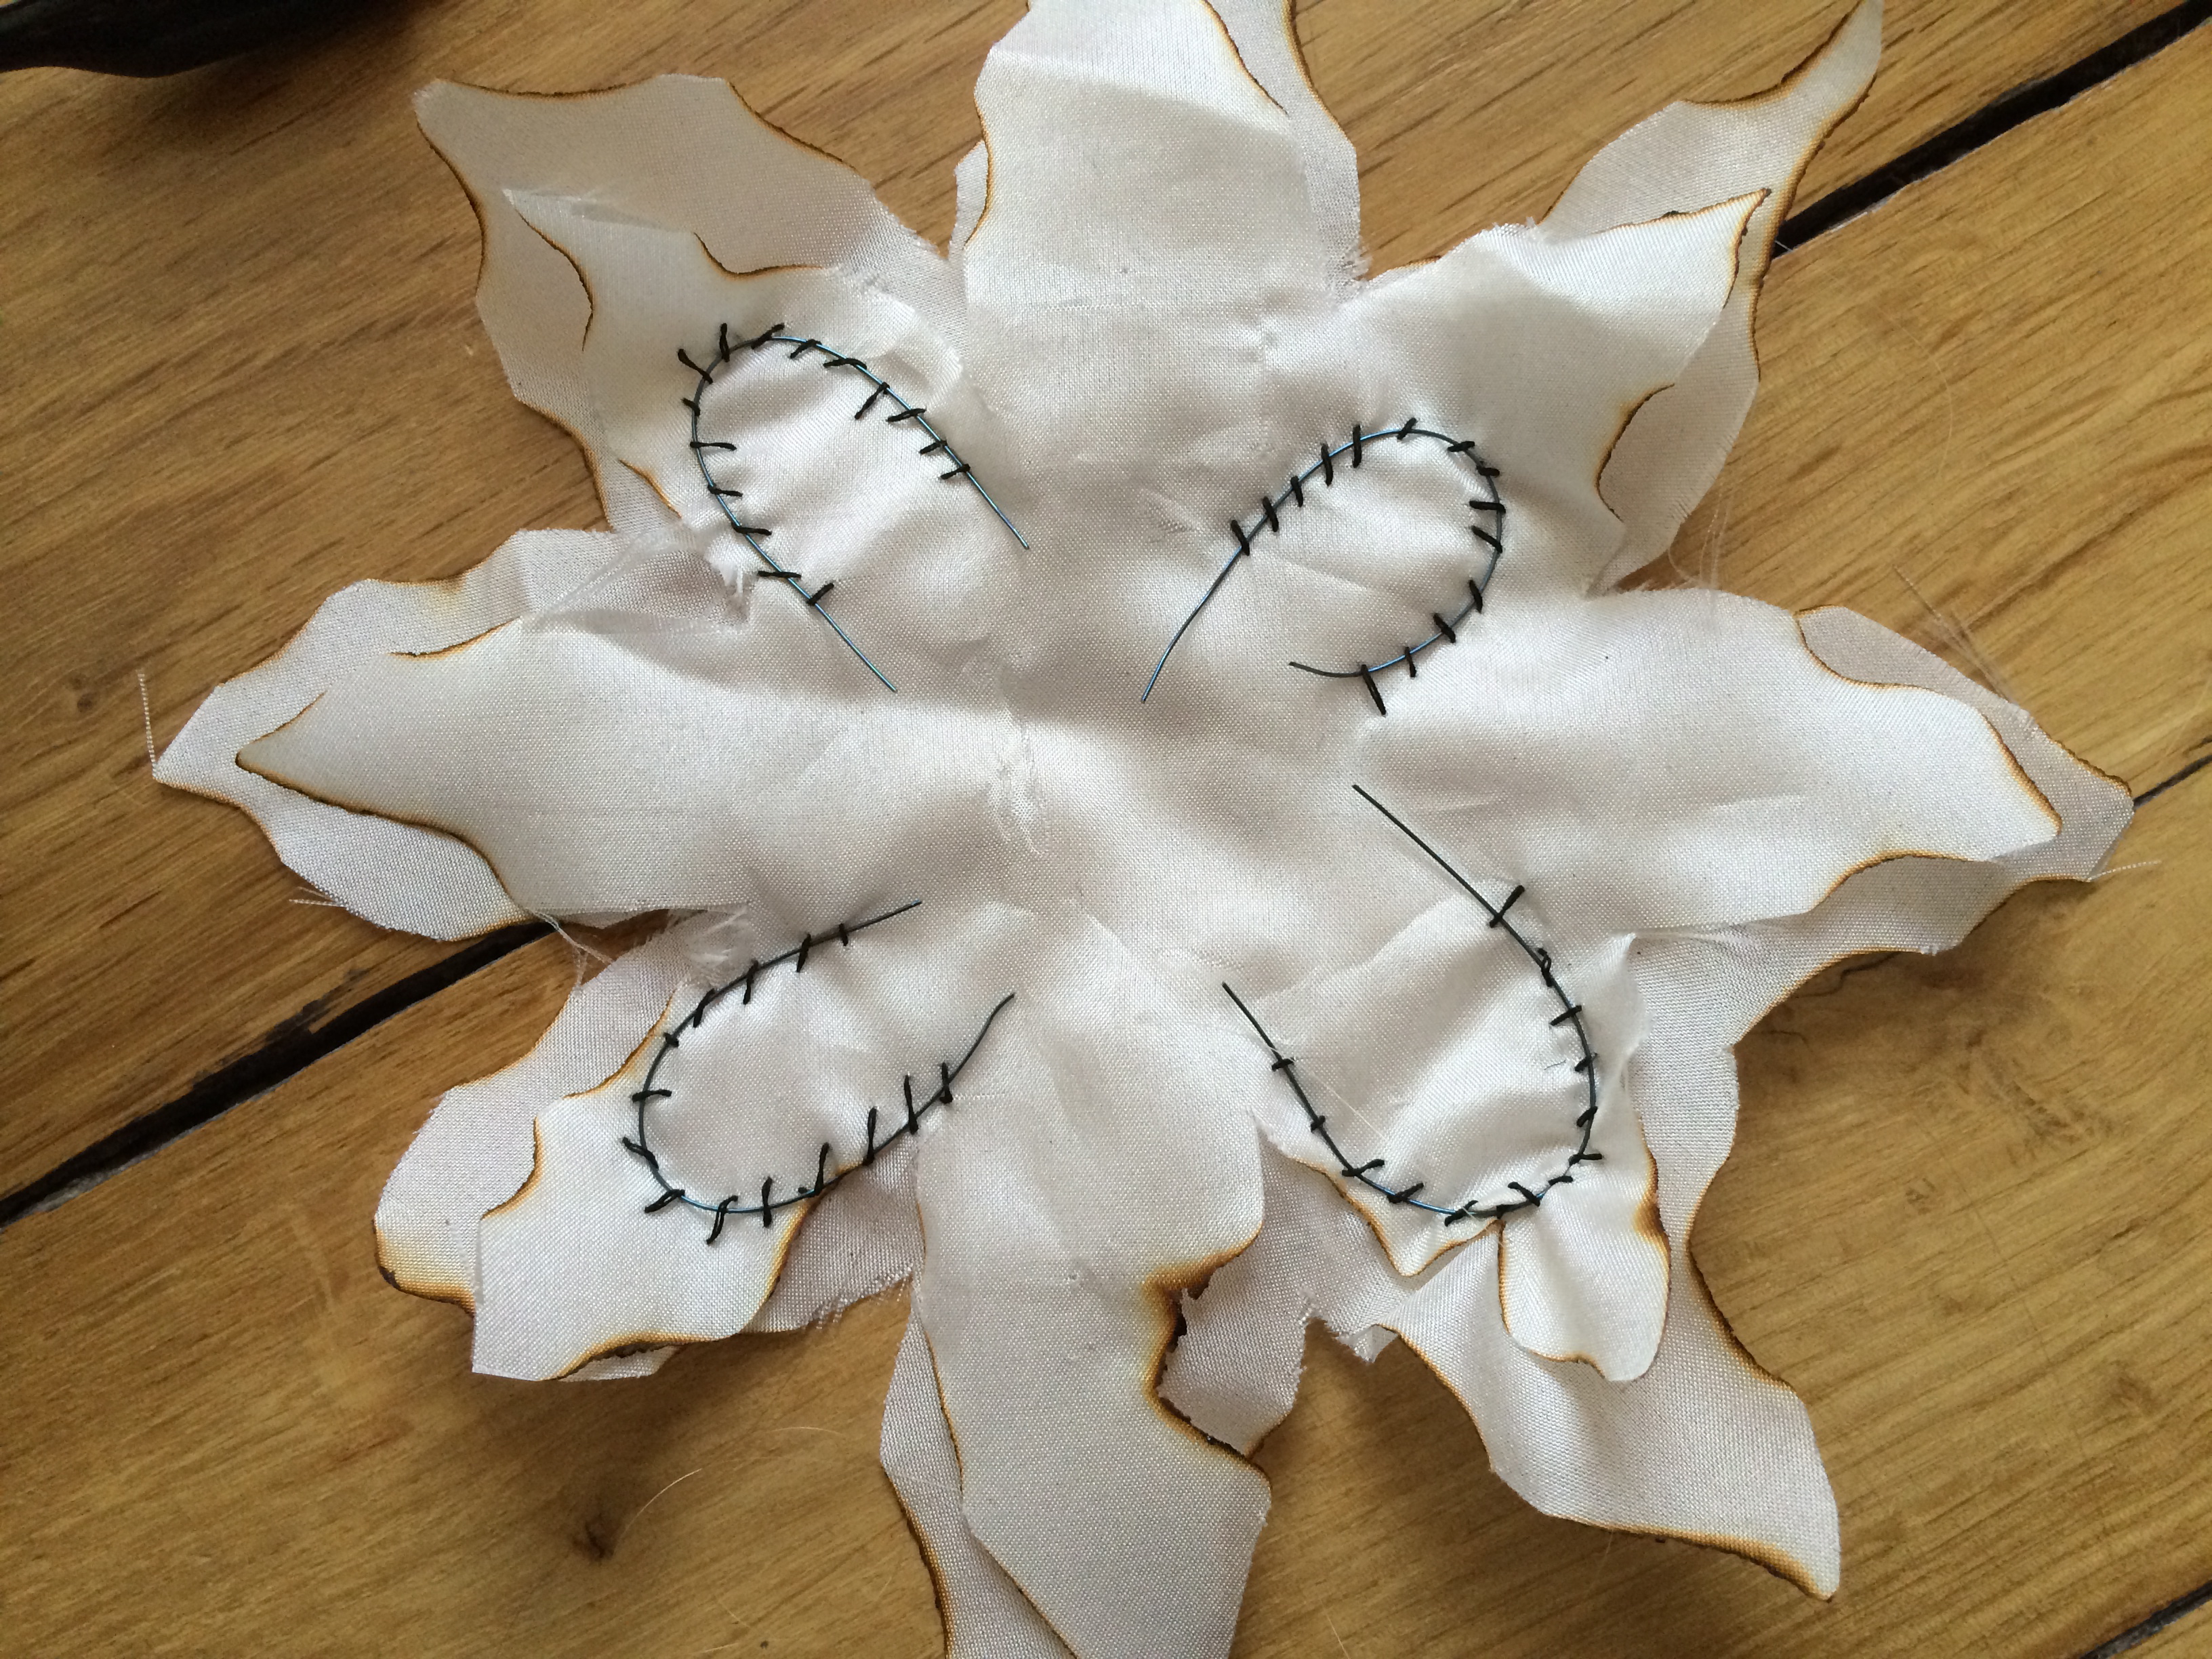
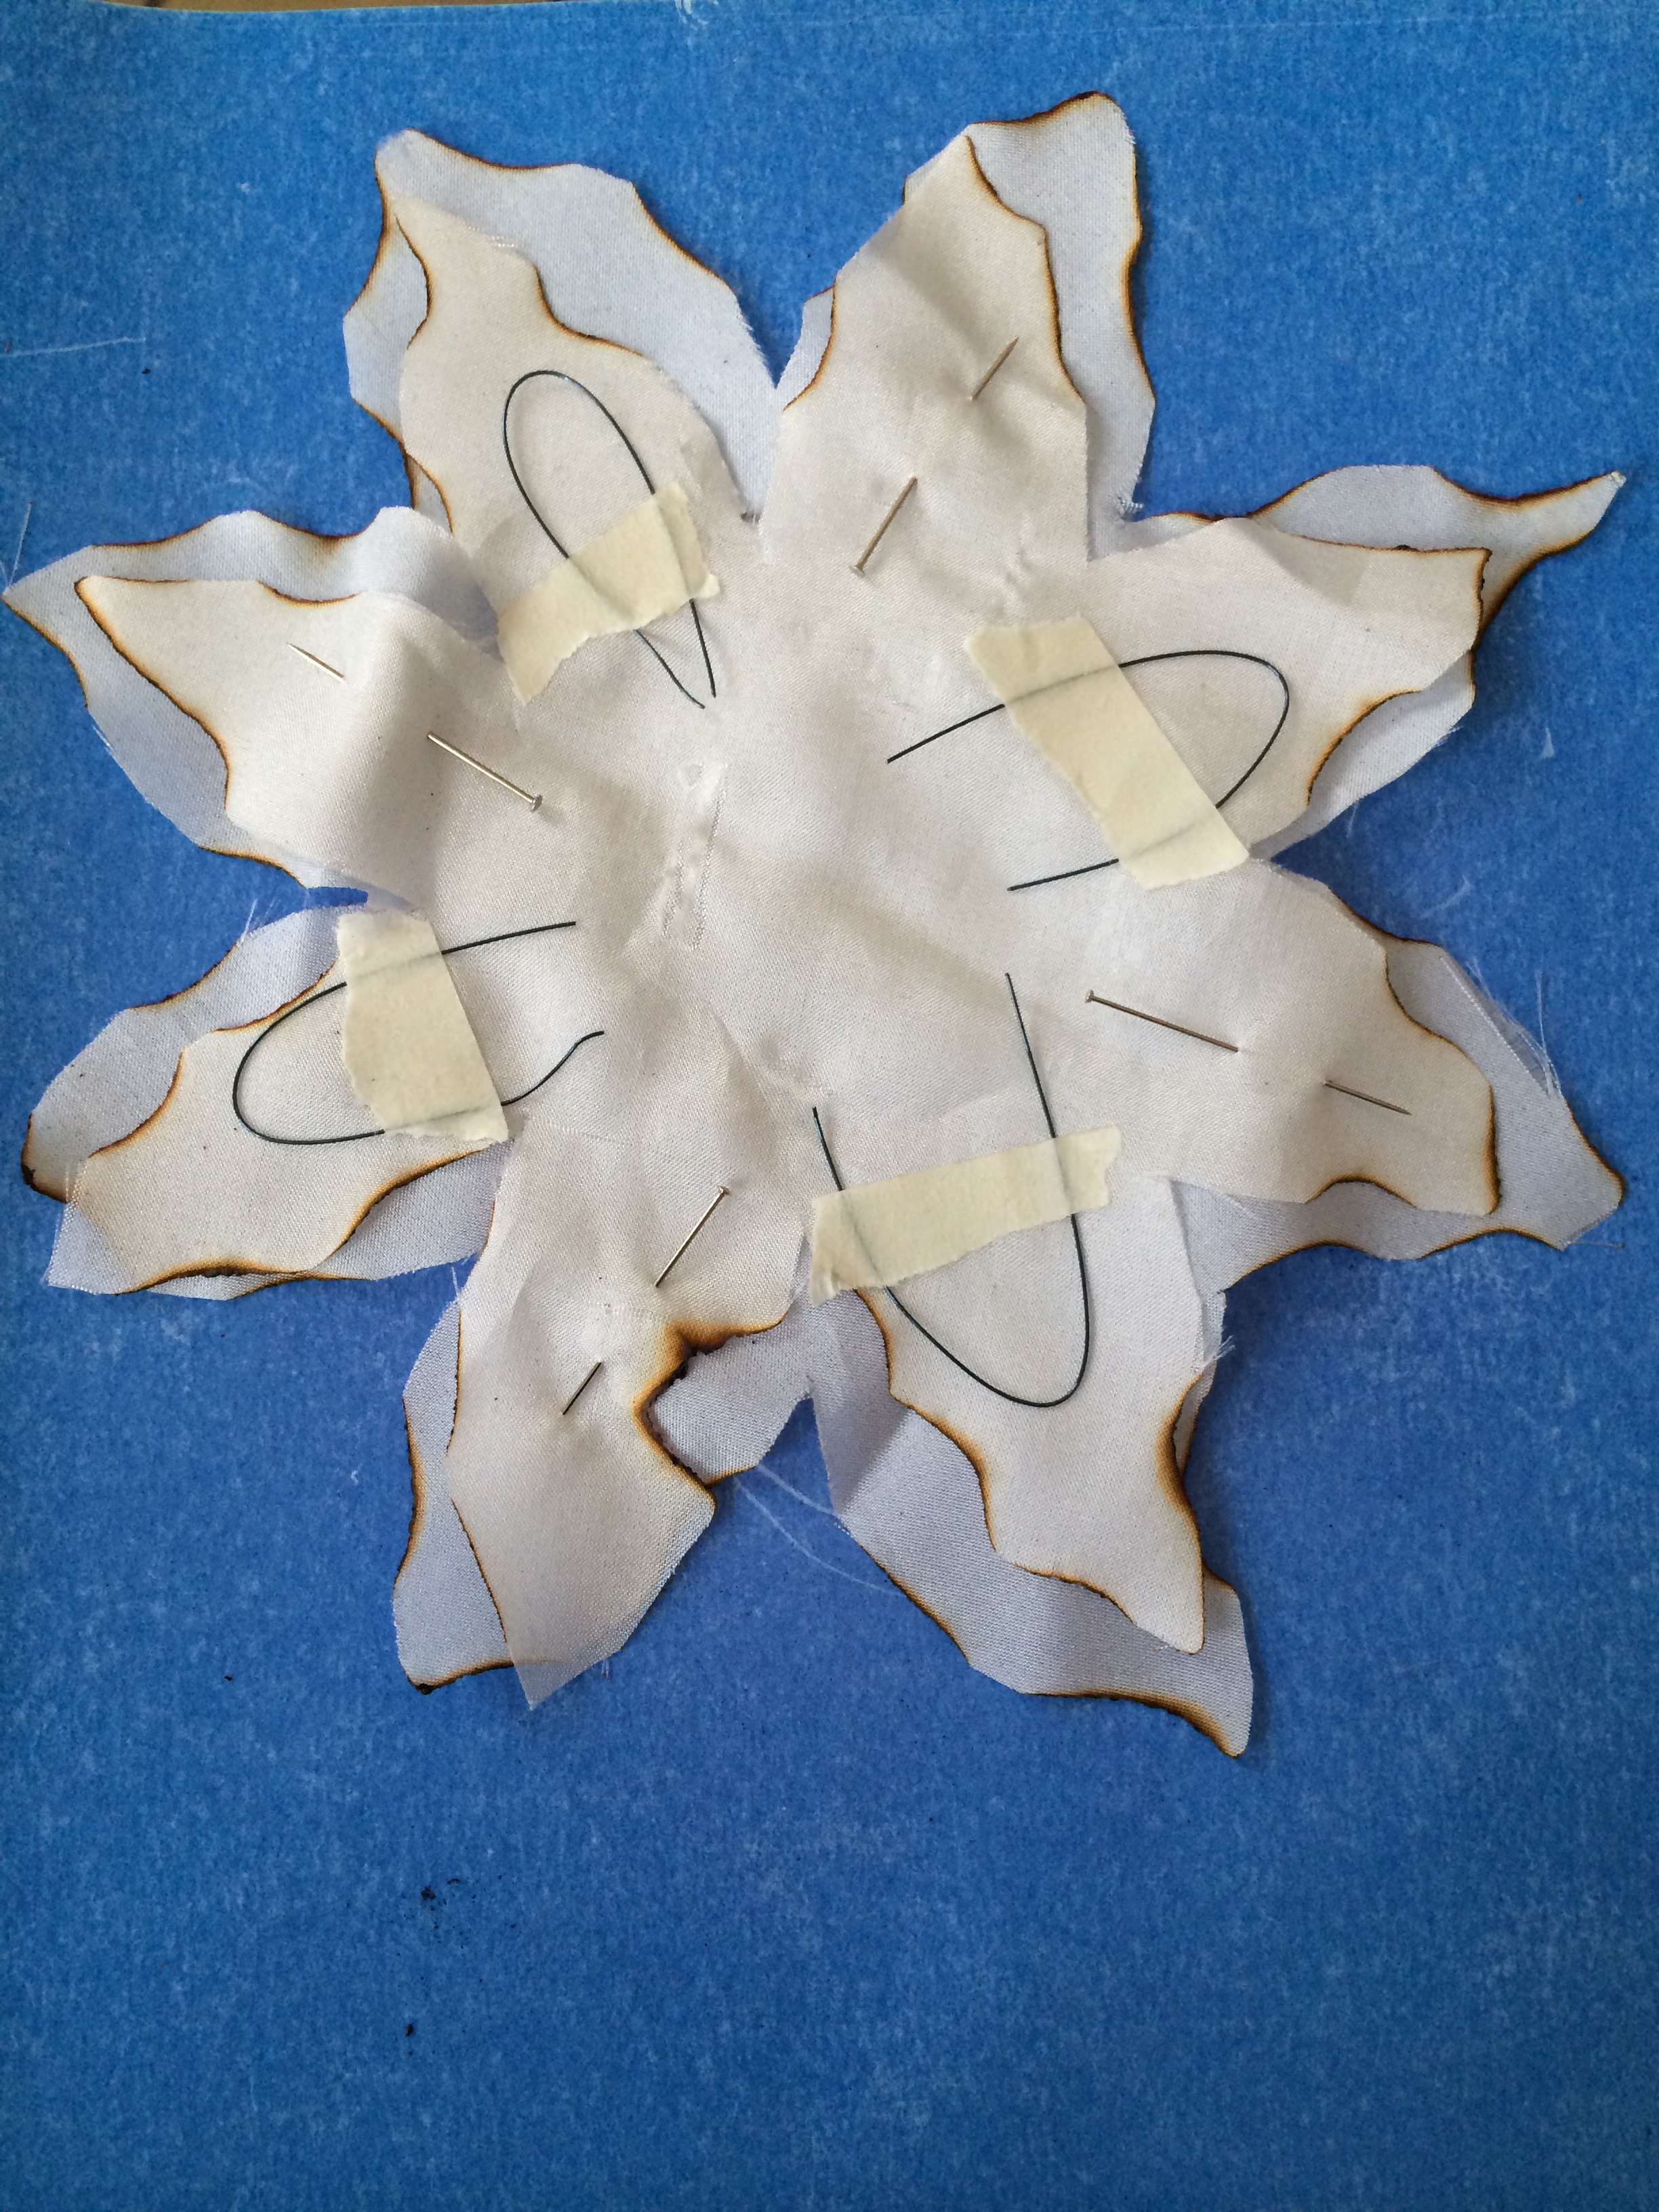
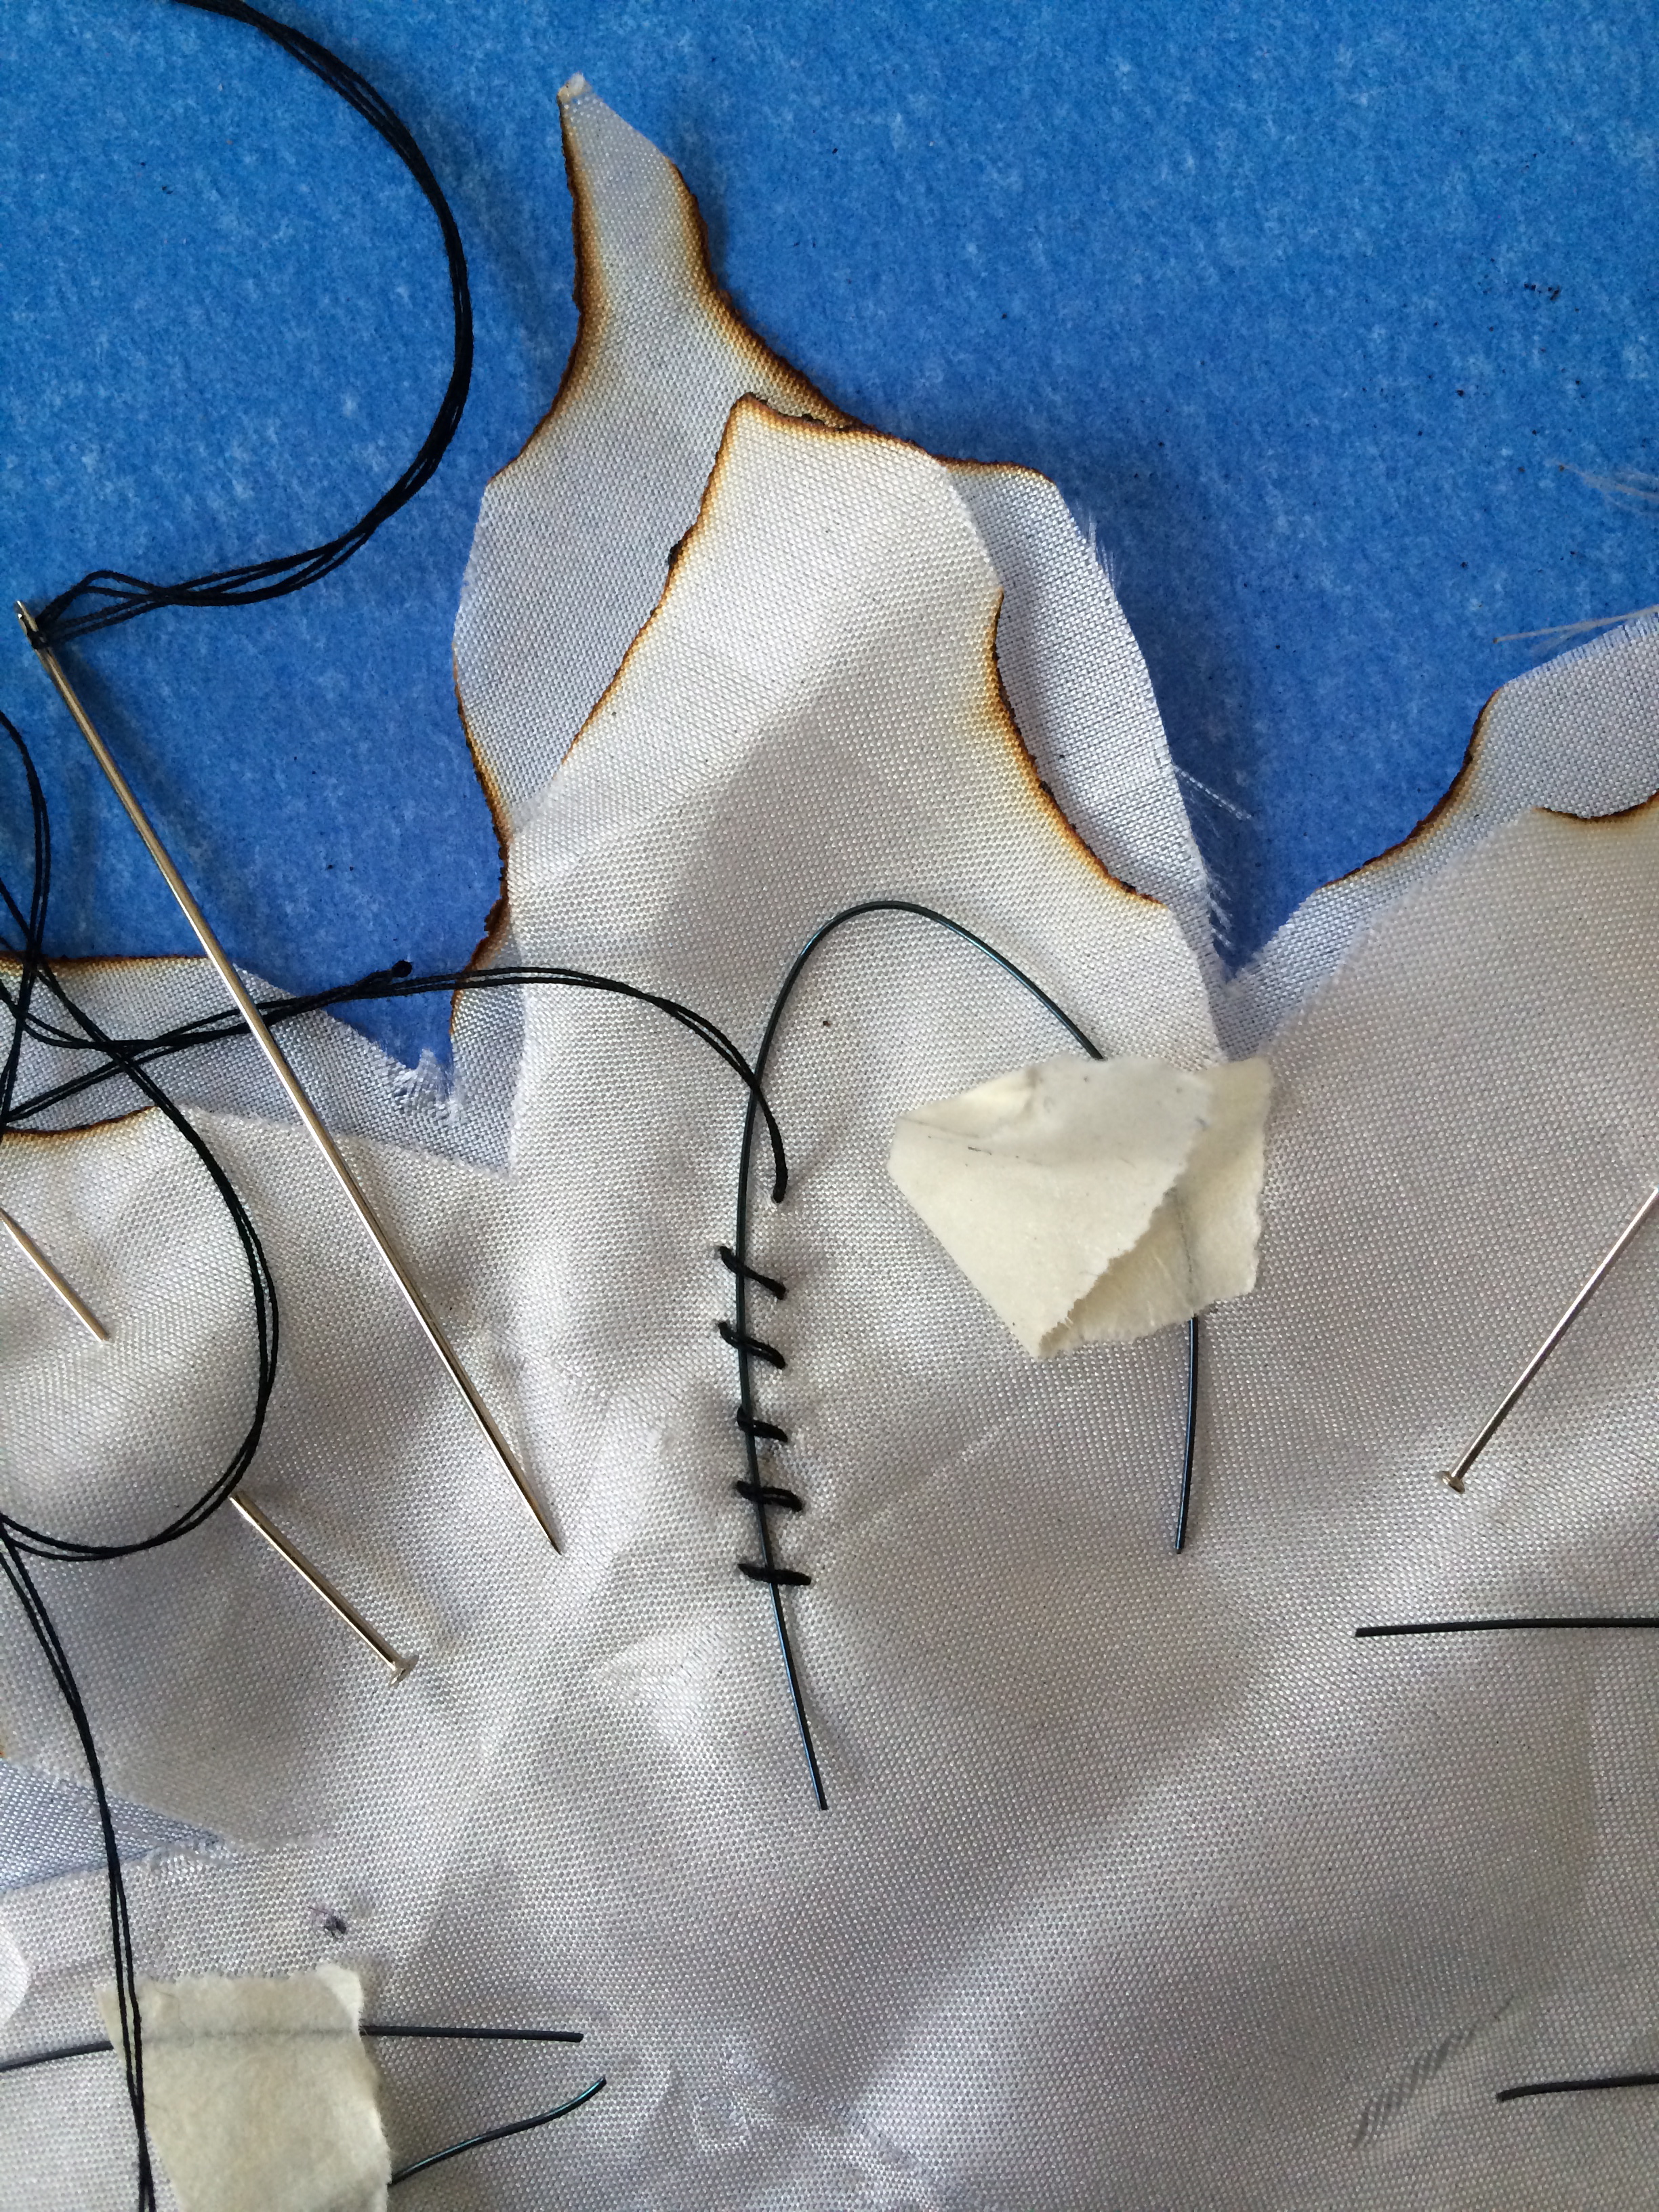
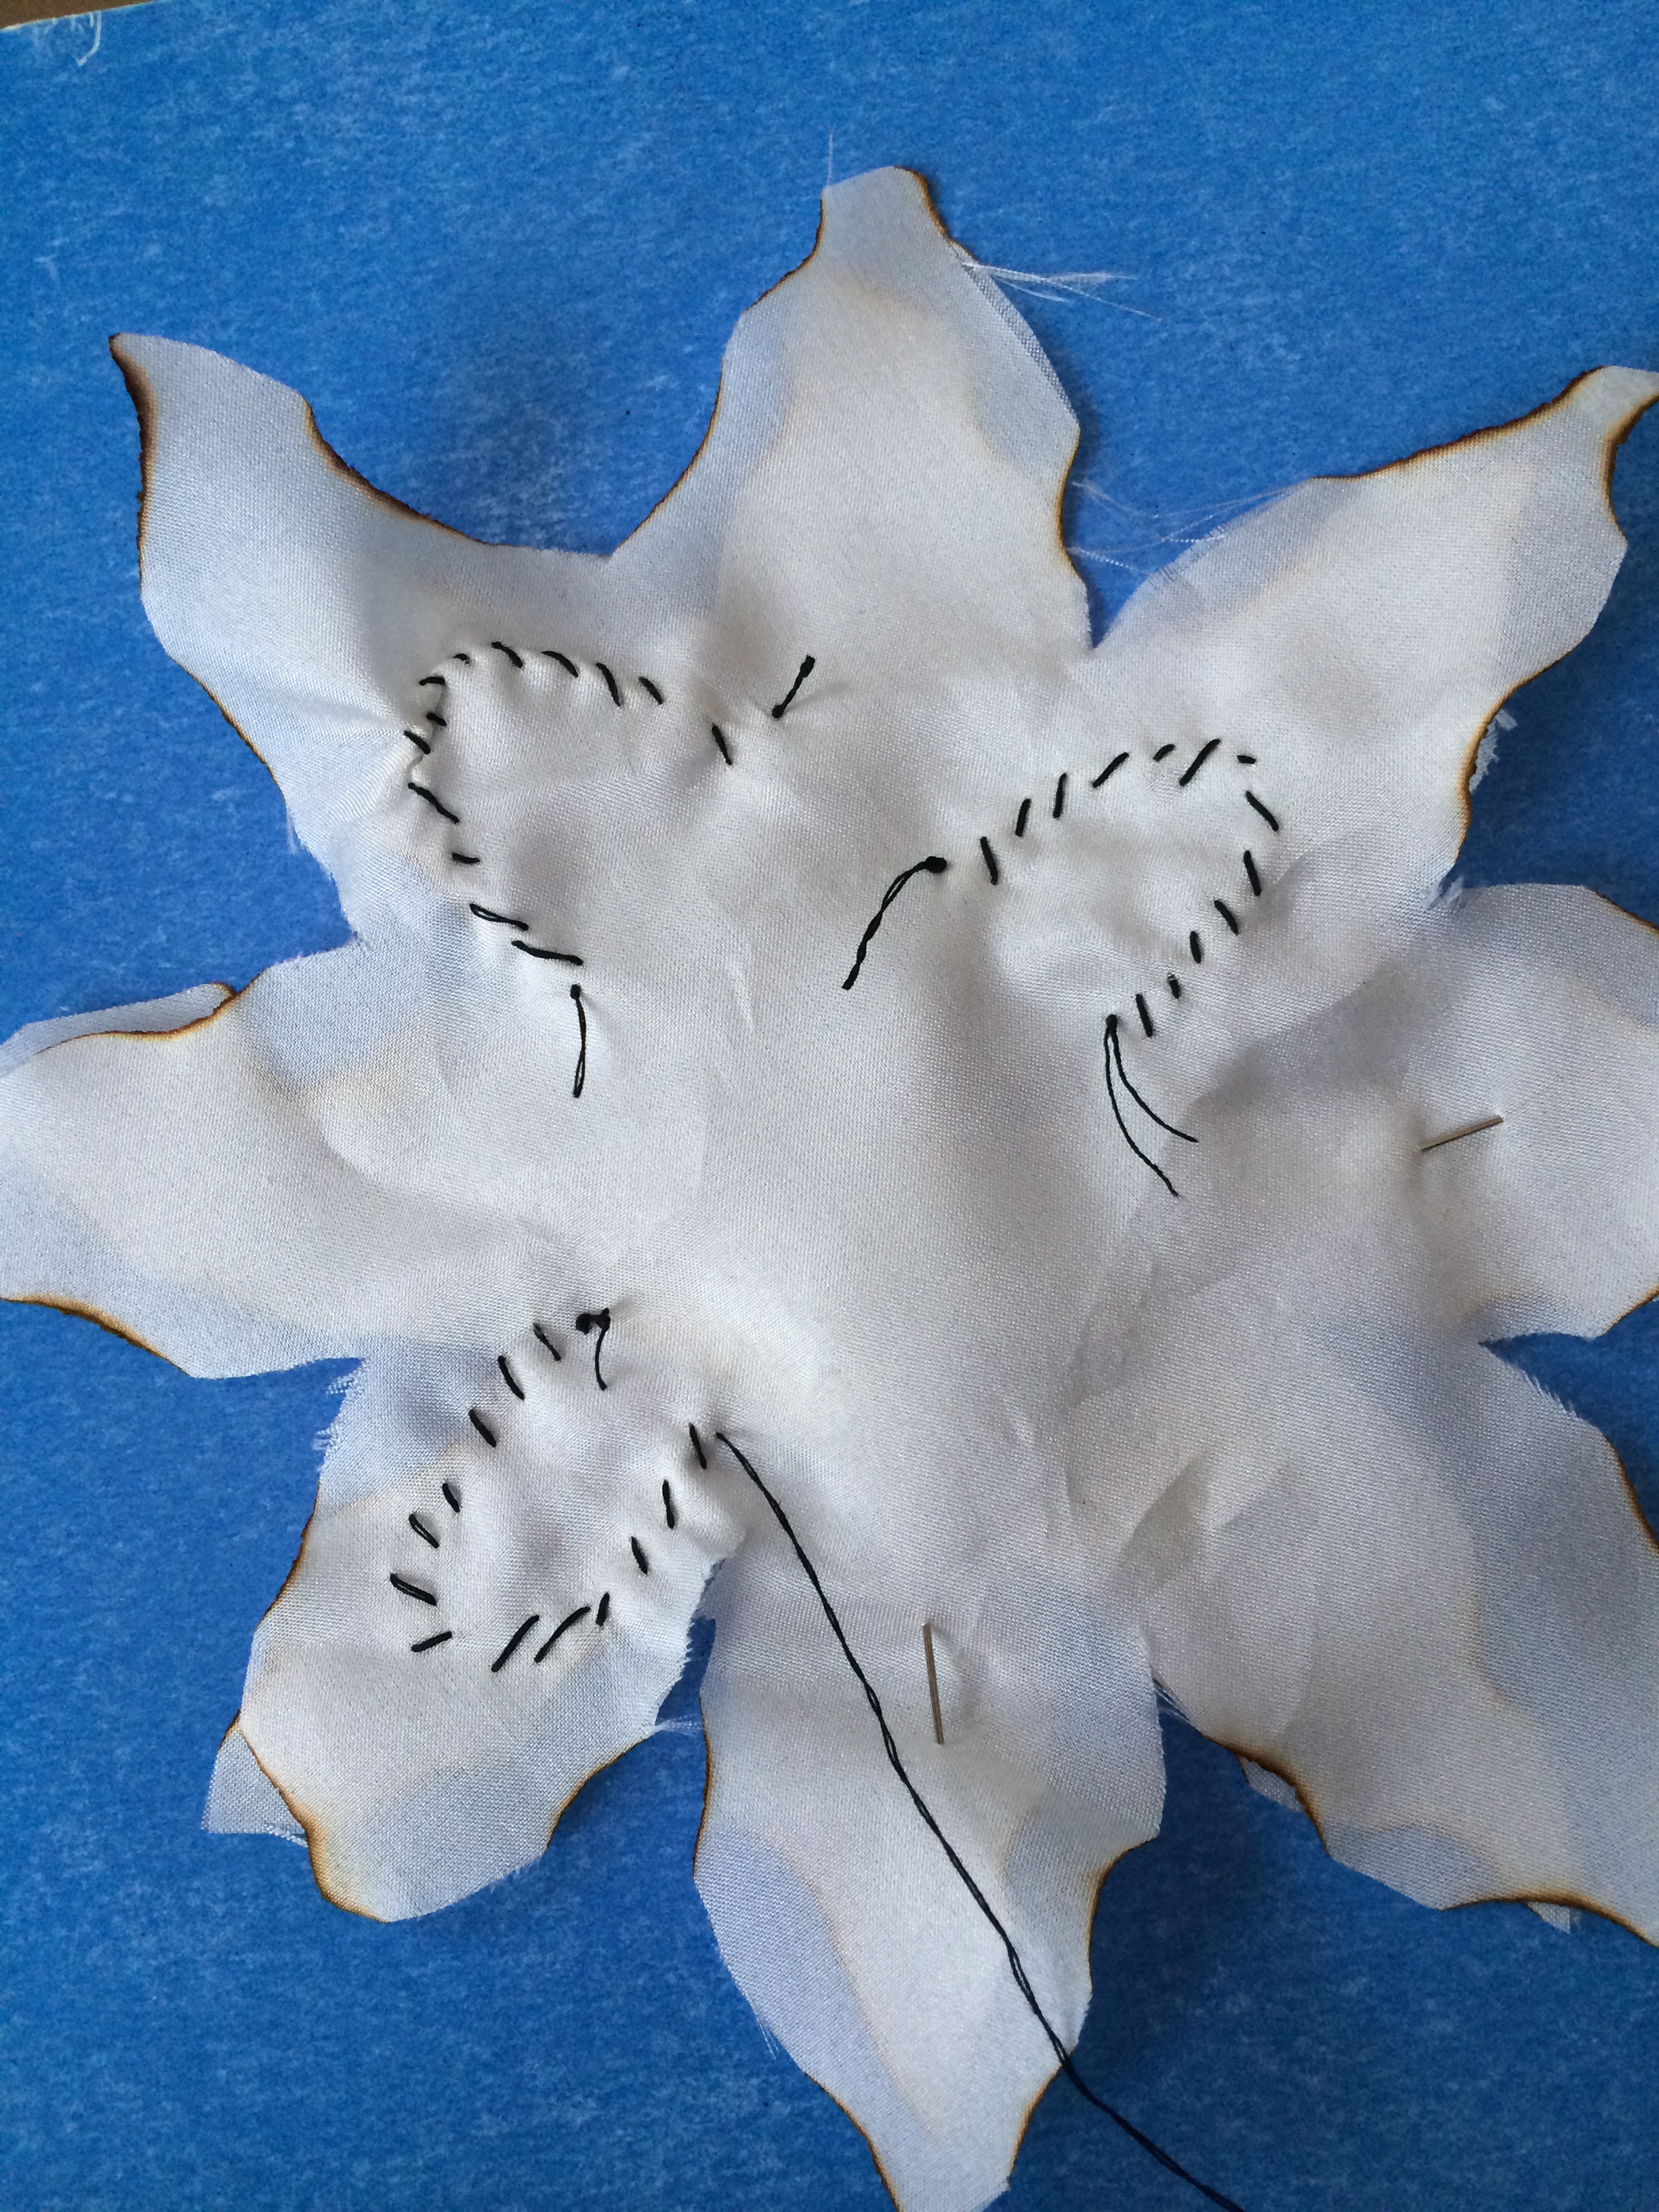
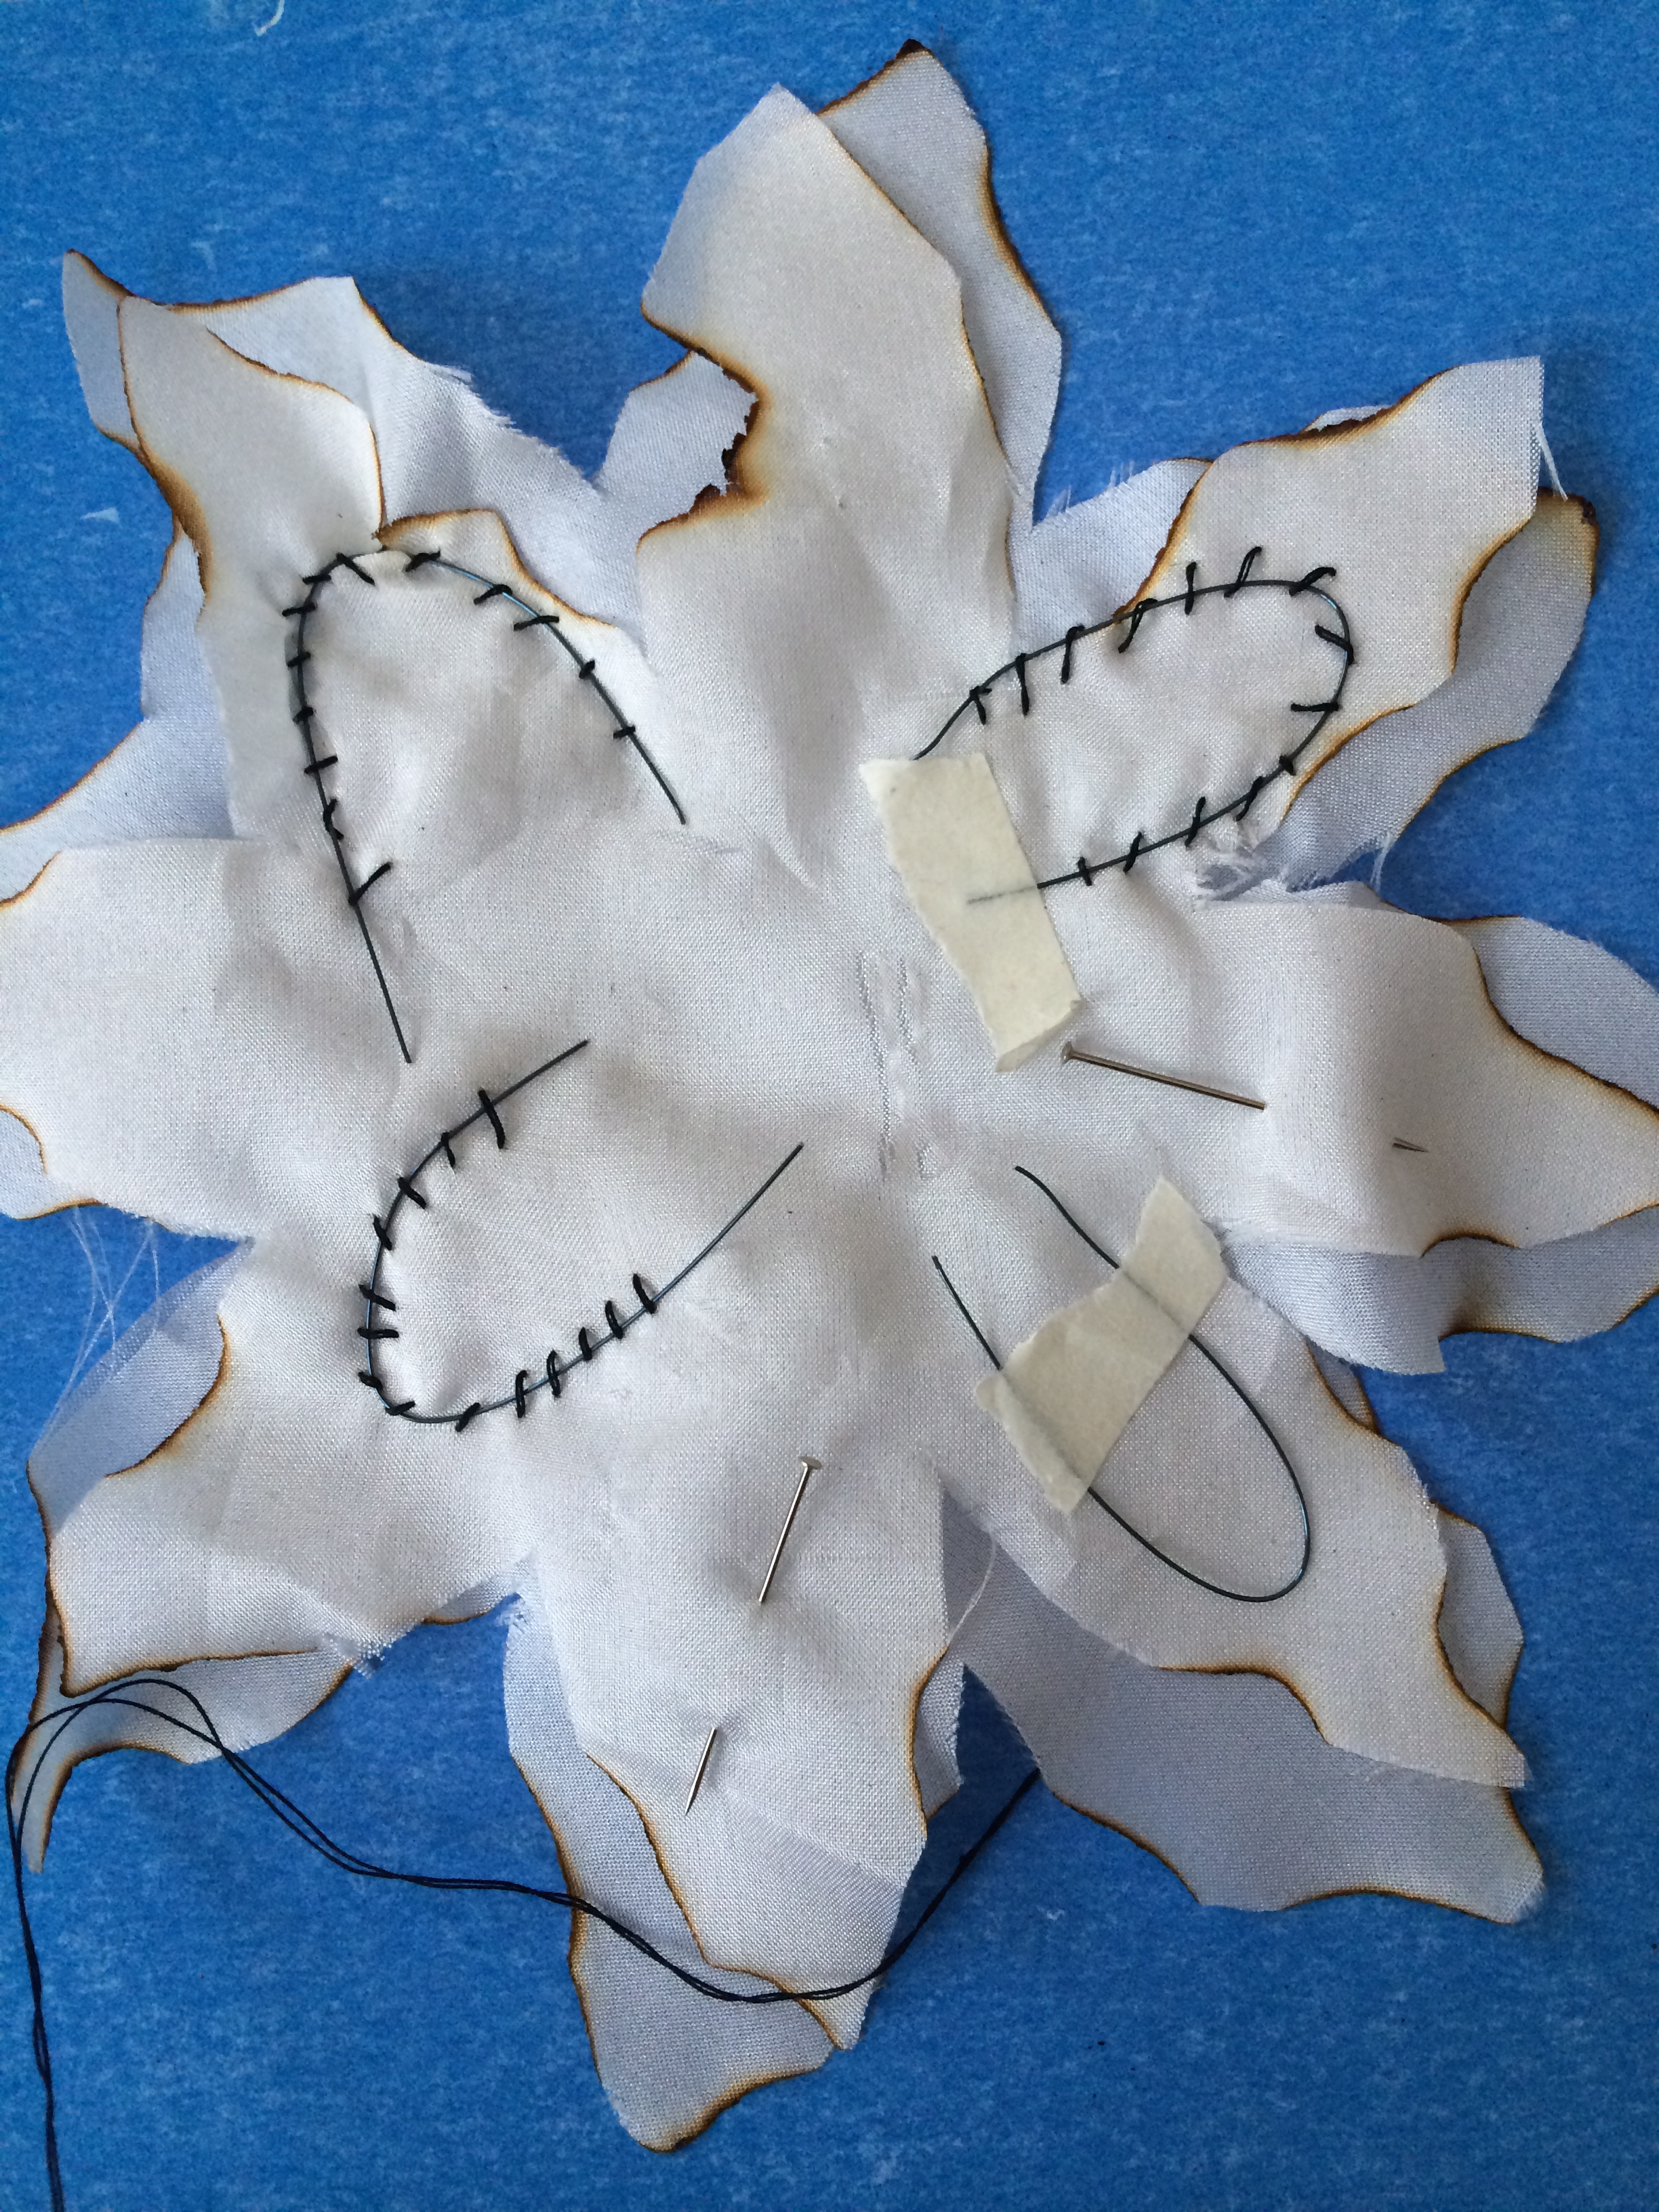
Step 4; Sewing the Nitinol
Next step is to sew on the nitinol onto the petals making sure to go though both layers of the petal. To help me I pinned every other petal and taped the nitinol down with masking tape.

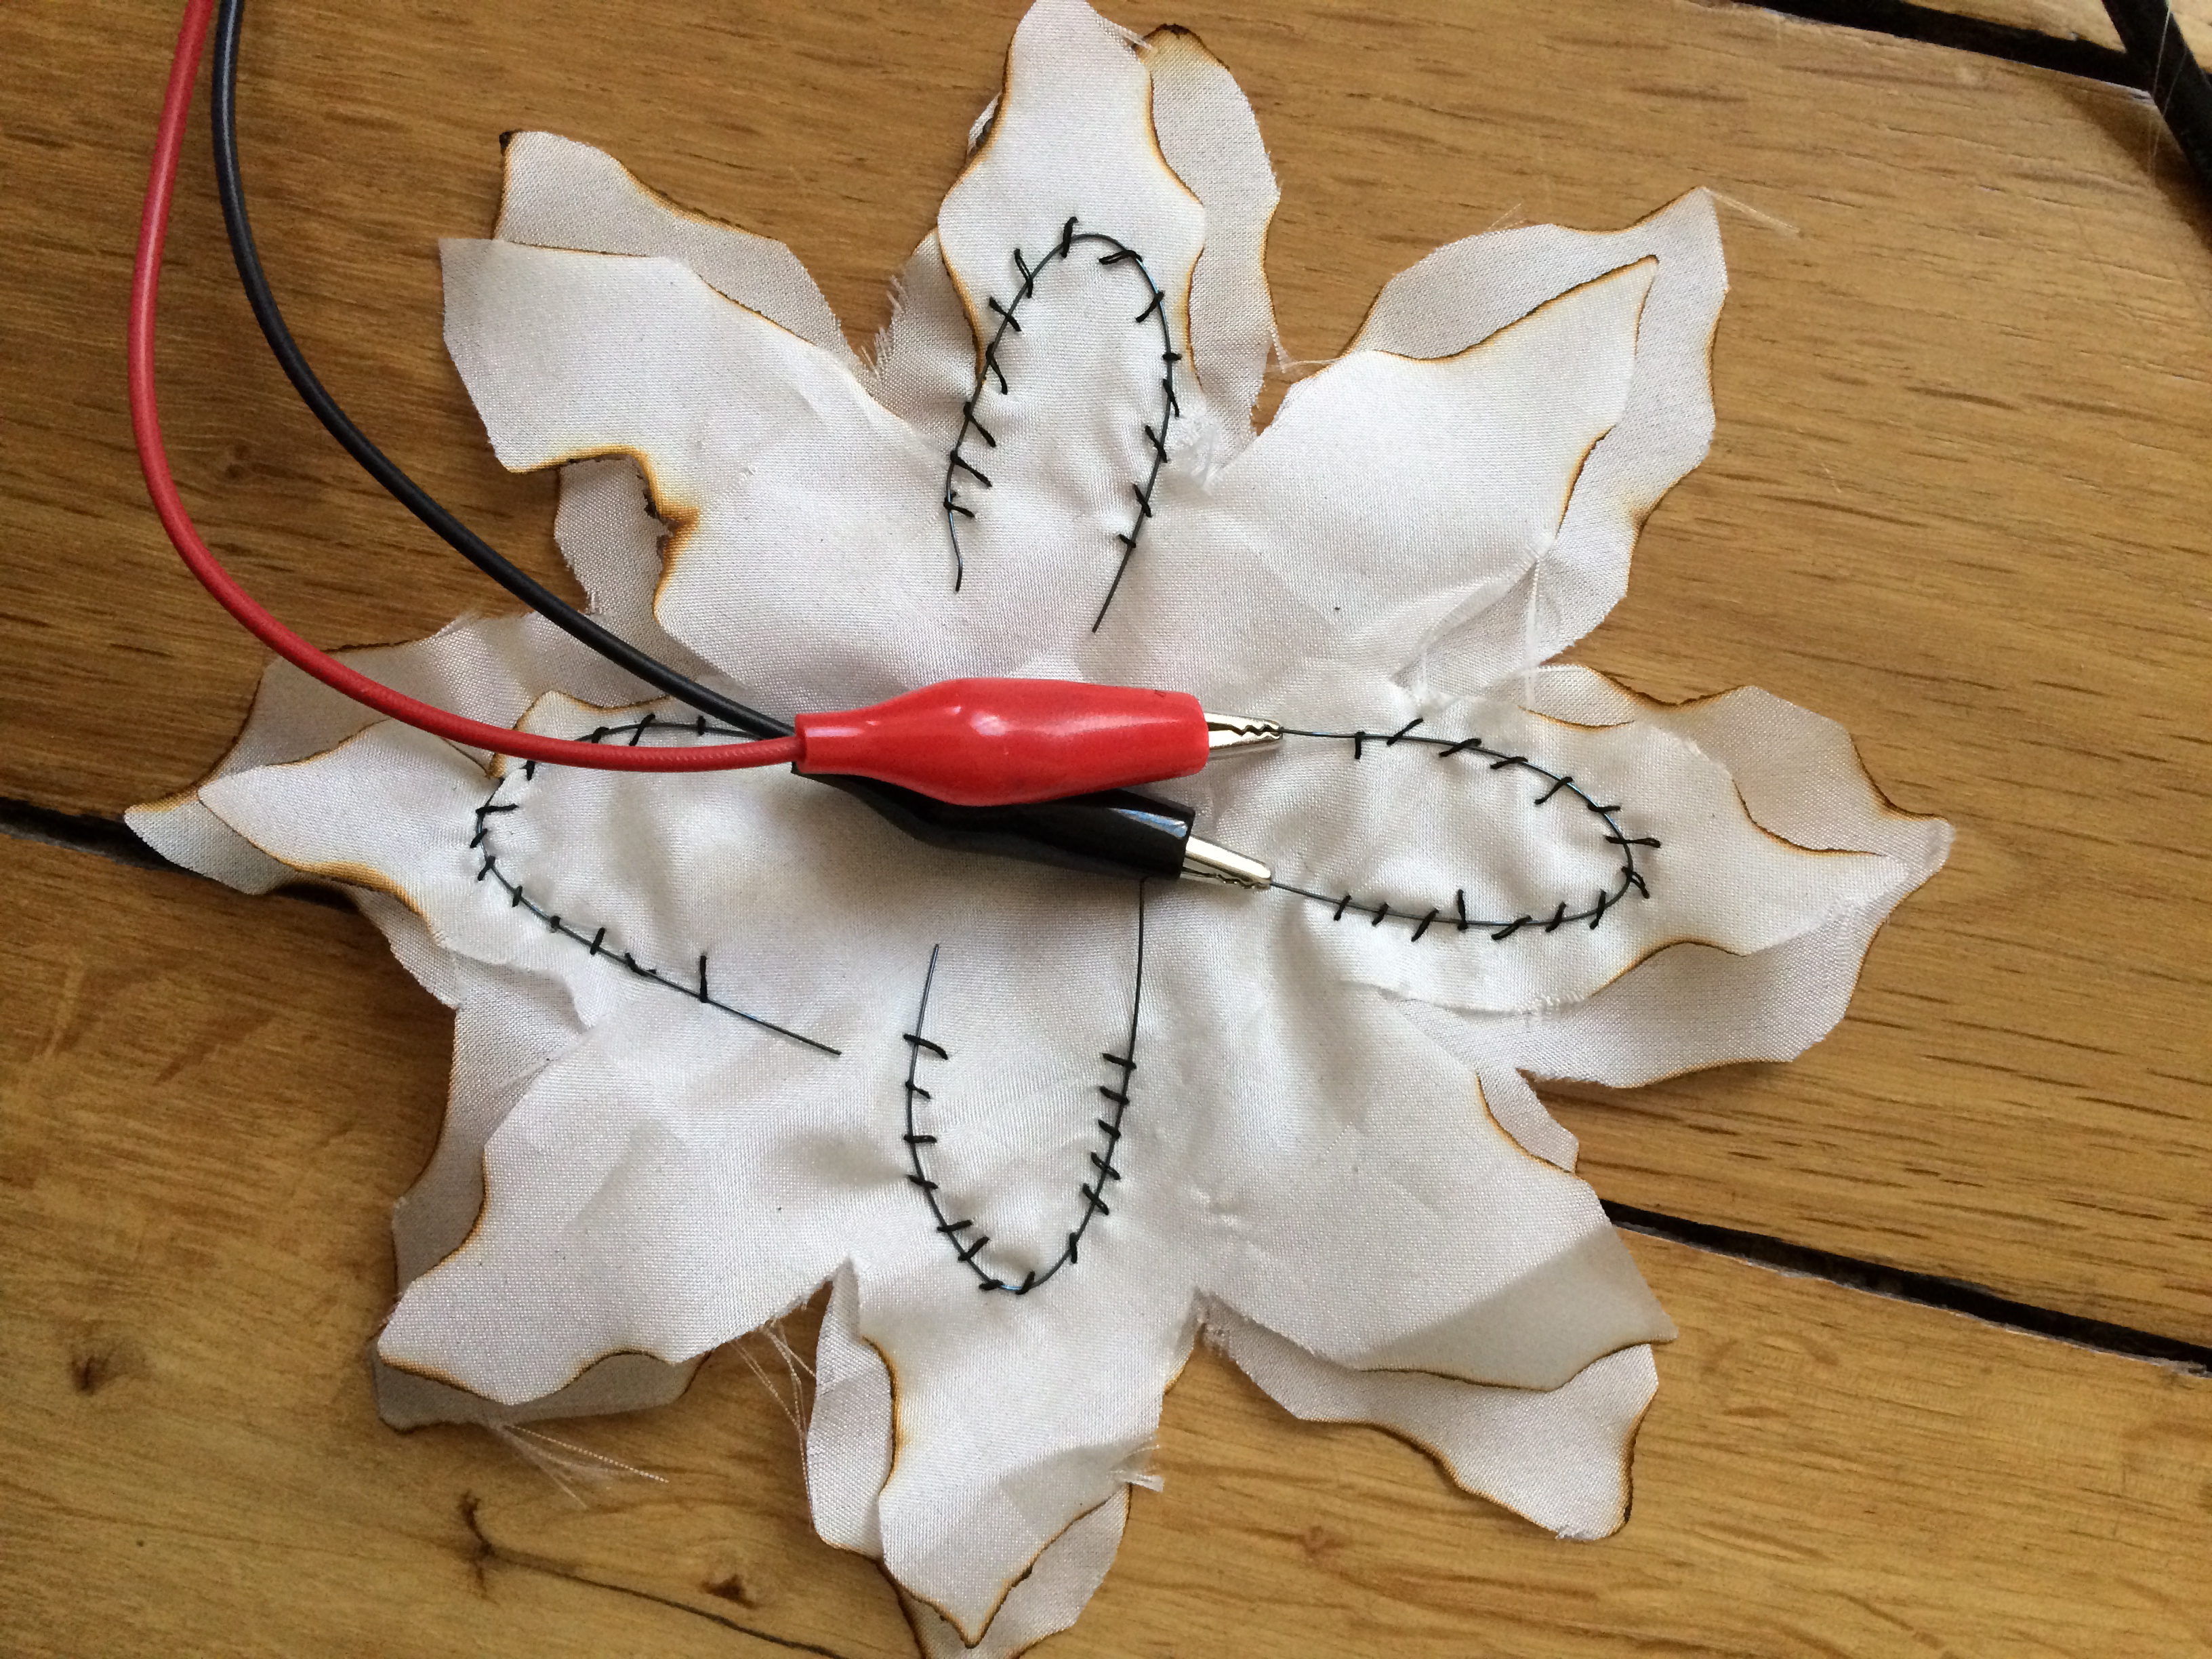
Step 5: Testing
Now that you have your nitinol sewn onto your petal you can attach a crocodile clip to each end of the wire and set the voltage to 3volts no higher and watch your flower move.