Final Project: Mini Cutout Projector
A Kit to make this DIY projector.
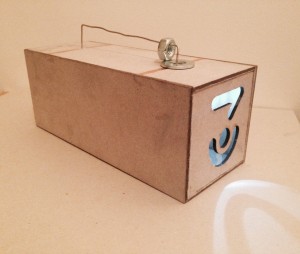
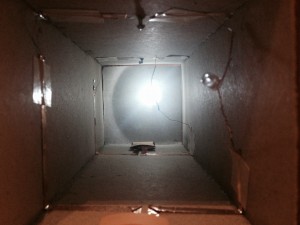
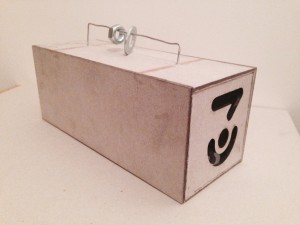
Using 2 LEDs and 2 Coin Batteries, any image cut out of mat board can be projected out of this box.
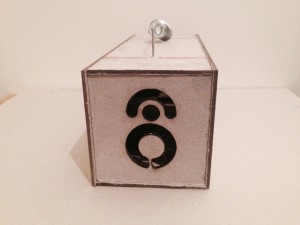
FINISHED OUTCOME:
Kit includes:
Mat Board (for box)
2 LED lights
2 Coin Batteries
Condoctive Copper Tape
Thick Wire (for handle)
Thin Conductive Wire (for soldering the LED and copper tape)
2 Metal bolts
Required Materials:
Soldering Iron
Glue
Tape
Laser Cutter
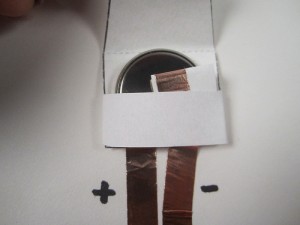
Start by making the battery pockets. These will keep the batteries ready for the circuit to be completed to light the LED.
This tutorial shows you how to make a paper battery holder for coin cell batteries:
https://www.youtube.com/watch?v=j0xXTB4Be8Q
Then start making the box
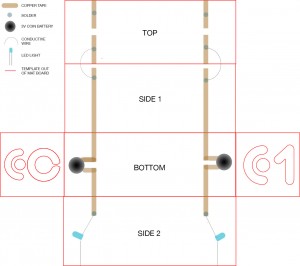
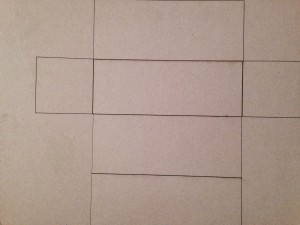
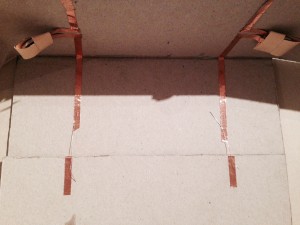
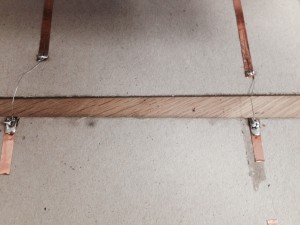
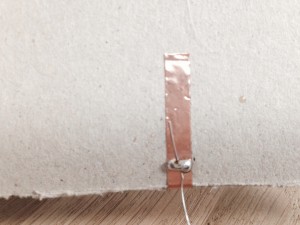
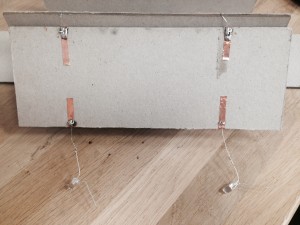
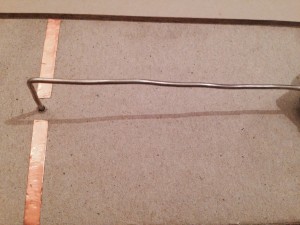
Tape the battery pockets to the bottom, as well as the conductive tape in the required pattern. (refer to the template)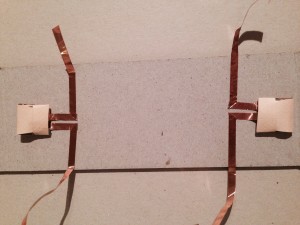
Do this step with tape at first, just to make sure it all works, and test to see if the LED lights. Make sure all negatives and Positives match up.
Once it works, being soldering
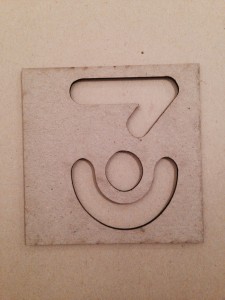
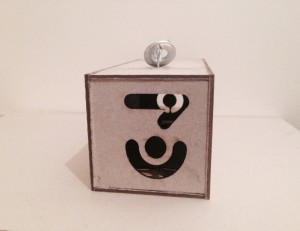
Finish the box by cutting out design onto square sides for desired projected image.
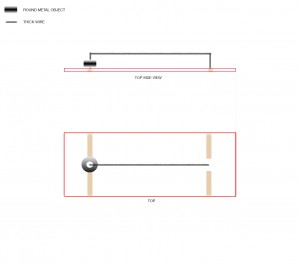
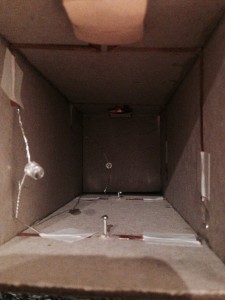
Place the top on the box, glue it into place and insert thick wire with bolts on
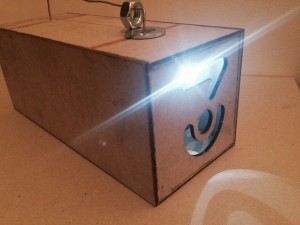
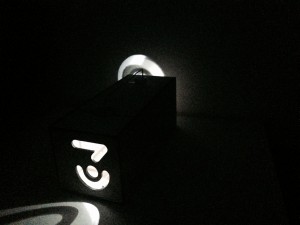
BOX IS COMPLETE
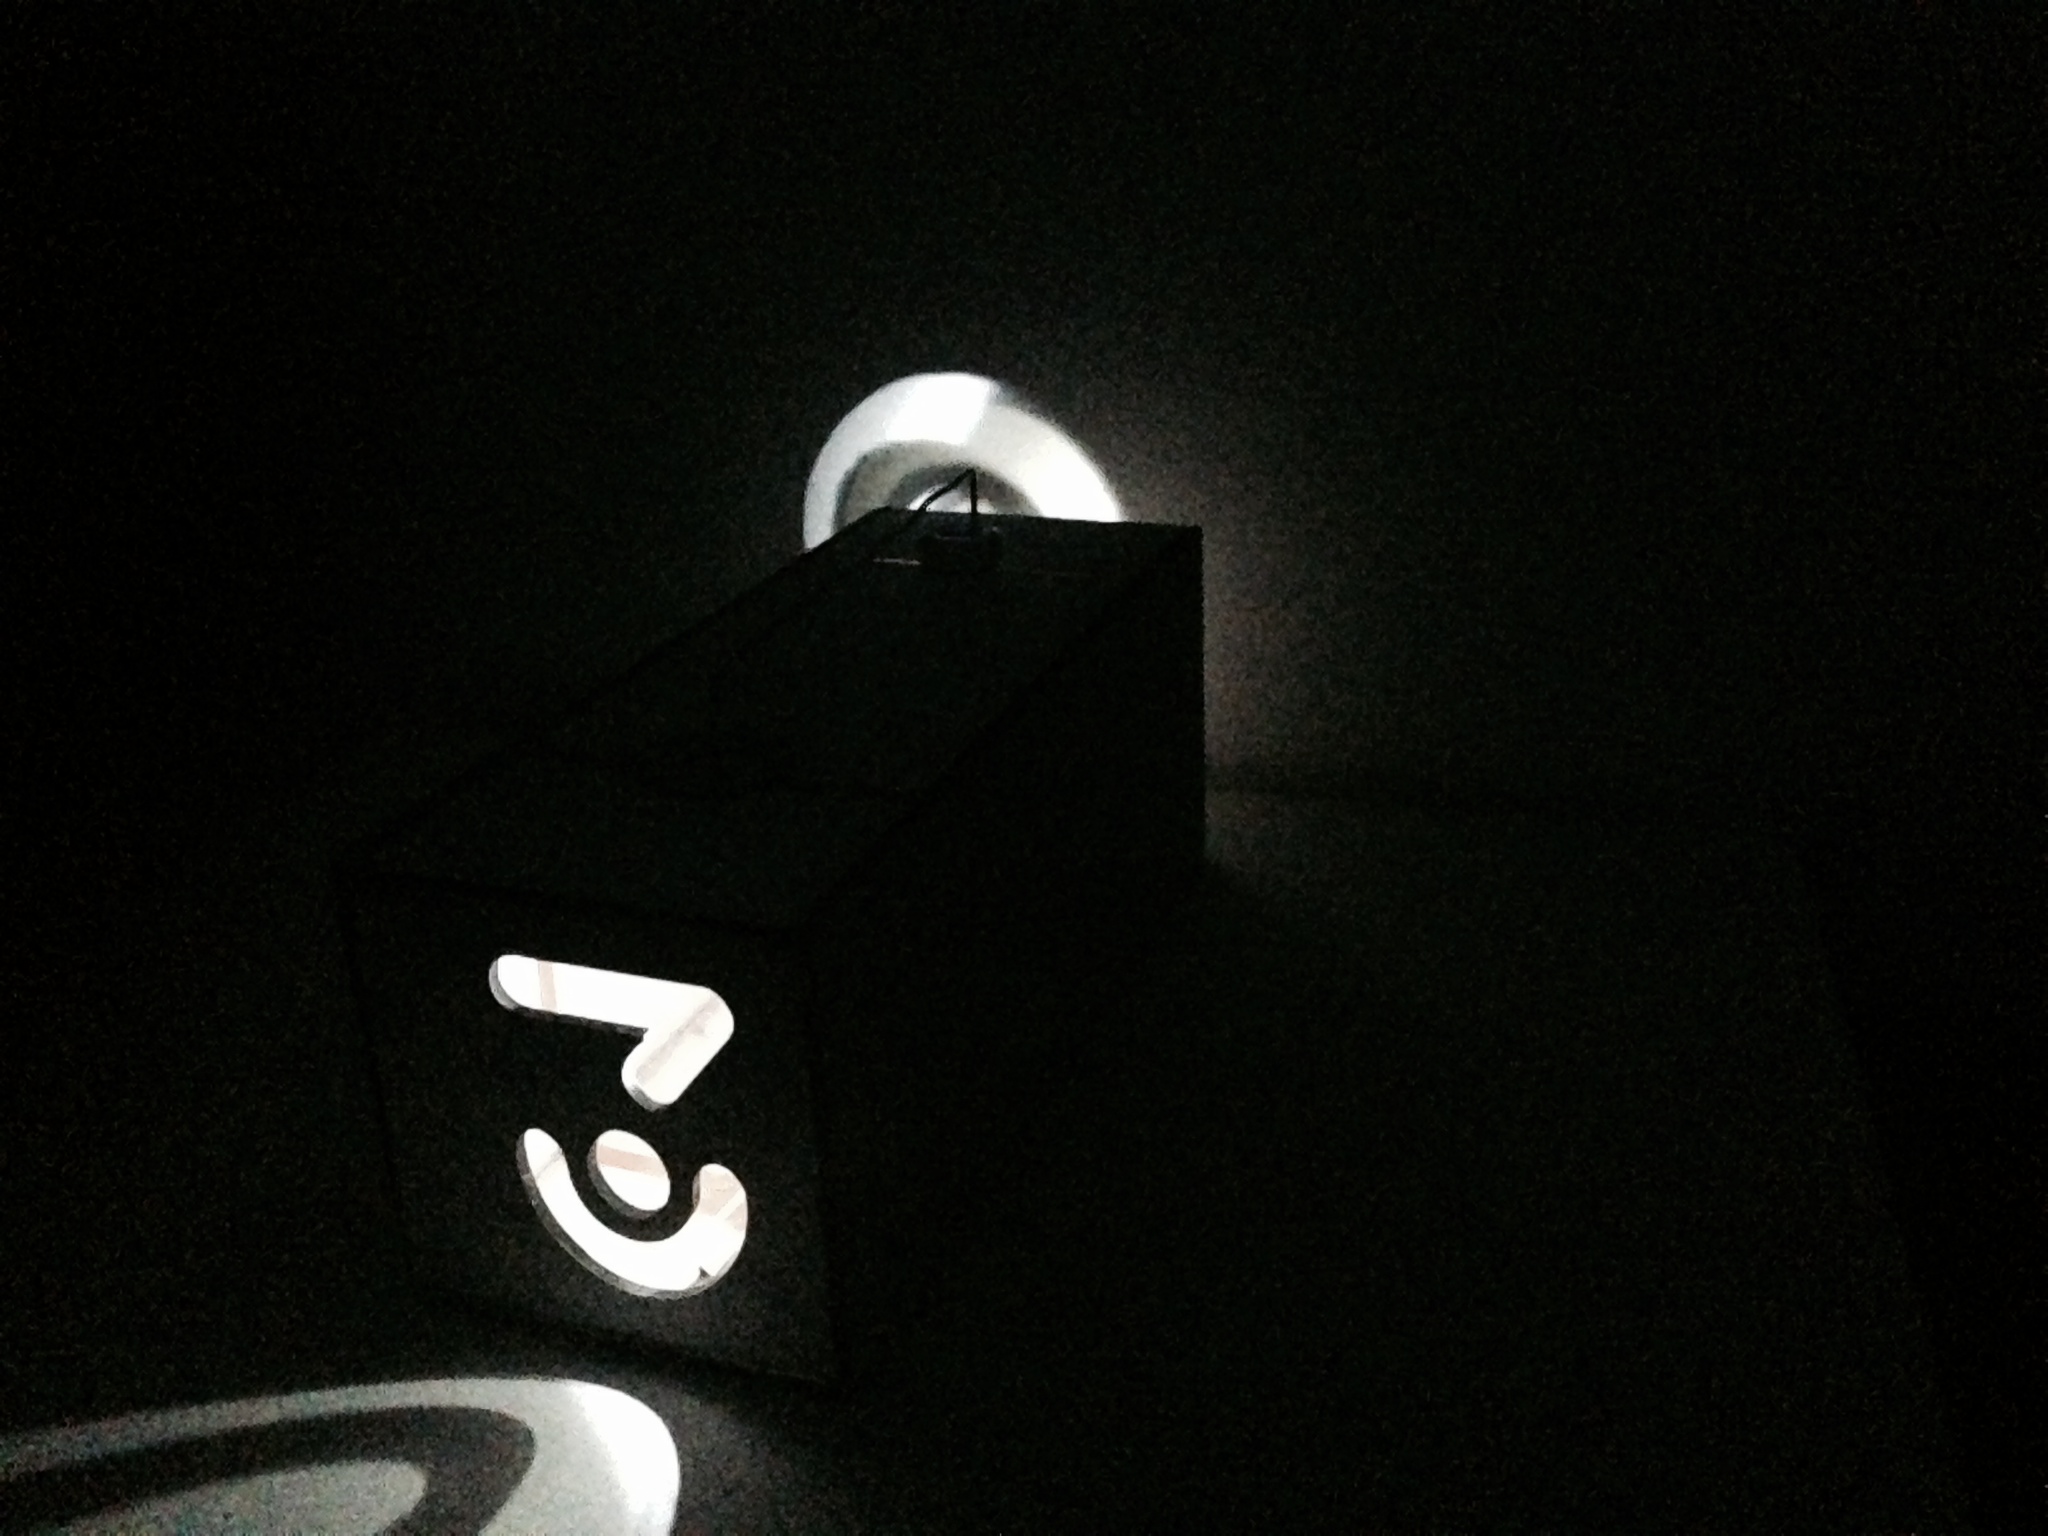
when bolt is set down onto copper tape, the circuit is complete and the LED will light up to project image
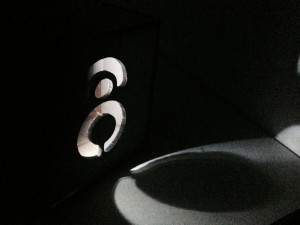
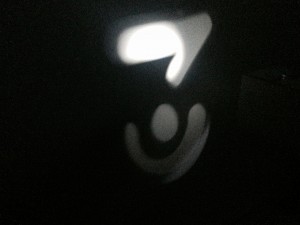
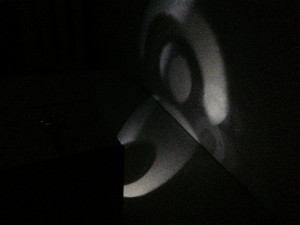
LIGHTS OFF WITH PROJECTION
VIDEOS OF BOX:
Eventually it would be nice to make one on a larger scale using the same simple design, but with each circuit corresponding to a different LED colored light strip. And the Bolt that completes the circuit would be on a slide system so it would move across the box to each pair of meeting copper tape pairs.

