
I N I T I A L S K E T C H & D E V E L O P M E N T
first idea

second sketch

final sketch

F L A T S

c u t t e r ‘s m u s t

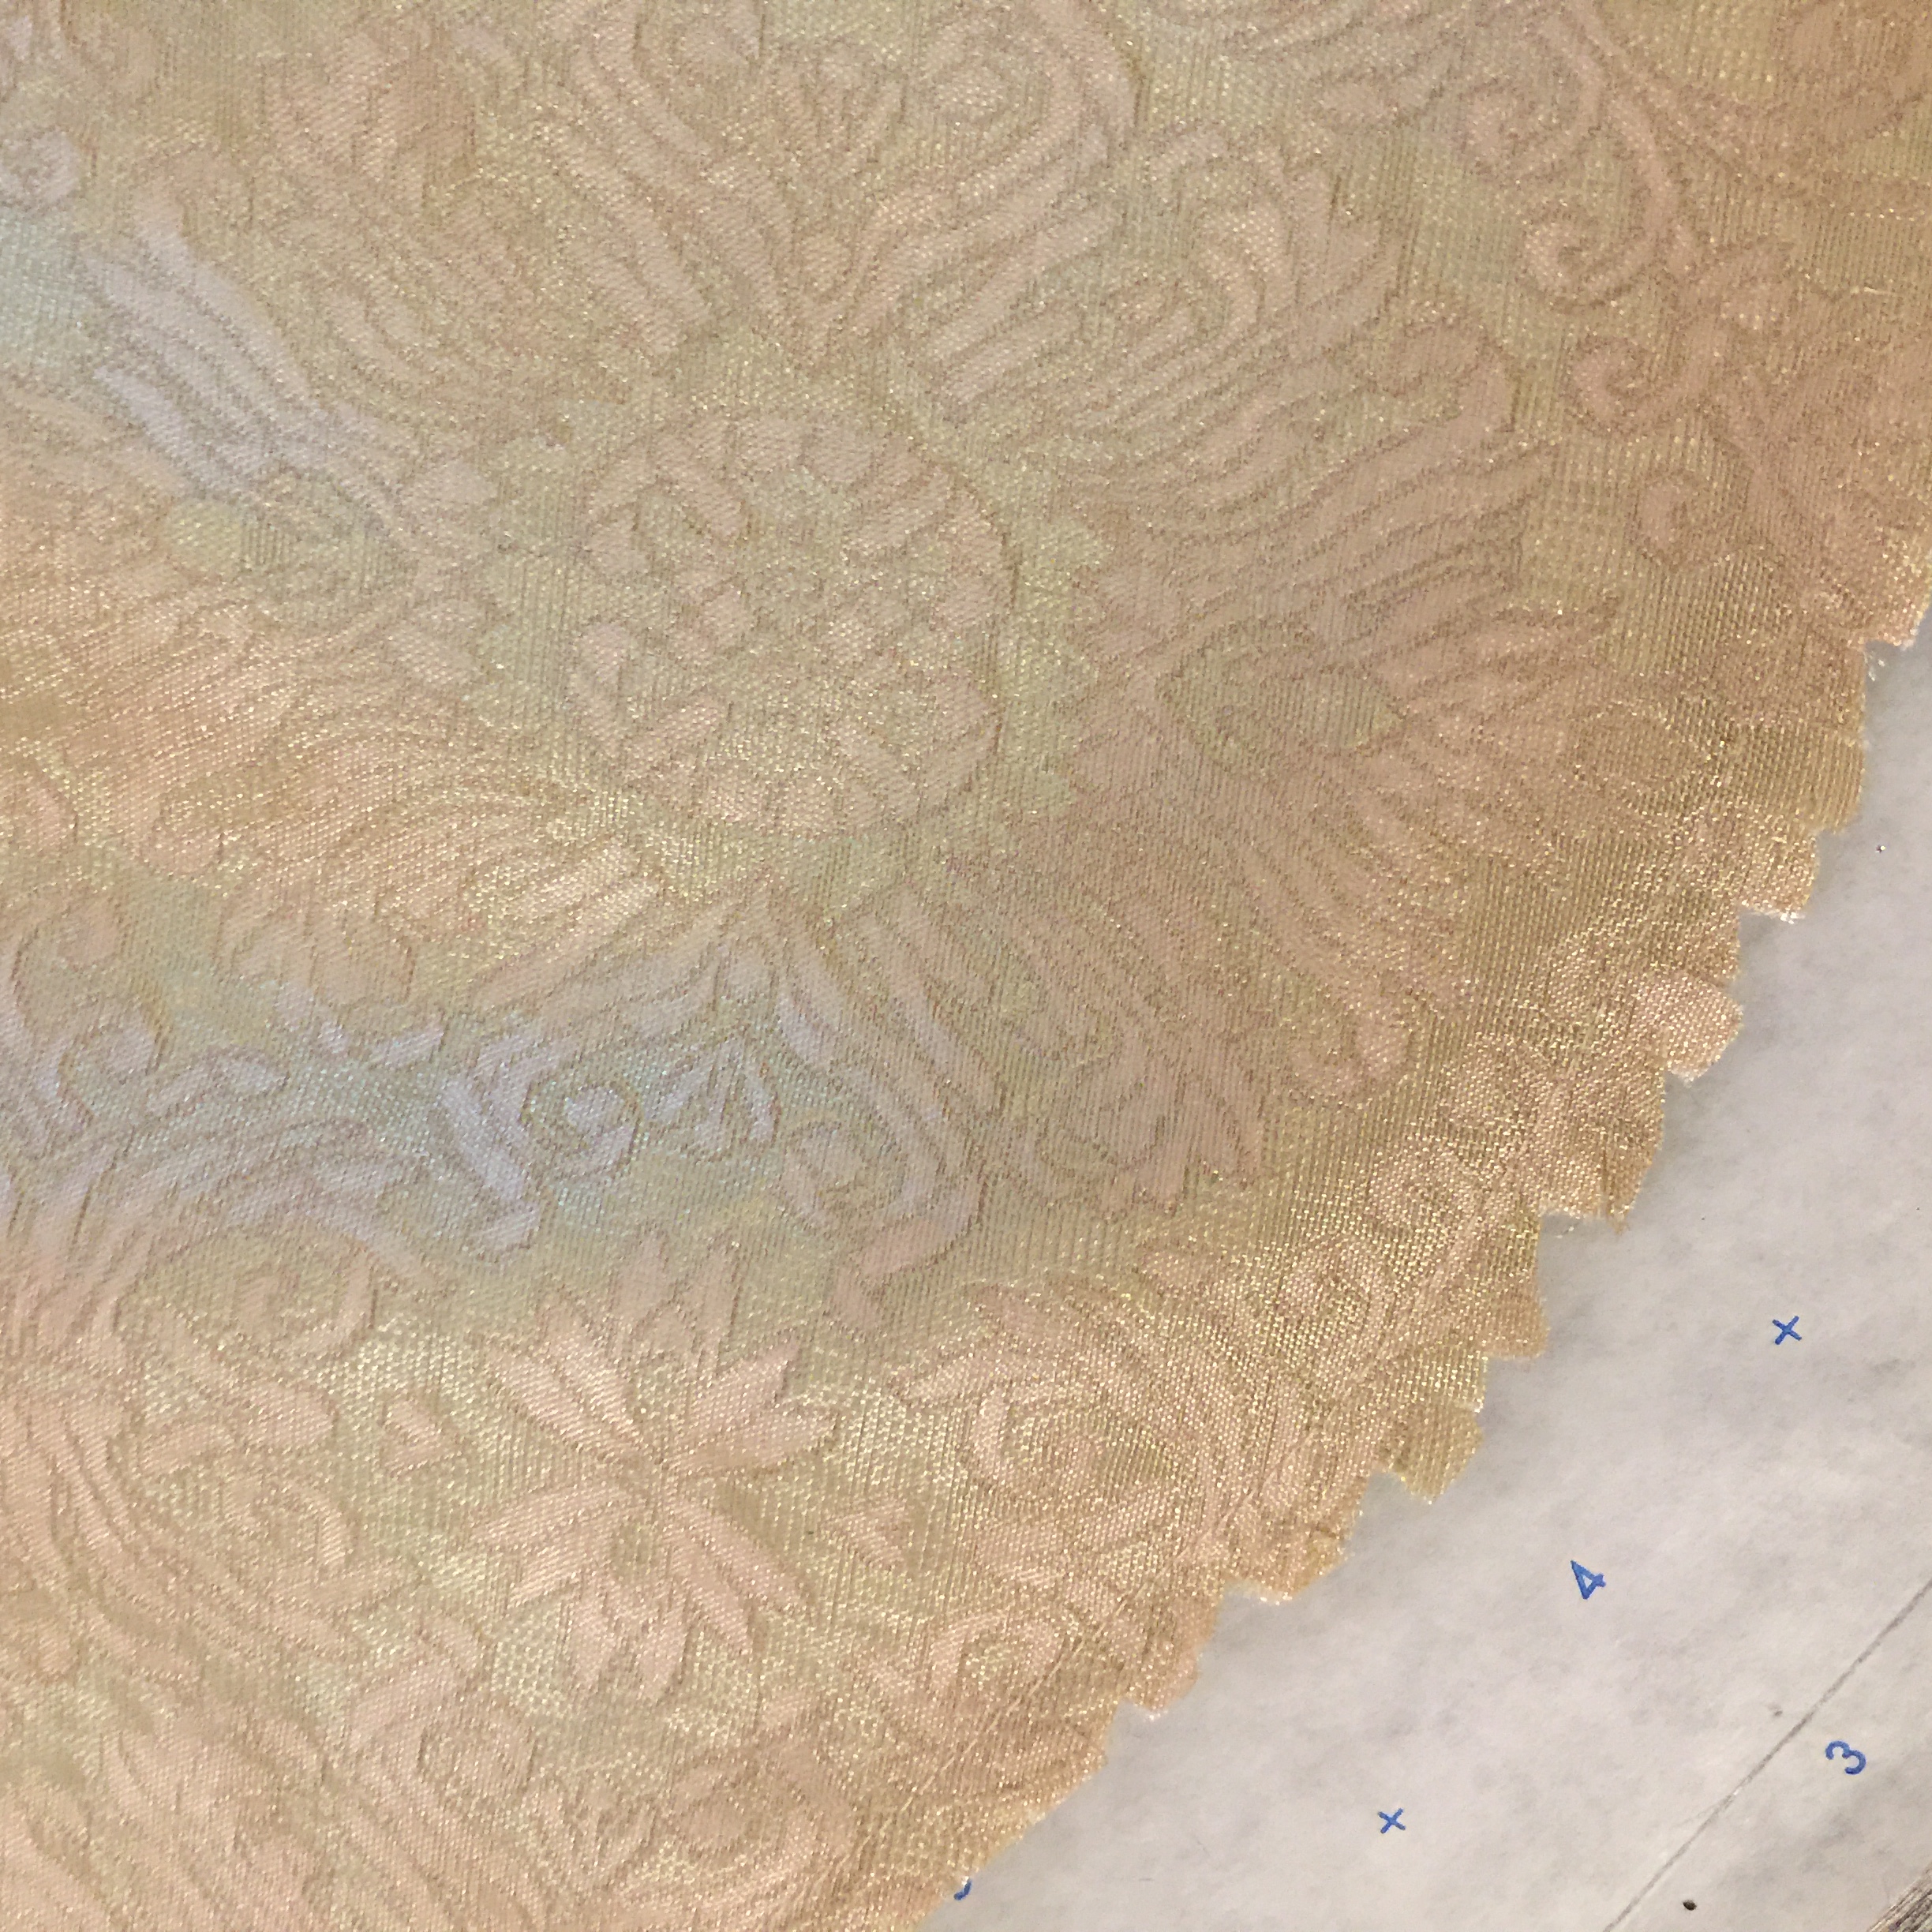
s w a t c h e s

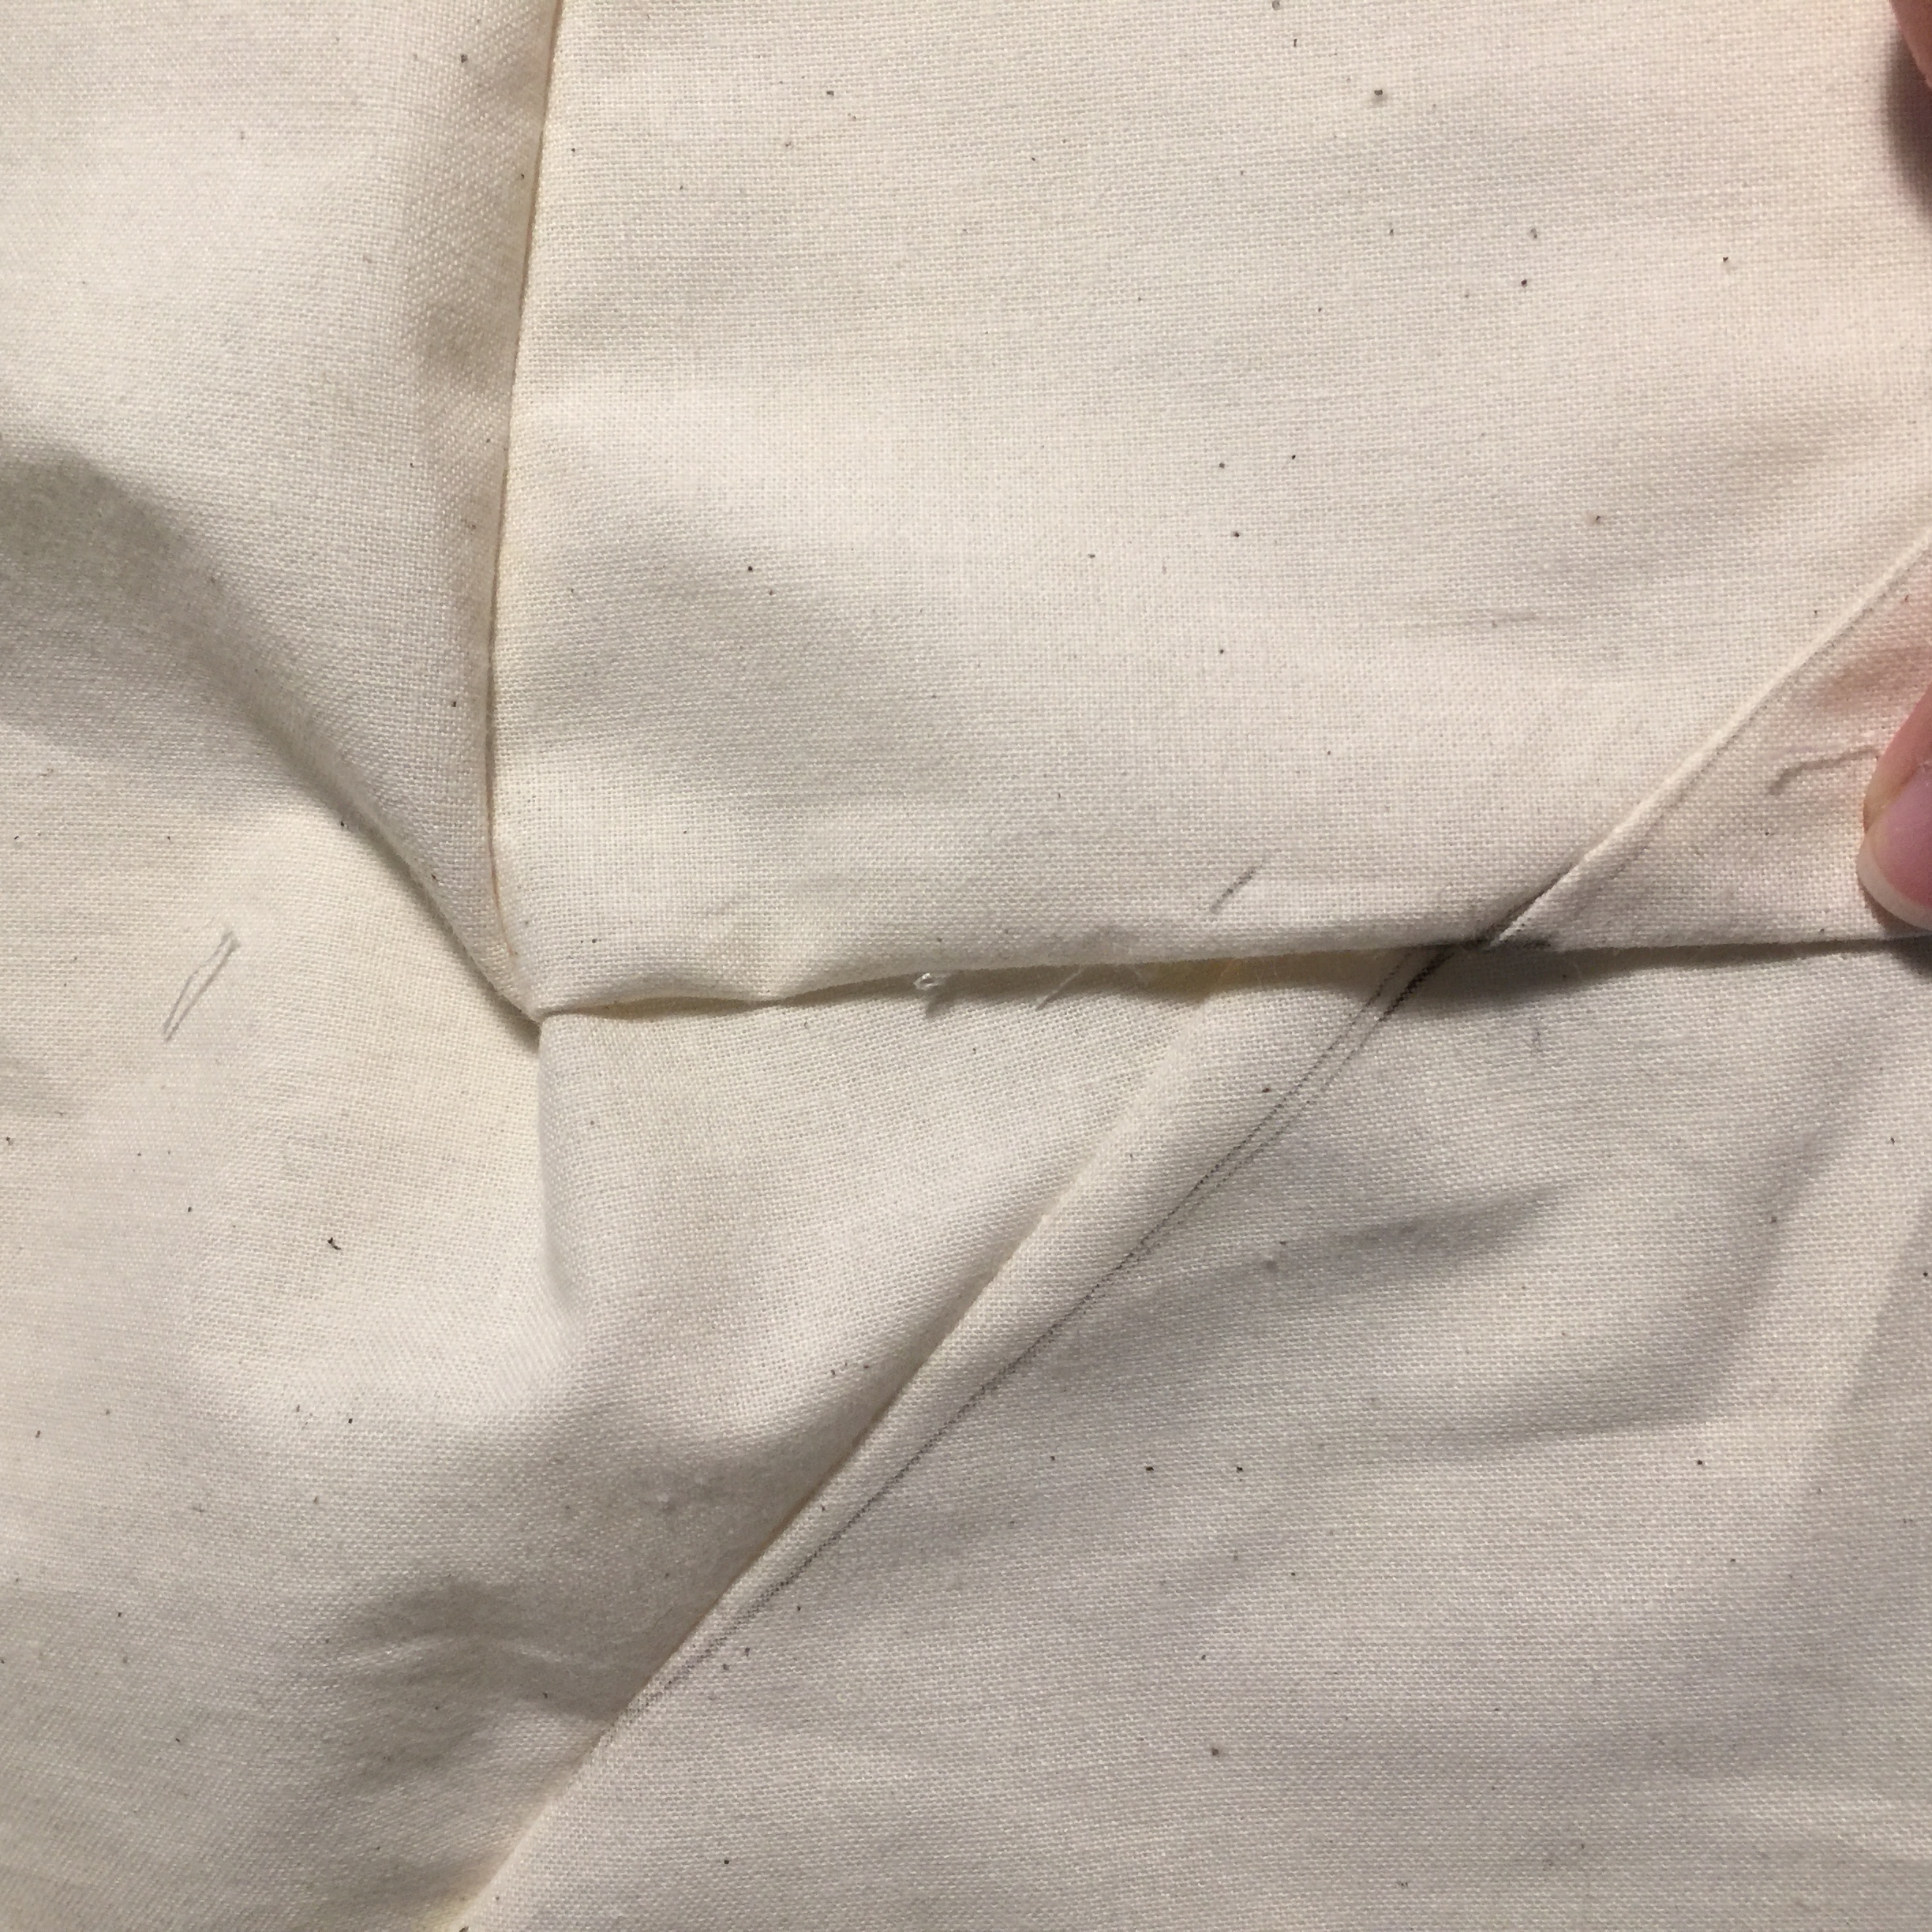
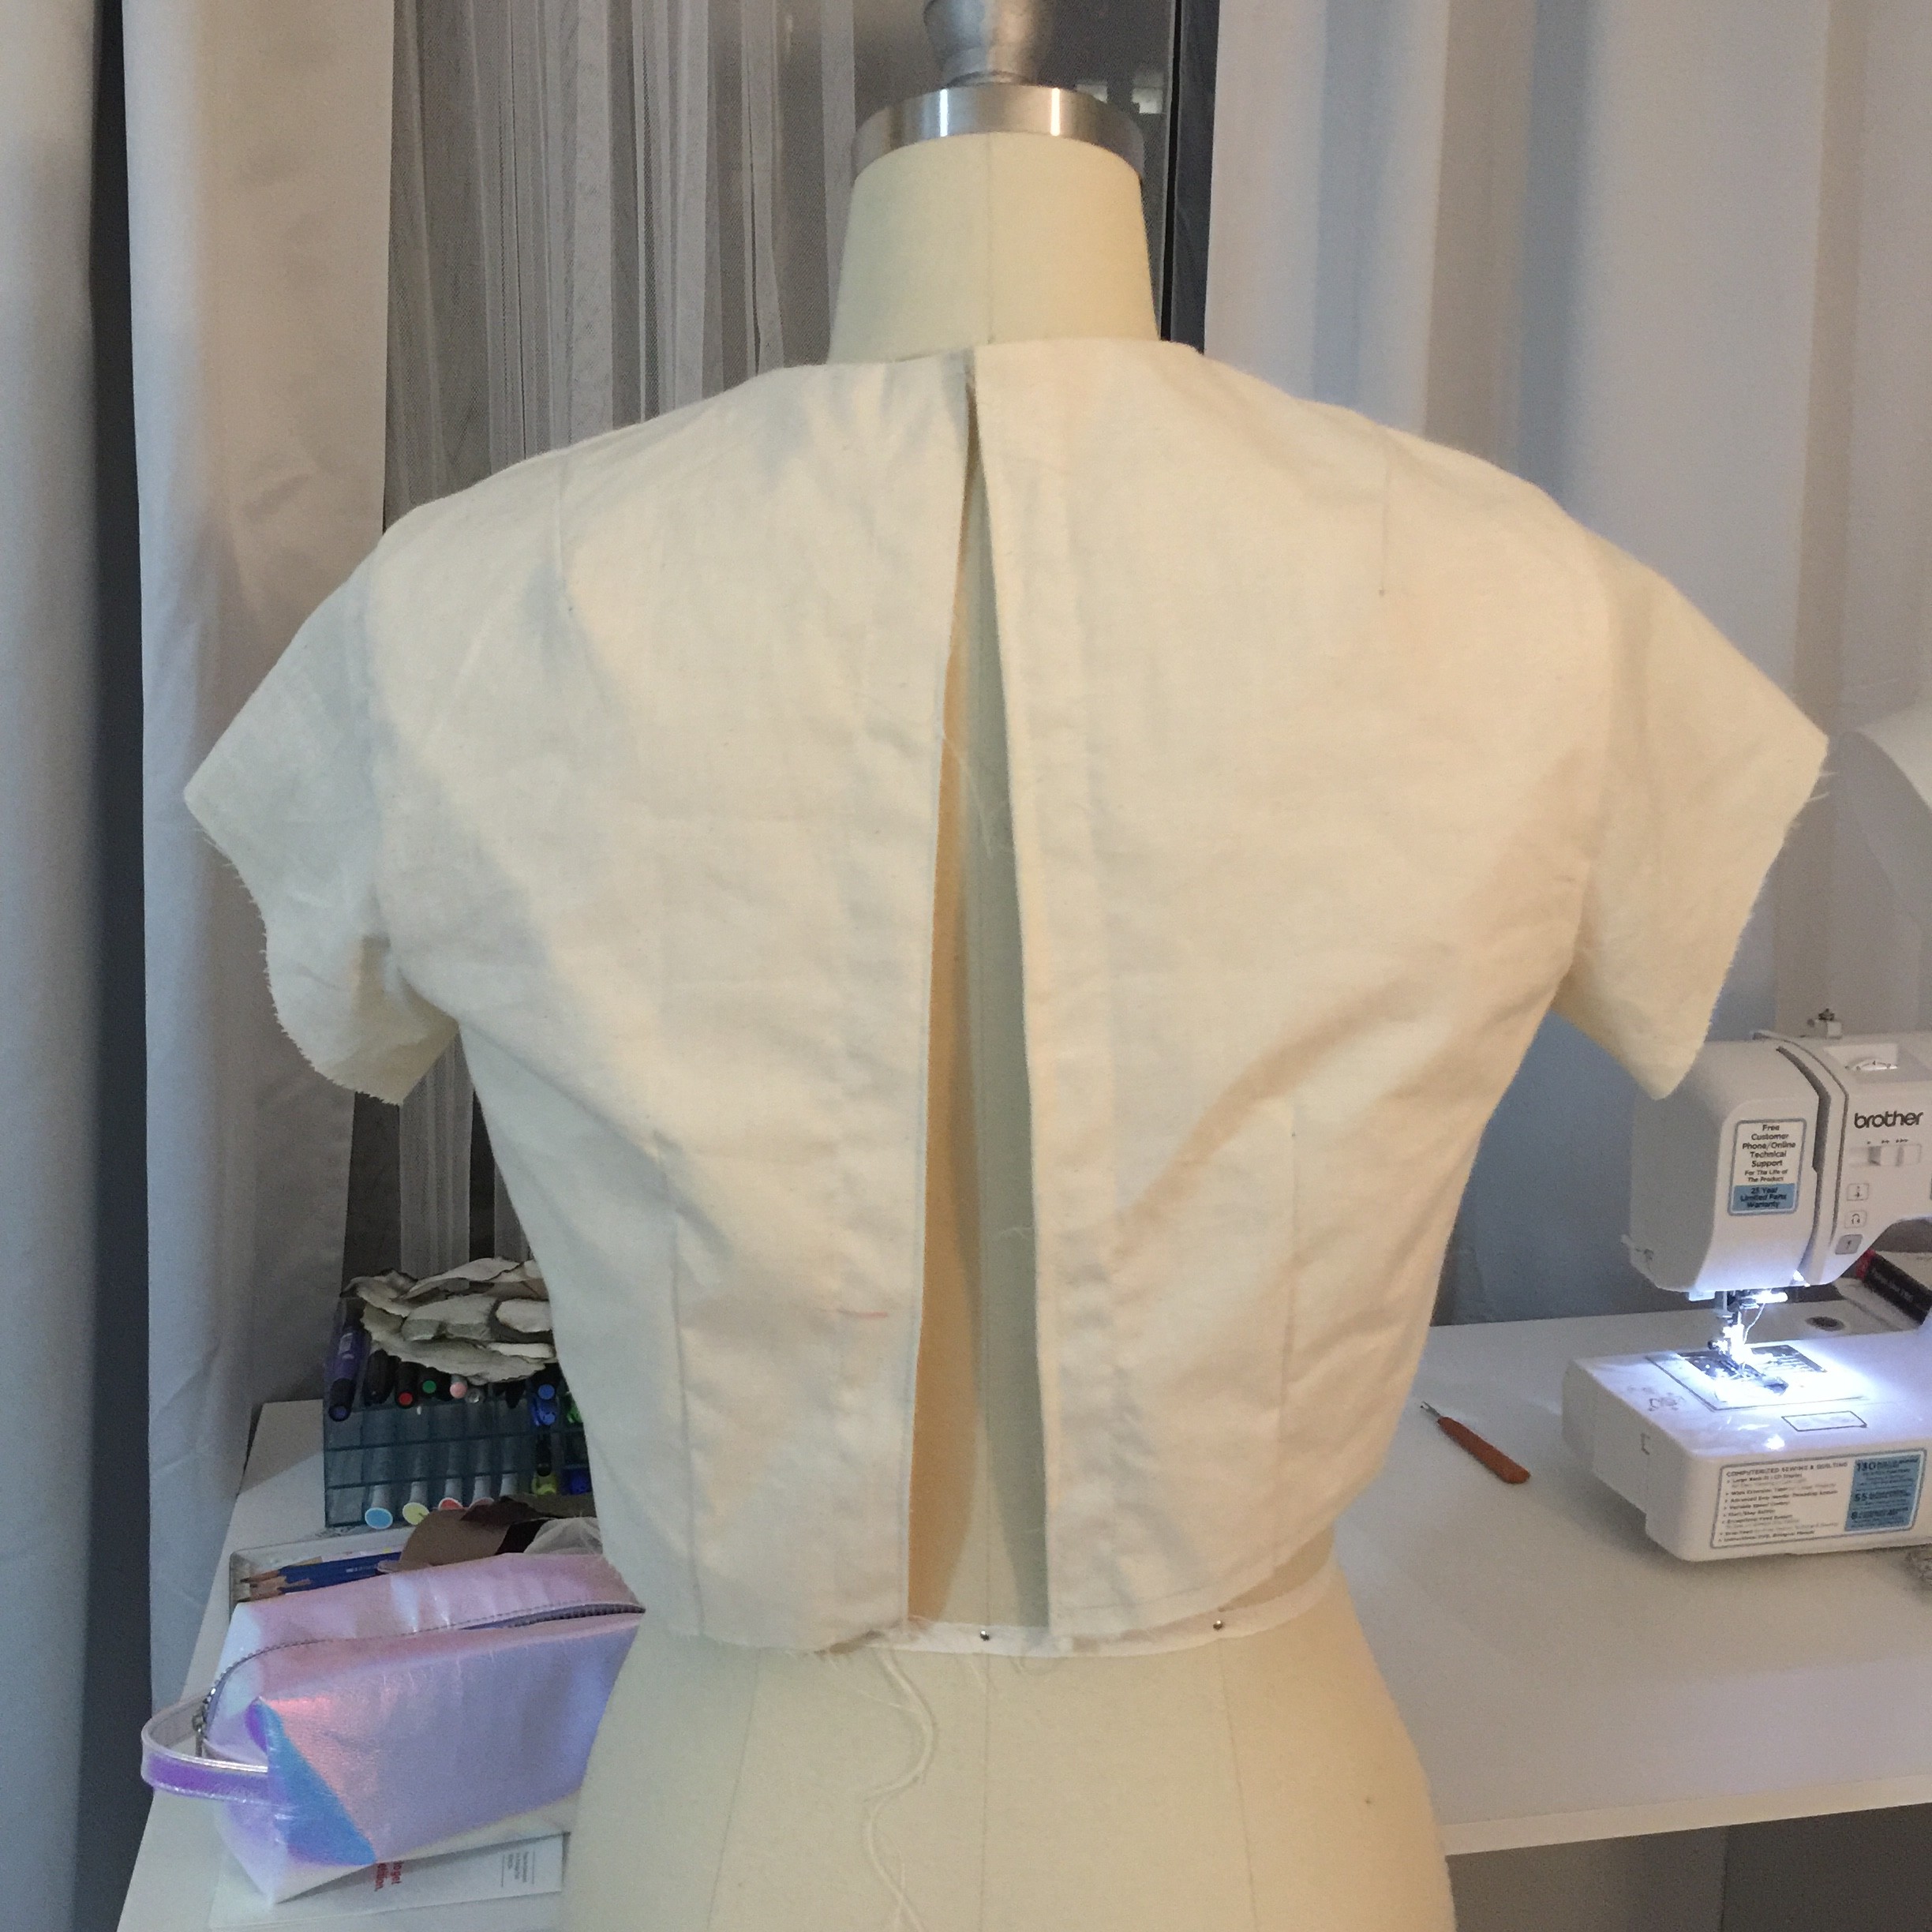
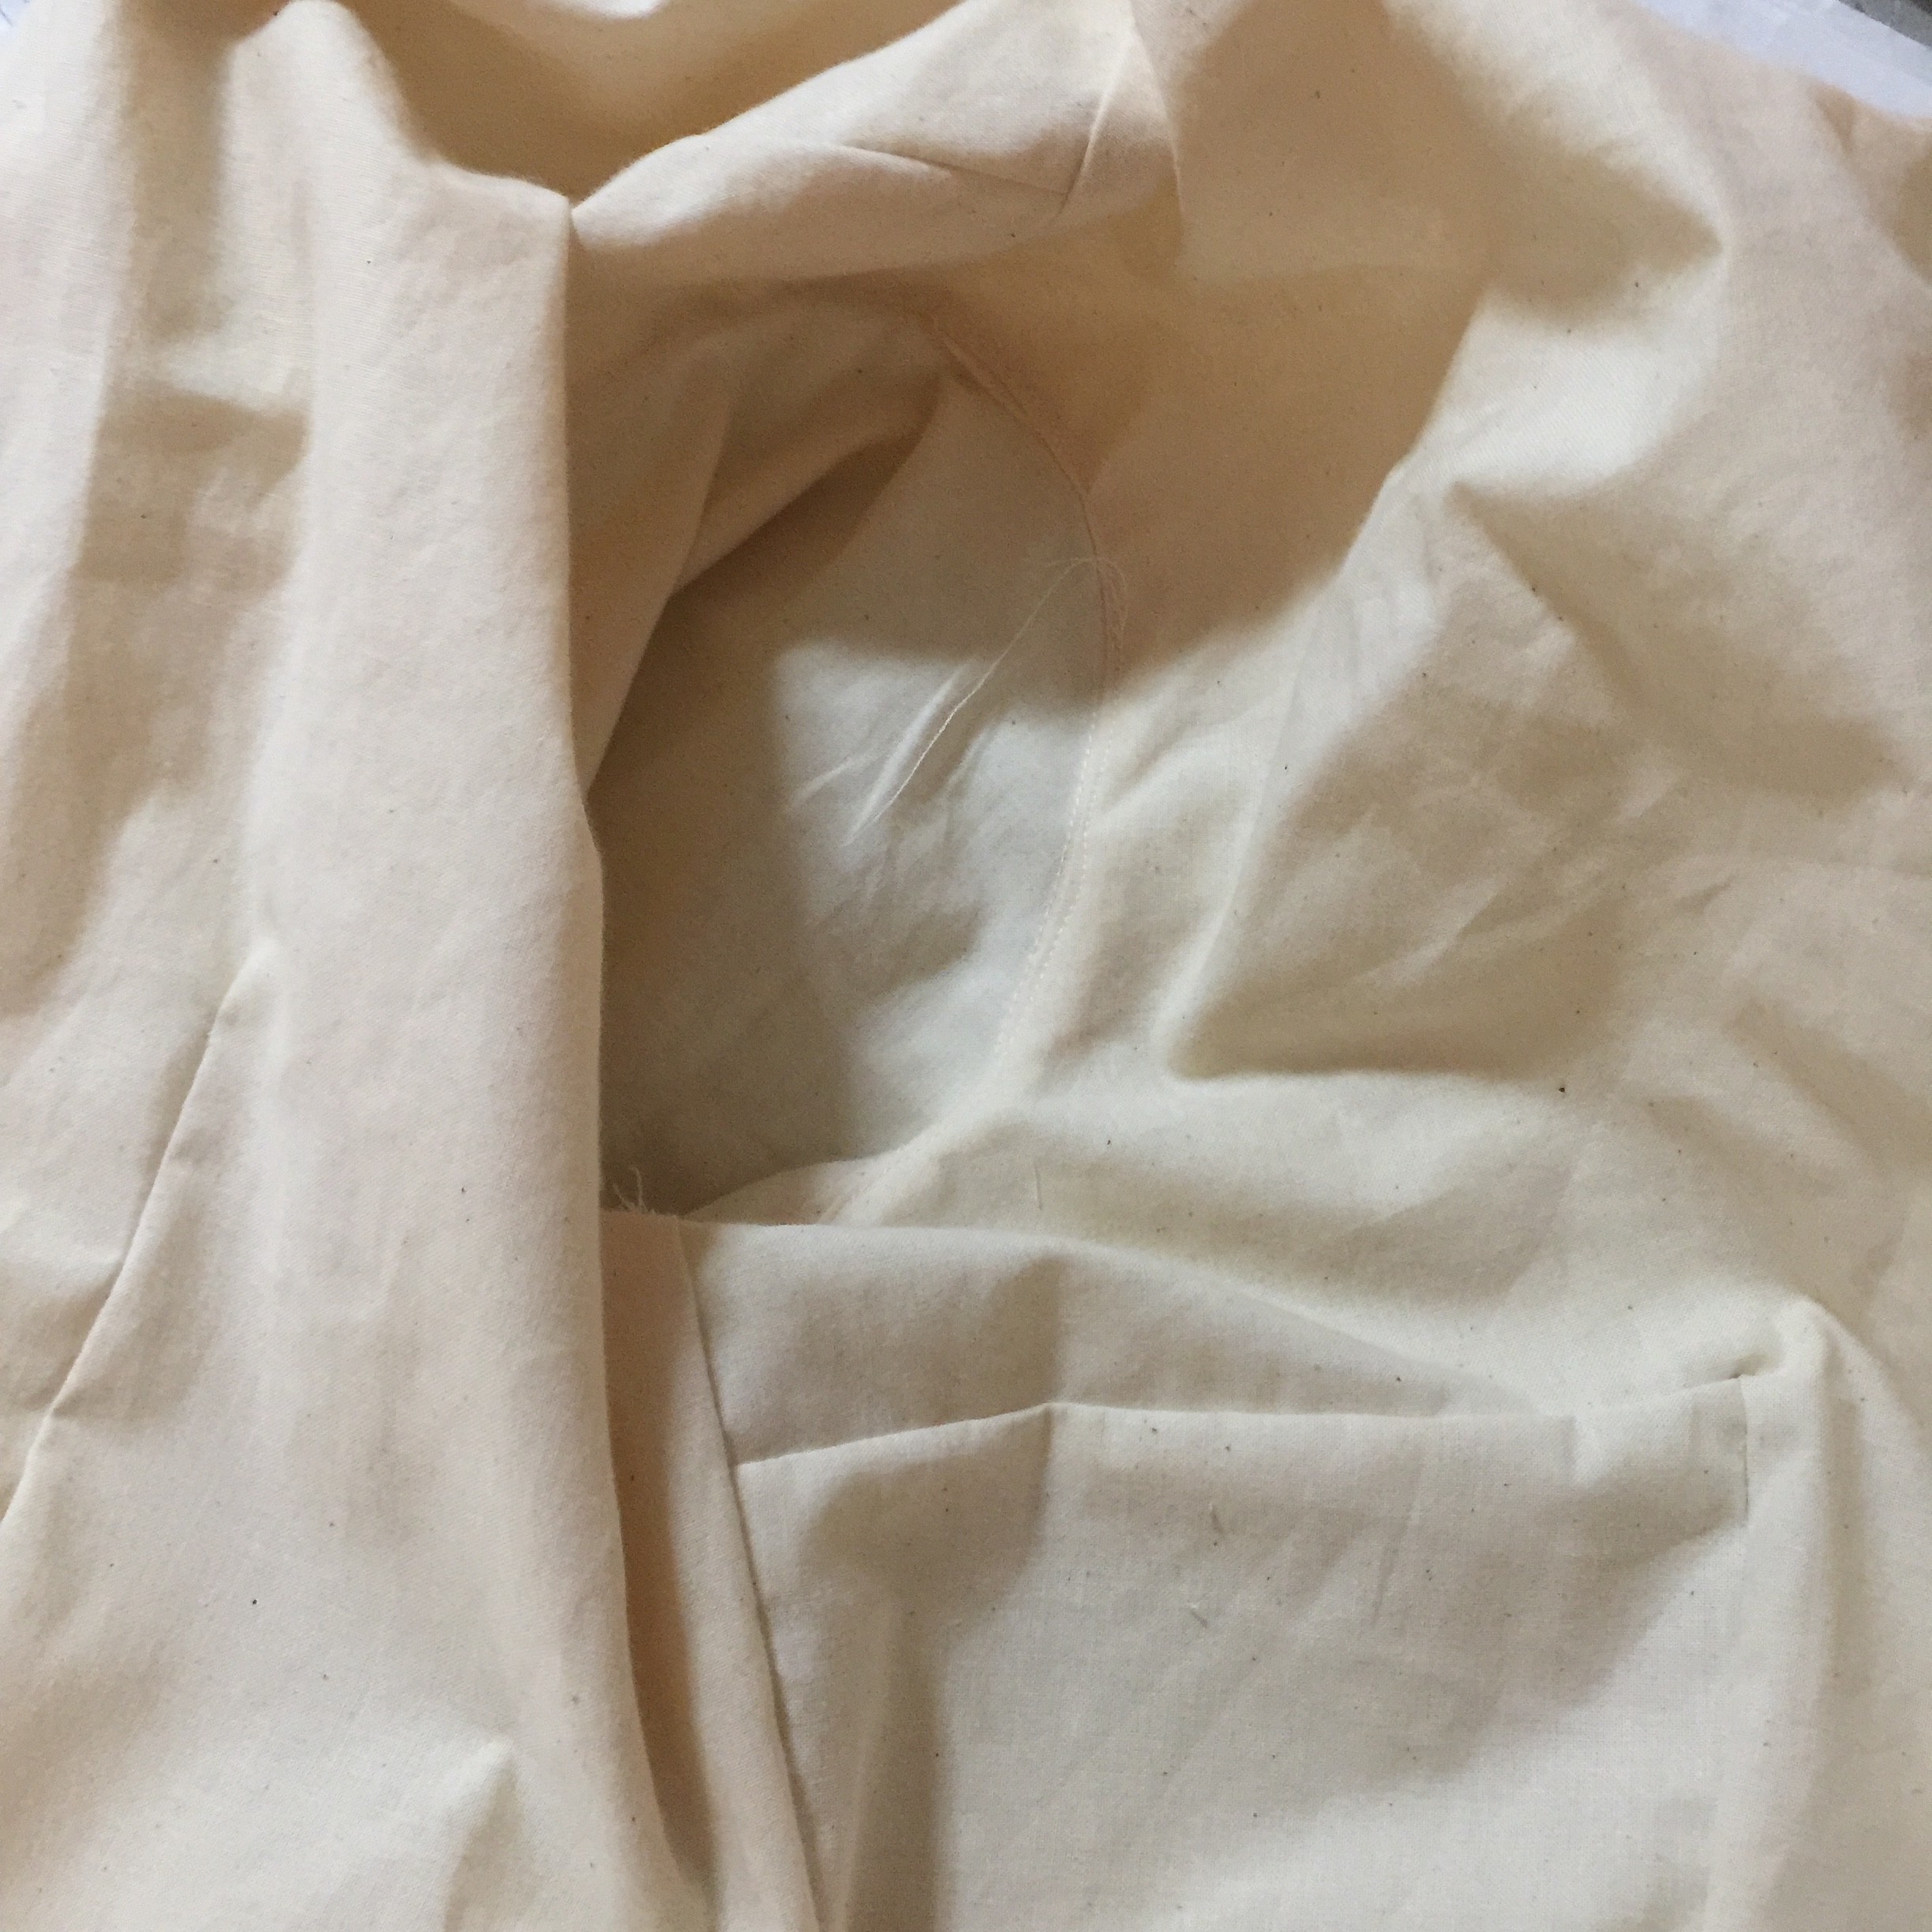
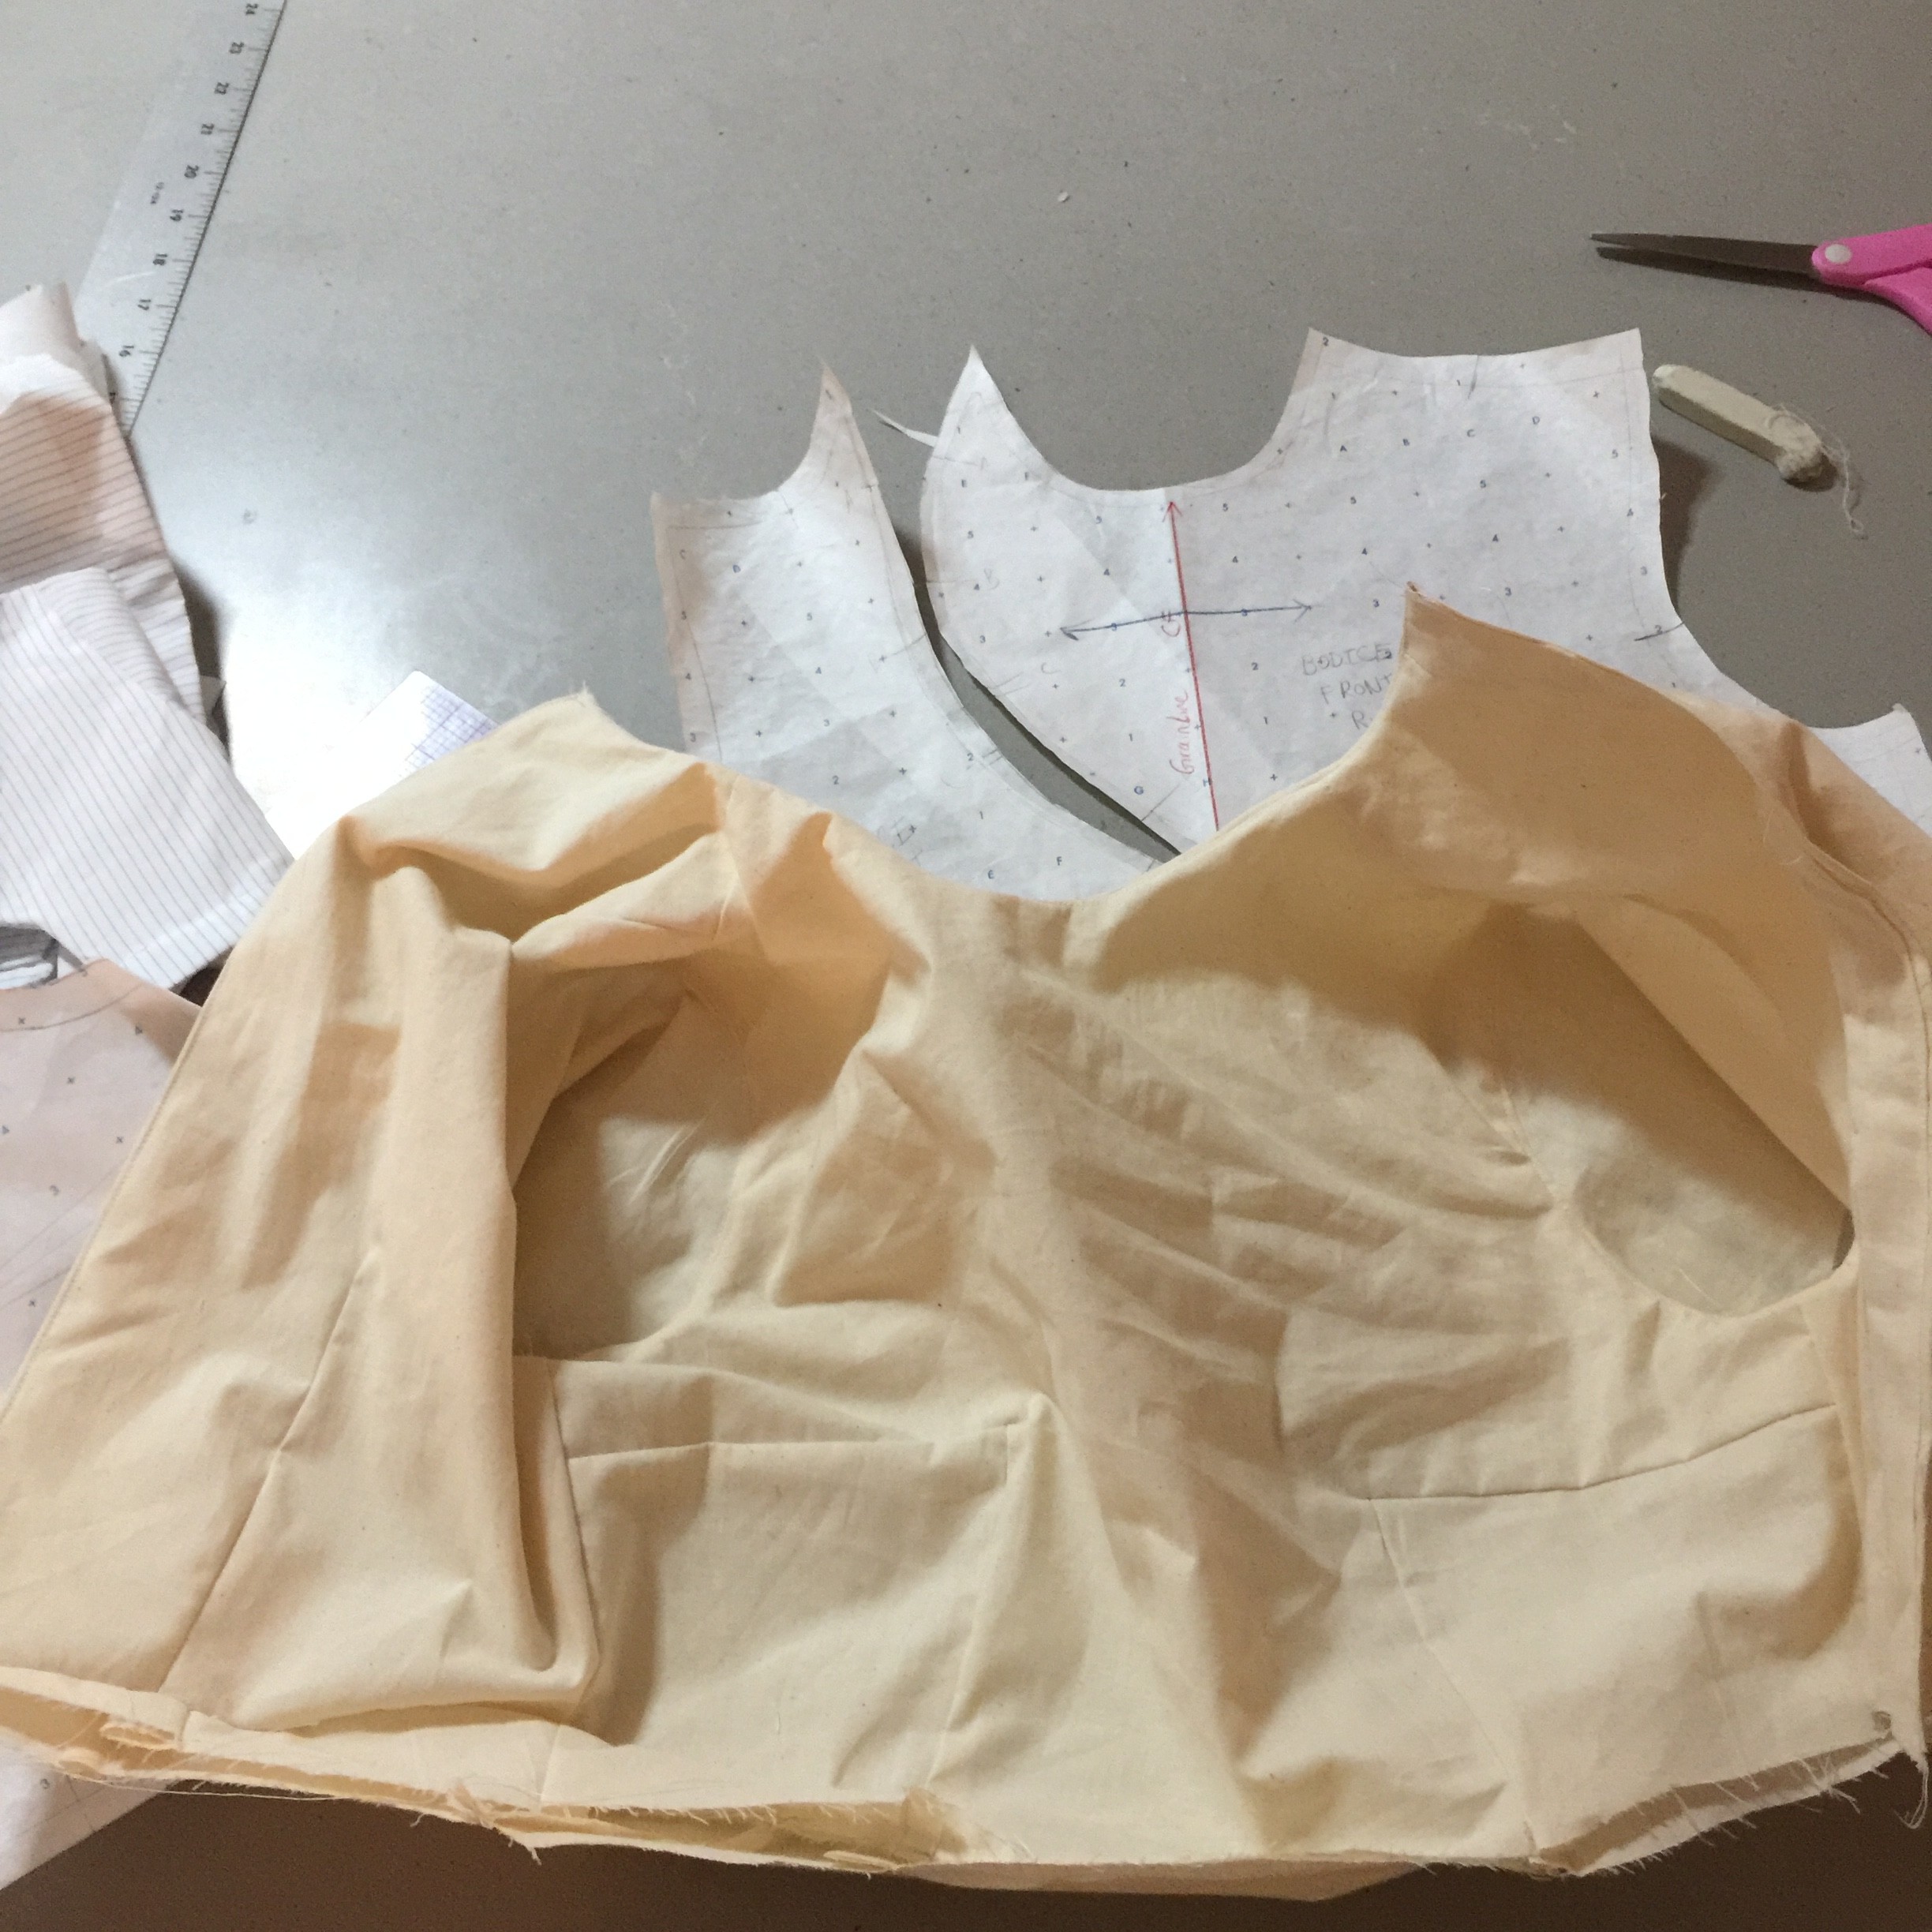
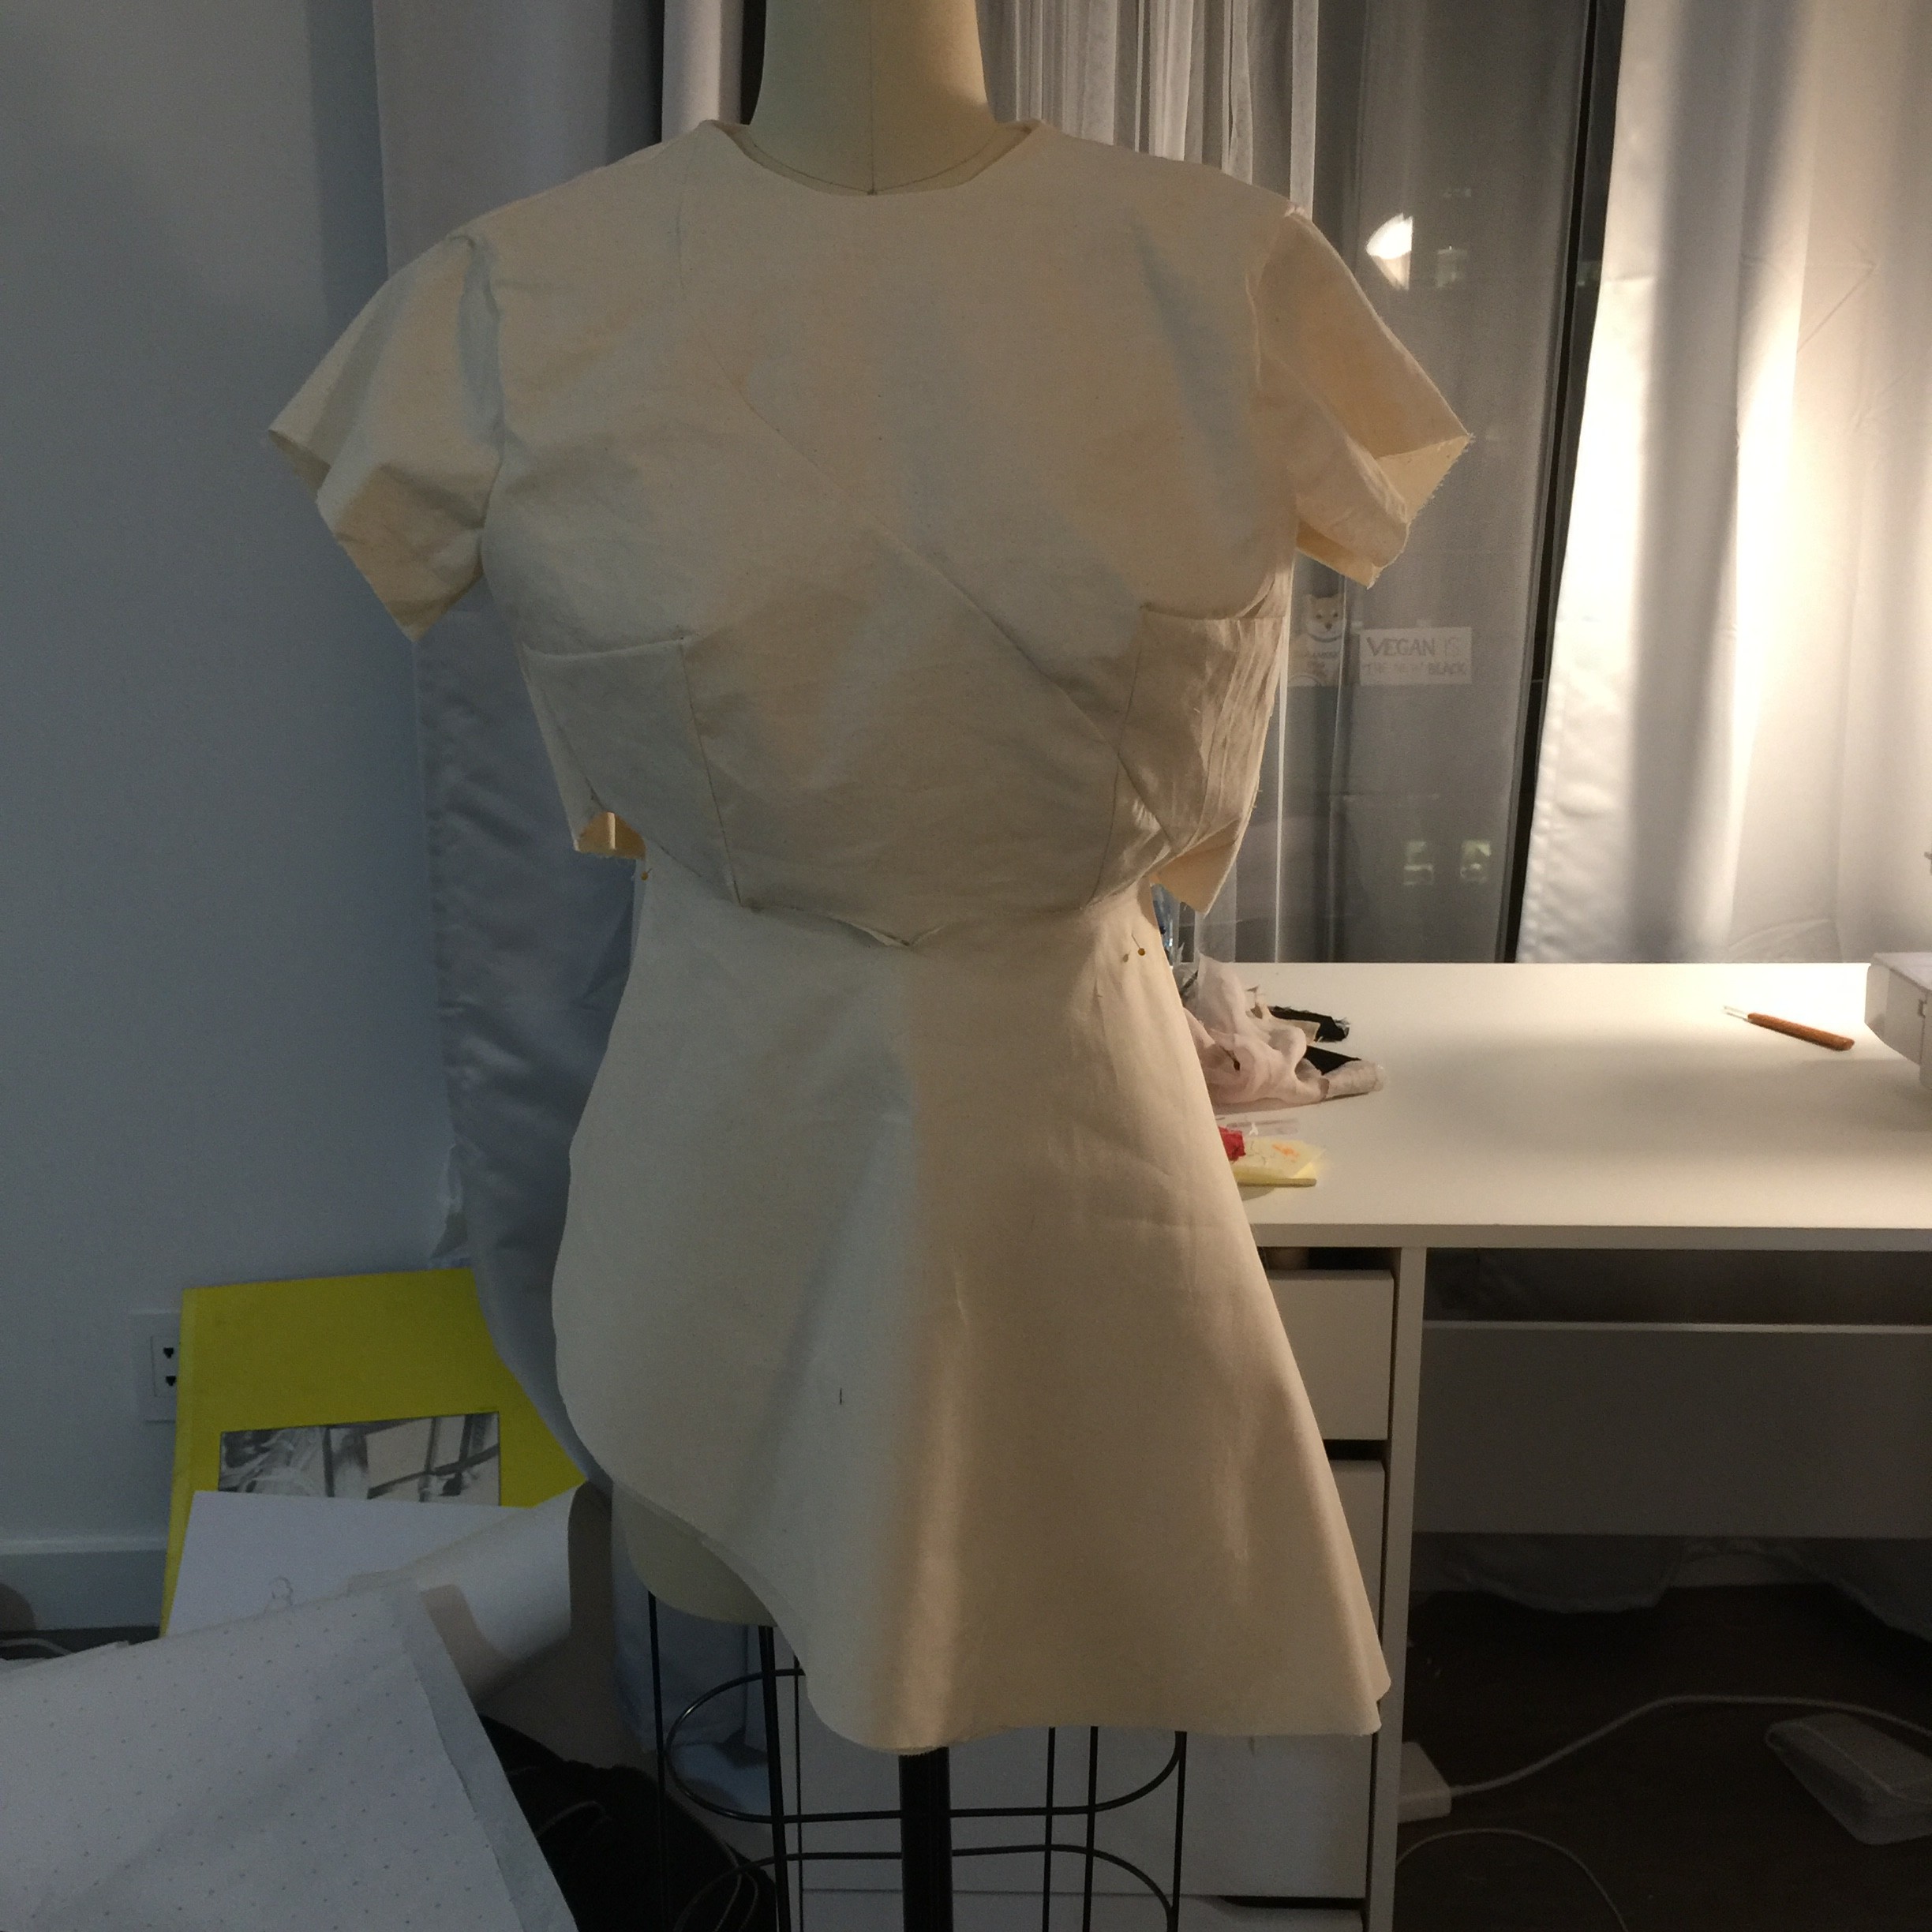
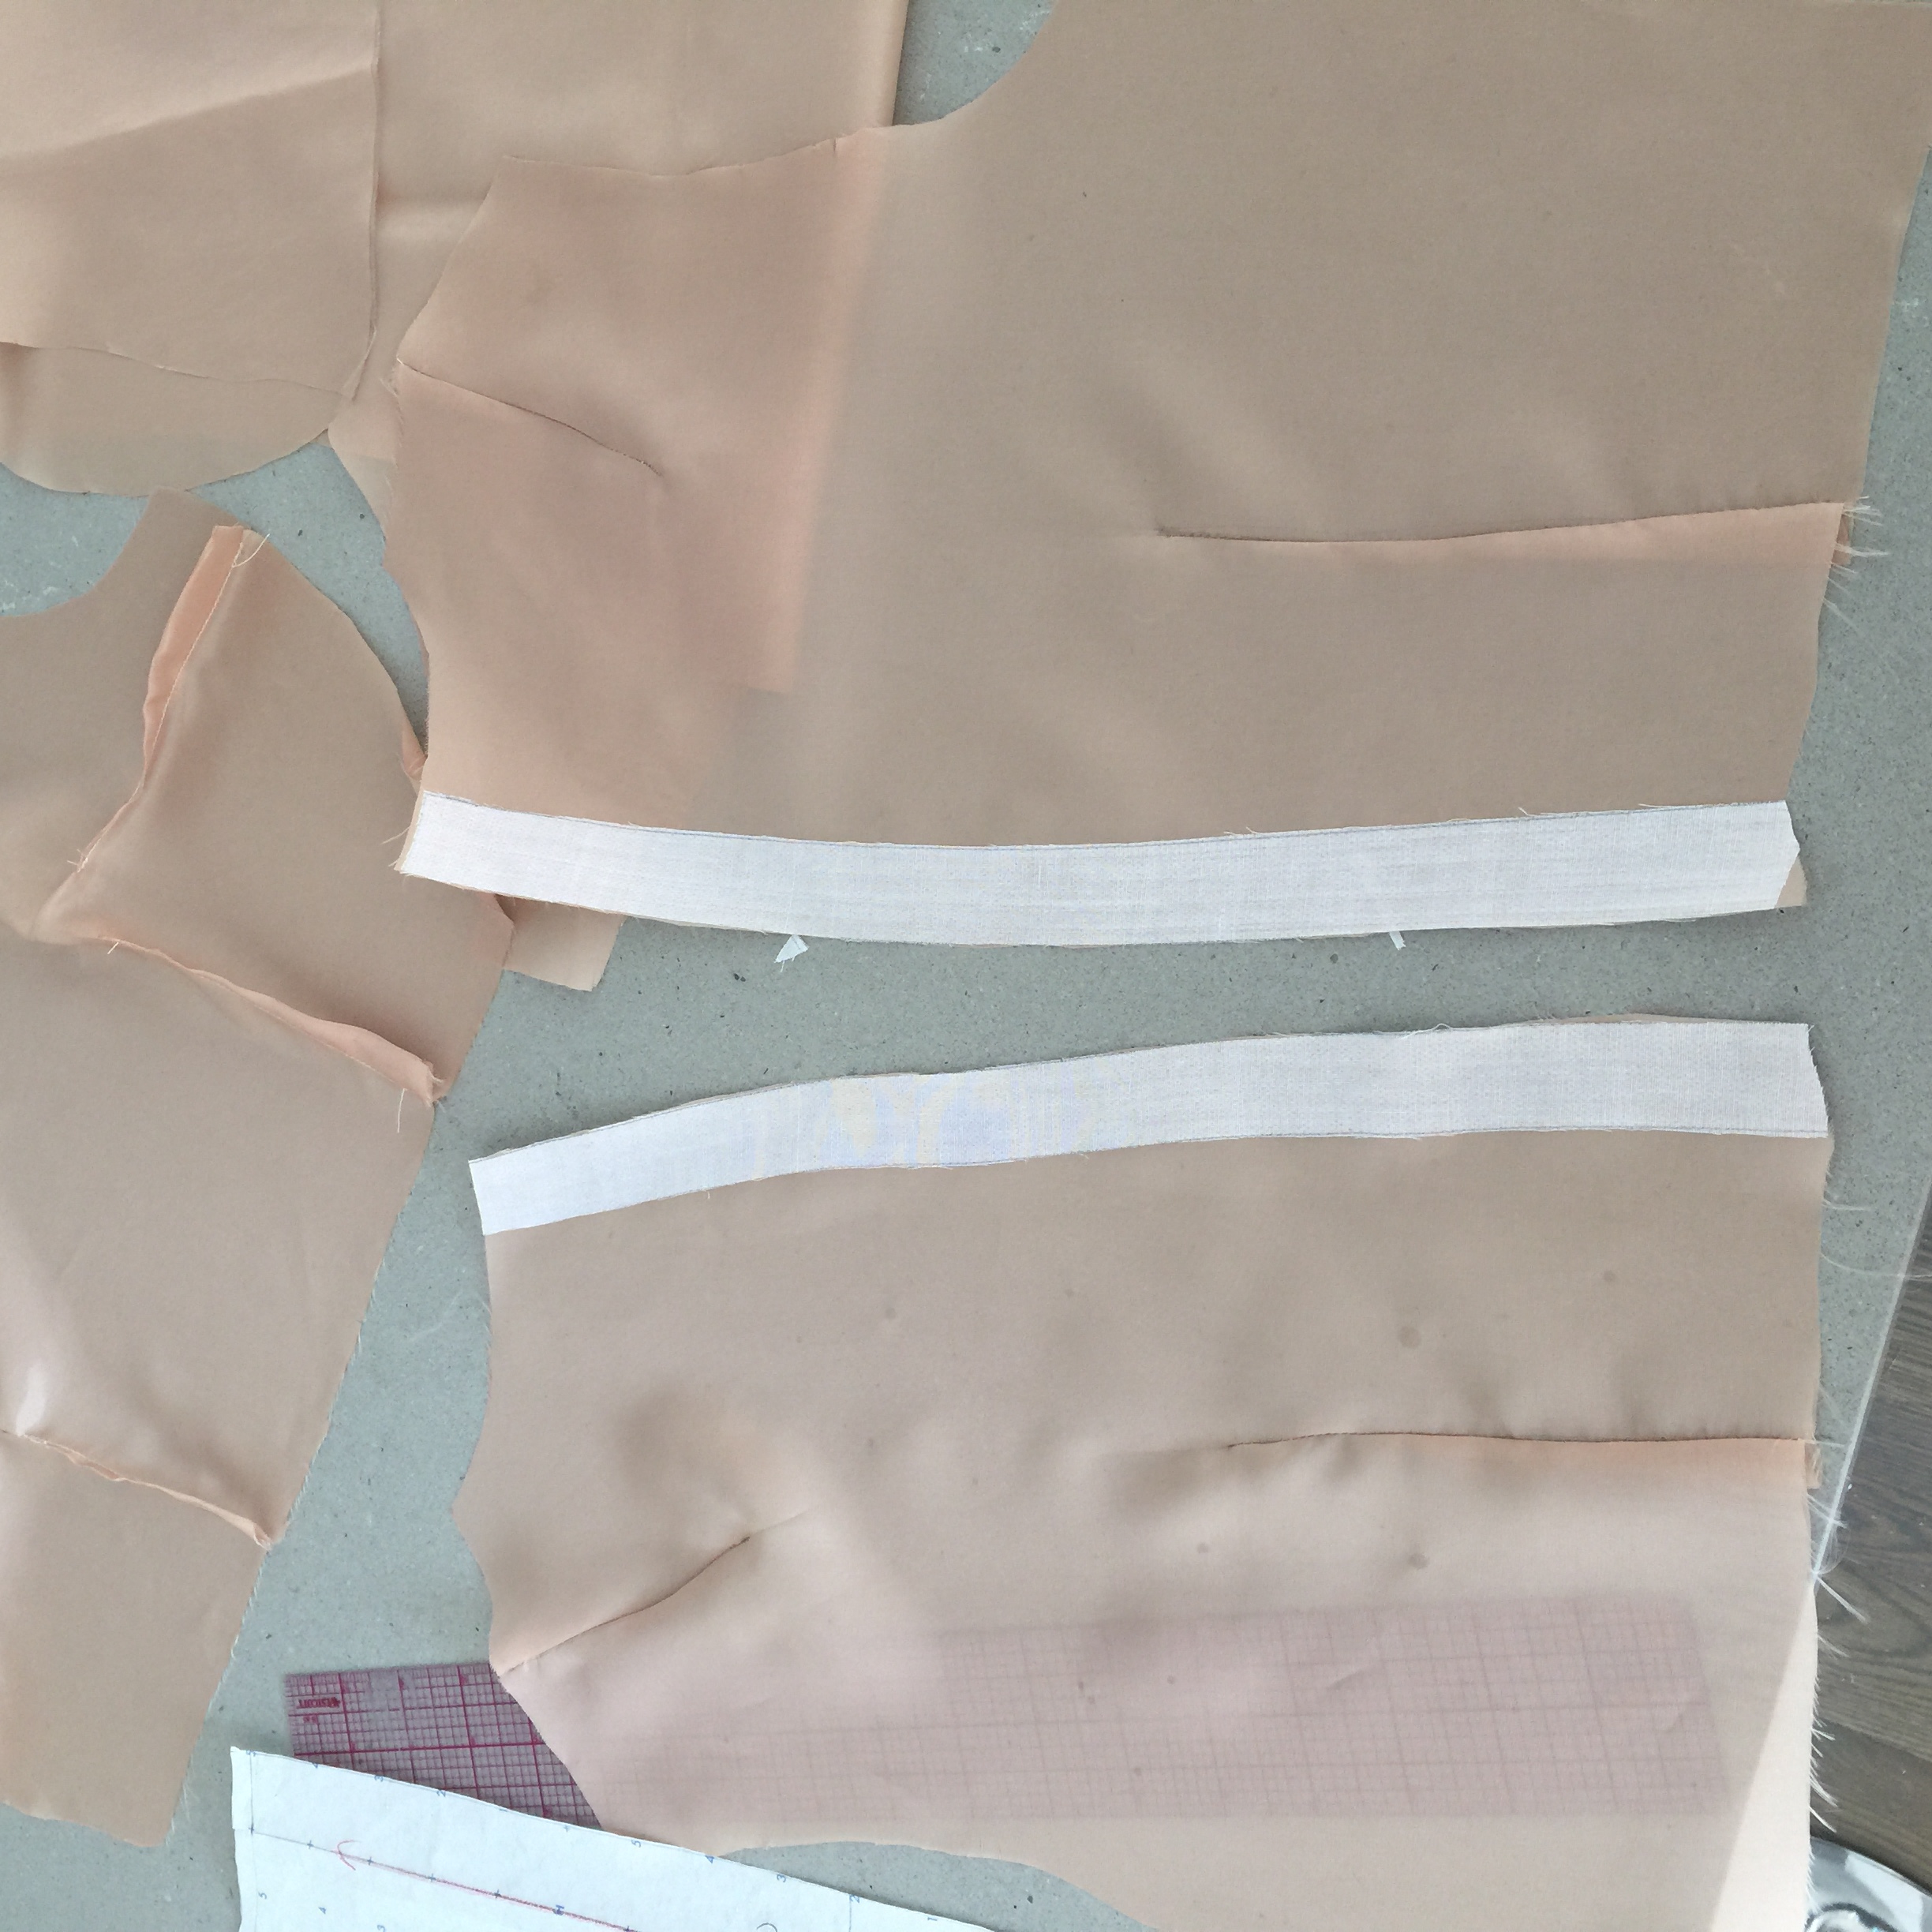
M U S L I N
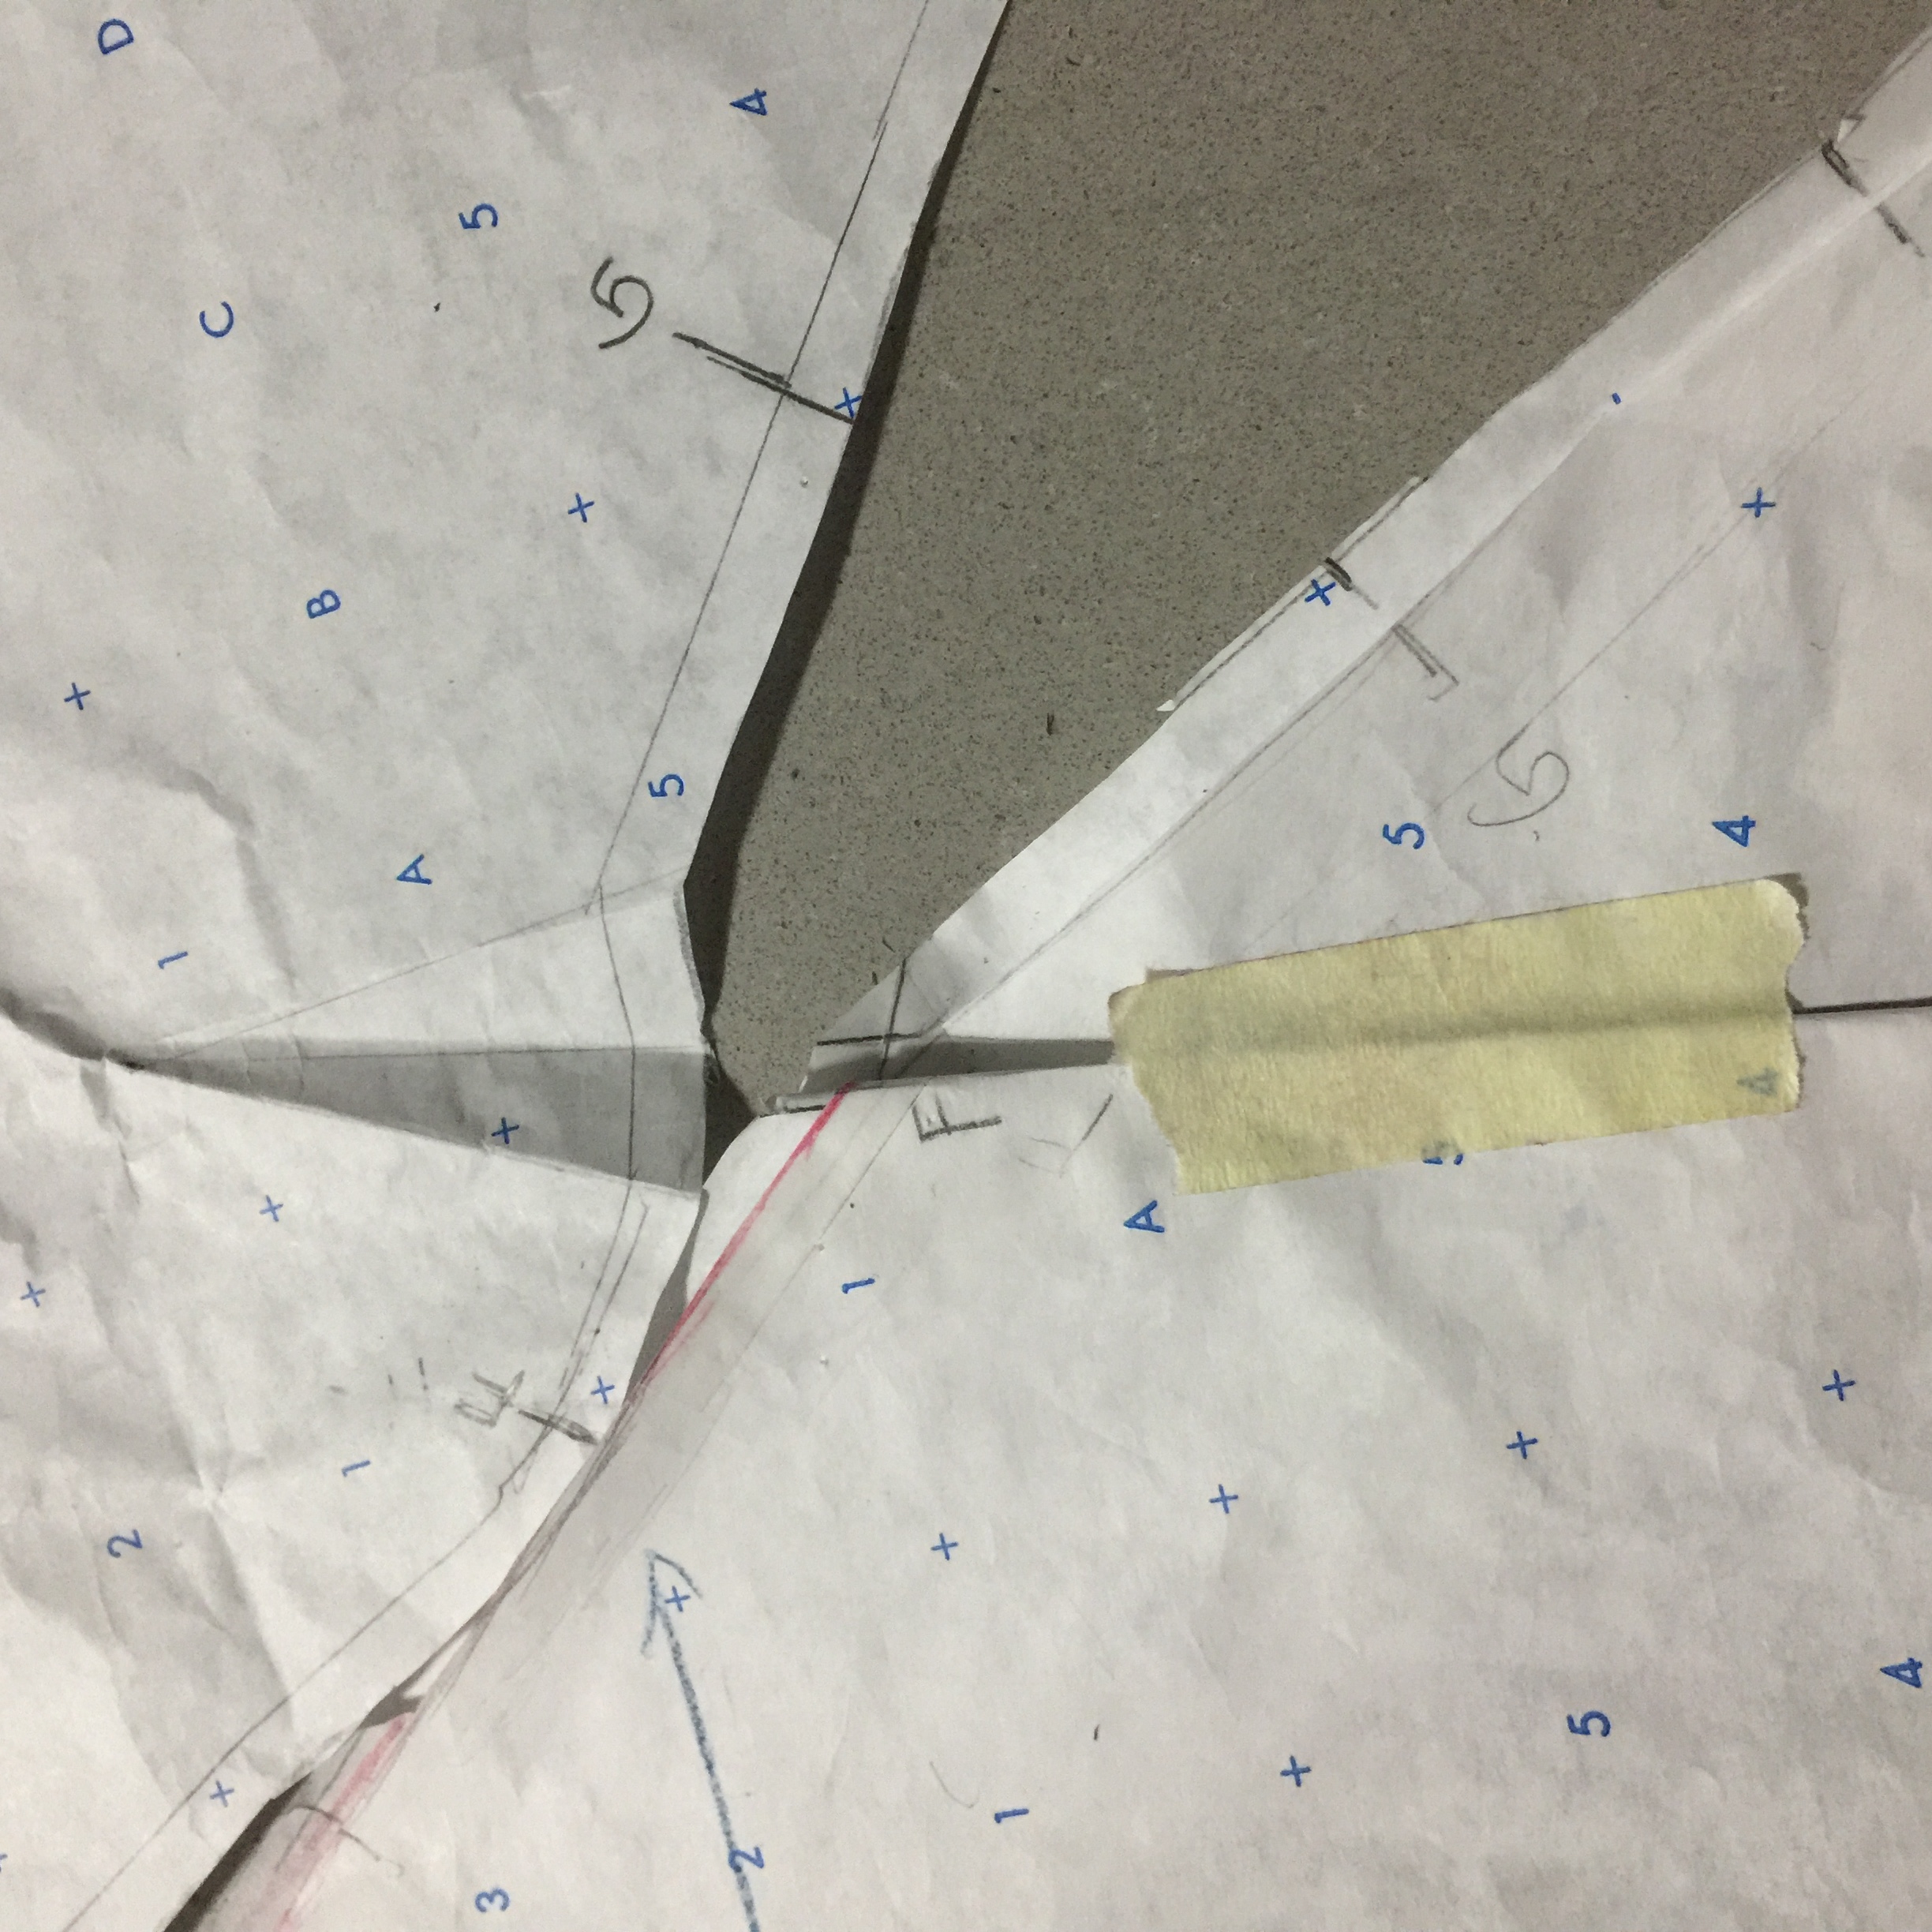
drawing the bodice seam:

mistake – I did not realize the darts of the bodice would alter the seam’s line

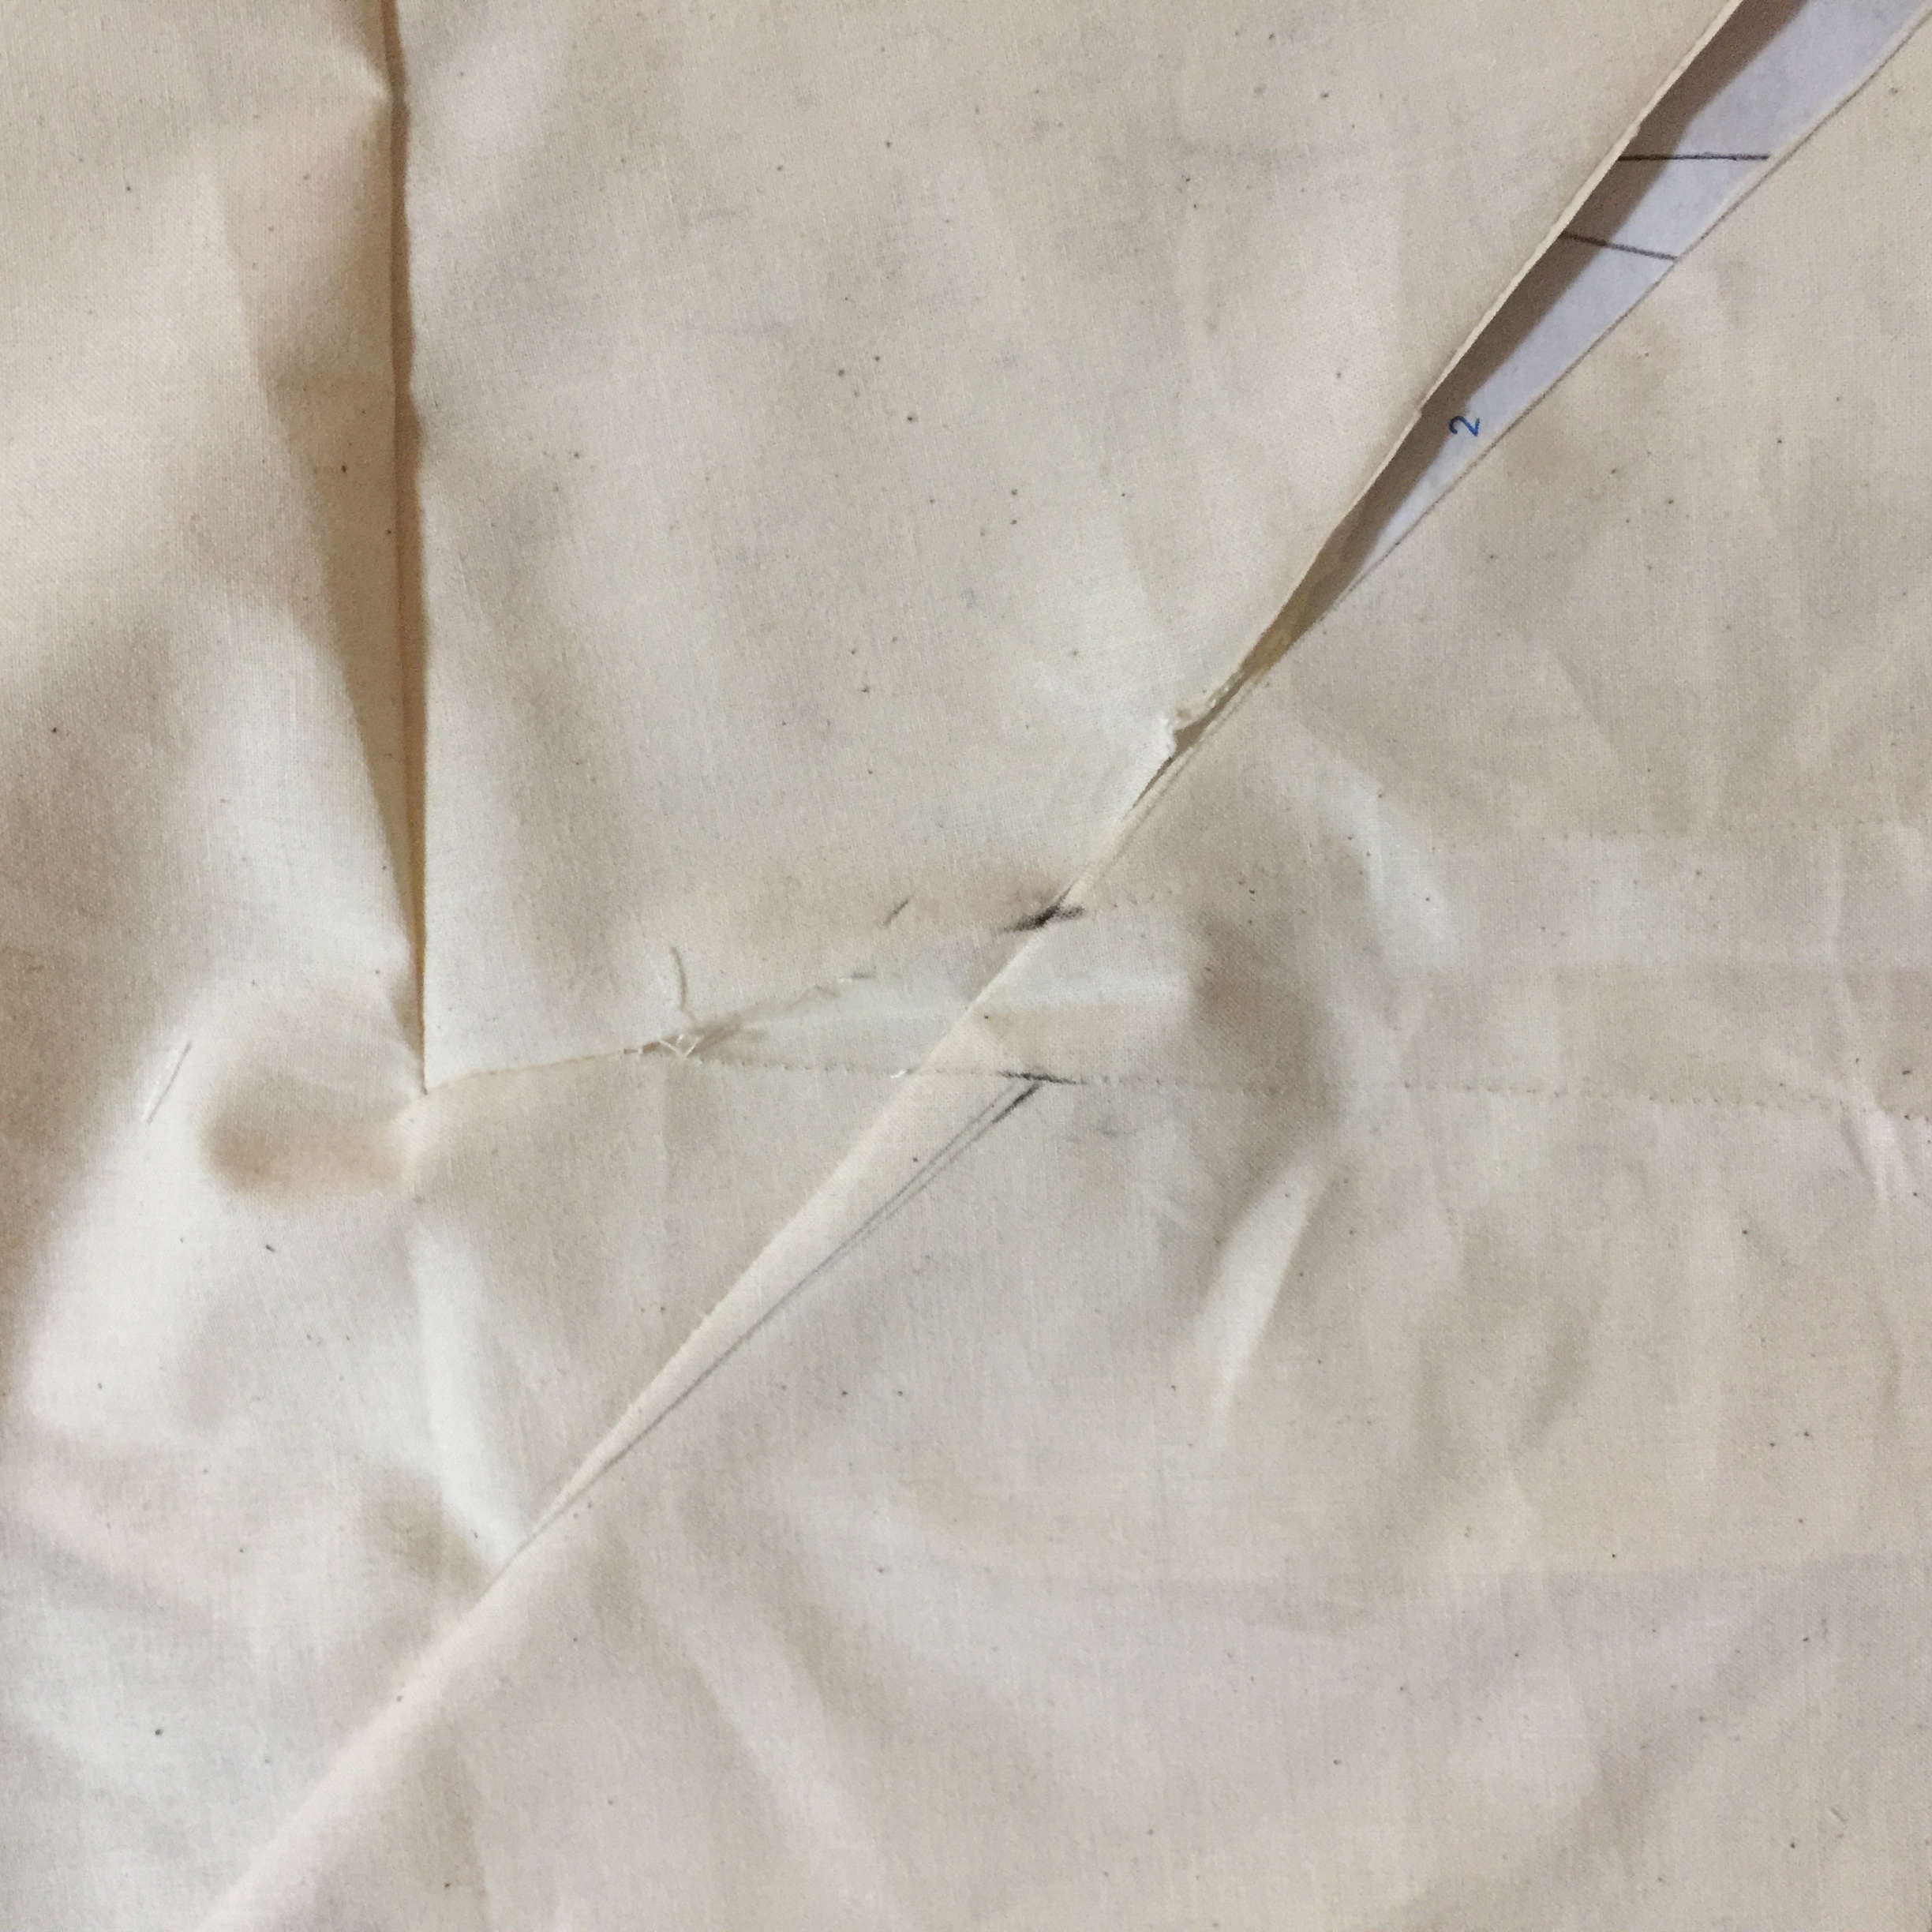
correction:

sleeve
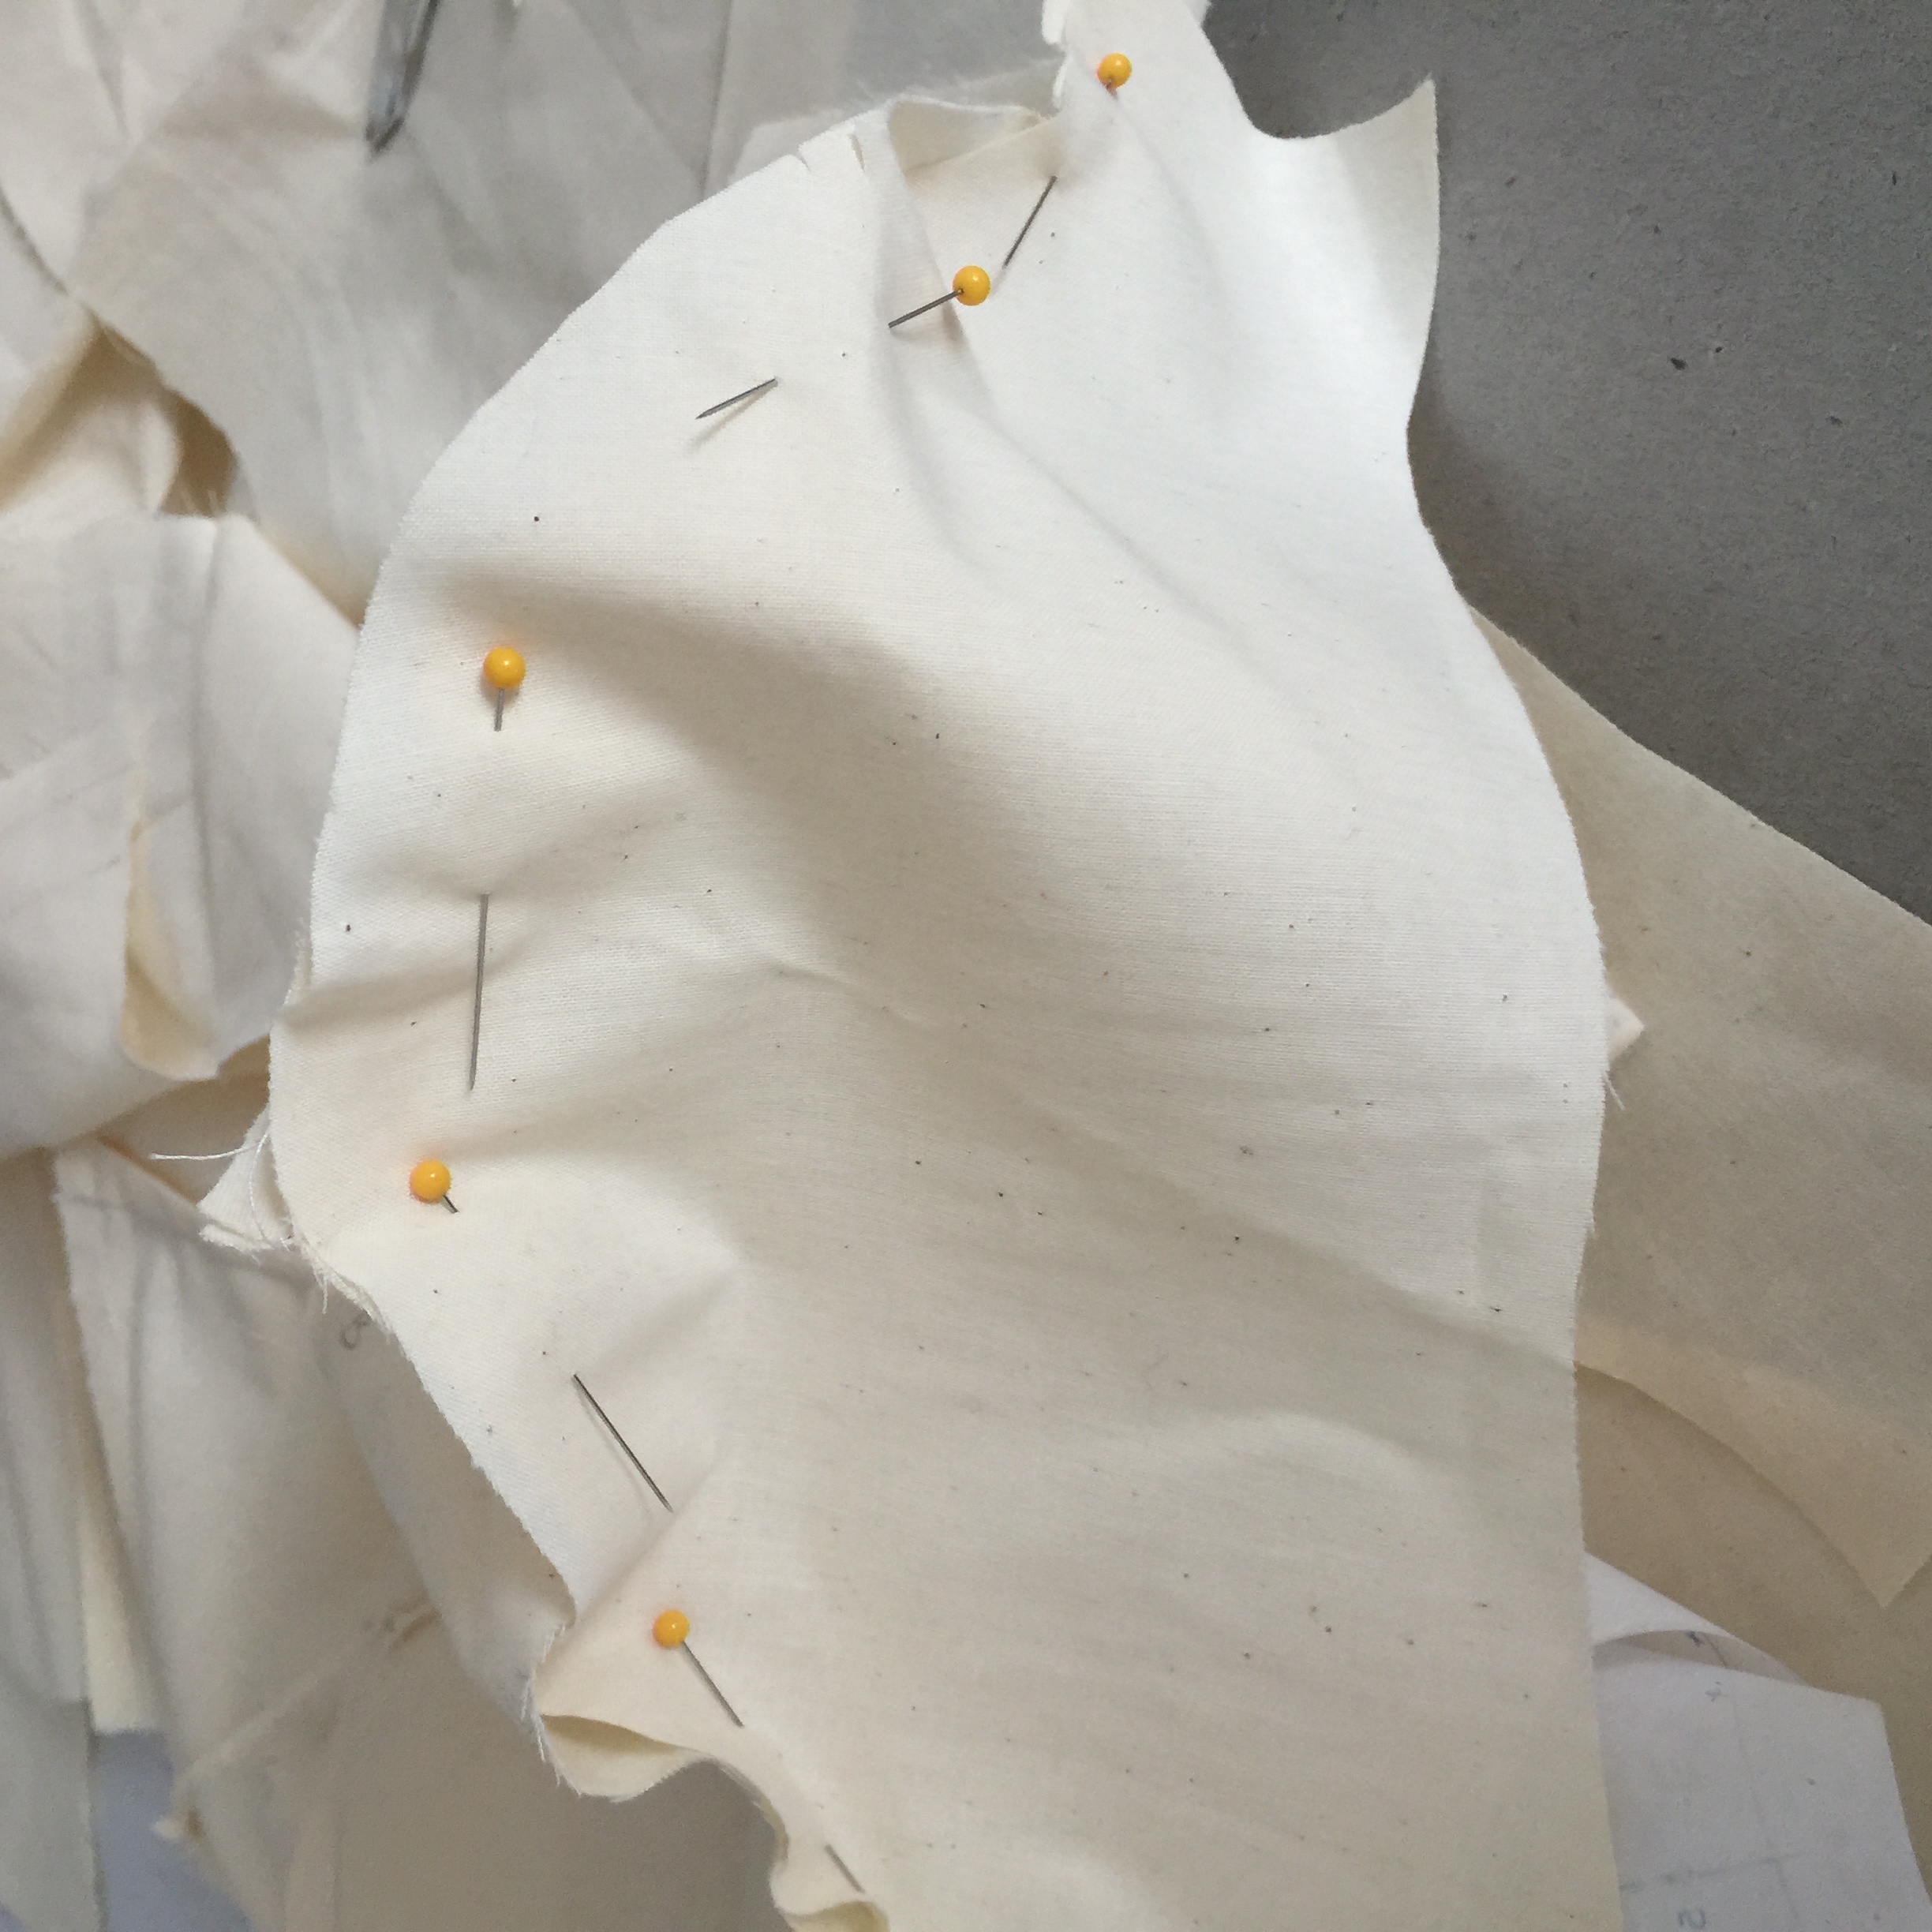
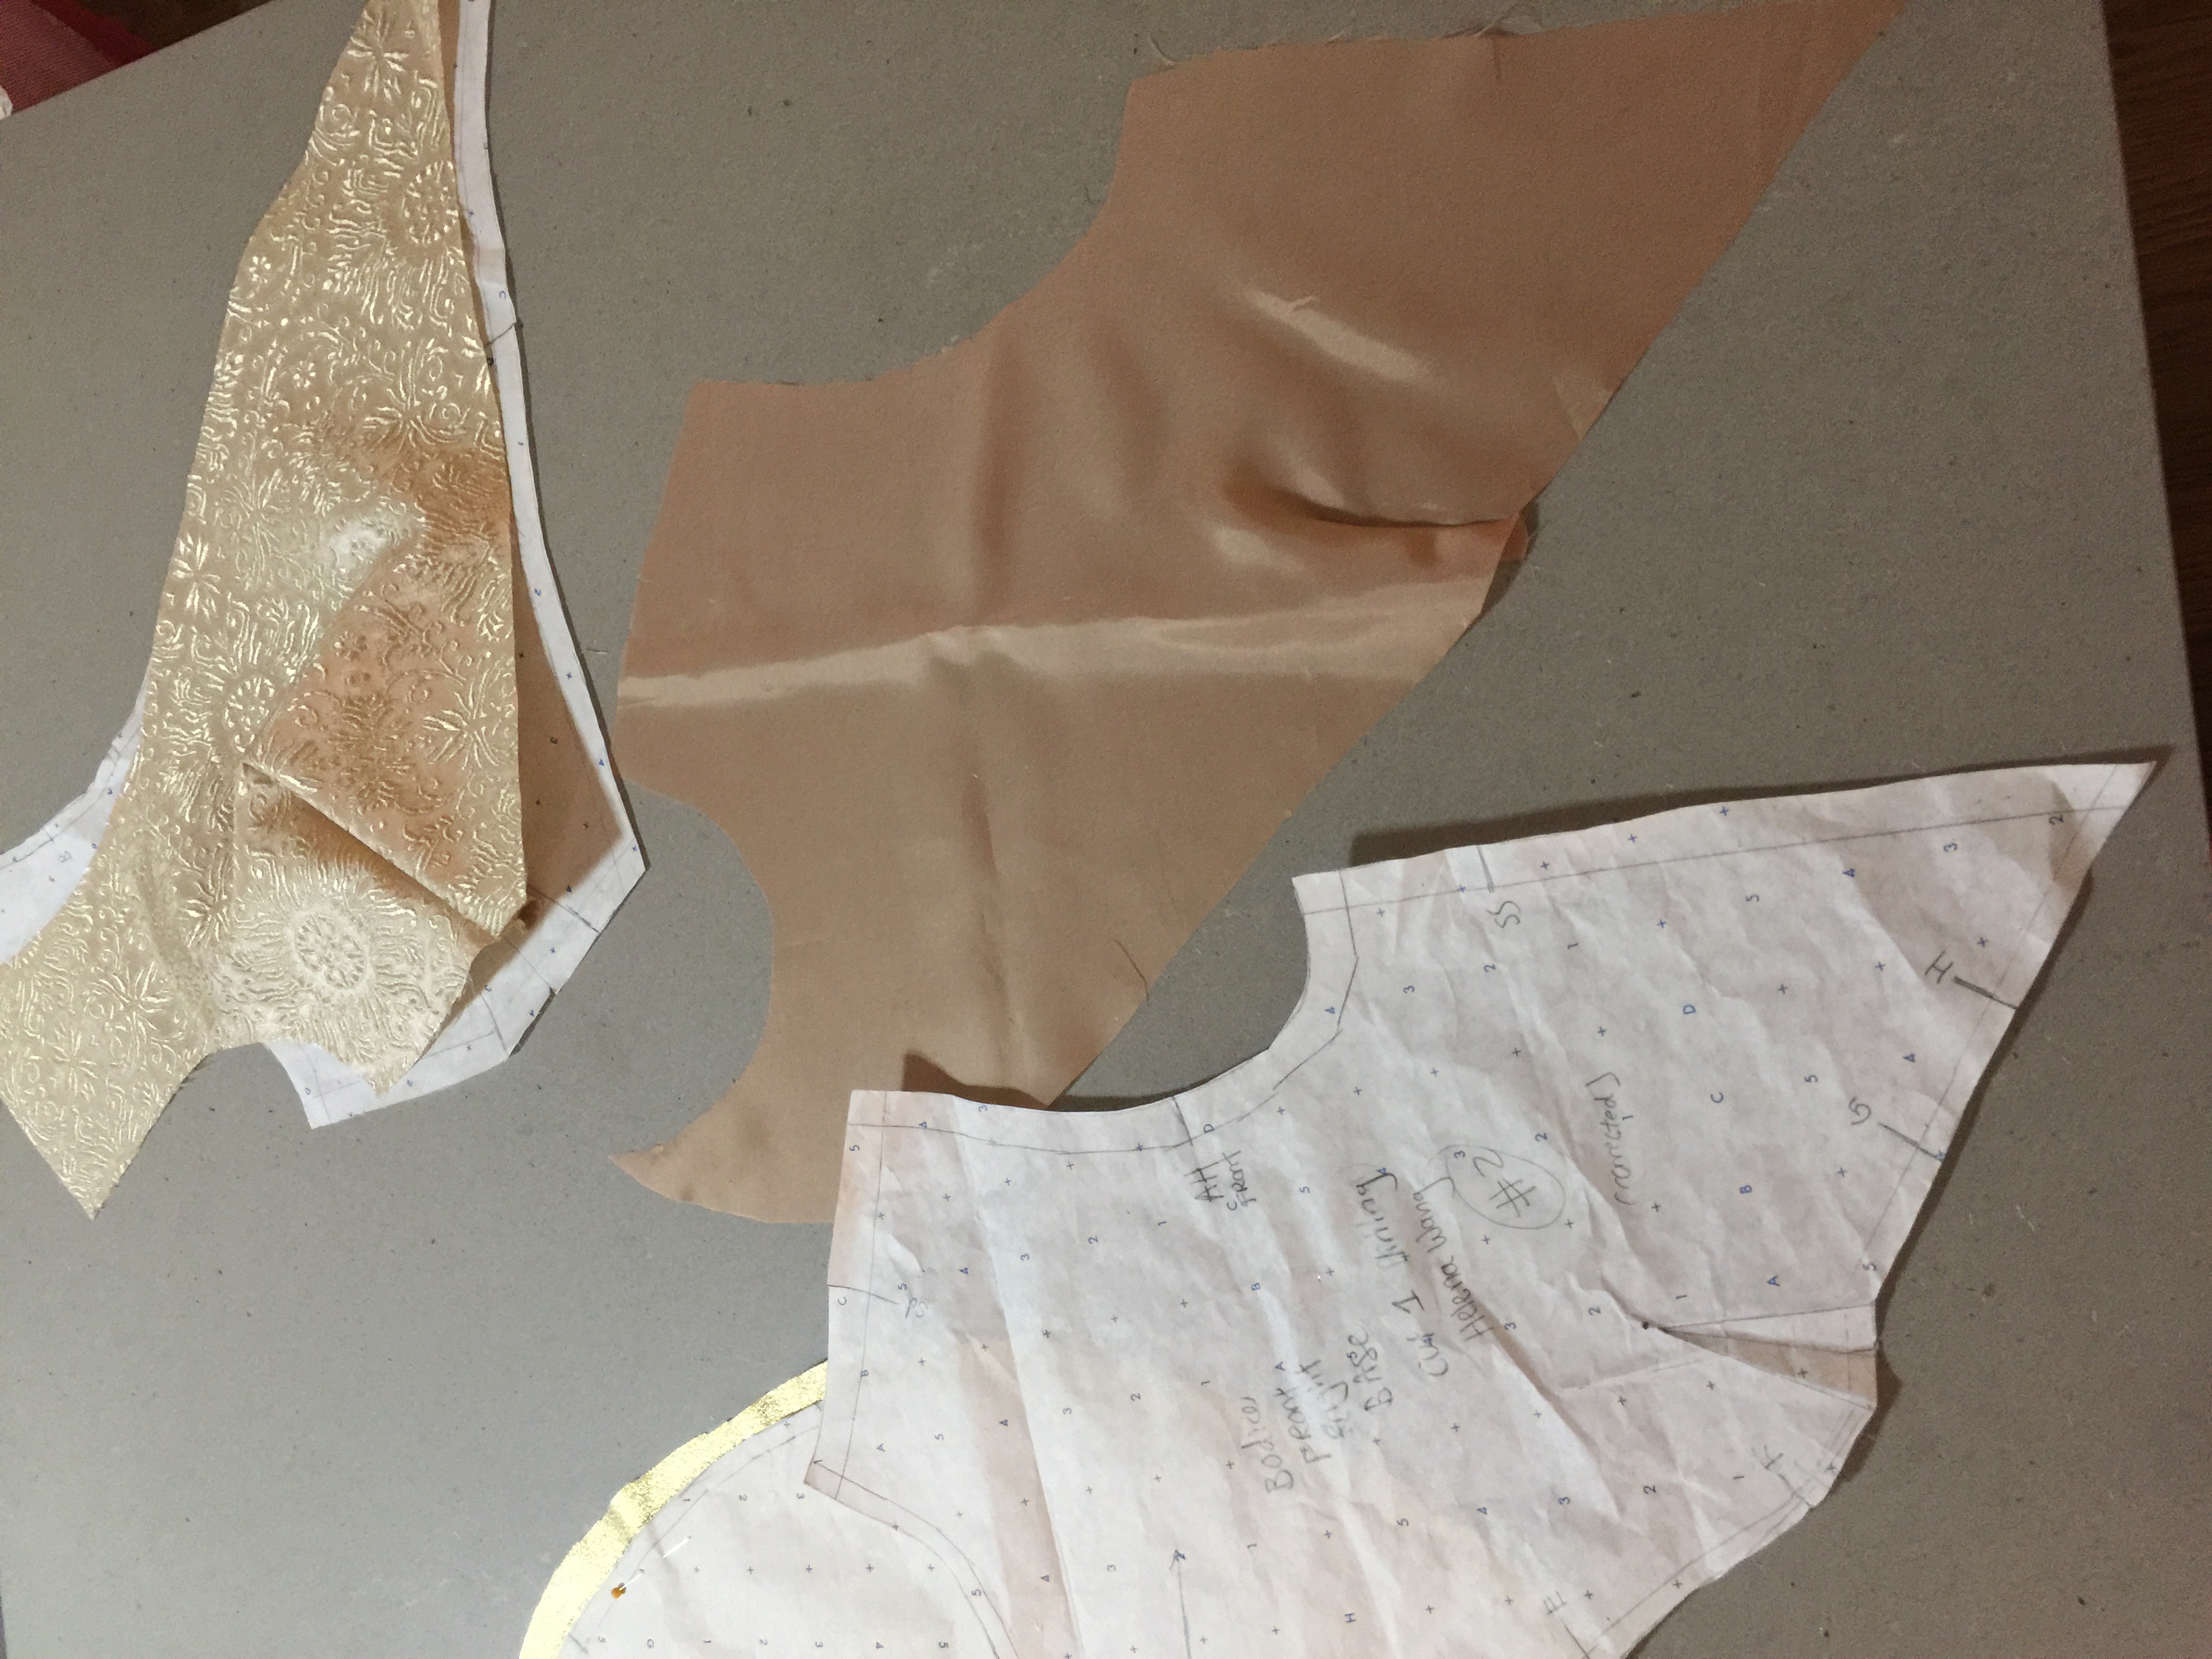
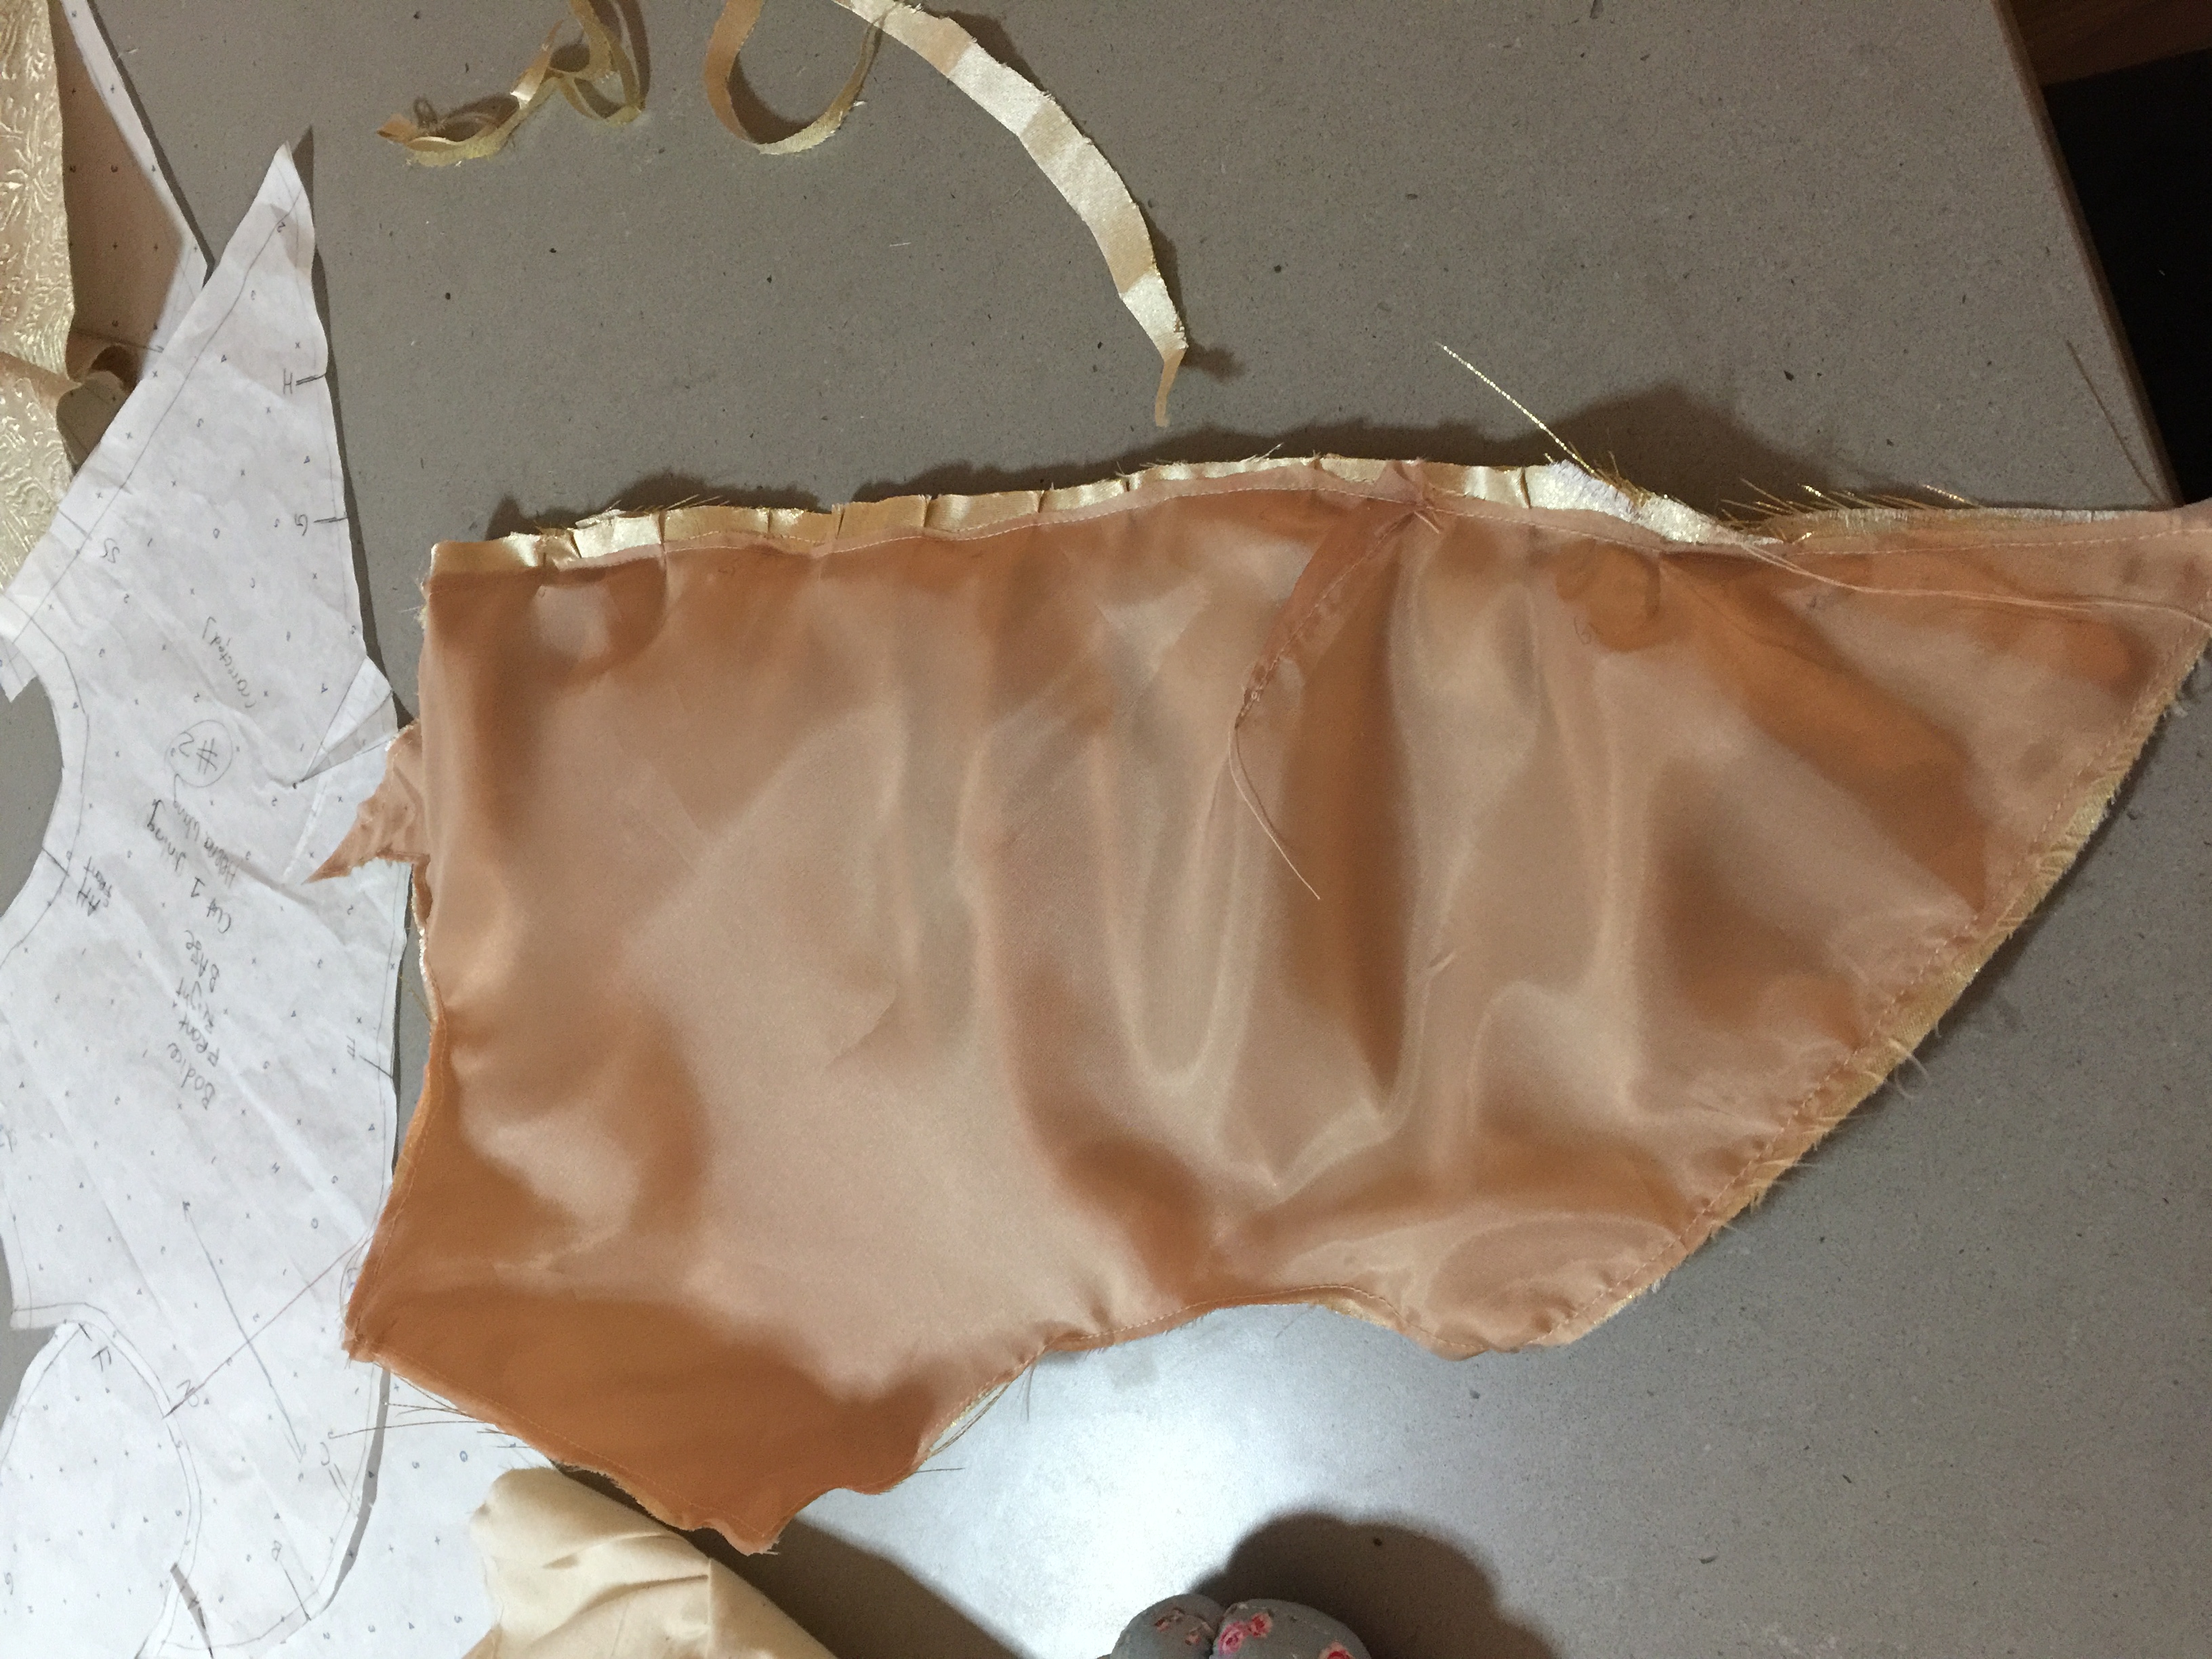
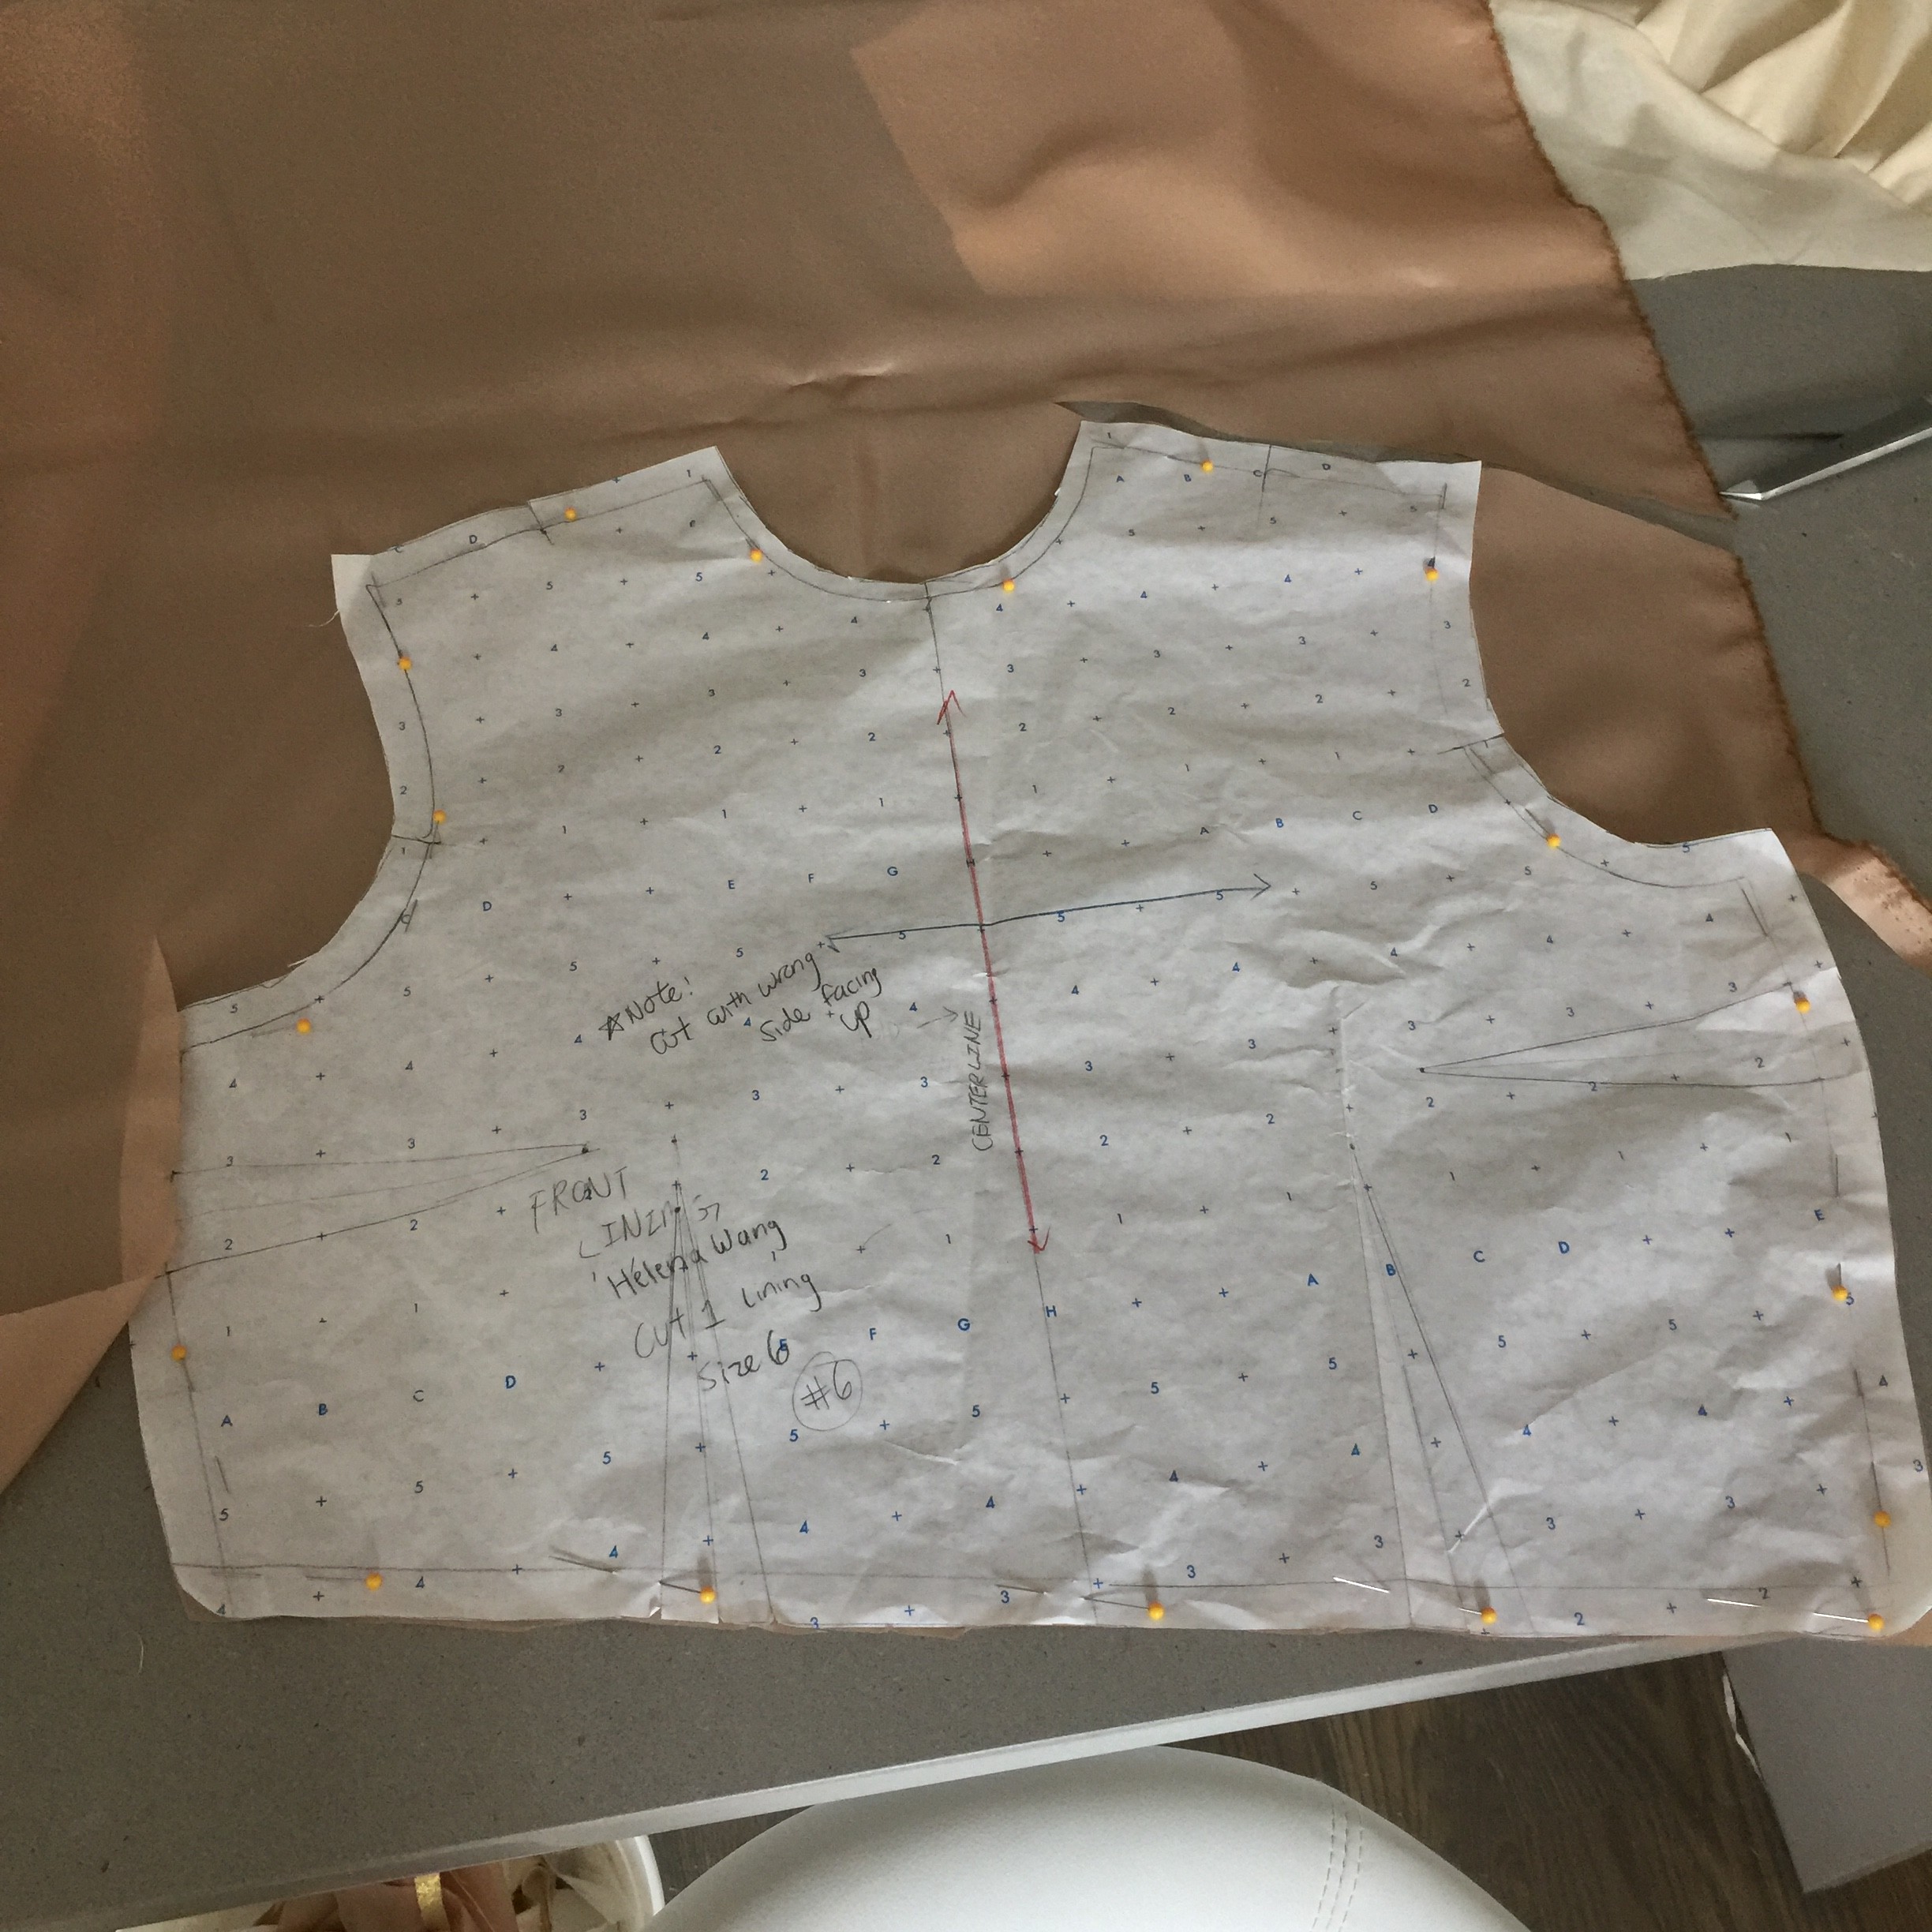
bodice front lining:

bodice back and lining

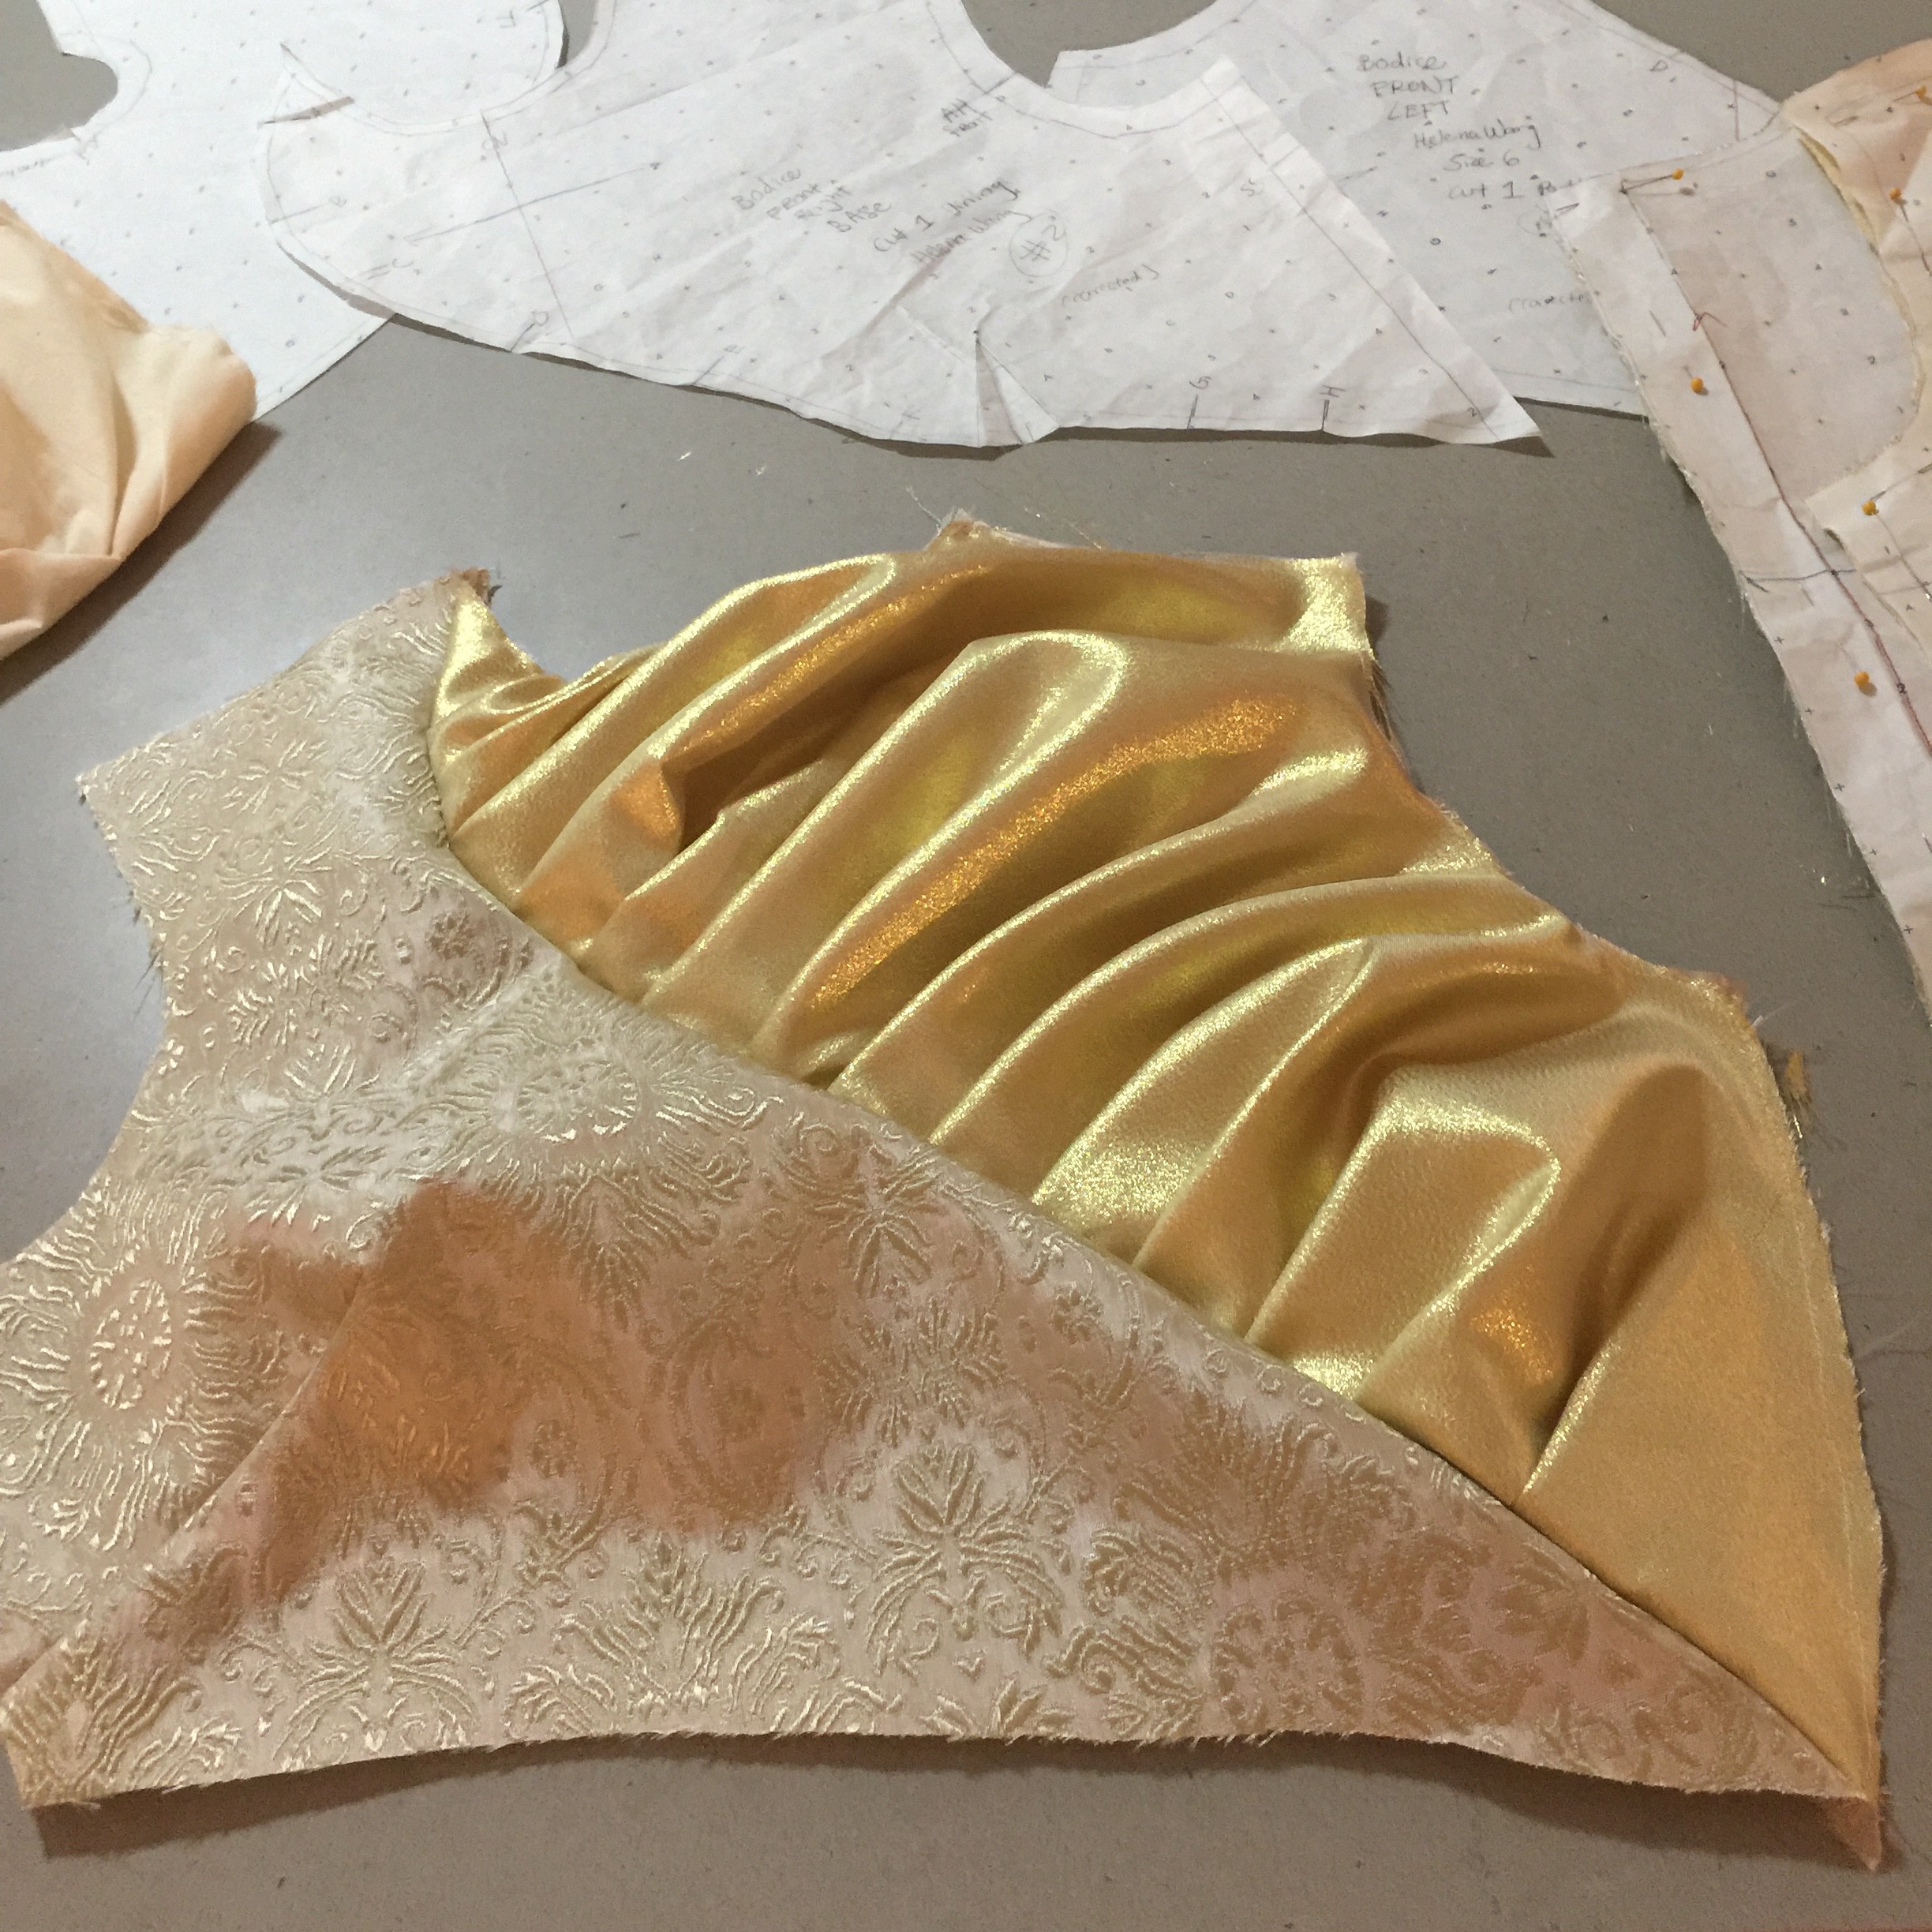
Top

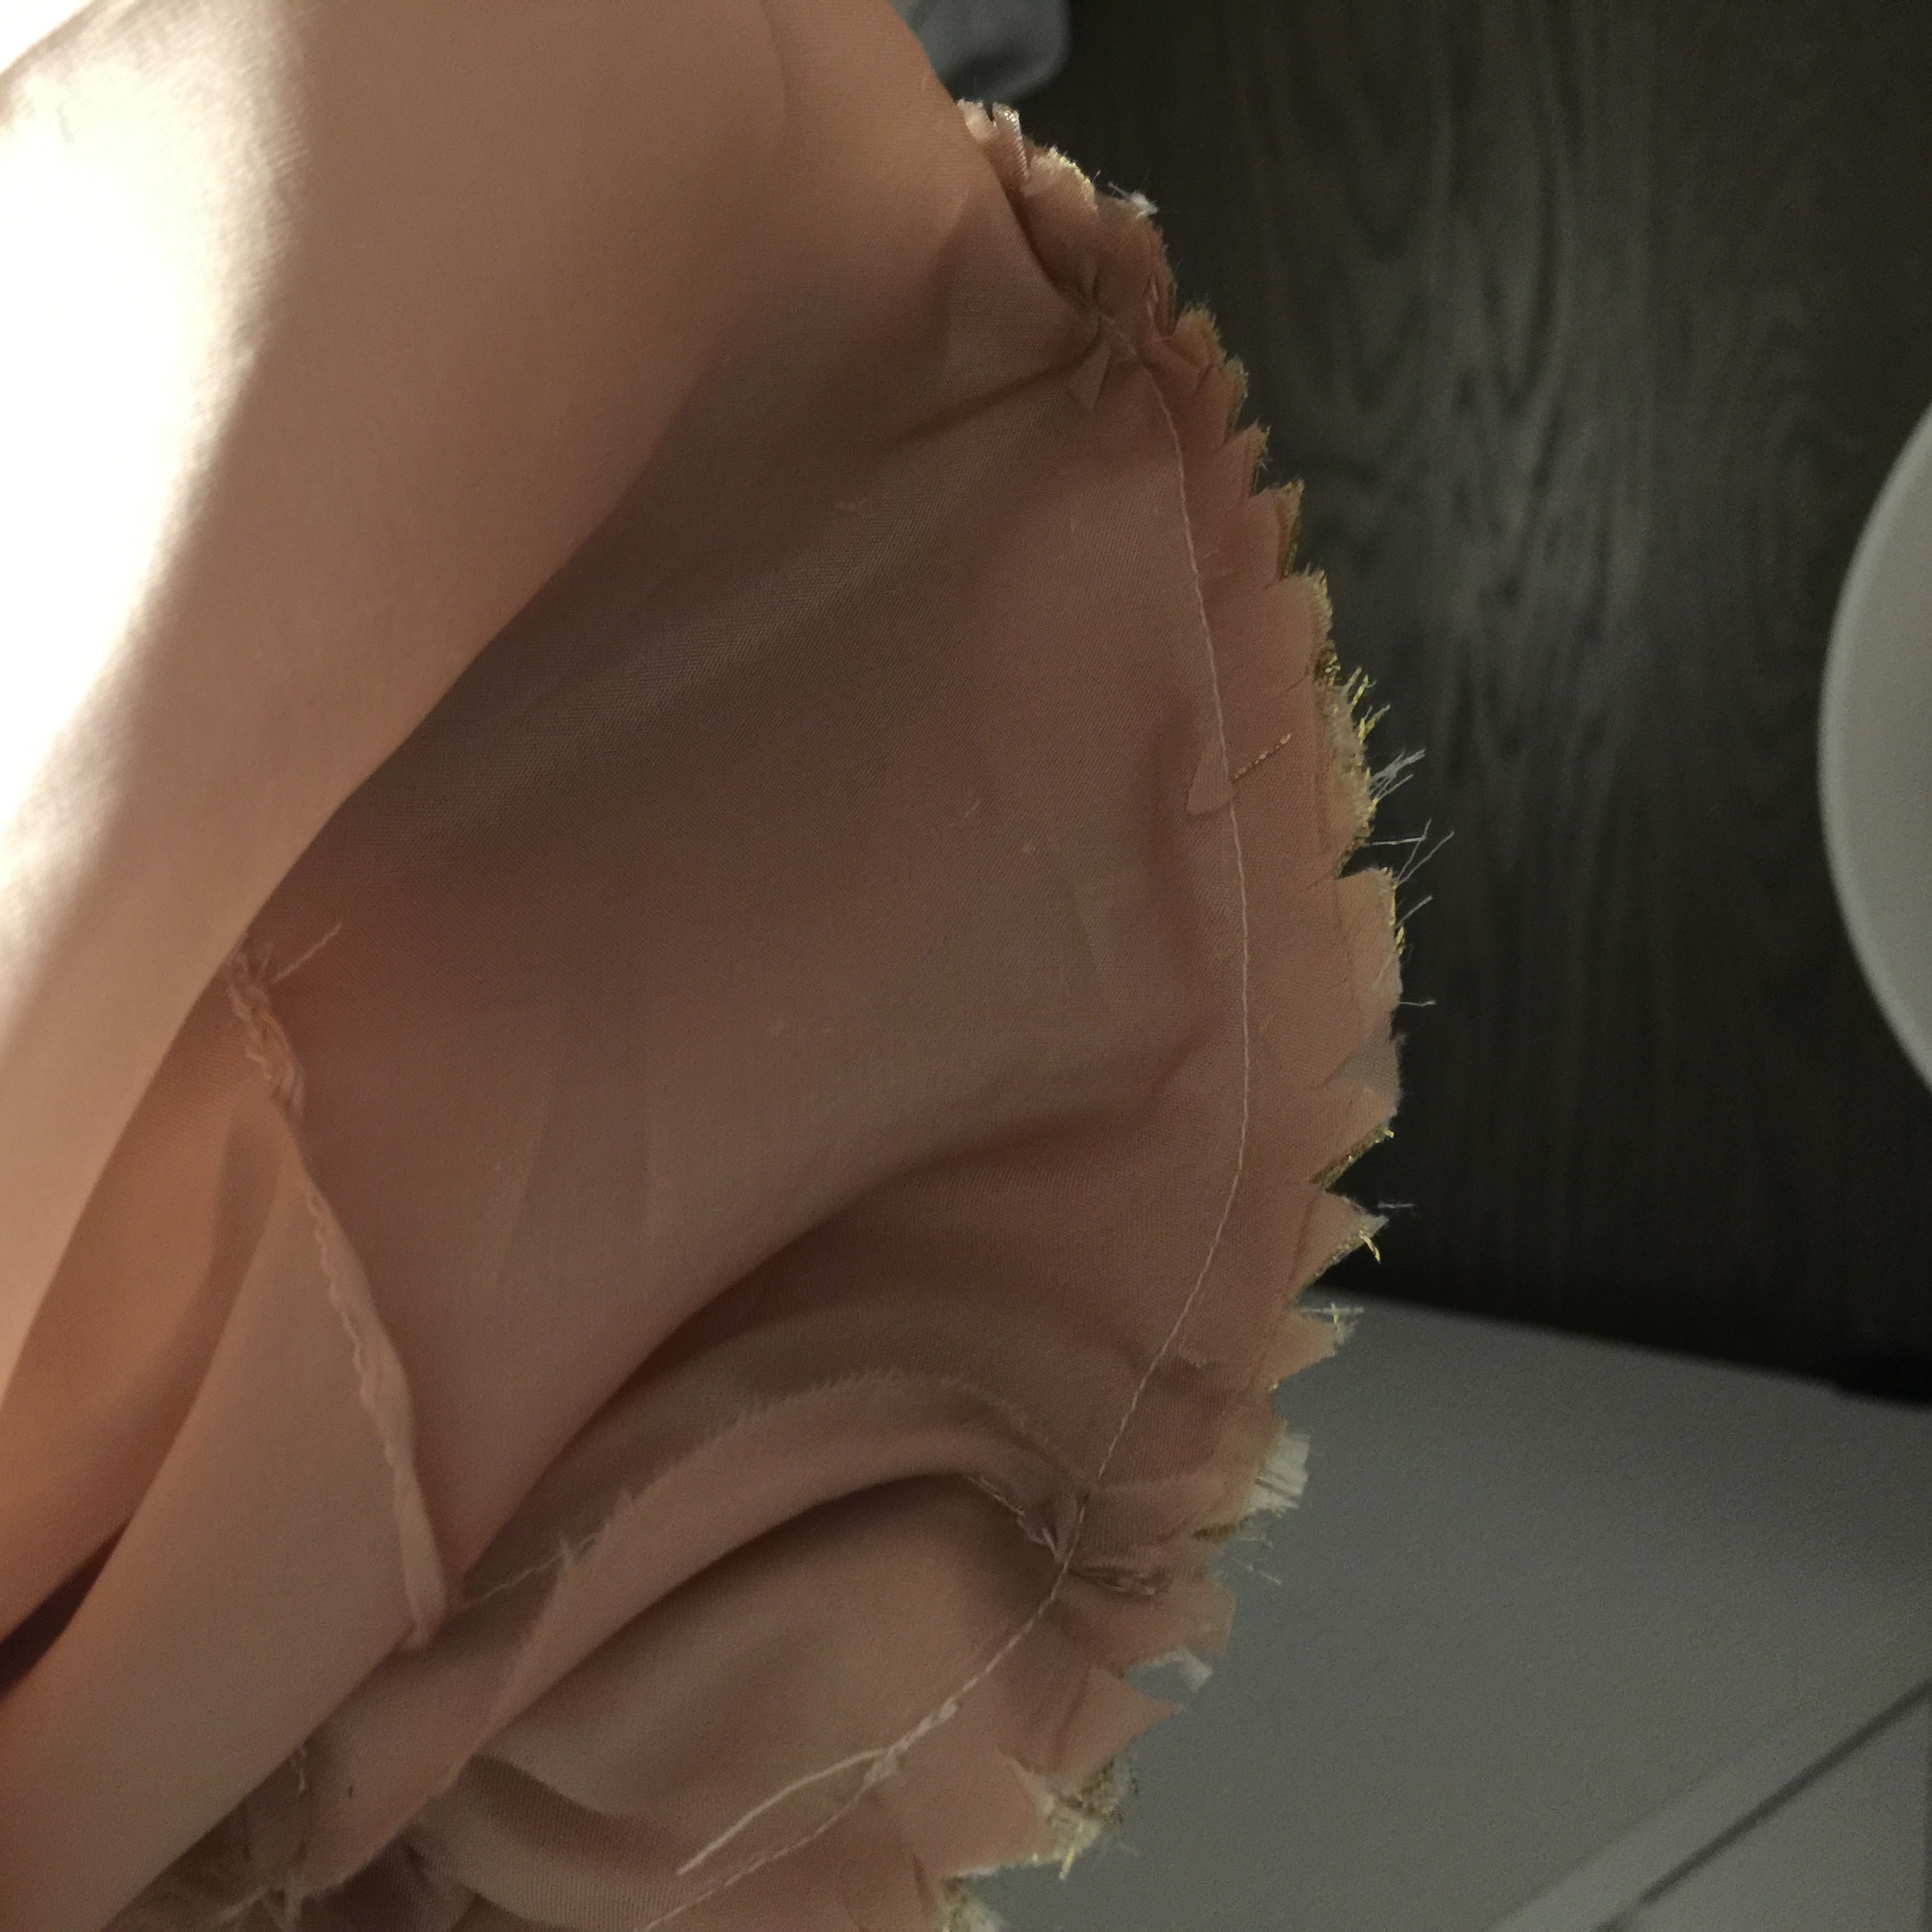
lining
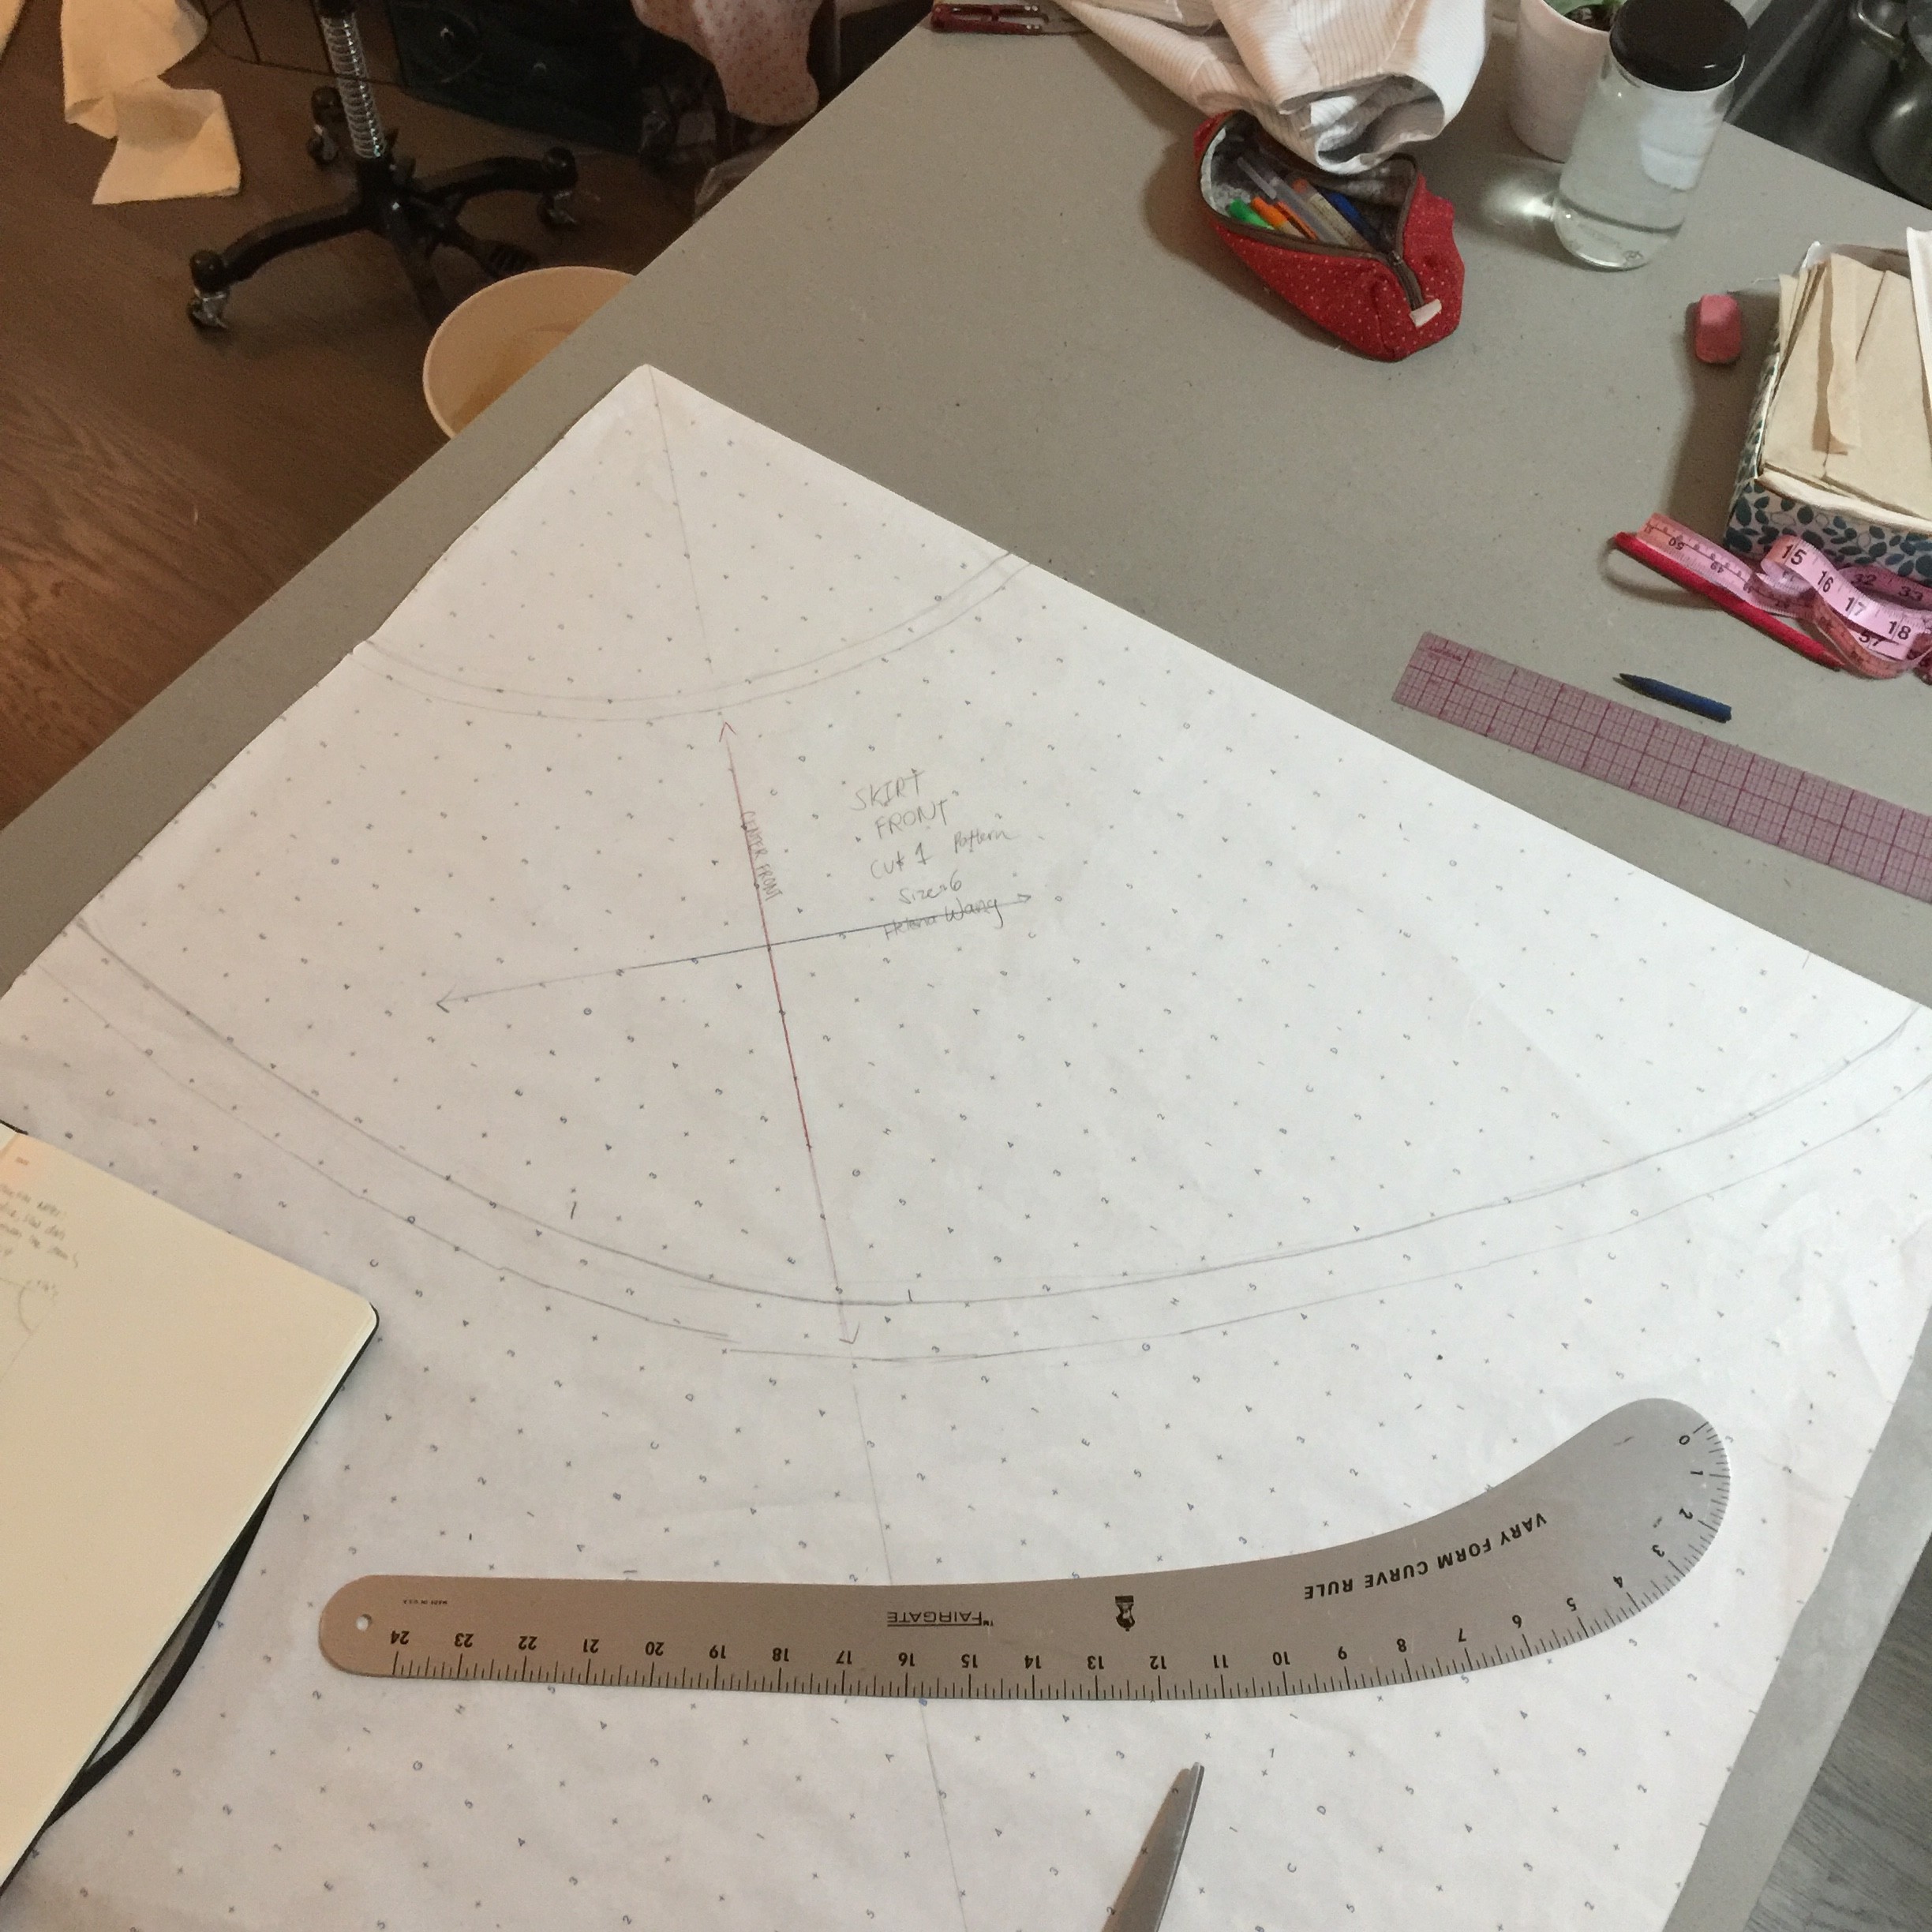
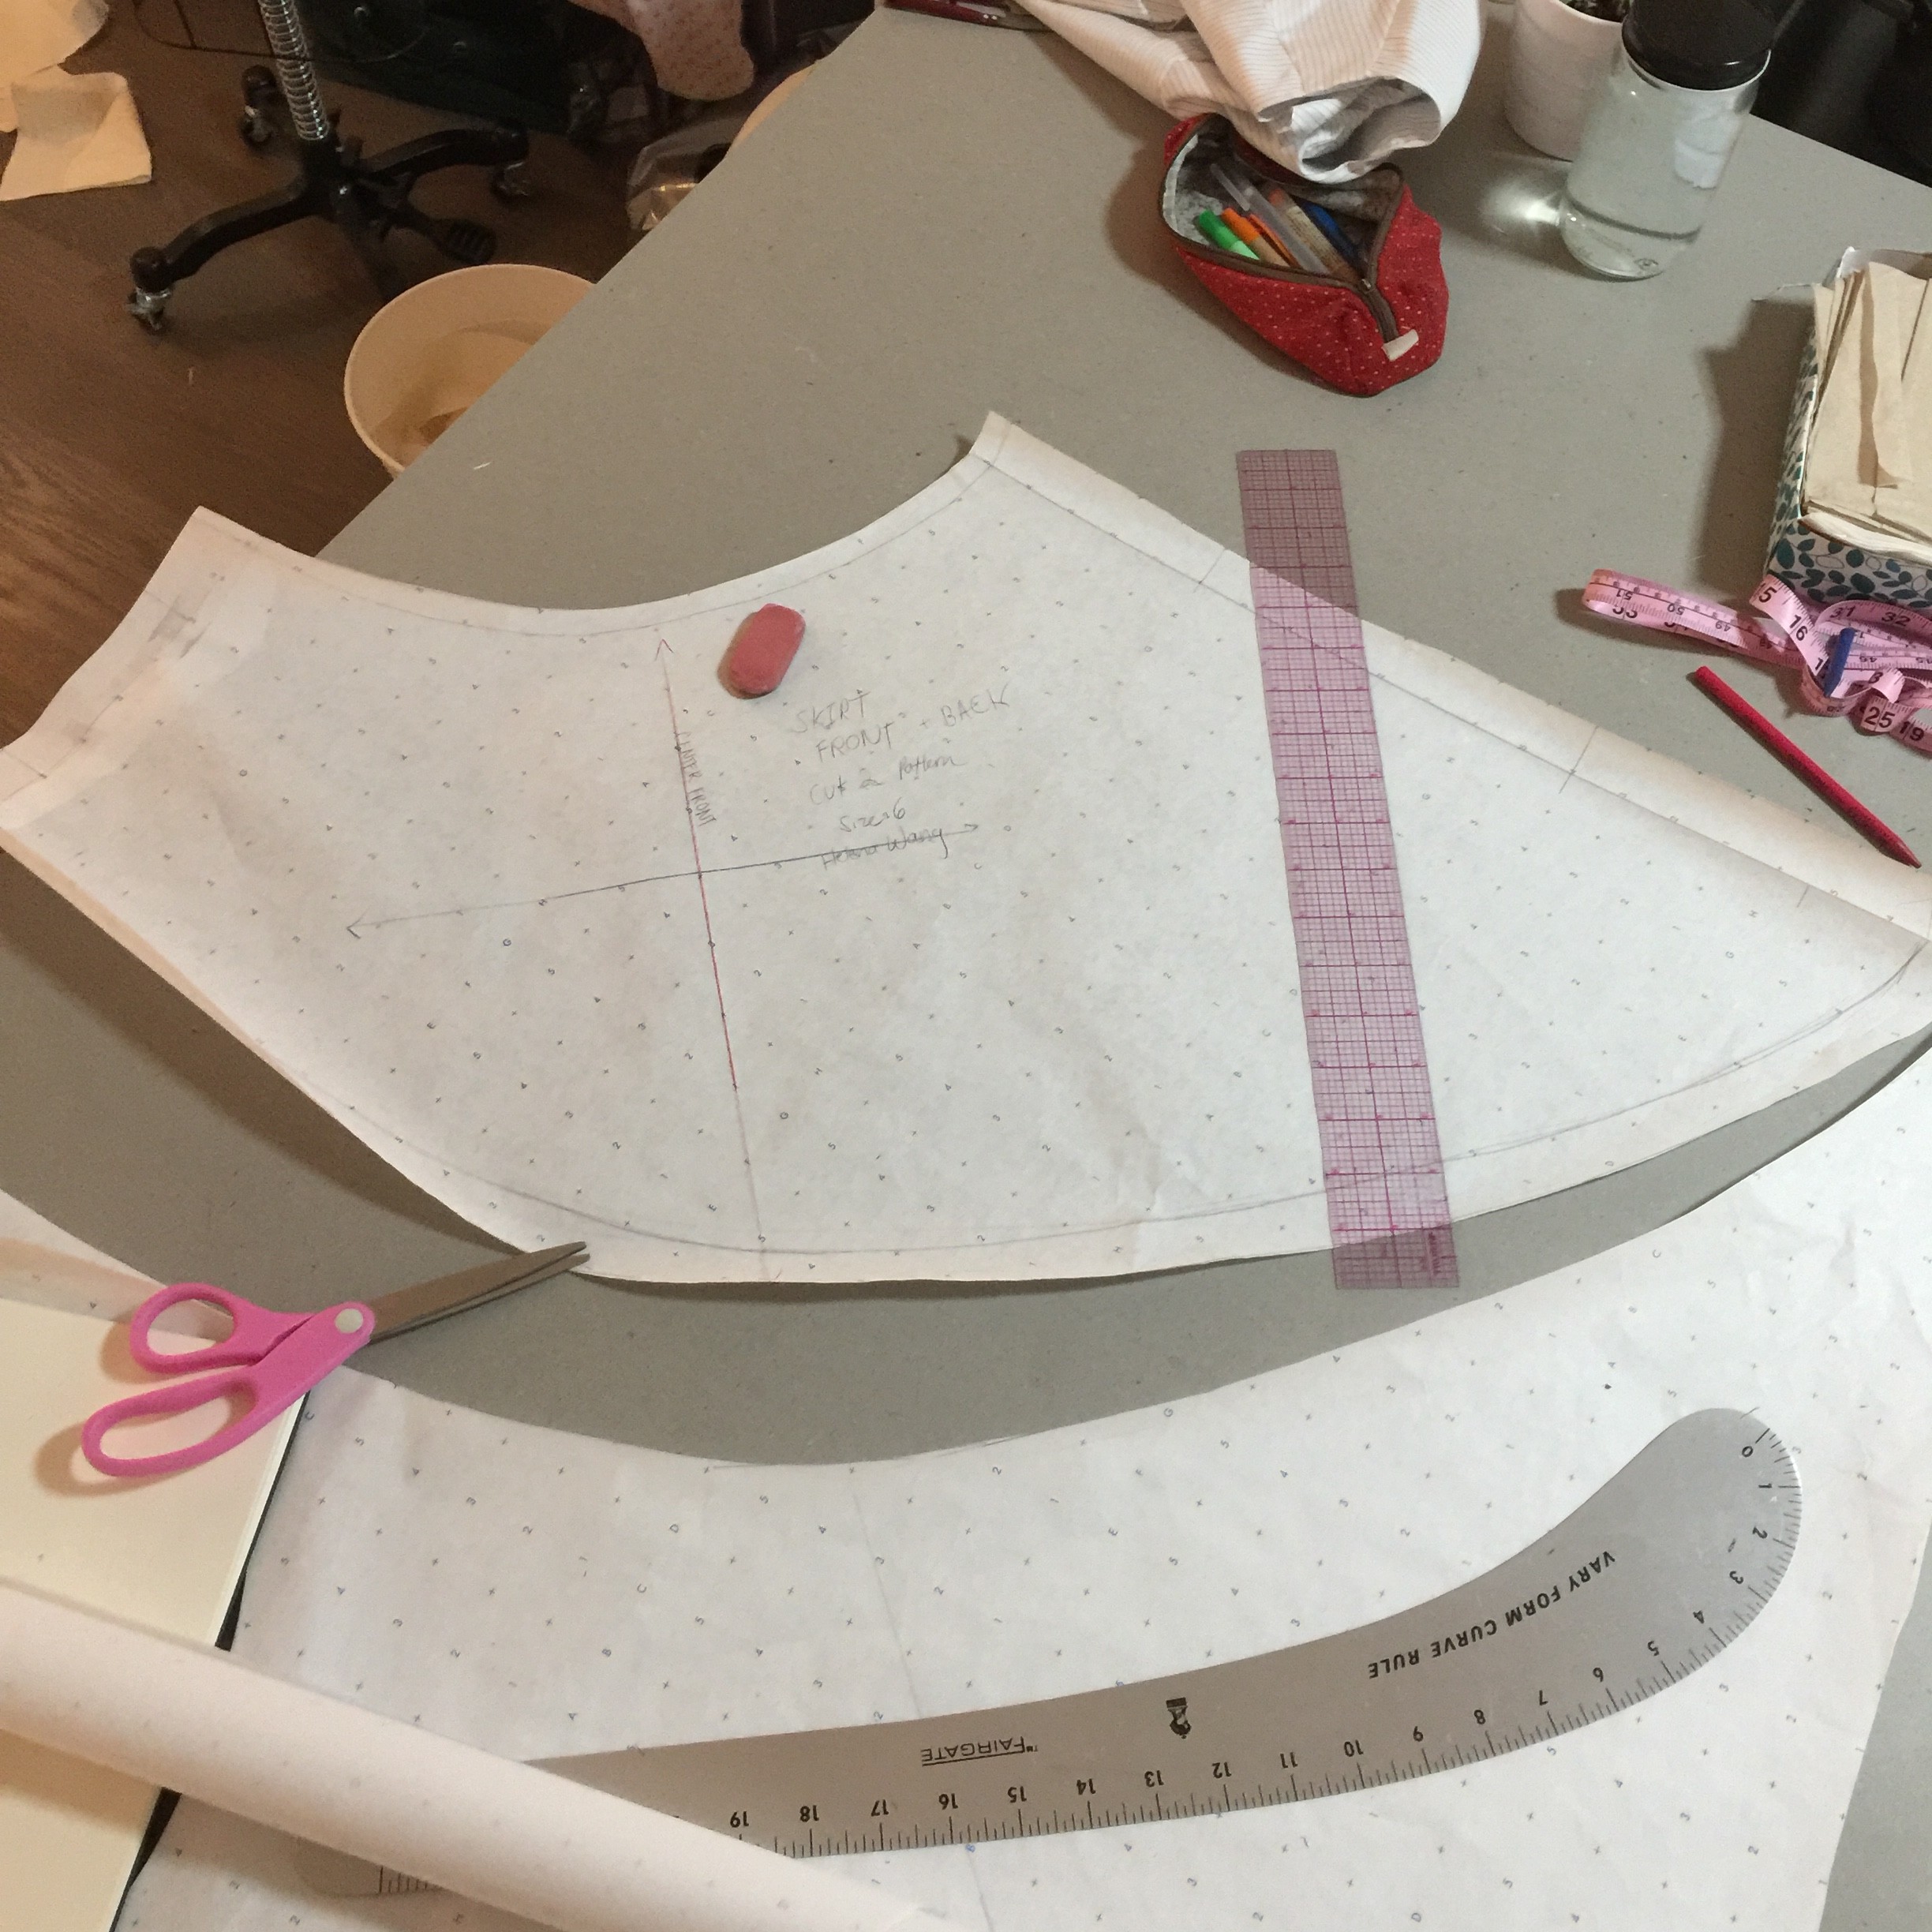
S K I R T
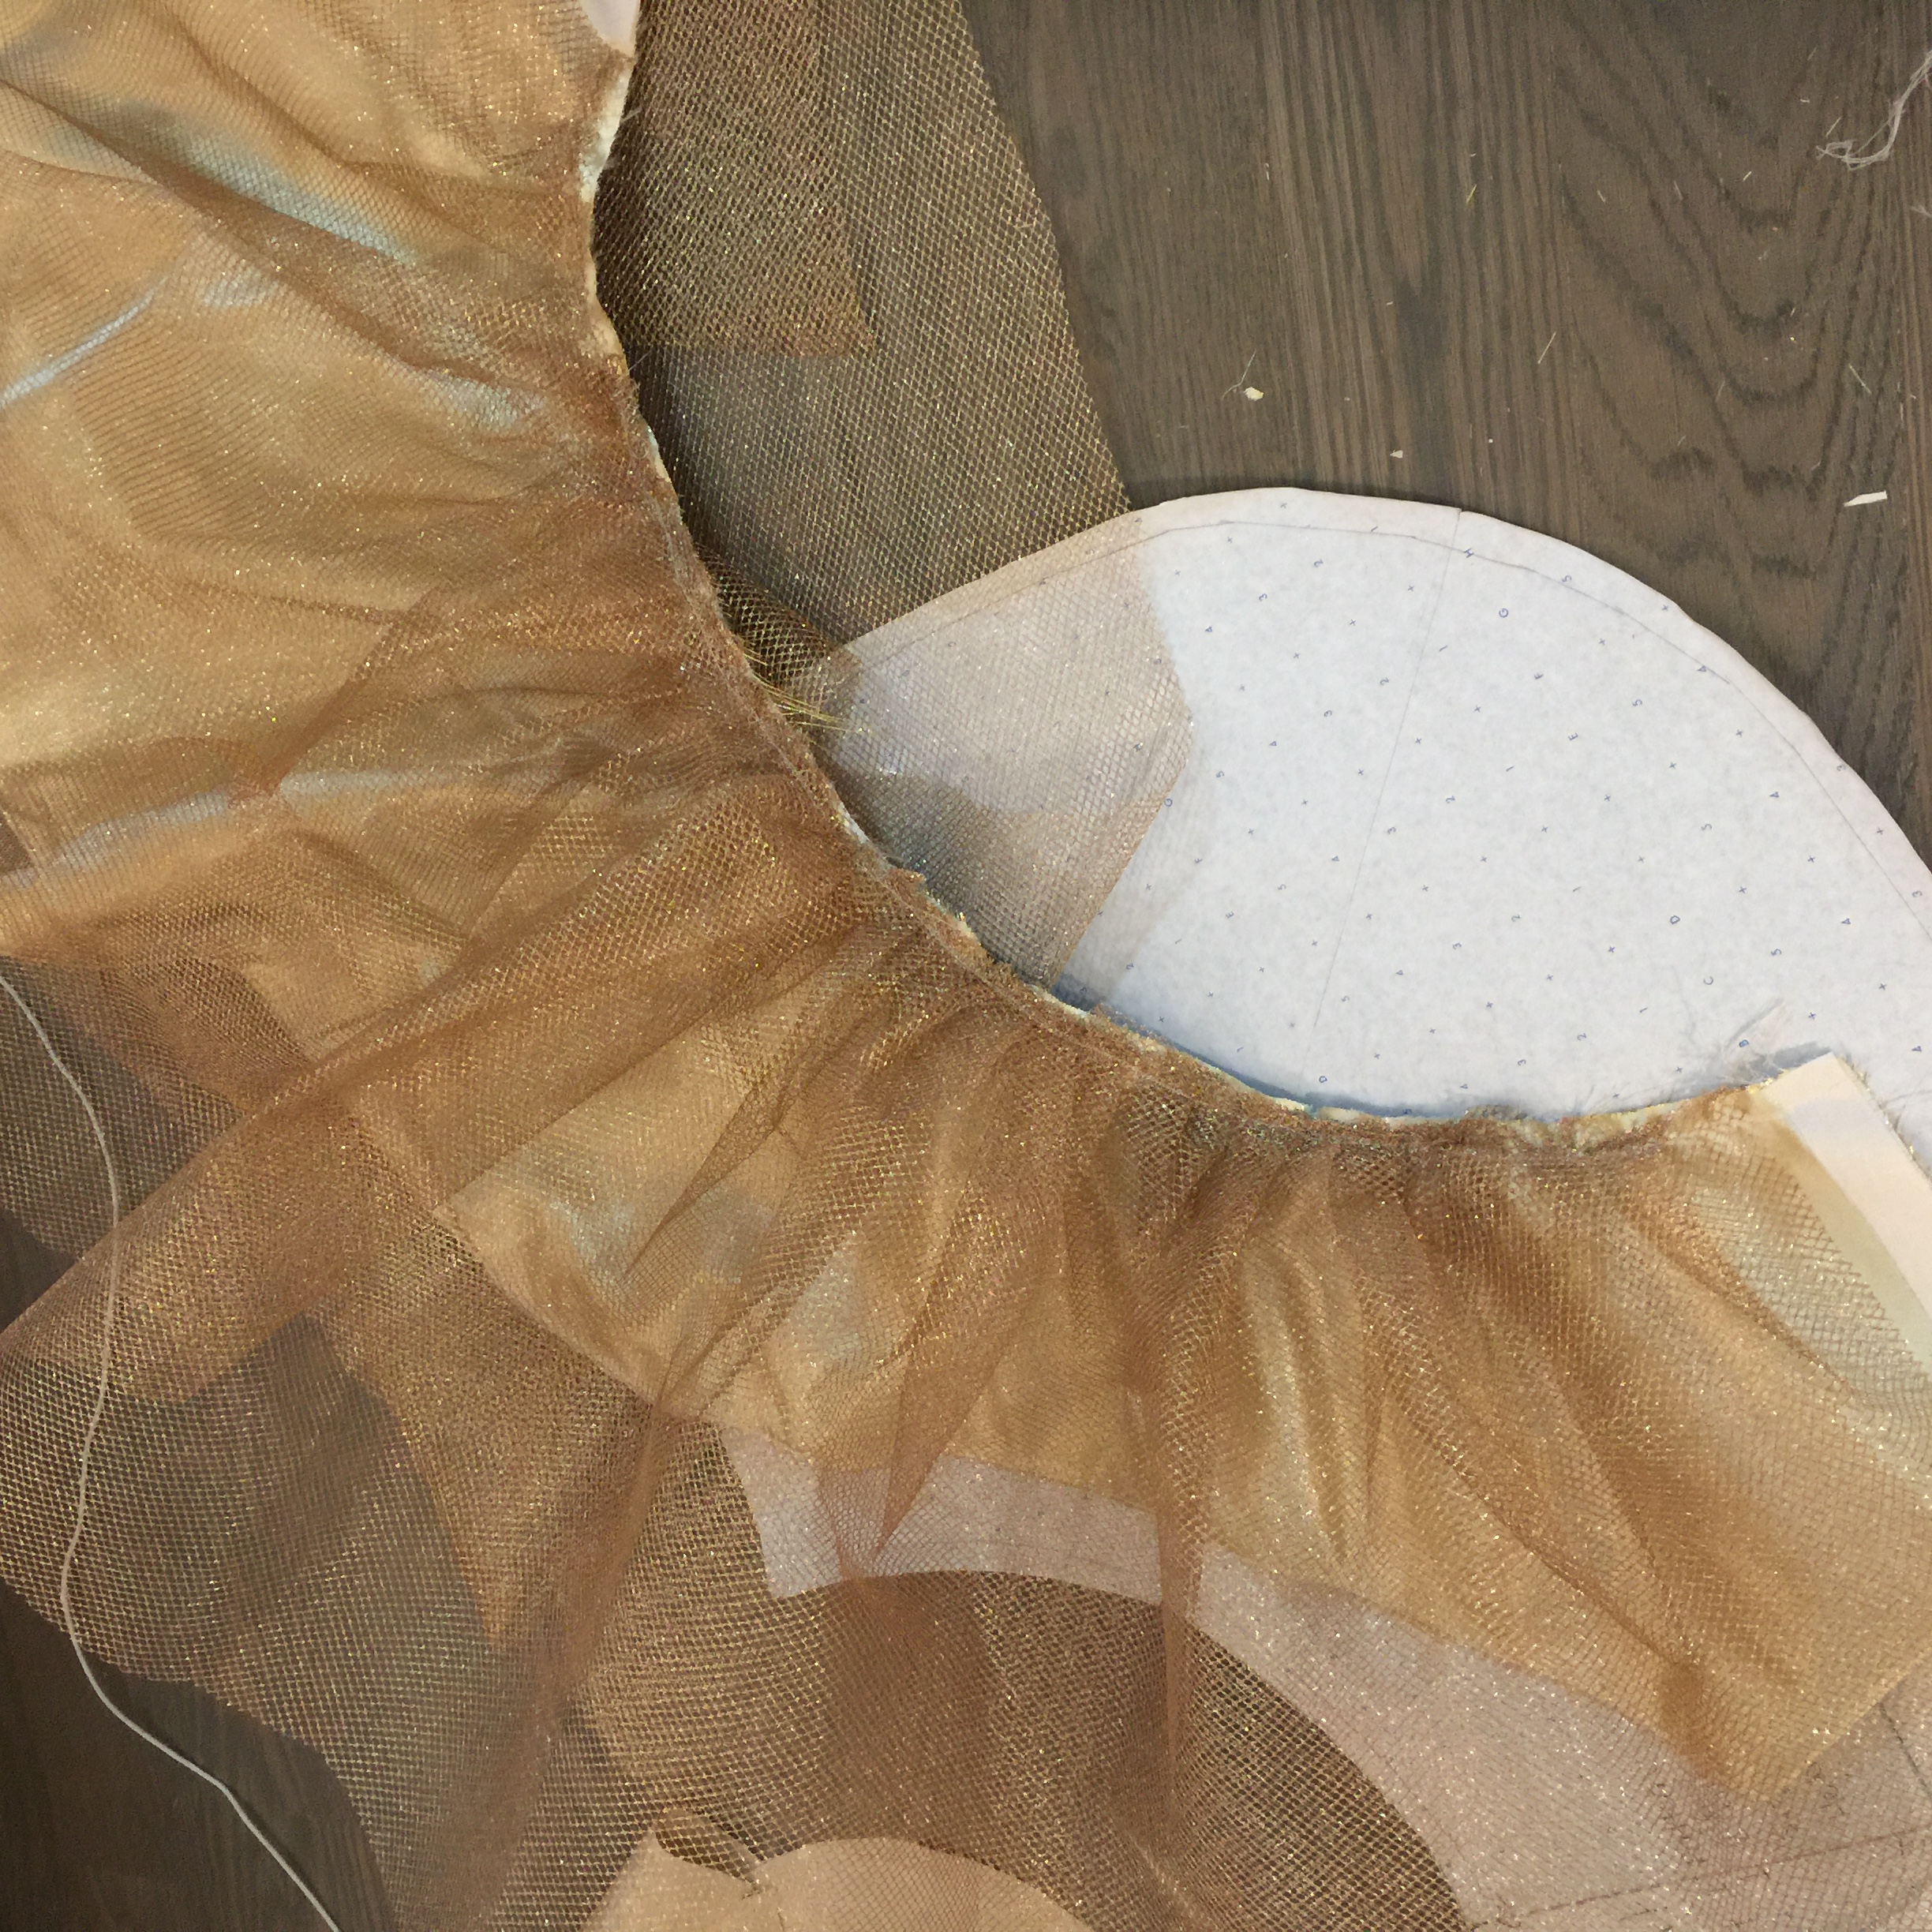
pattern
cut out:
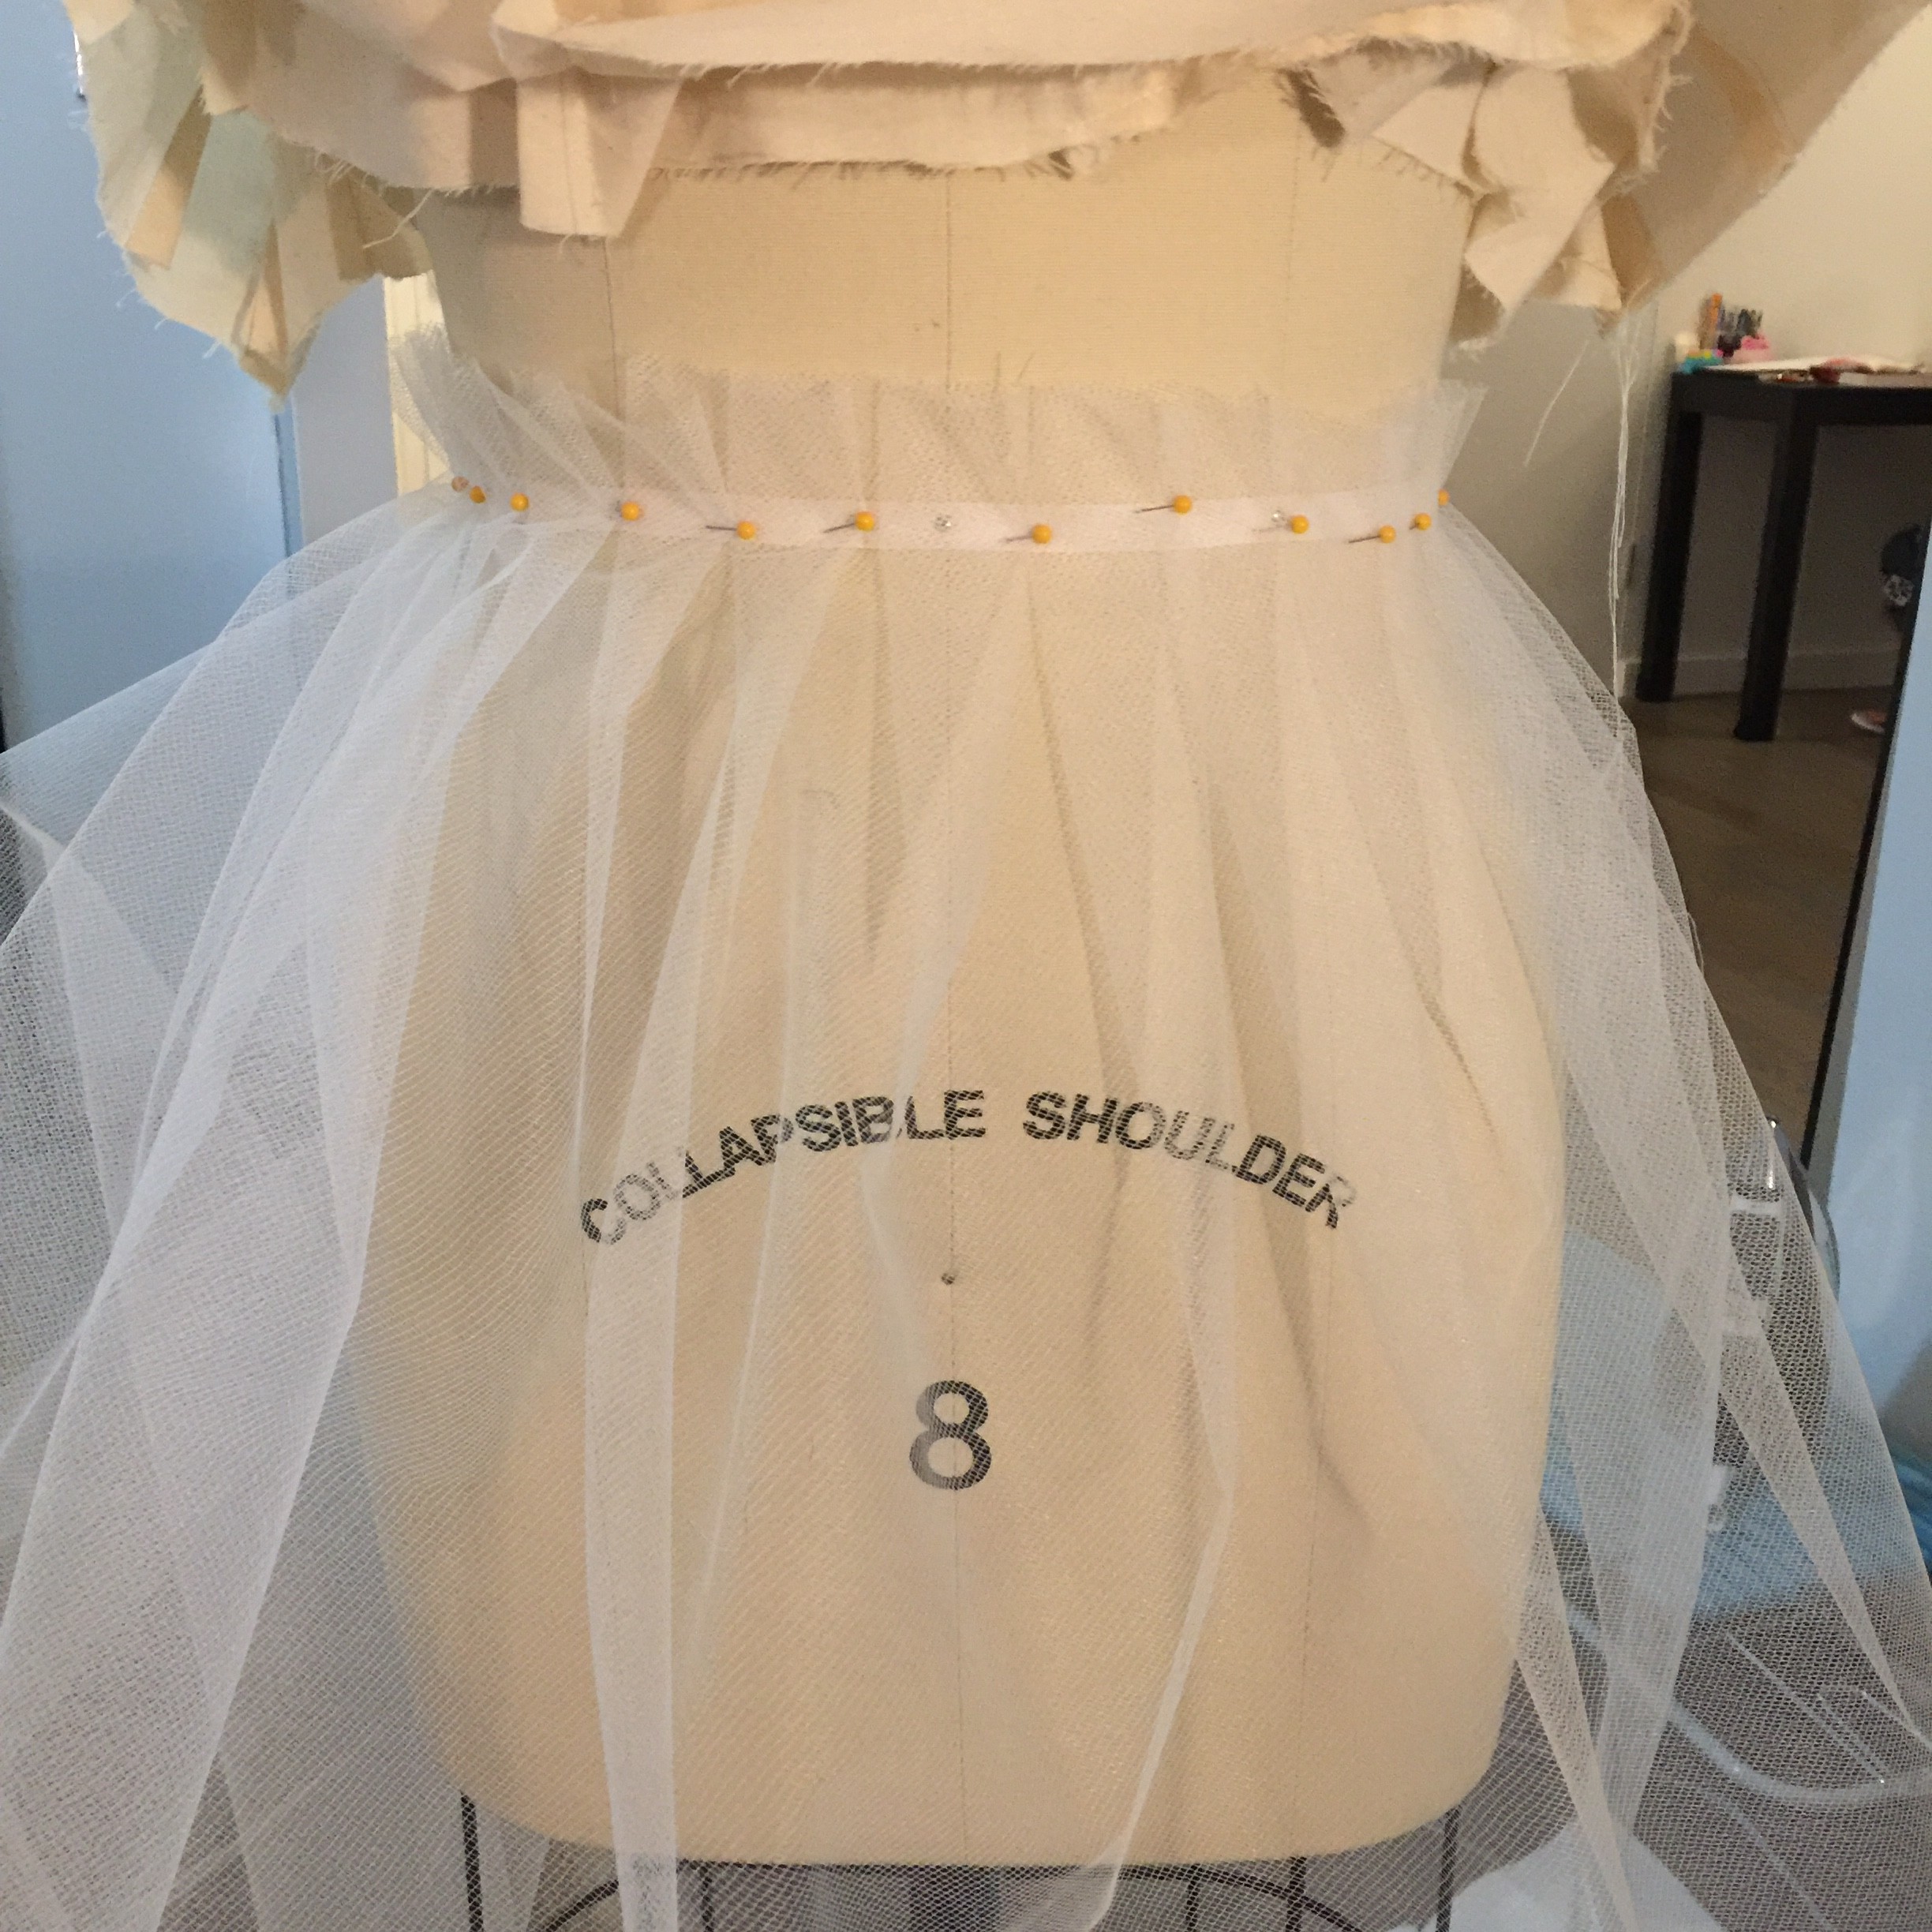
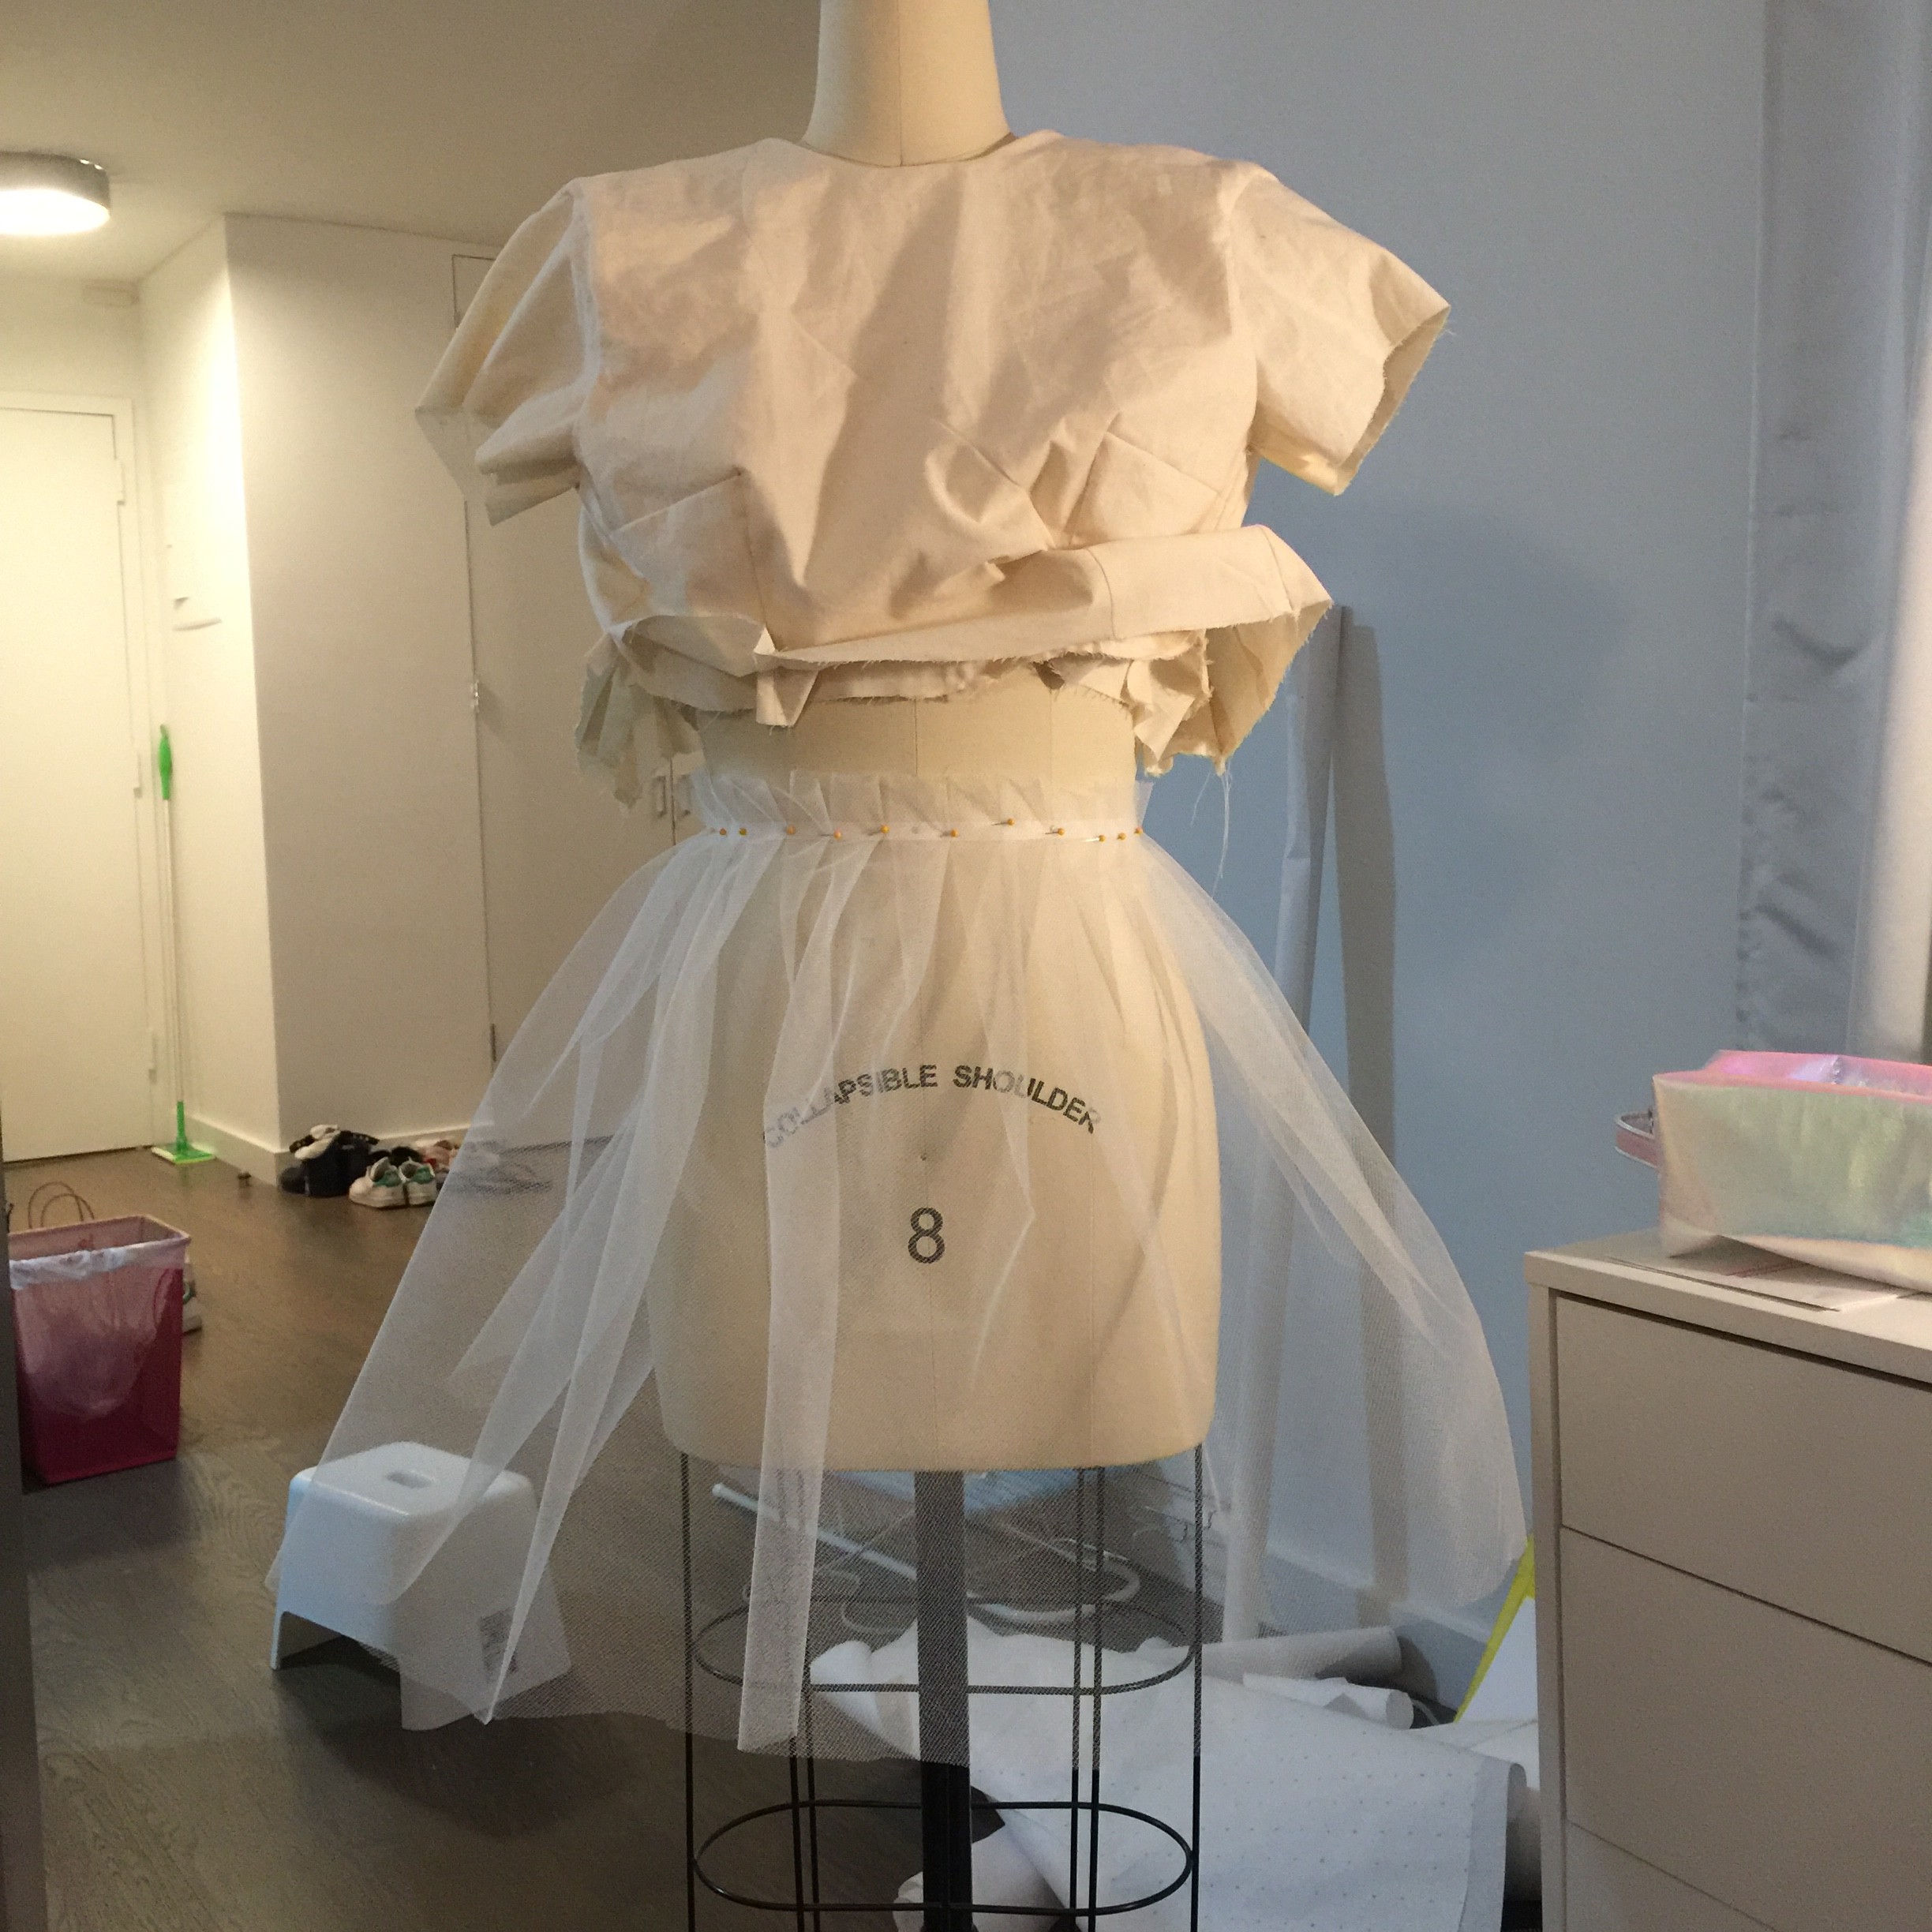
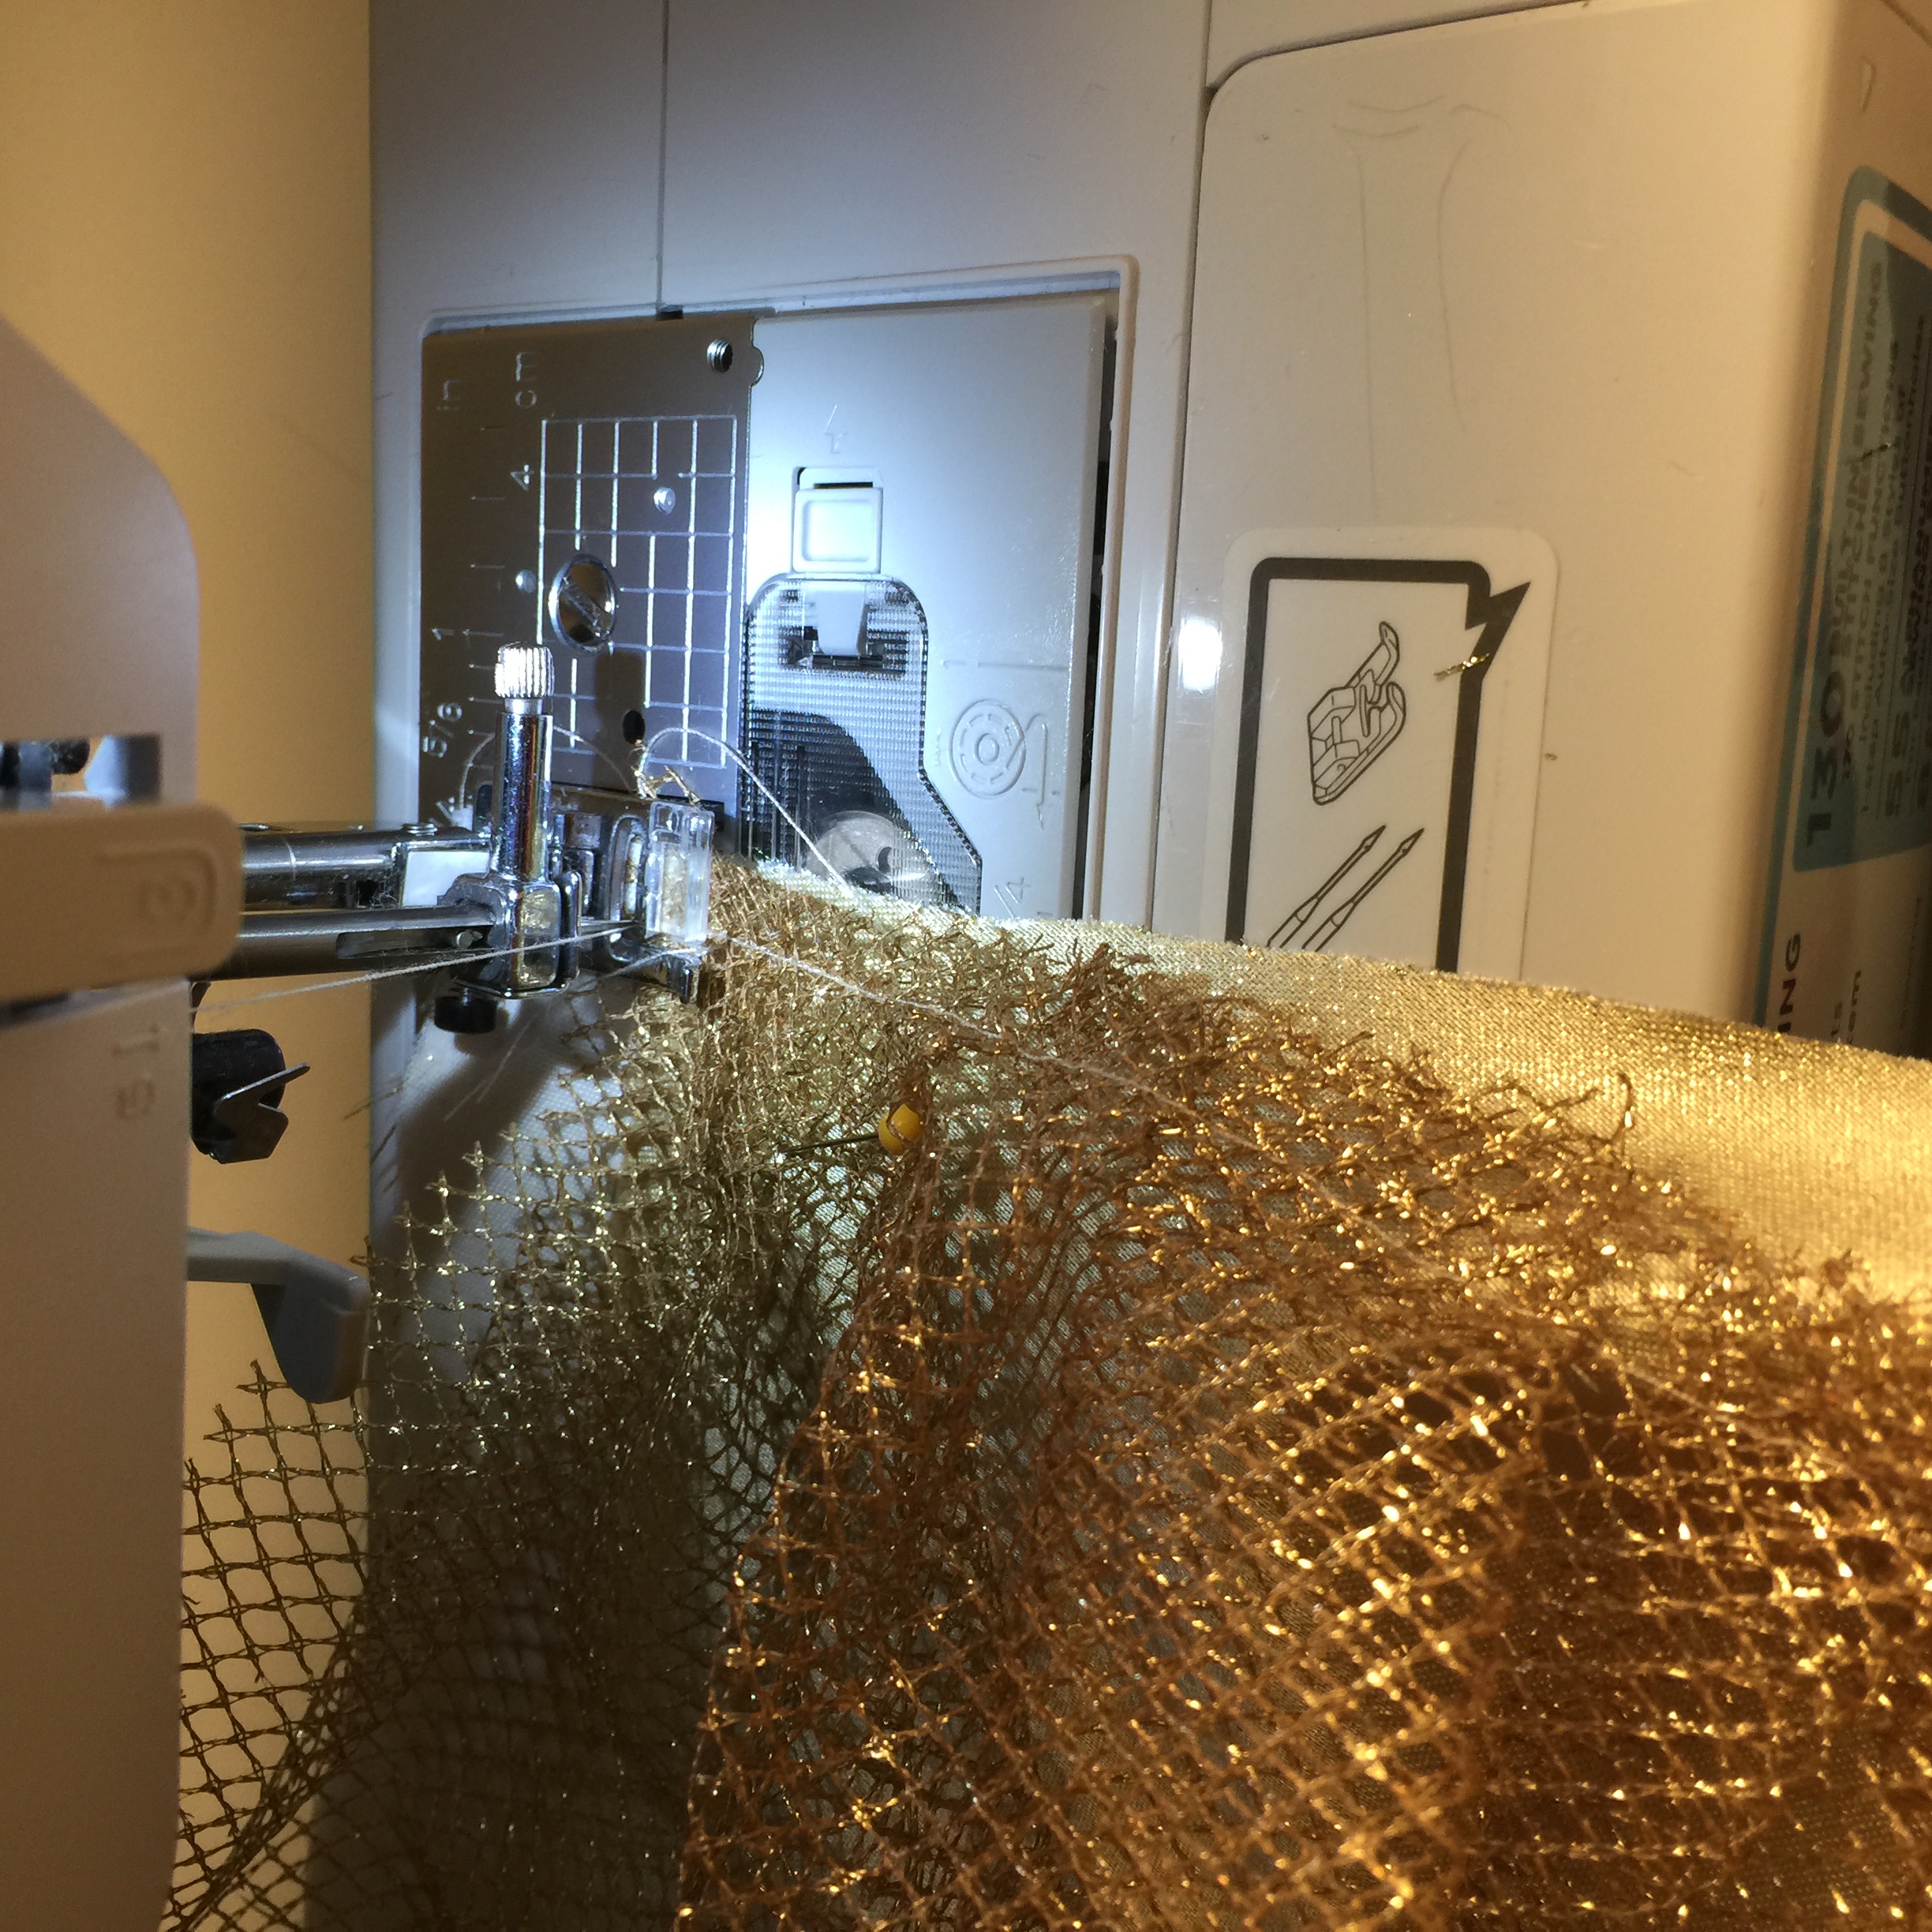
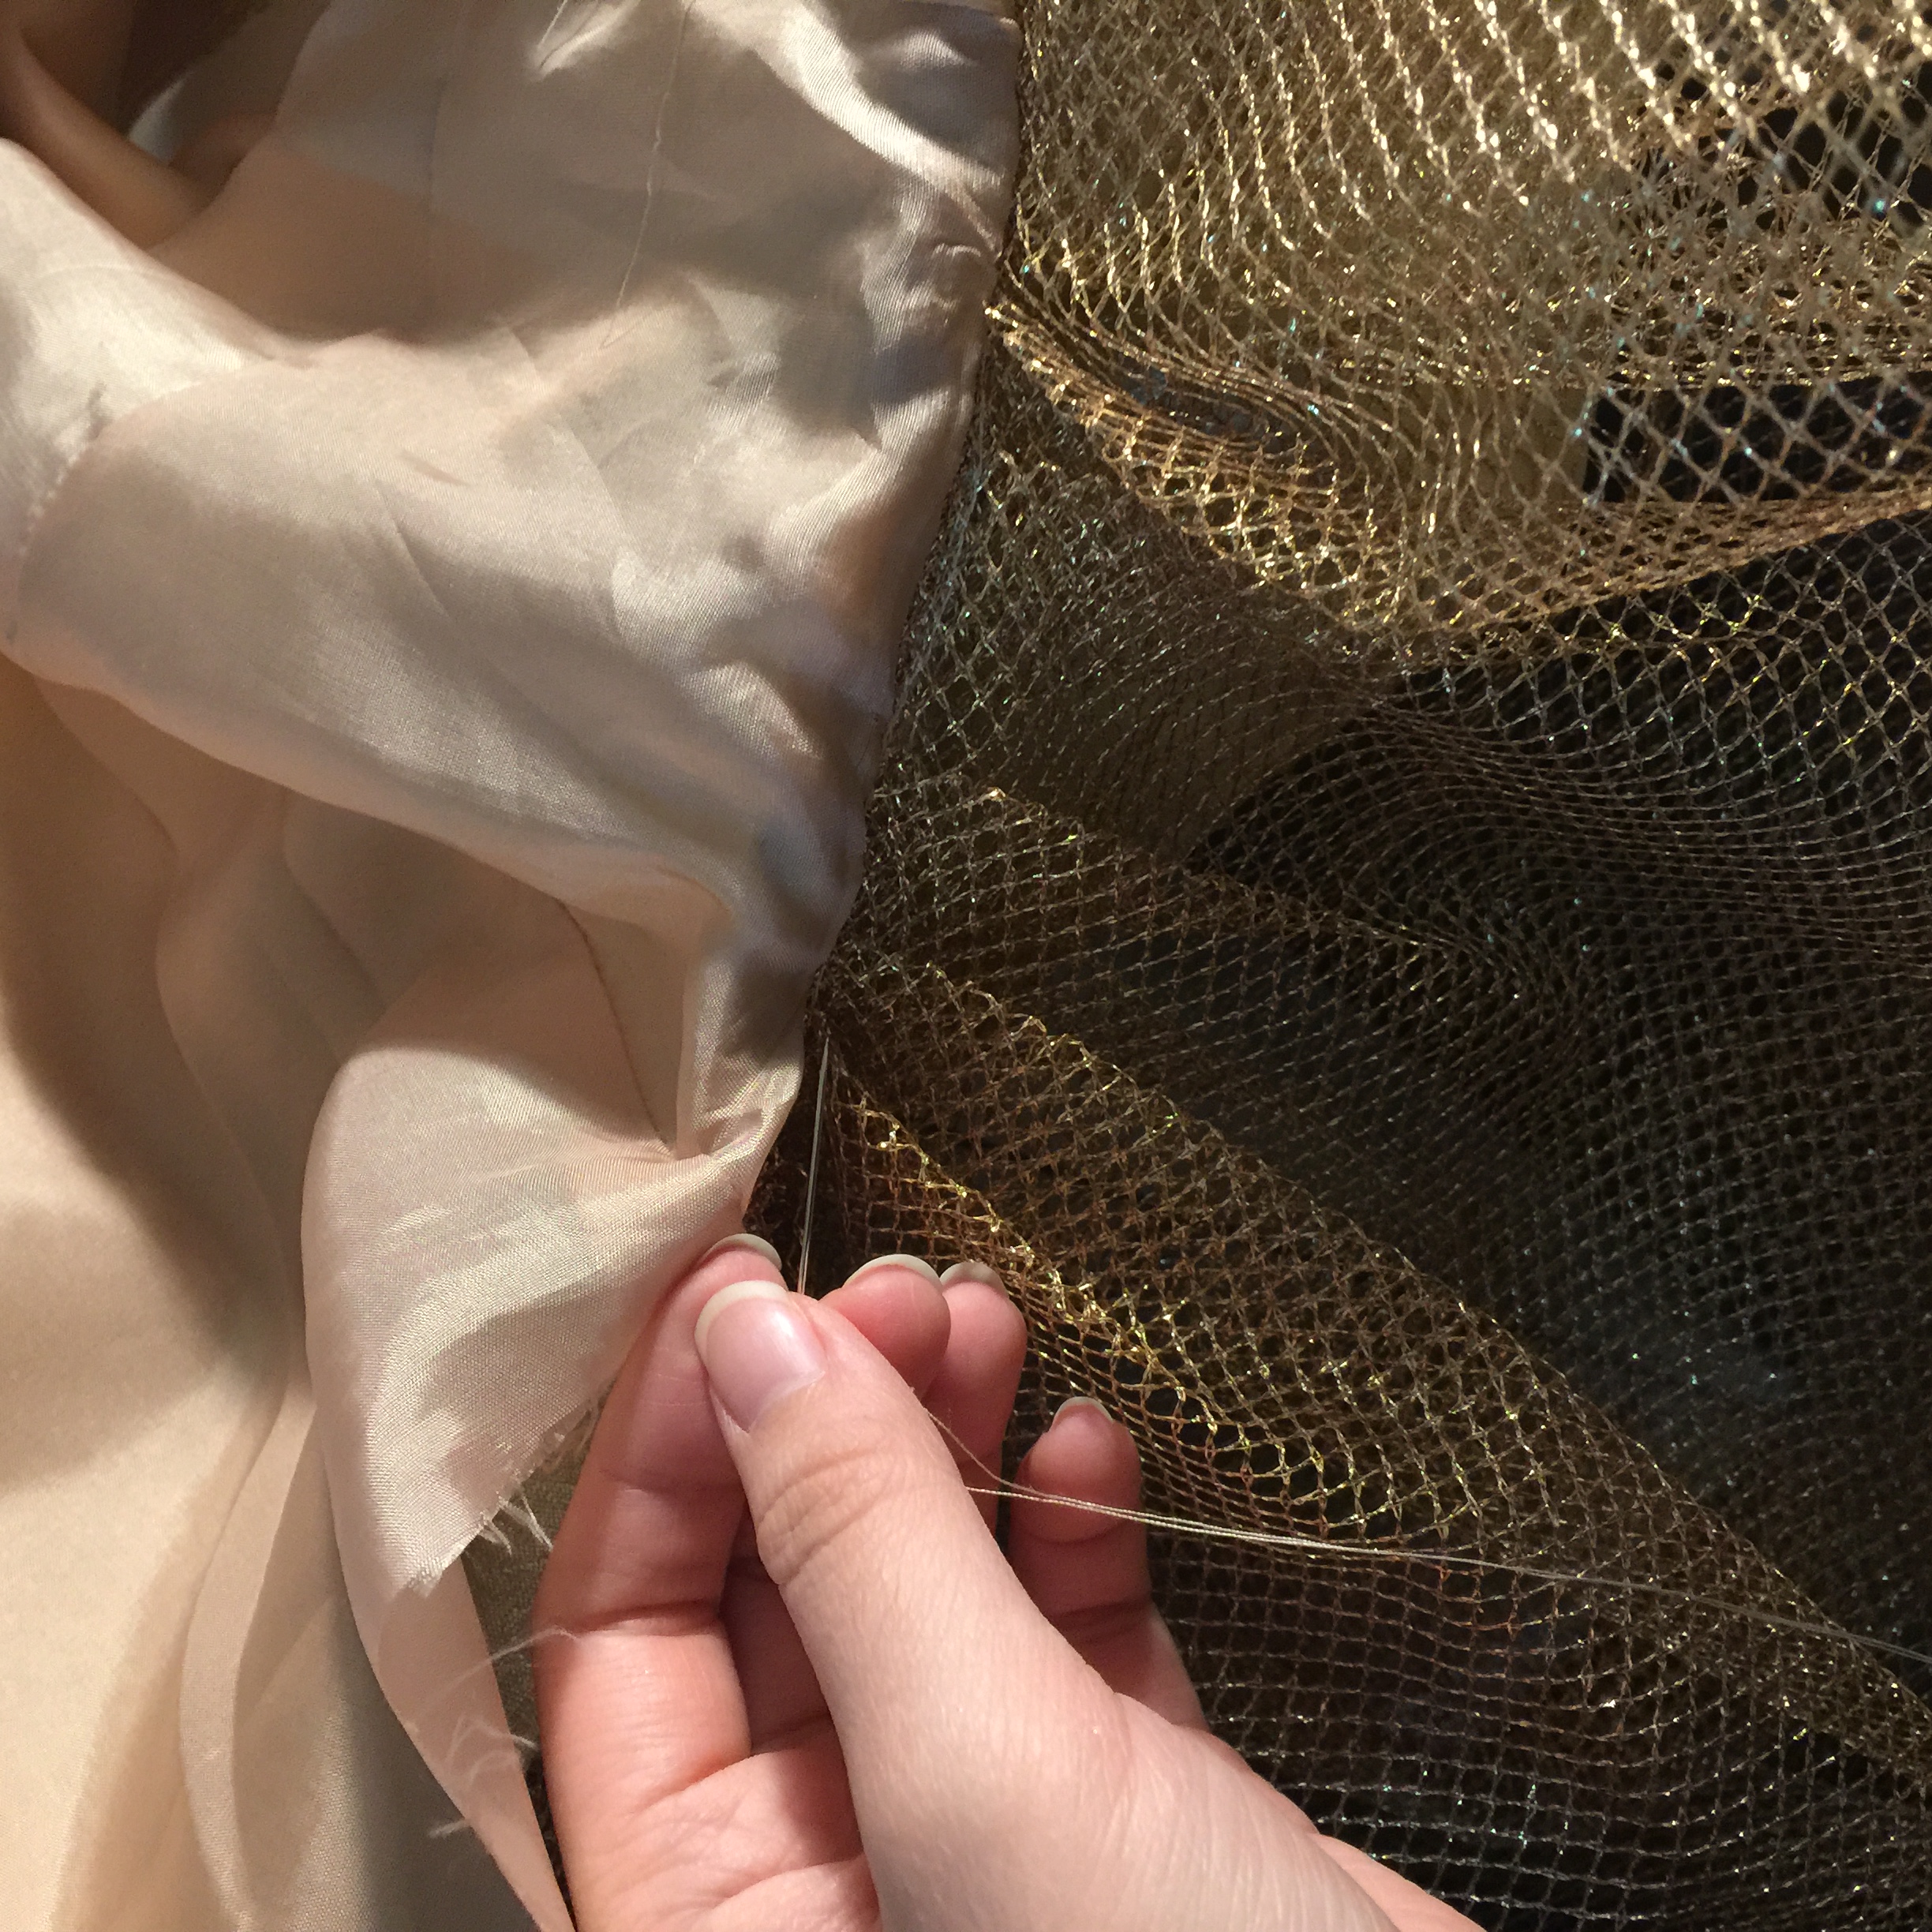
nylon net draping

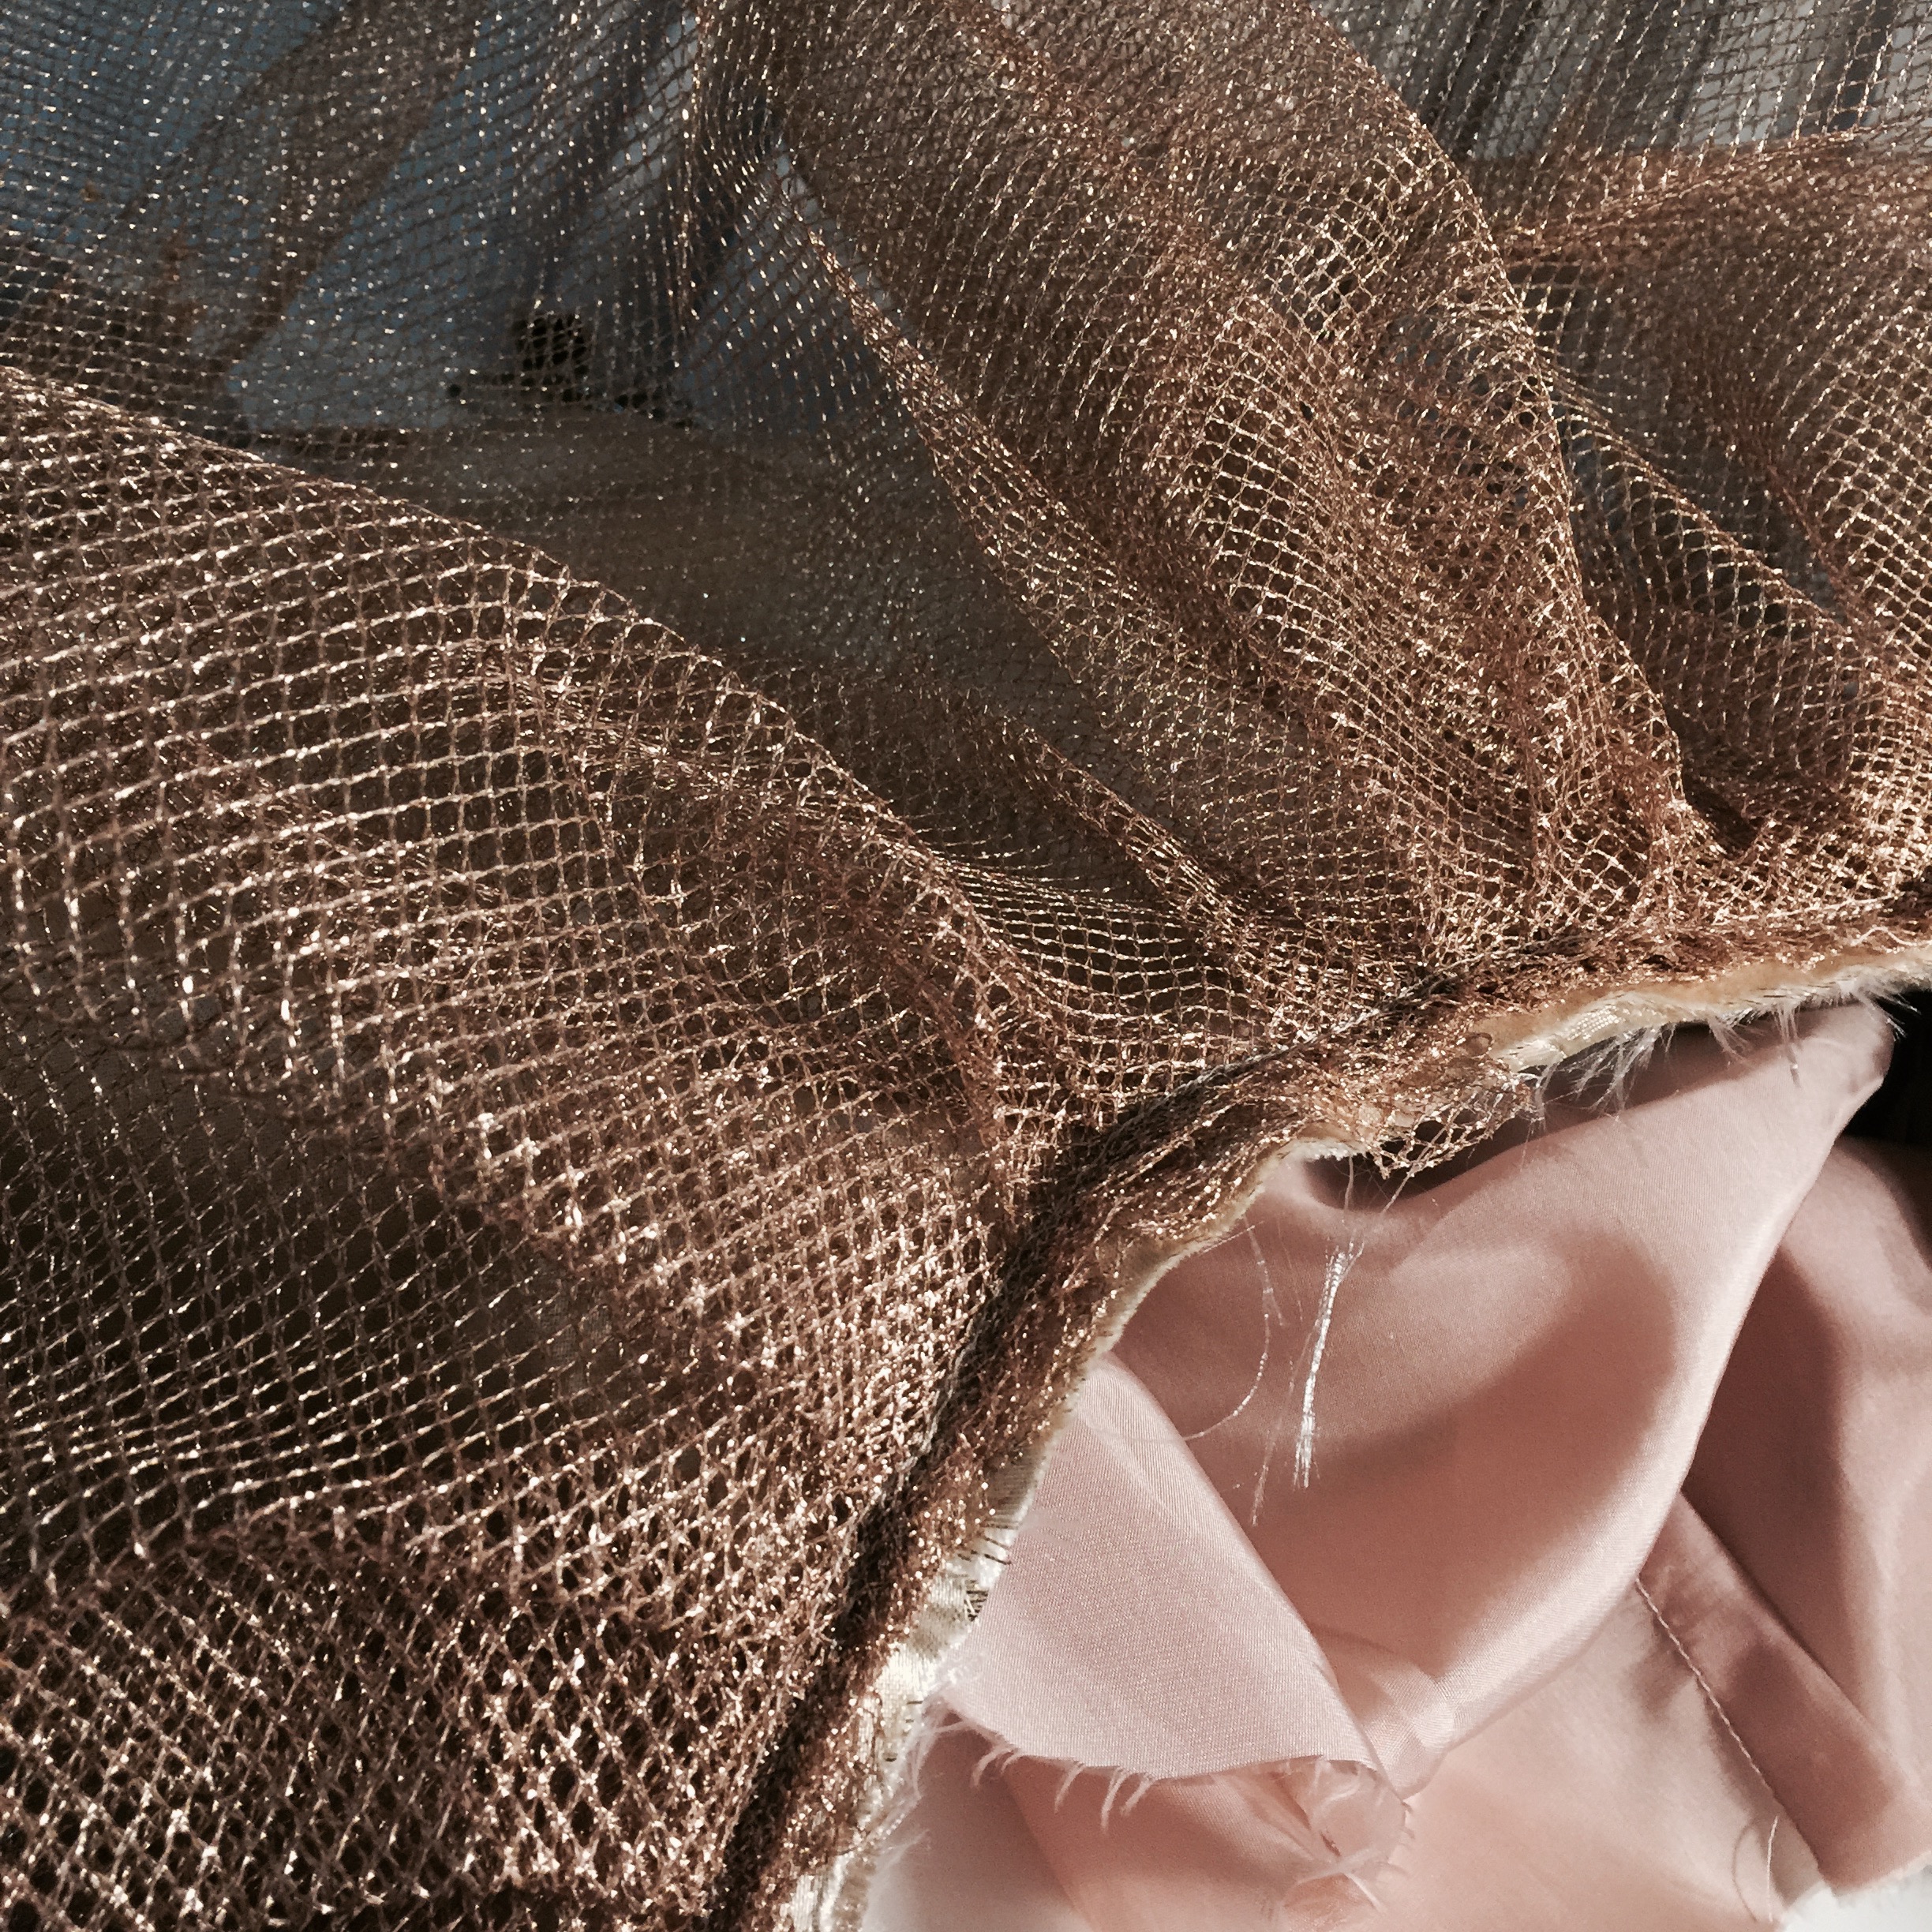
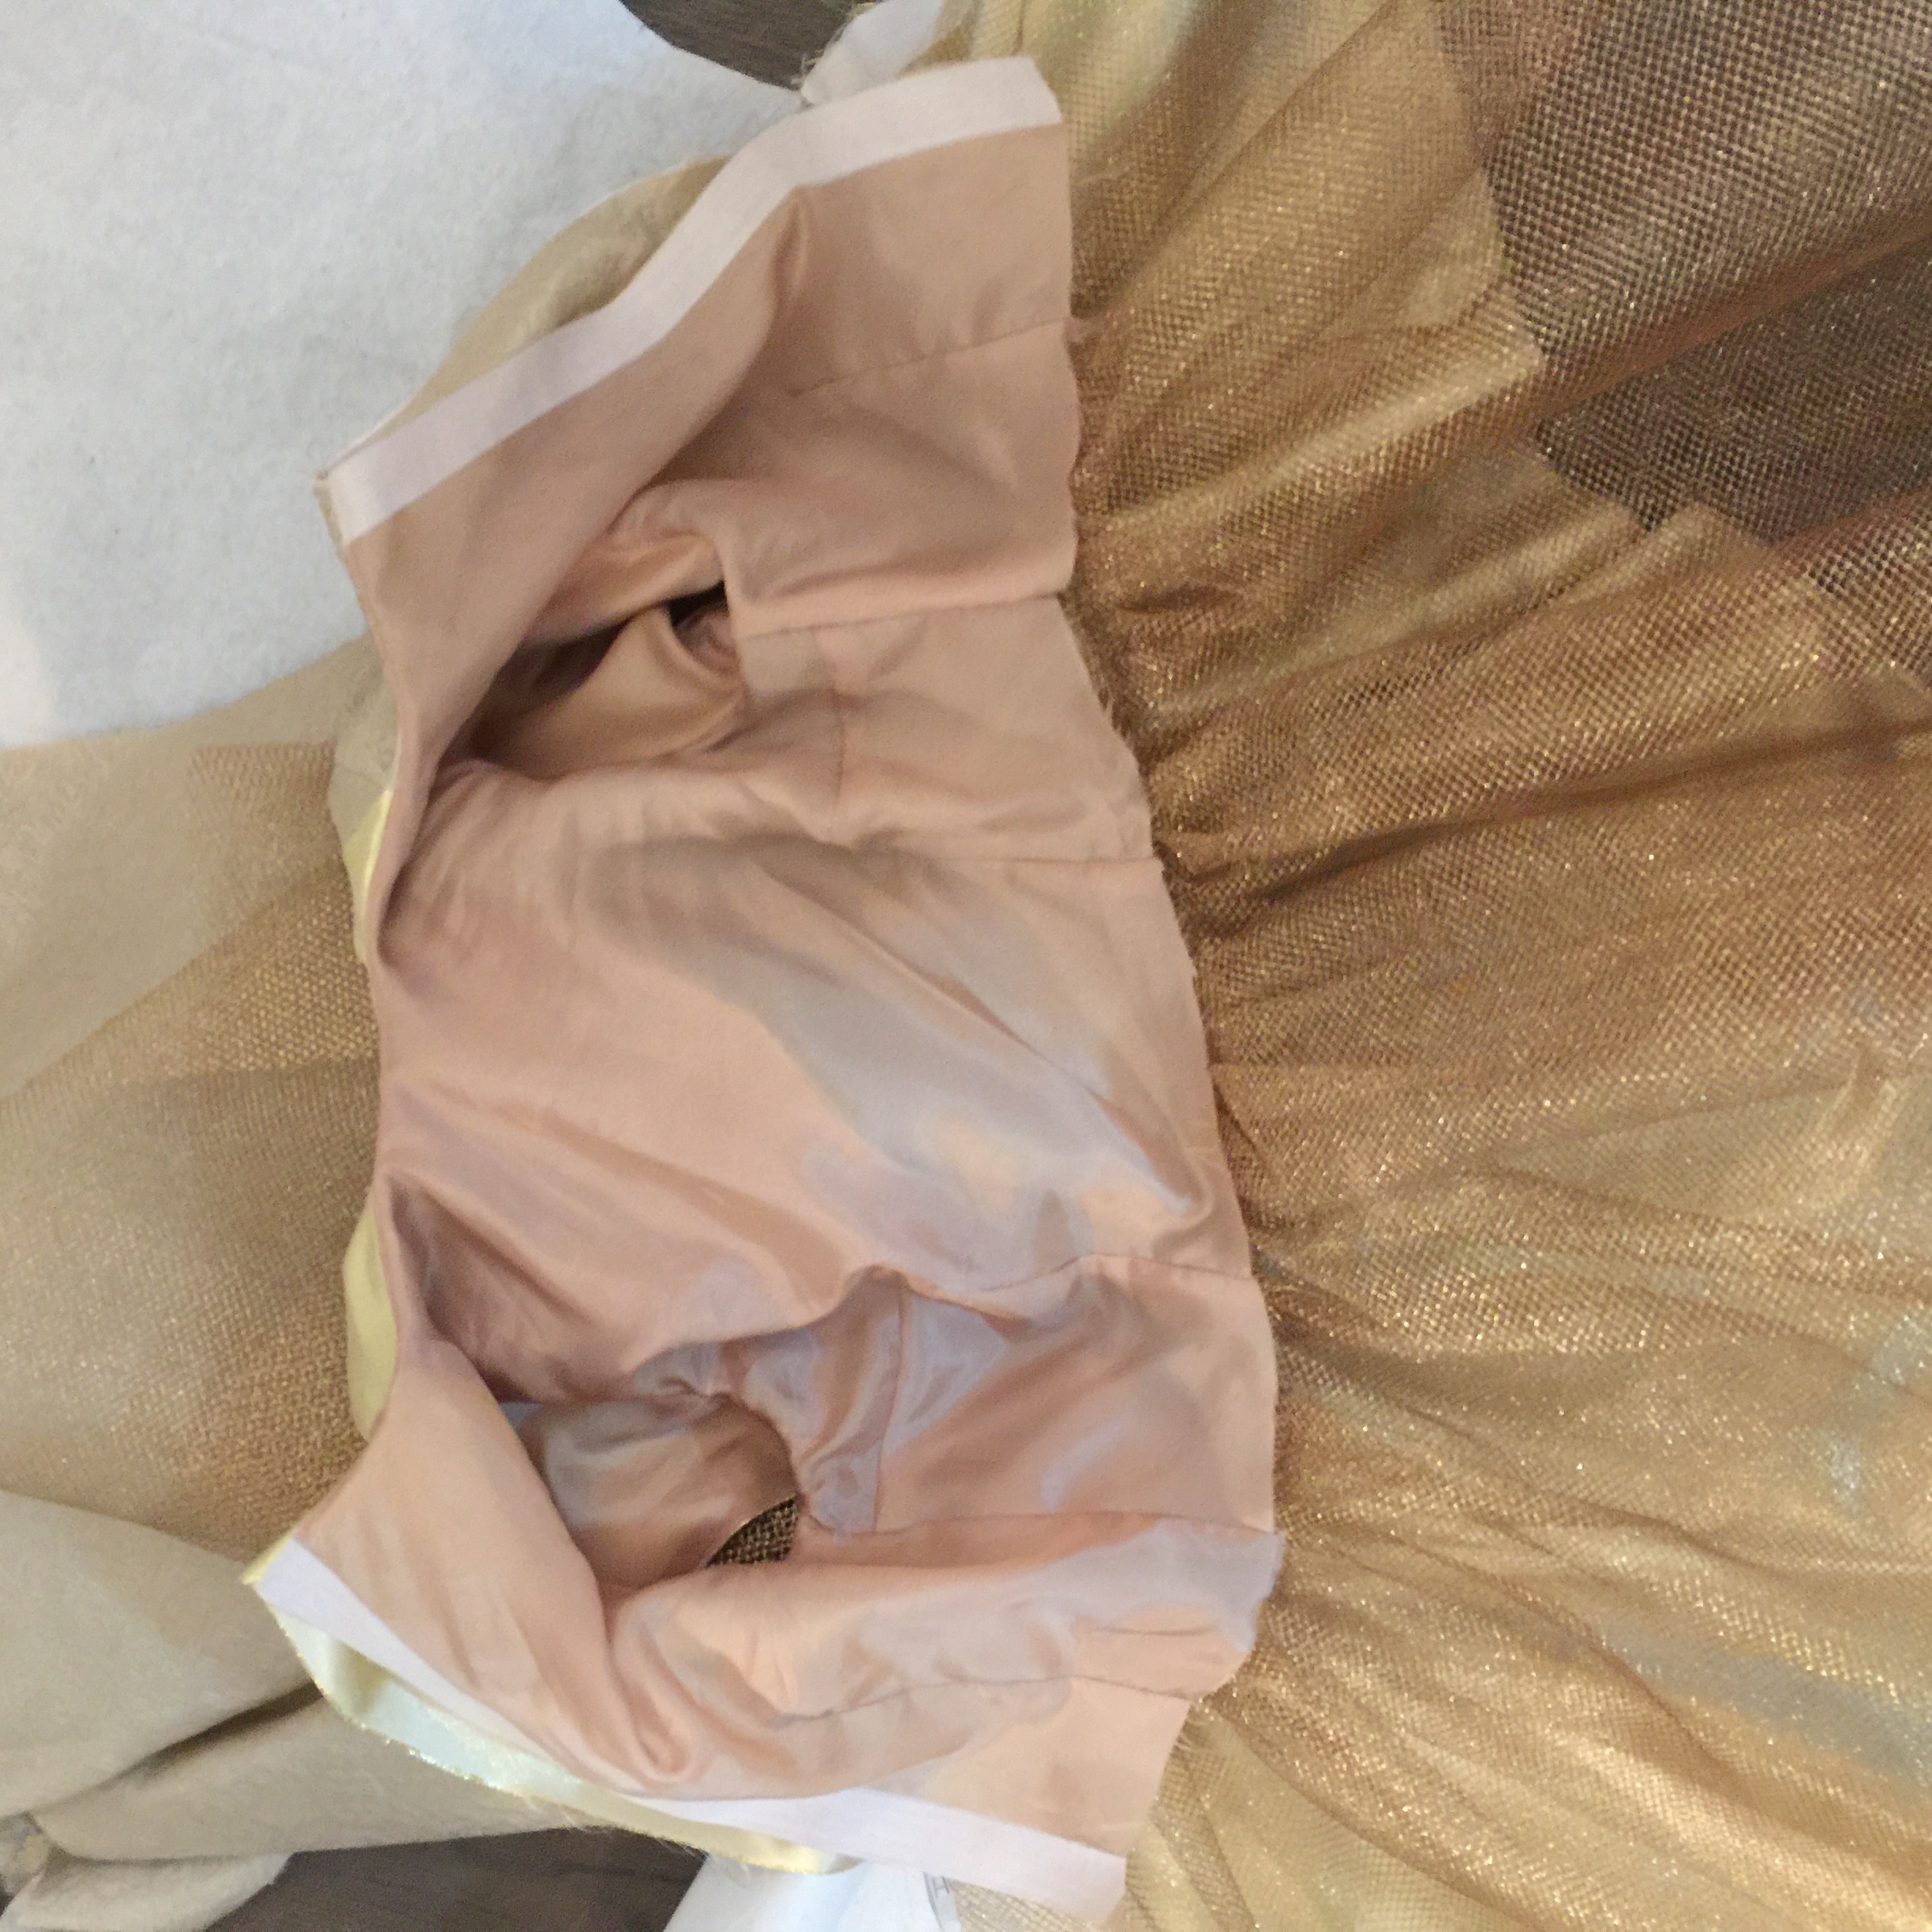
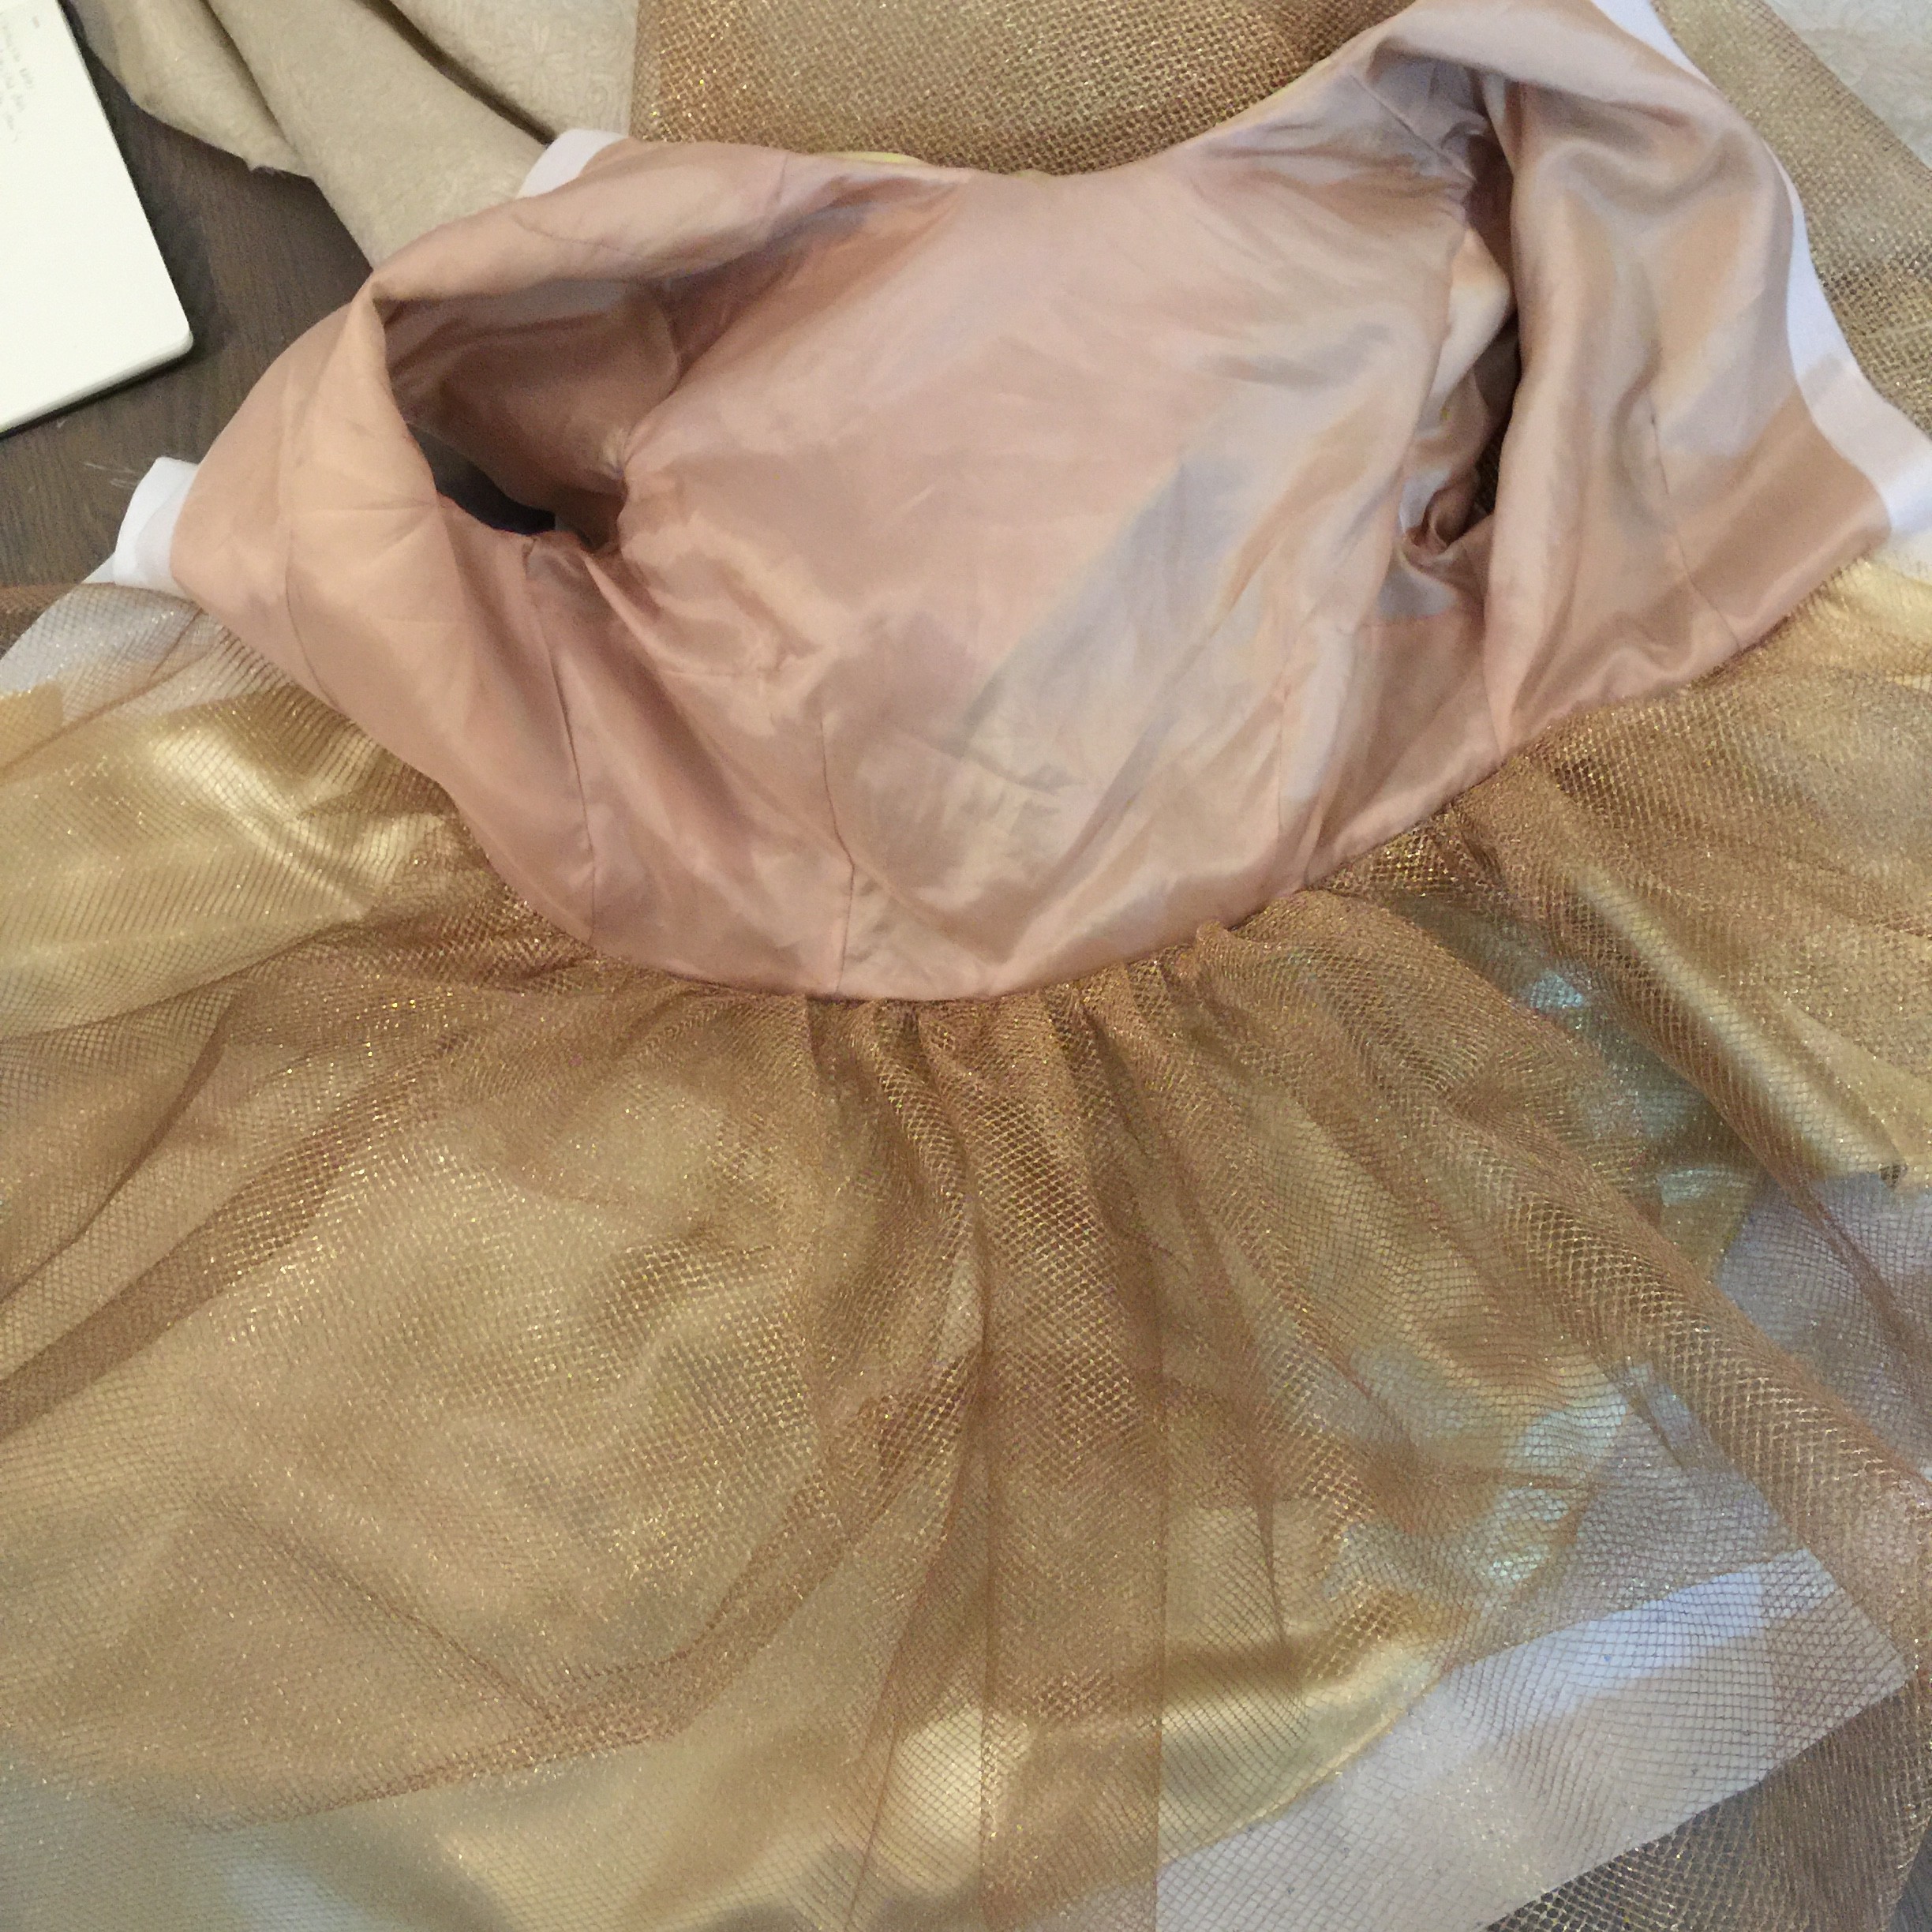
sewn on lining:

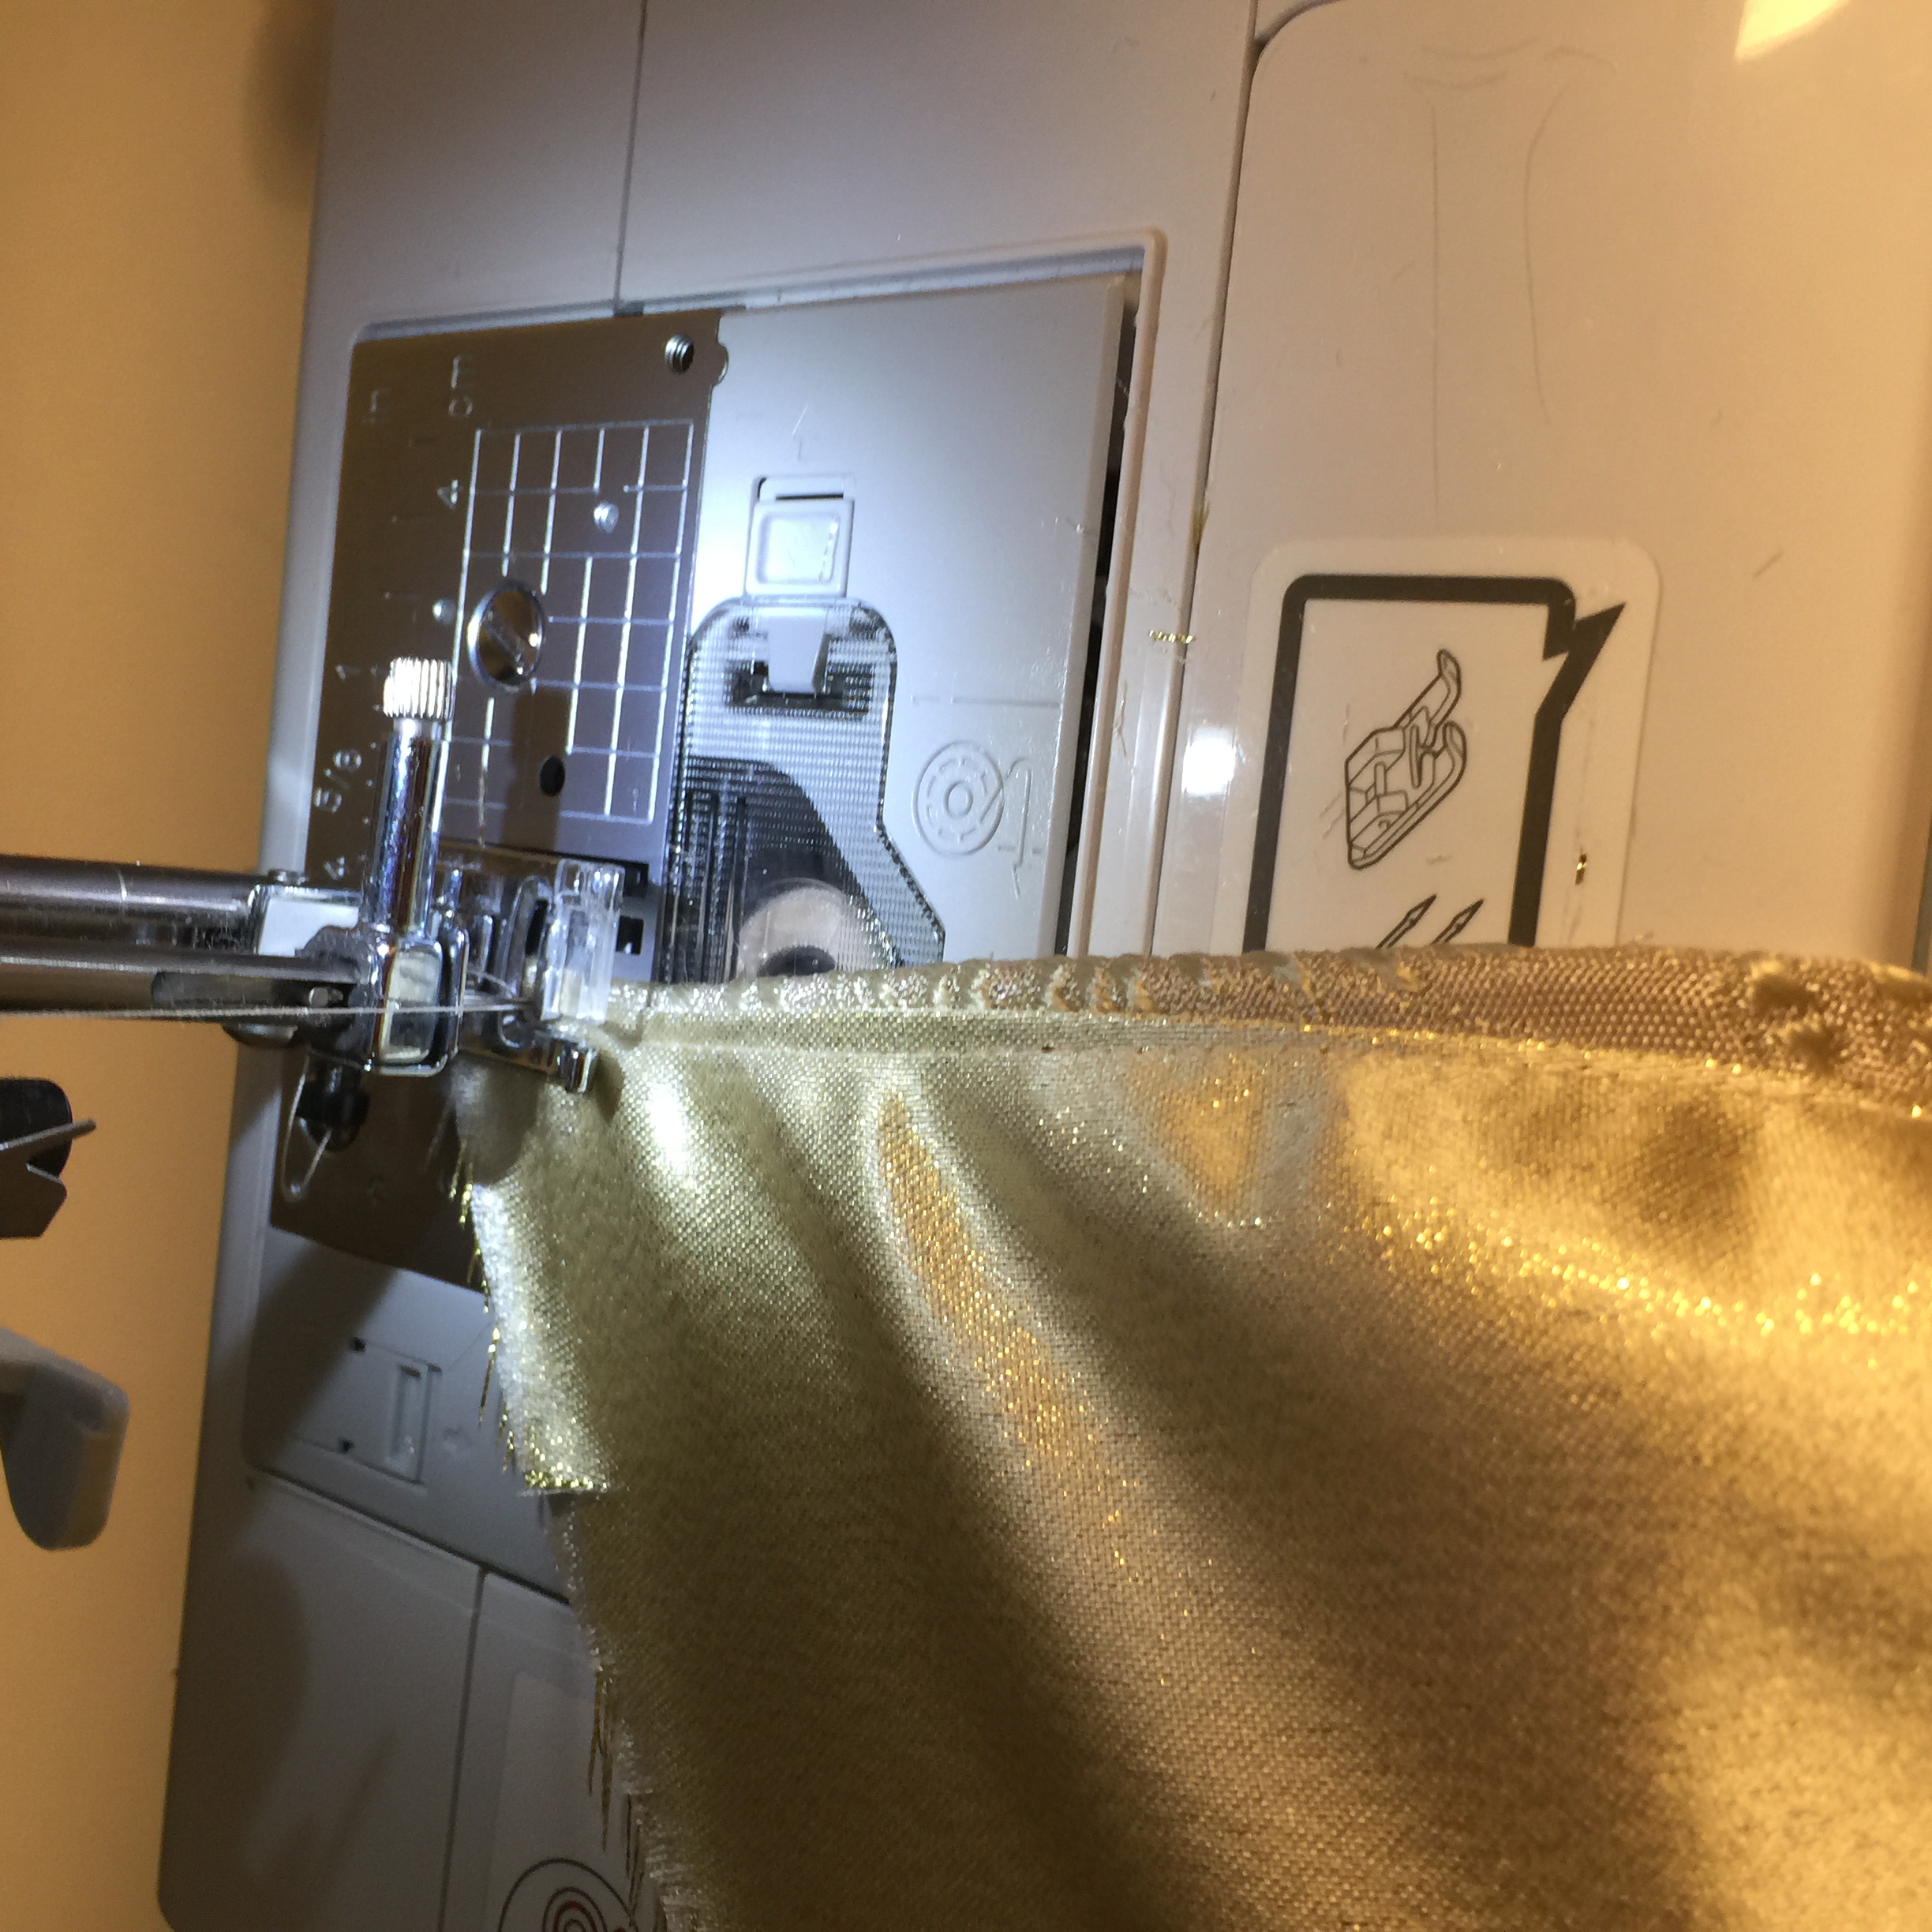
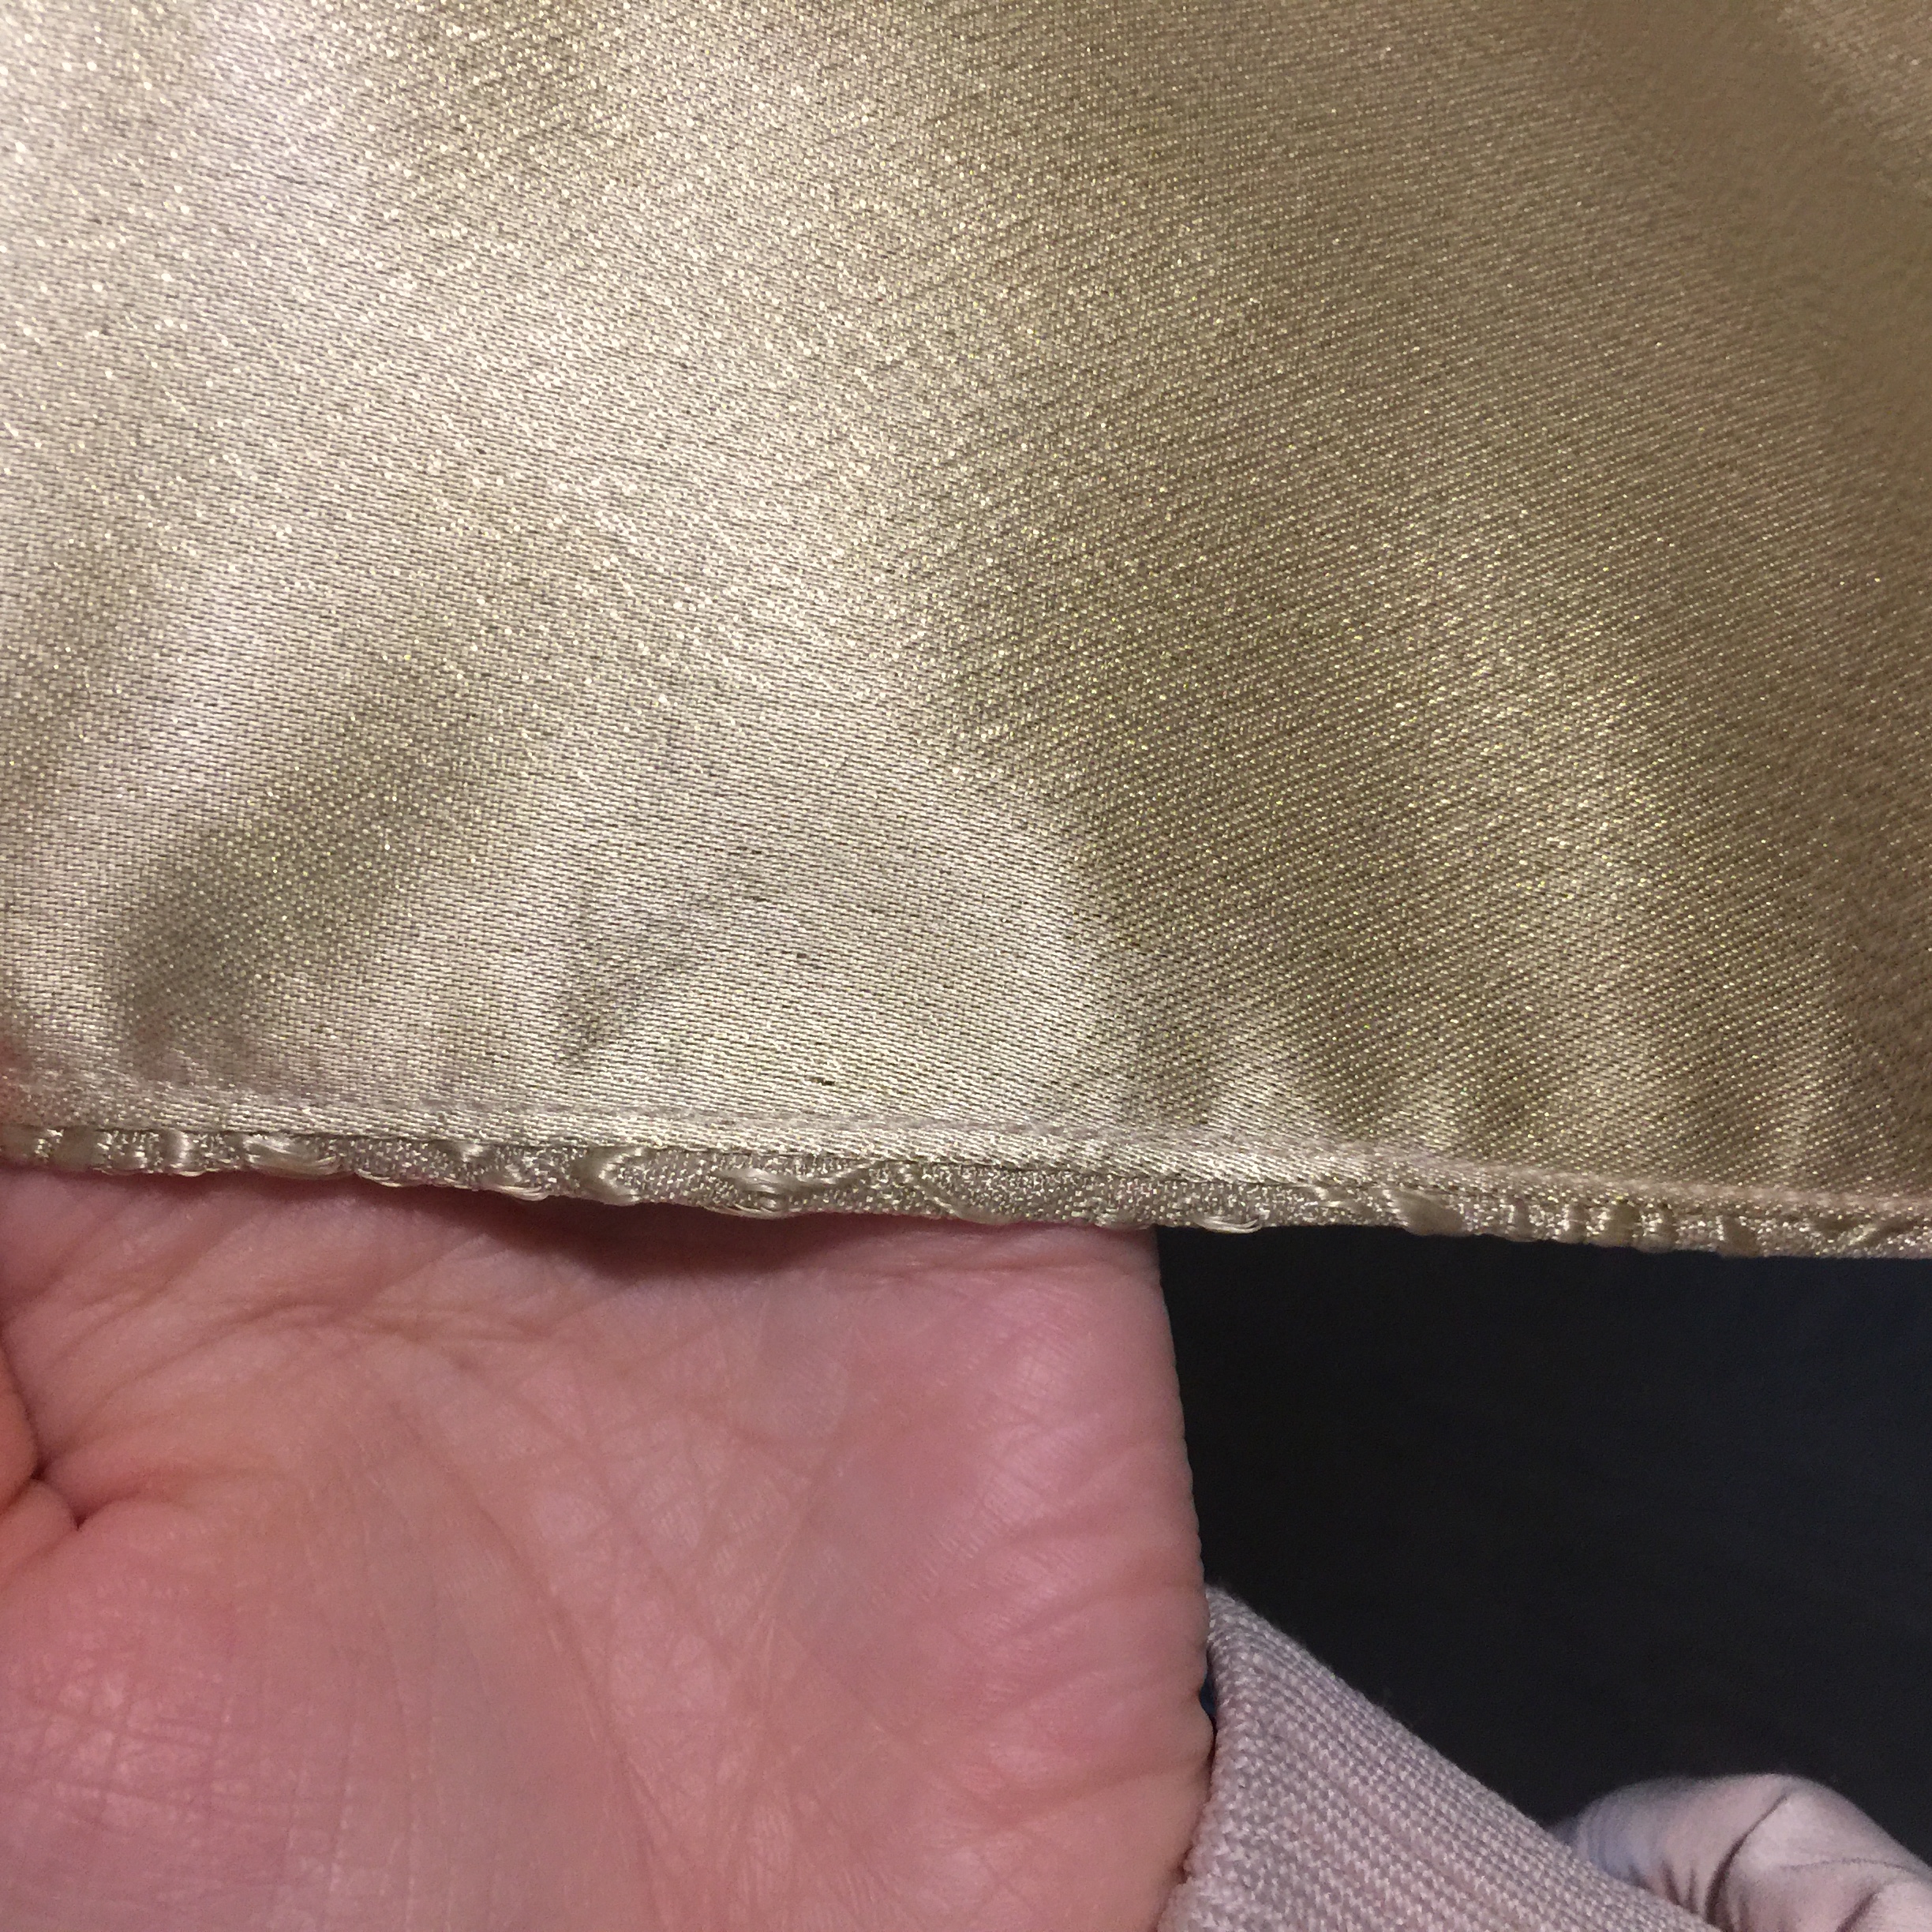
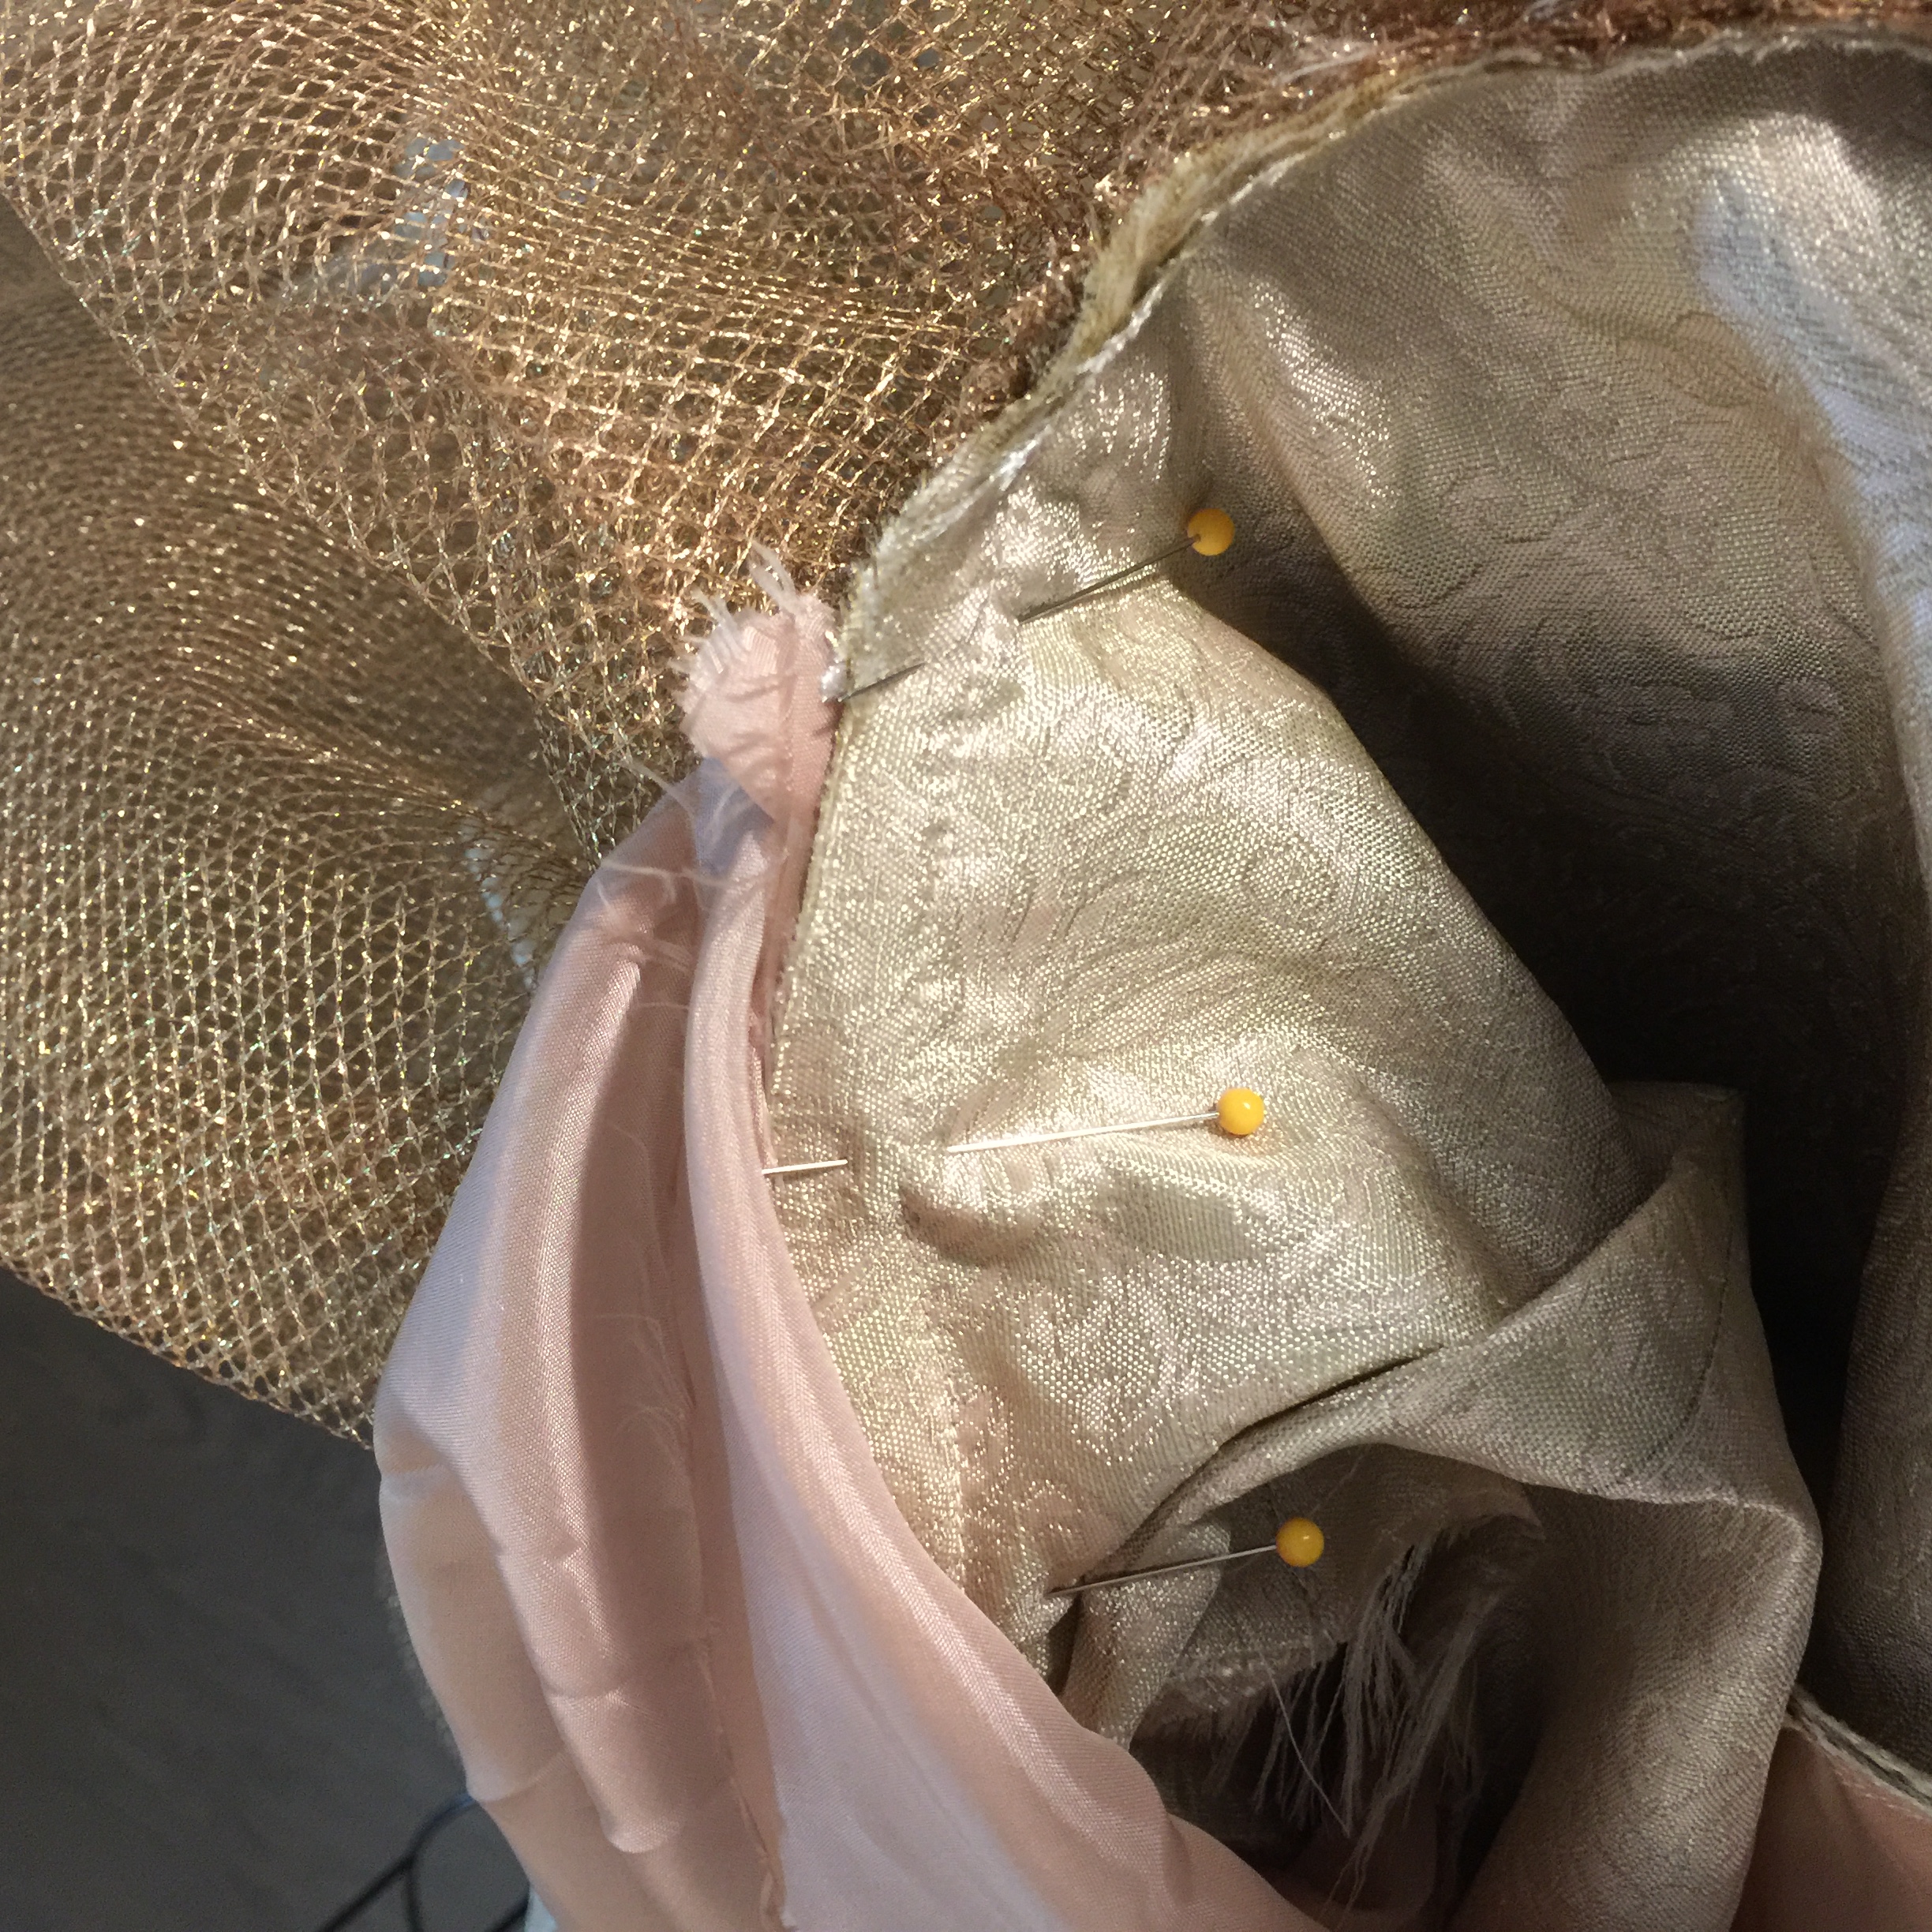
outer skirt sewn on,
F I T T I N G
(my model was not available at this time, so I asked someone of same size for fitting)


C O R R E C T I O N S
from the muslin skirt :
remove side seams of skirt
extend zipper into skirt
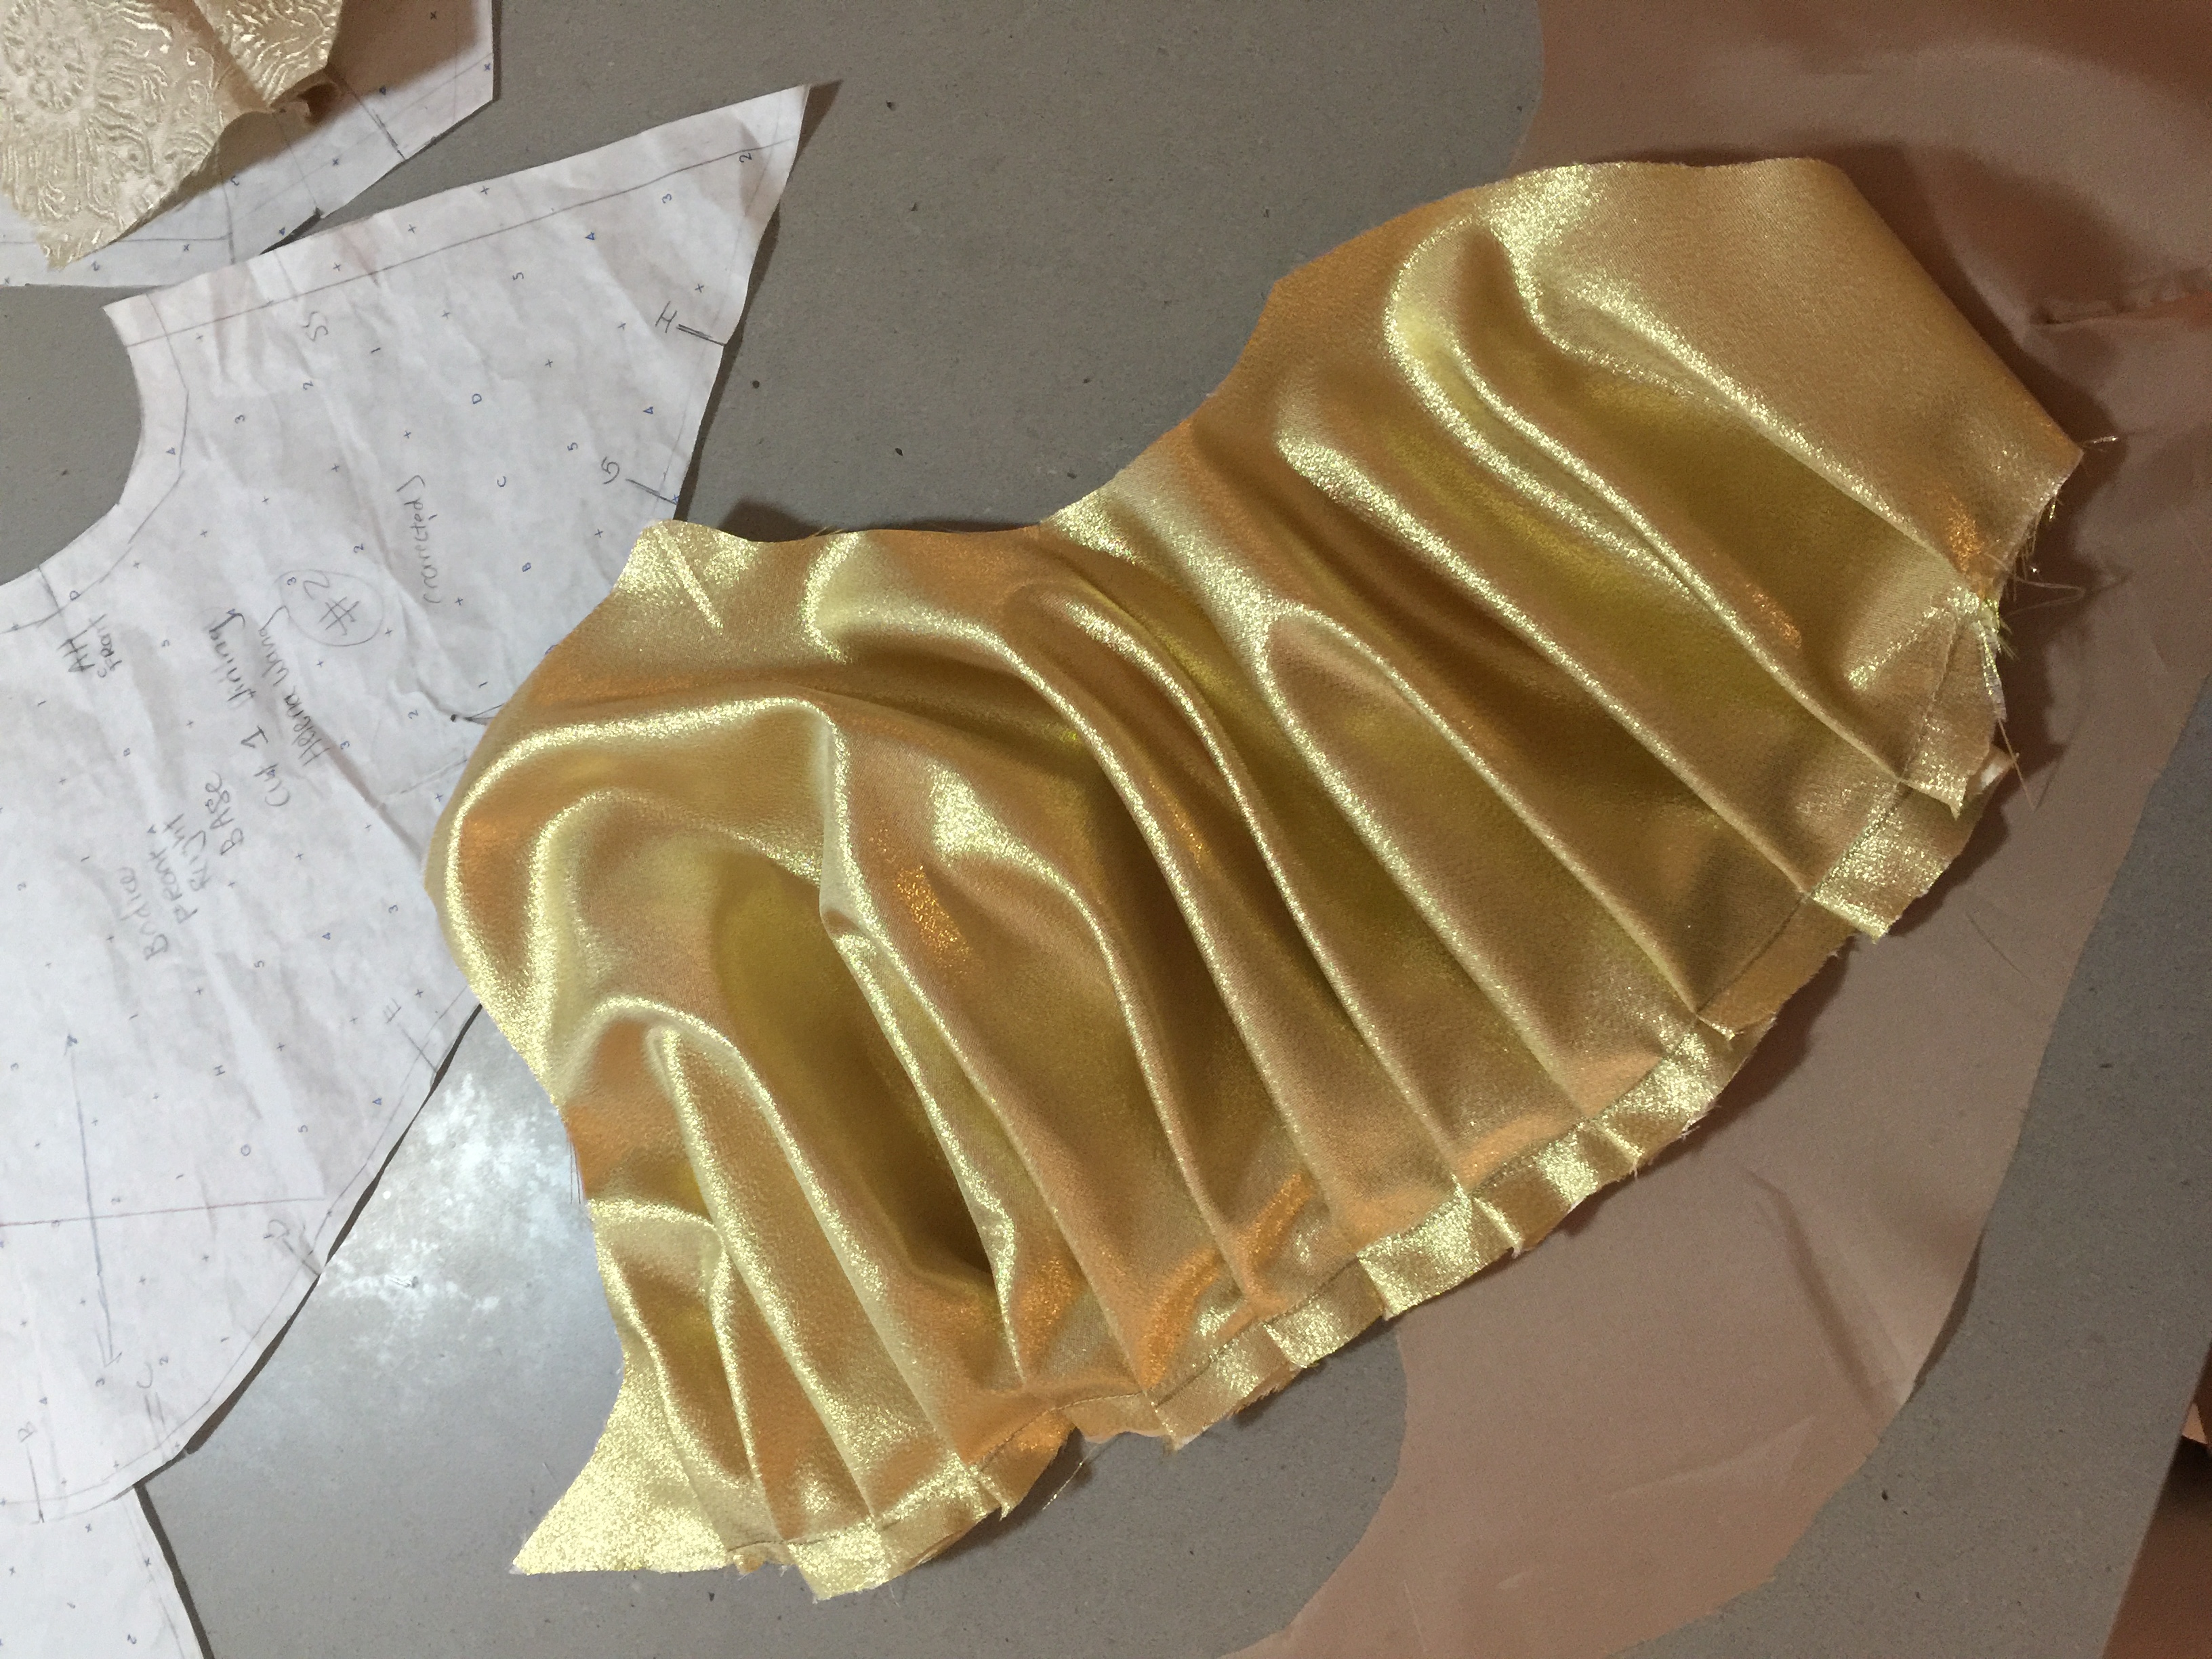
pleat one side of the bodice
make sleeve armhole longer
close darts on the bodice


I made another muslin bodice because of the design change:

F I N A L D R E S S C O N S T R U C T I O N P R O C E S S


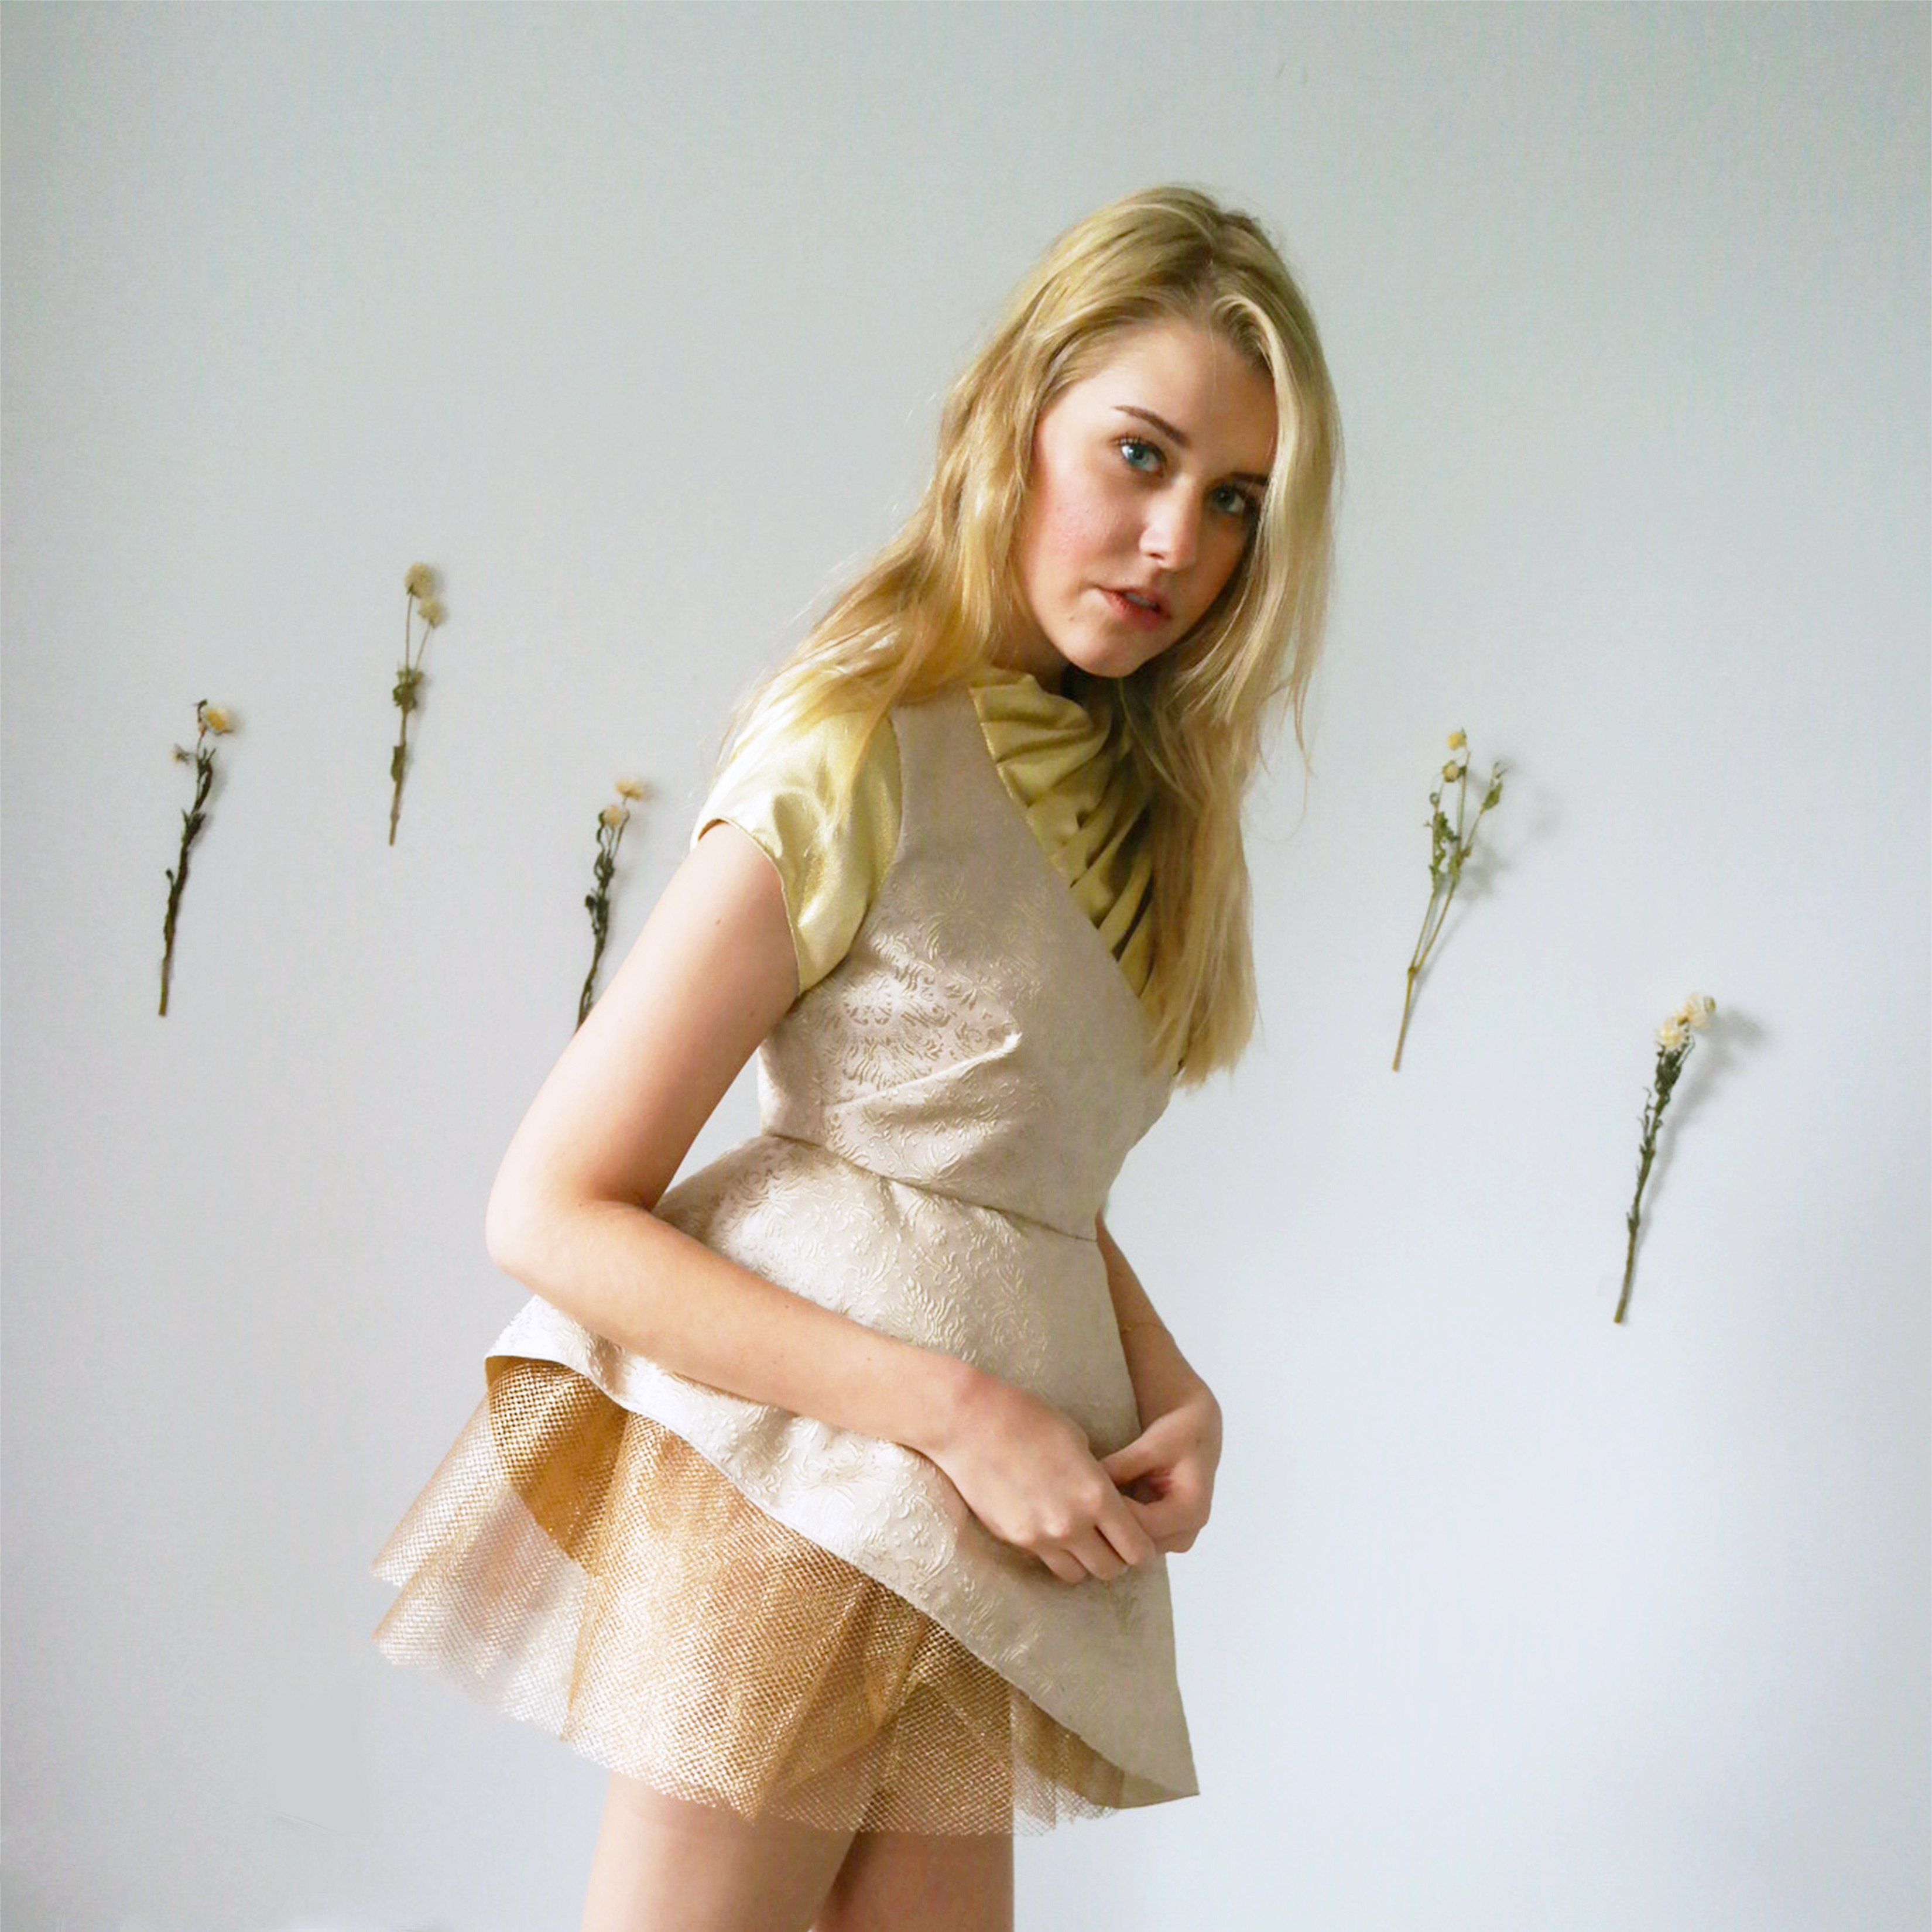
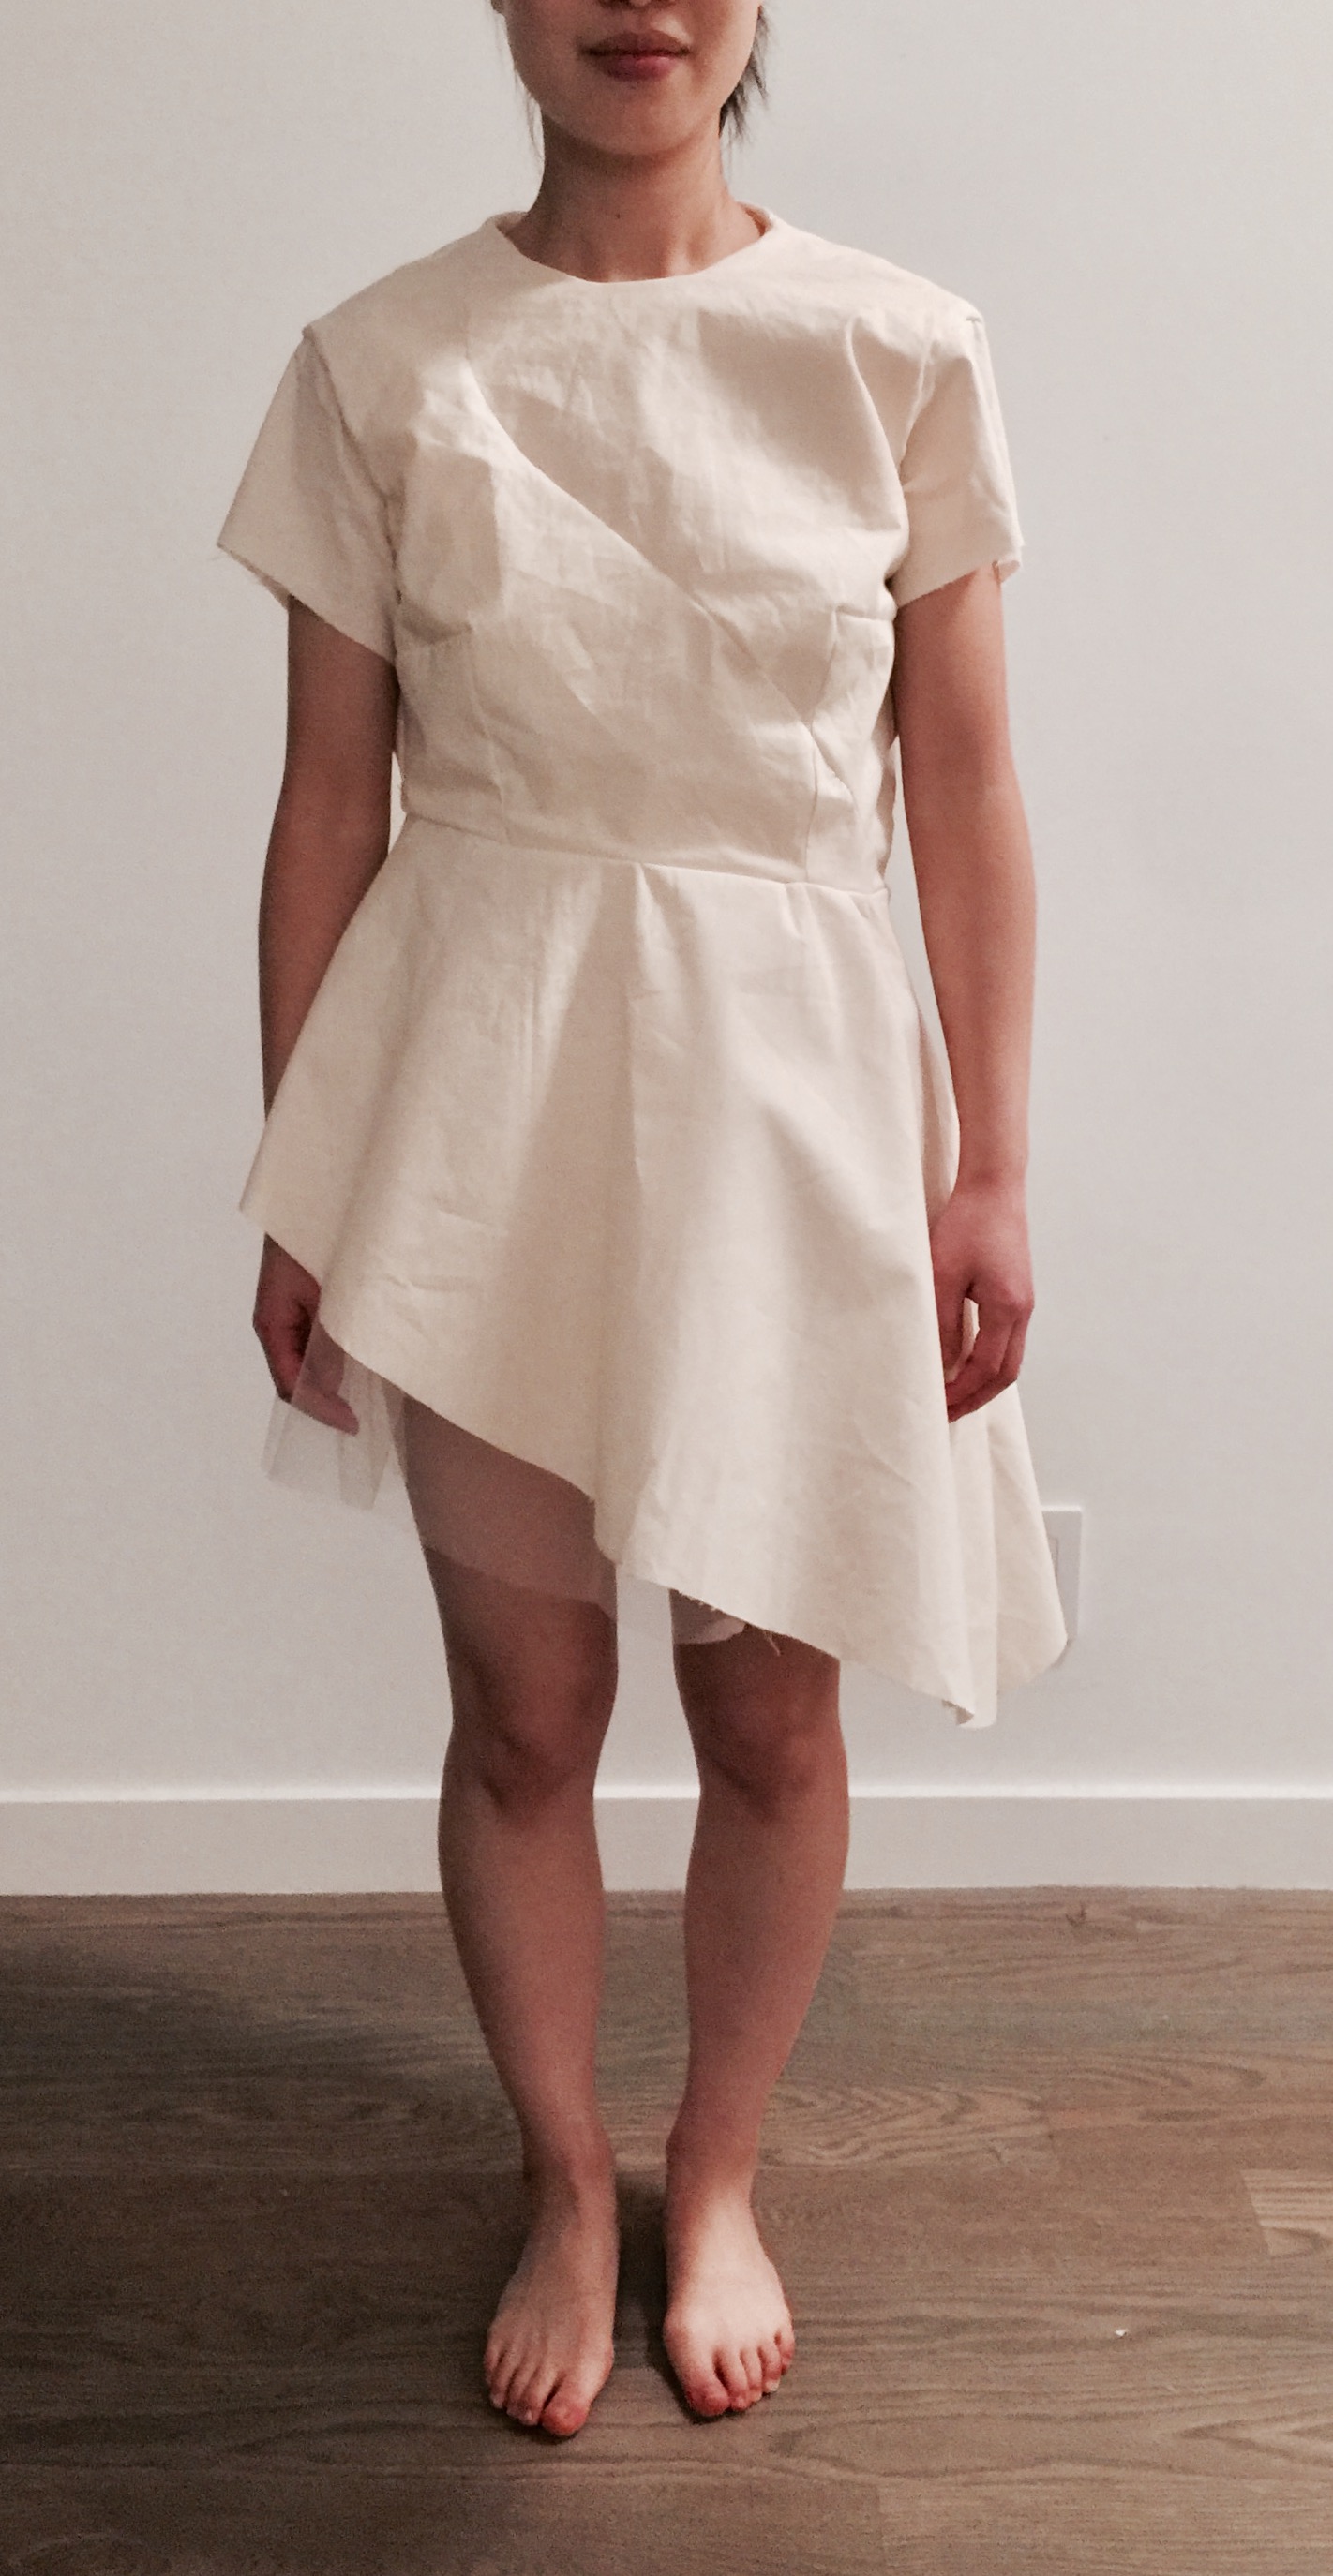
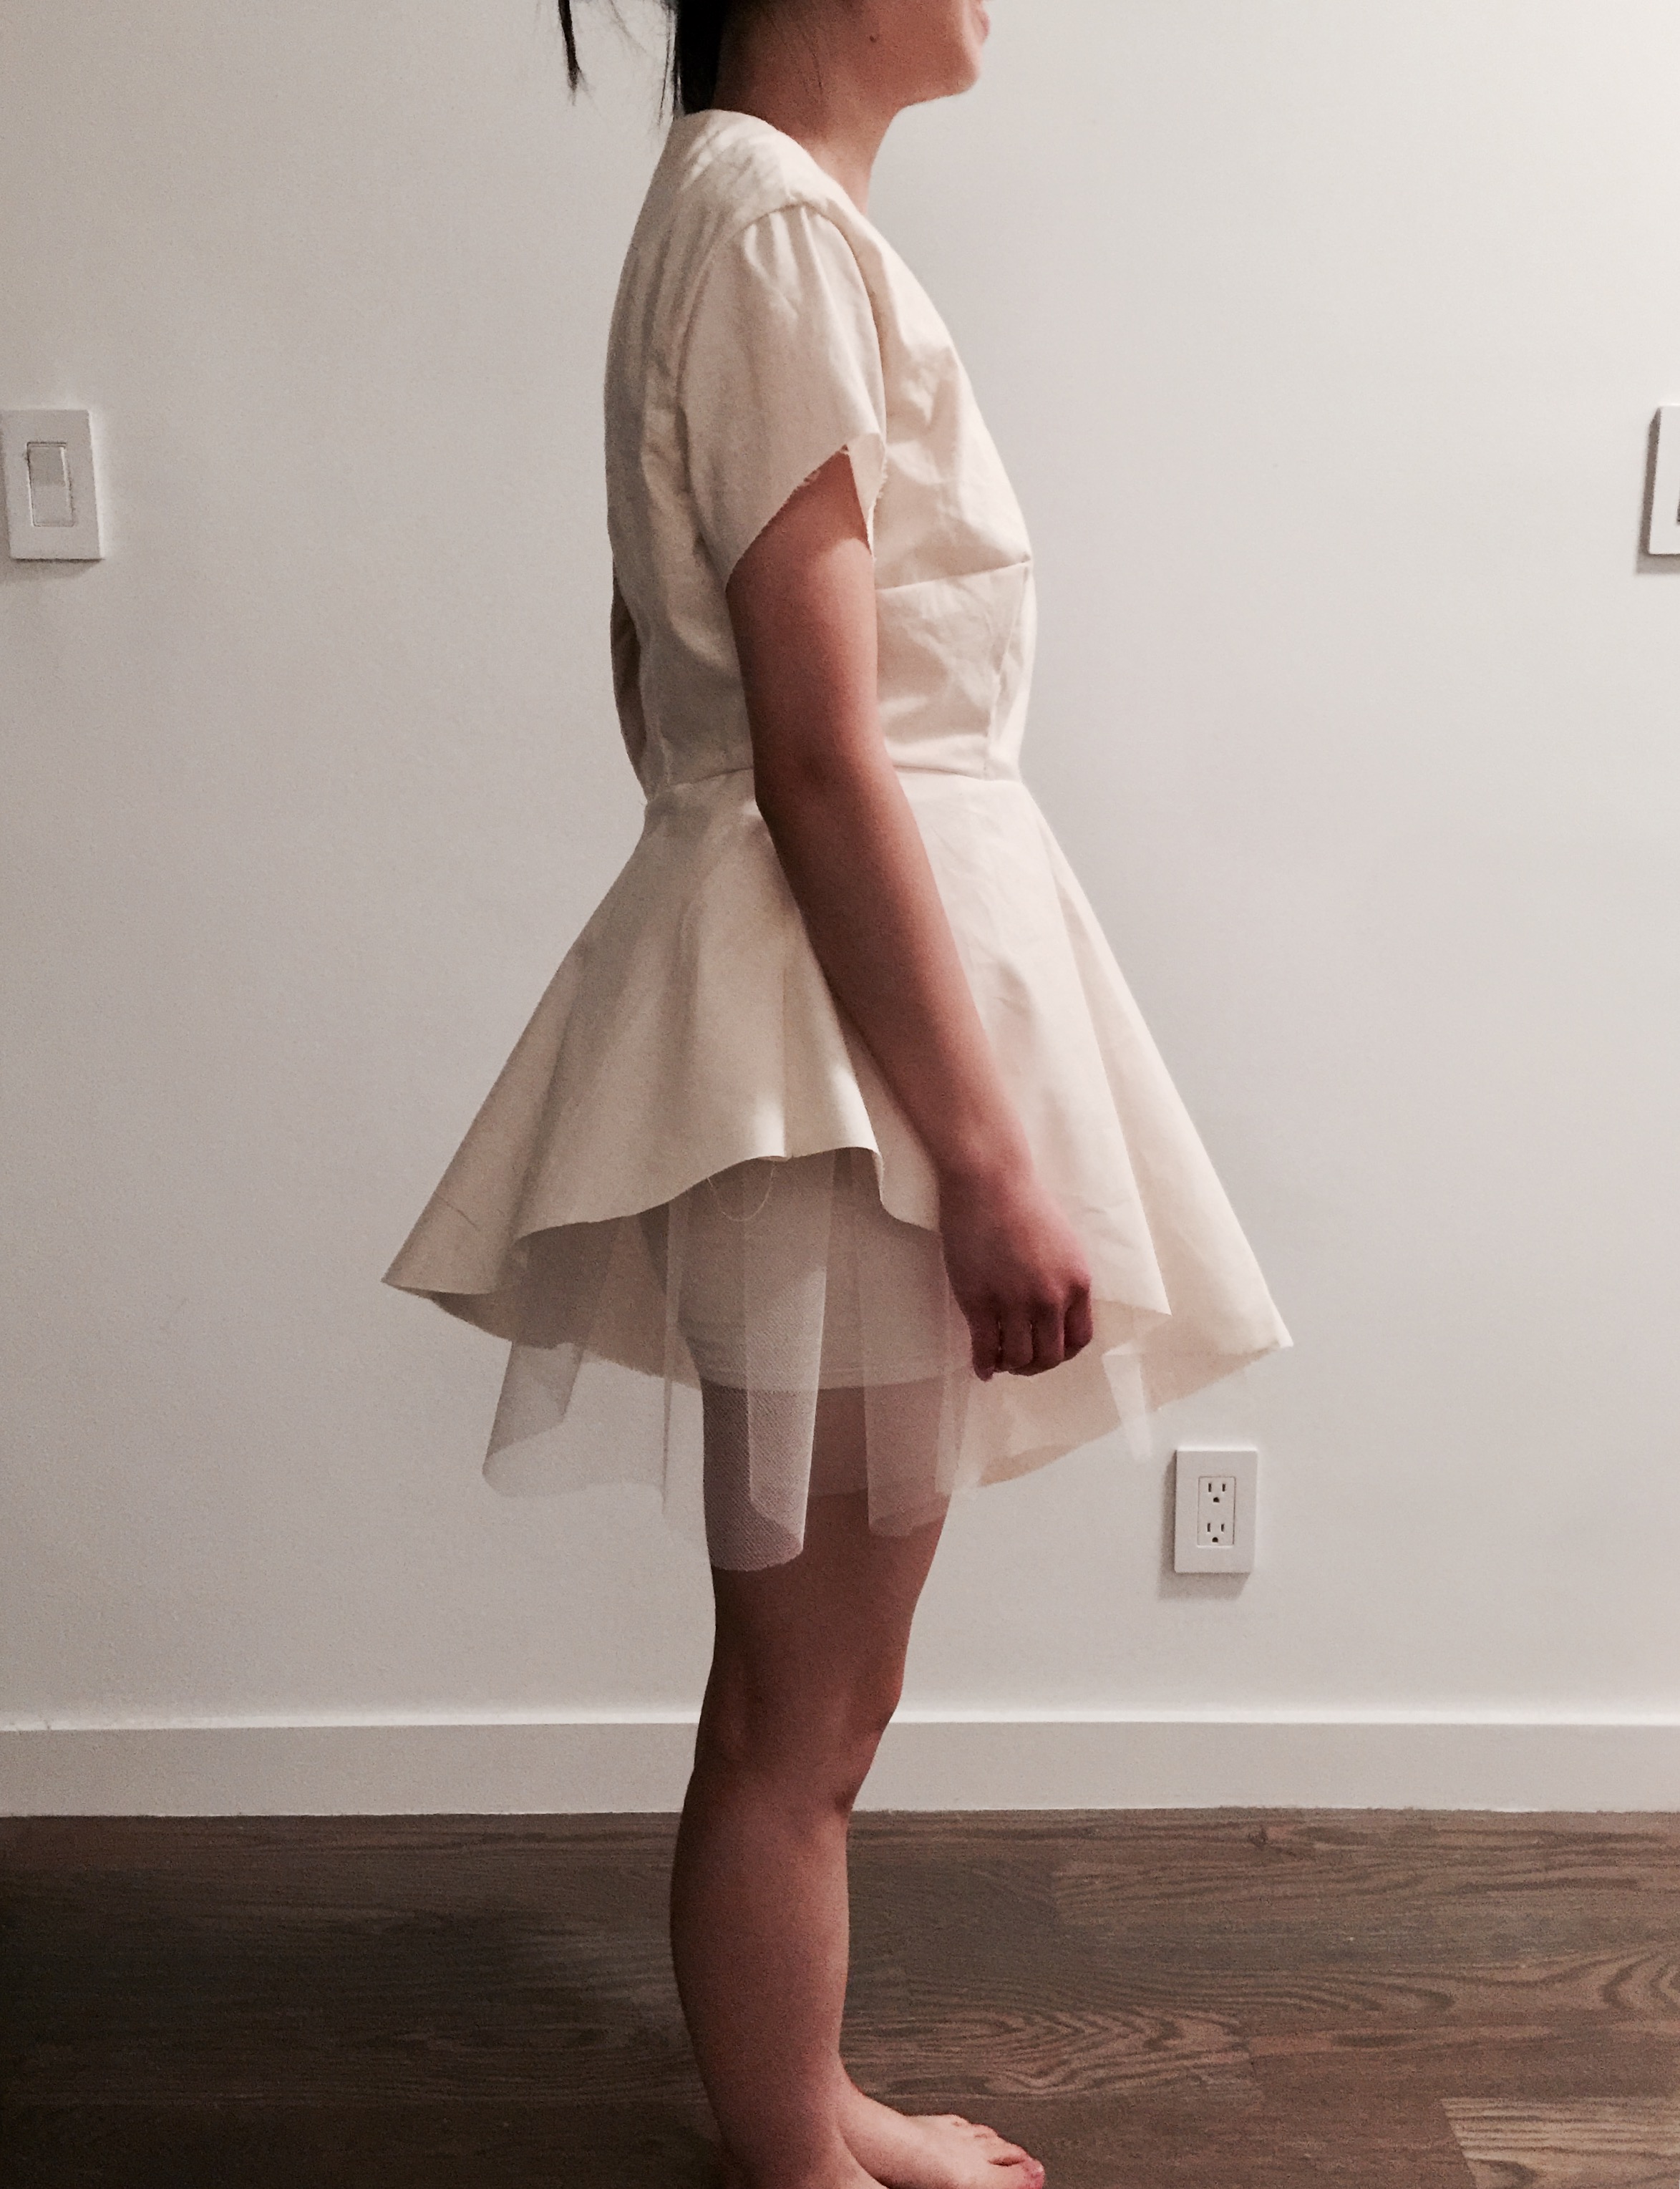
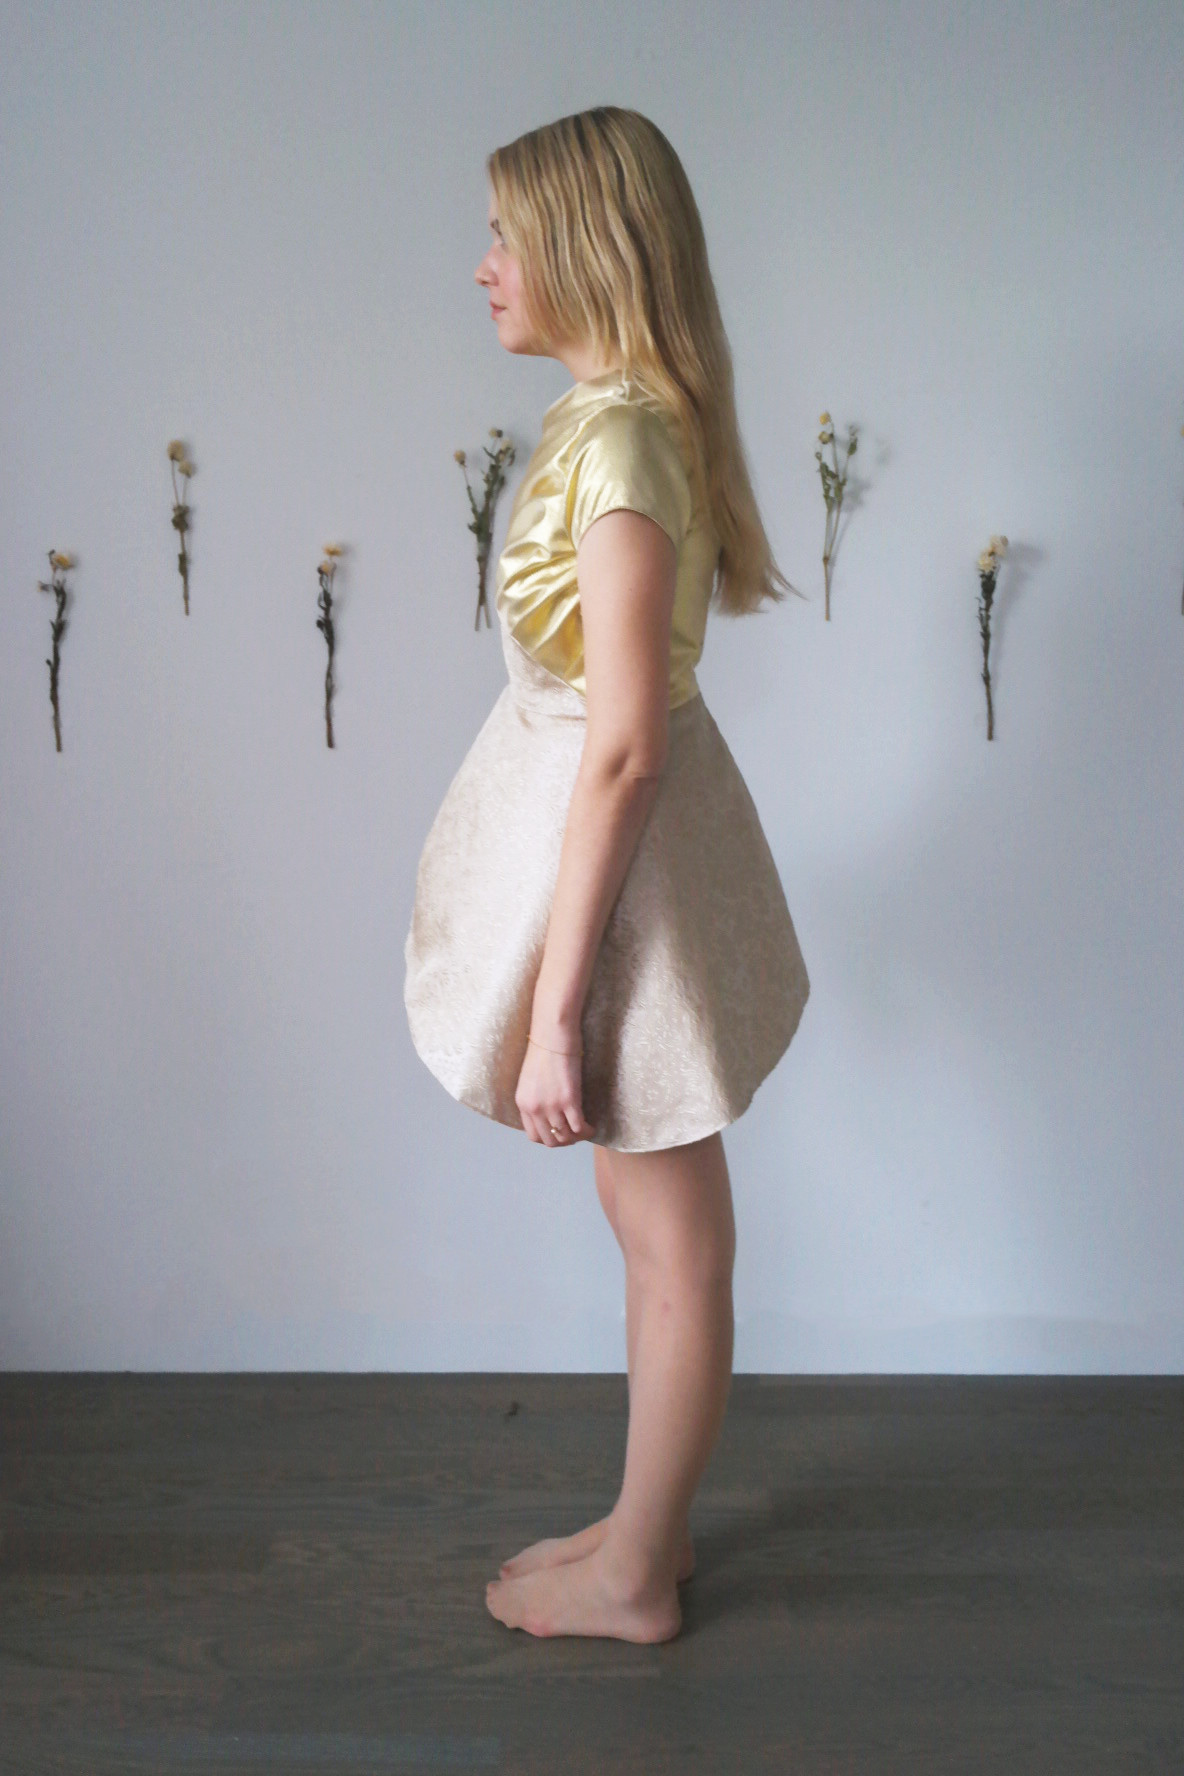
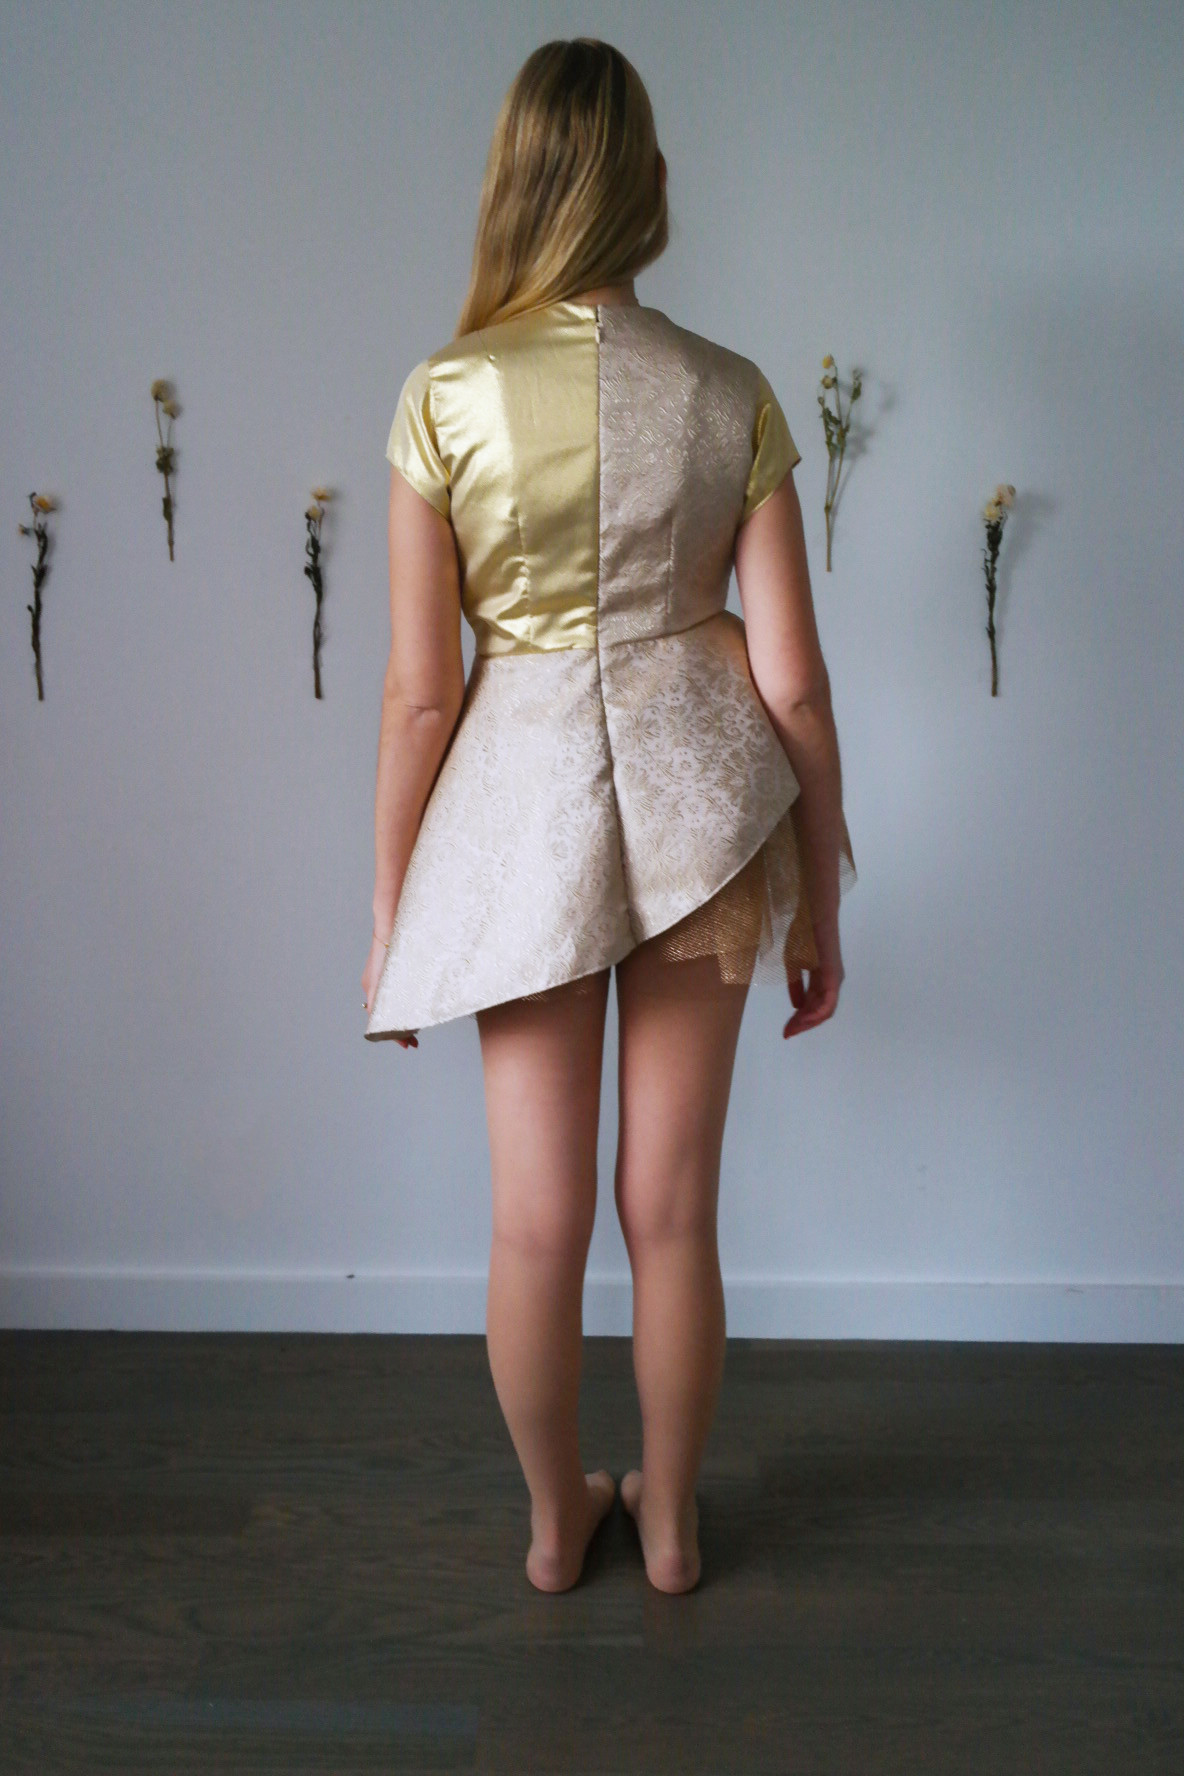
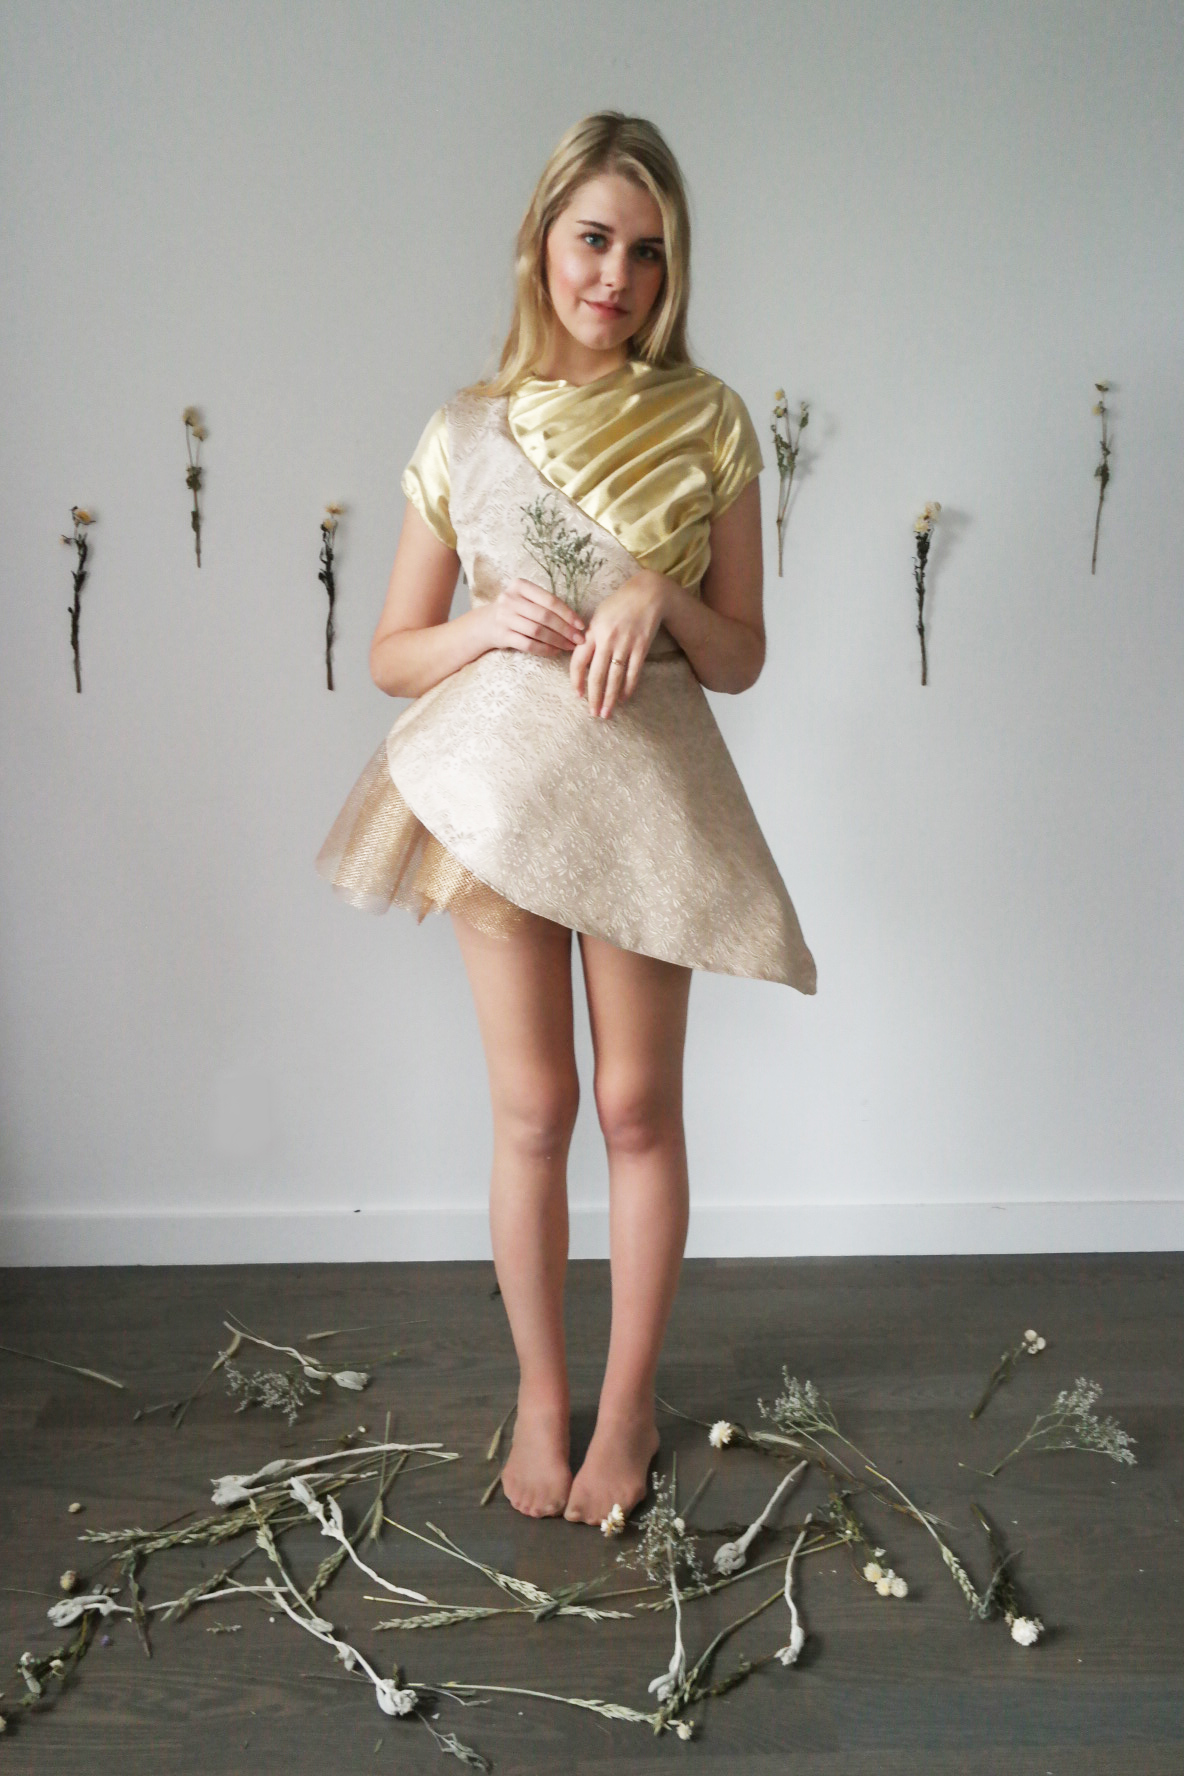
F I N A L P H O T O S
basic views


I L L U S T R A T I O N

R E F L E C T I O N
I learned a lot about considering the inside of the garment when constructing my dress – the inside of the garment actually took most of the time to construct. I lined the entire dress with a comfortable rose colored lining, except for the skirt for which I chose a gold lining for moments when the inside of the skirt would show since the skirt is very structured. From the last two projects, I learned to take more time to choose the right fabrics that not only would I have to be excited to work with, but are also the correct weight, material, and support. The lessons I learned from my previous projects help make this one the most successful. I chose a strong nylon netting, but also a sturdy yet lightweight outer layer – the brocade – to achieve the skirt shape I want. To play with color and make the design more fun, I chose a gold satin which complimented the brocade very well.
My inspiration for the dress started from a plain sketch from design studio, in which I combined Chinese and Western elements. I learned to develop my ideas into stronger conceptual ones by exaggerating the traditional Chinese seam that starts at the neckline, and turning it into something different. I also researched Chinese porcelain plates in Design Studio and I used my research as inspiration for the skirt’s shape. I am very glad that I did not stick with my original idea and that I developed it more. Overall, I am very happy that I still kept the same inspirations of mixing East and West aesthetic but I created something new and different.
O P E N S T U D I O S


The design delightfully incorporates elements of both Eastern and Western cultures. It is beautiful and clearly required hours of hard work. Great job!
Thank you Emily for your continuous support and for always checking up on my work. I can’t wait to see you soon. x
Excellent Portfolio. I really appreciate all the time and effort you put into everything you do. It was a pleasure having you in my class this semester. You did a fabulous job