First thing I had to do for this Wood Joinery assignment was to purchase Poplar wood through the E4 material store. After purchasing Poplar, professor cut our poplar into 10 pieces.
While professor was cutting poplars, we had to made a series of labeled drawings that show the five joints with dimensions.
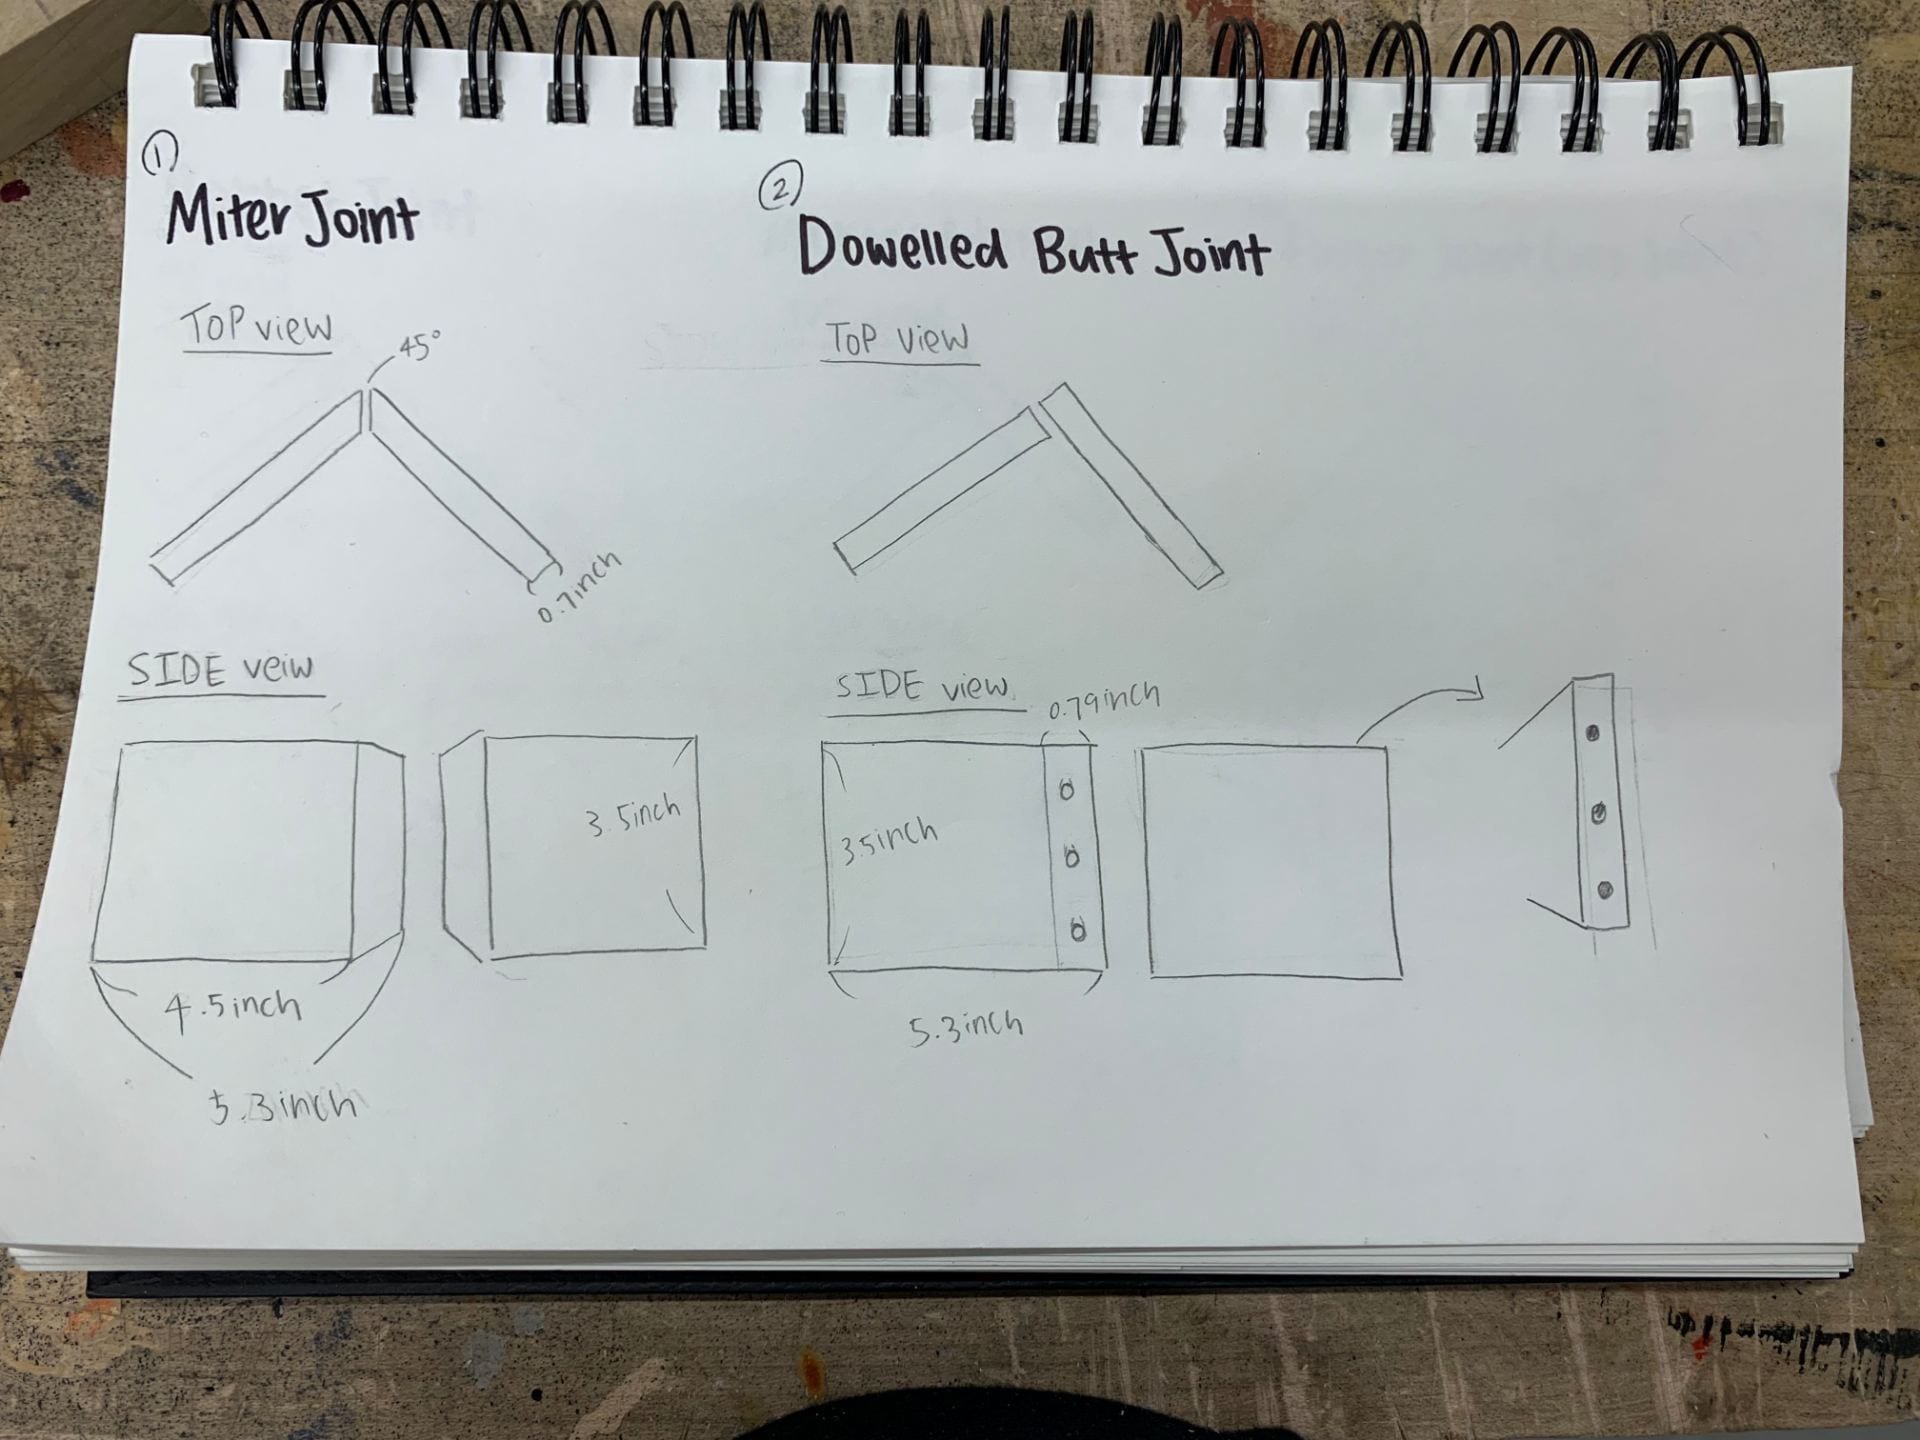
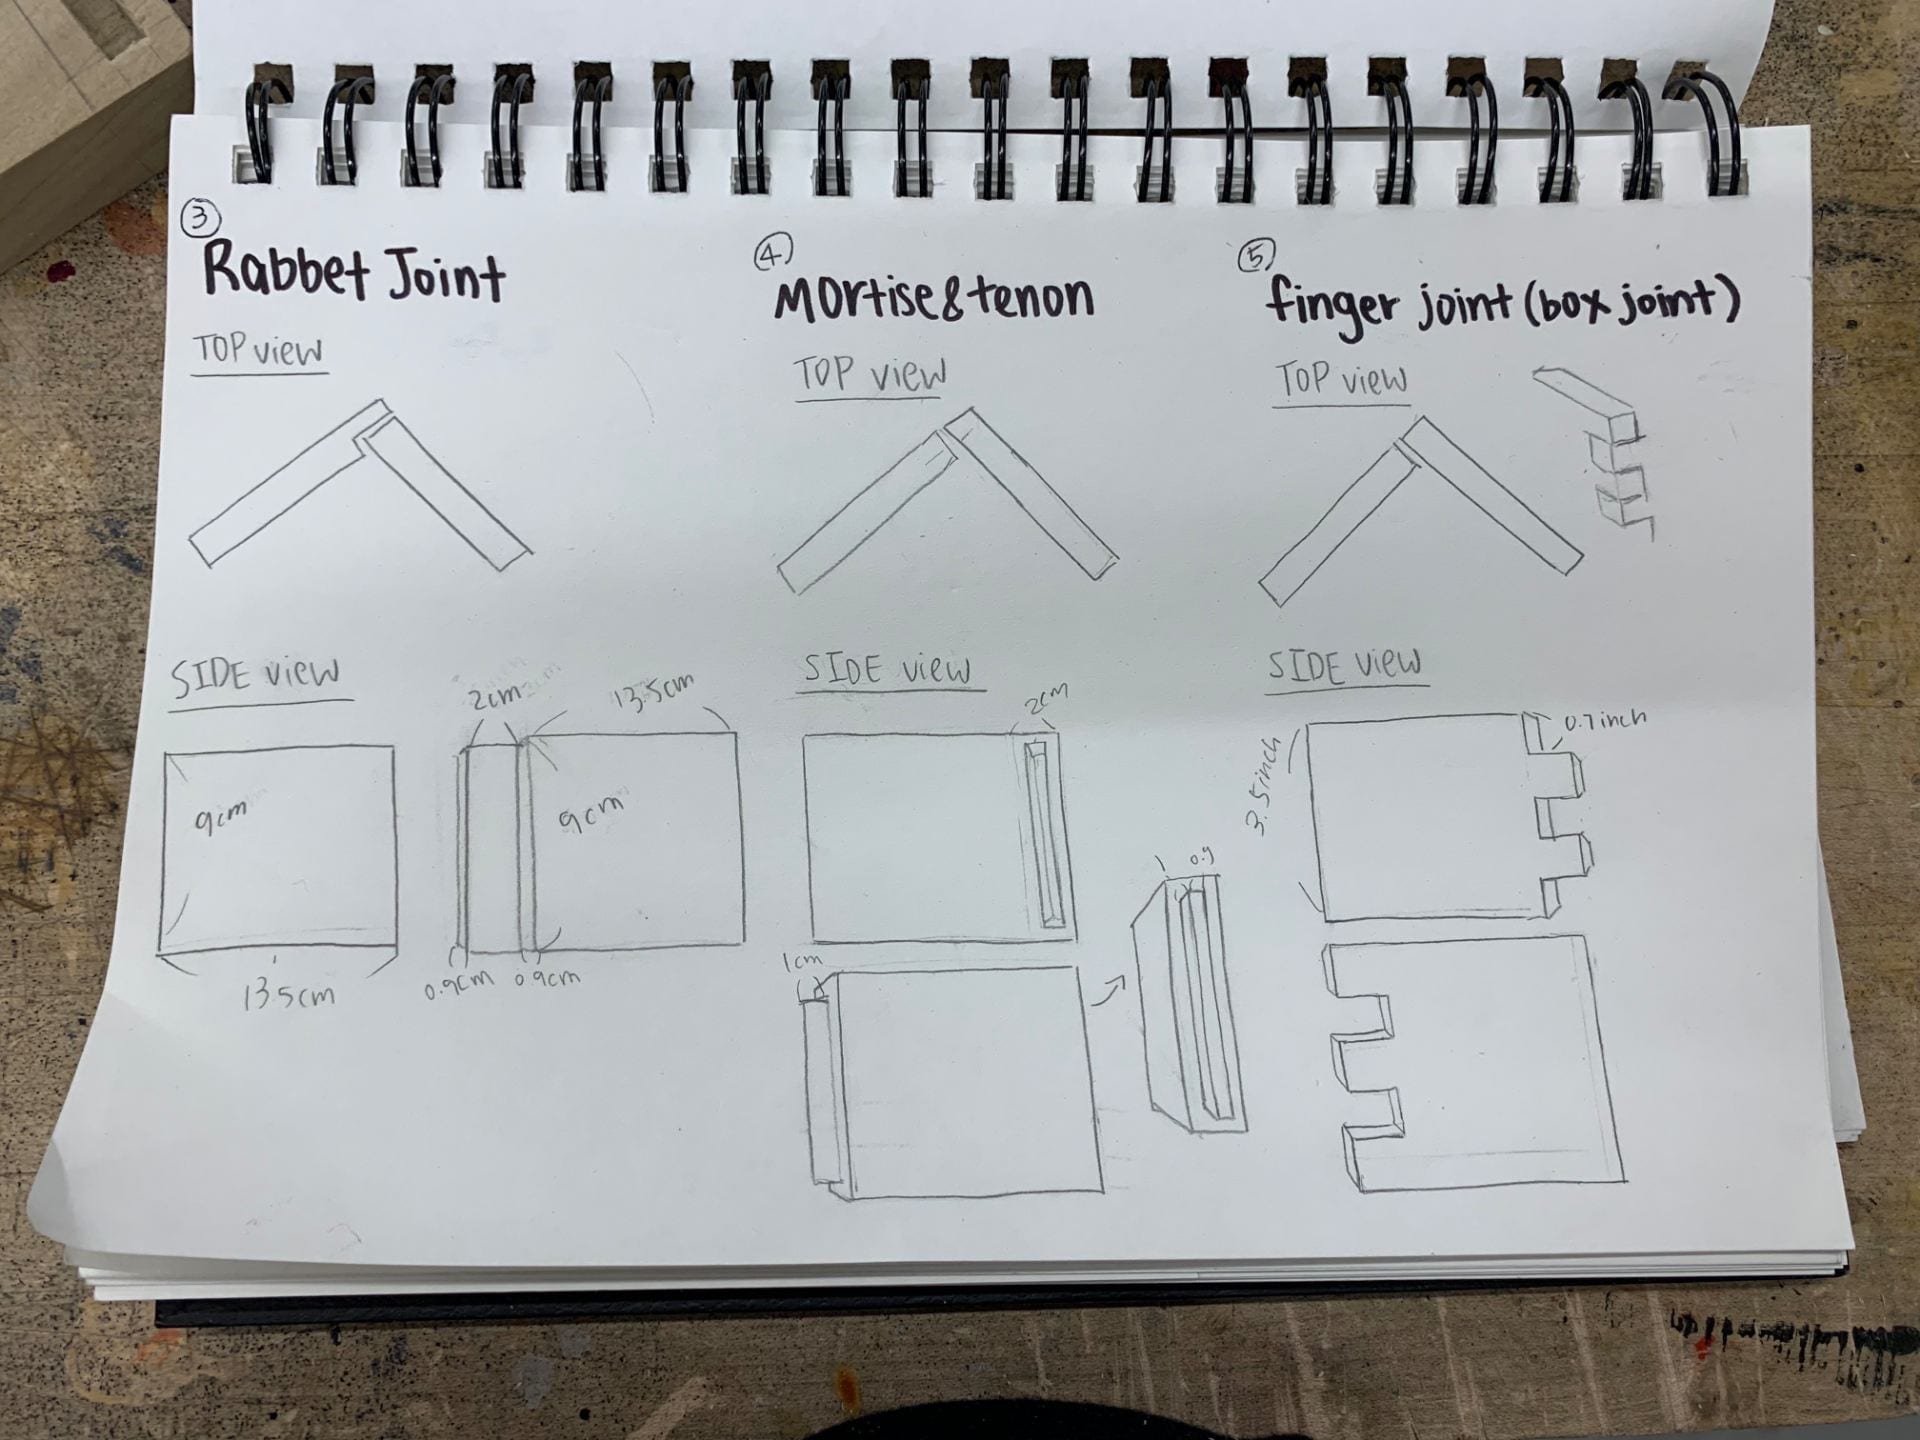
<Drawings>
<Wood Joints>
Create a series of wood joints; miter joint, dowelled butt joint, rabbet joint, mortise & tenon, finger joint
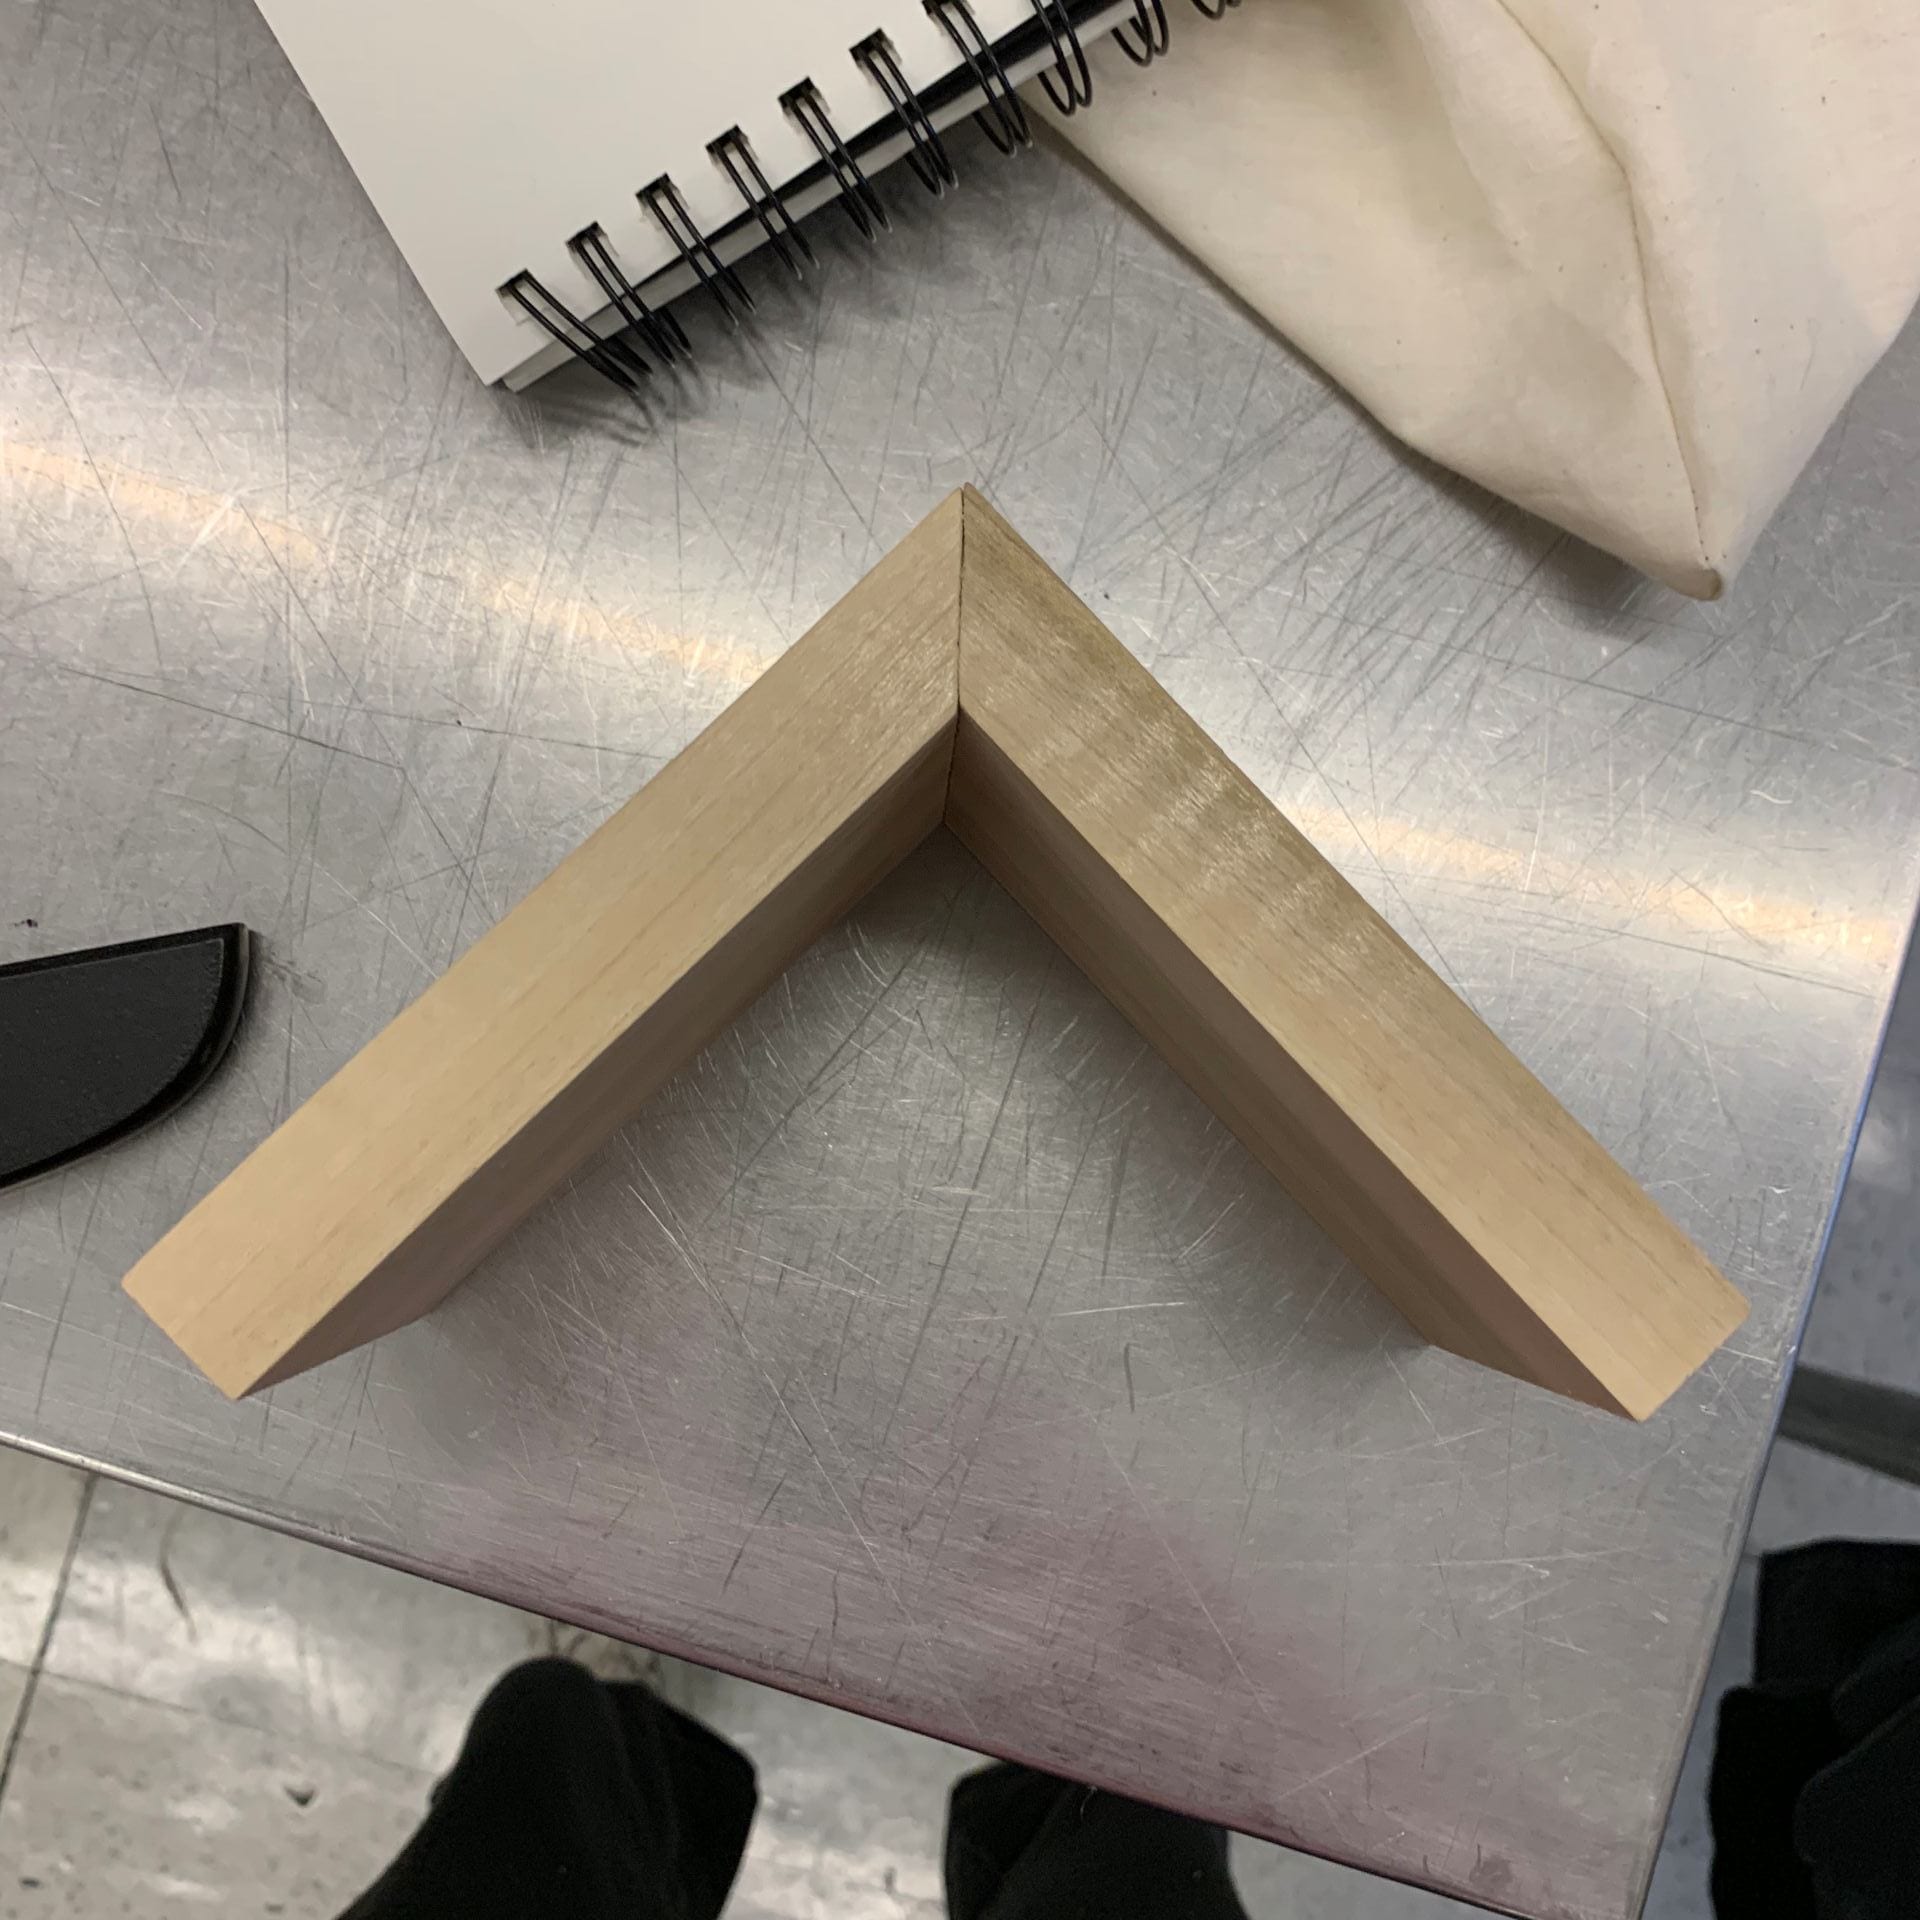
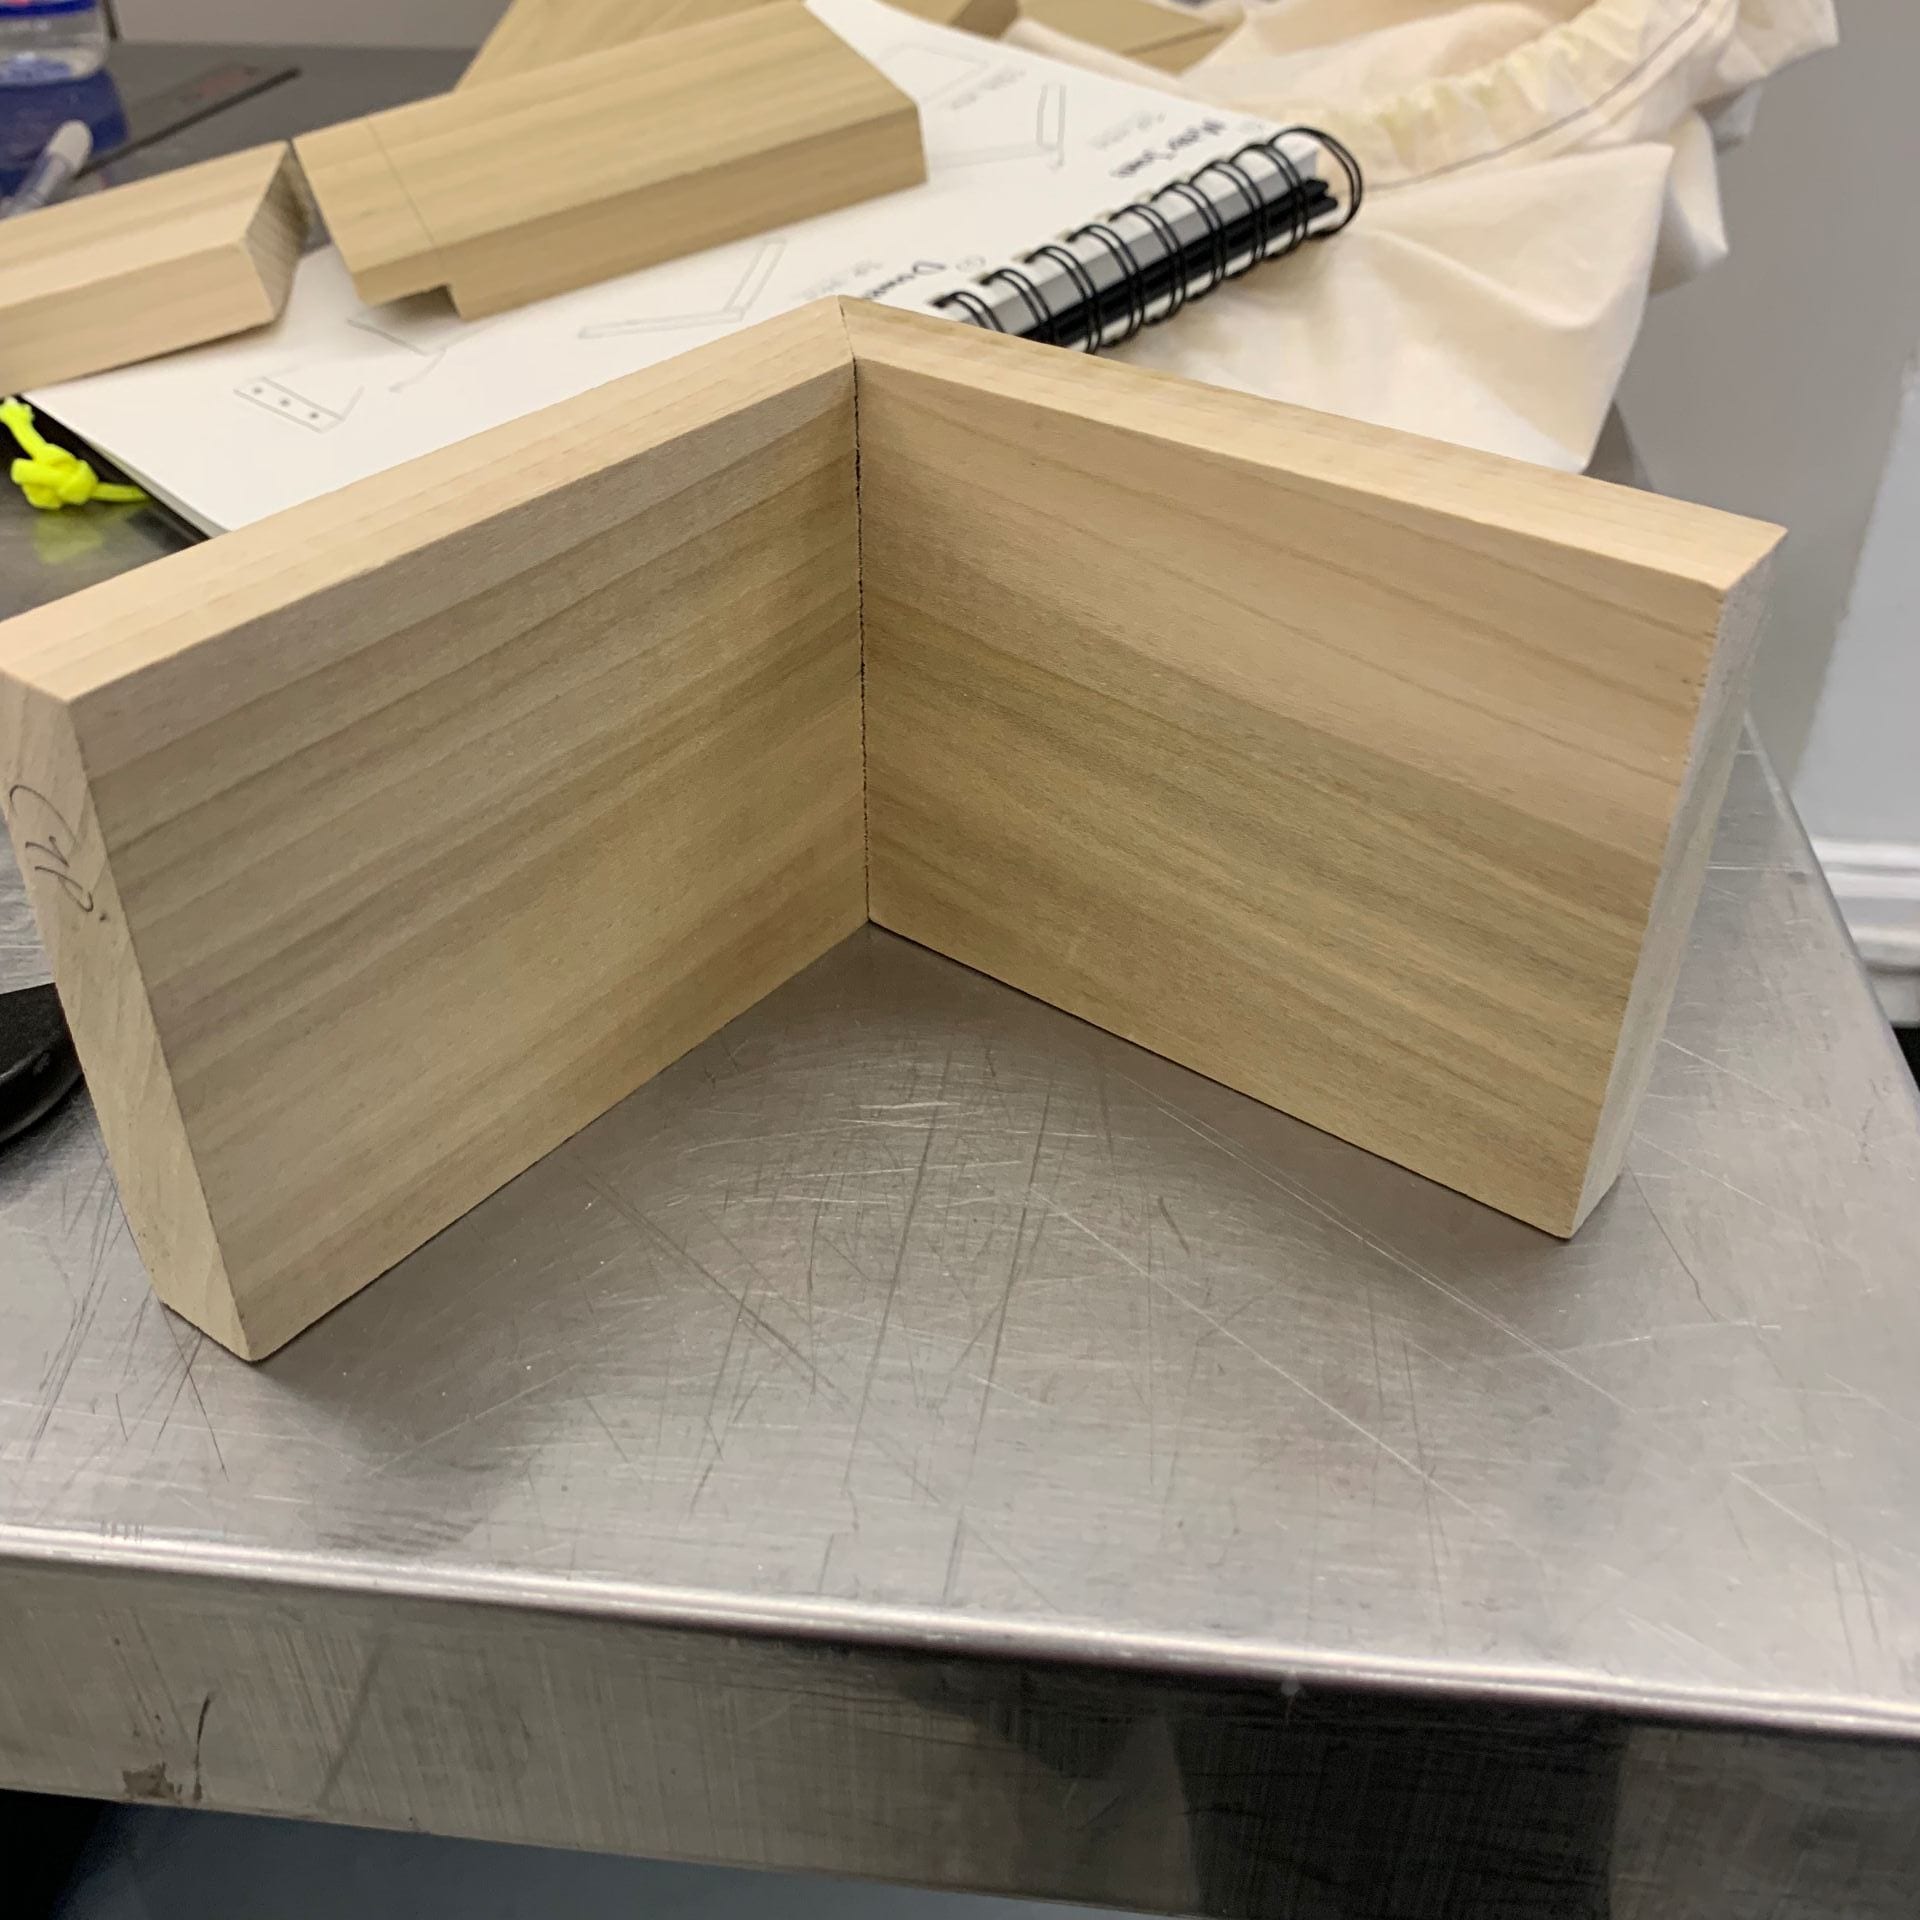
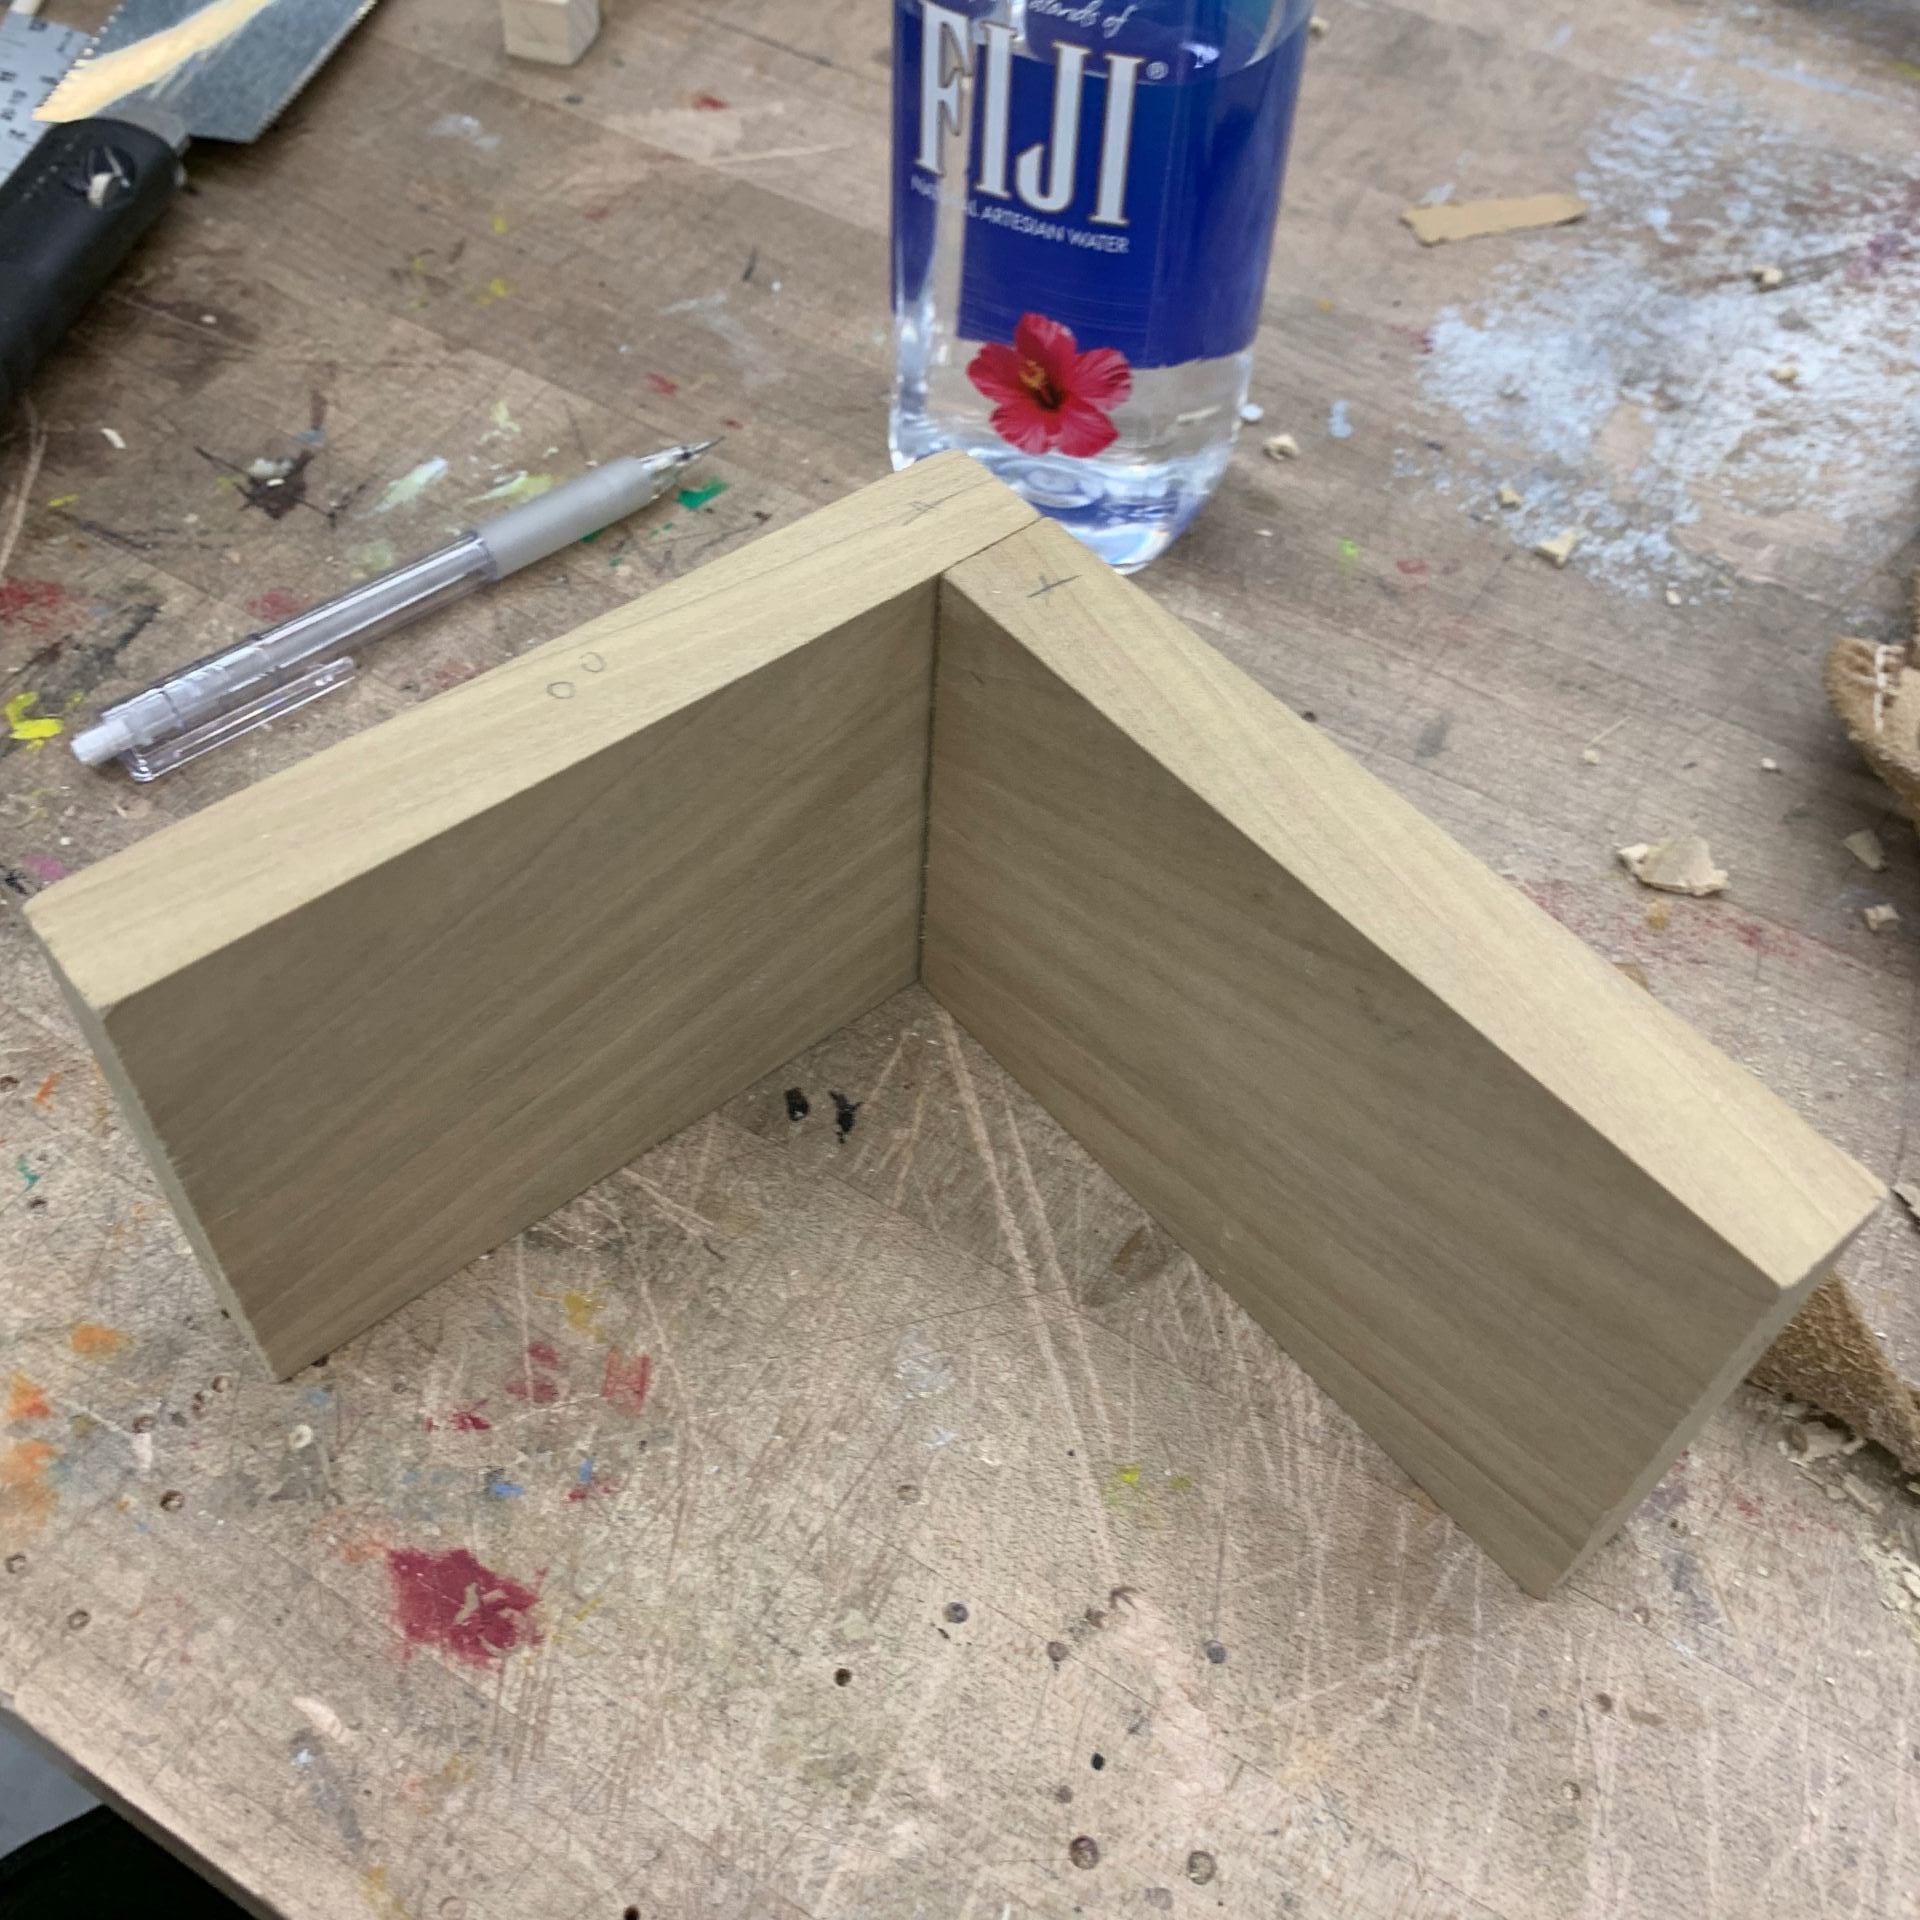
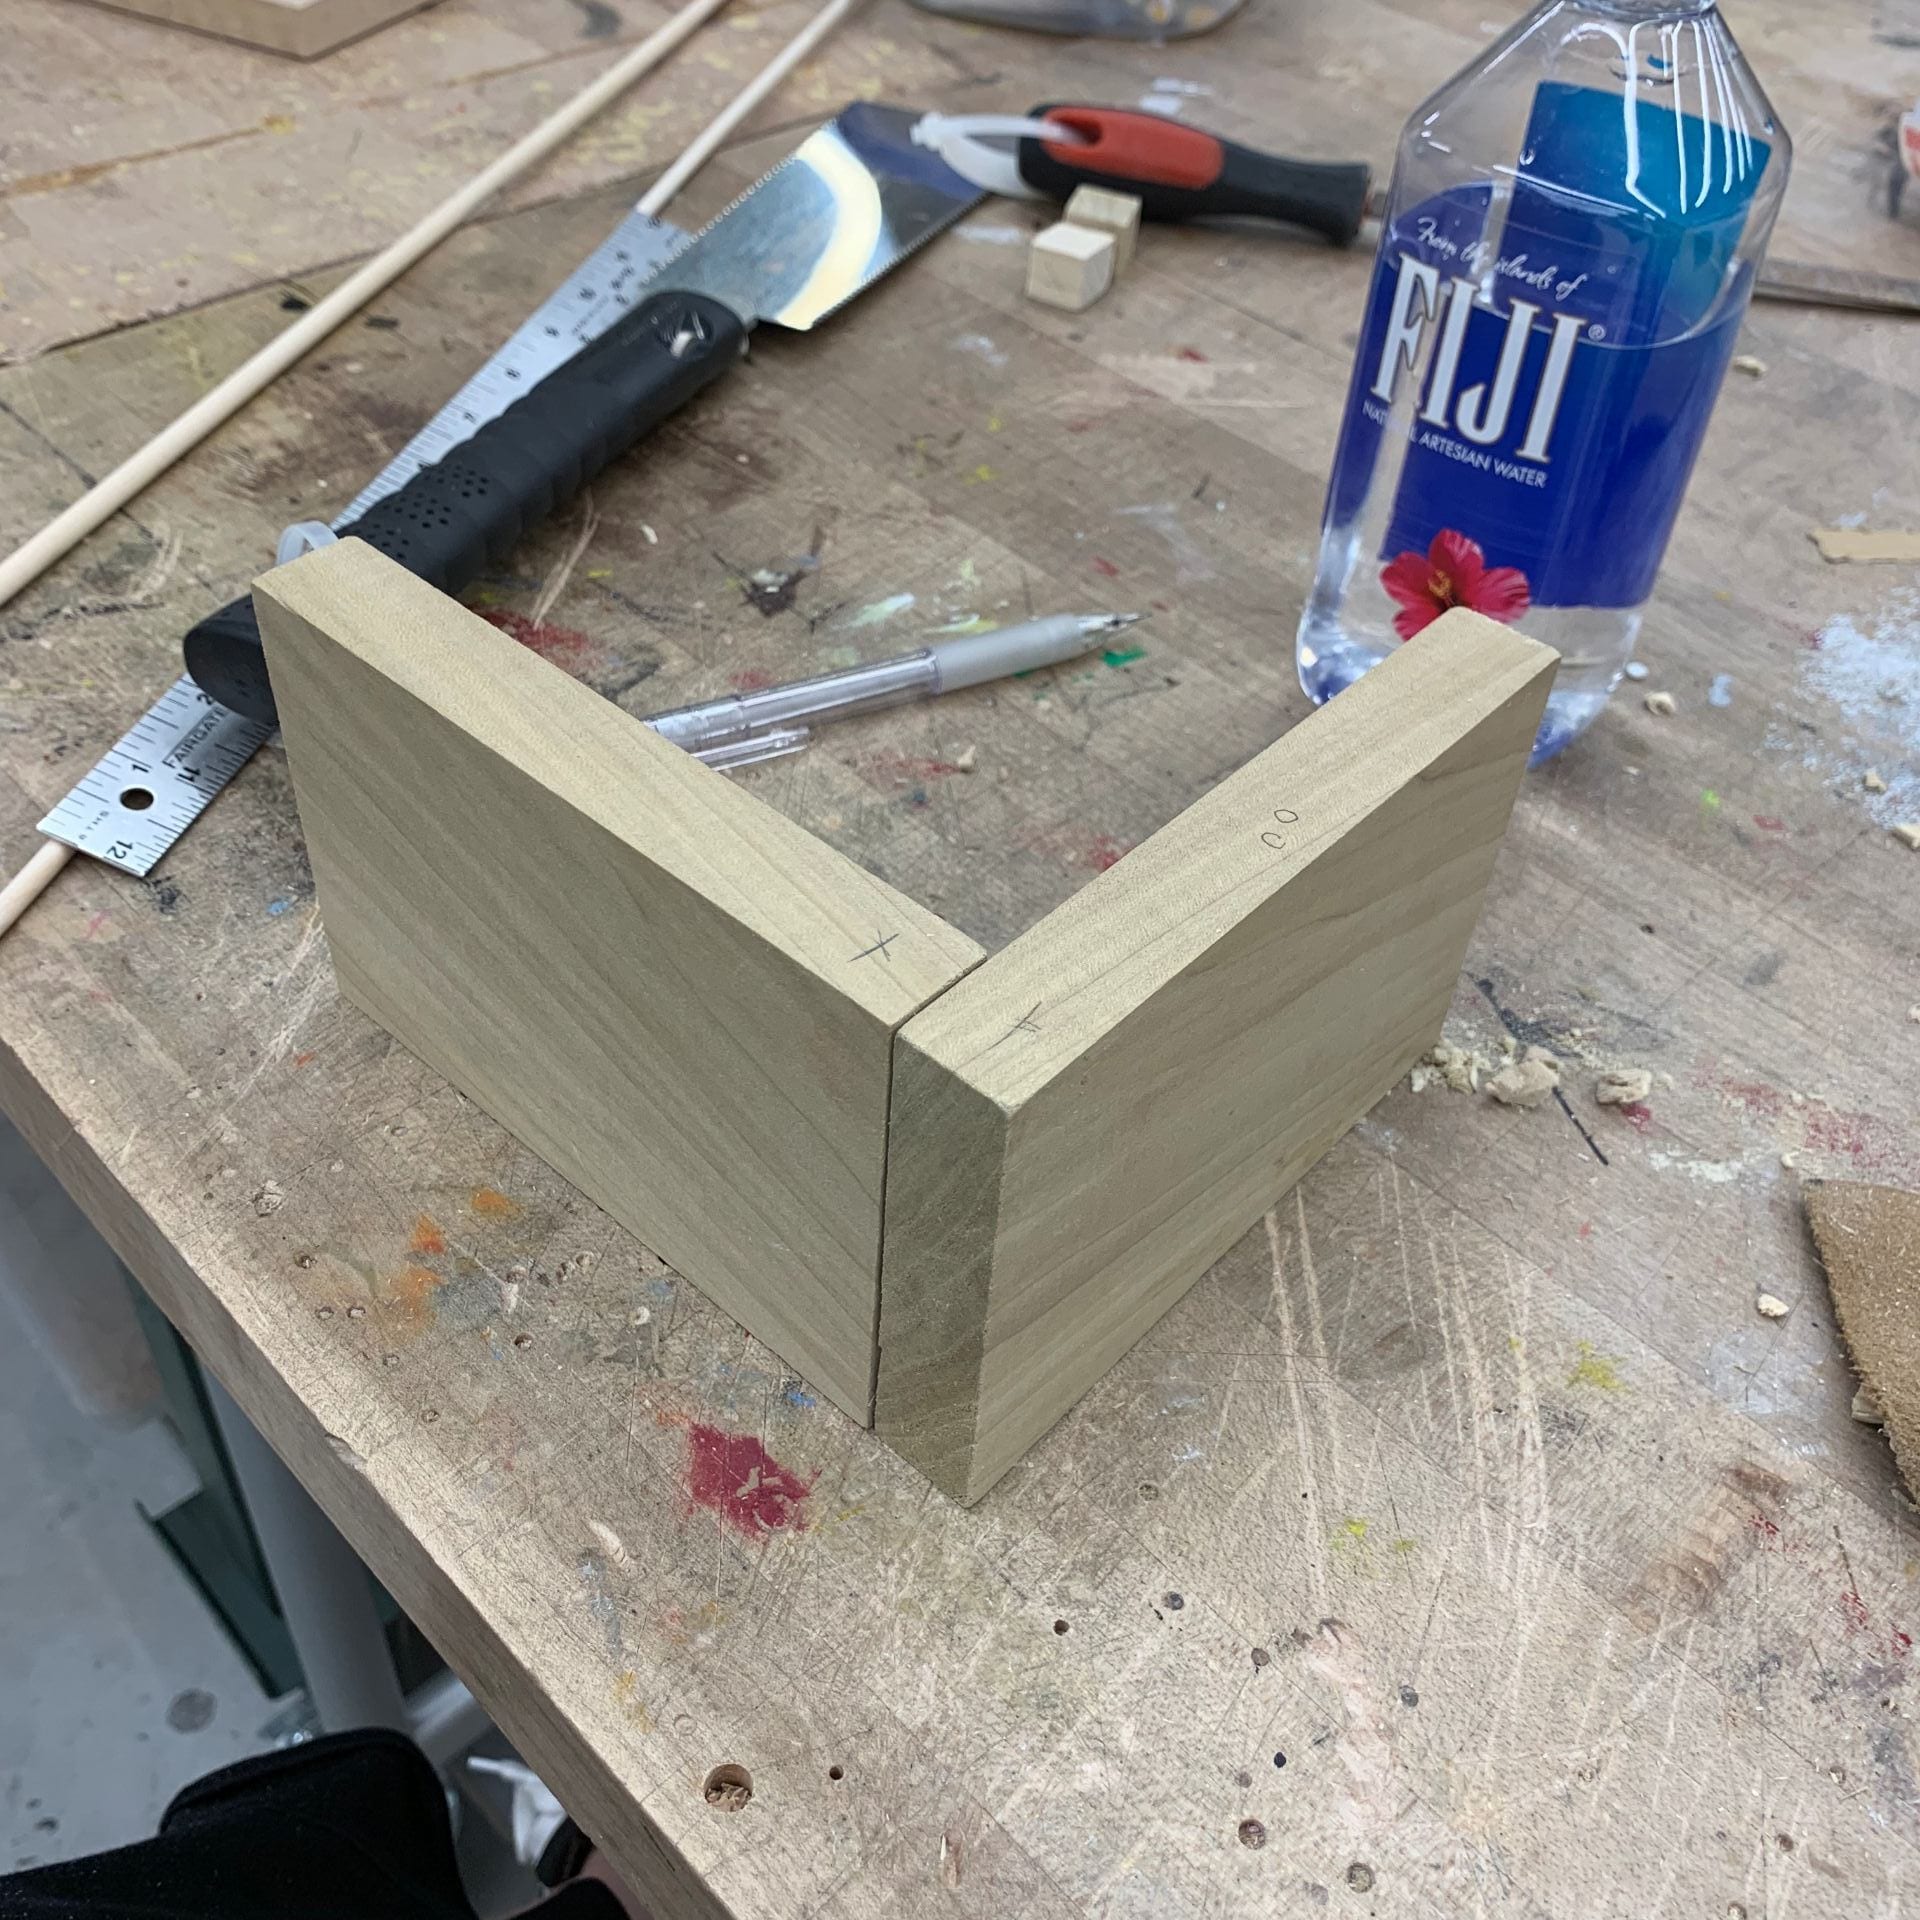
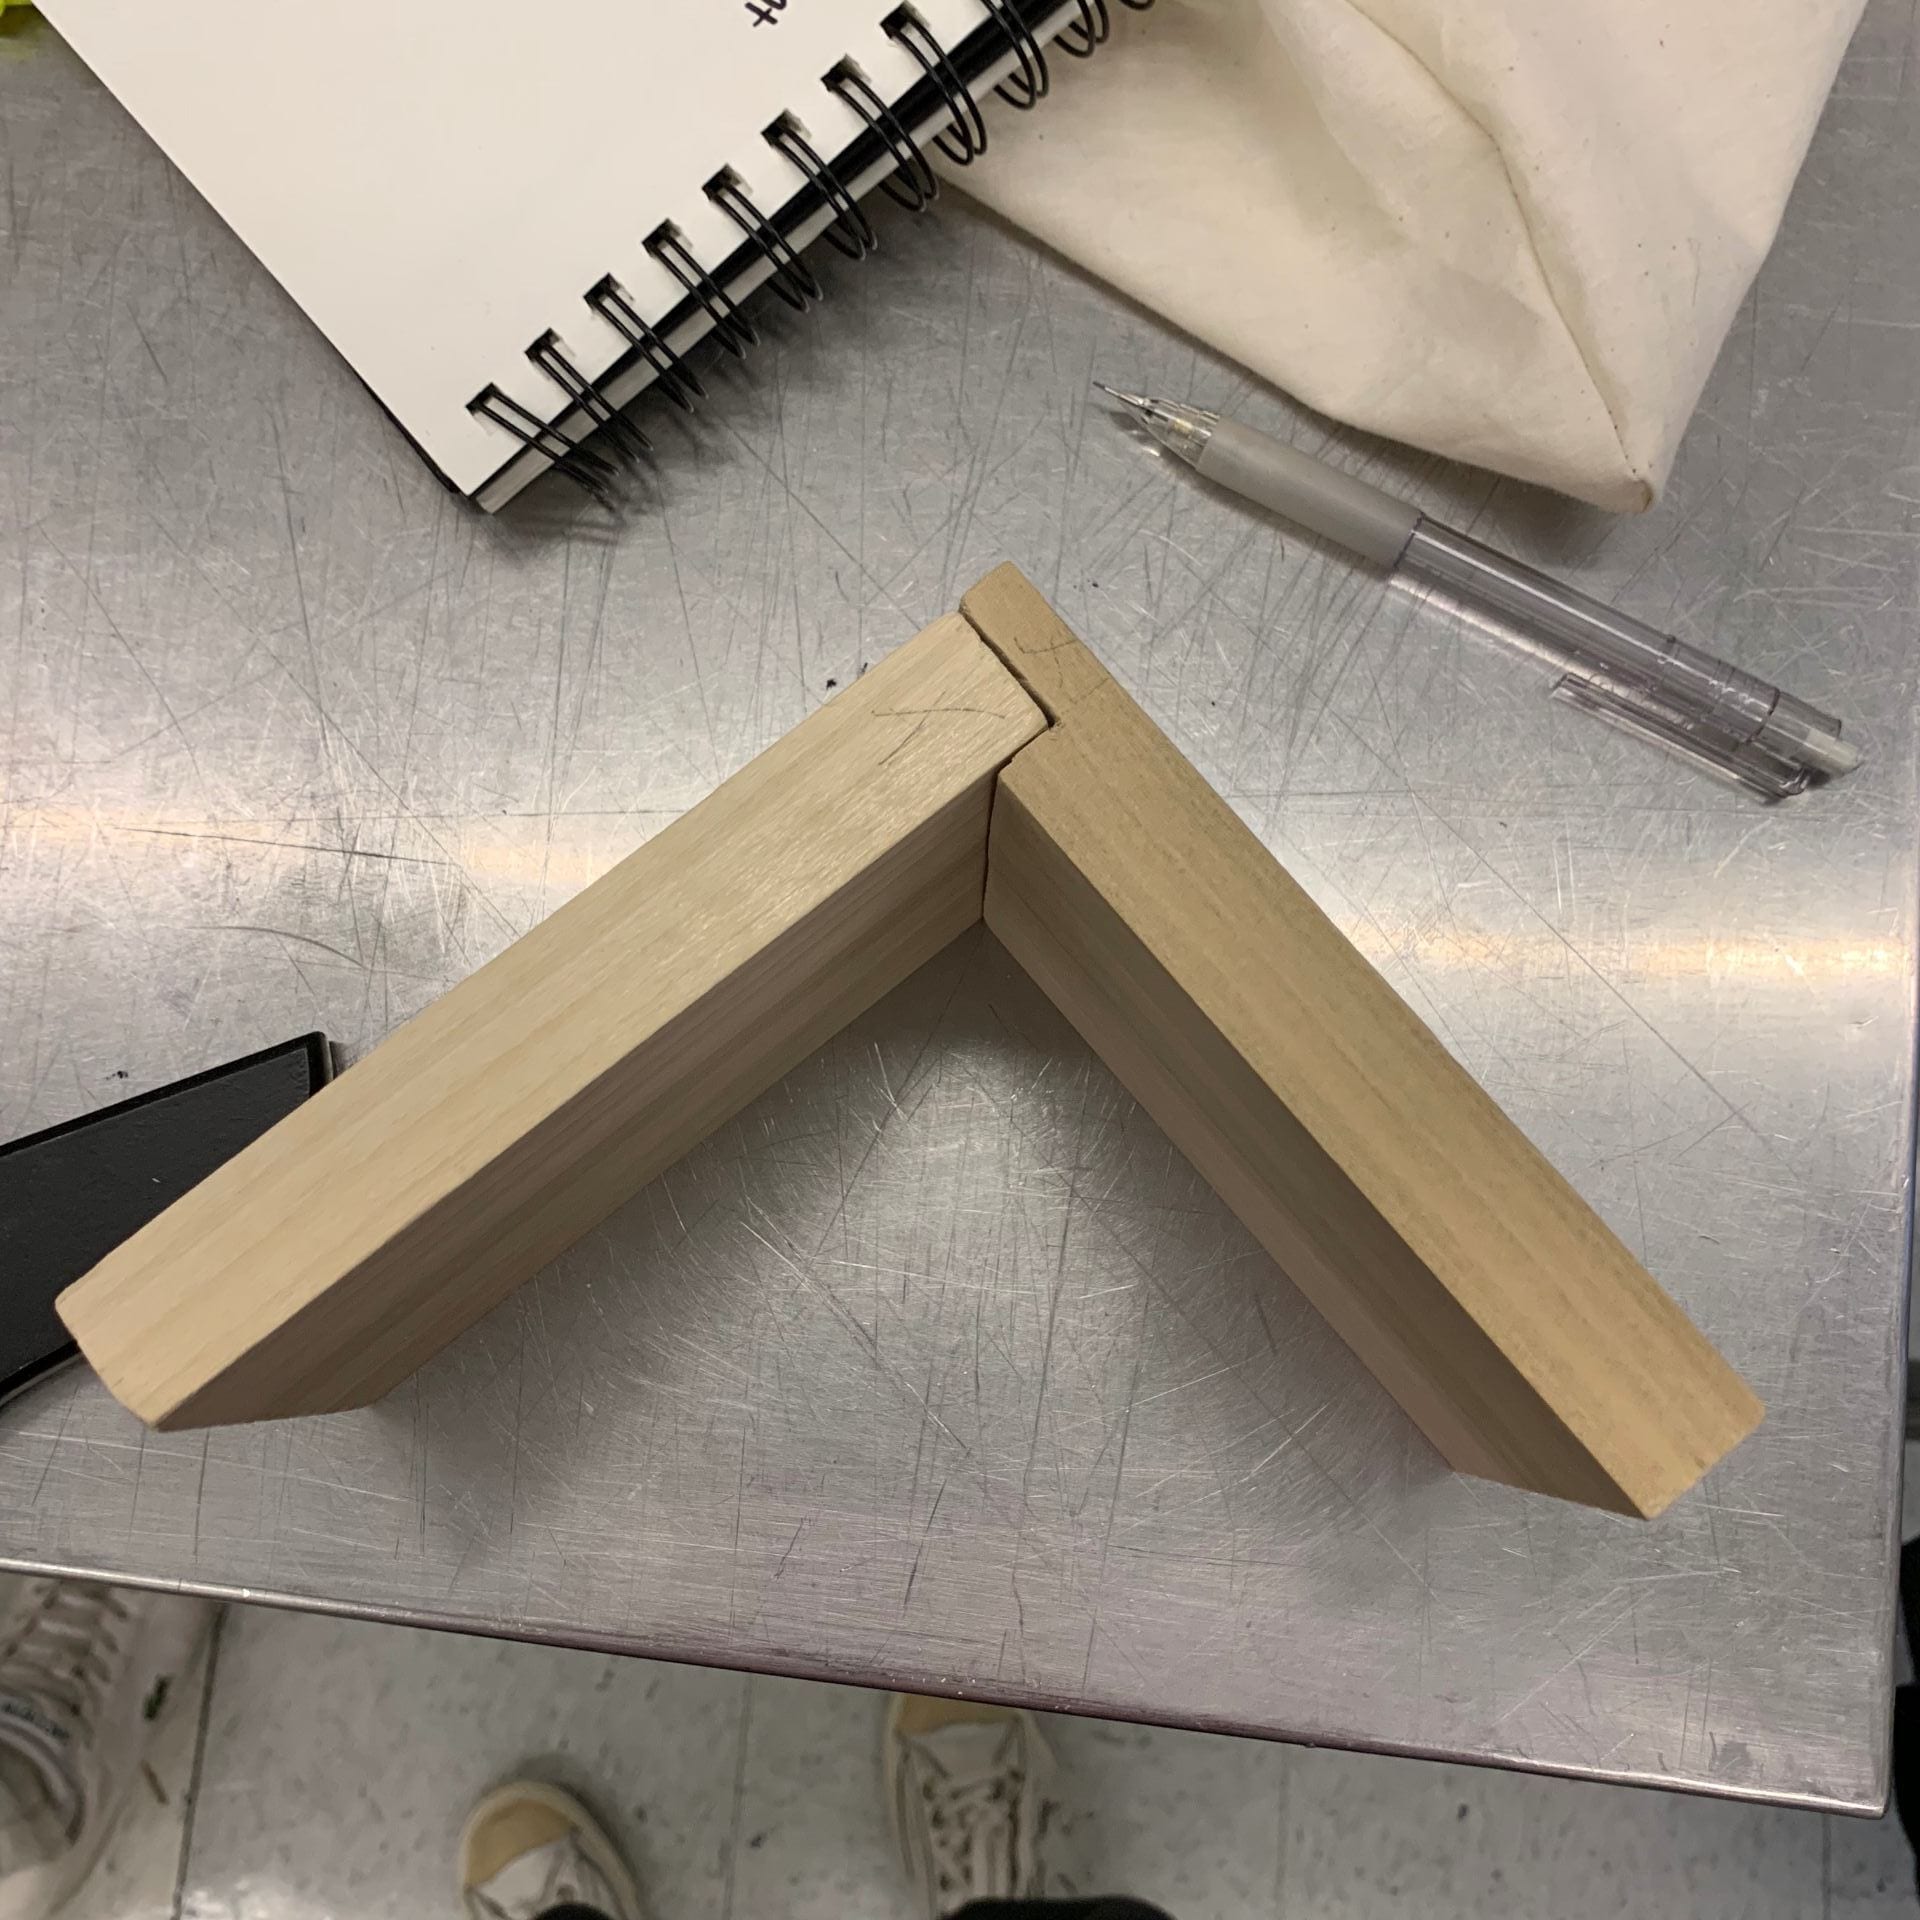
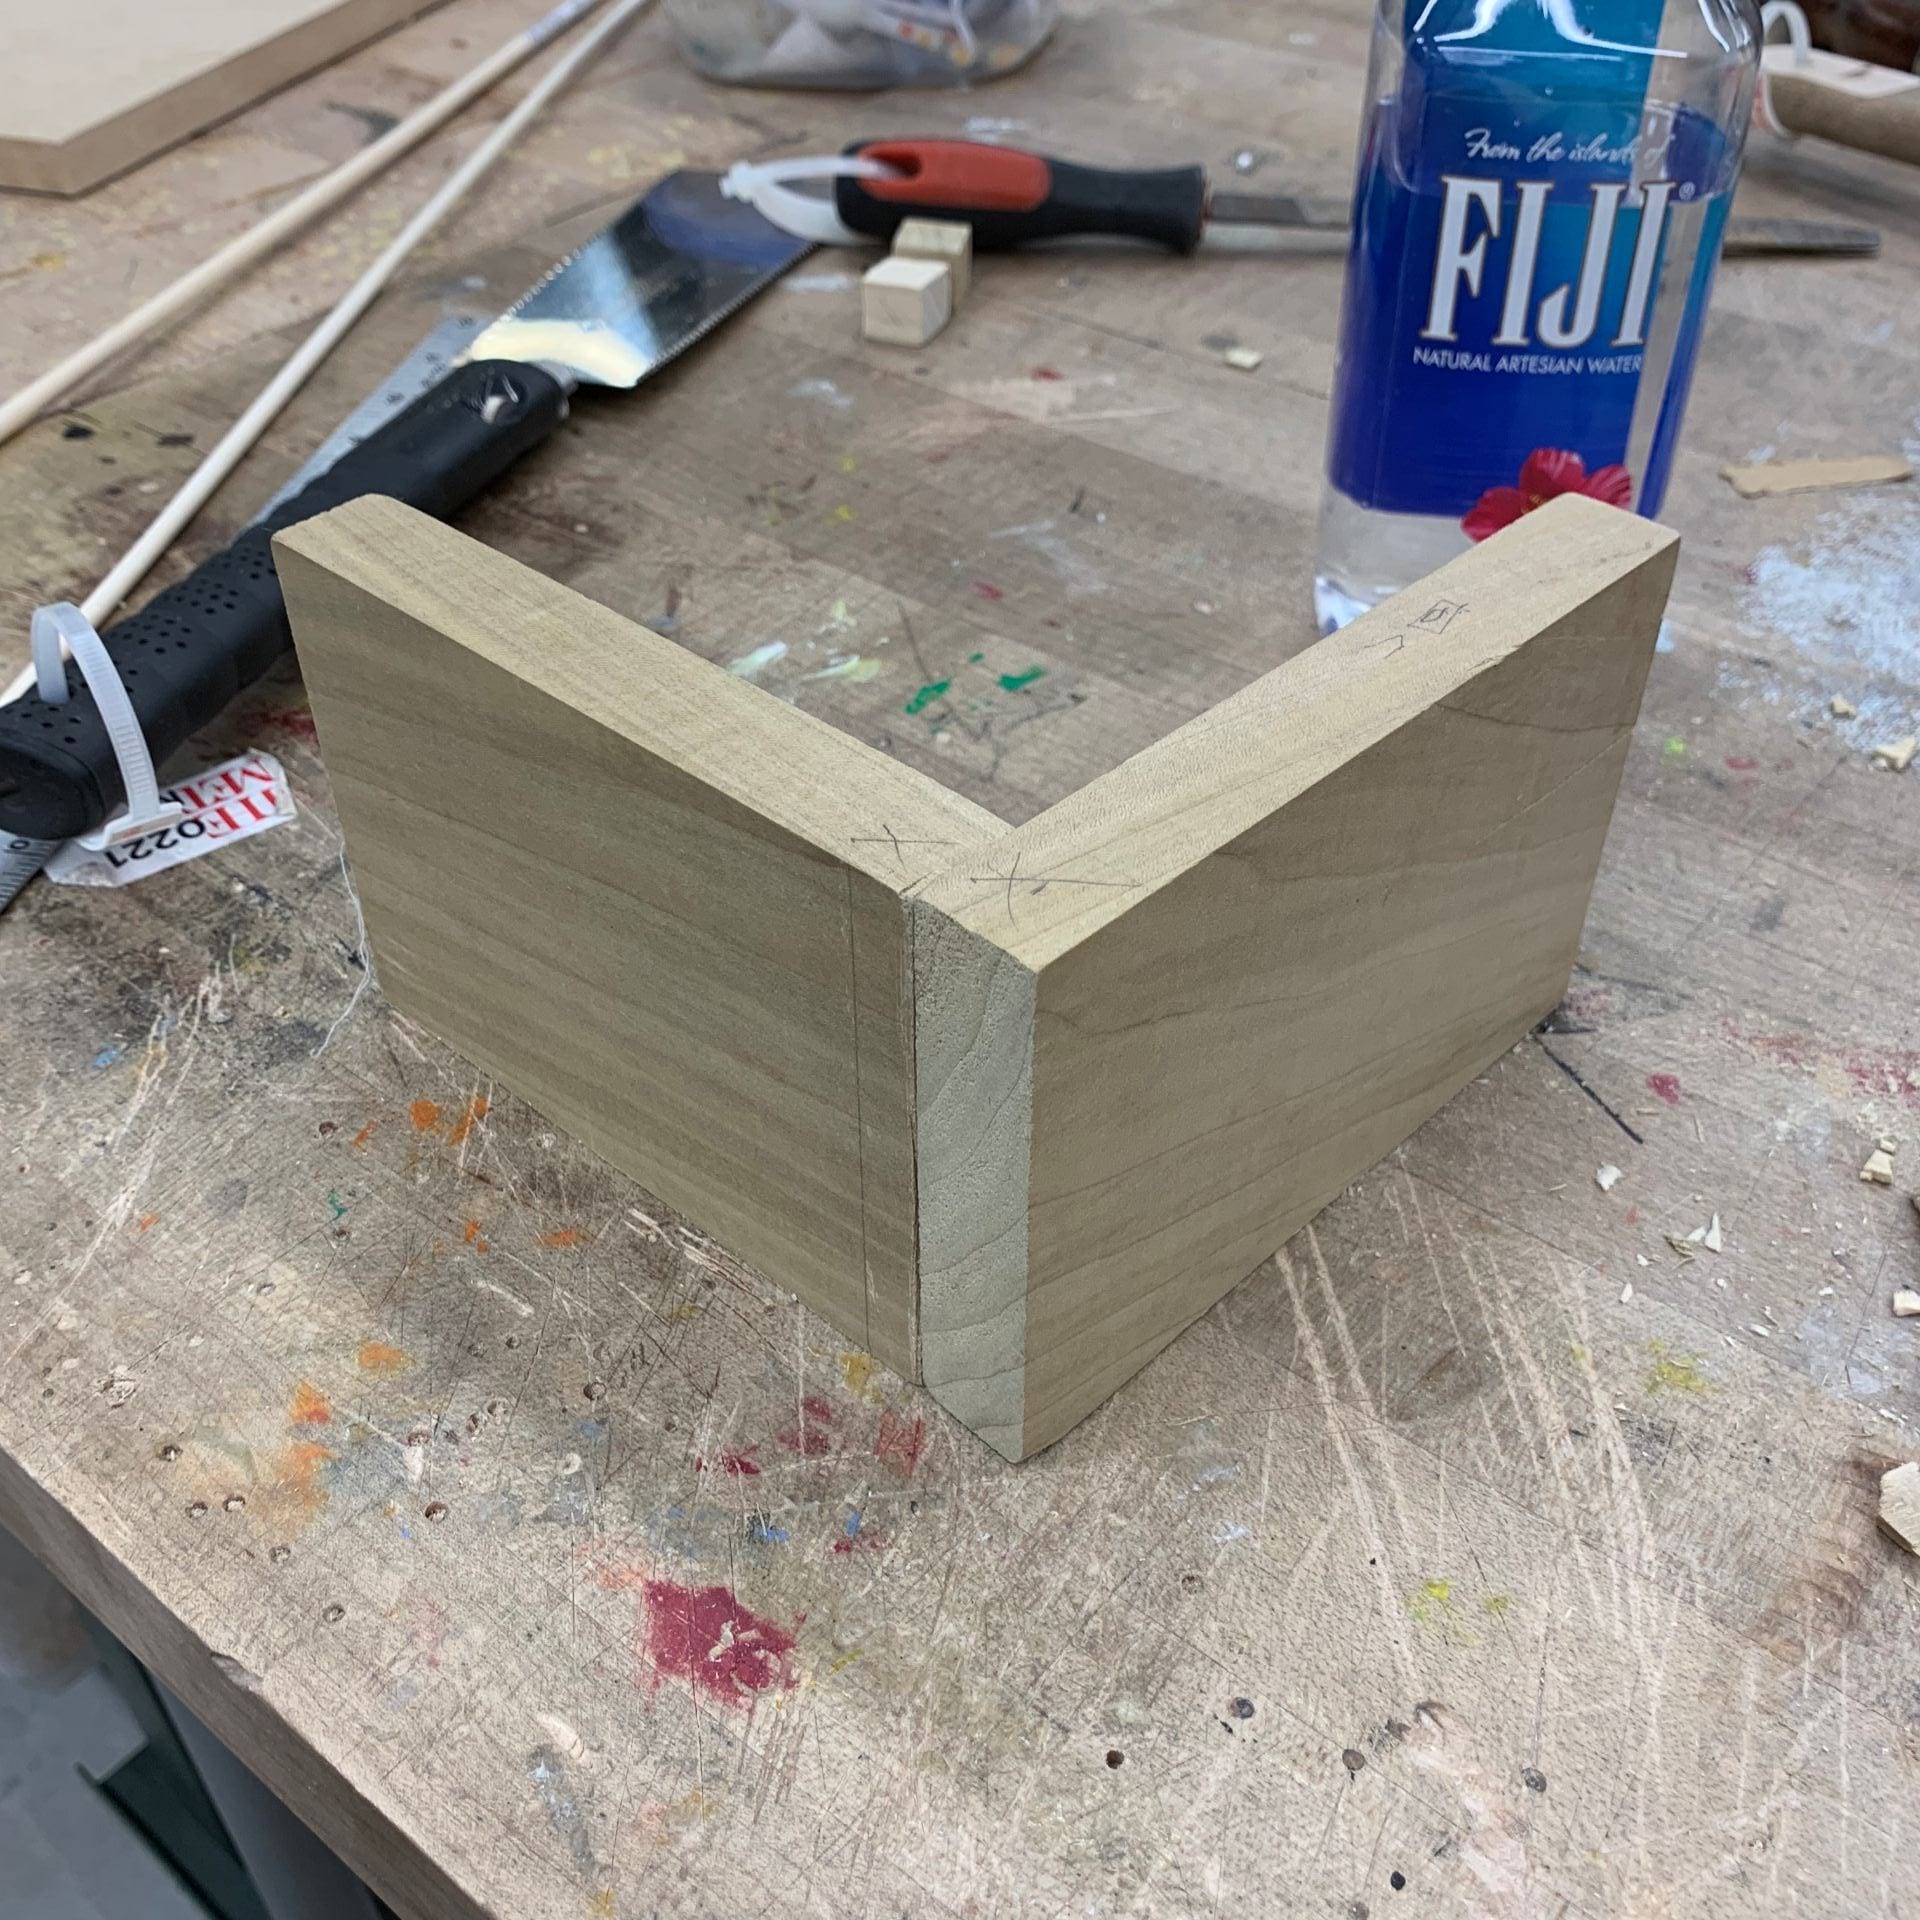
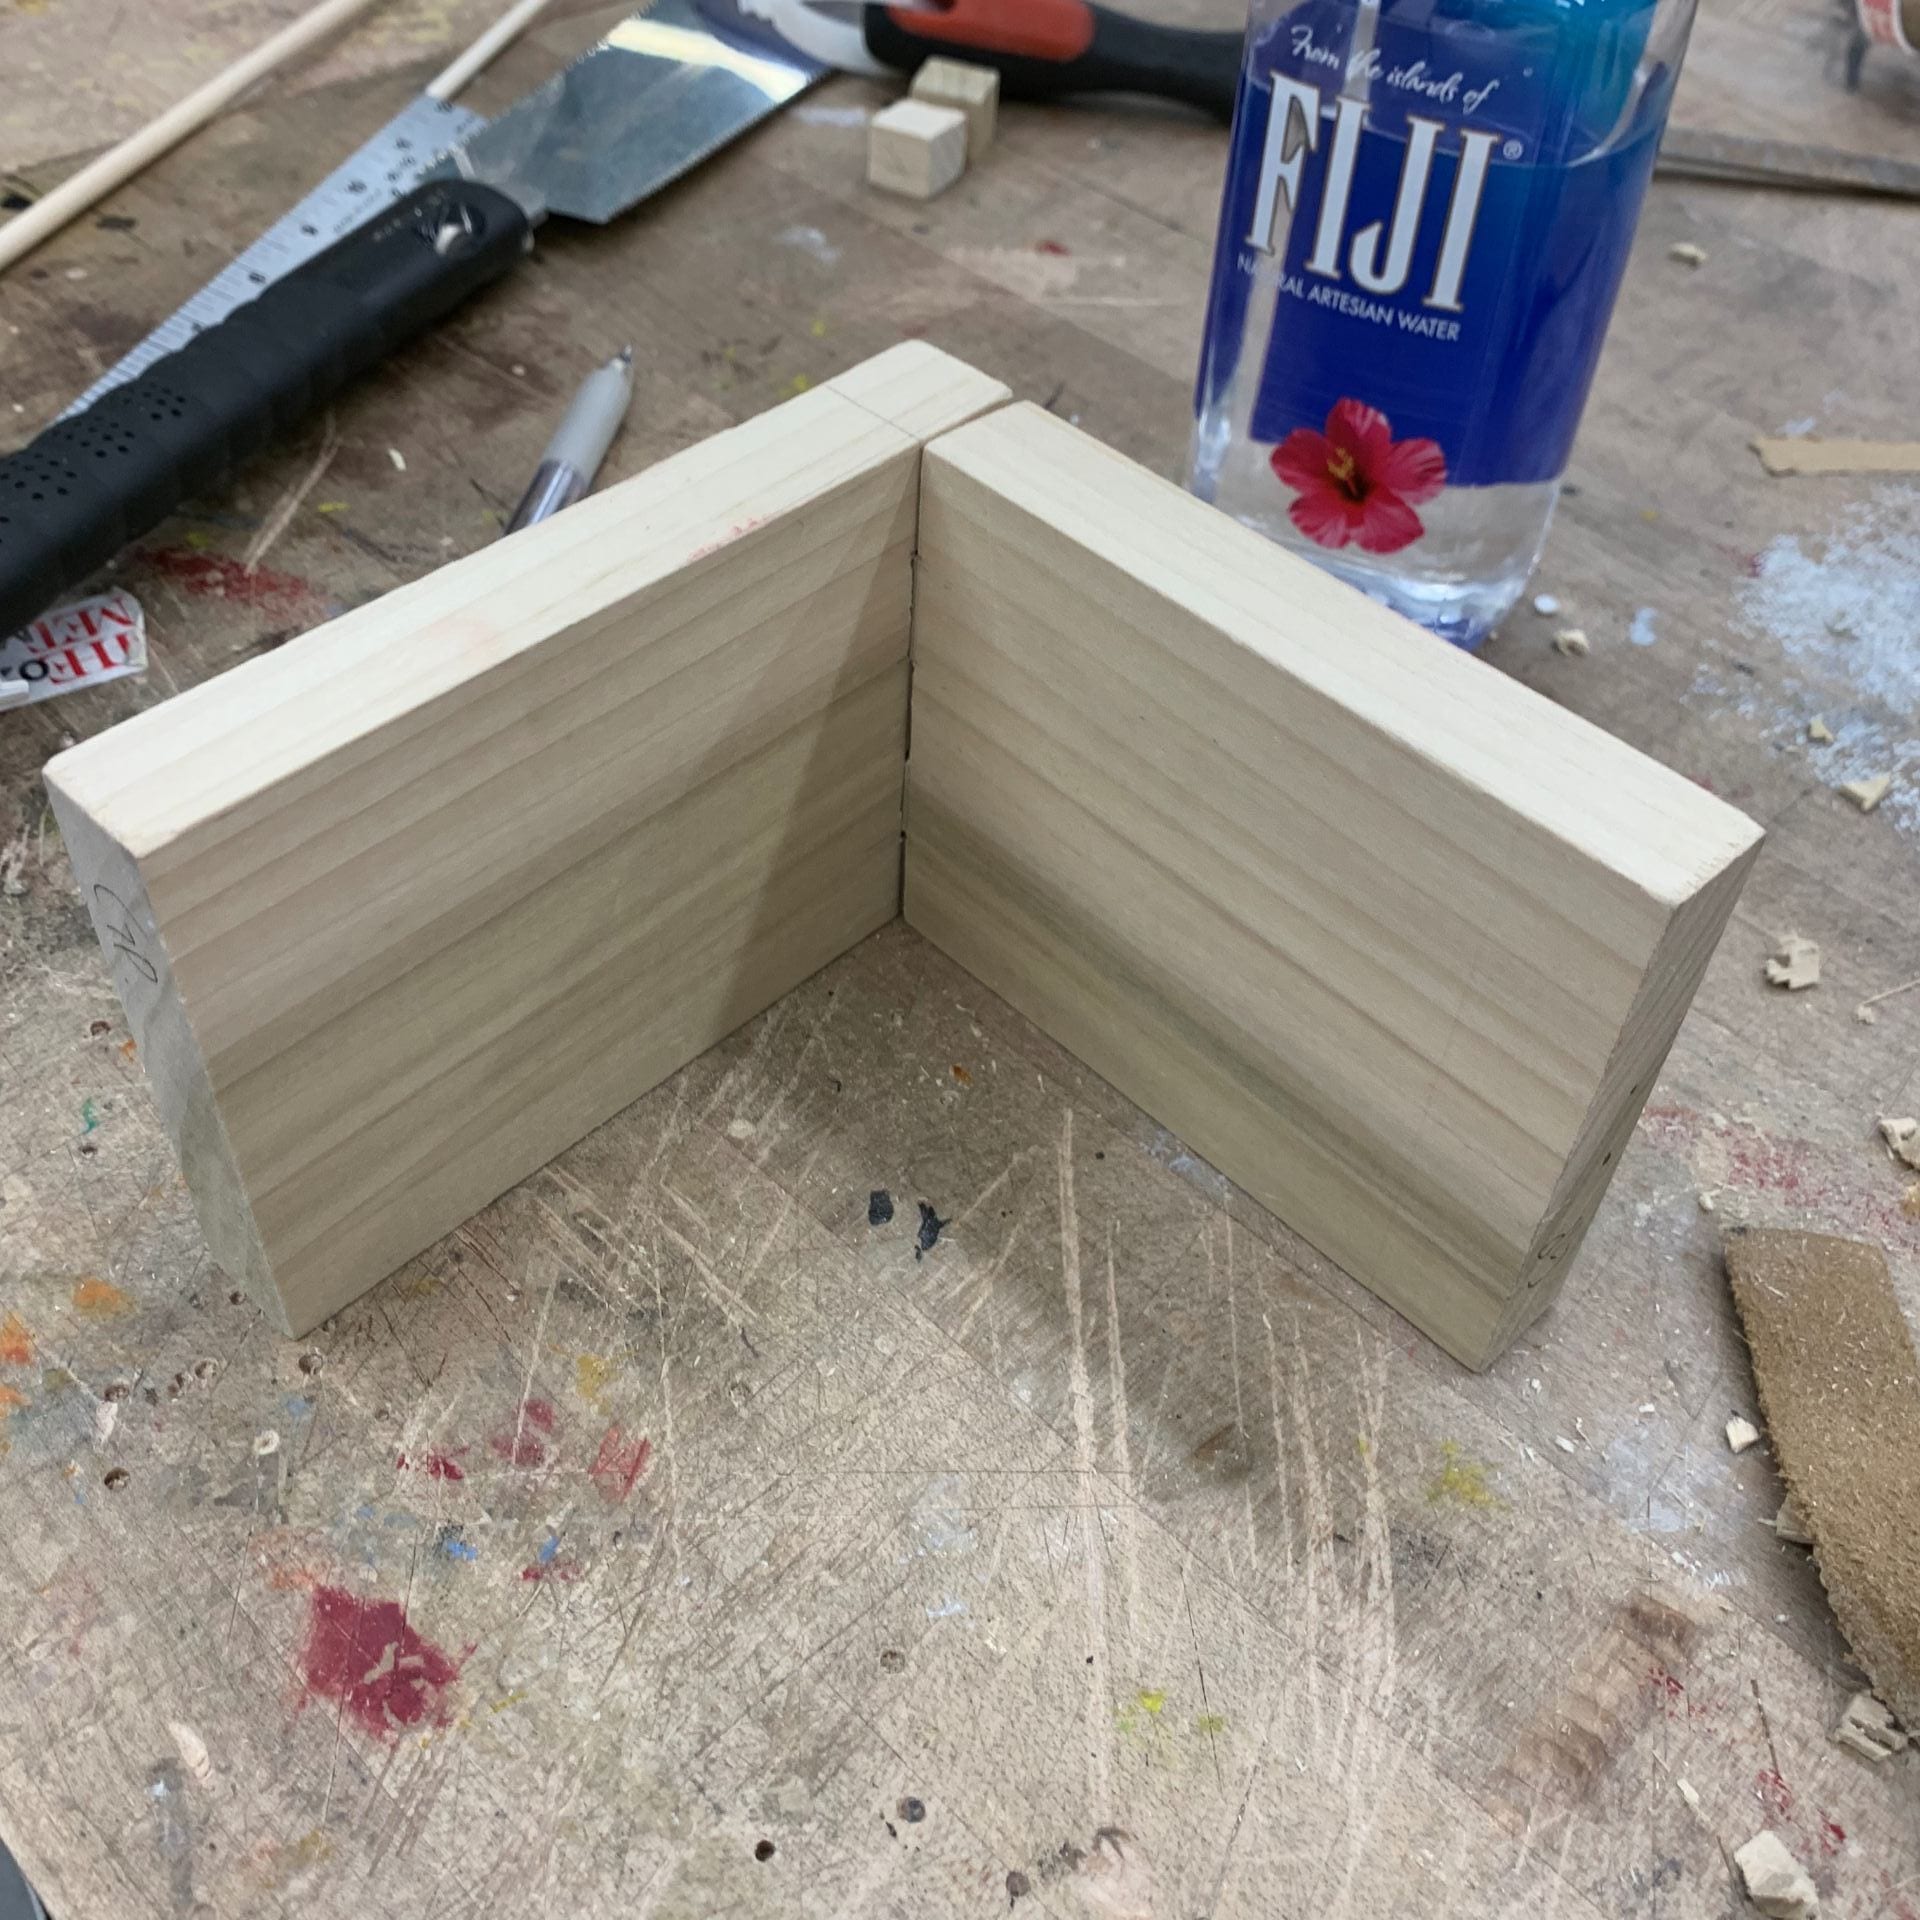
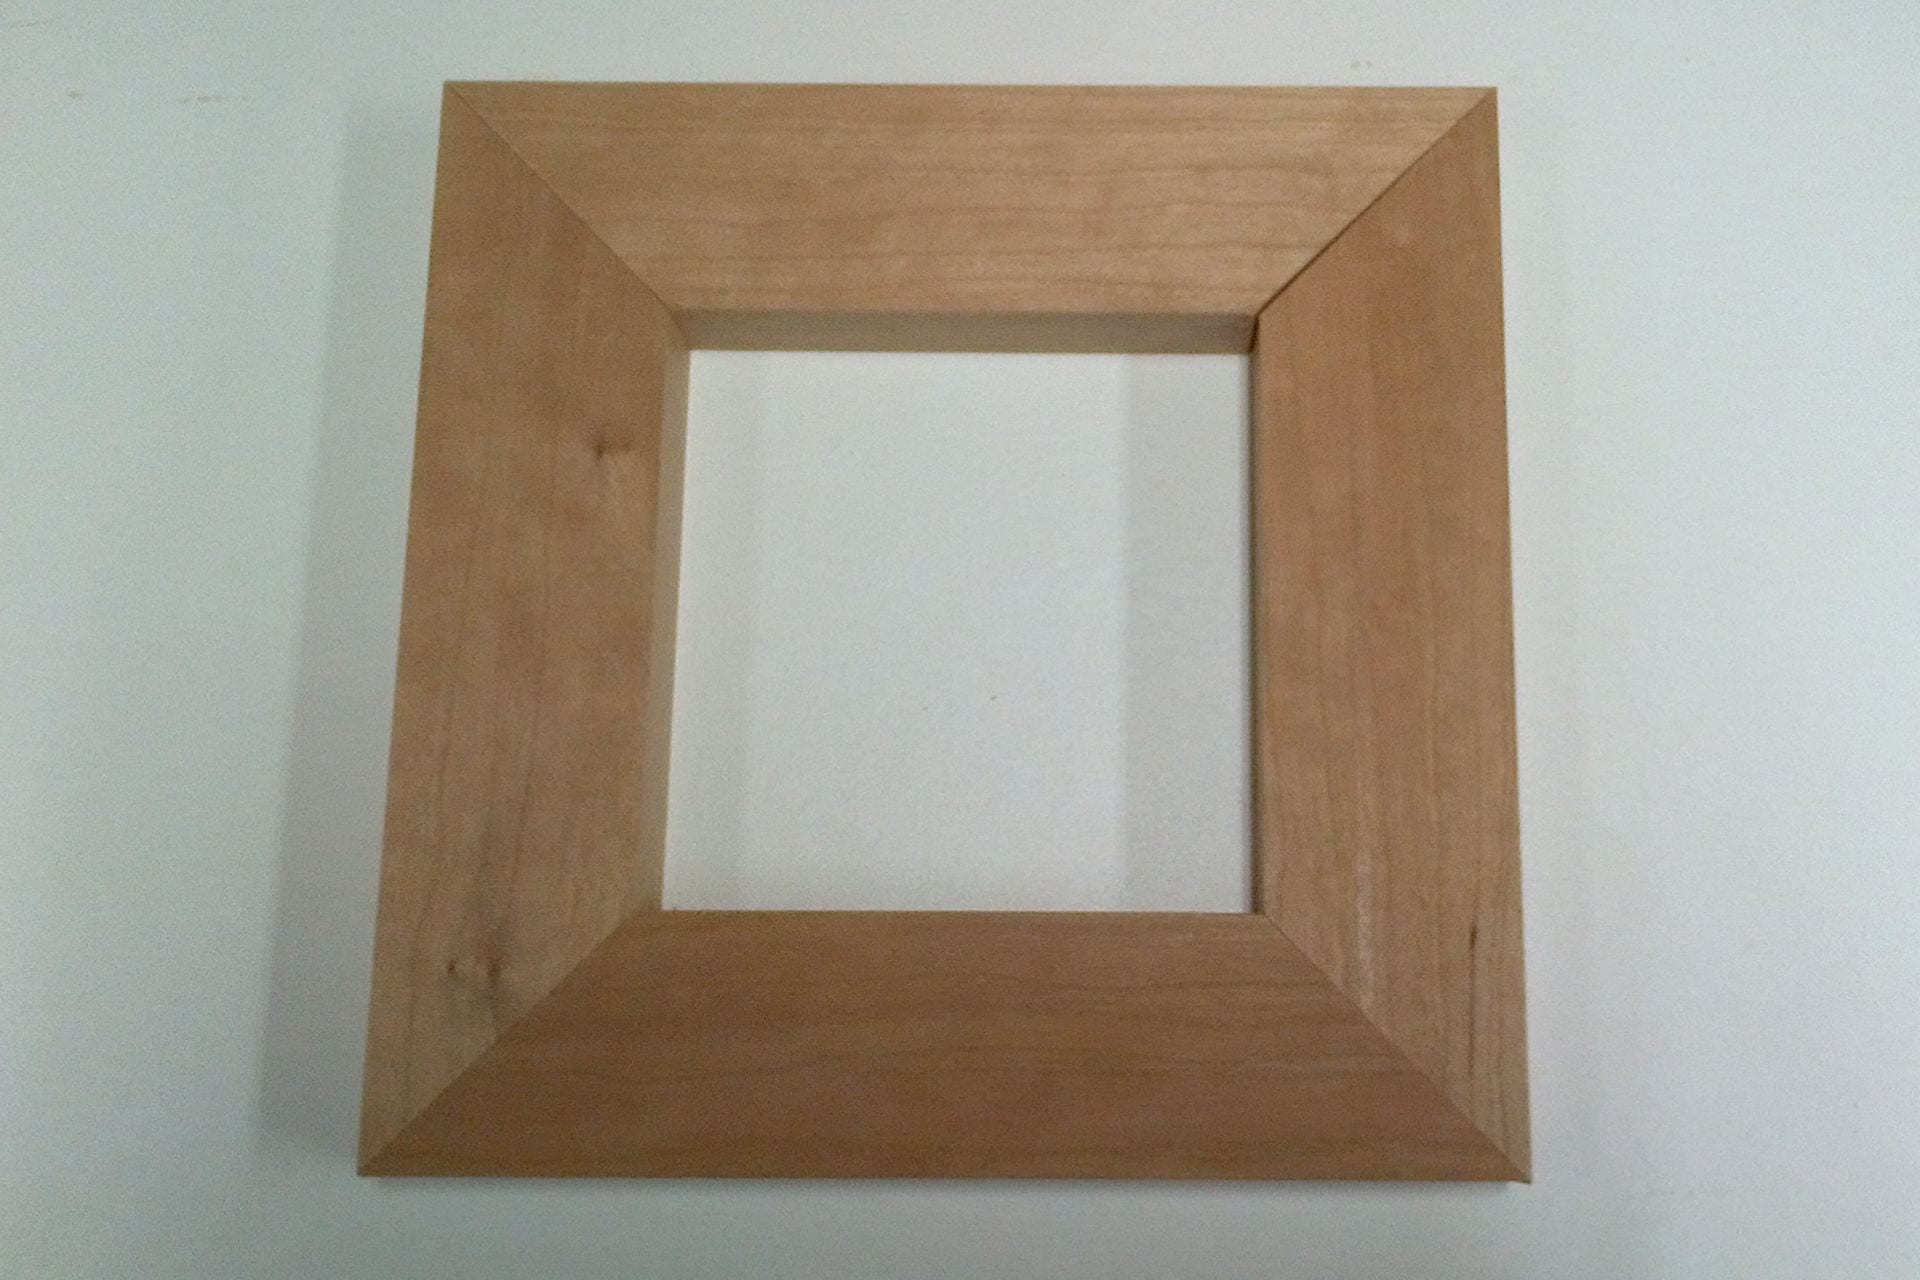
1. Miter Joint
For the miter joint, I just used the machine cutter to cut out the top part of the wood. The machine was set up as 45 degrees, which worked very easily and smoothly. After this, we attached it together in the class, and it came out very successfully because it was actually done by machine.
Final Piece:
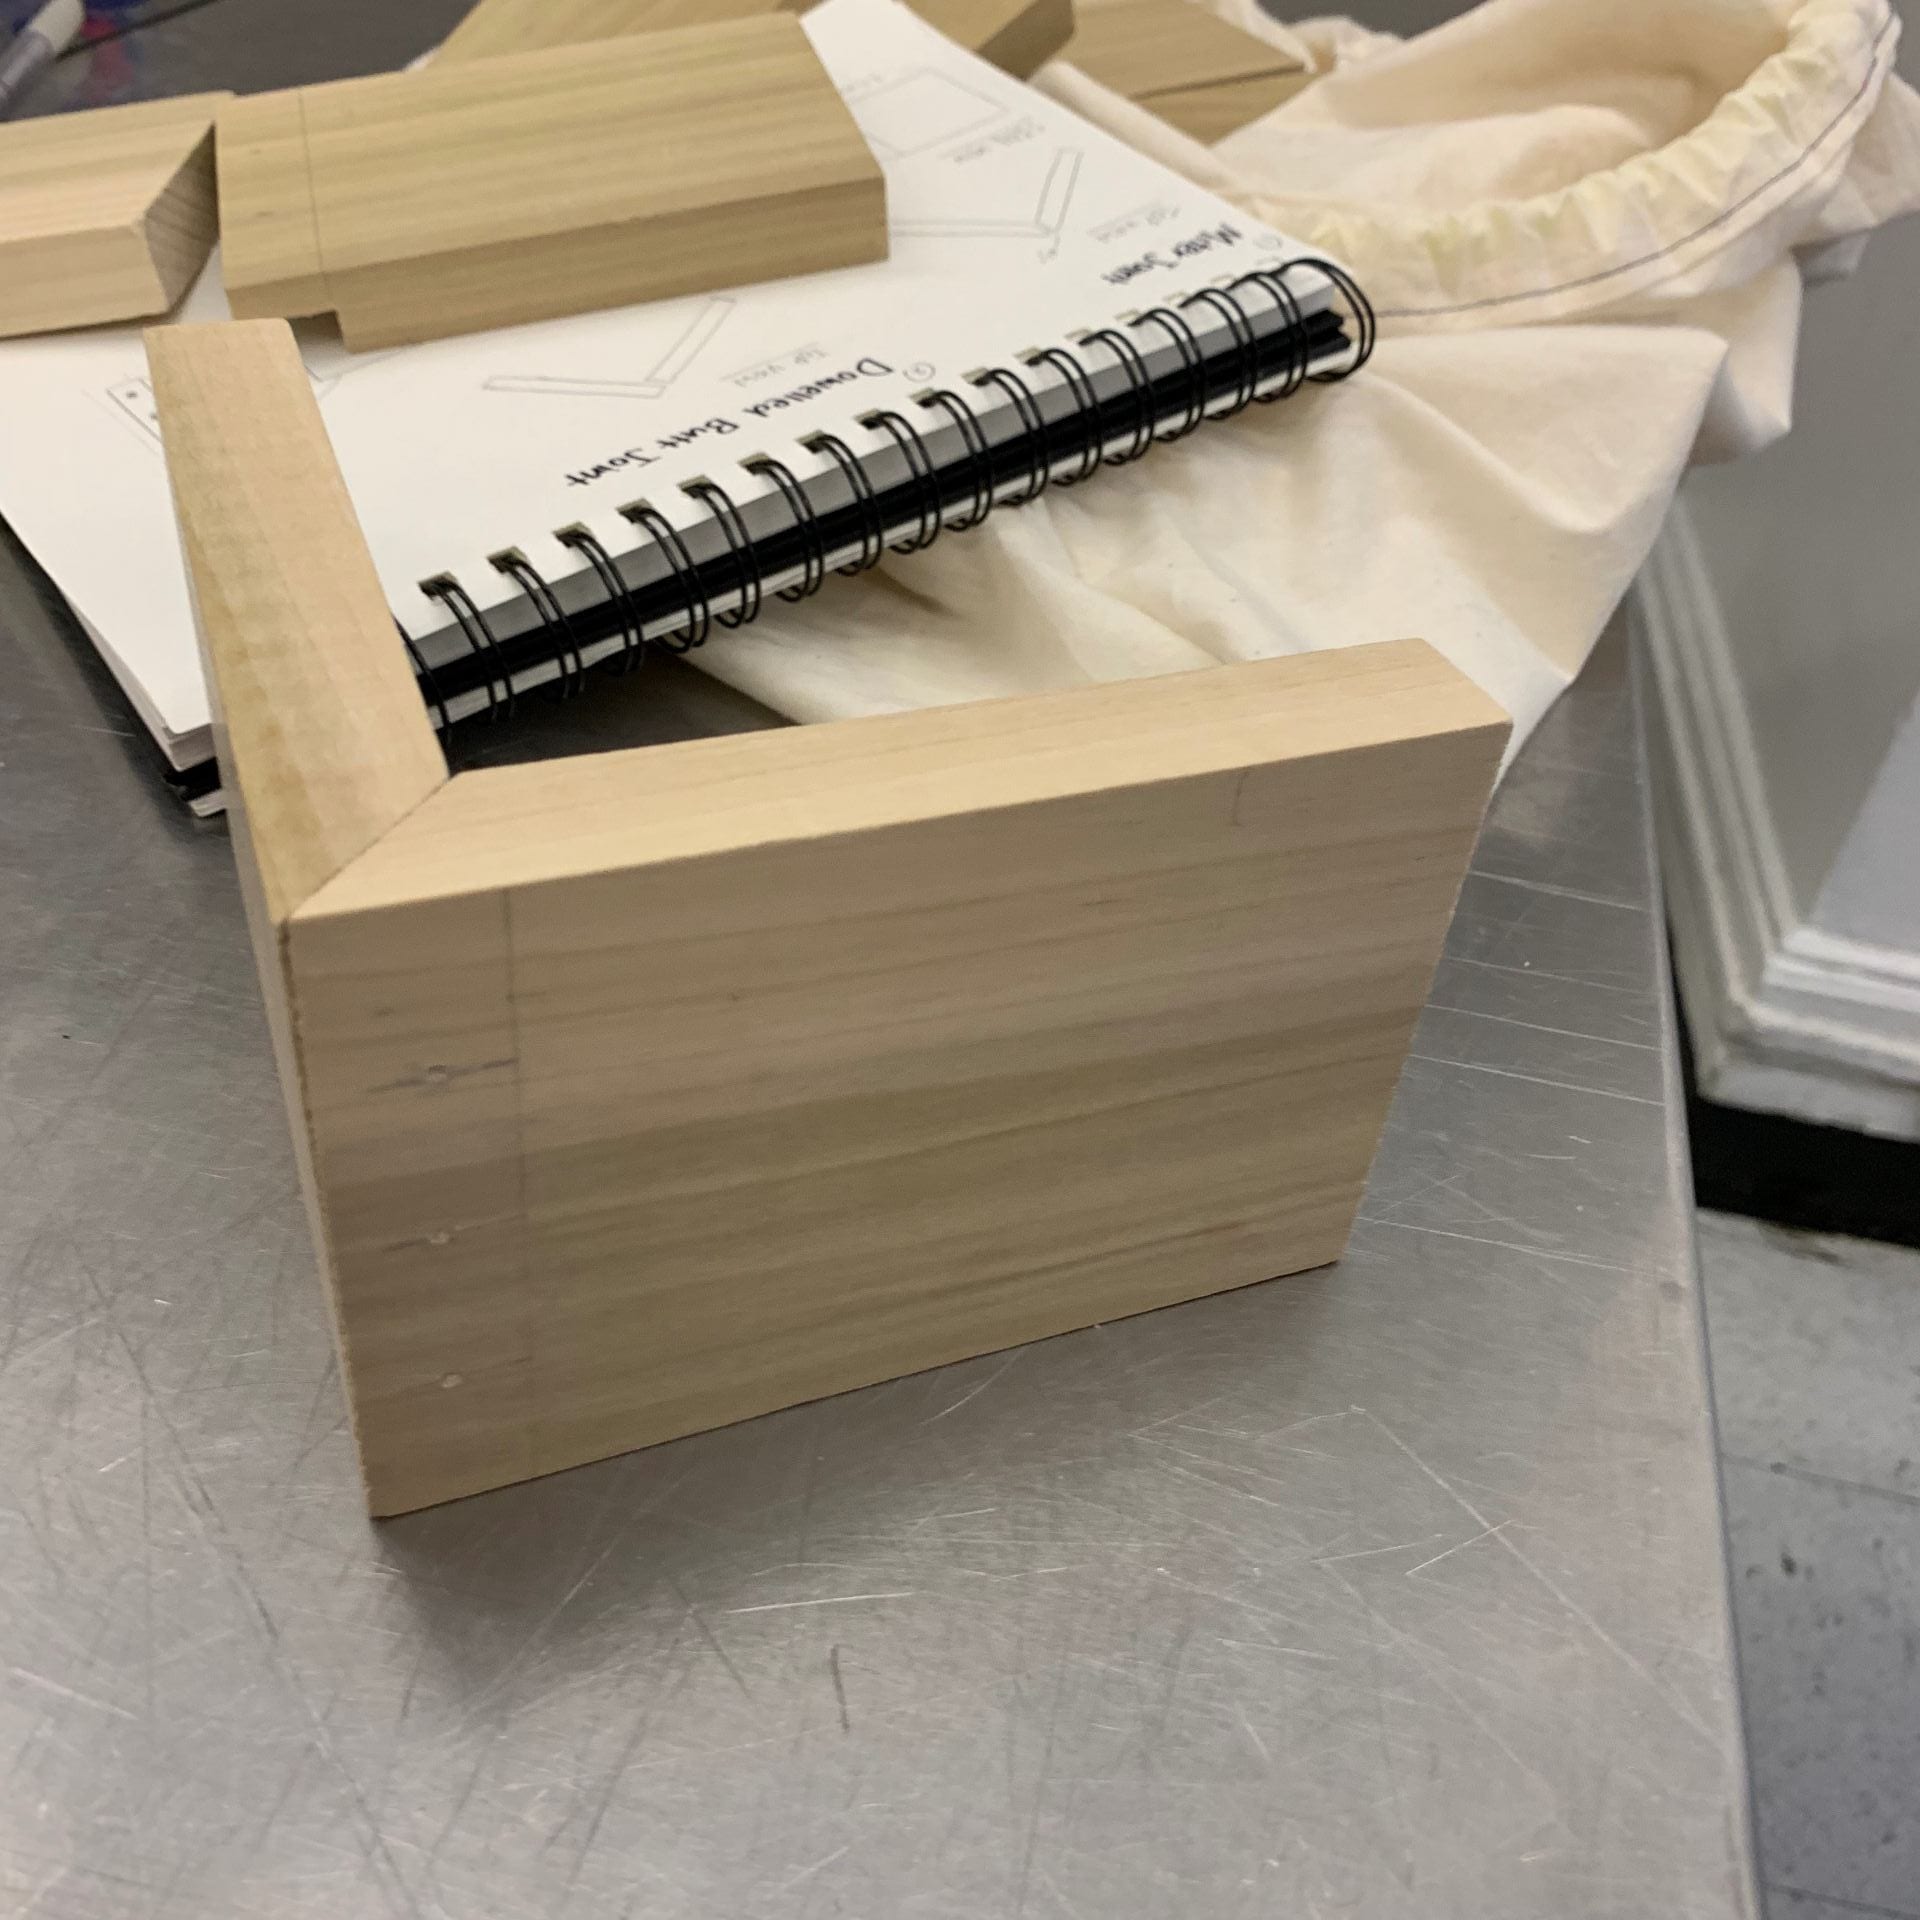
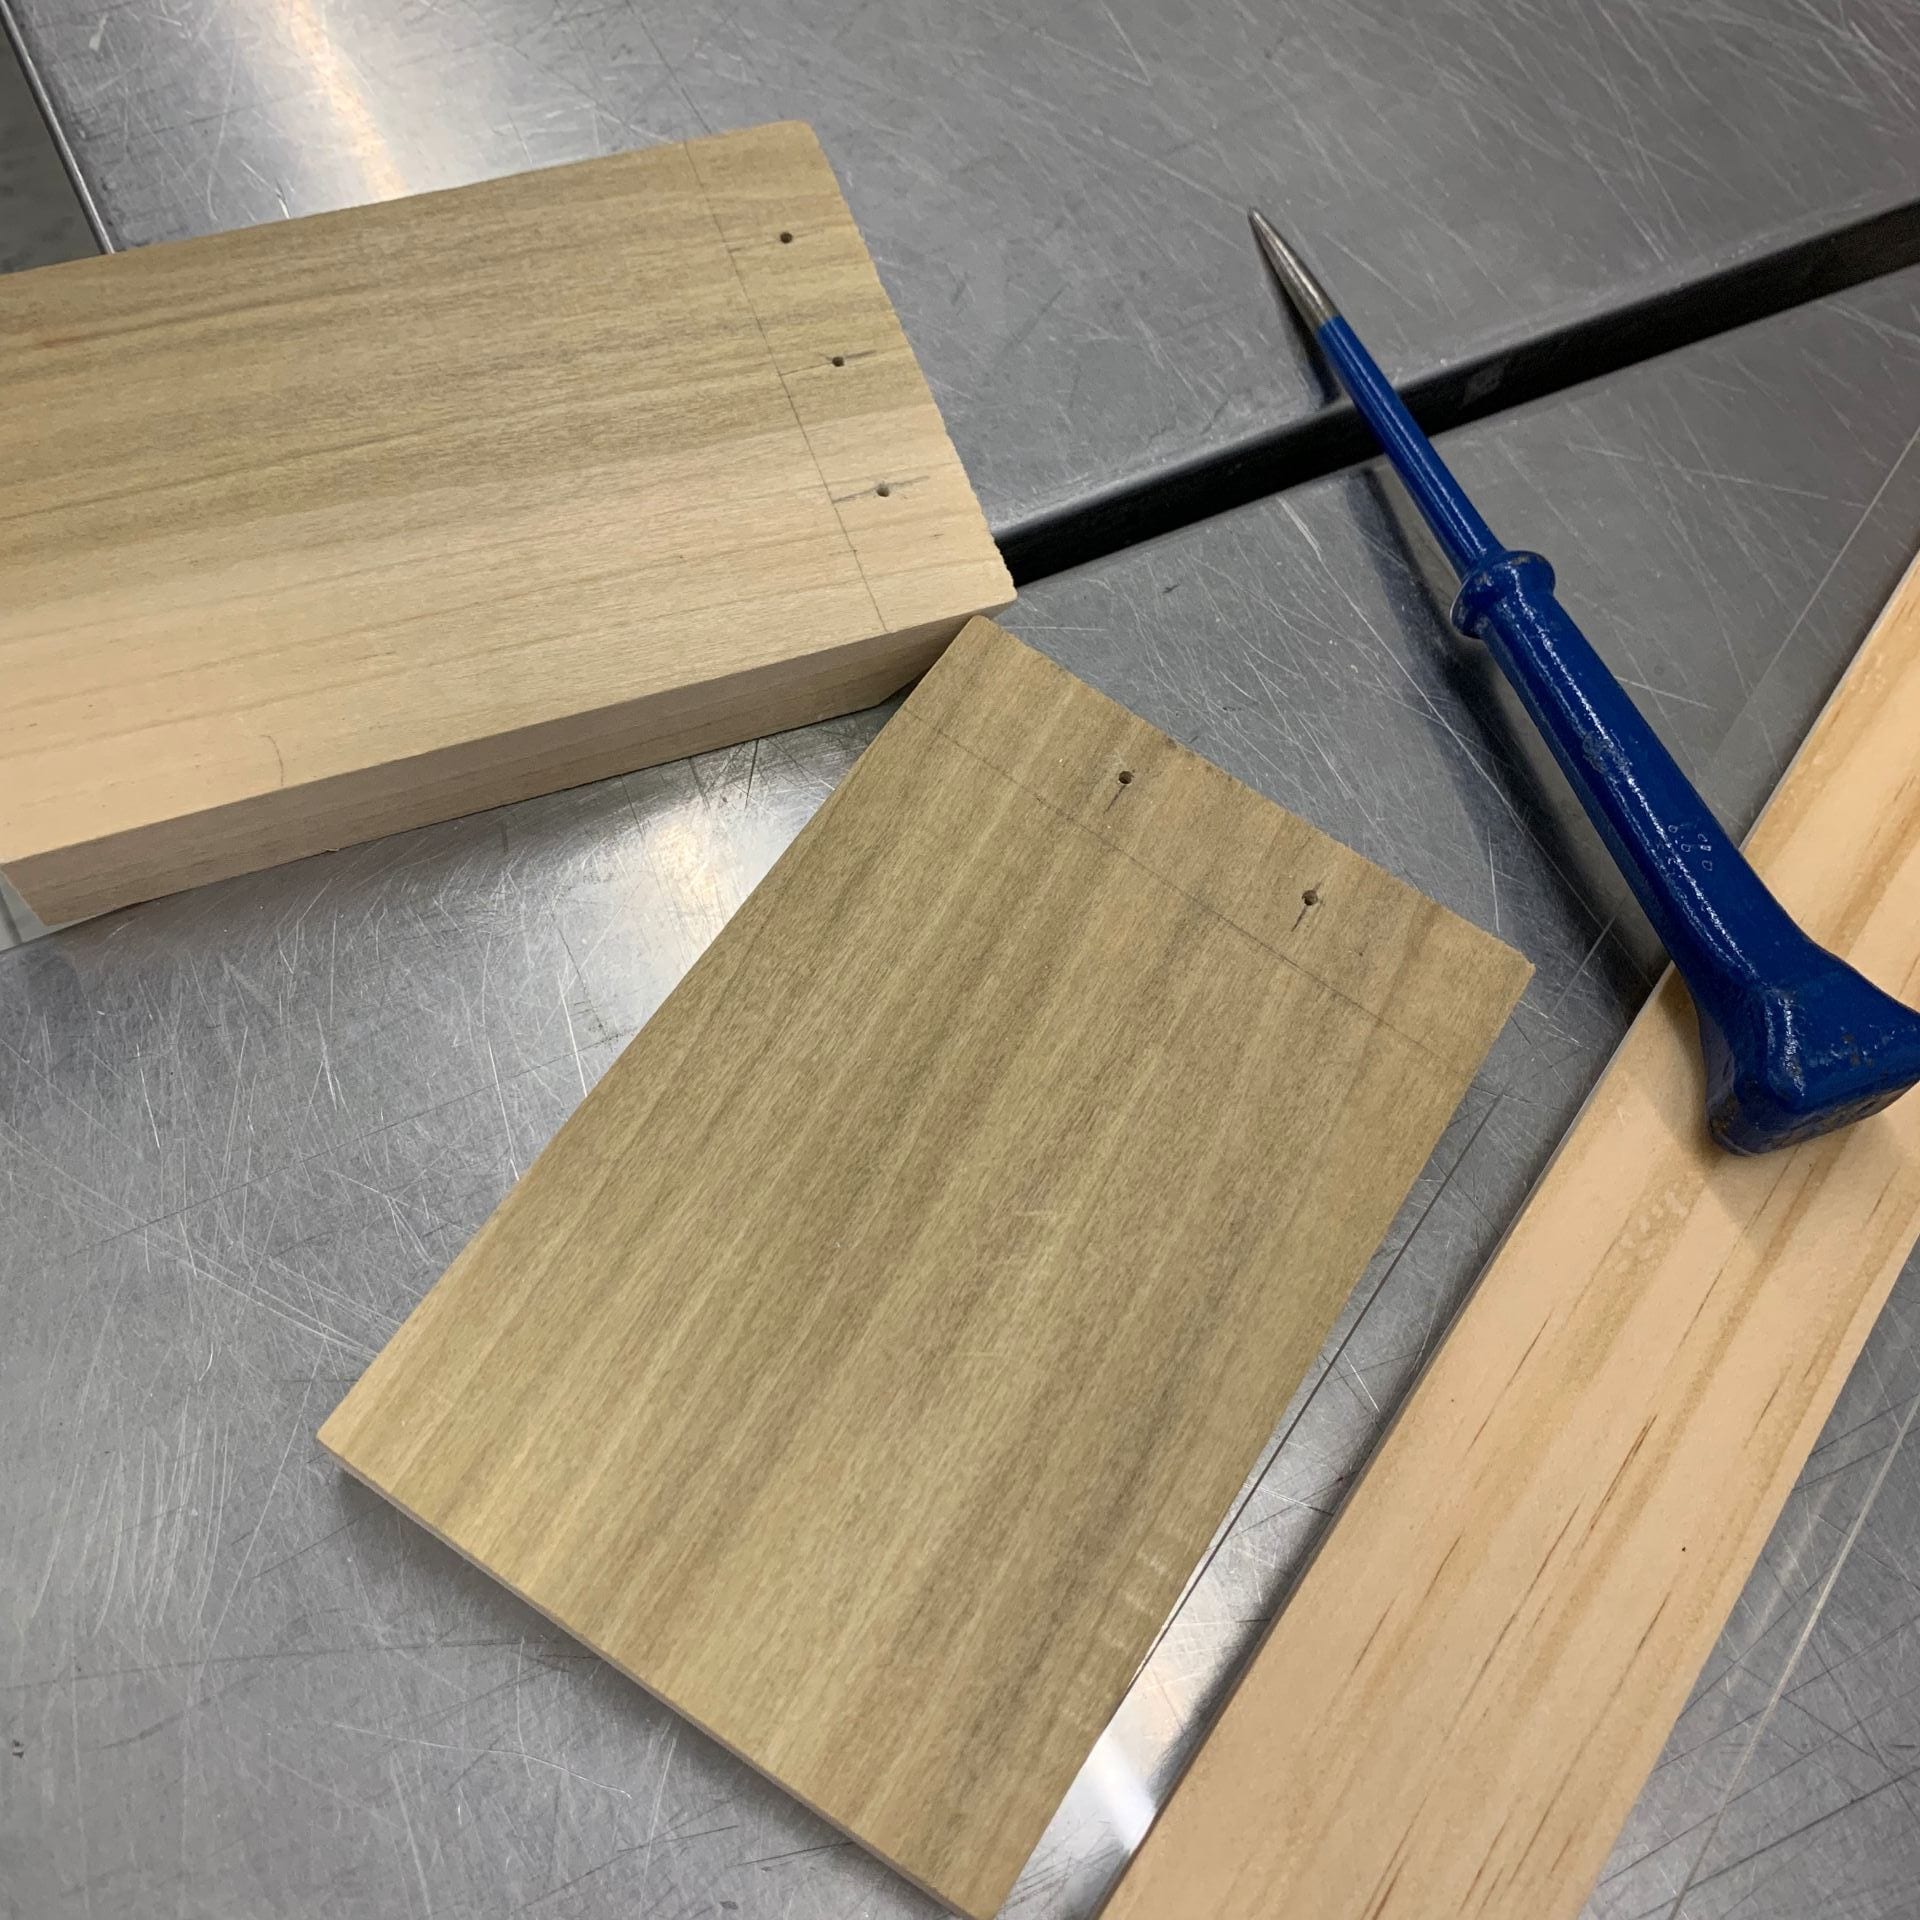
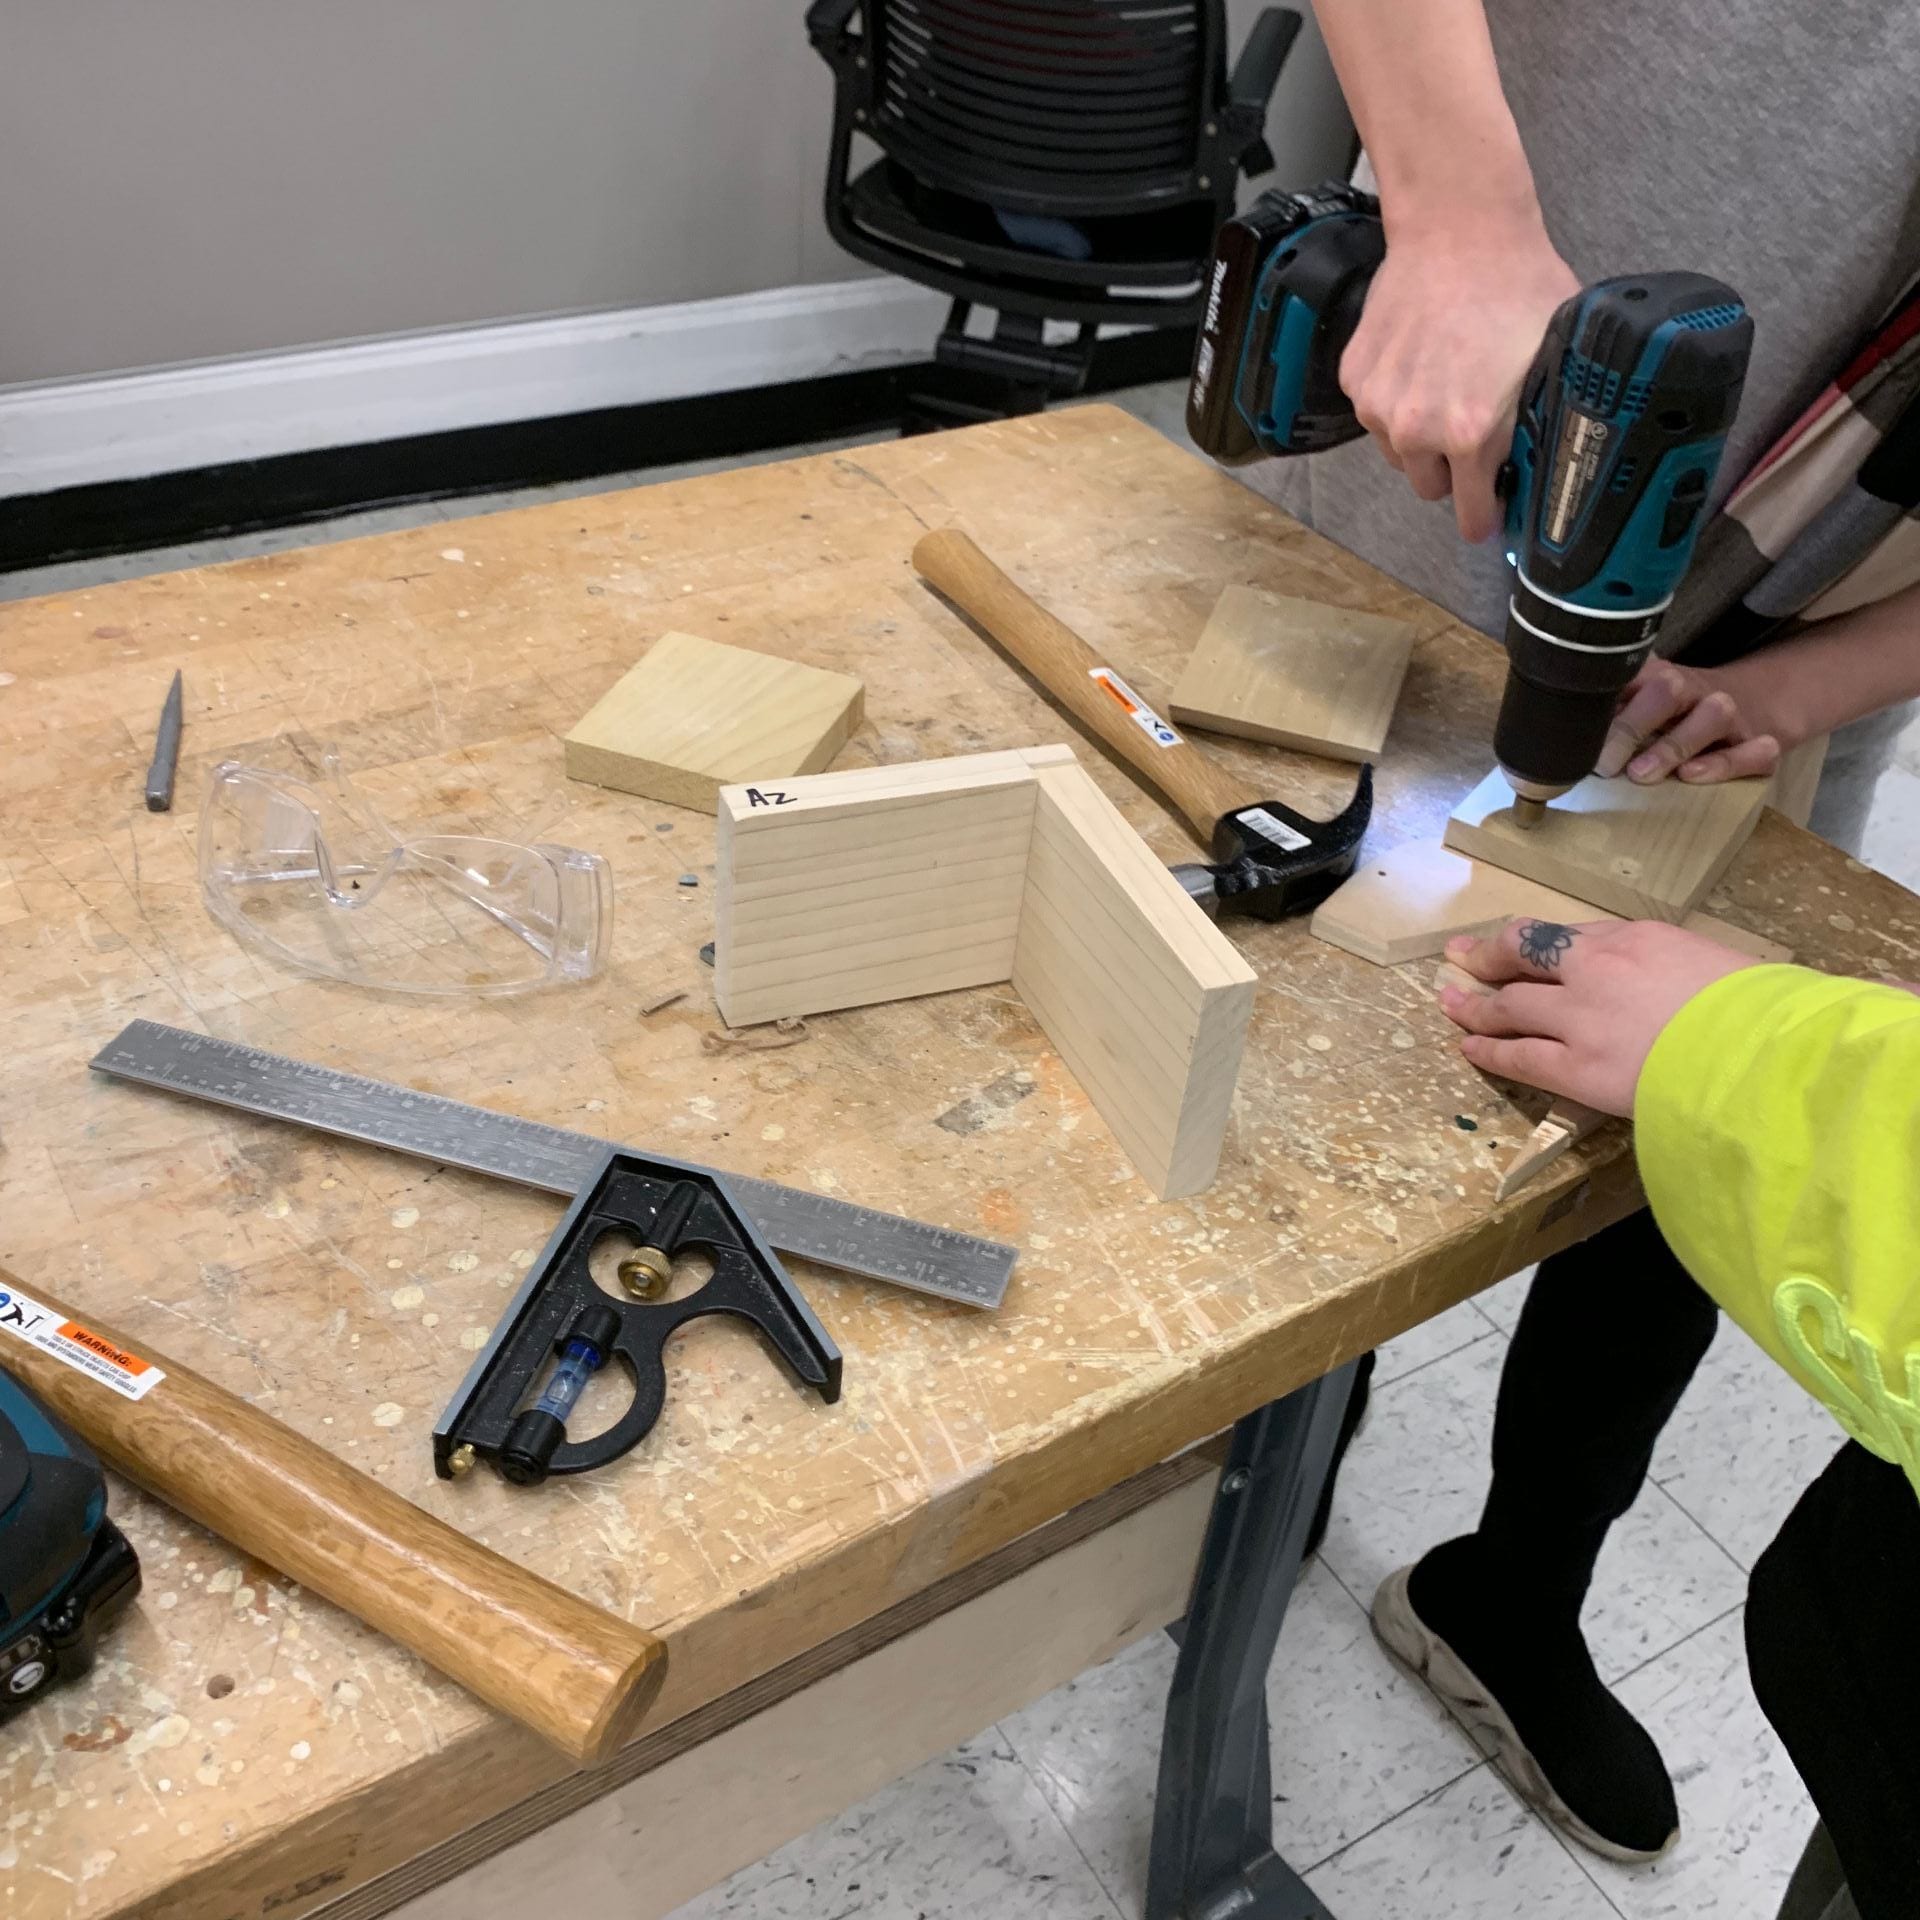
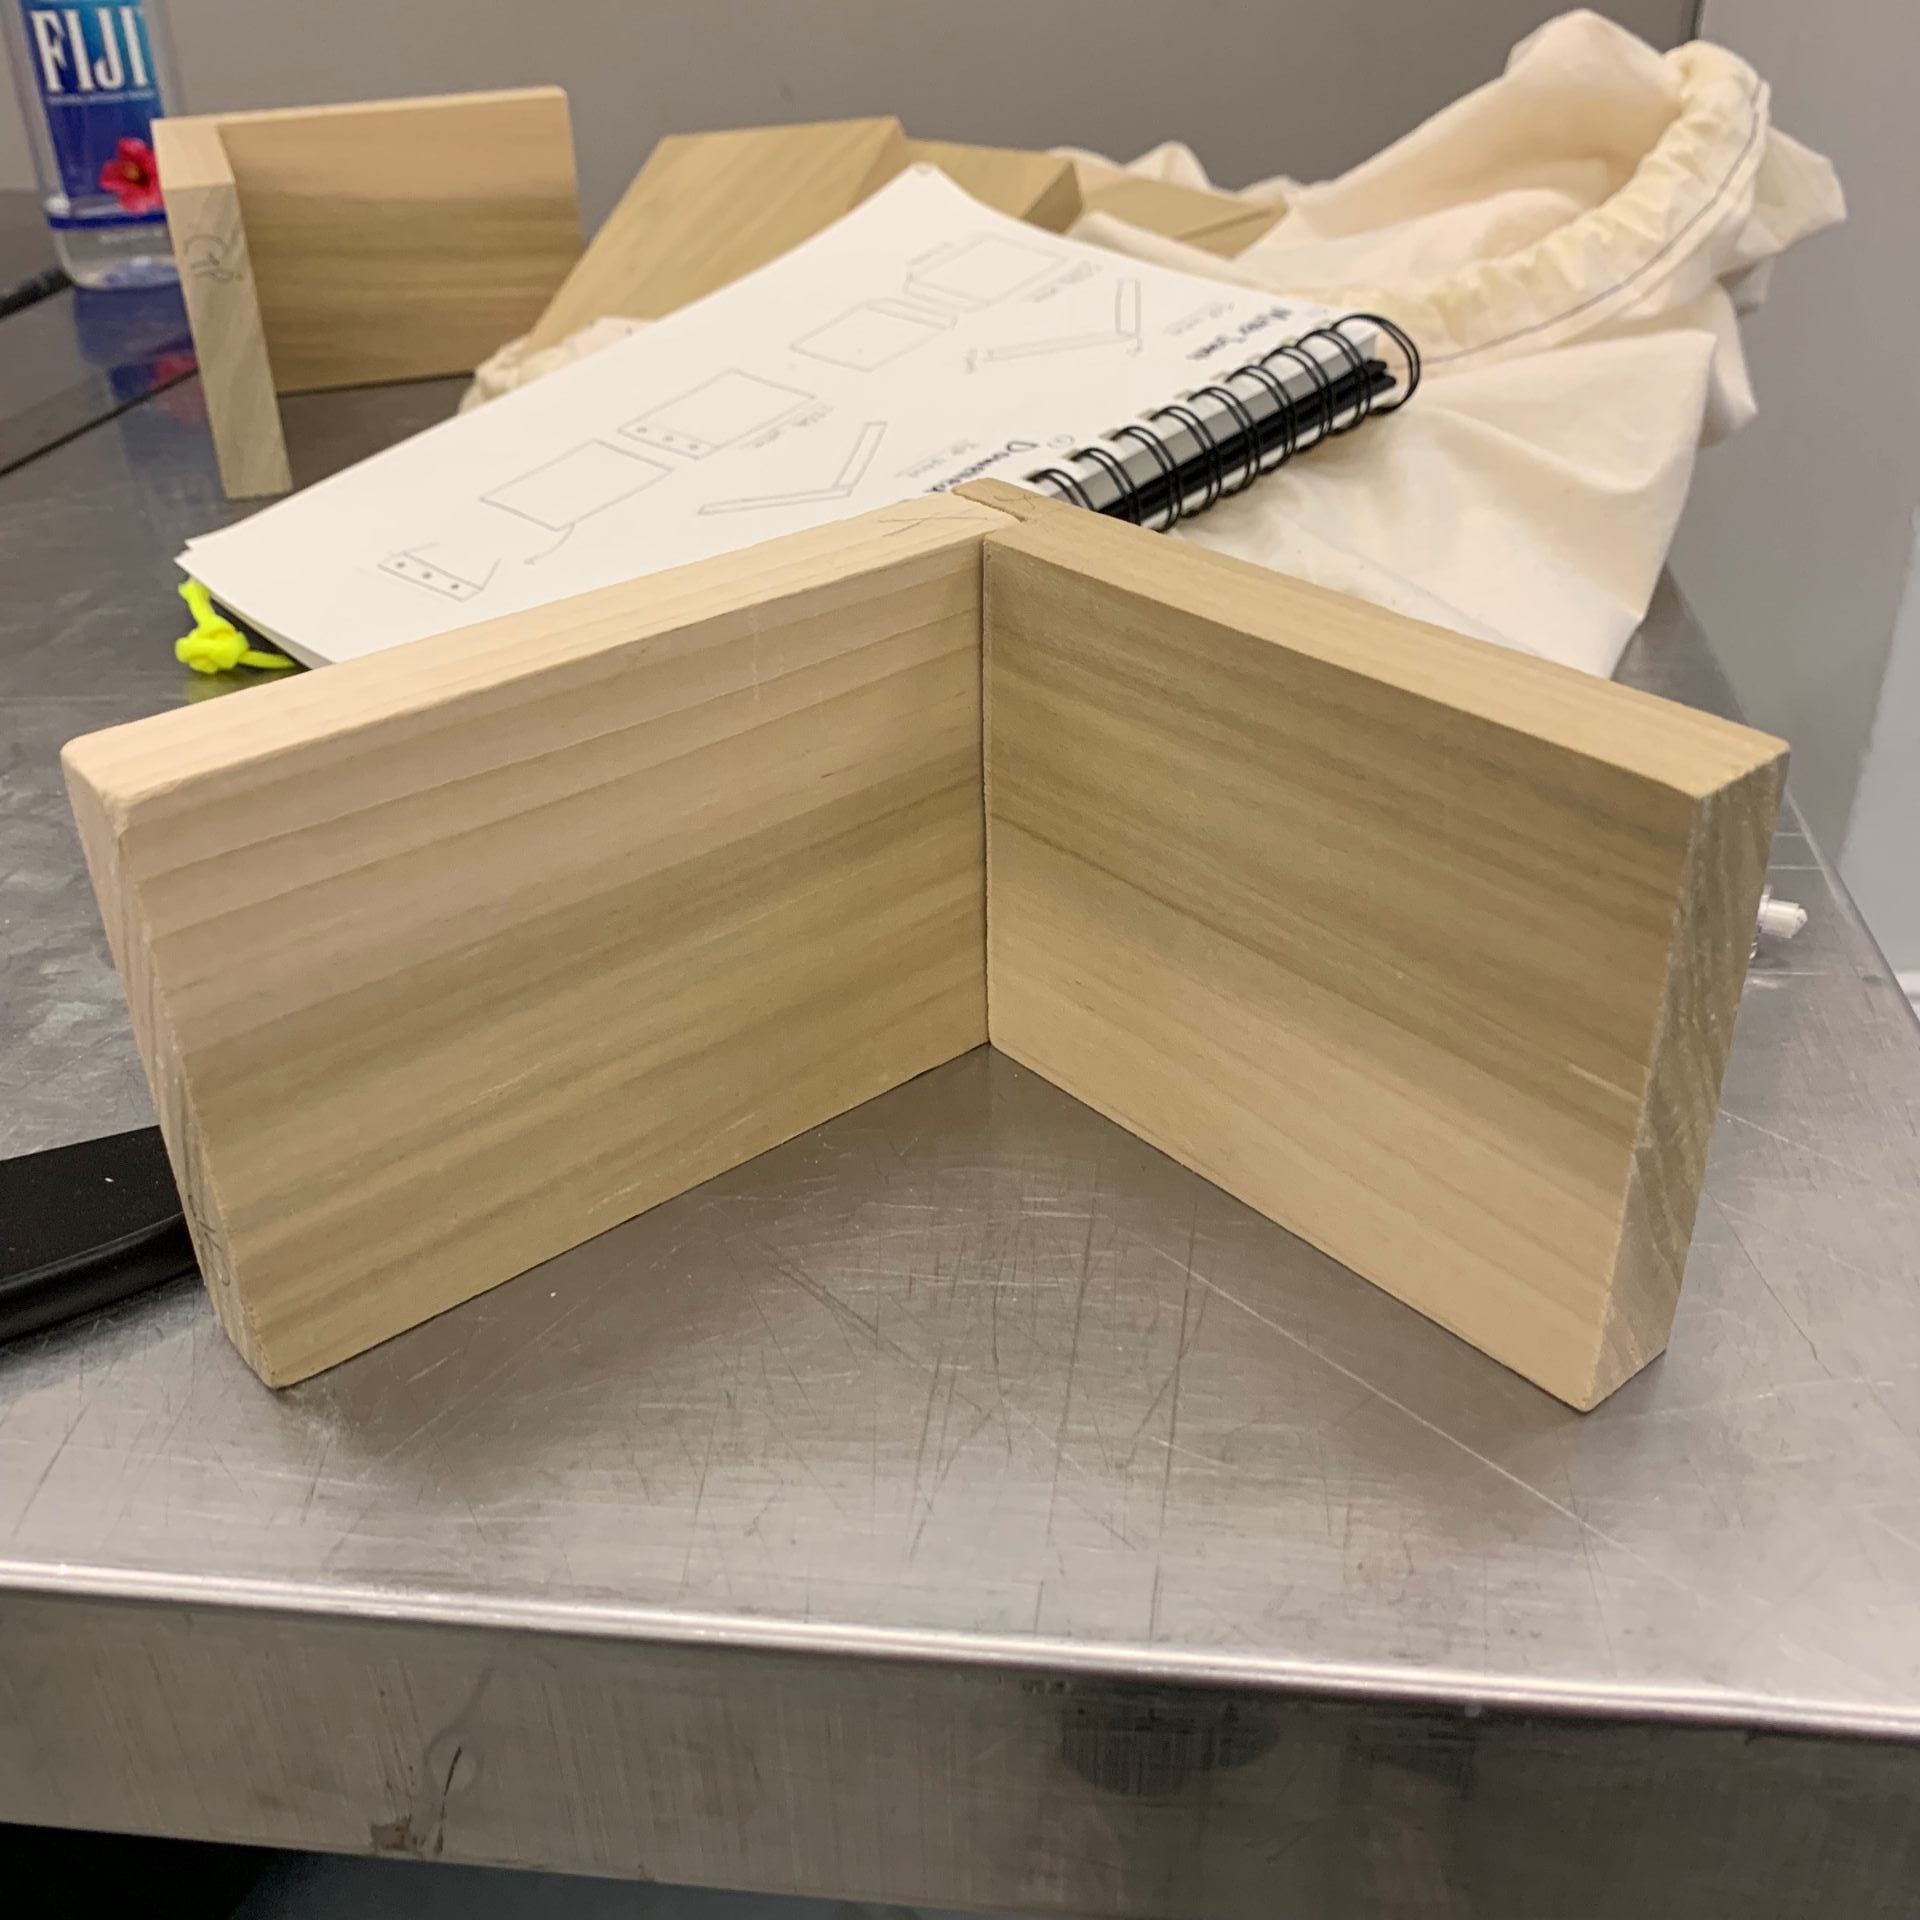
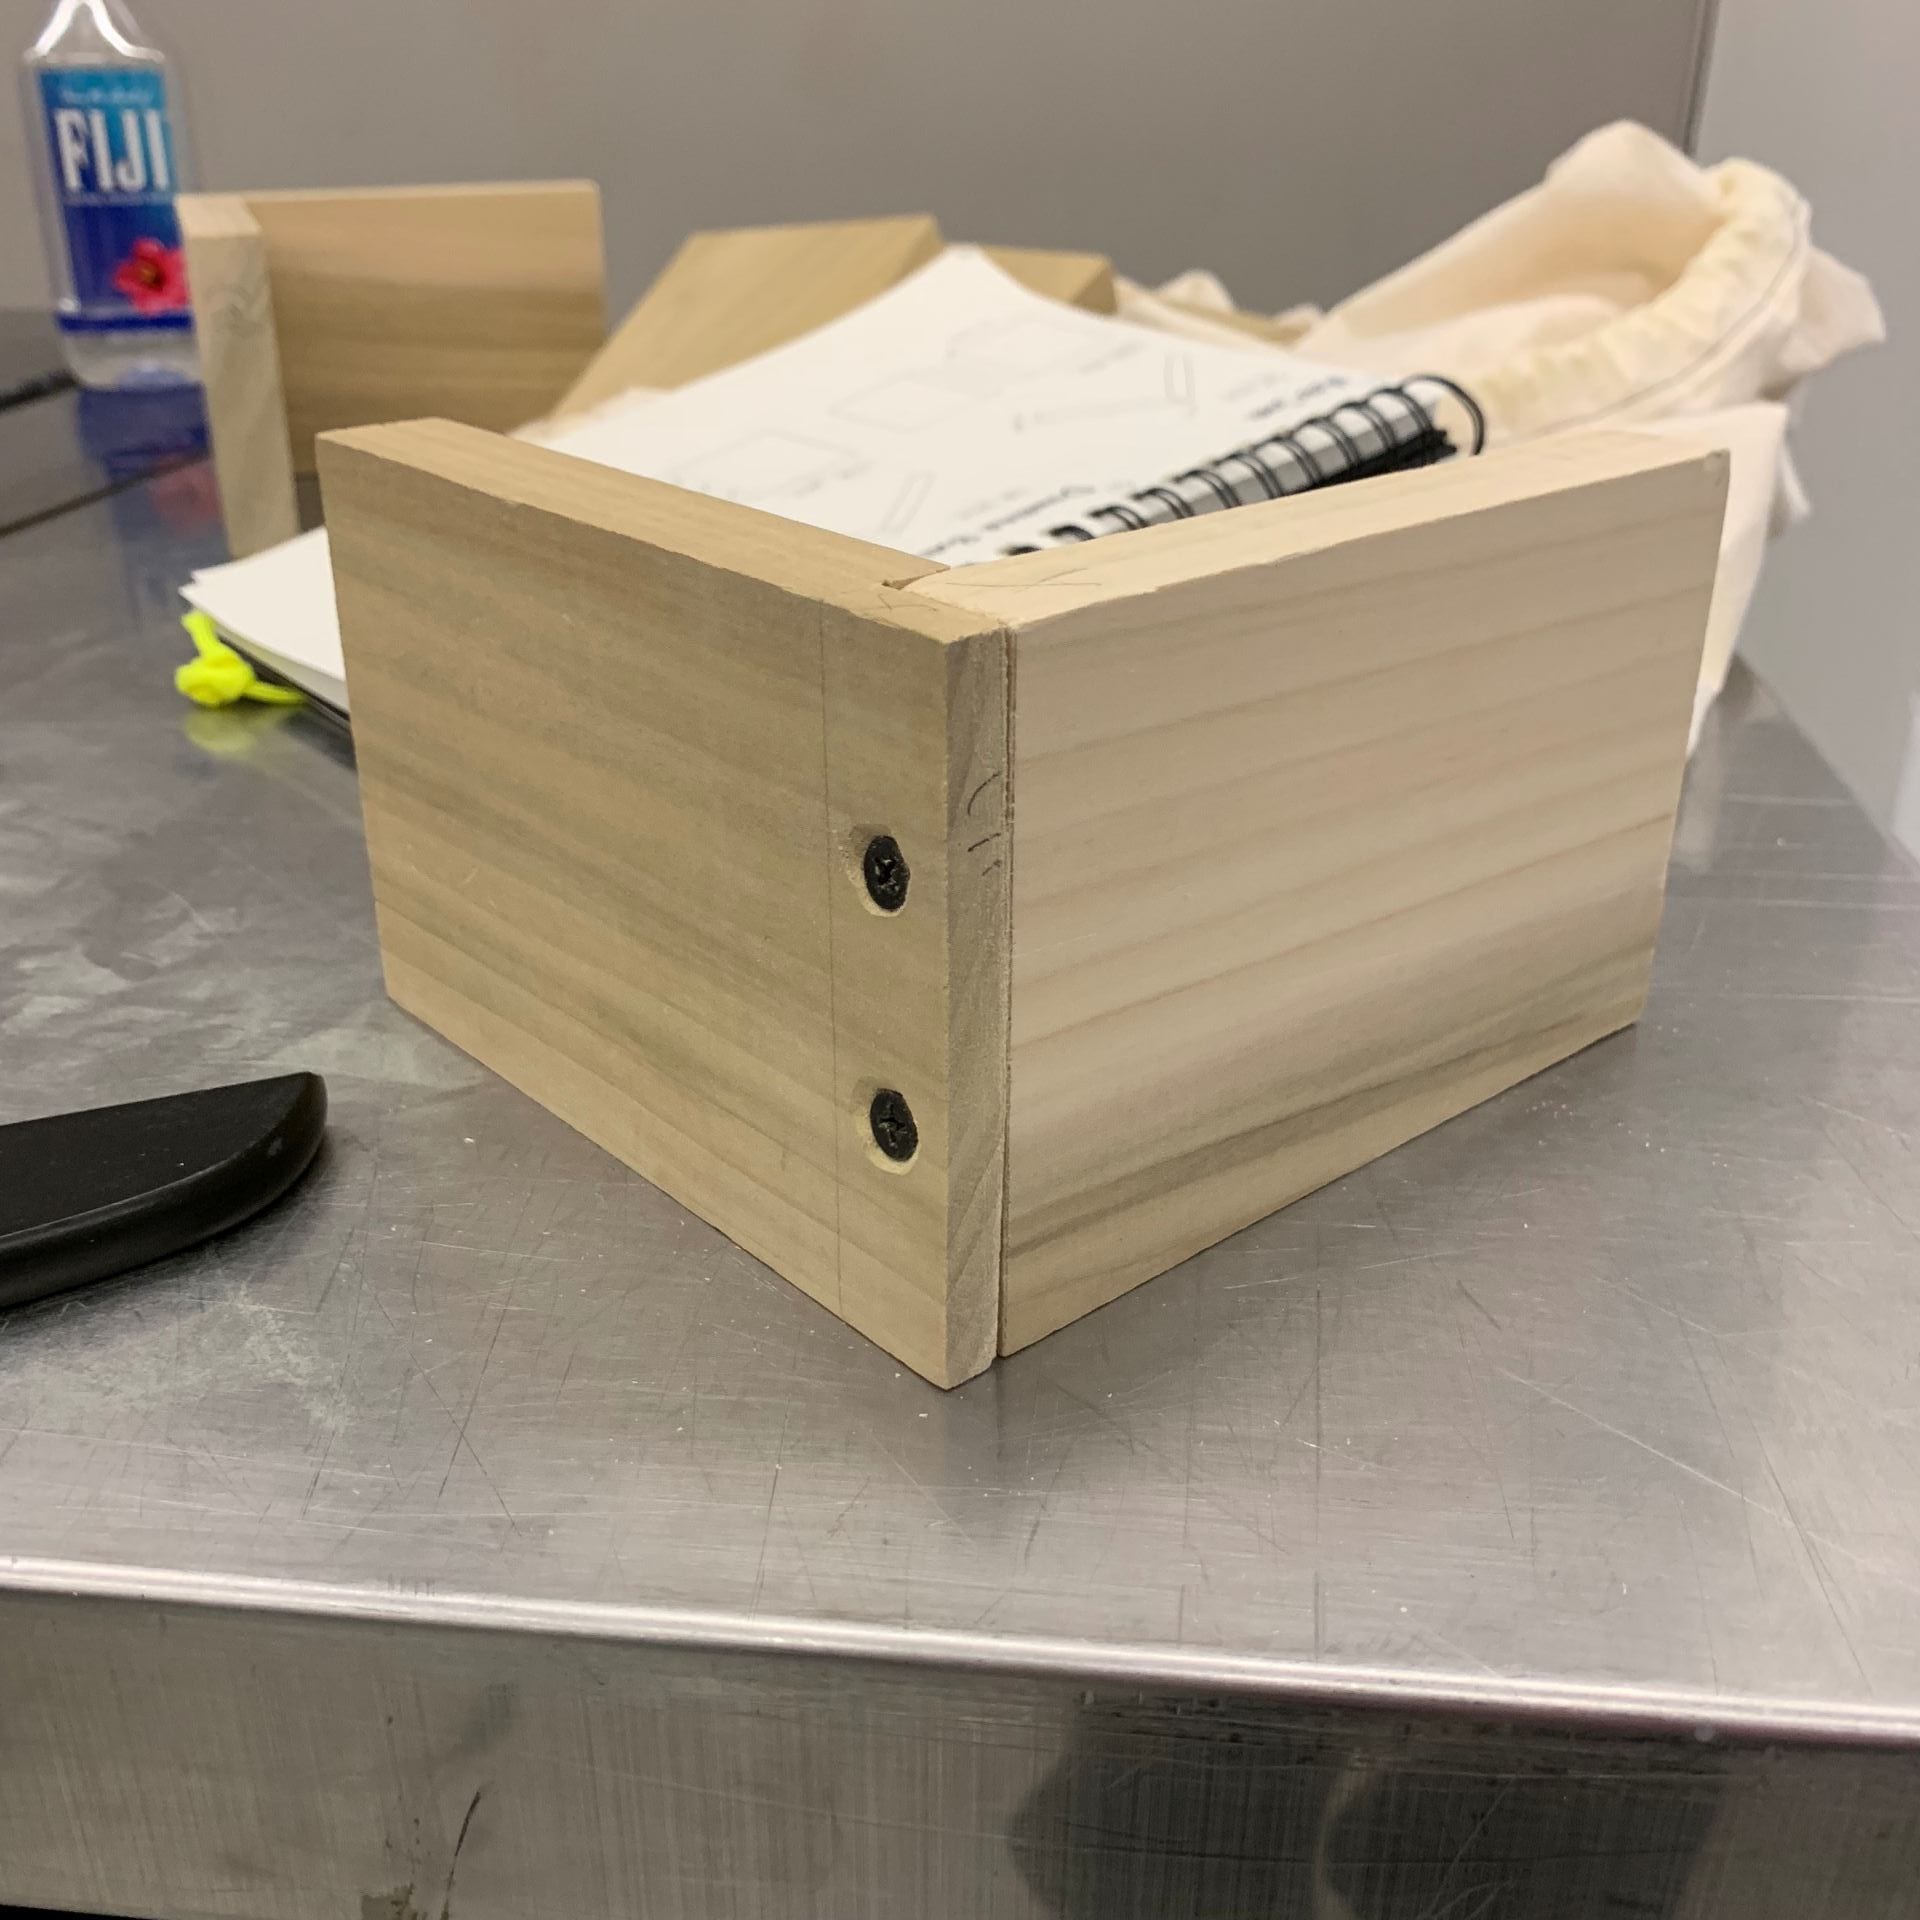
2. Dowelled Butt Joint
For dowelled butt joint, we had to purchase three 1″ dowels.
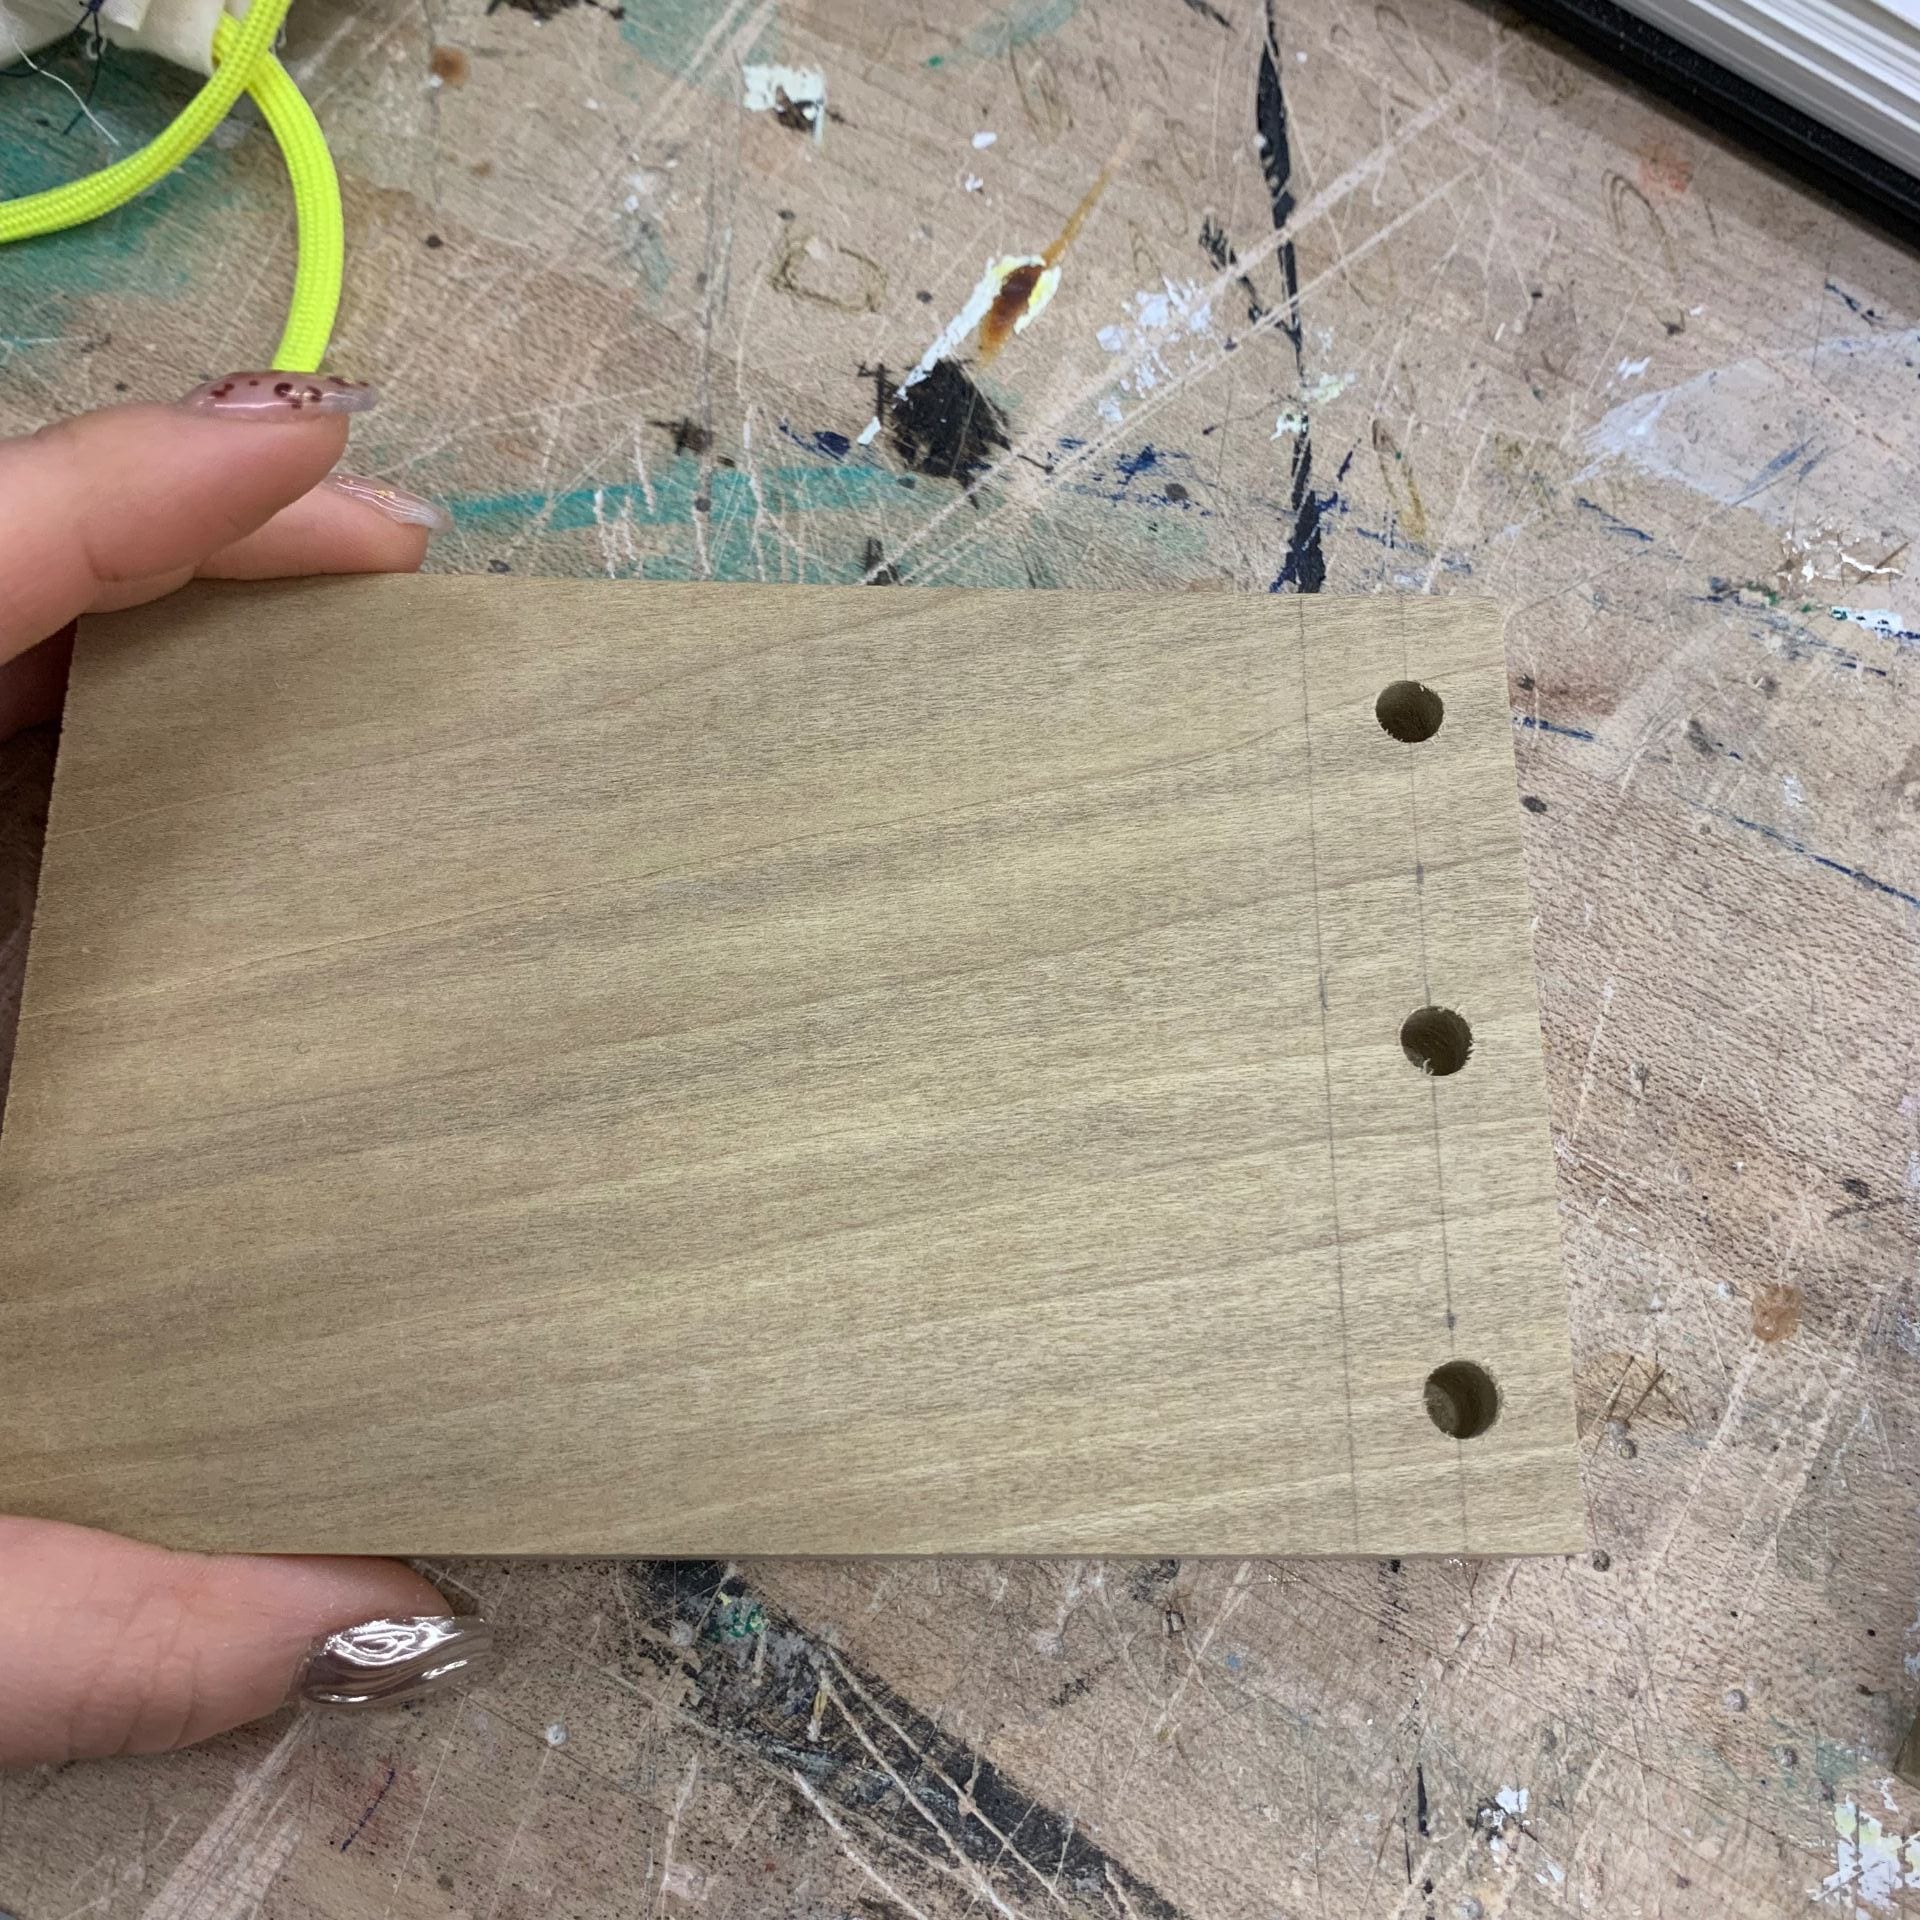
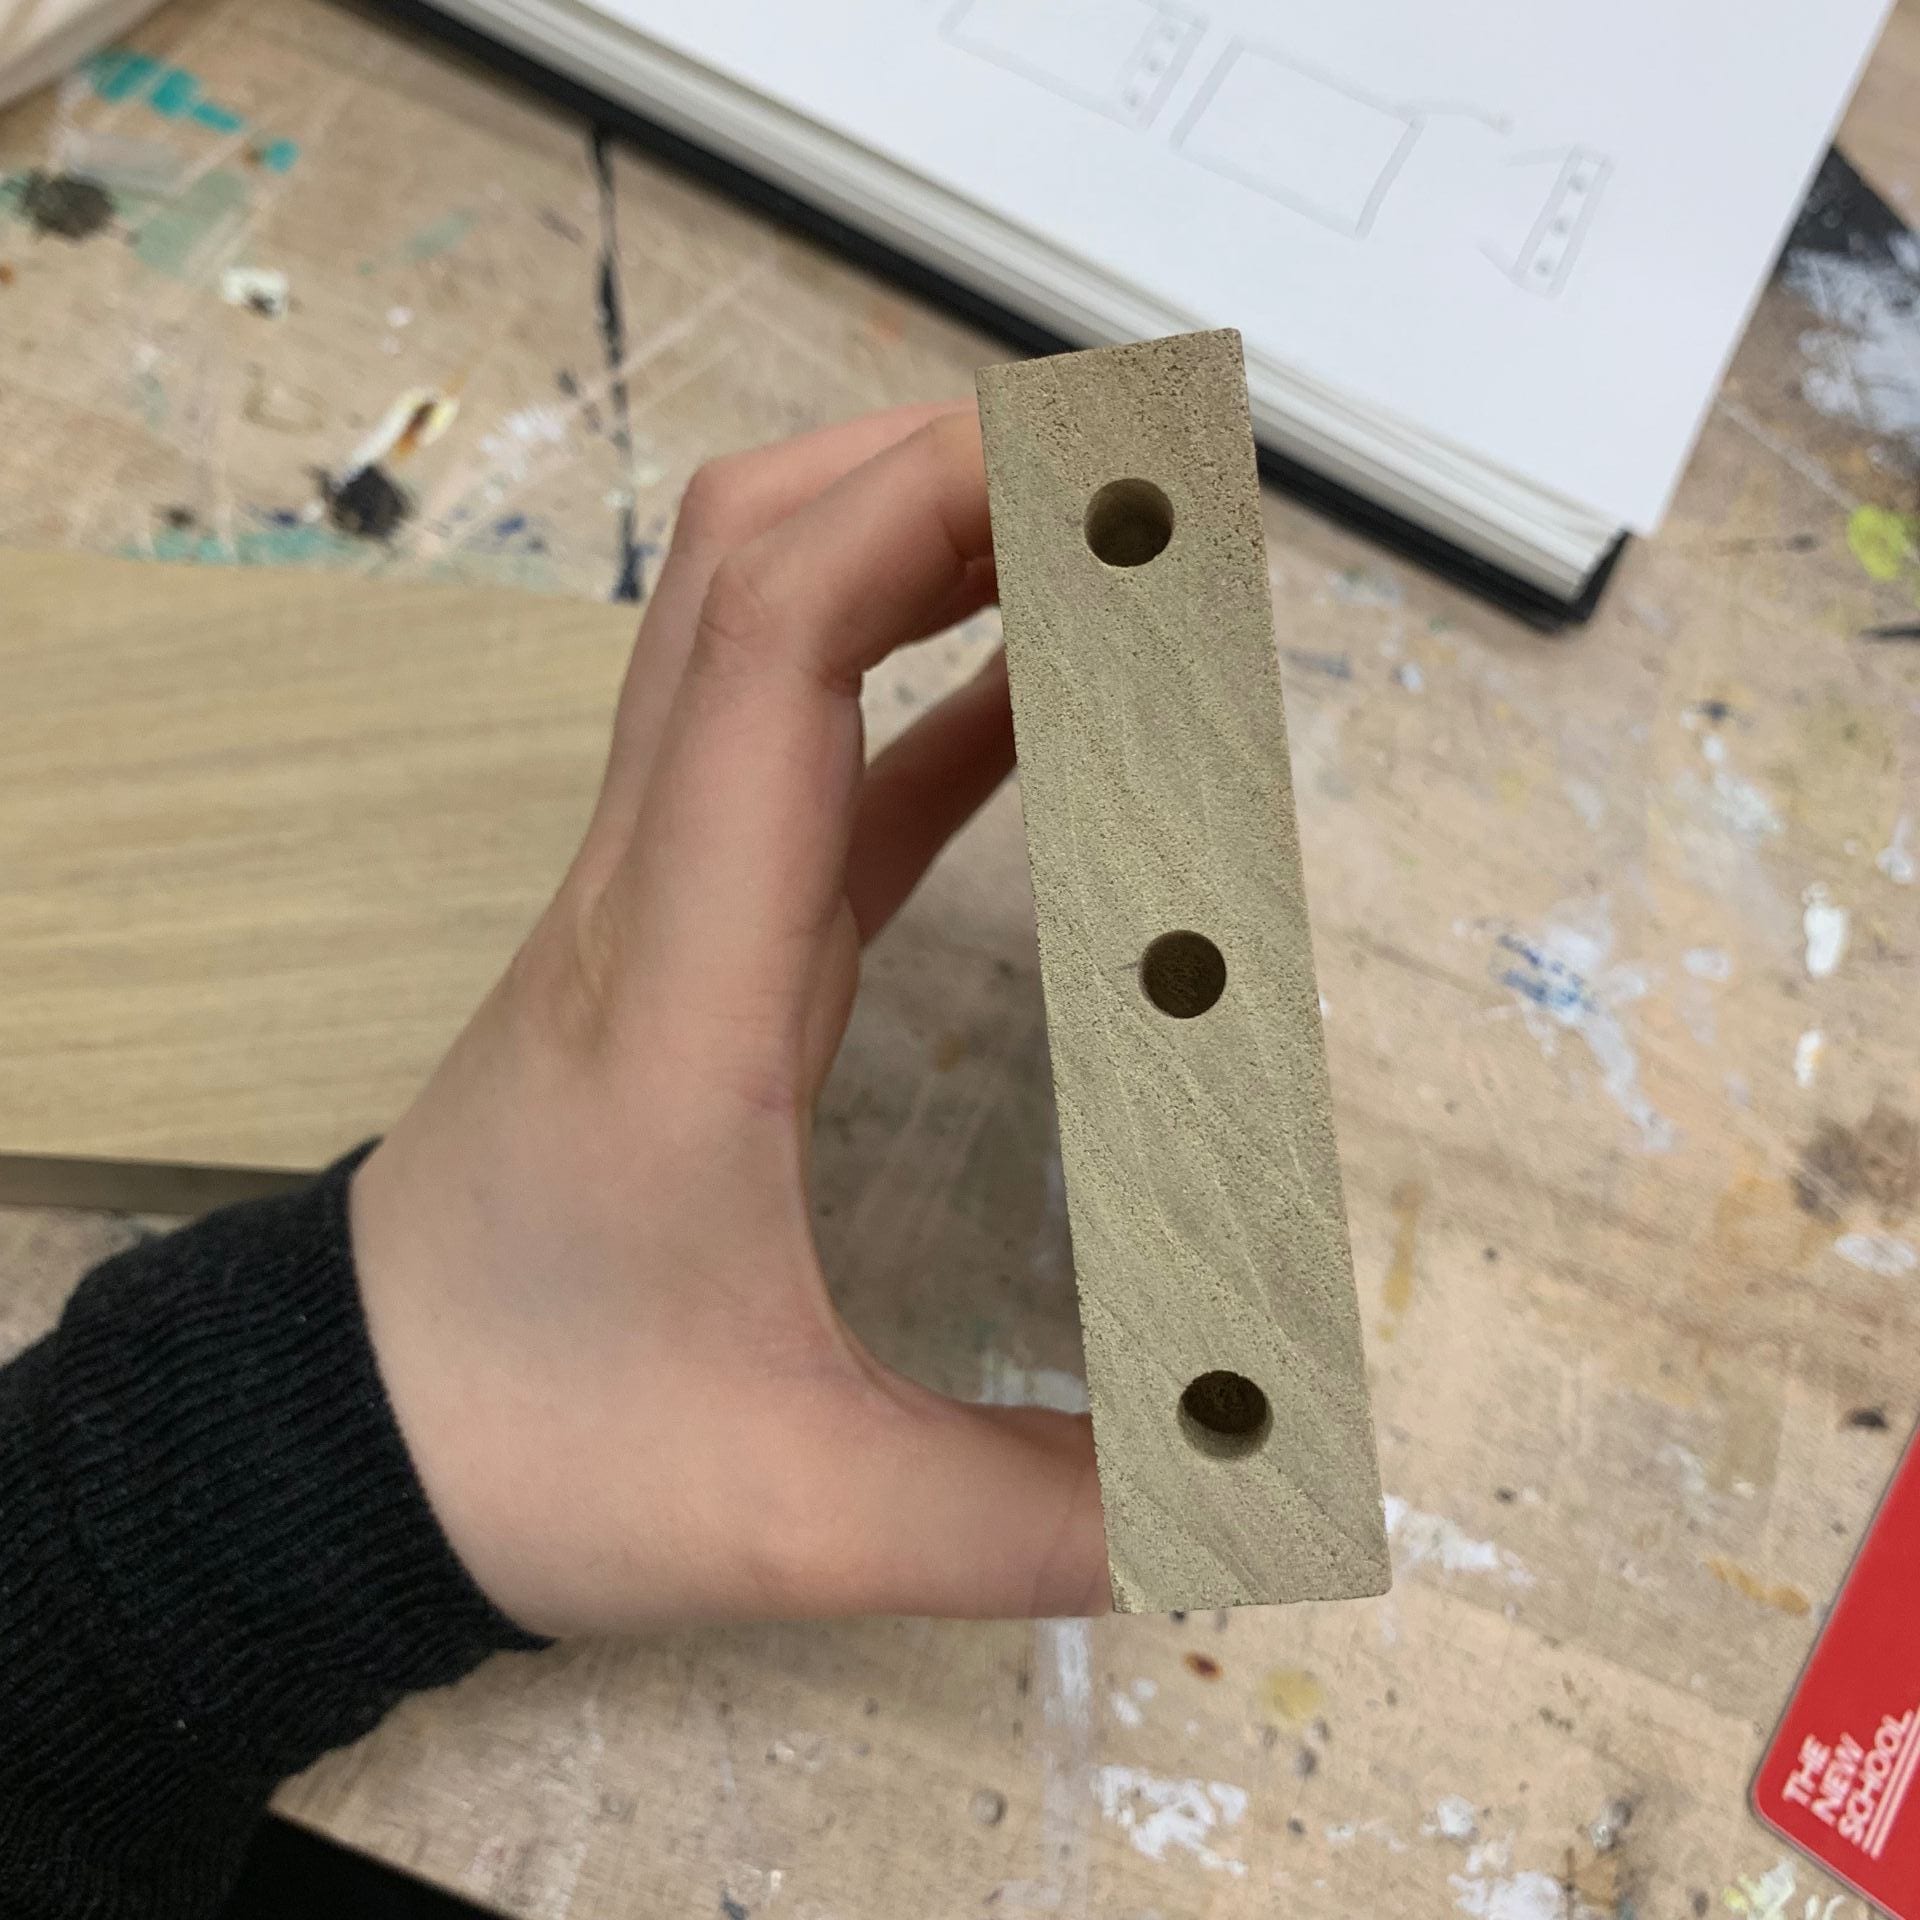
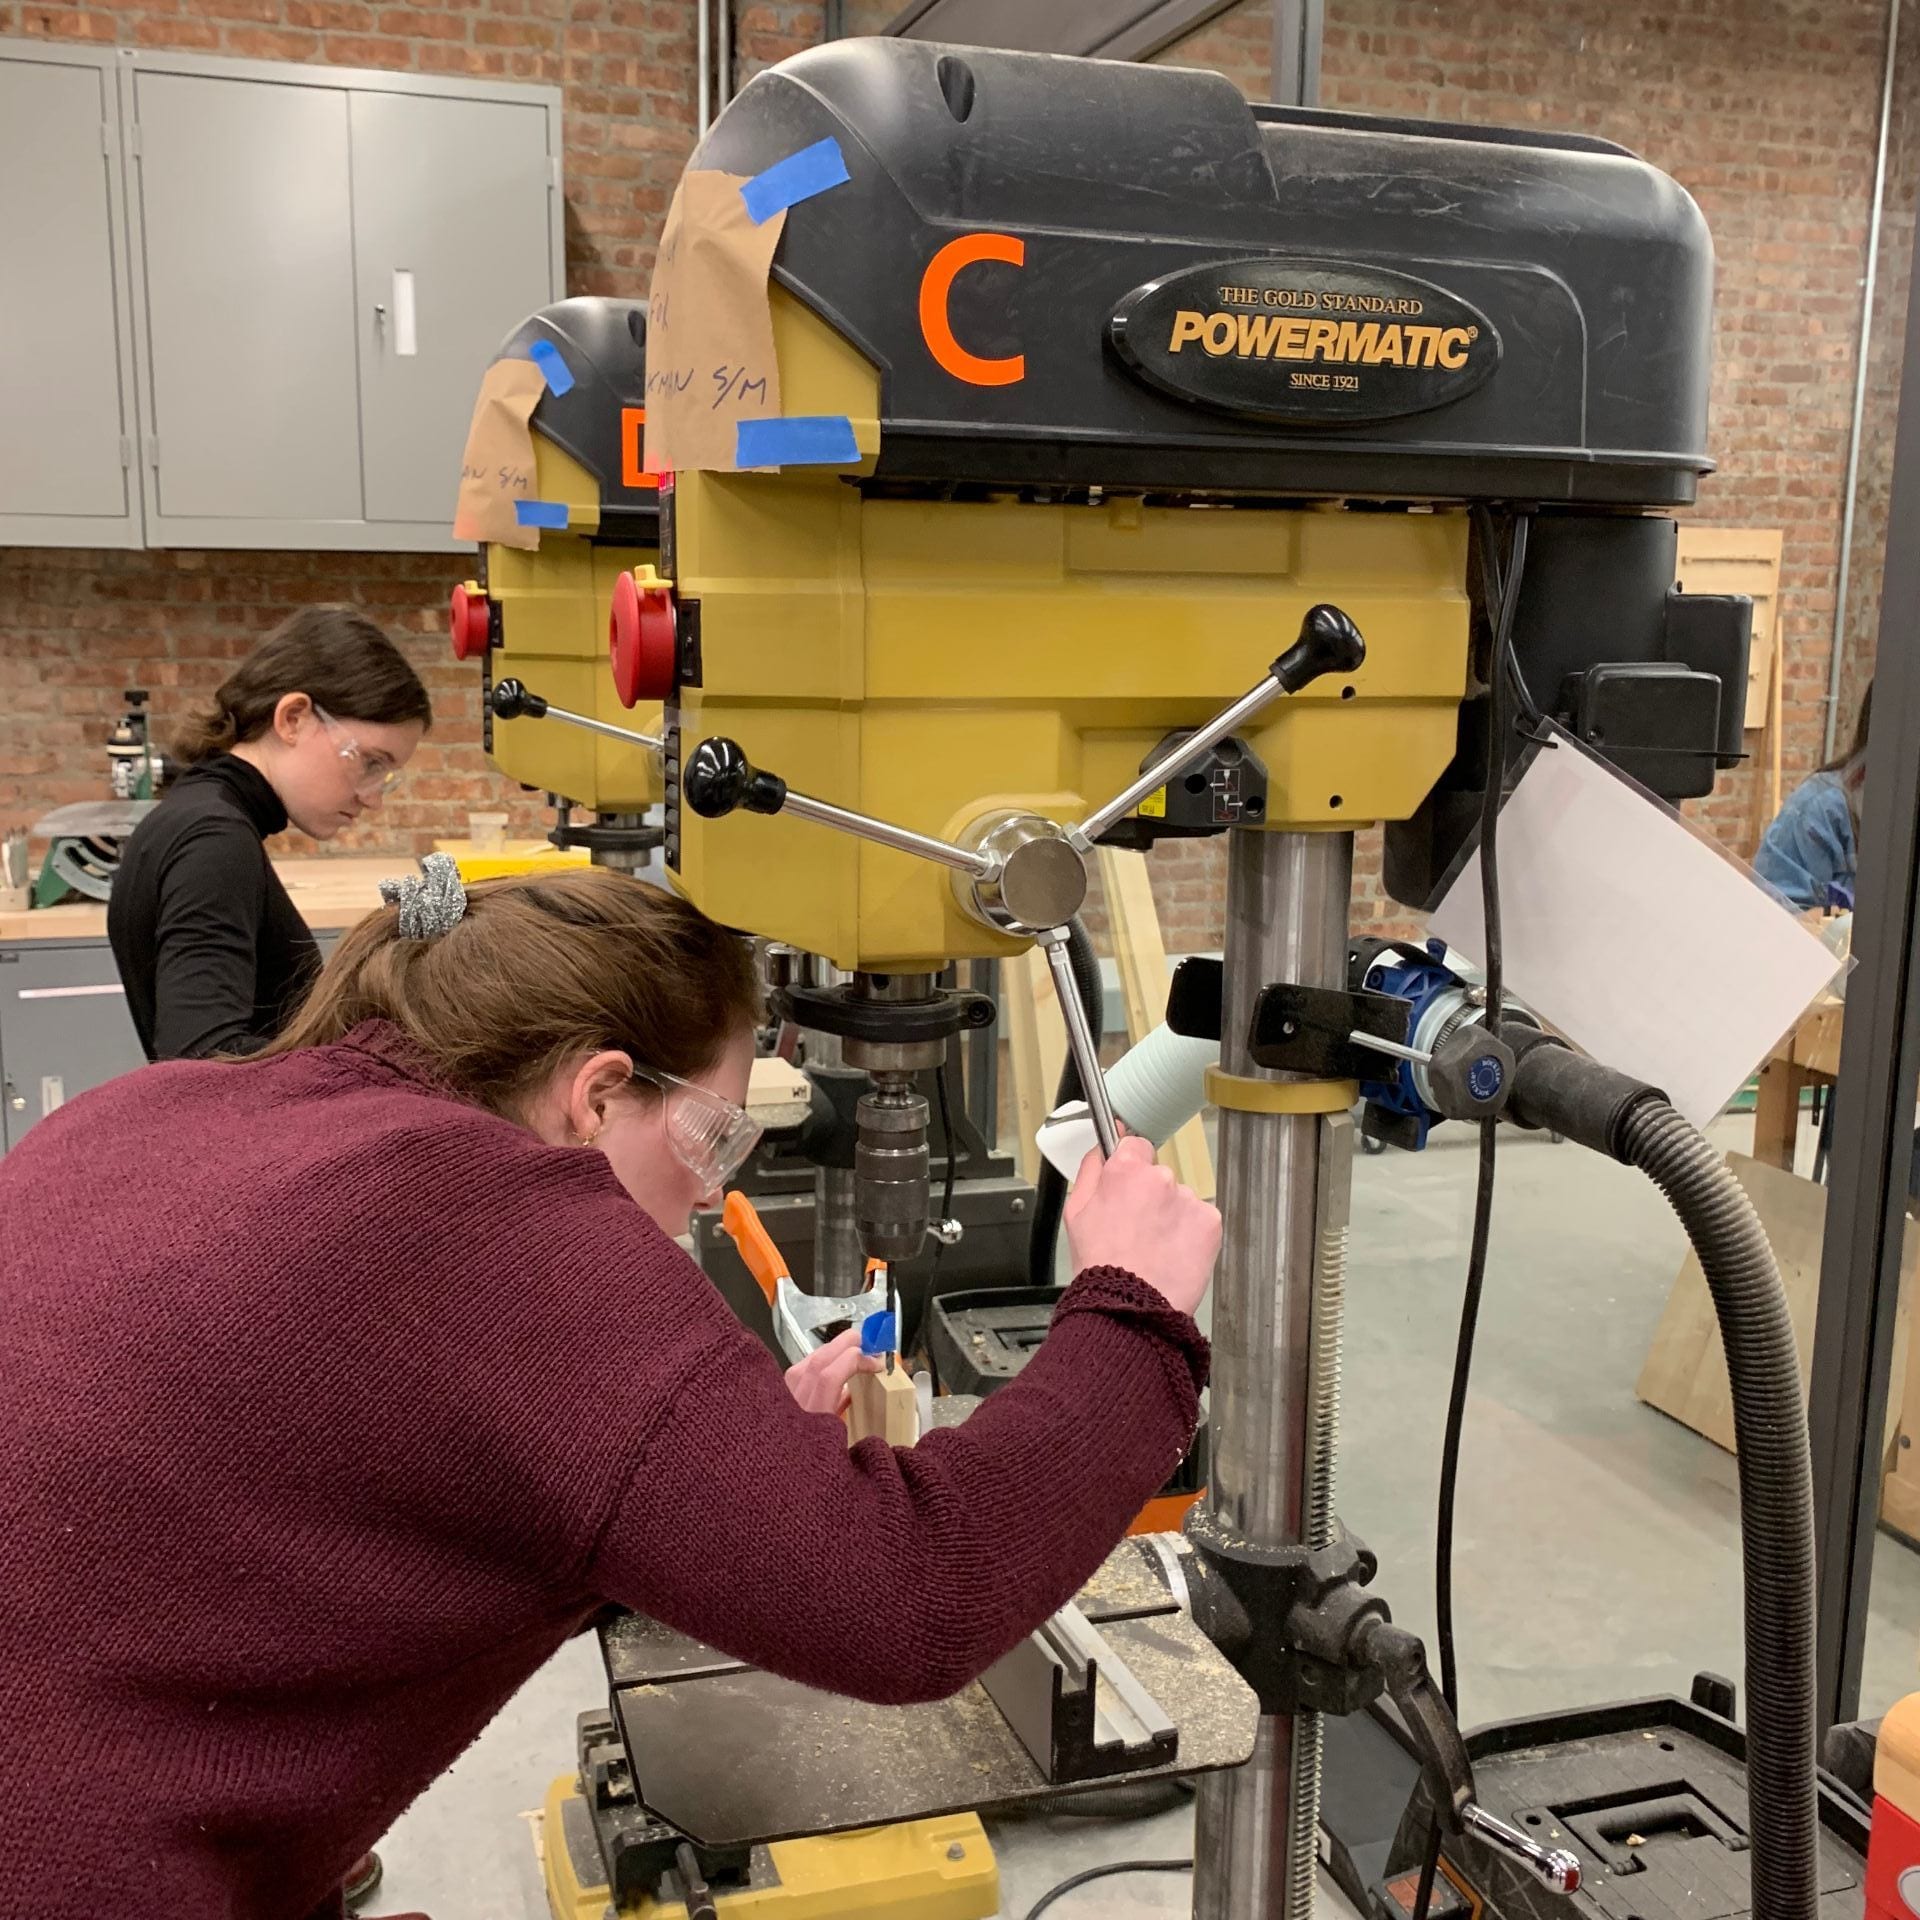
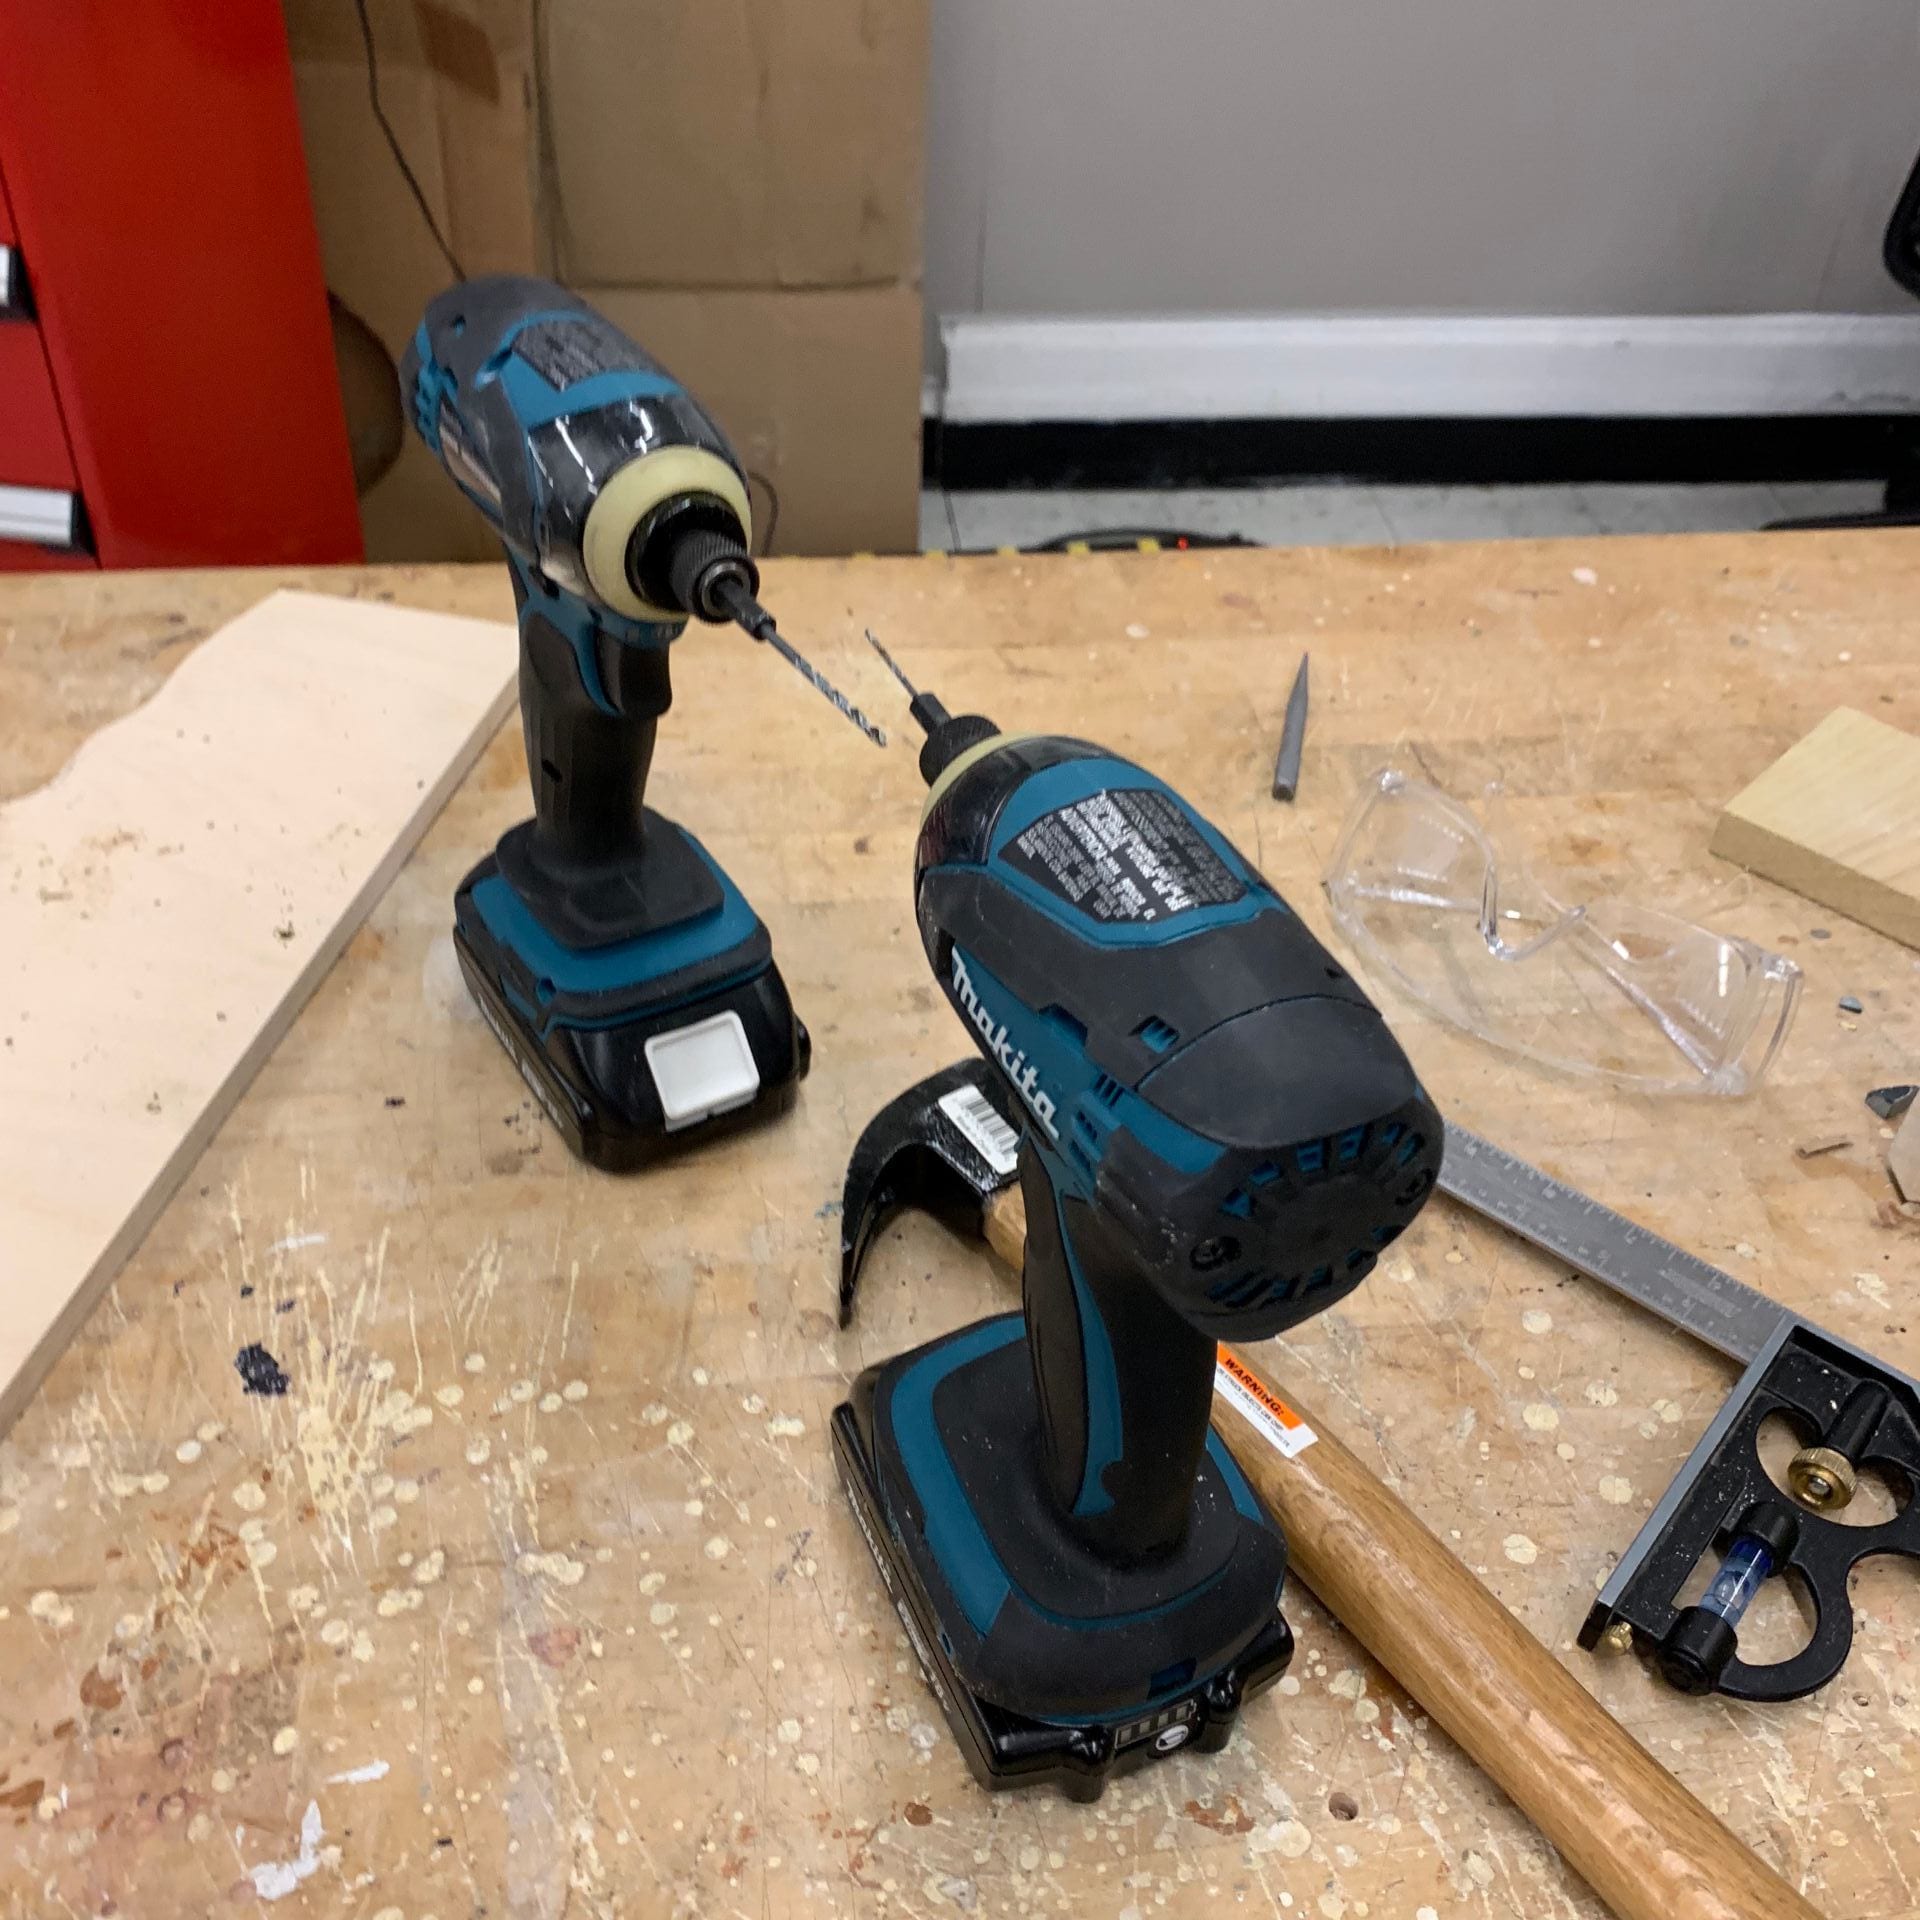
I first measured the wood and marked three points on one side. Then, the professor helped marking three points on another side that it can perfectly fit together. After making marks on the wood, I made three holes on each side by using a drill press. By putting dowels into the holes, it perfectly made a joint piece.
Final Piece:
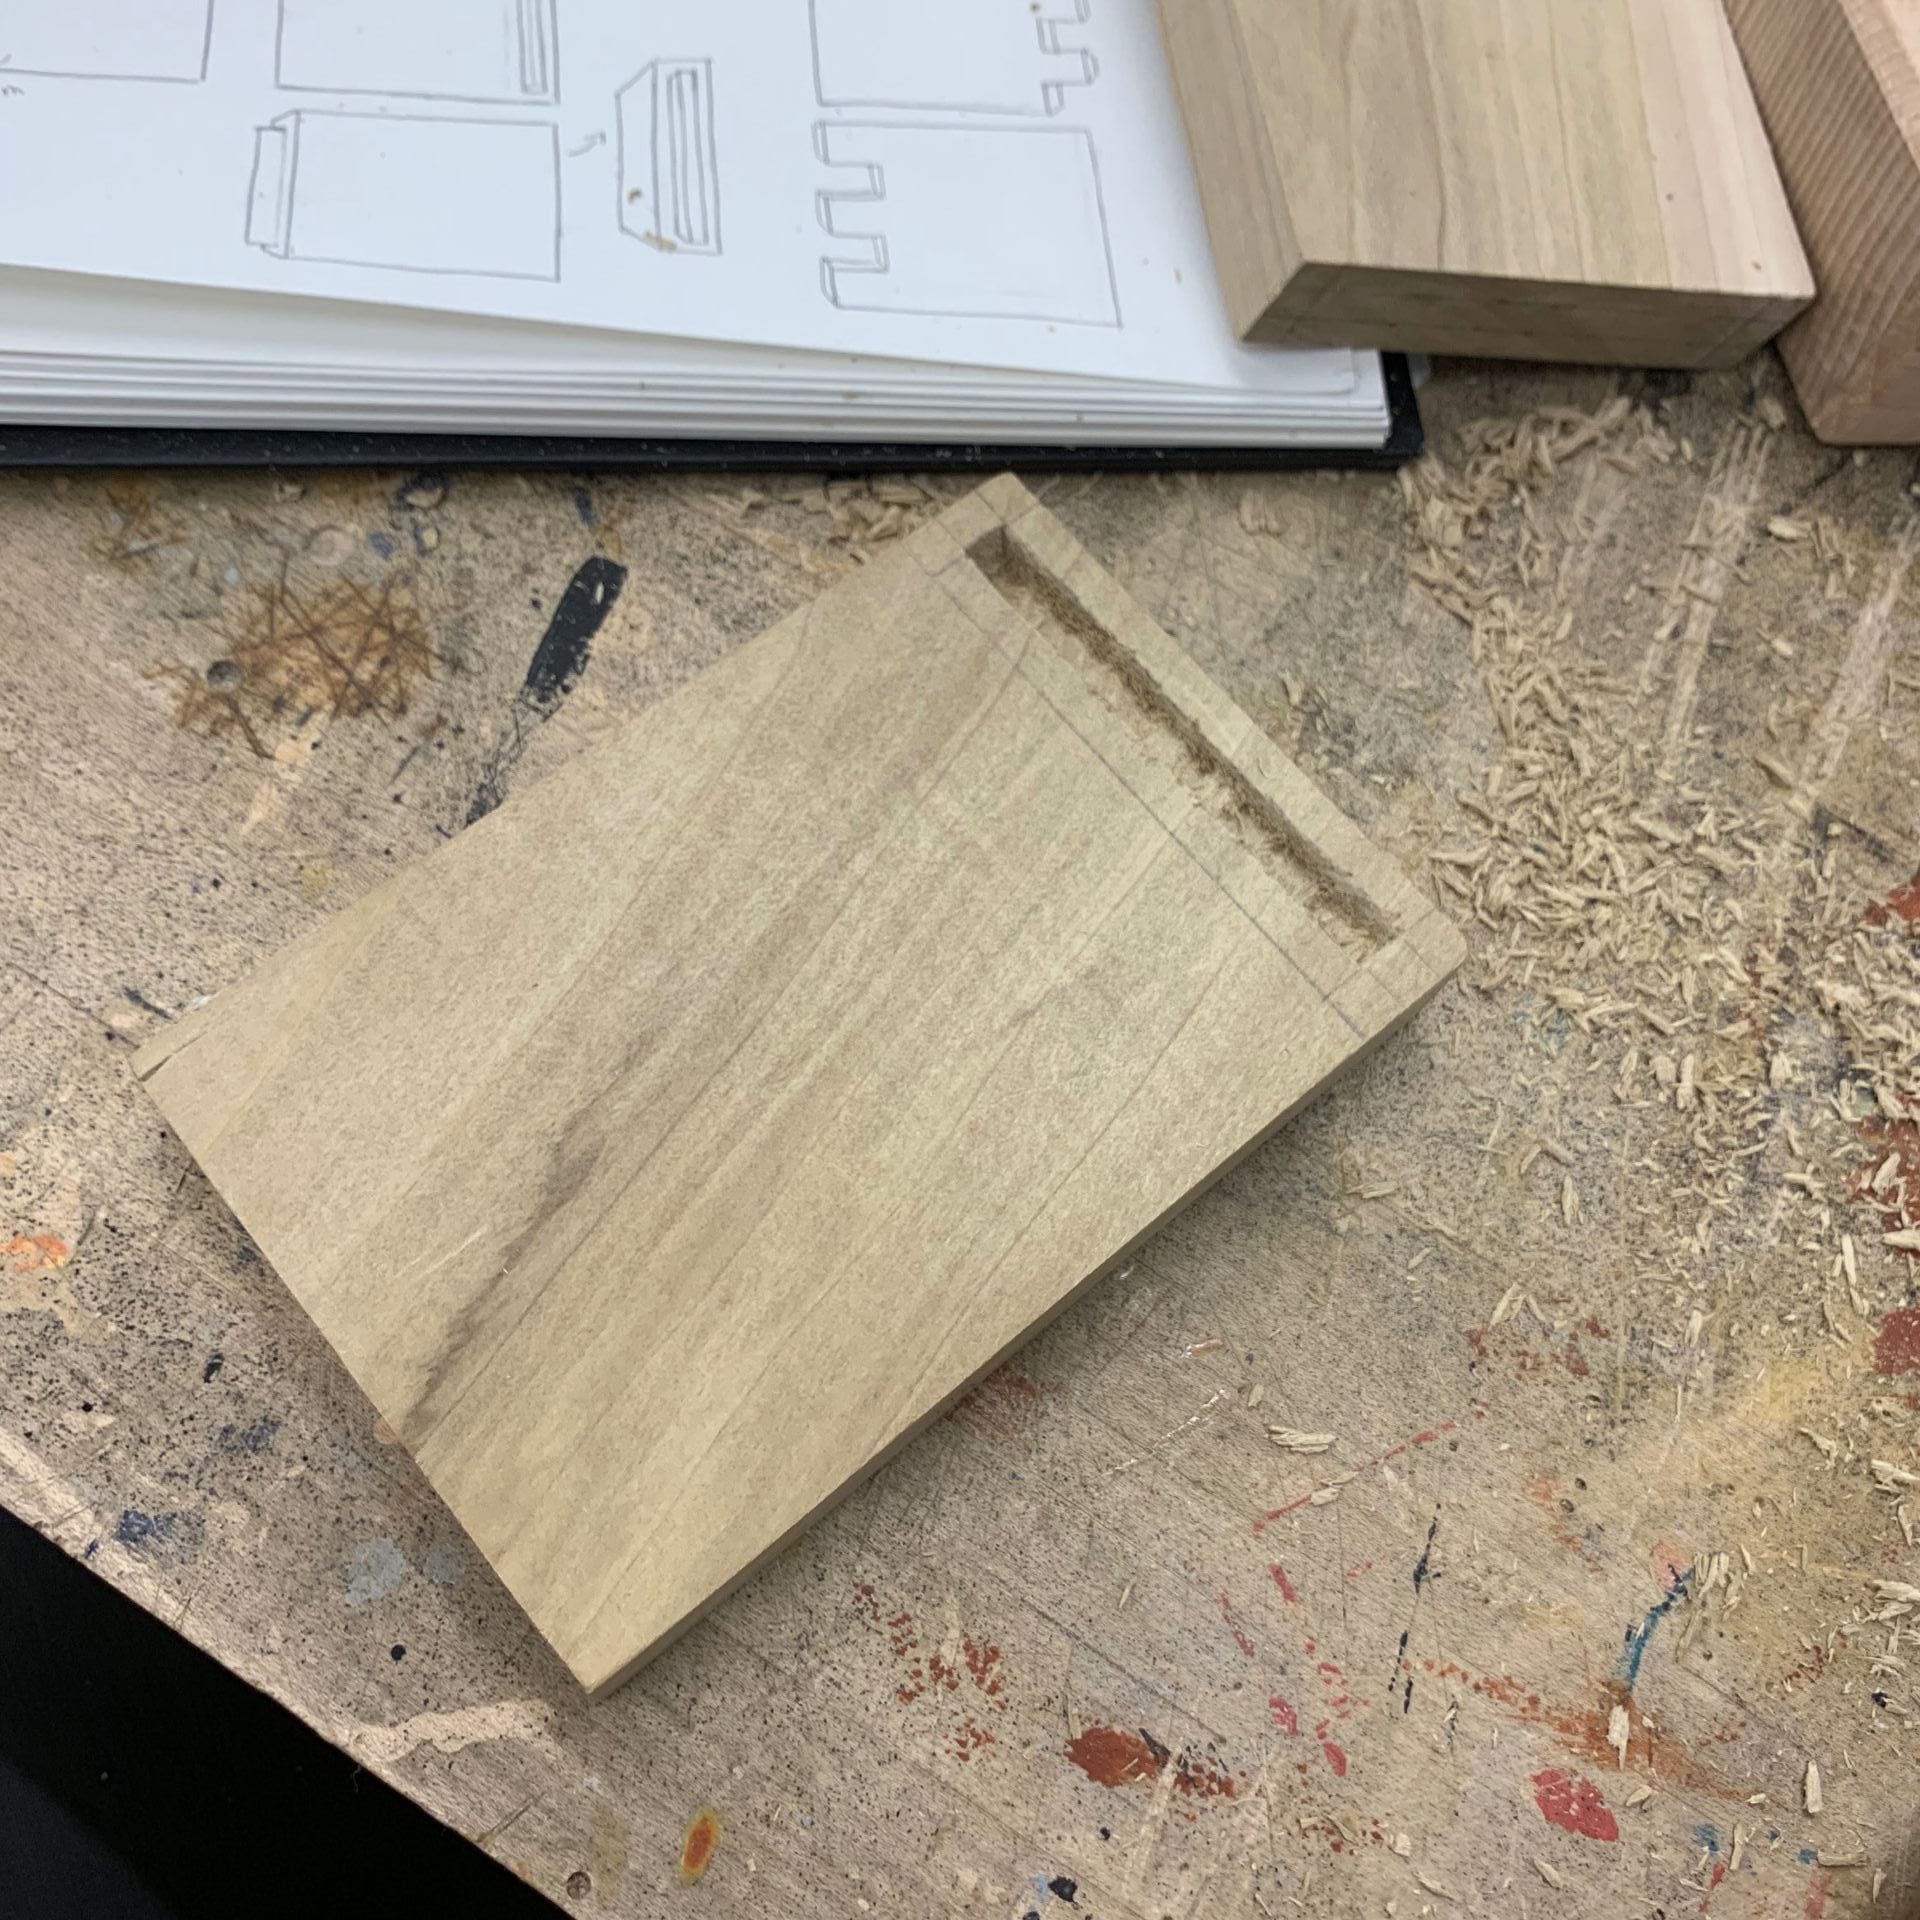
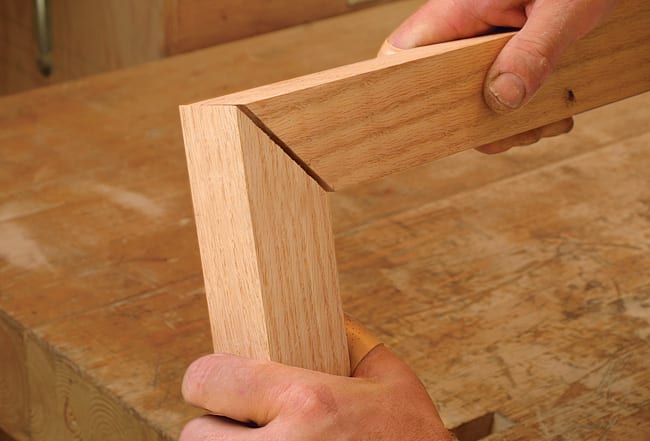
3. Rabbet Joint
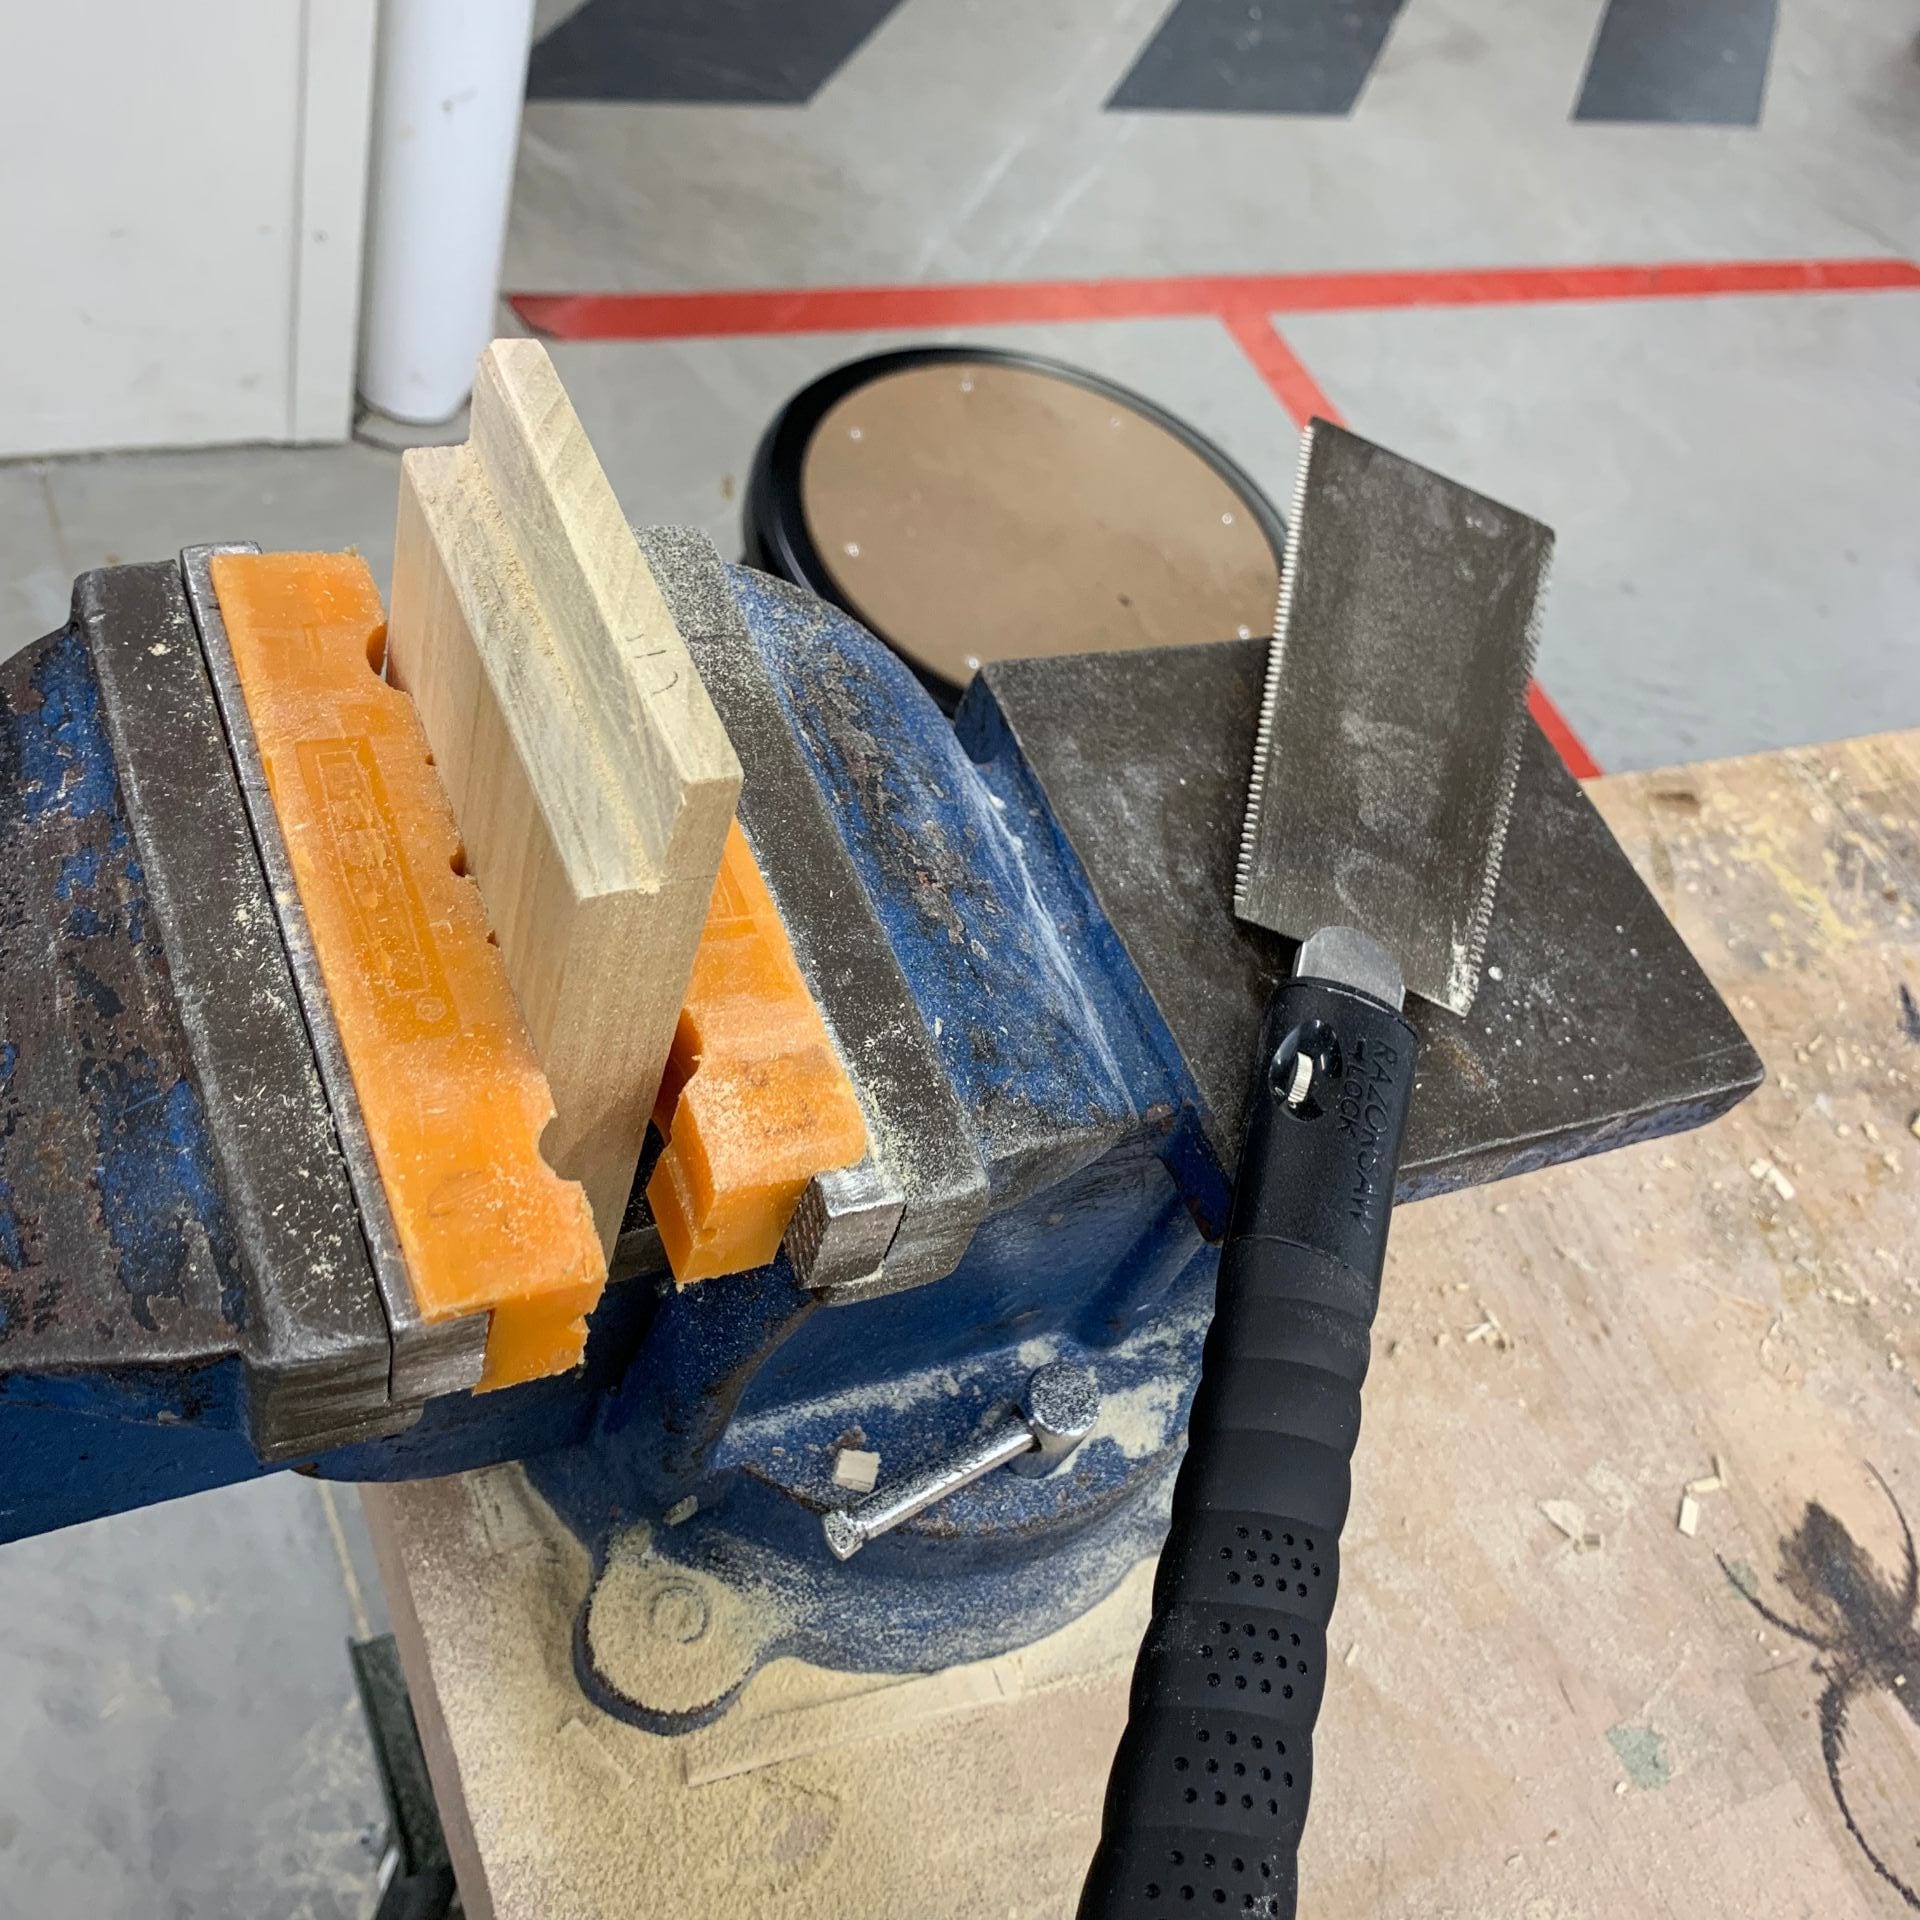
For the rabbet joint, I used Japanese handsaw to cut the top half of the wood. Japanese handsaw was a great tool to apply for this joint, but since it is a hand tool, it didn’t cut out in a perfectly neat piece . However, after attaching wood strongly together, I was able to see a successful joint.
Final Piece:
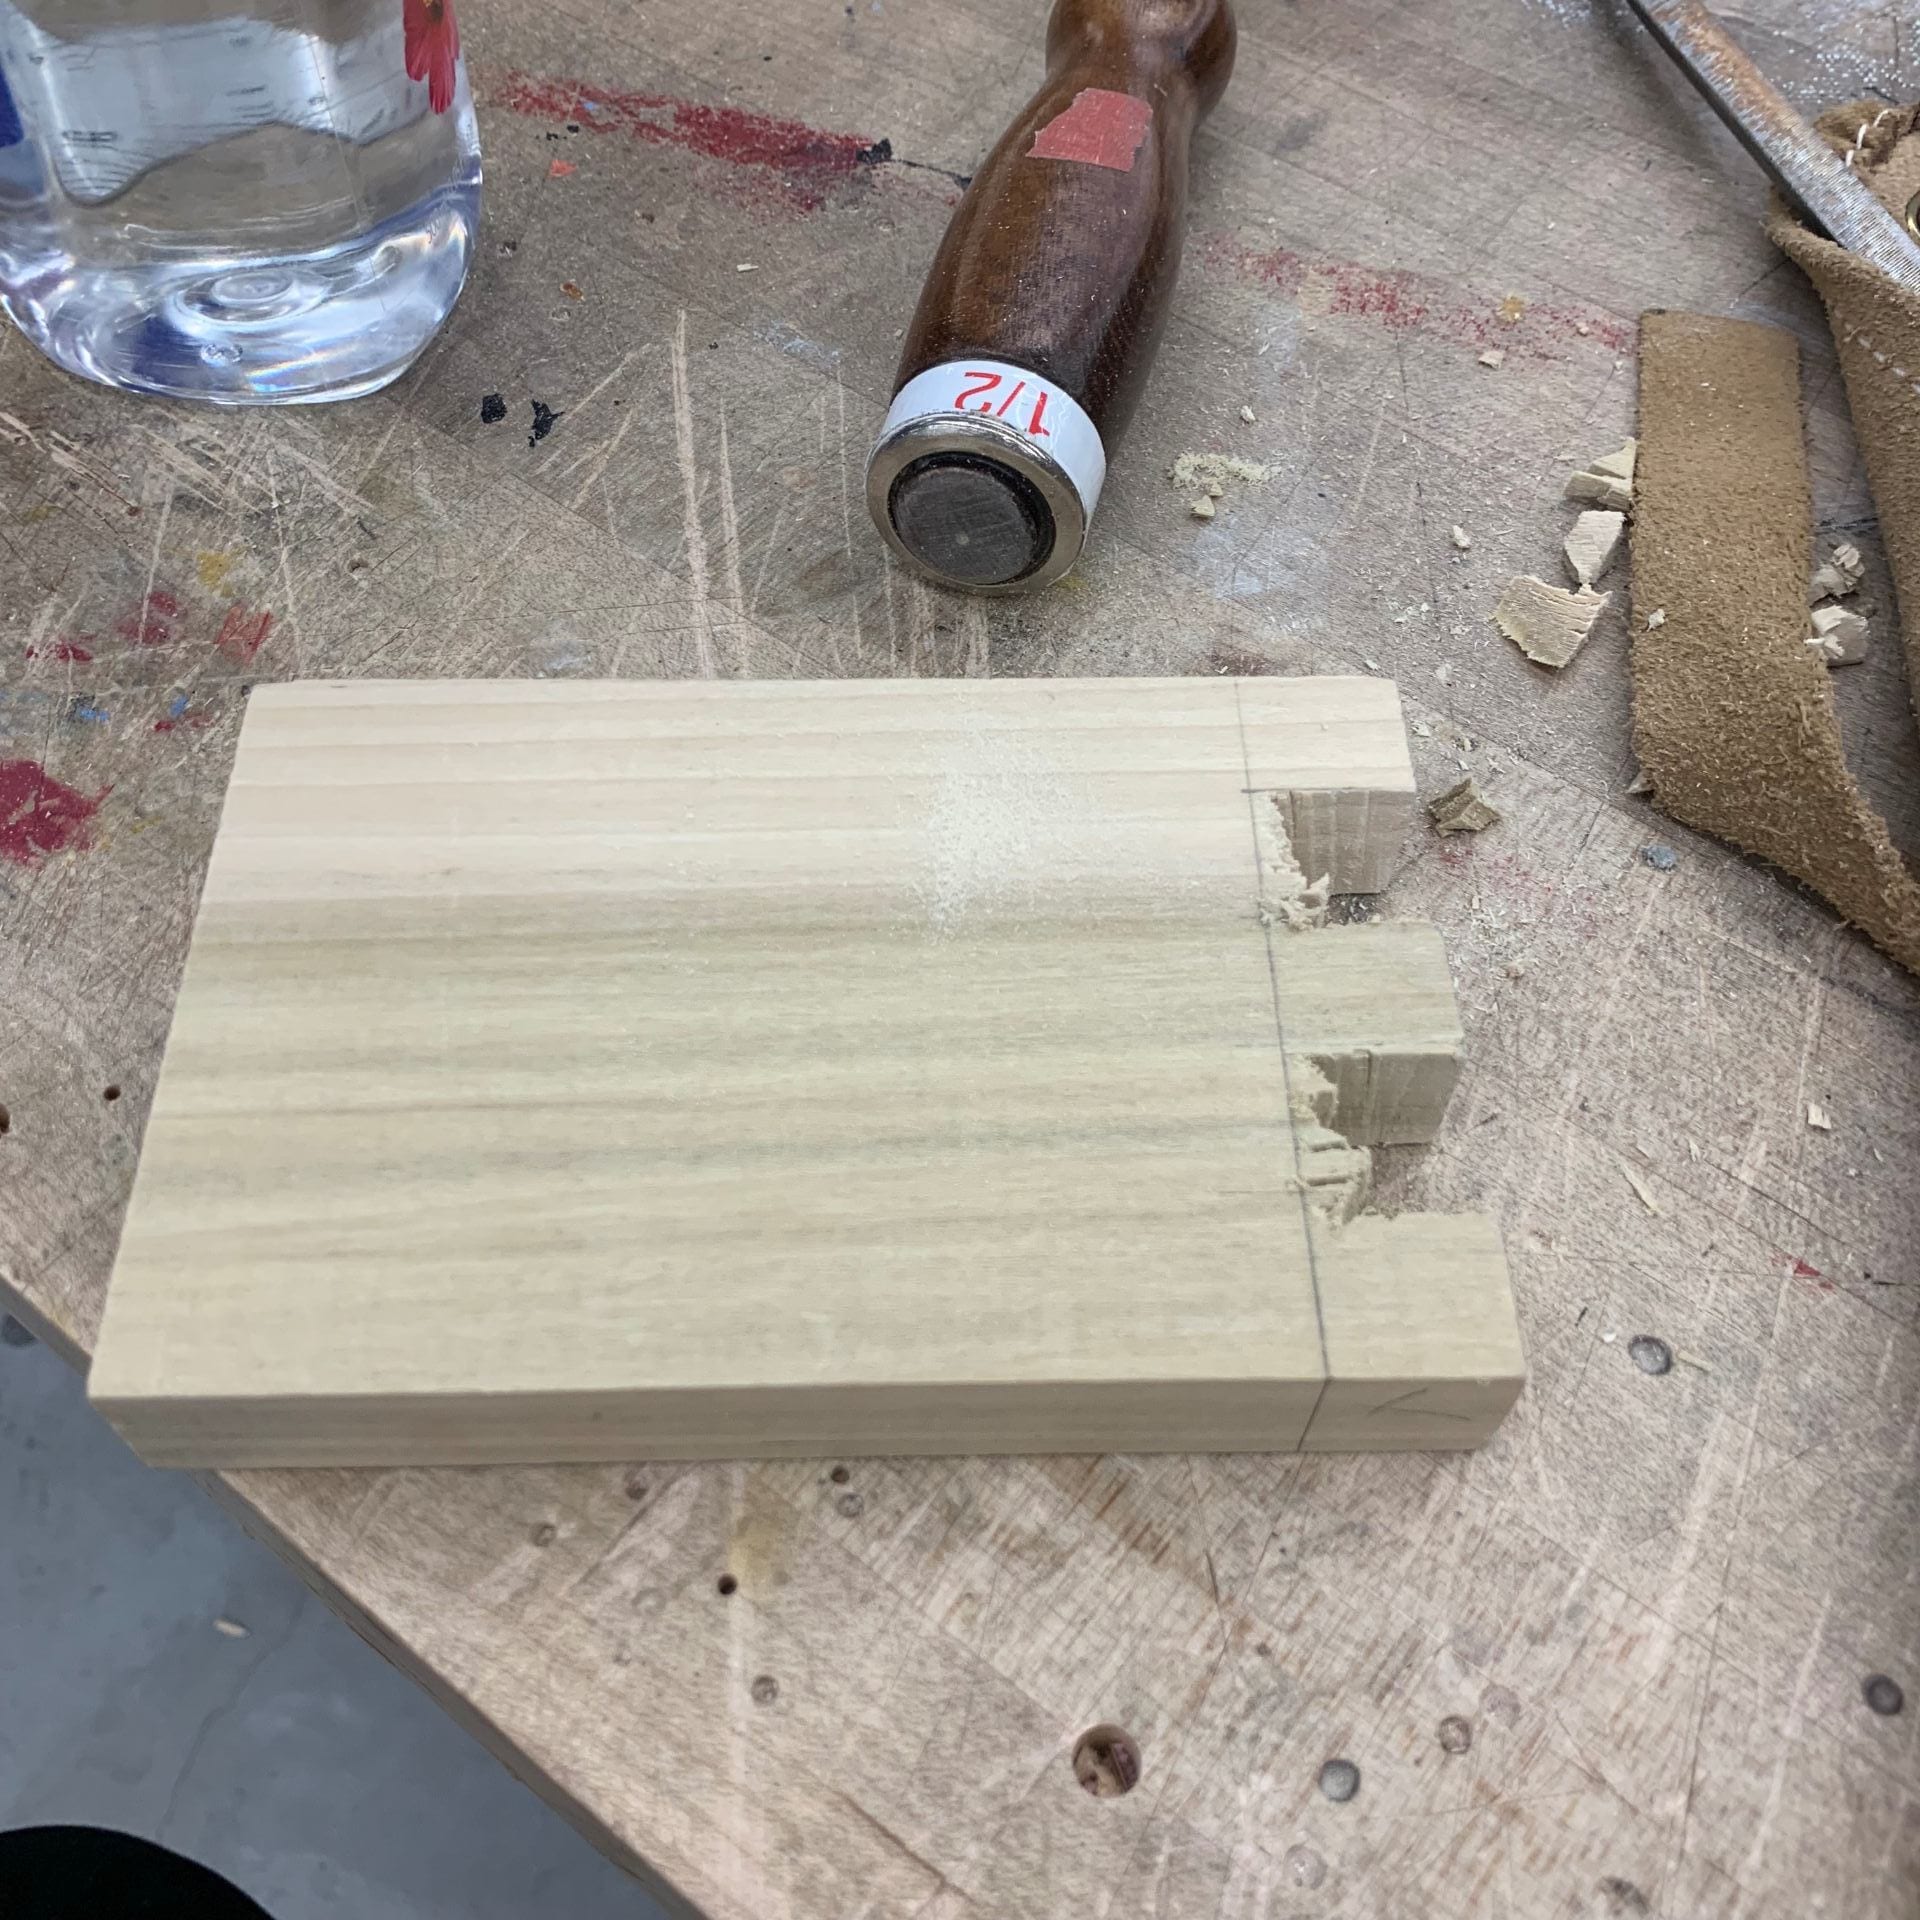
4. Mortise&Tenon Joint
For me mortise&tenon joint was most challenging because cutting out the inside part of the wood was not easy.
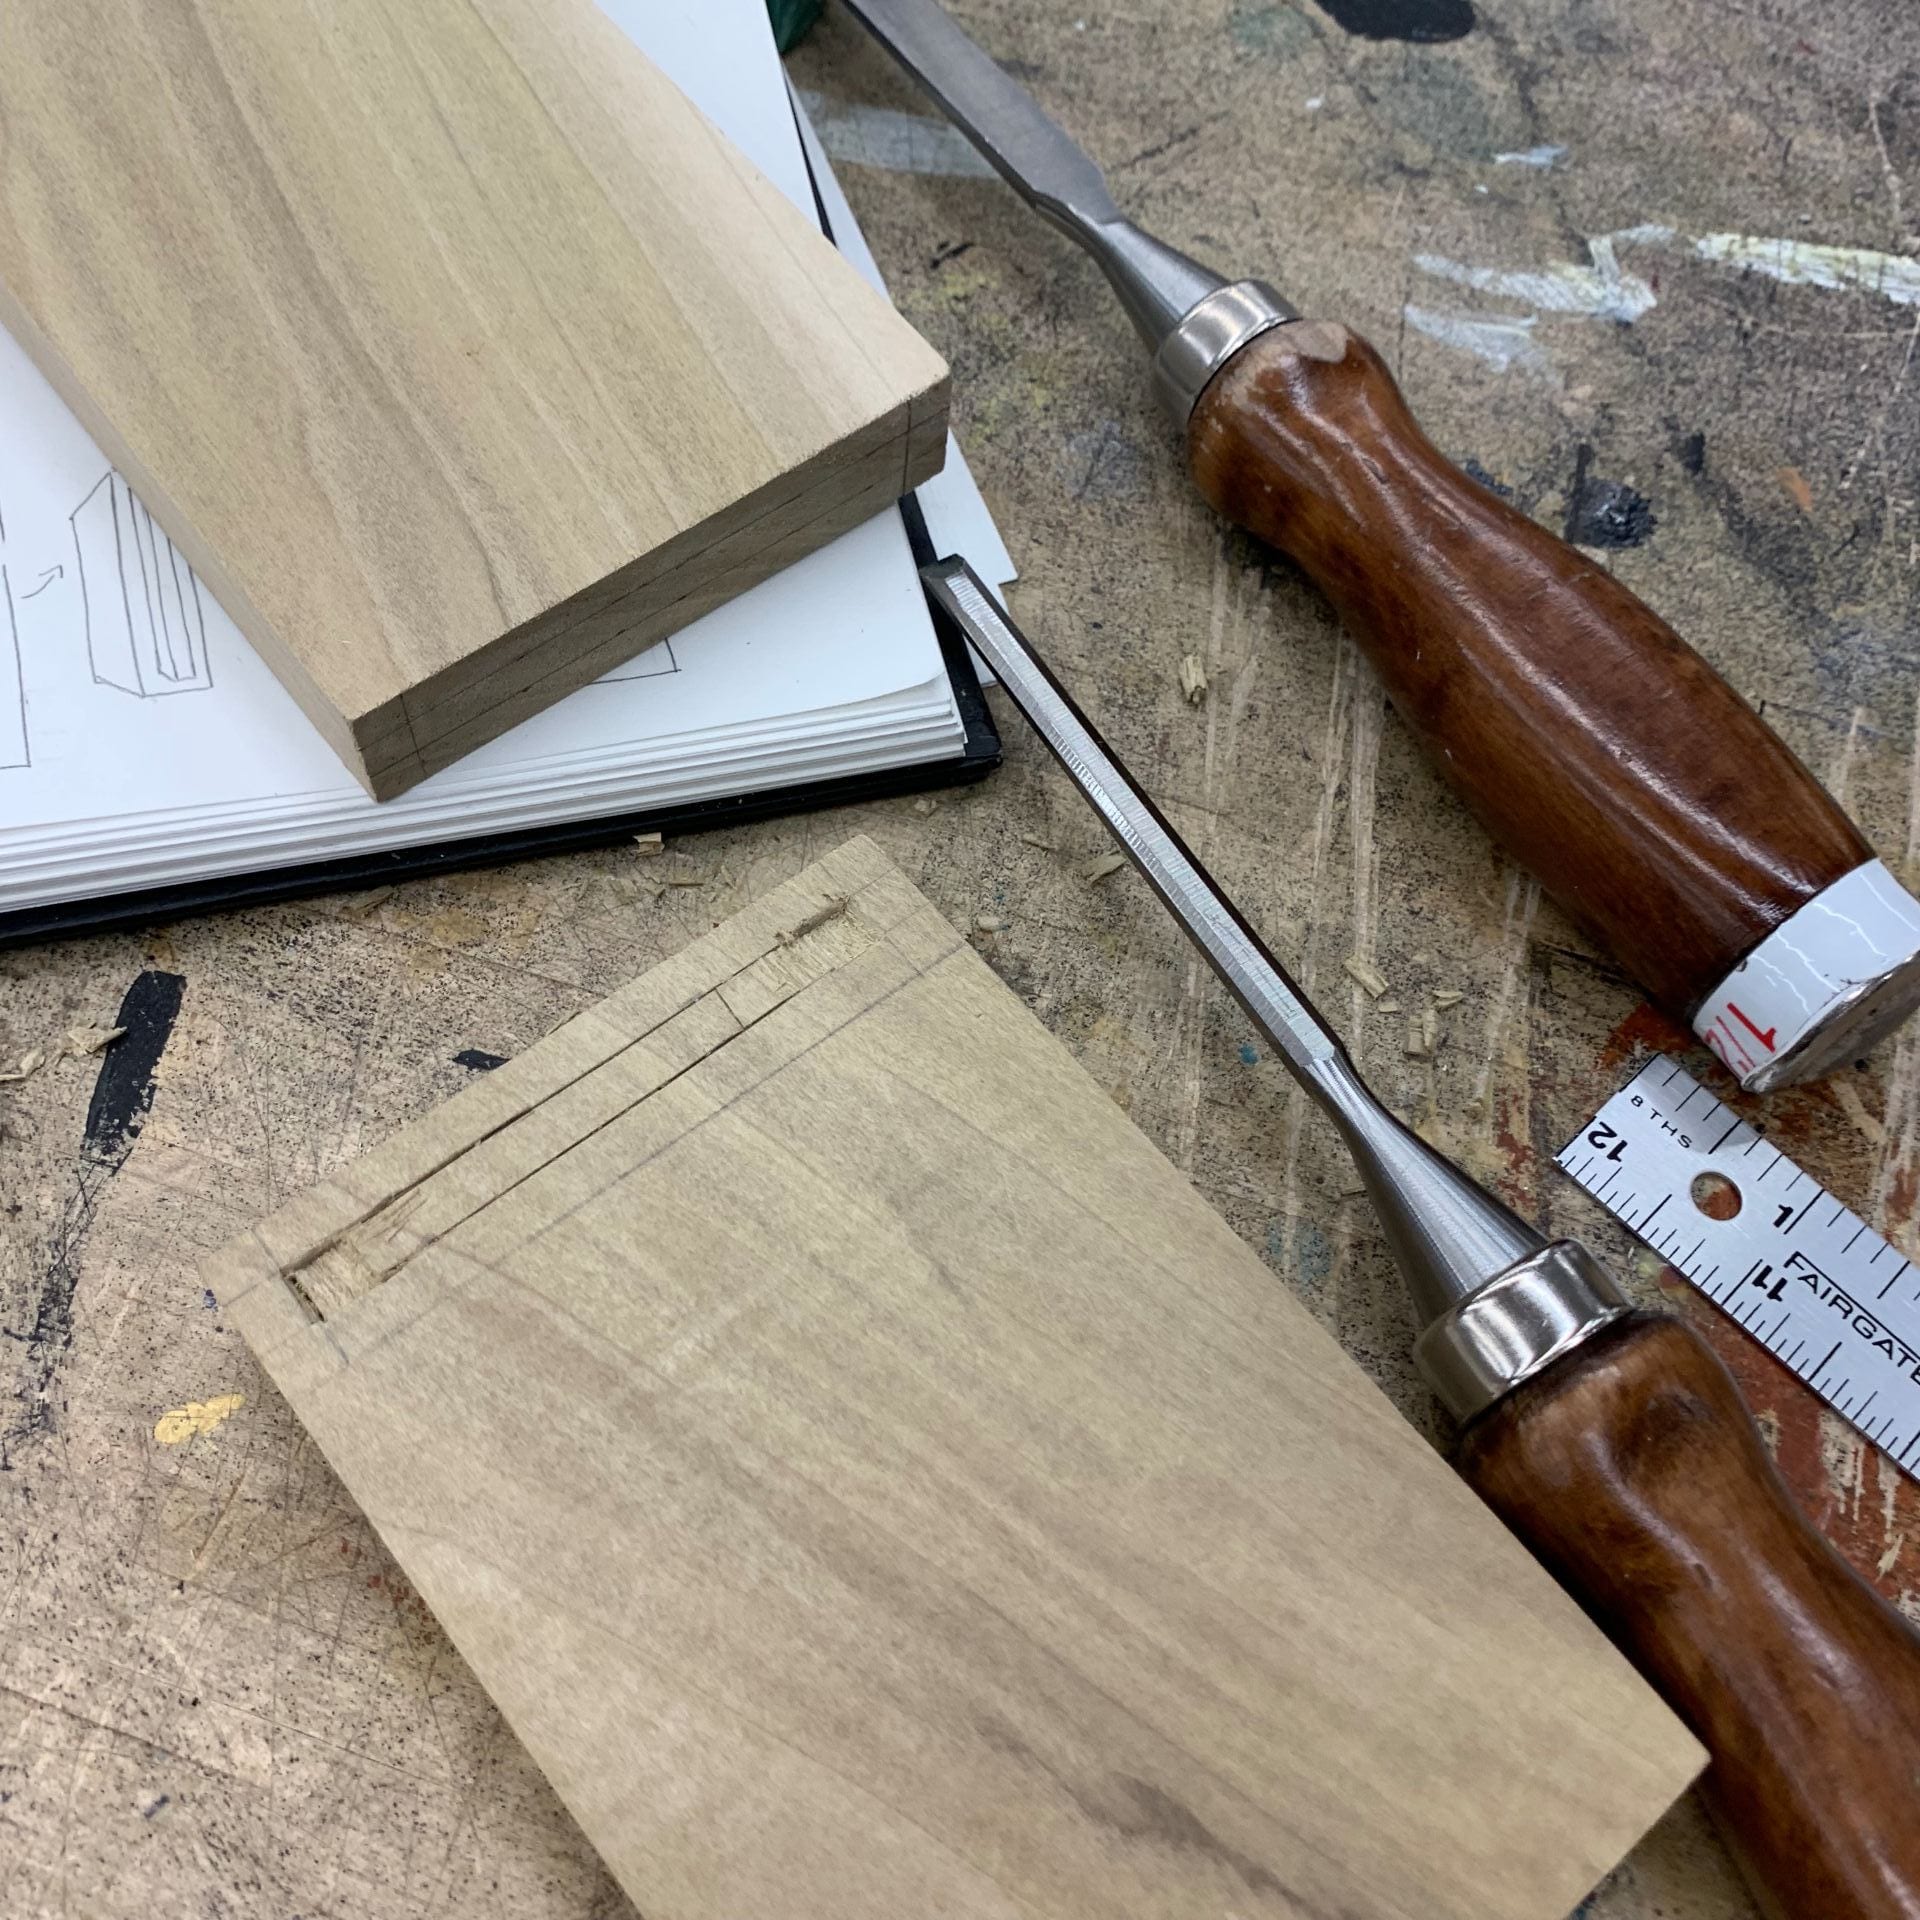
First thing I had to do was measuring and drawing to the wood so it can perfectly fit together. Basically, I used a chisel kit for one of the two pieces of wood, and I used Japanese handsaw for the other one. While I was using chisels, I accidentally cut my finger because I put too much strength on it. I had to go through lots of steps for this joint, but I think it also resulted successfully.
Final Piece:

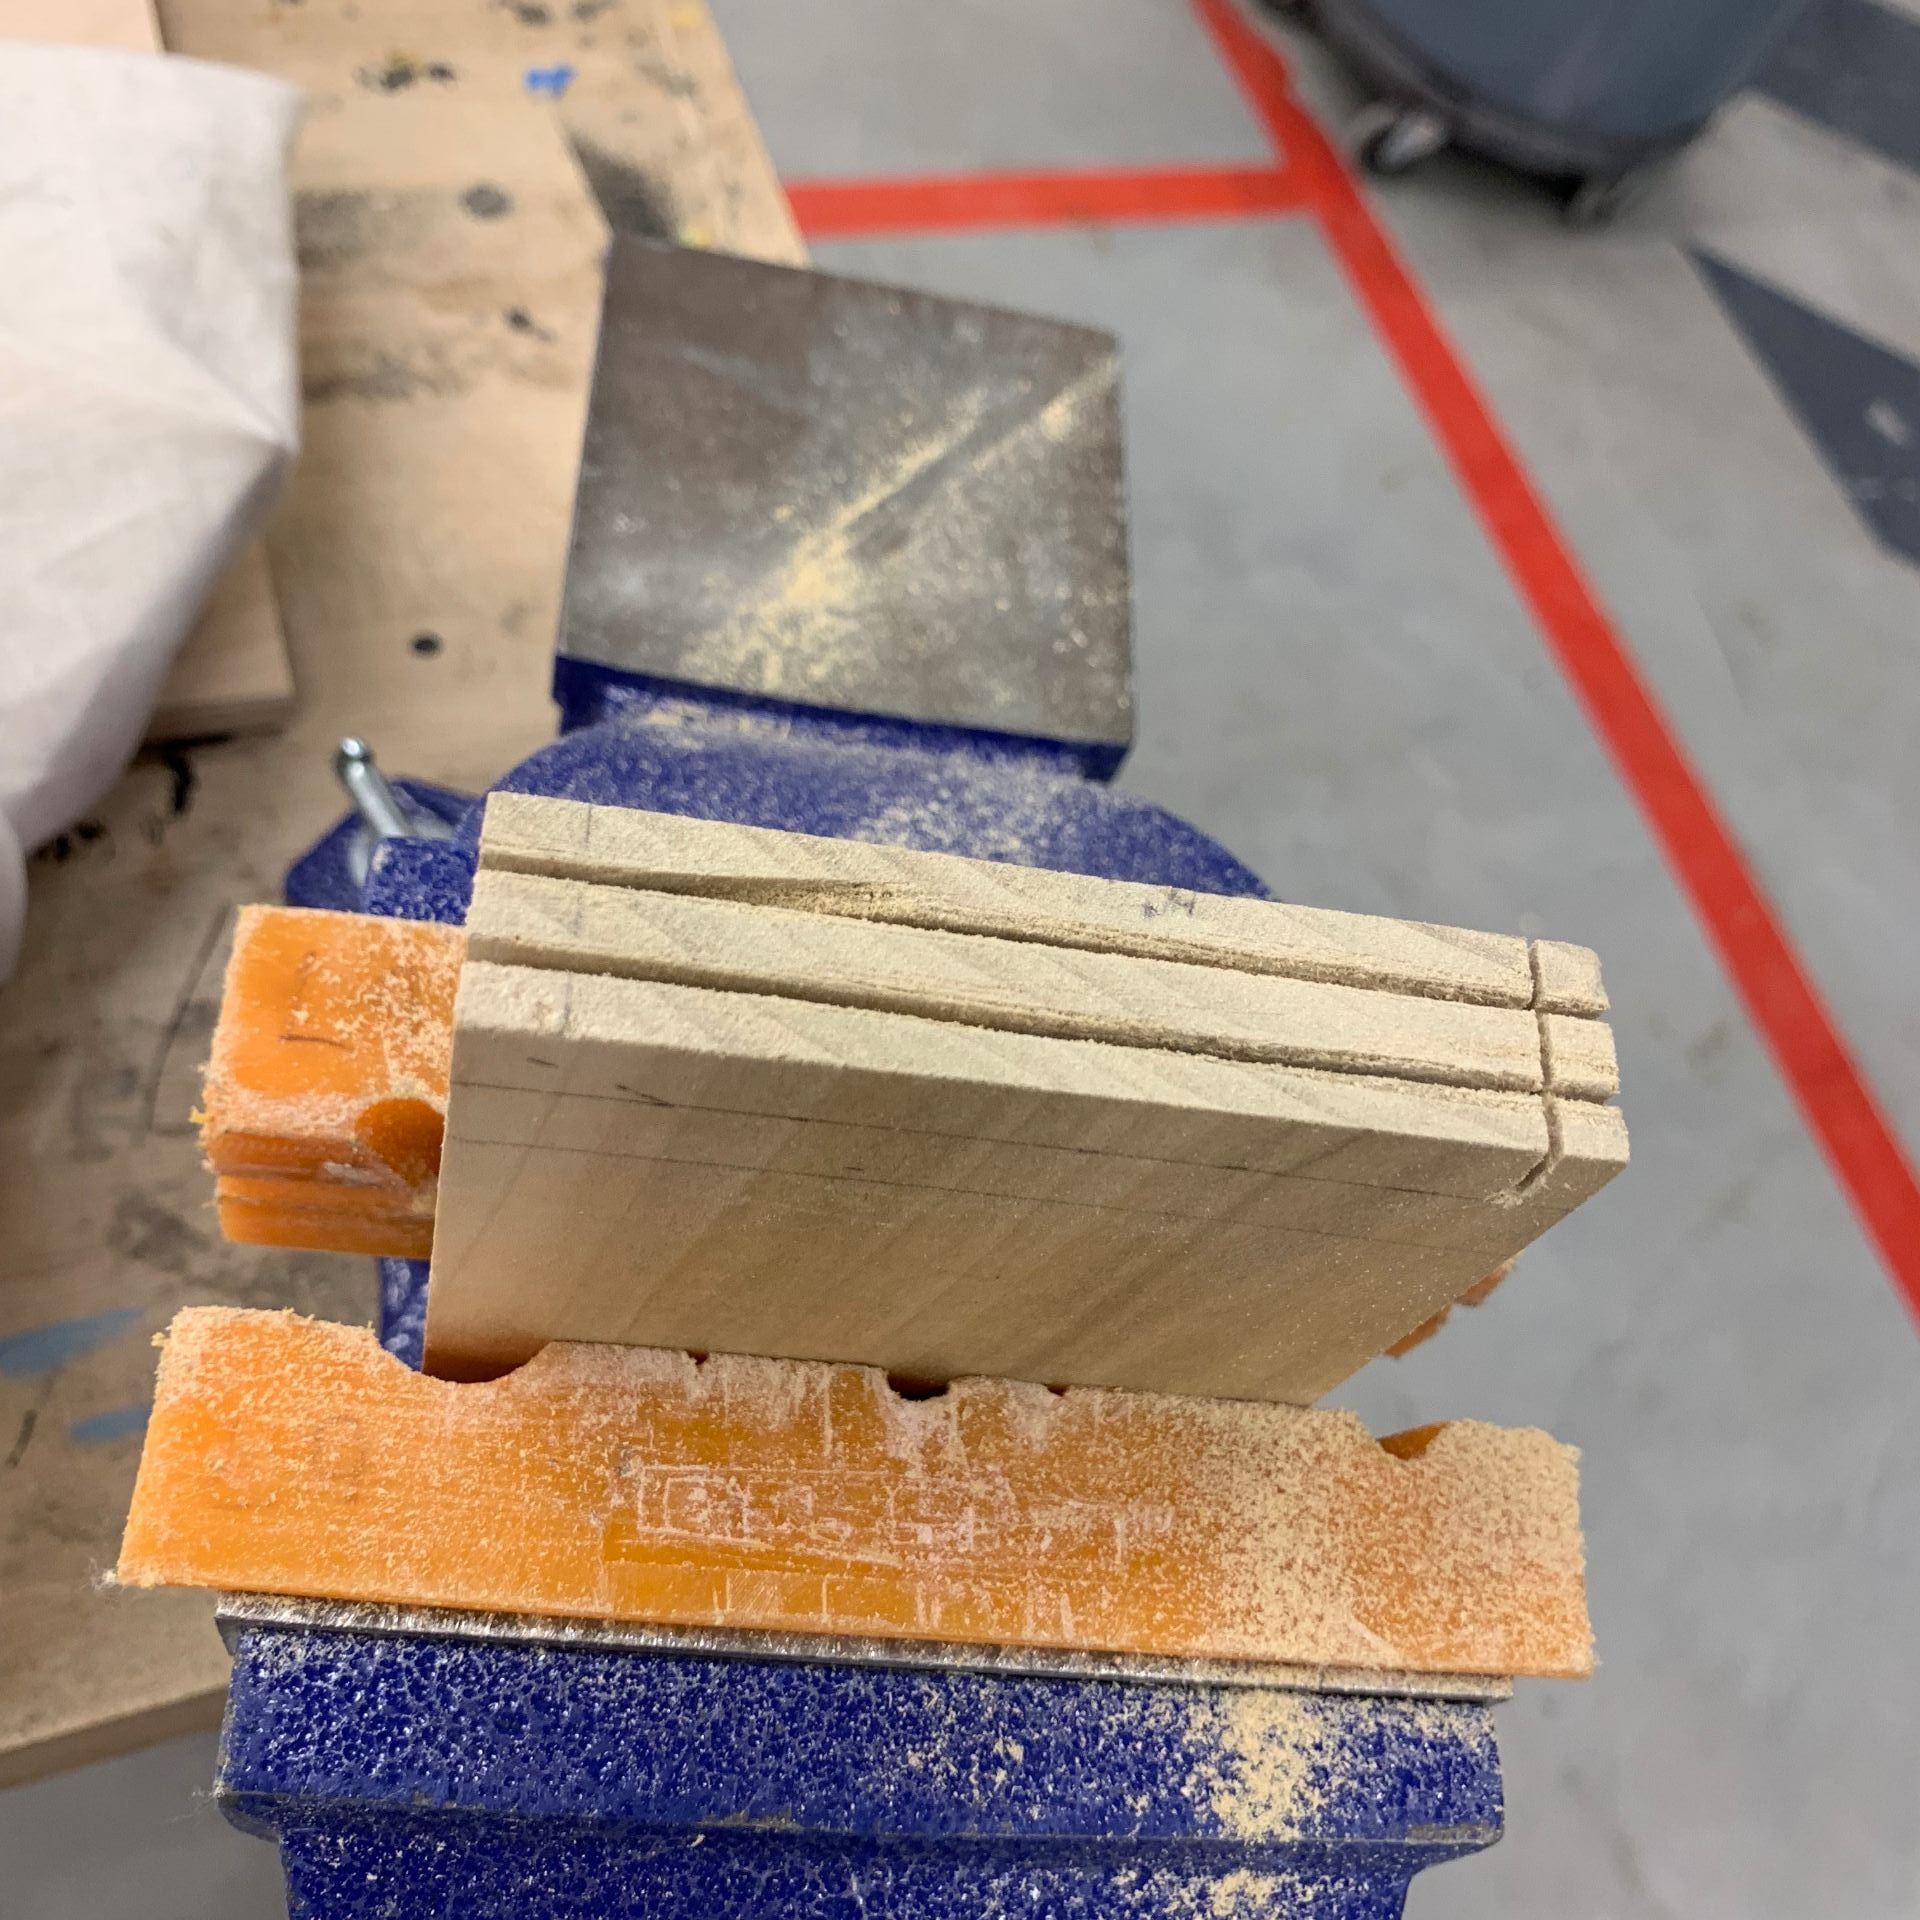
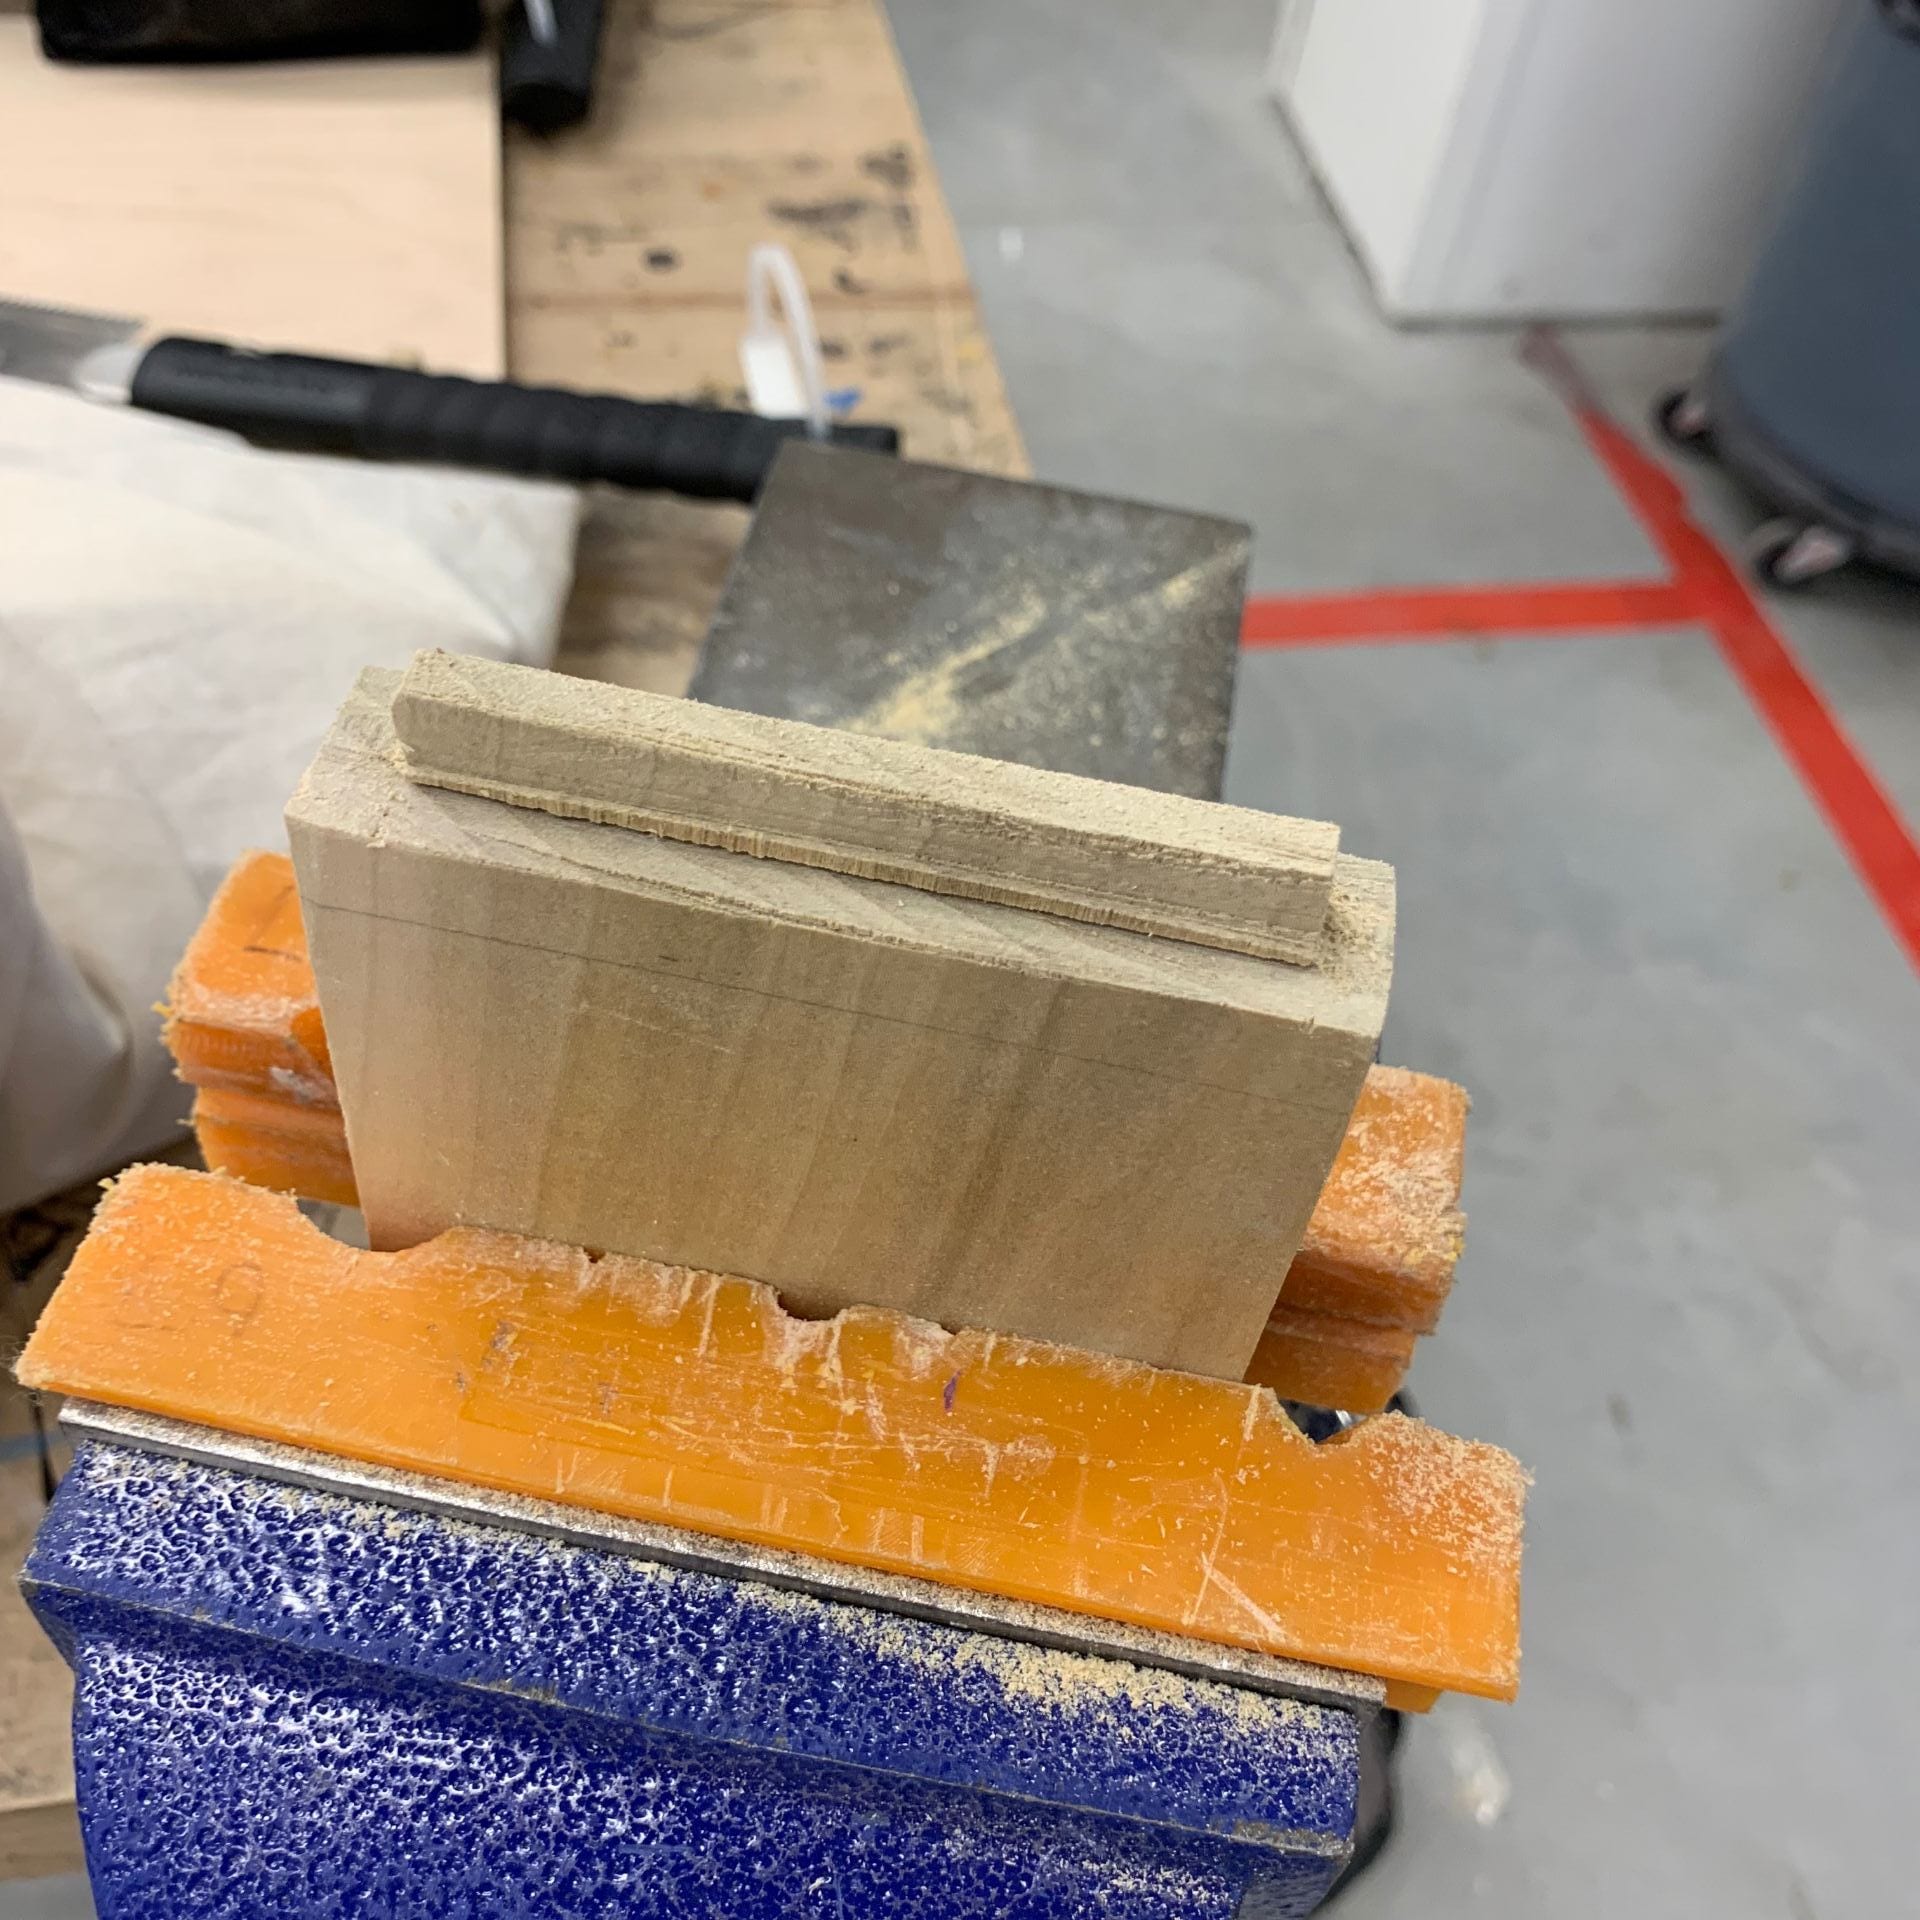
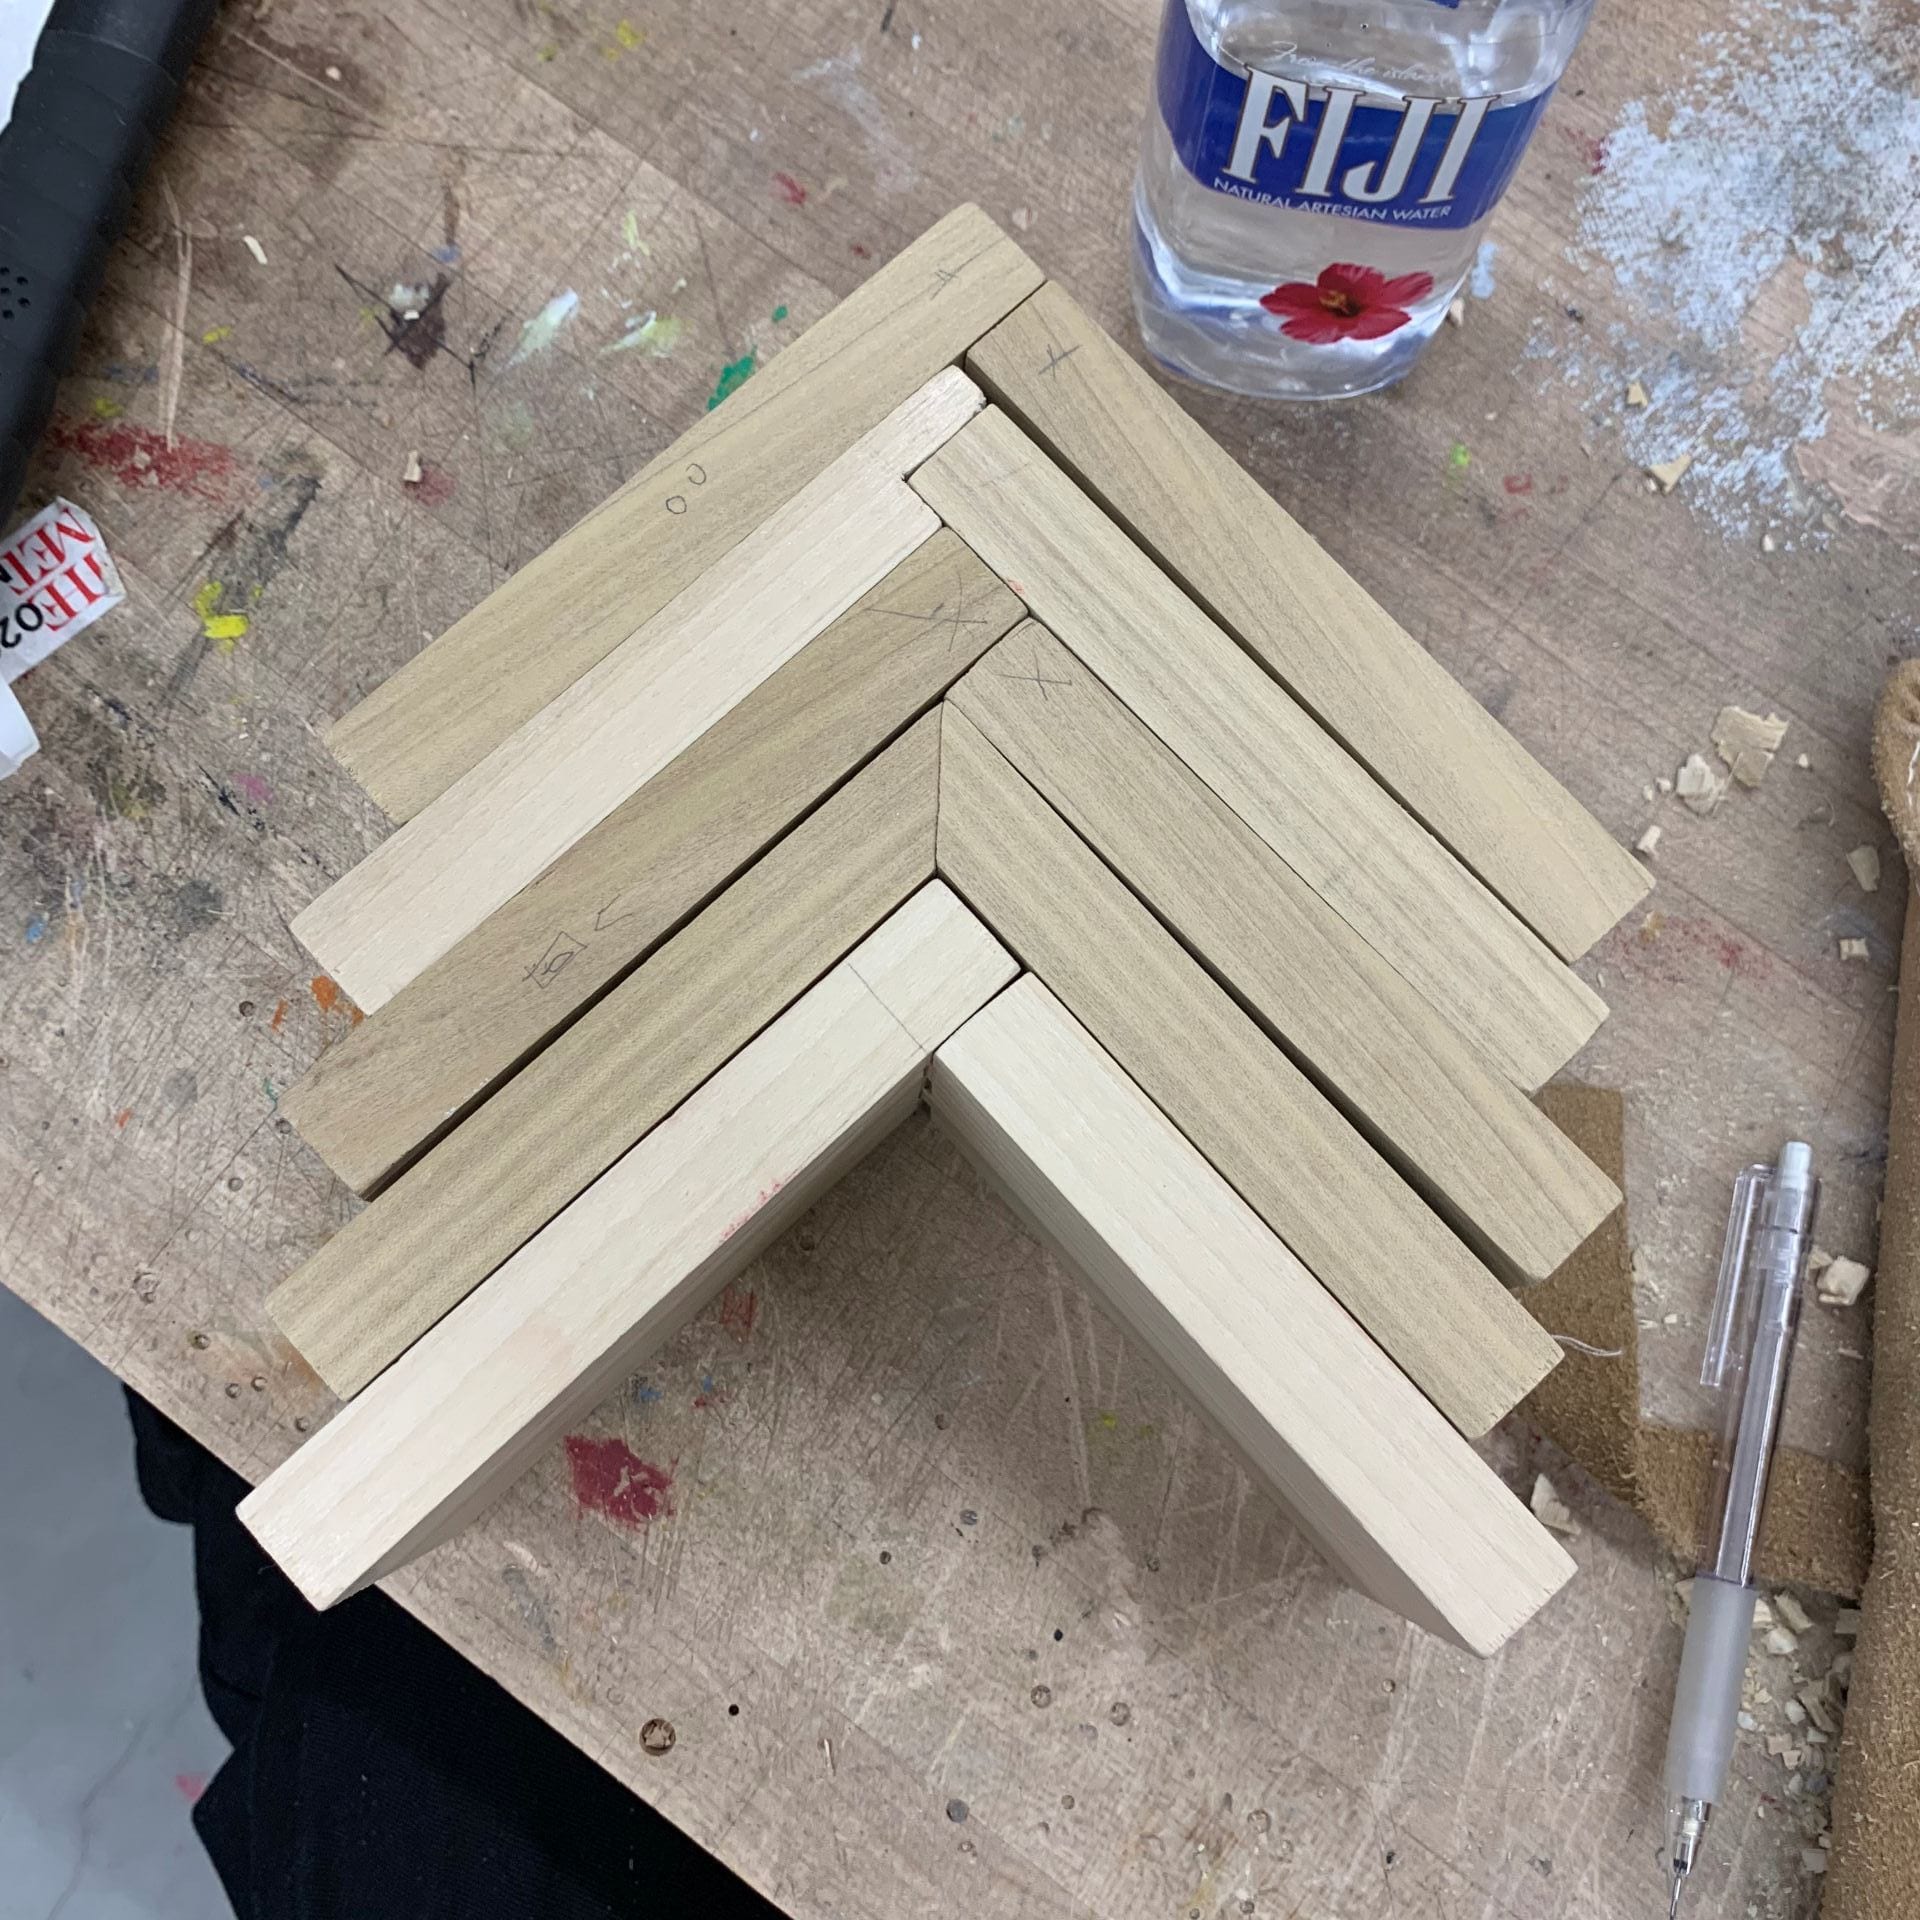
5. Finger Joint
Finger joint was also one of the most challenging wood joinery to me.
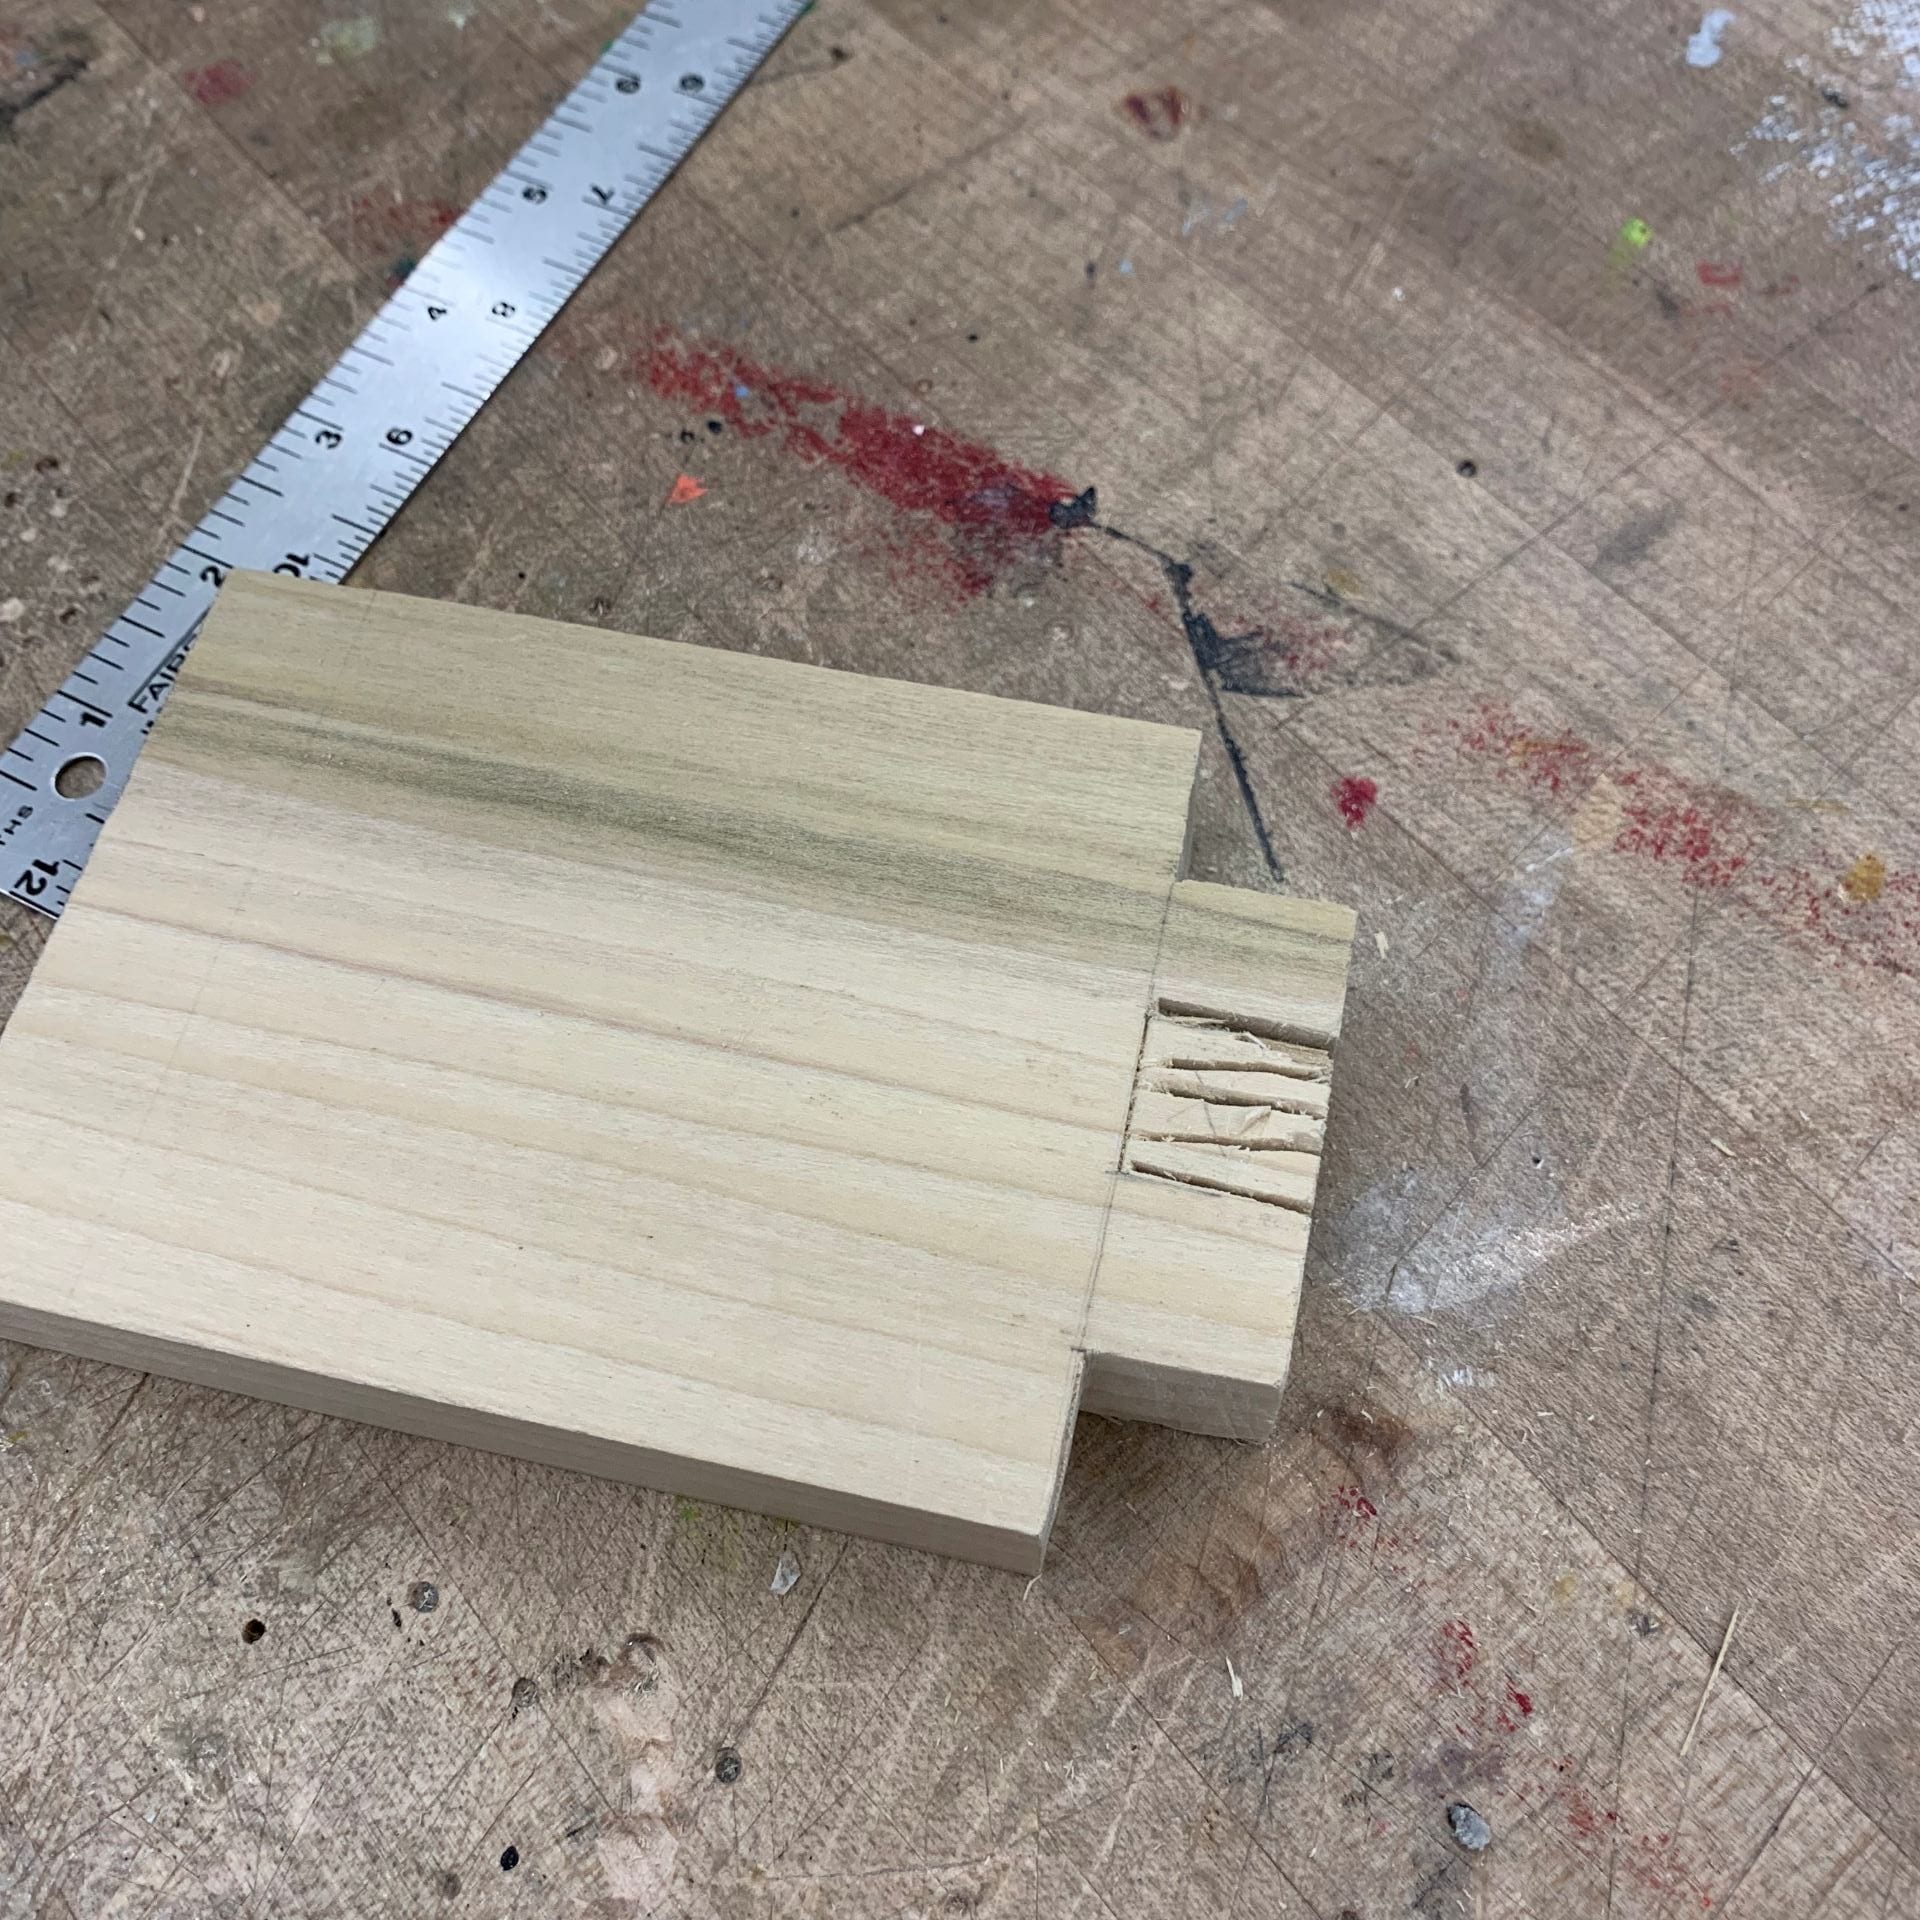
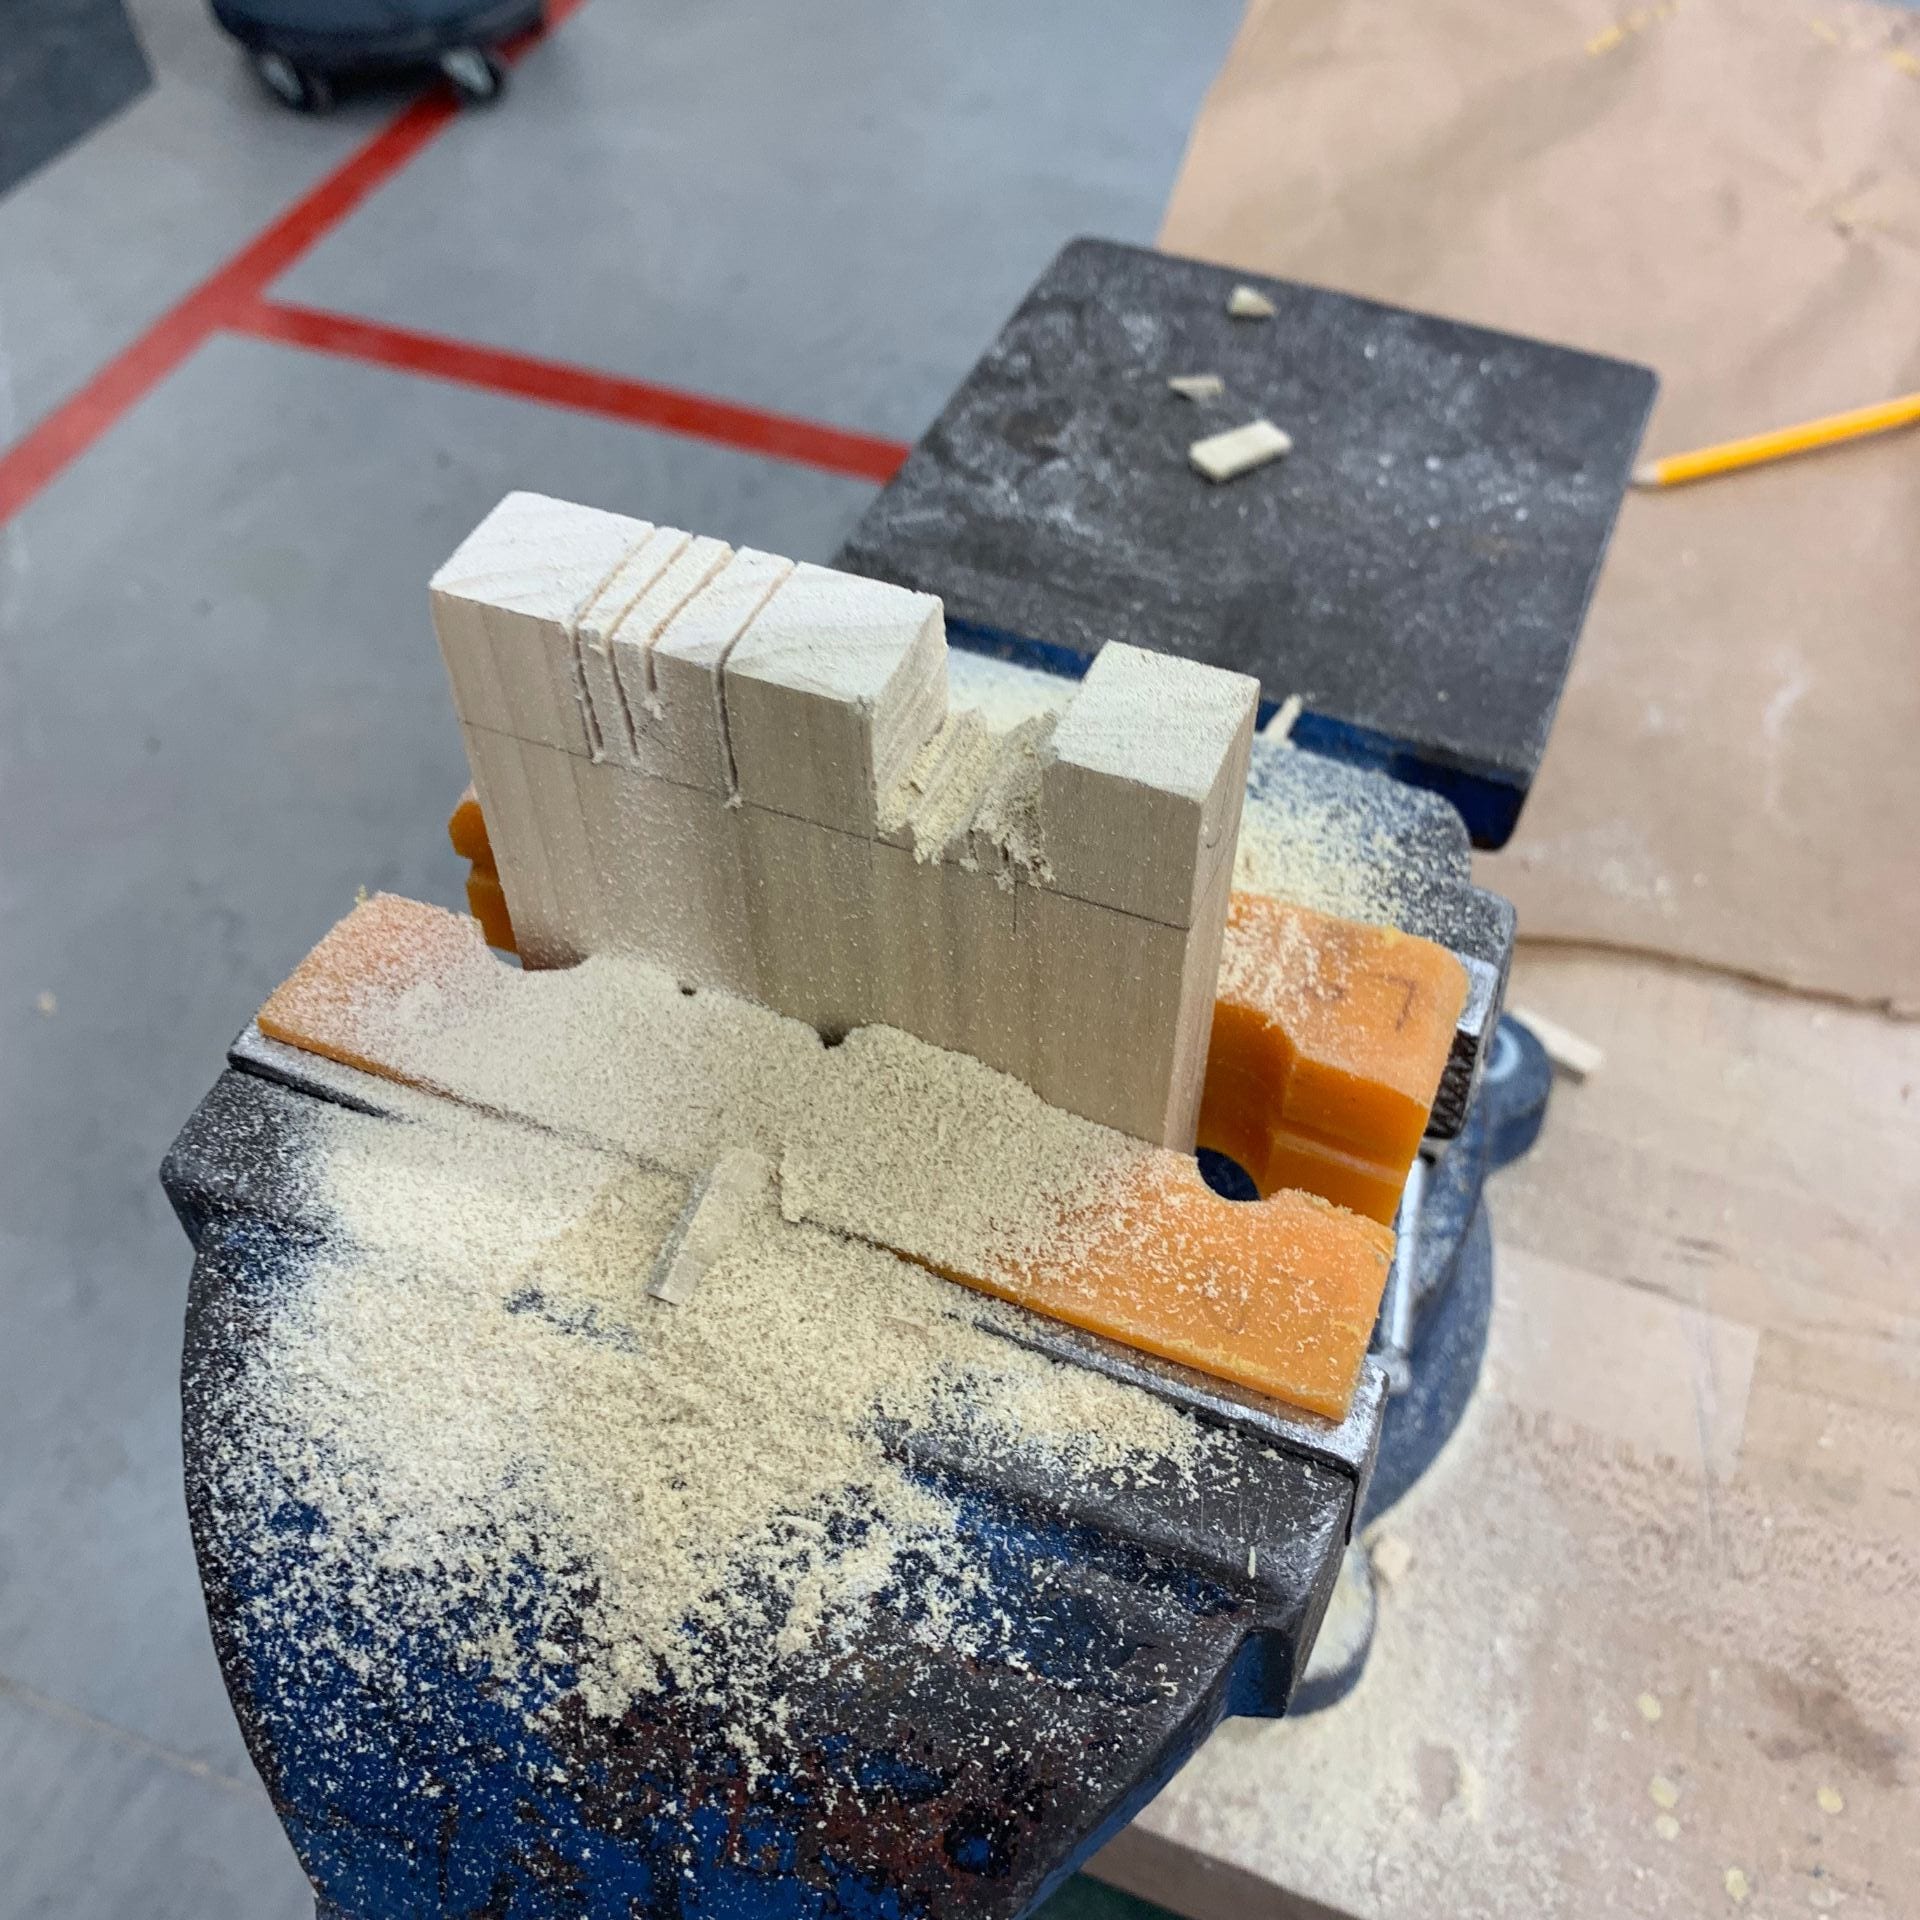

For the finger joint, I first measured each side and divided into five square so that it could be perfectly connected. I think it might have been better if I used another tool other than Japanese handsaw because Japanese handsaw was kind of difficult to cut straightly down. Since some of the part didn’t perfectly cut out, I could see little spaces when it was connected together. However, I tried to reduce those spaces by making flat with files.
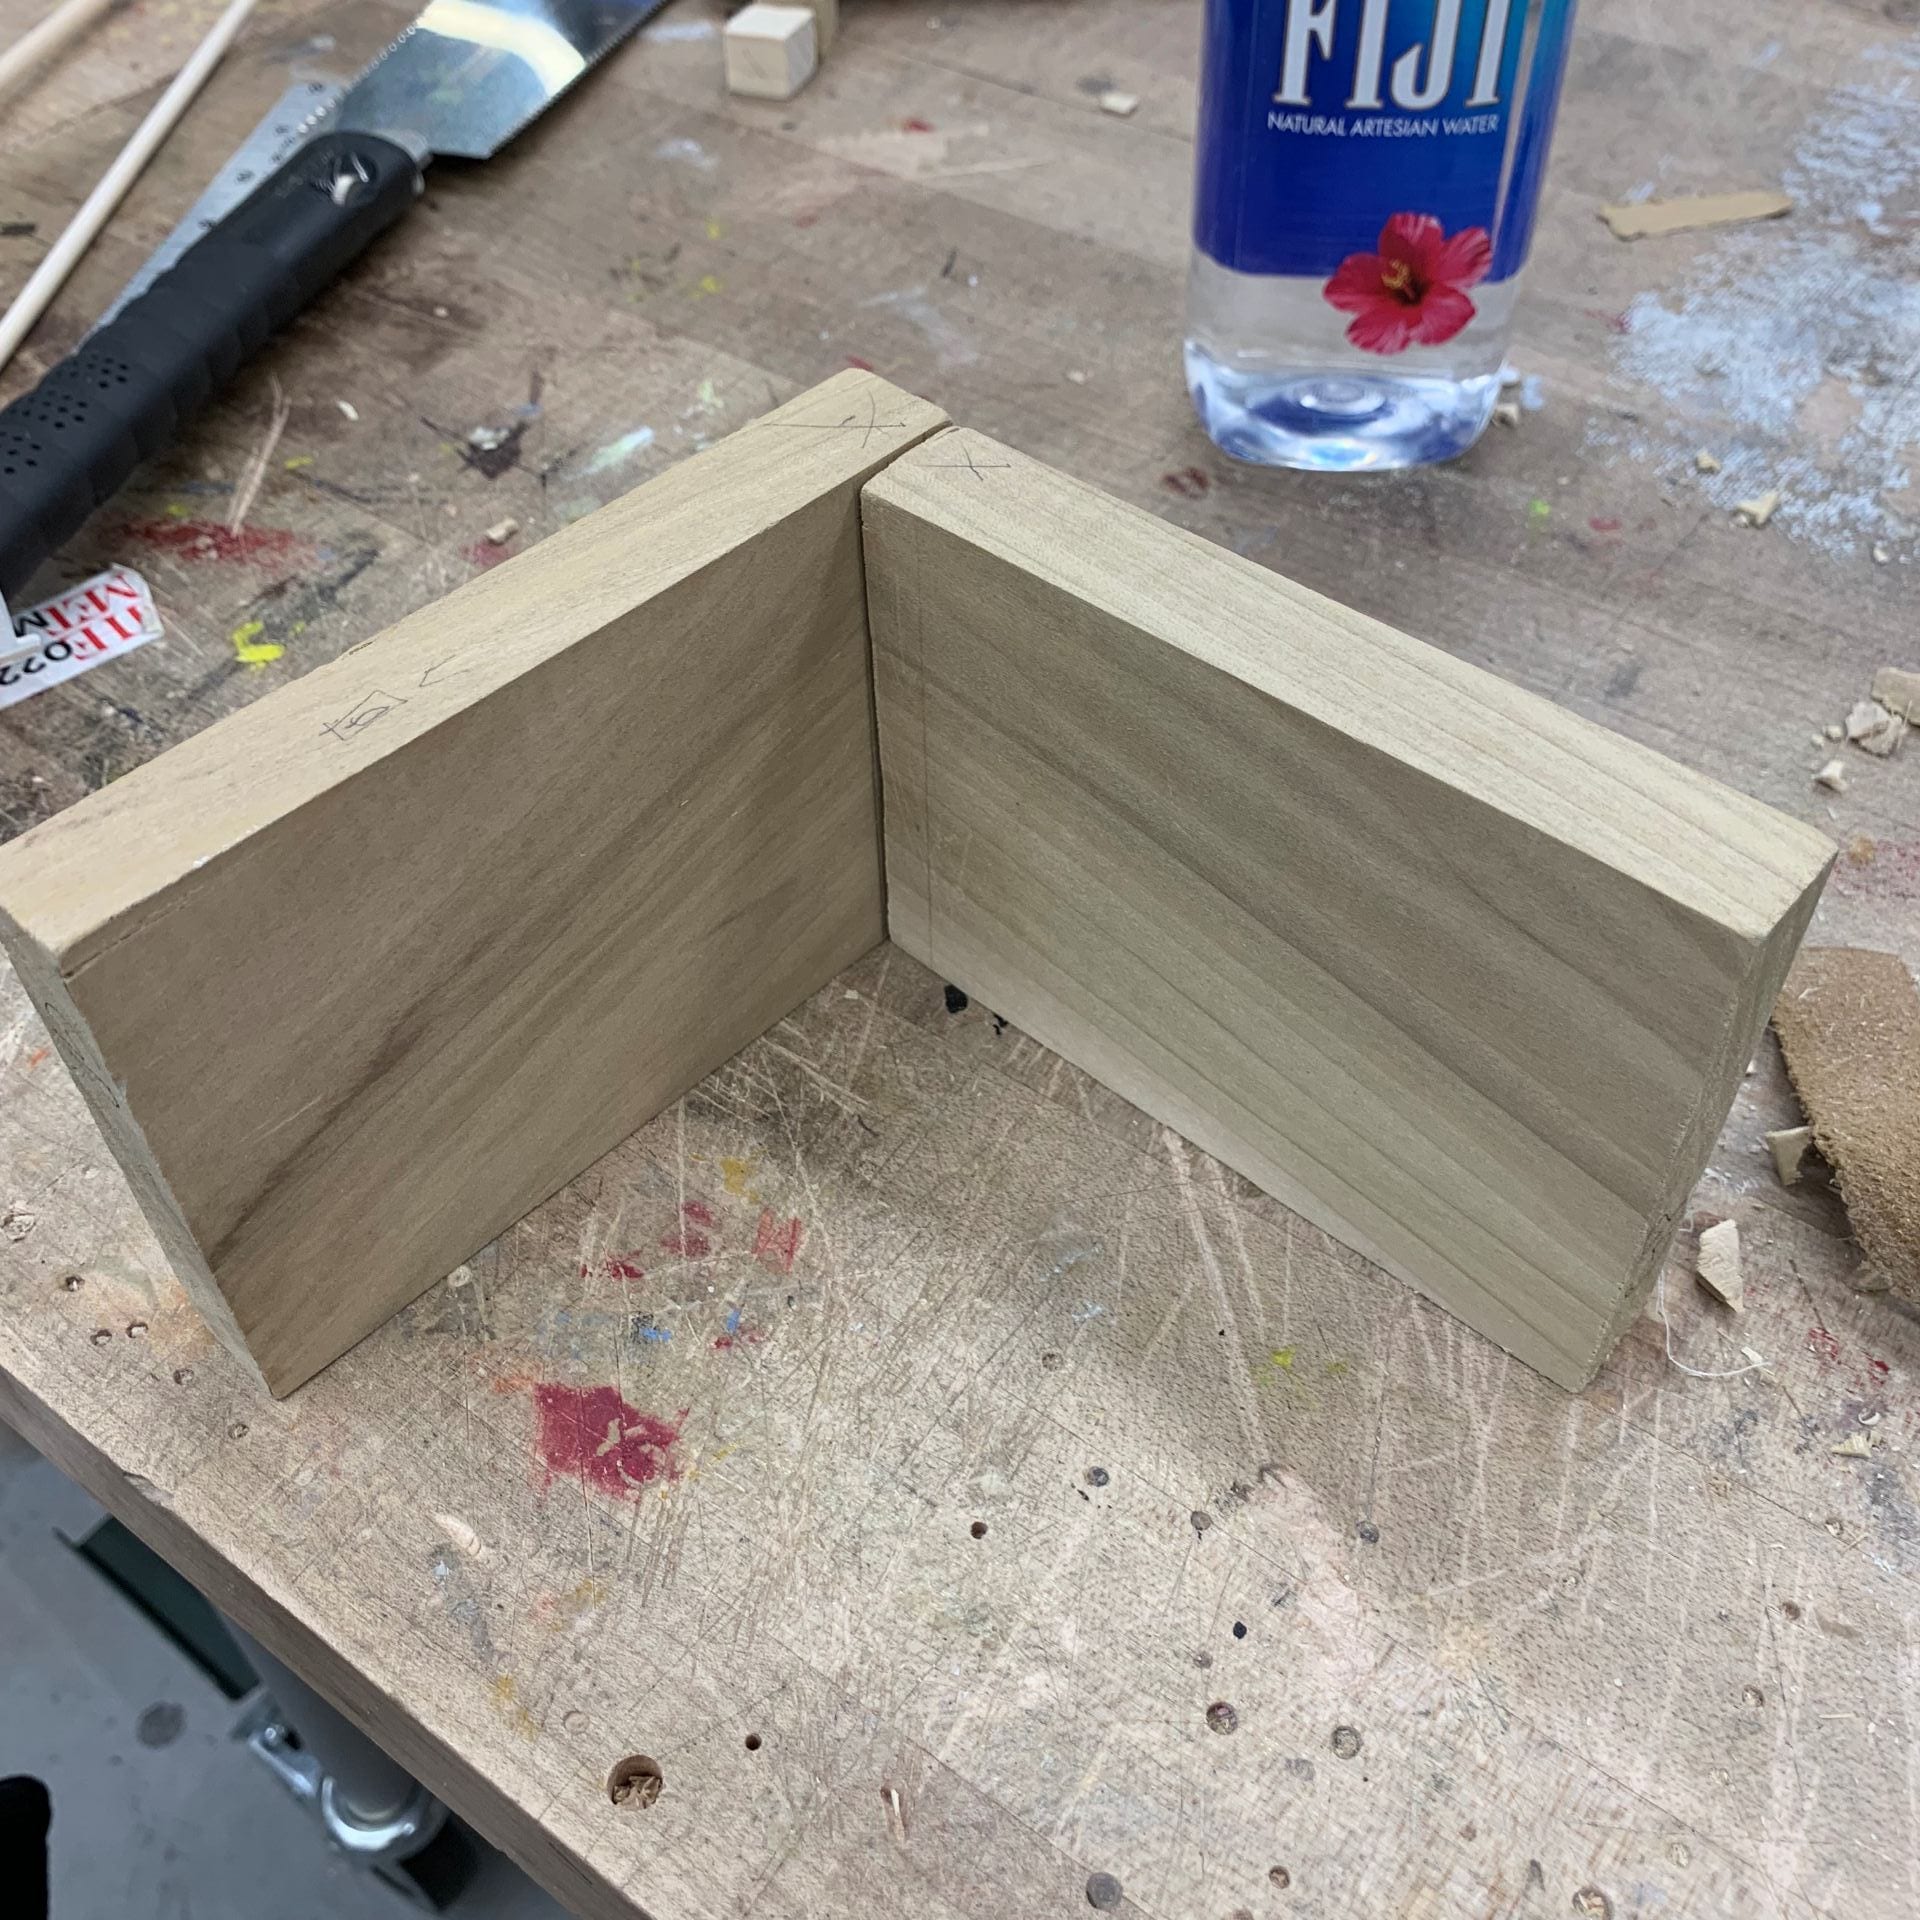
Final Piece:

<Conclusion>
Overall, wood joinery assignment done successfully than I thought because I worried so much due to using new tools and wood. However, I not only learned that there are lots of challenging parts inside of joineries but also learned new skills of using tools.
______________________________________________________________________________
**Extra Credit:Furniture Examples of wood joints**
- Miter Joint
- Frames
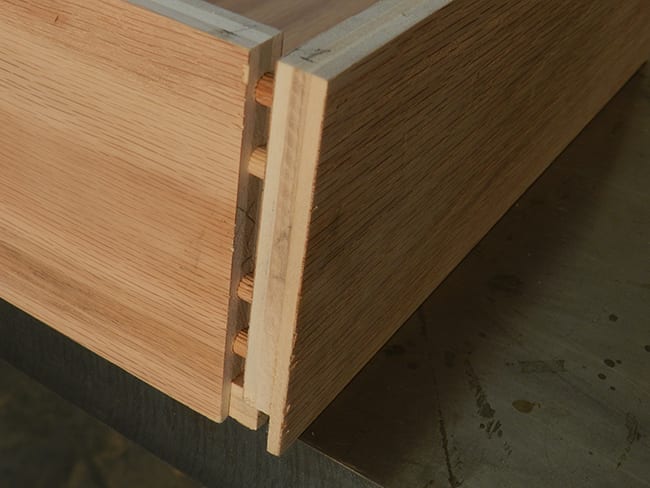
- Dowelled Butt Joint
- Drawers
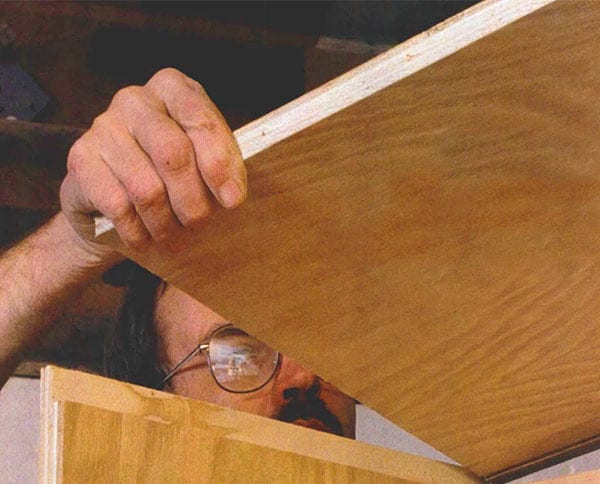
- Rabbet Joint
- Bookshelf
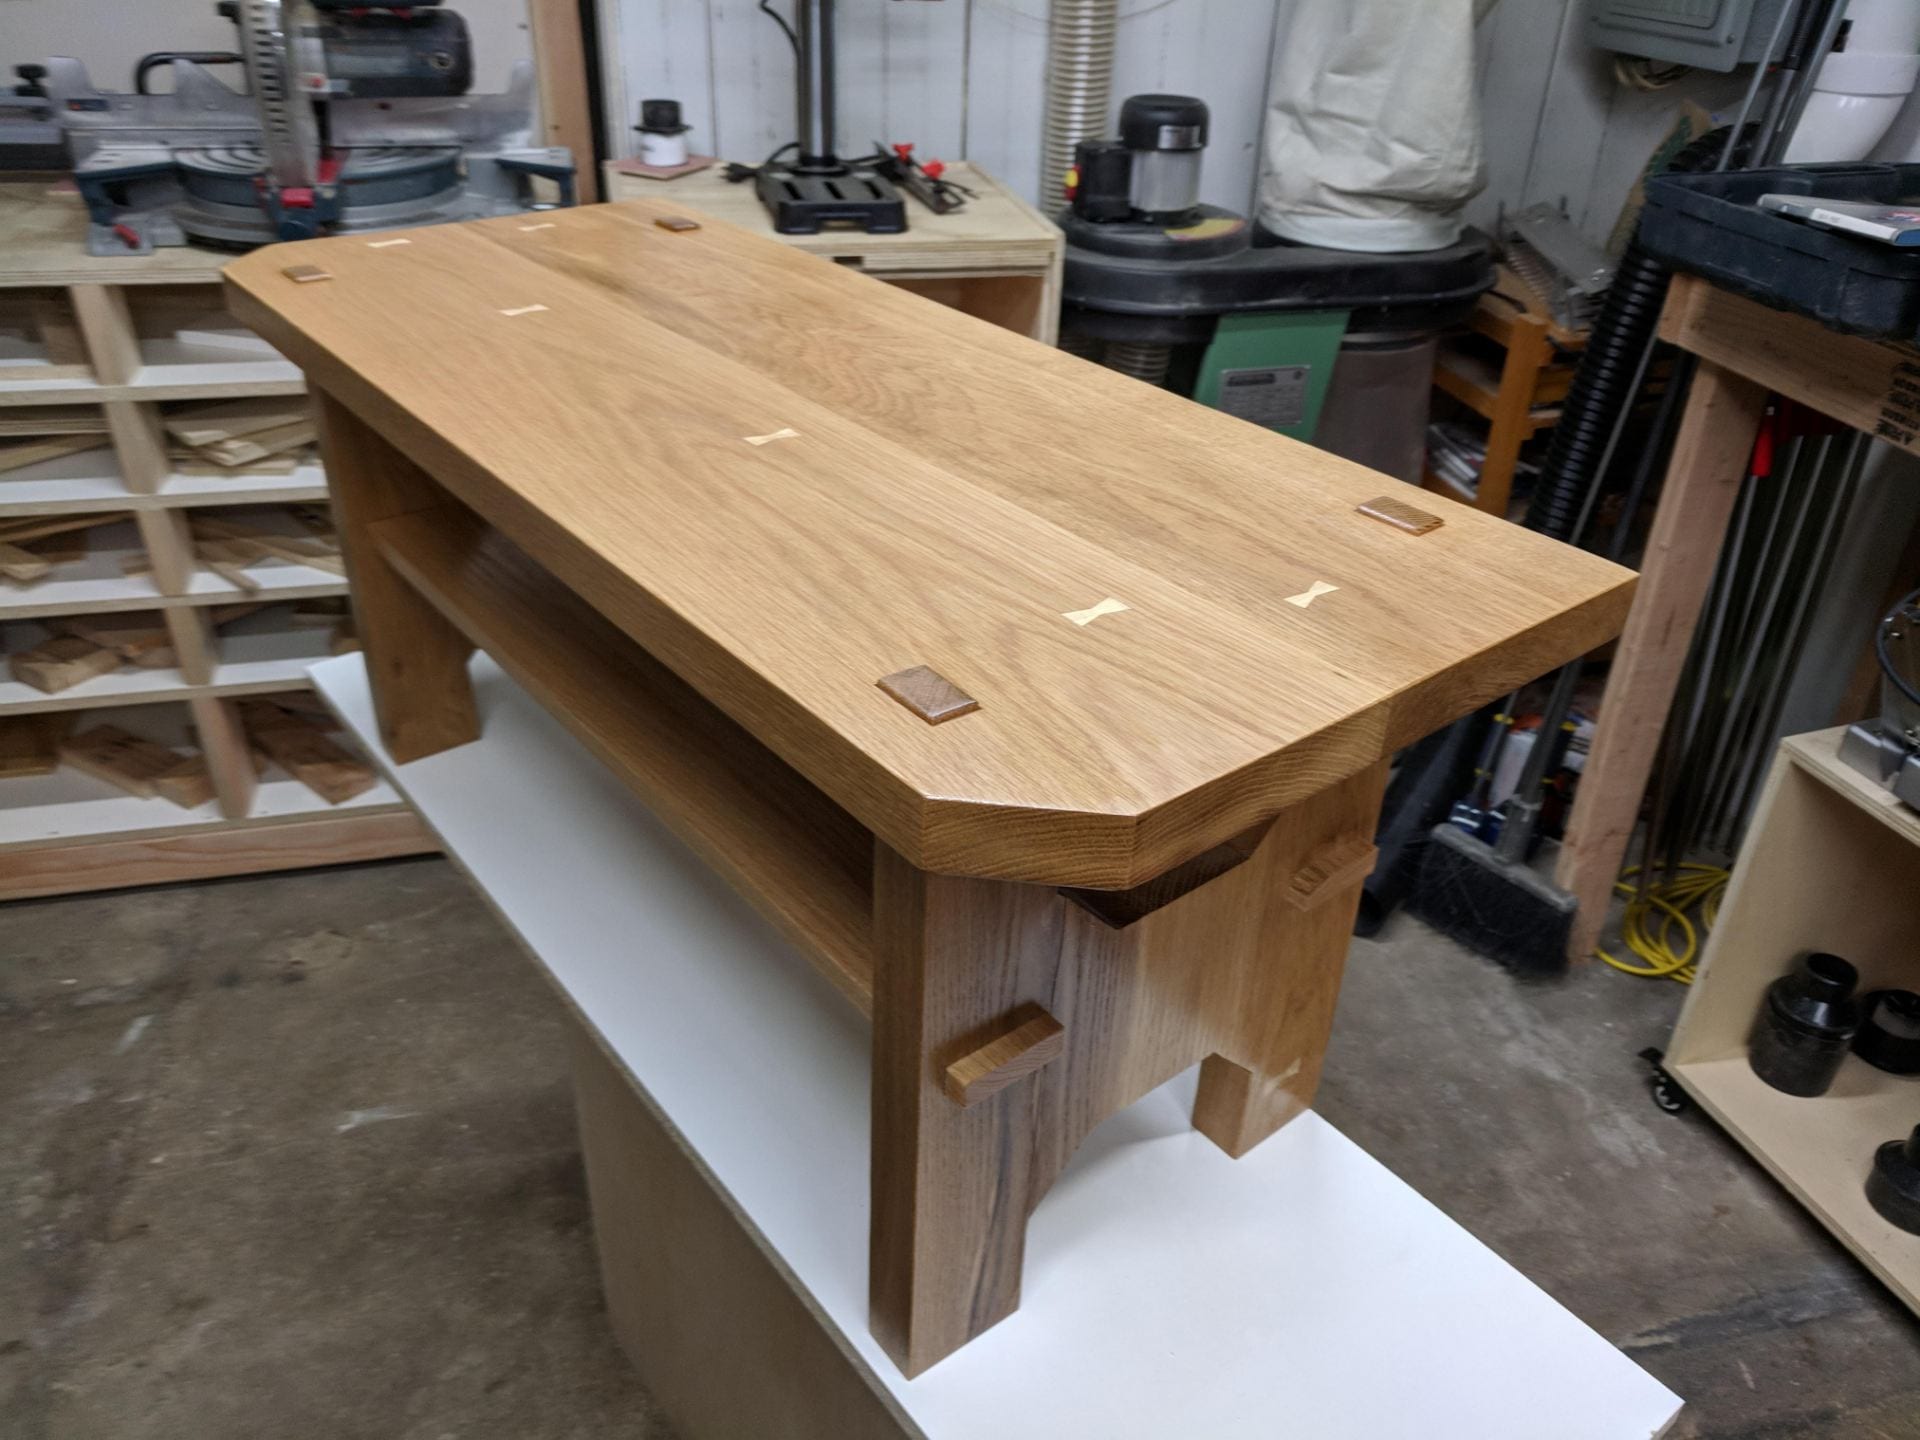
- Mortise&Tenon Joint
- Bench
- Finger Joint
- Drawer
