Project: To learn the basic principles of designing a skirt, also taking into consideration body size and tailoring. The skirt project included a basic size 6 skirt made to fit a mannequin and a personal fit skirt to fit my own body measurements.
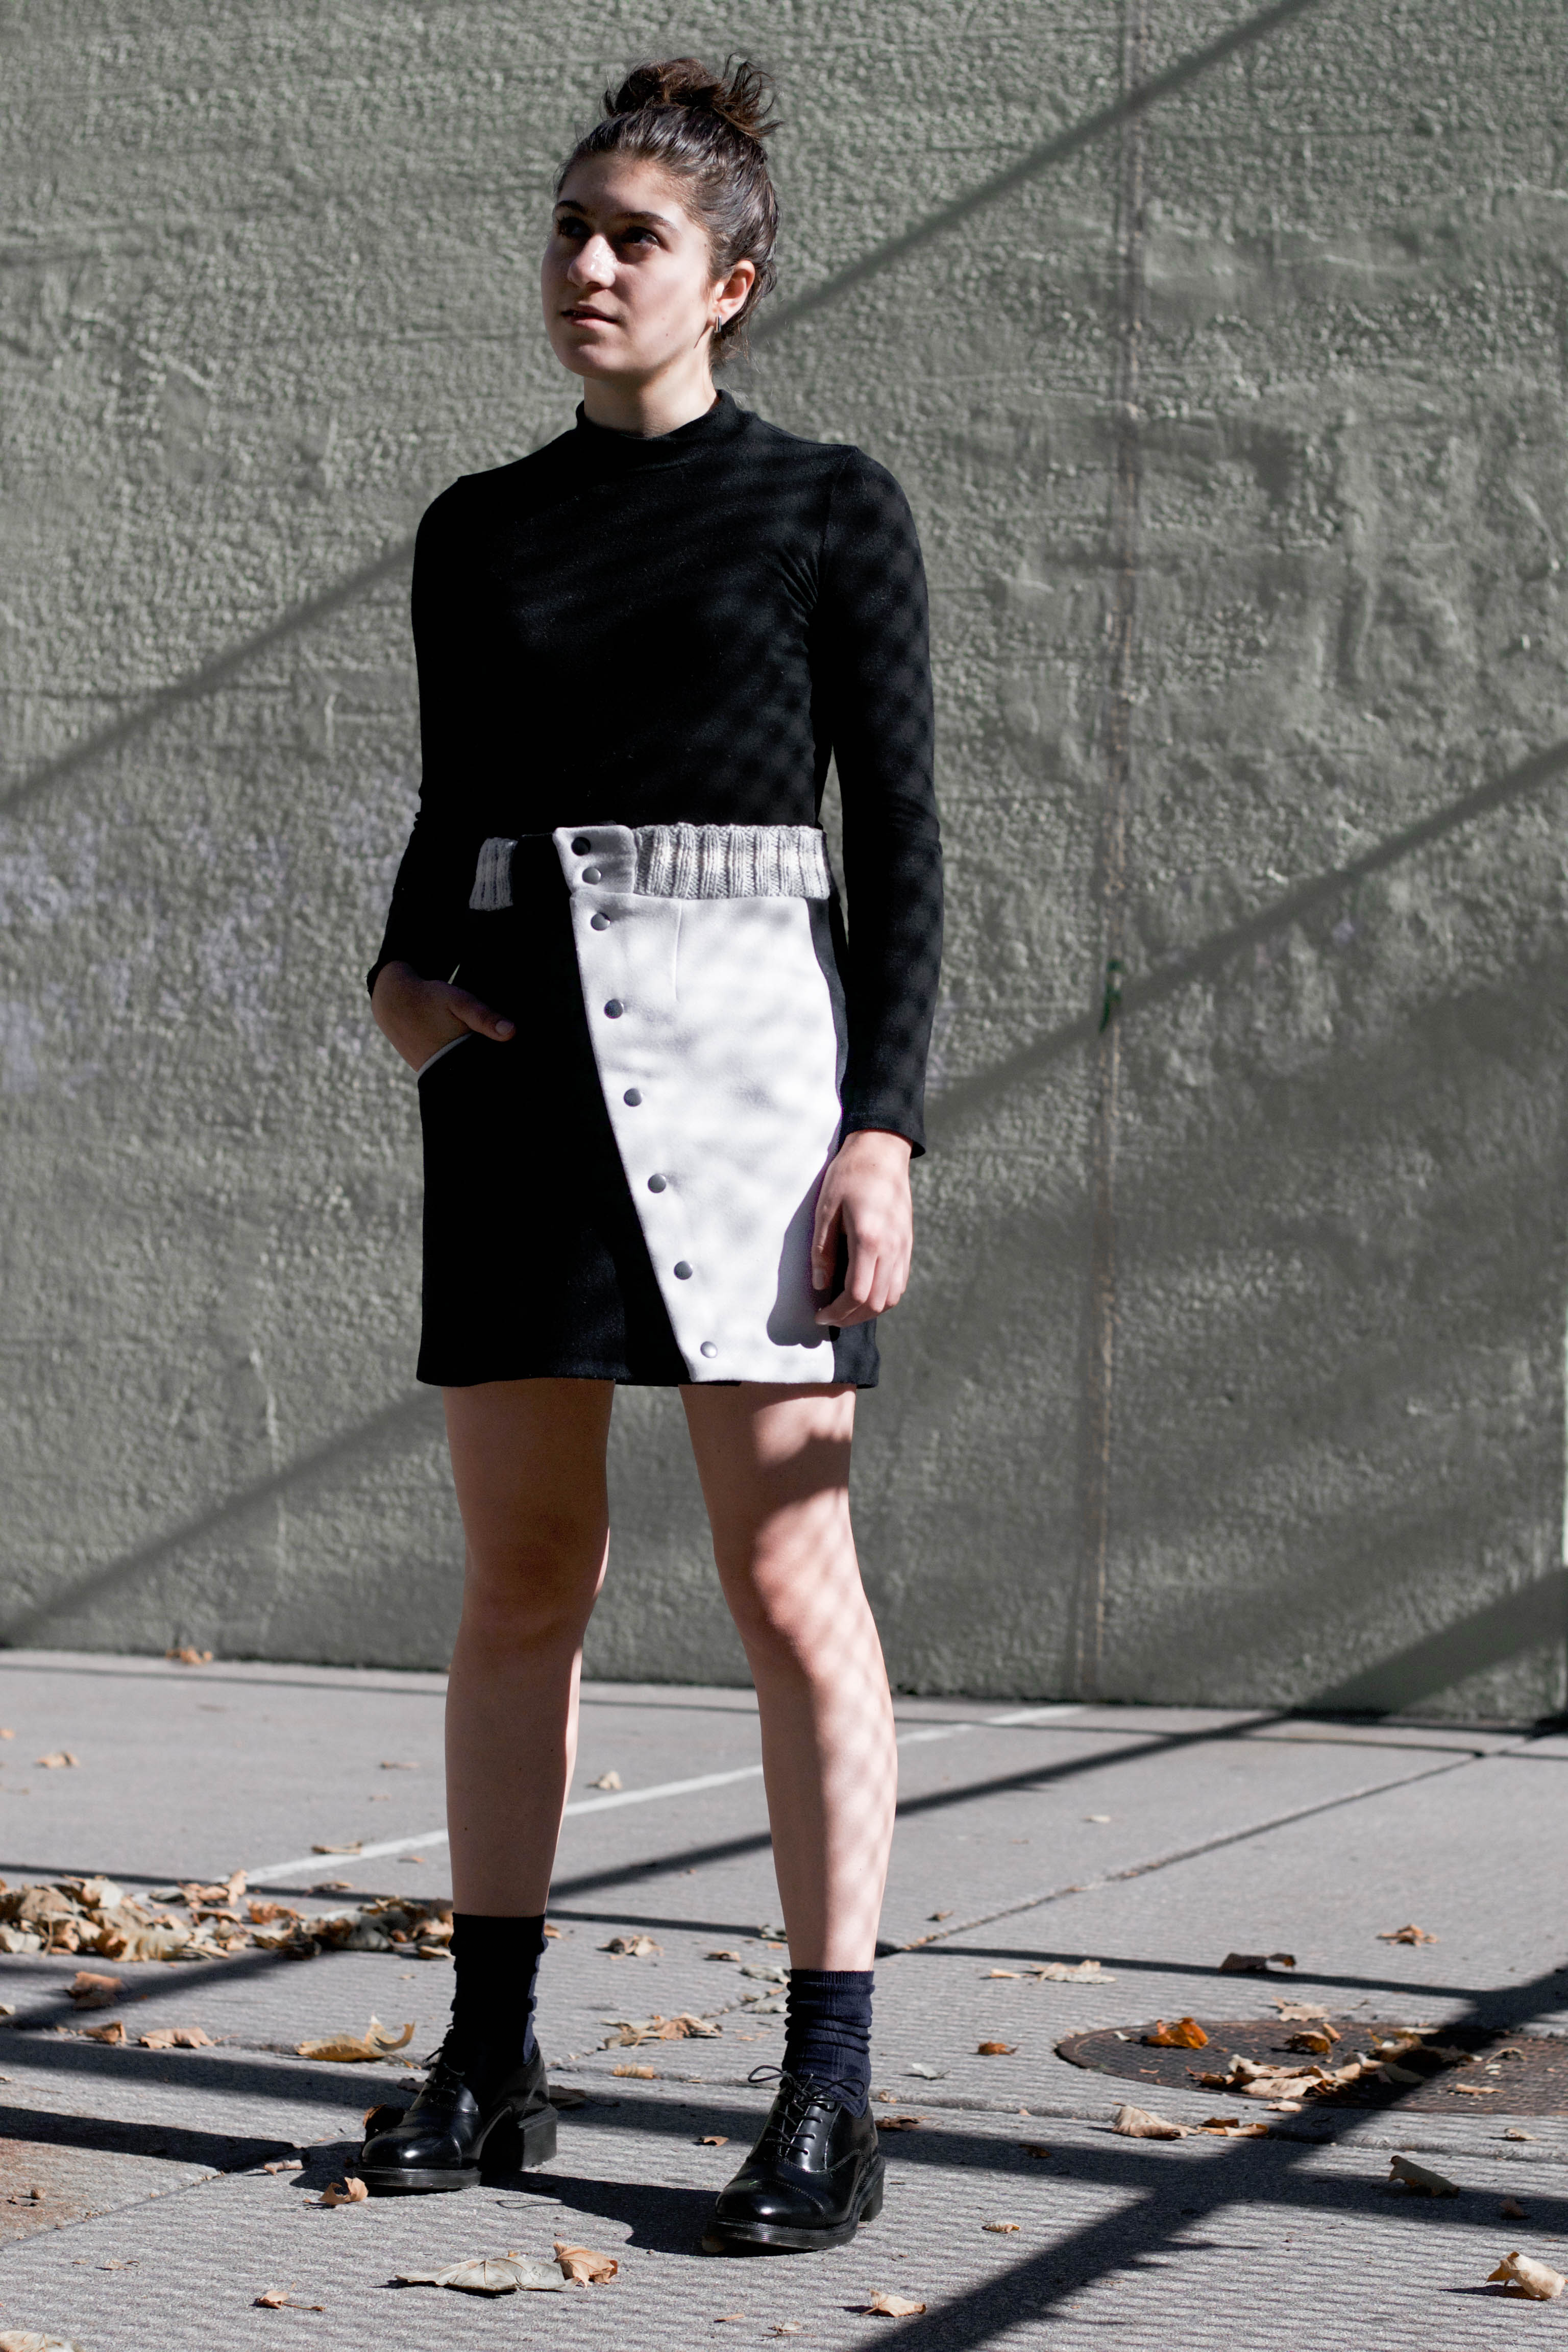
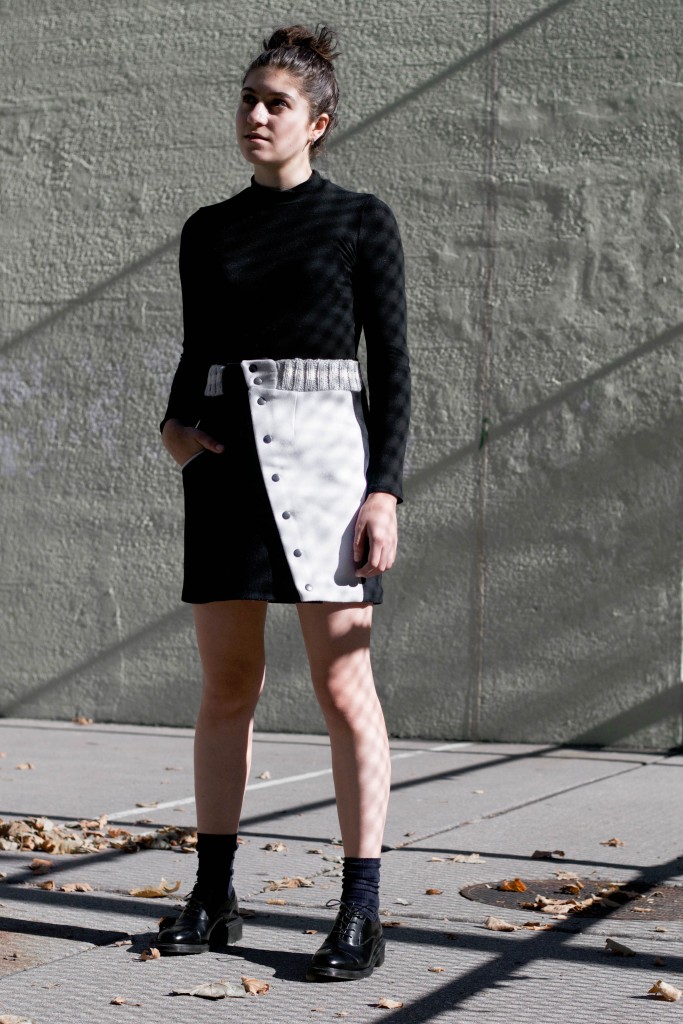
Personal Fit Skirt
Final
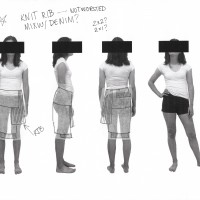
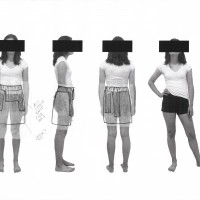
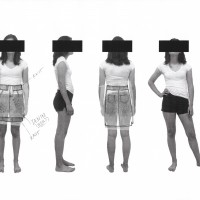
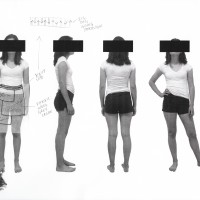
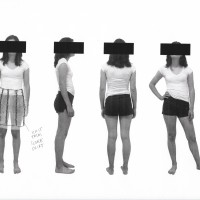
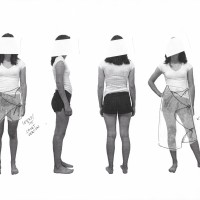
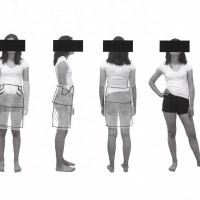
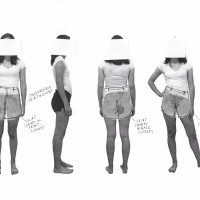
Photoshoot

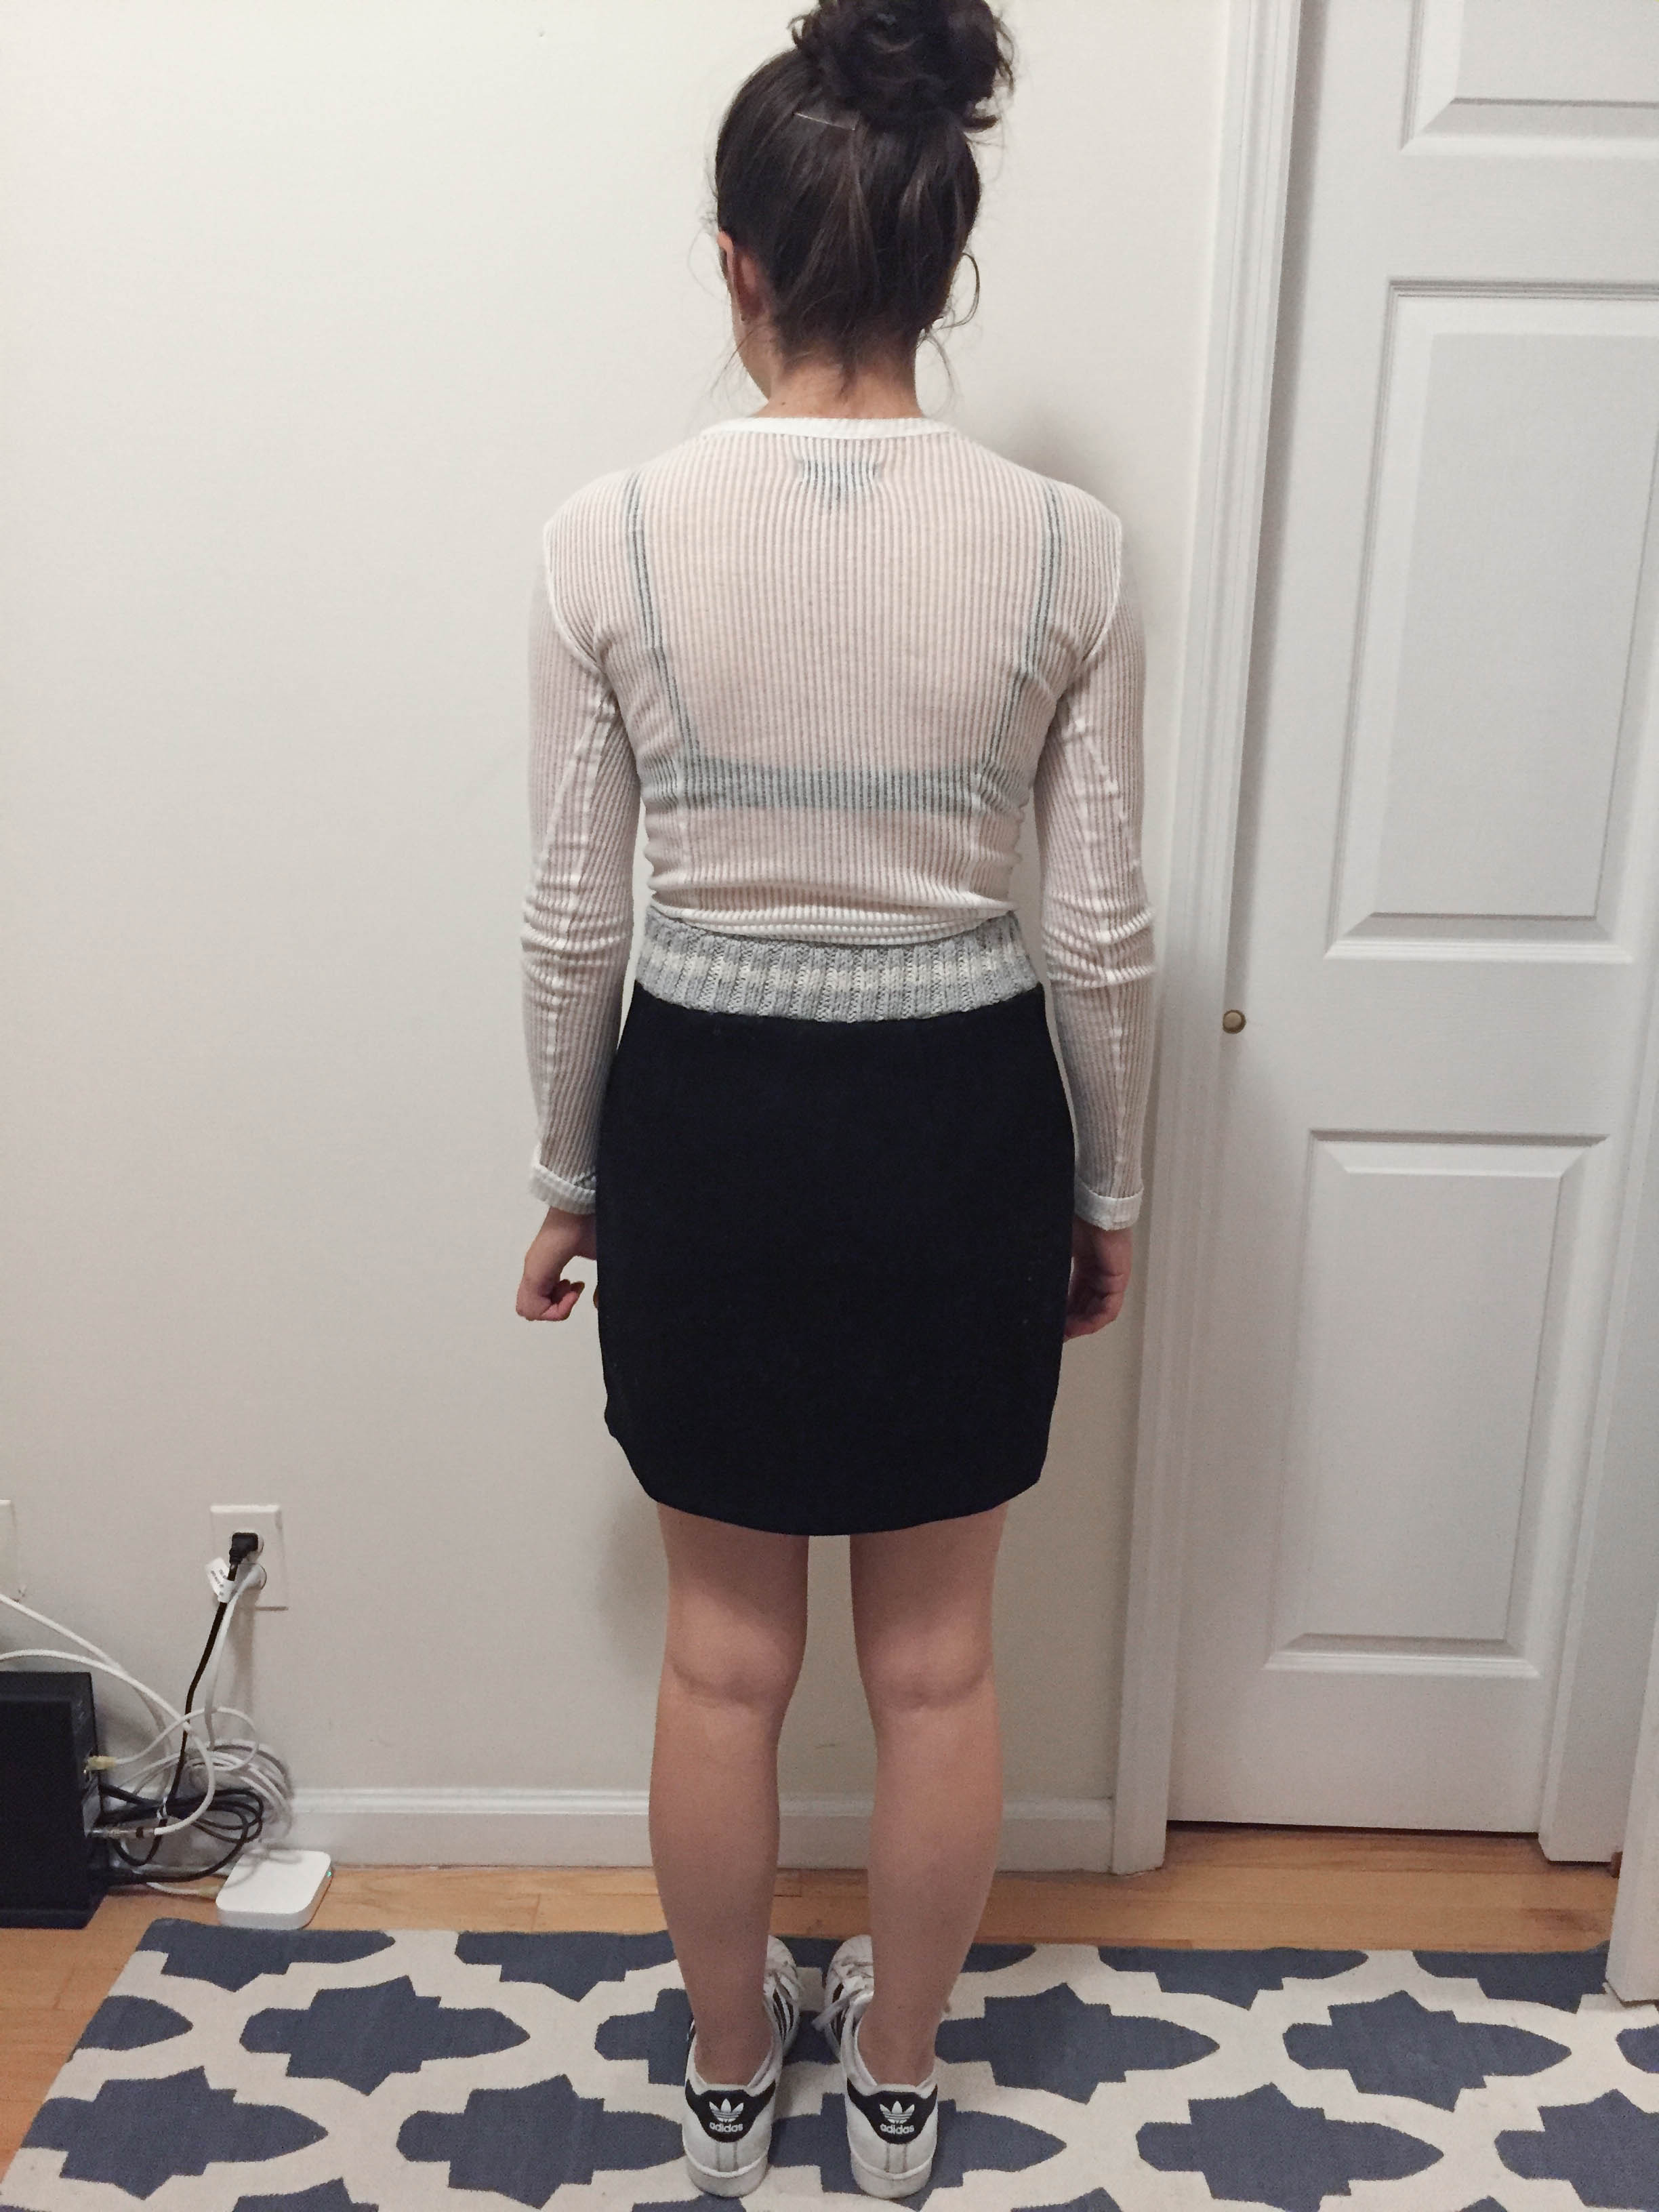
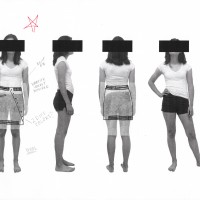
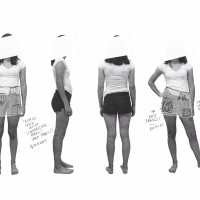
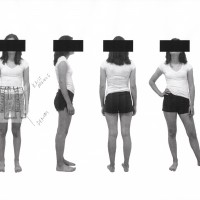
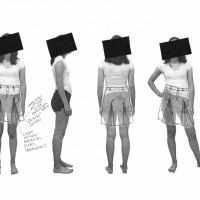
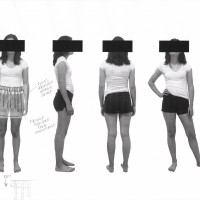
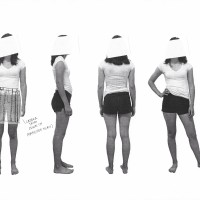
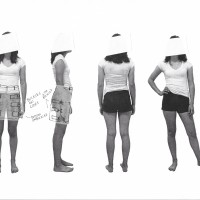
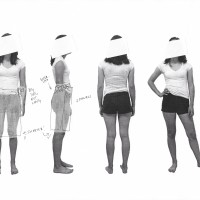
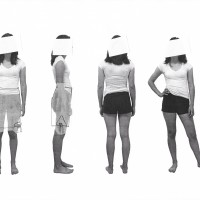
(on me)

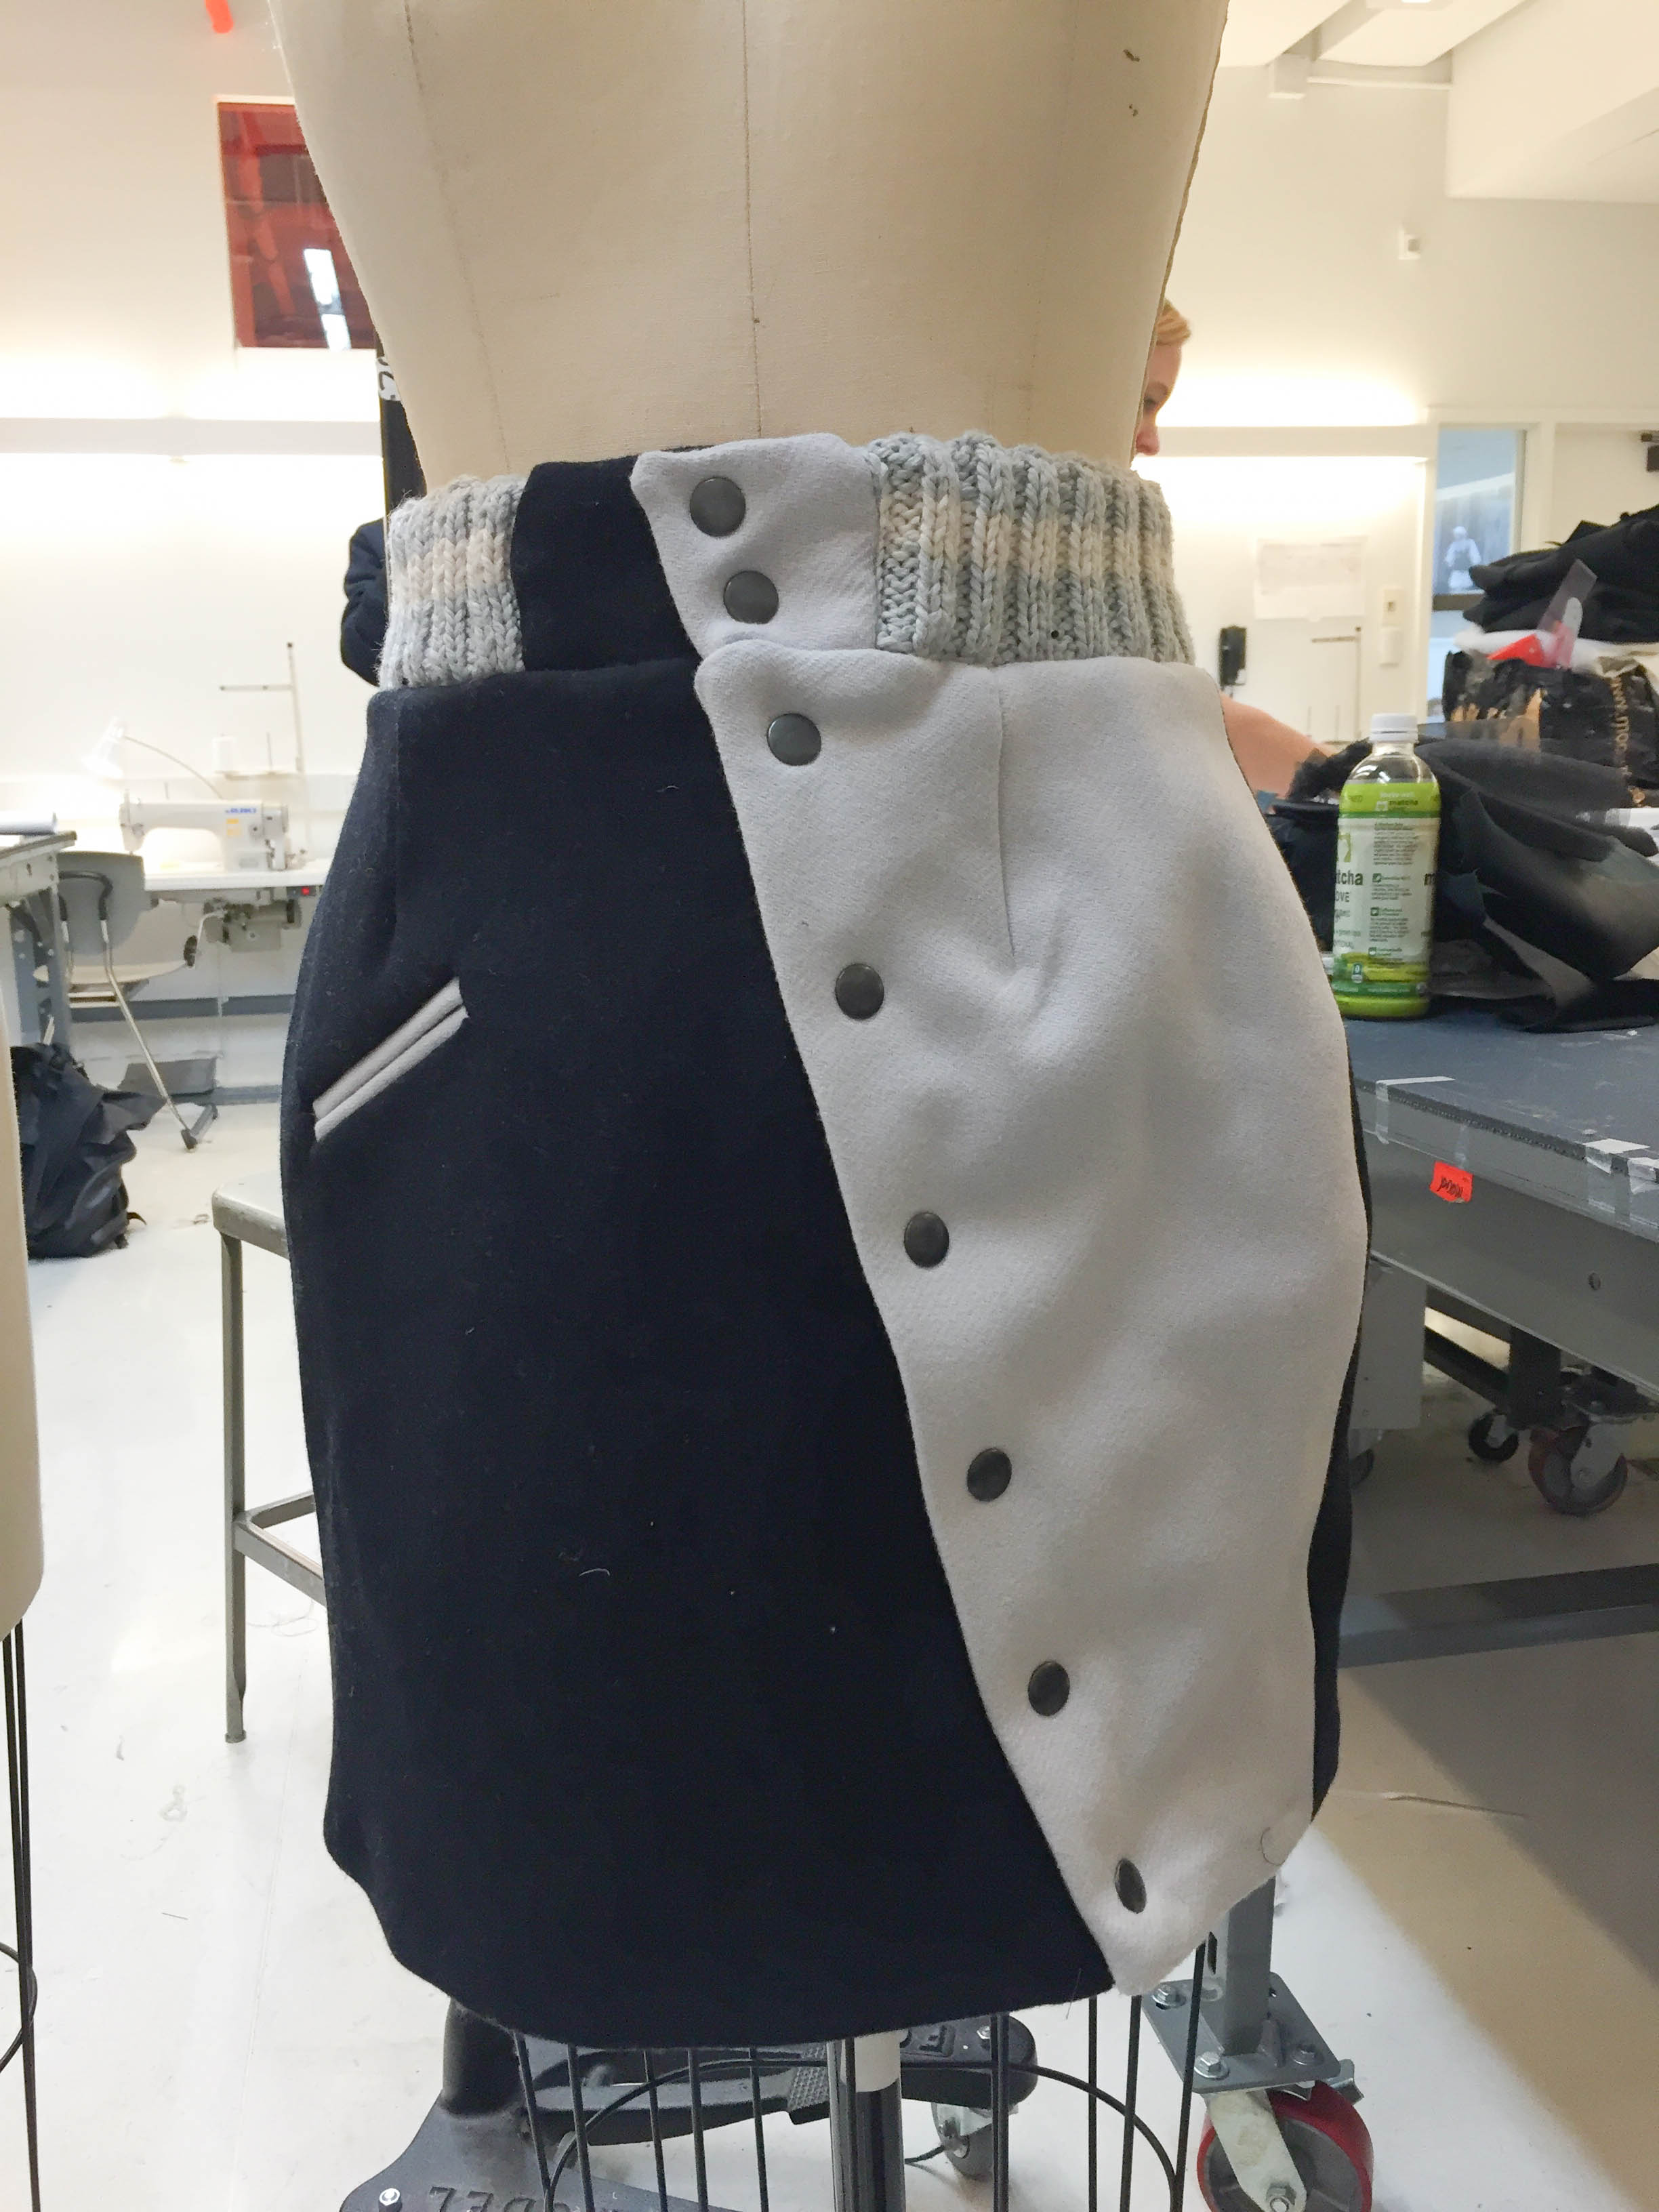
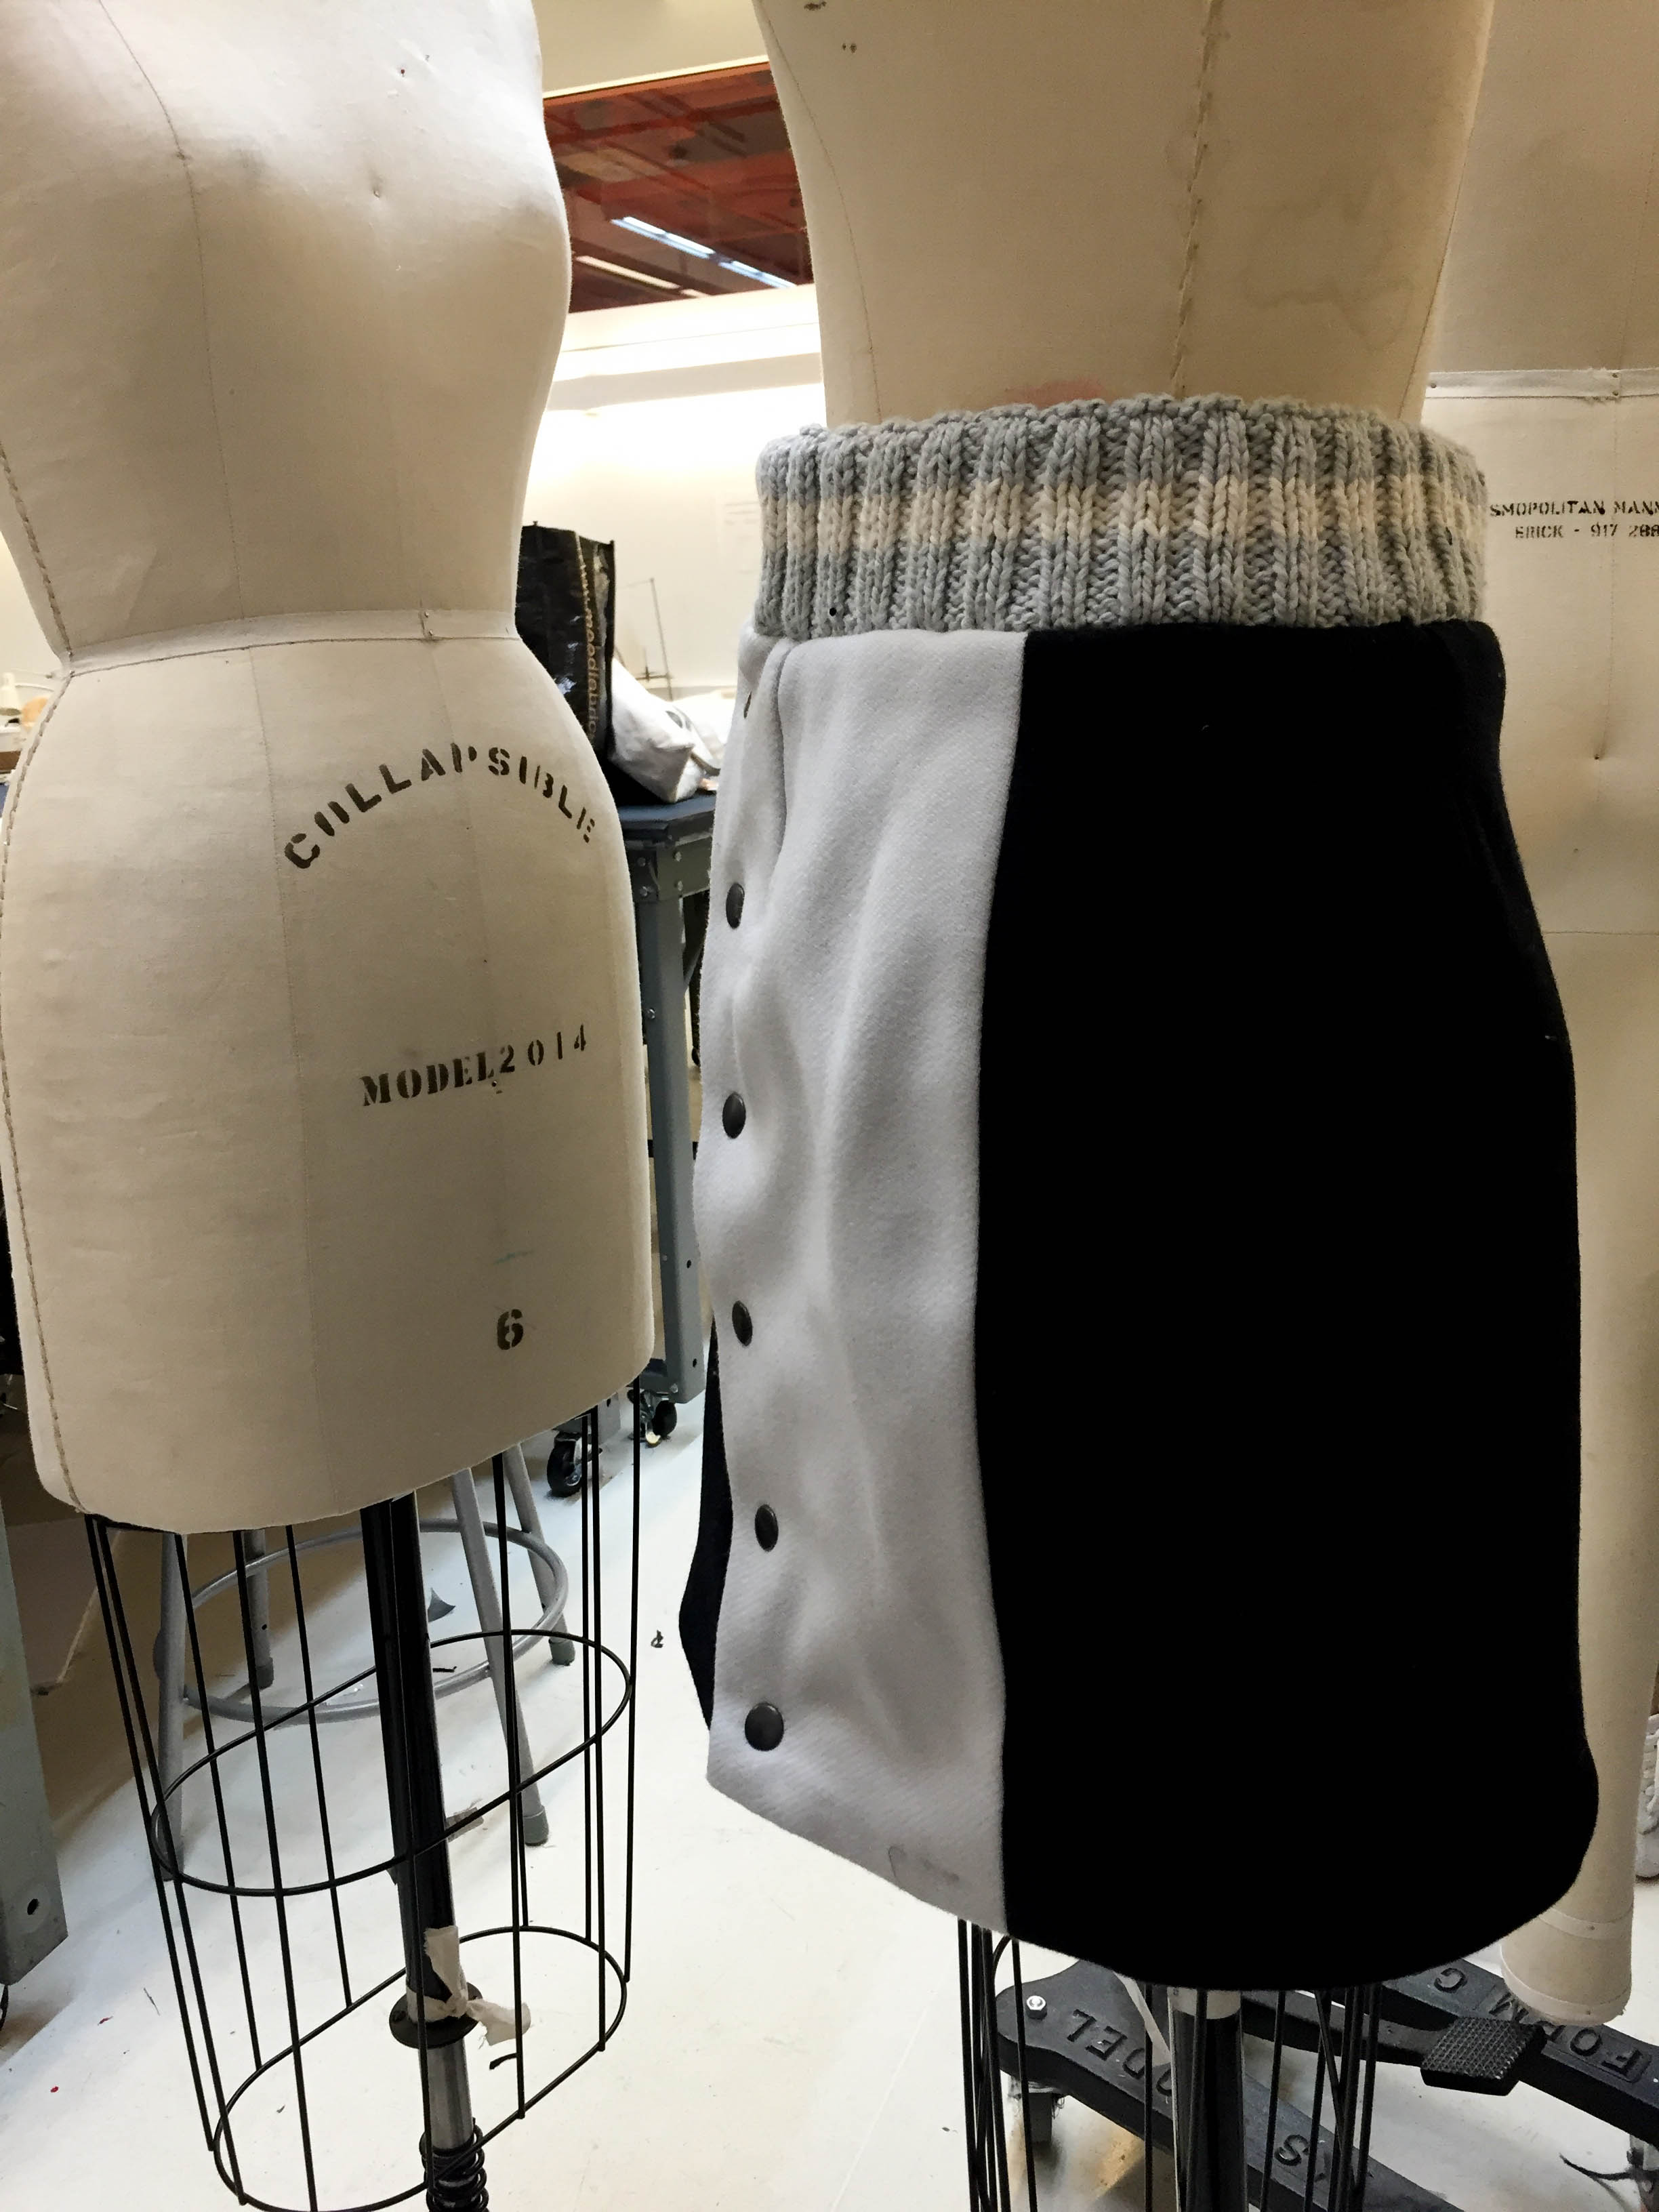
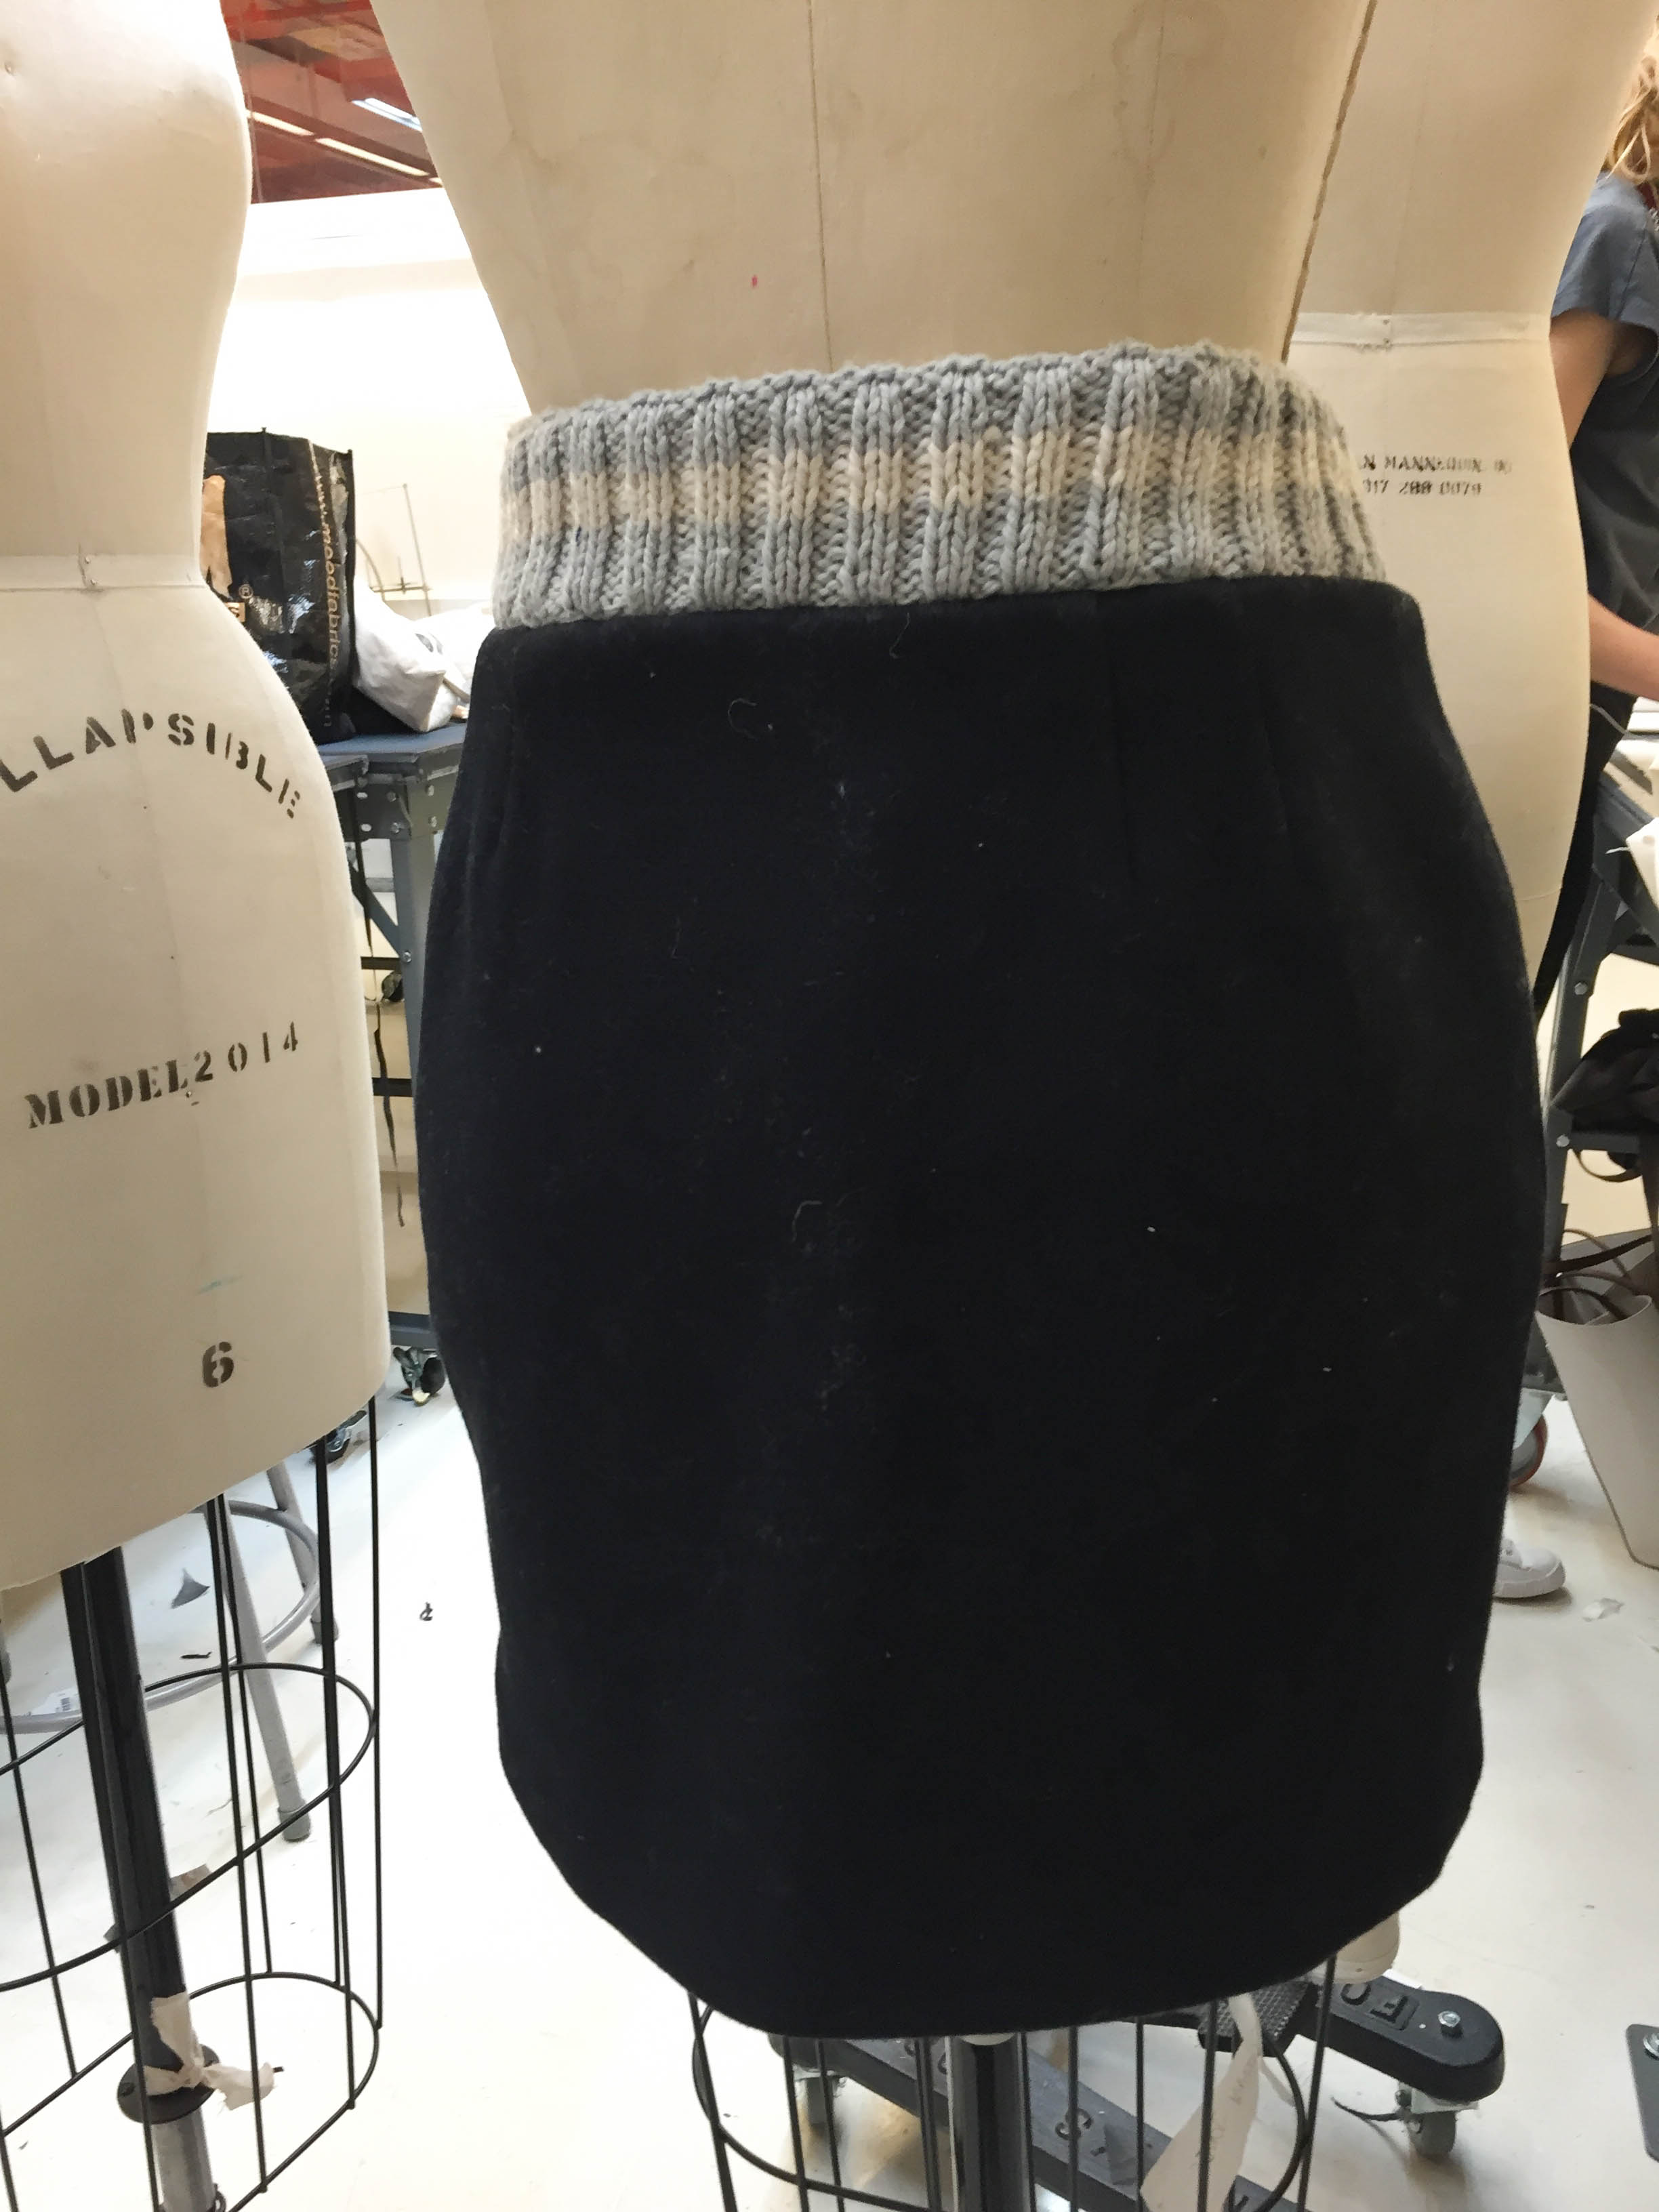
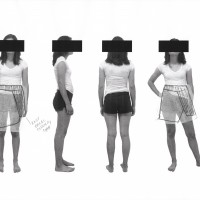
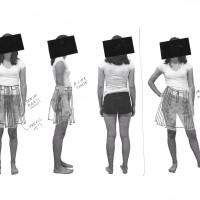
(on mannequin)
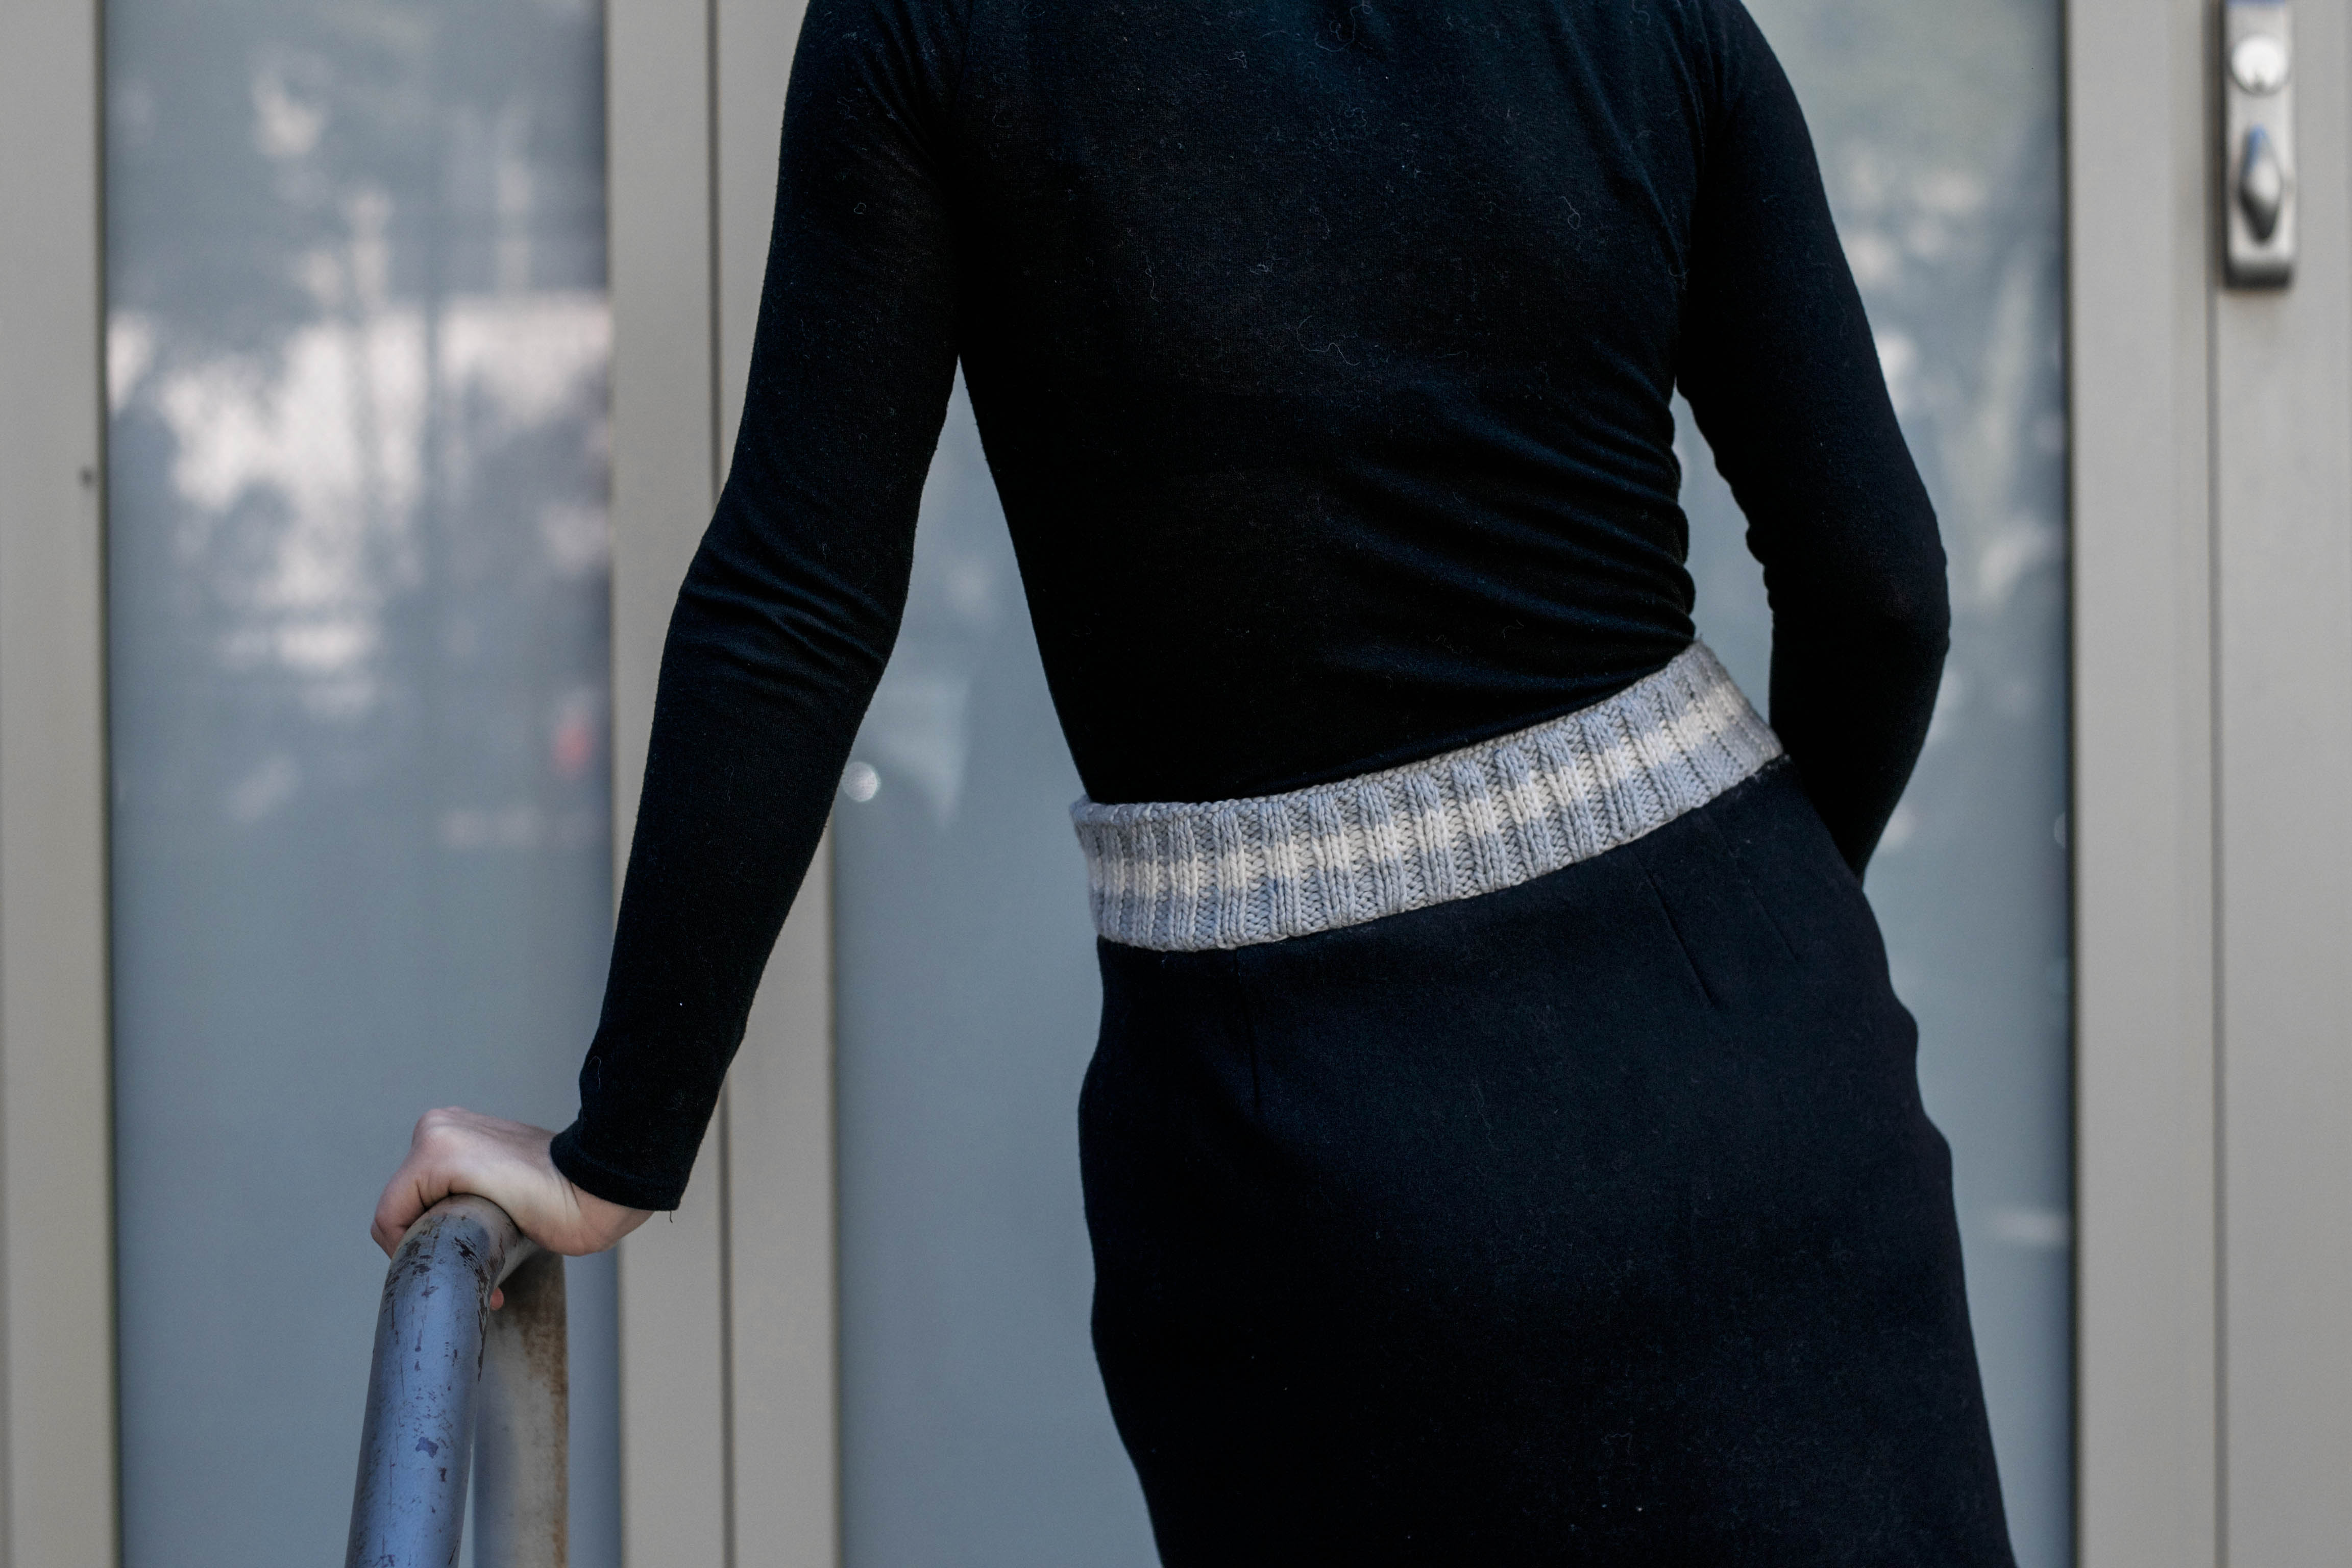
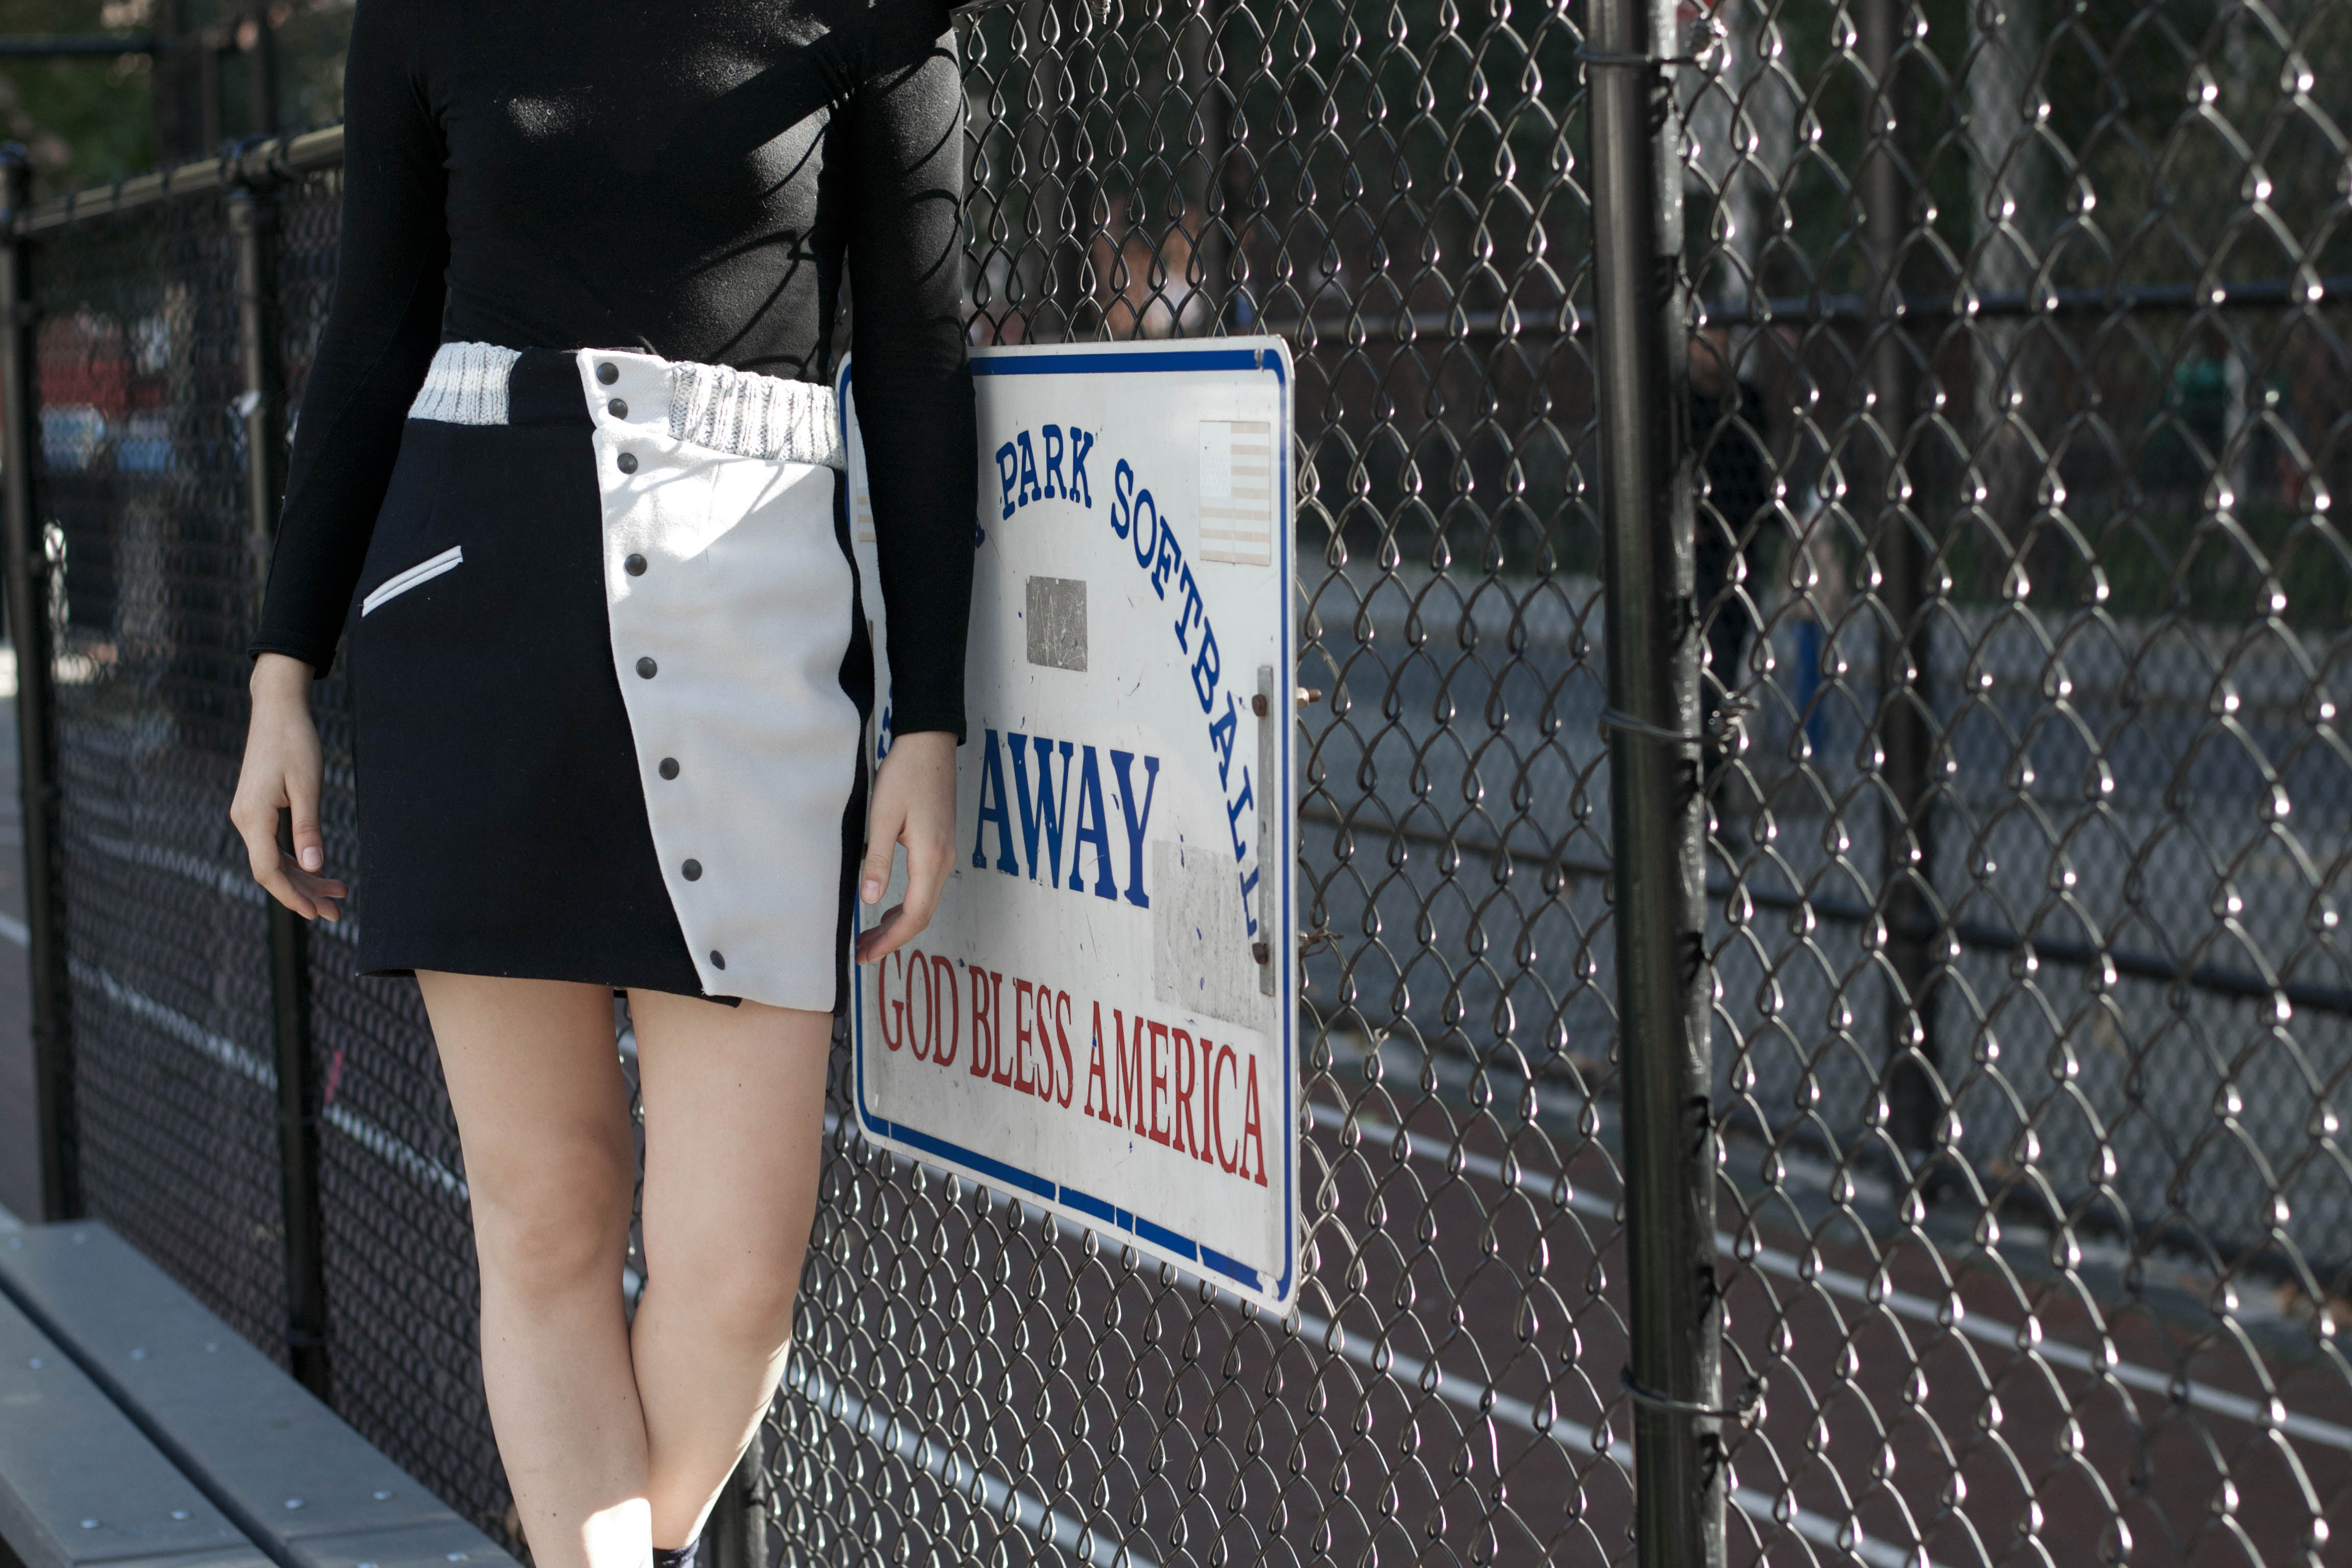
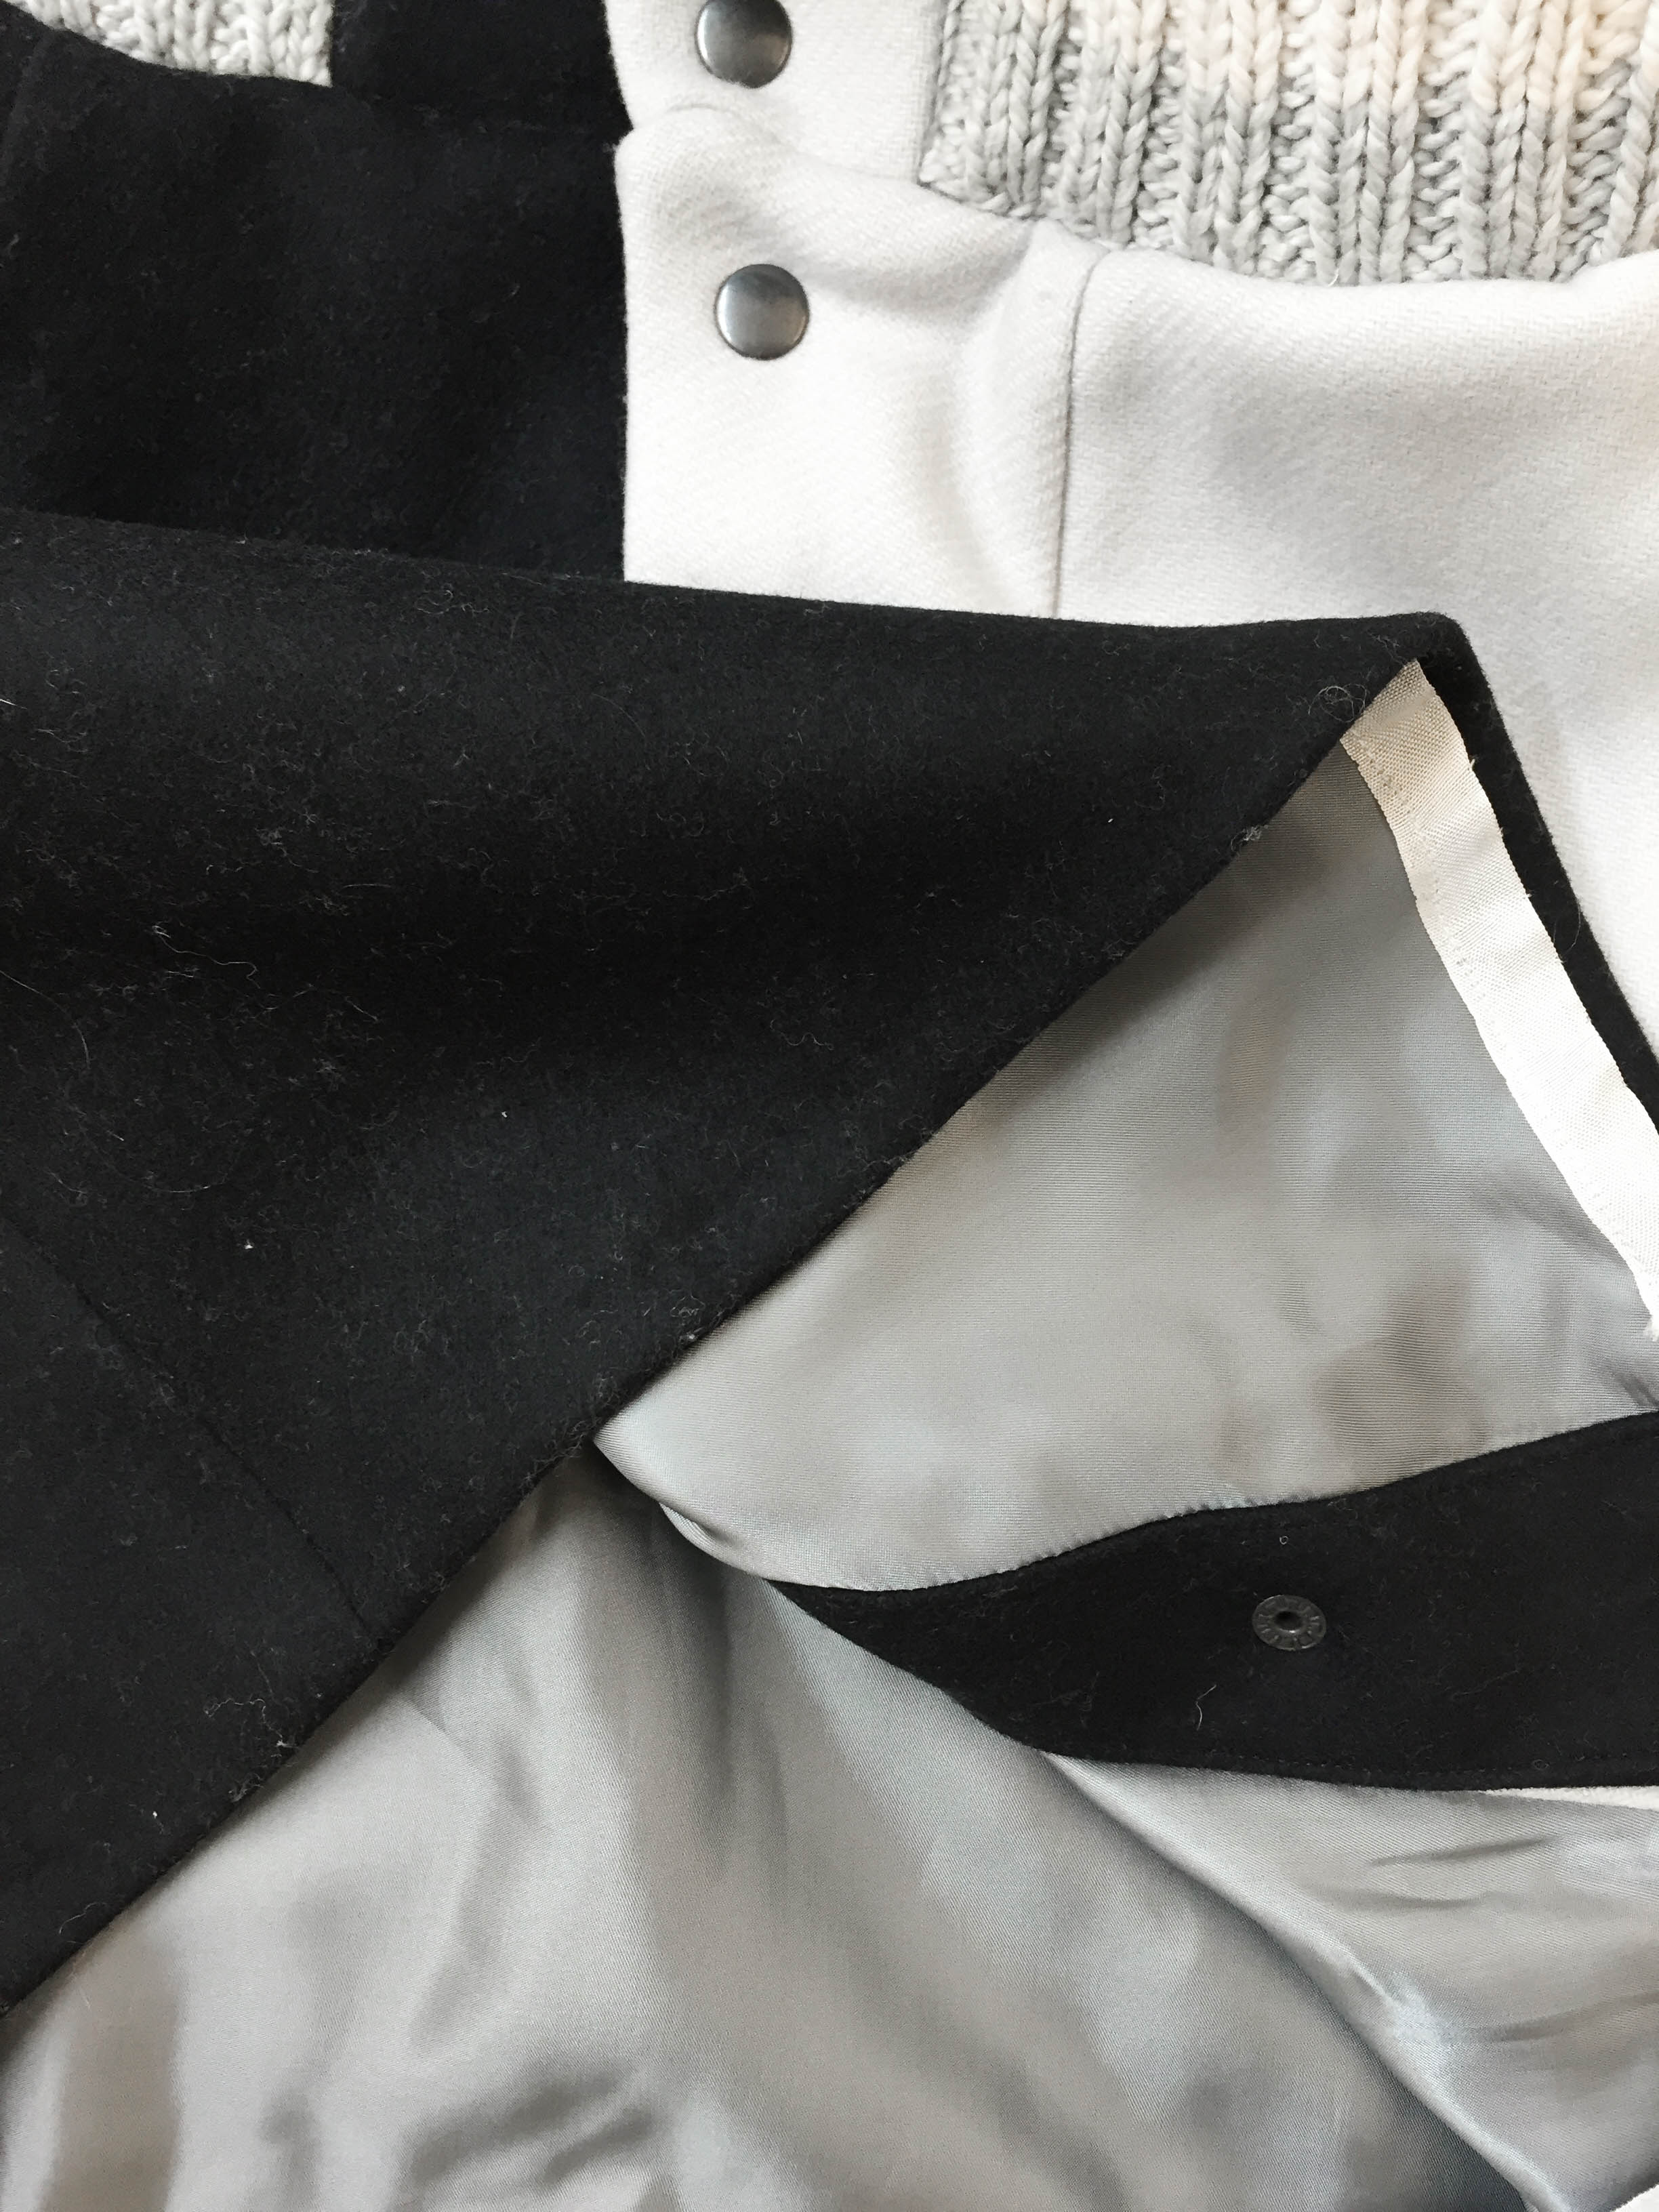
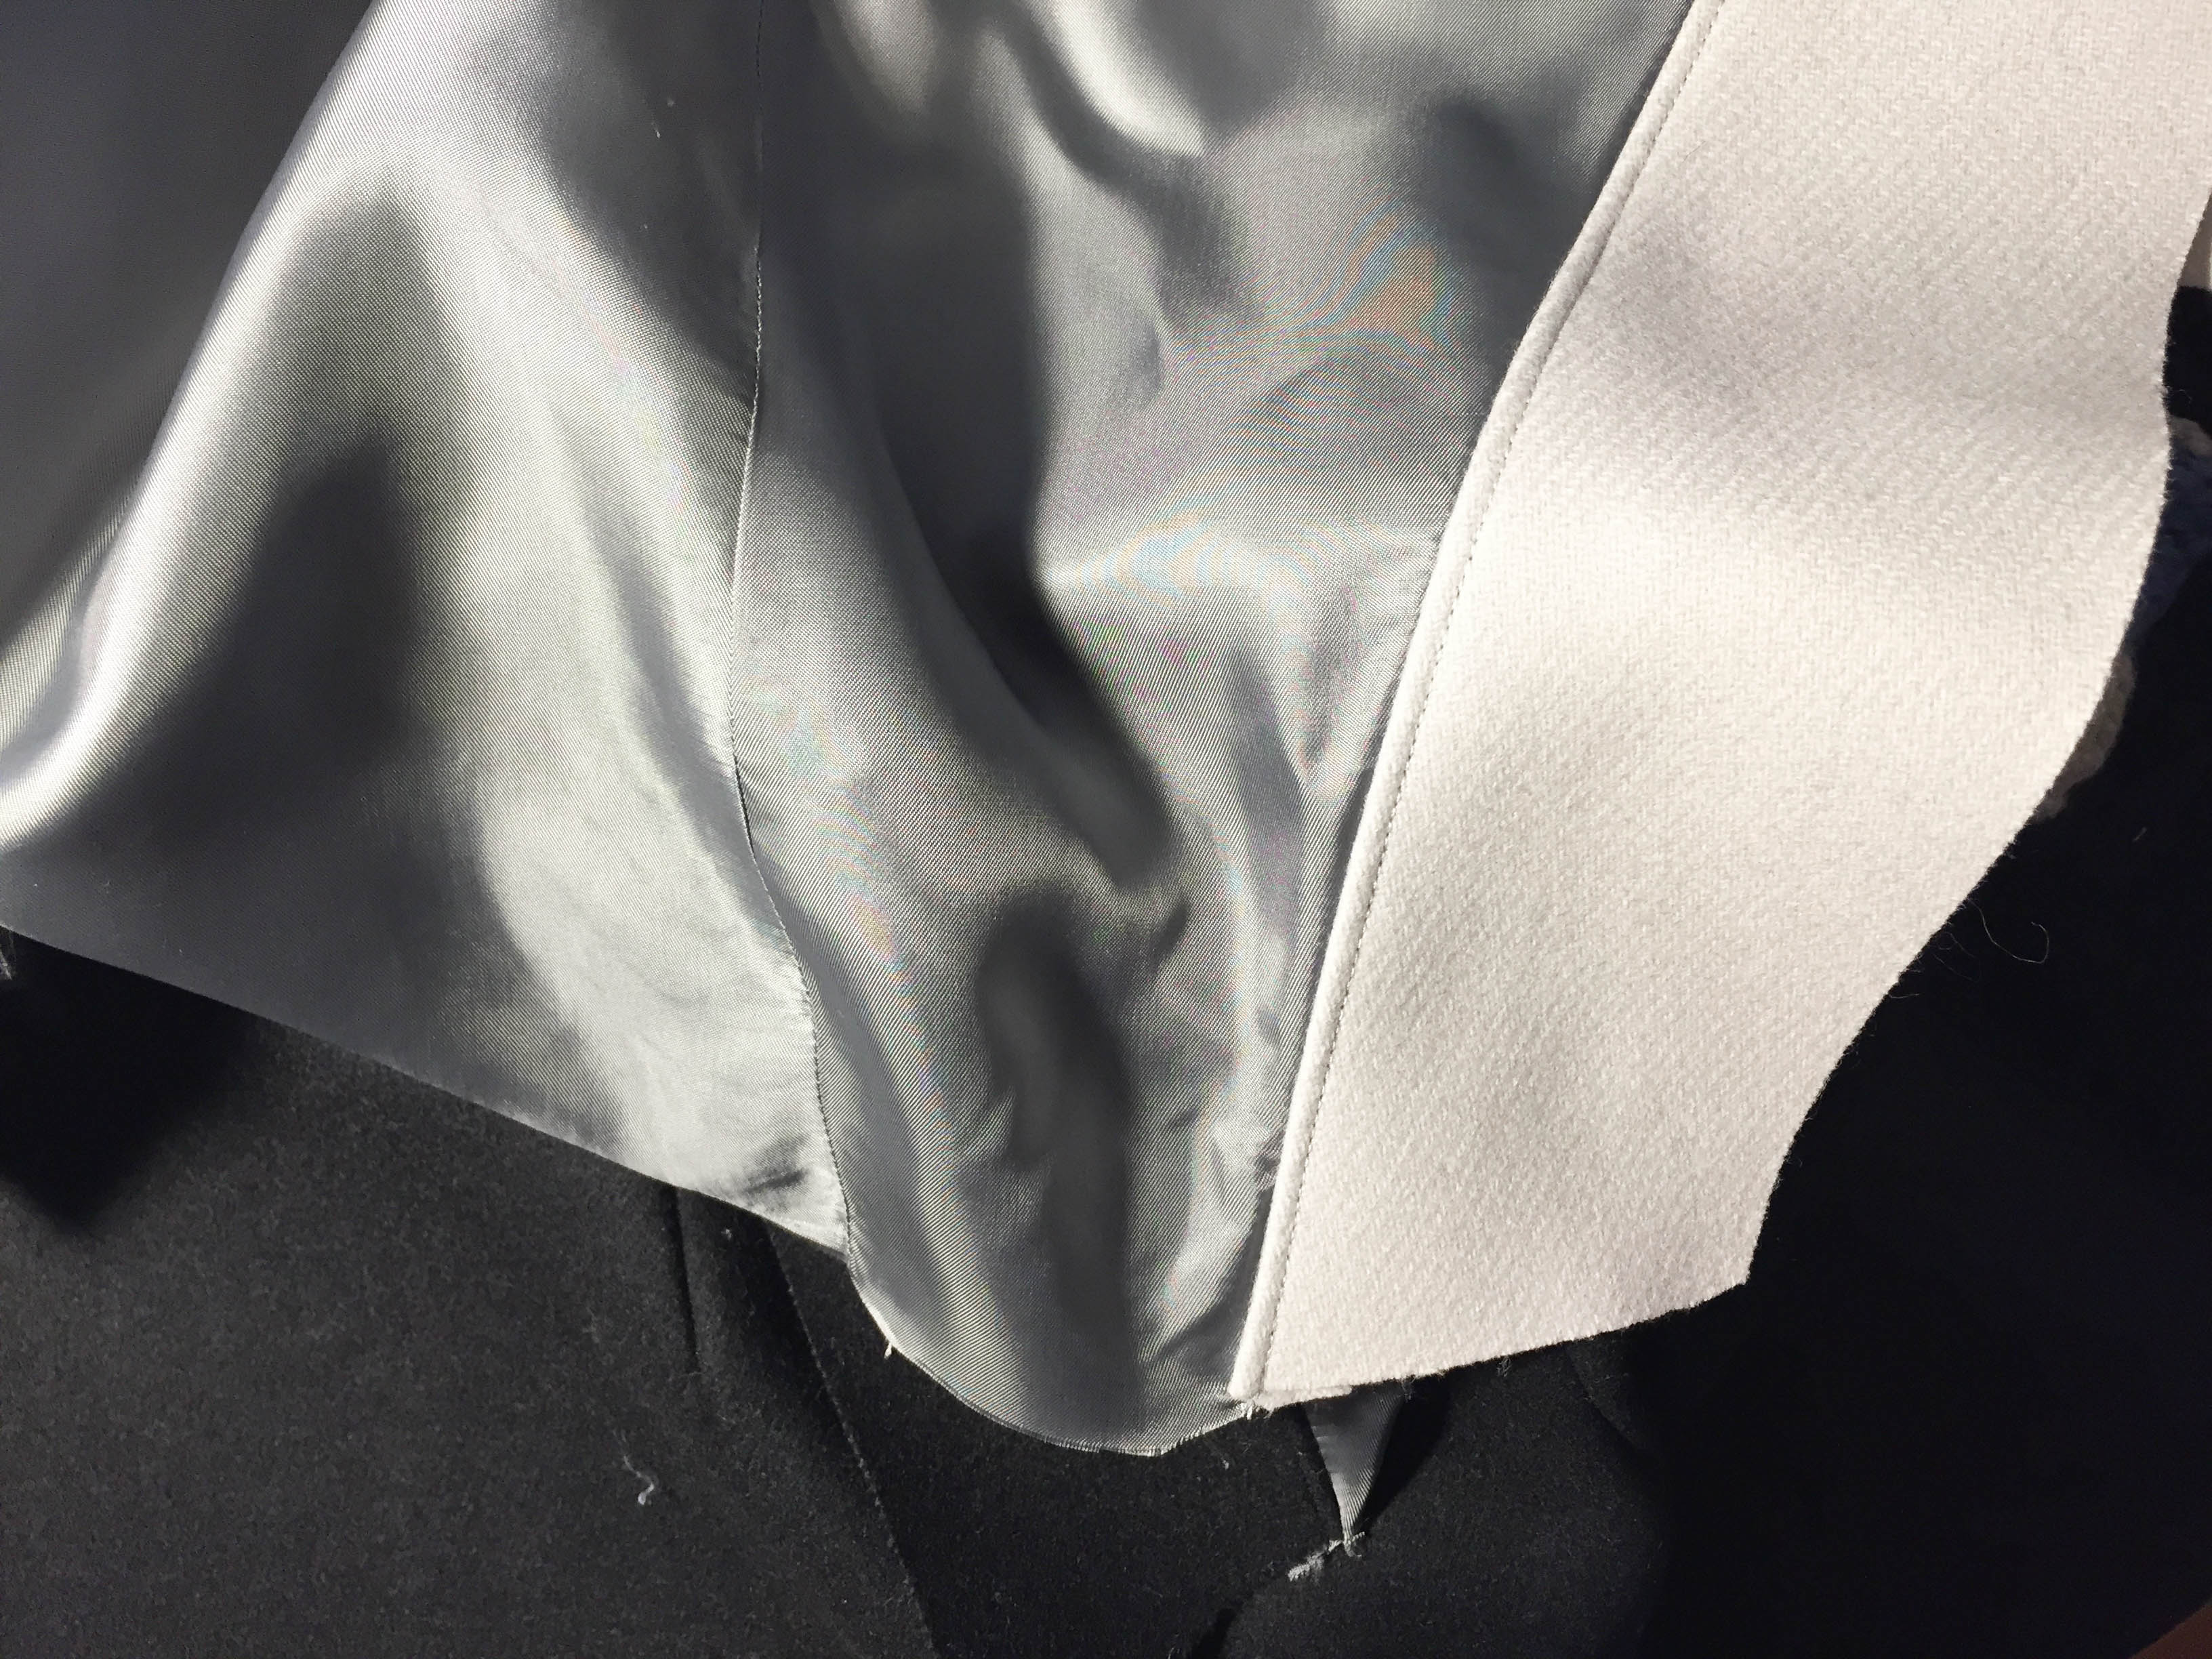
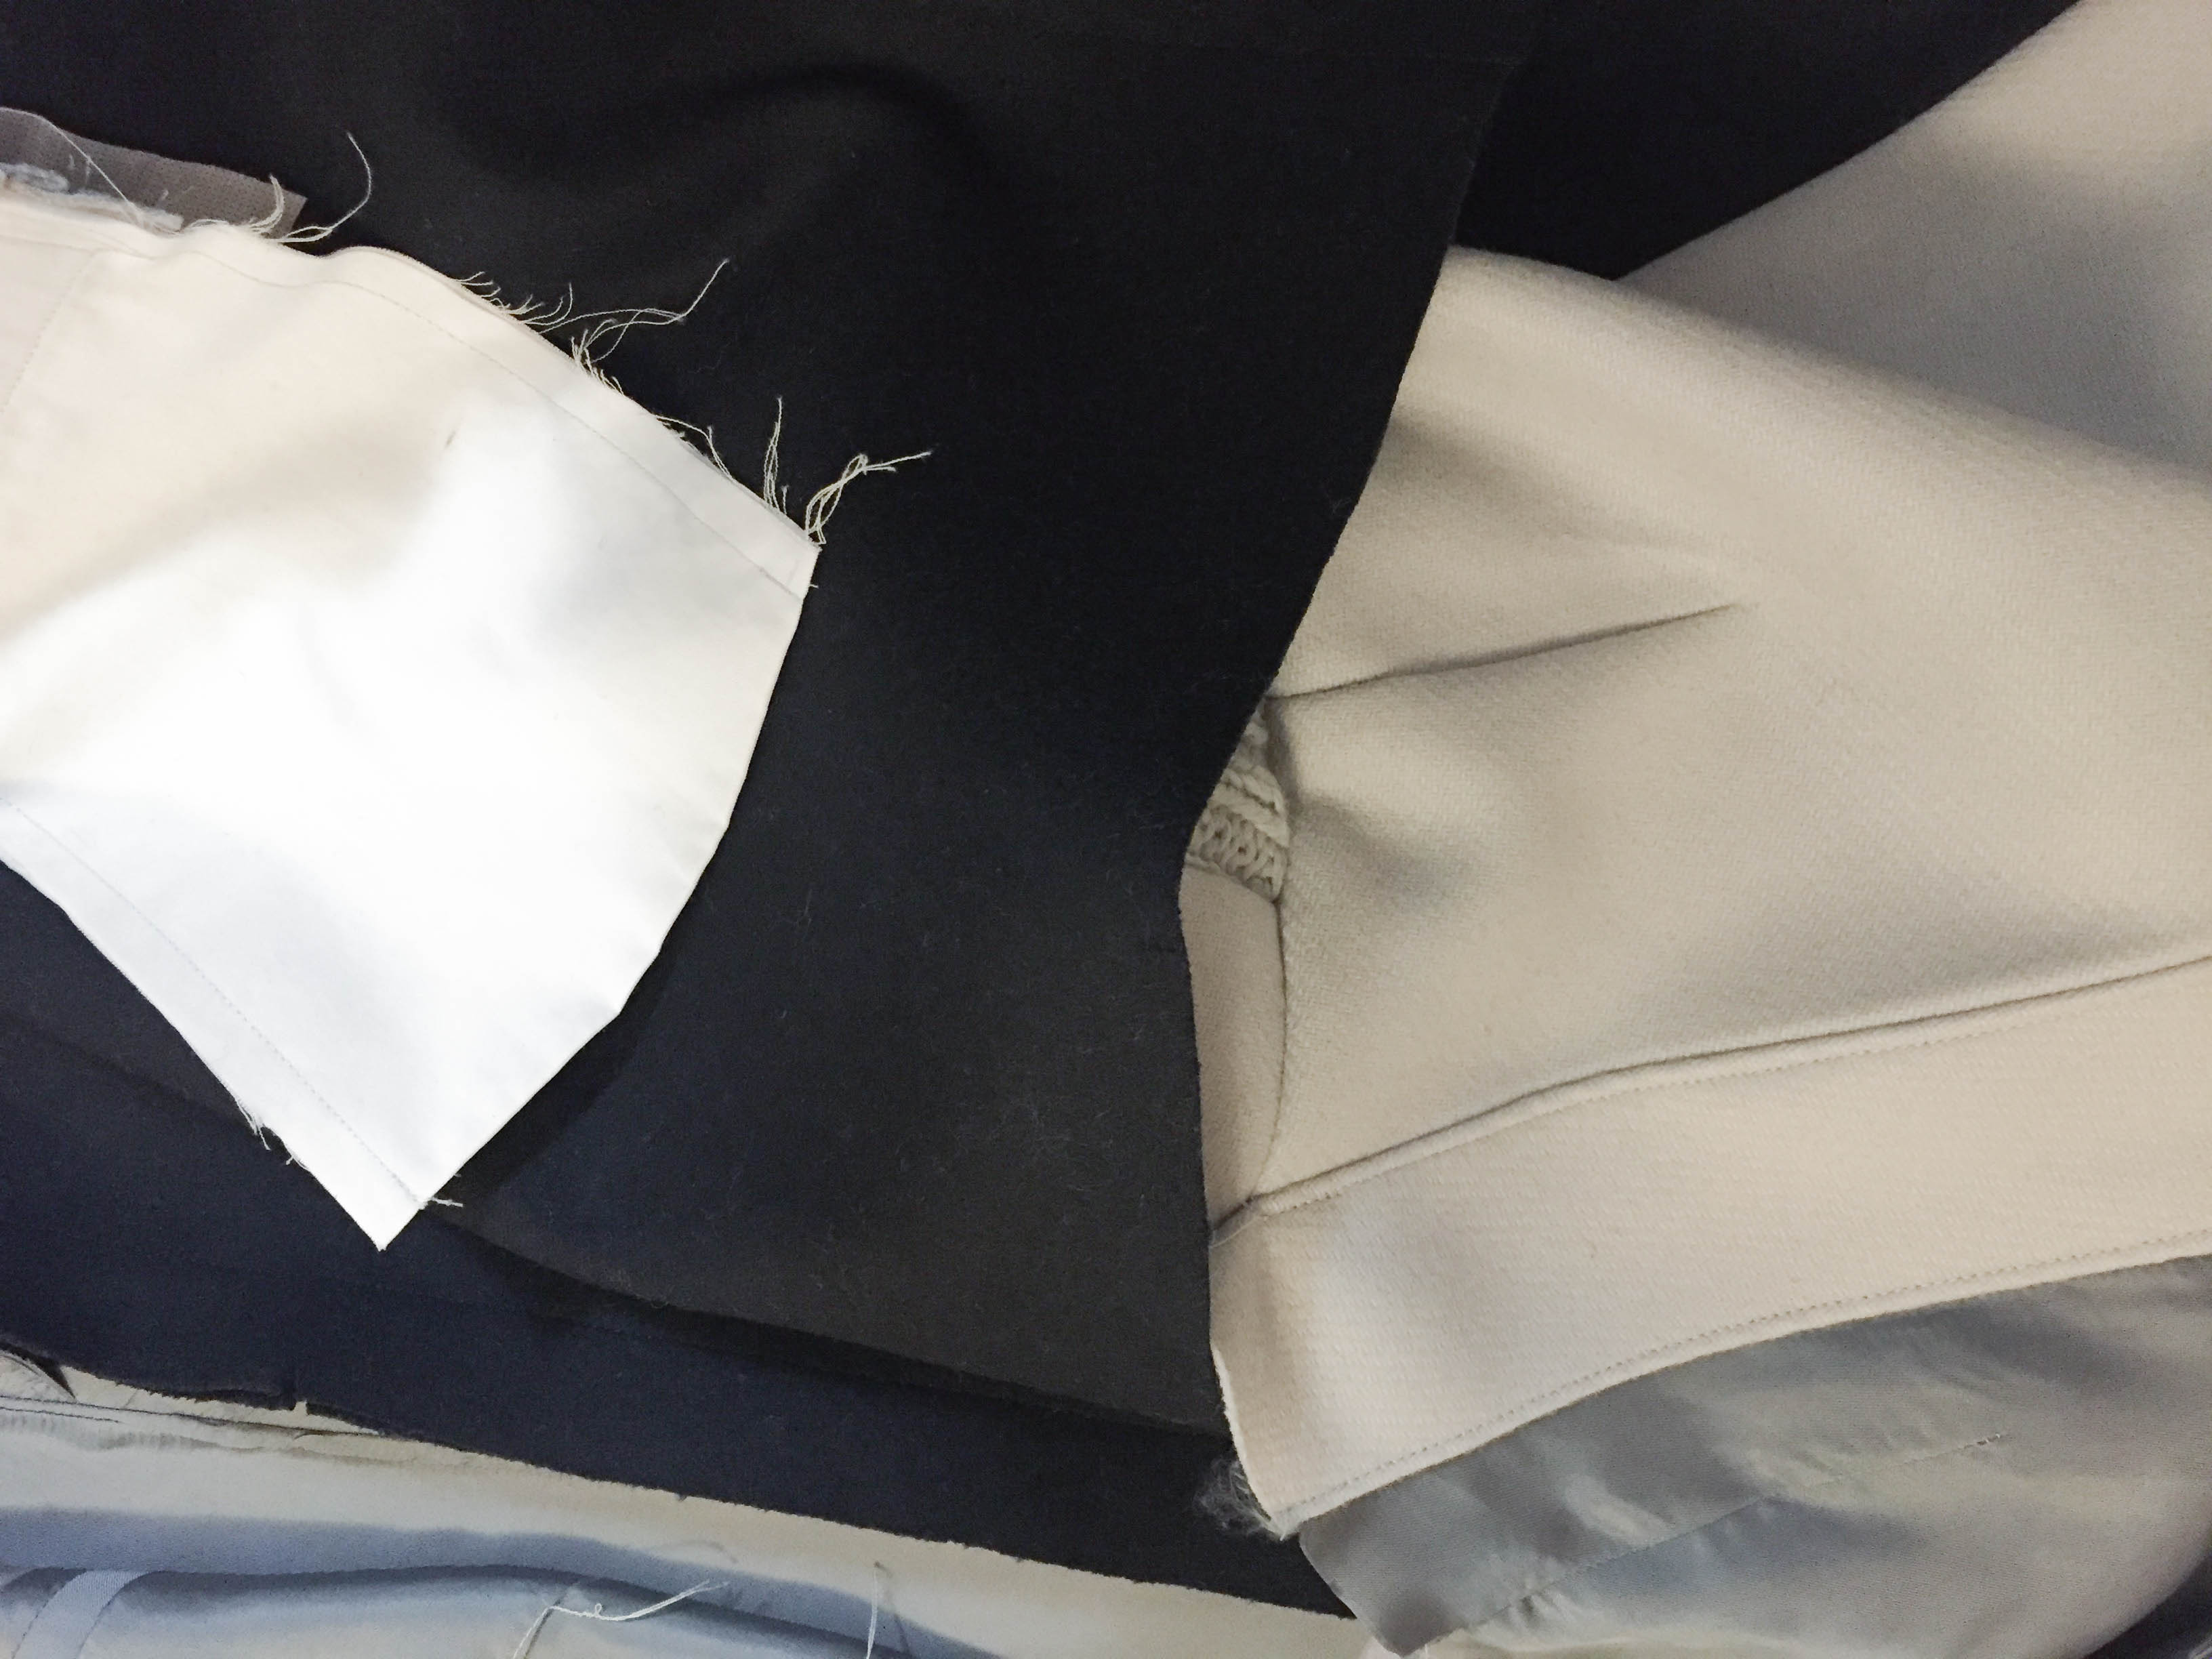
Details


Technical Development
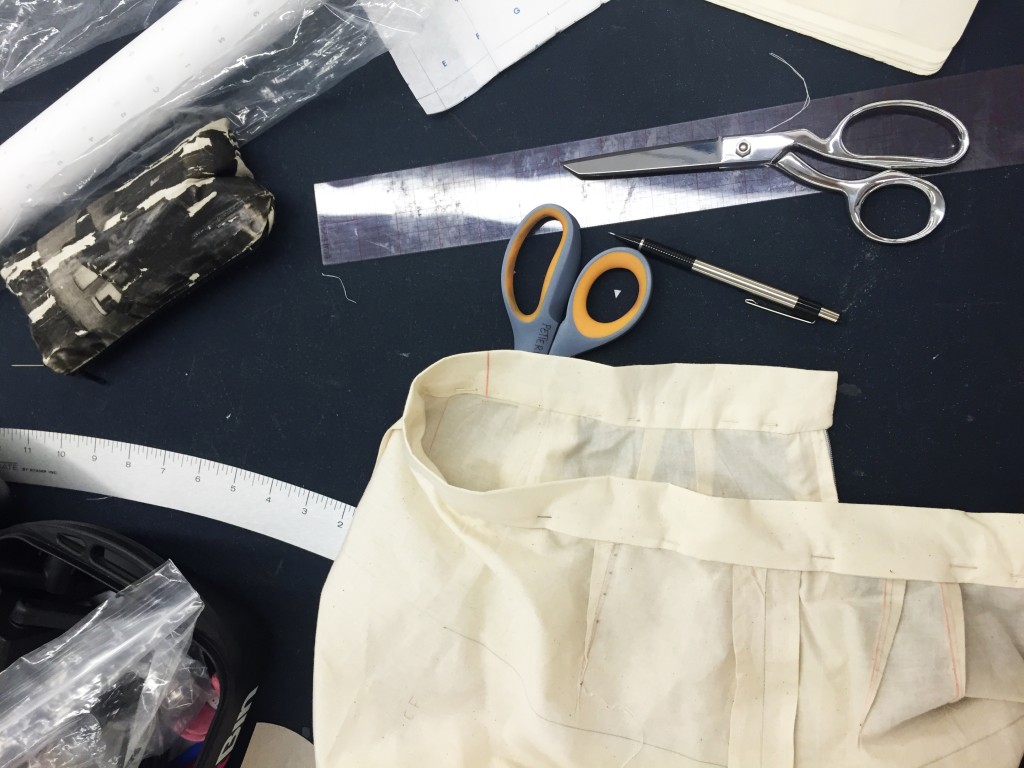
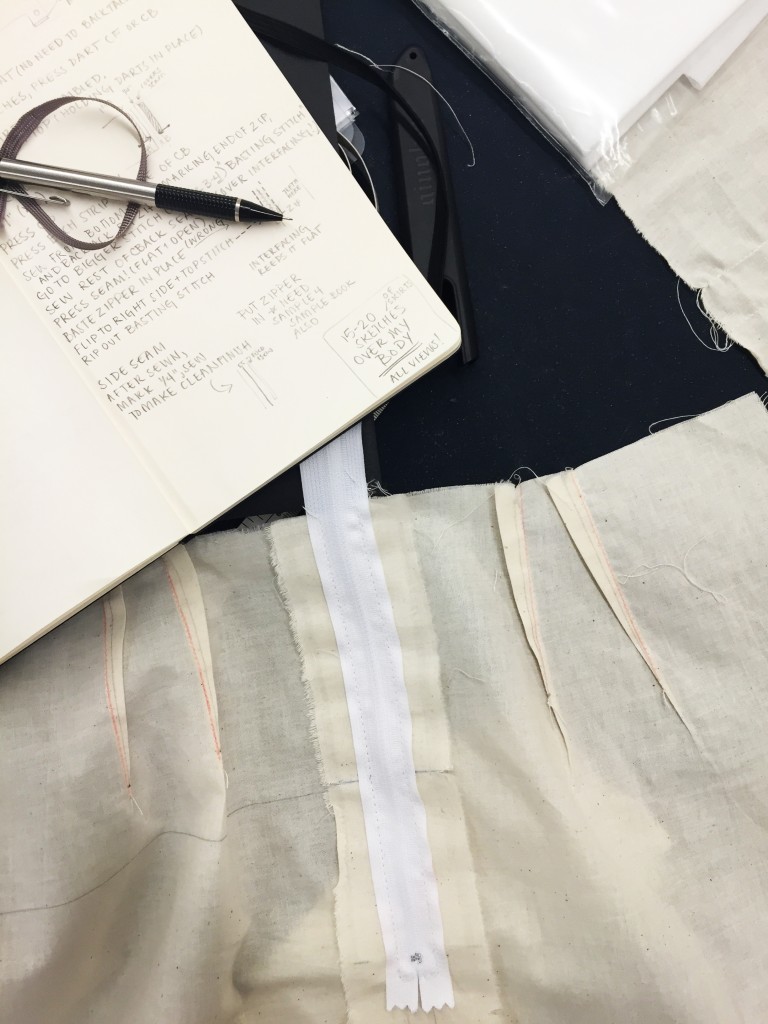
Constructing the skirt
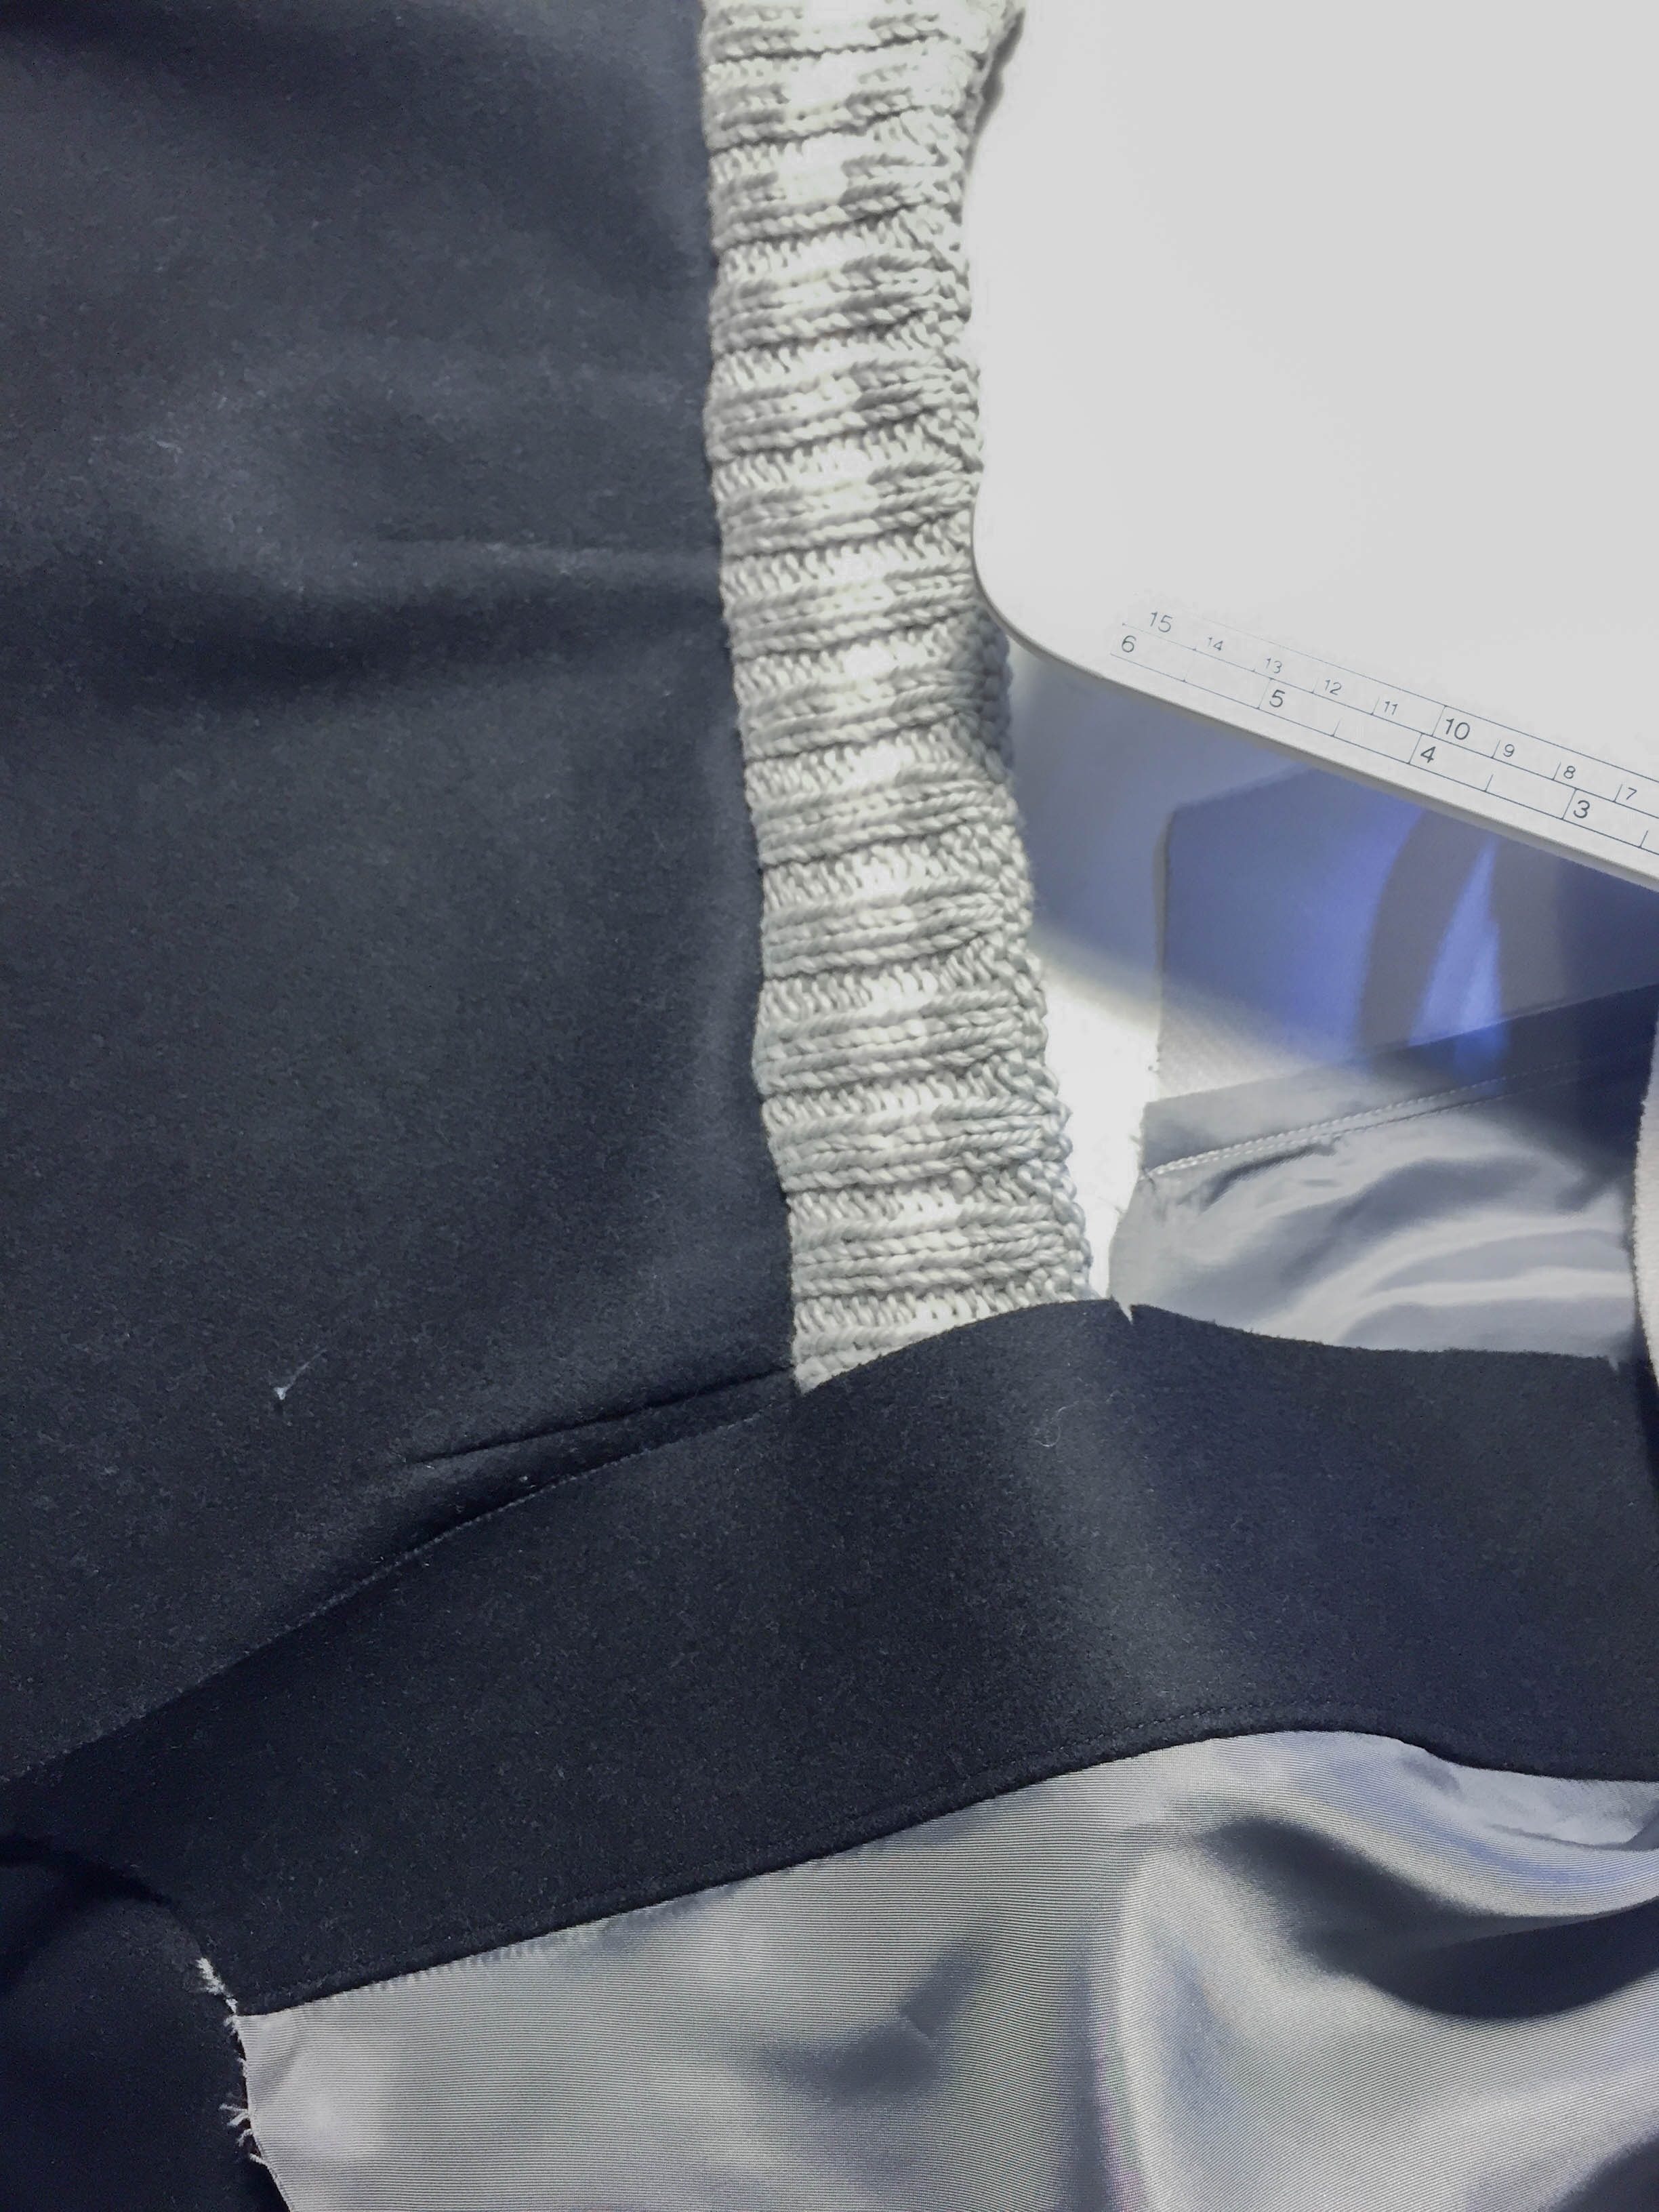

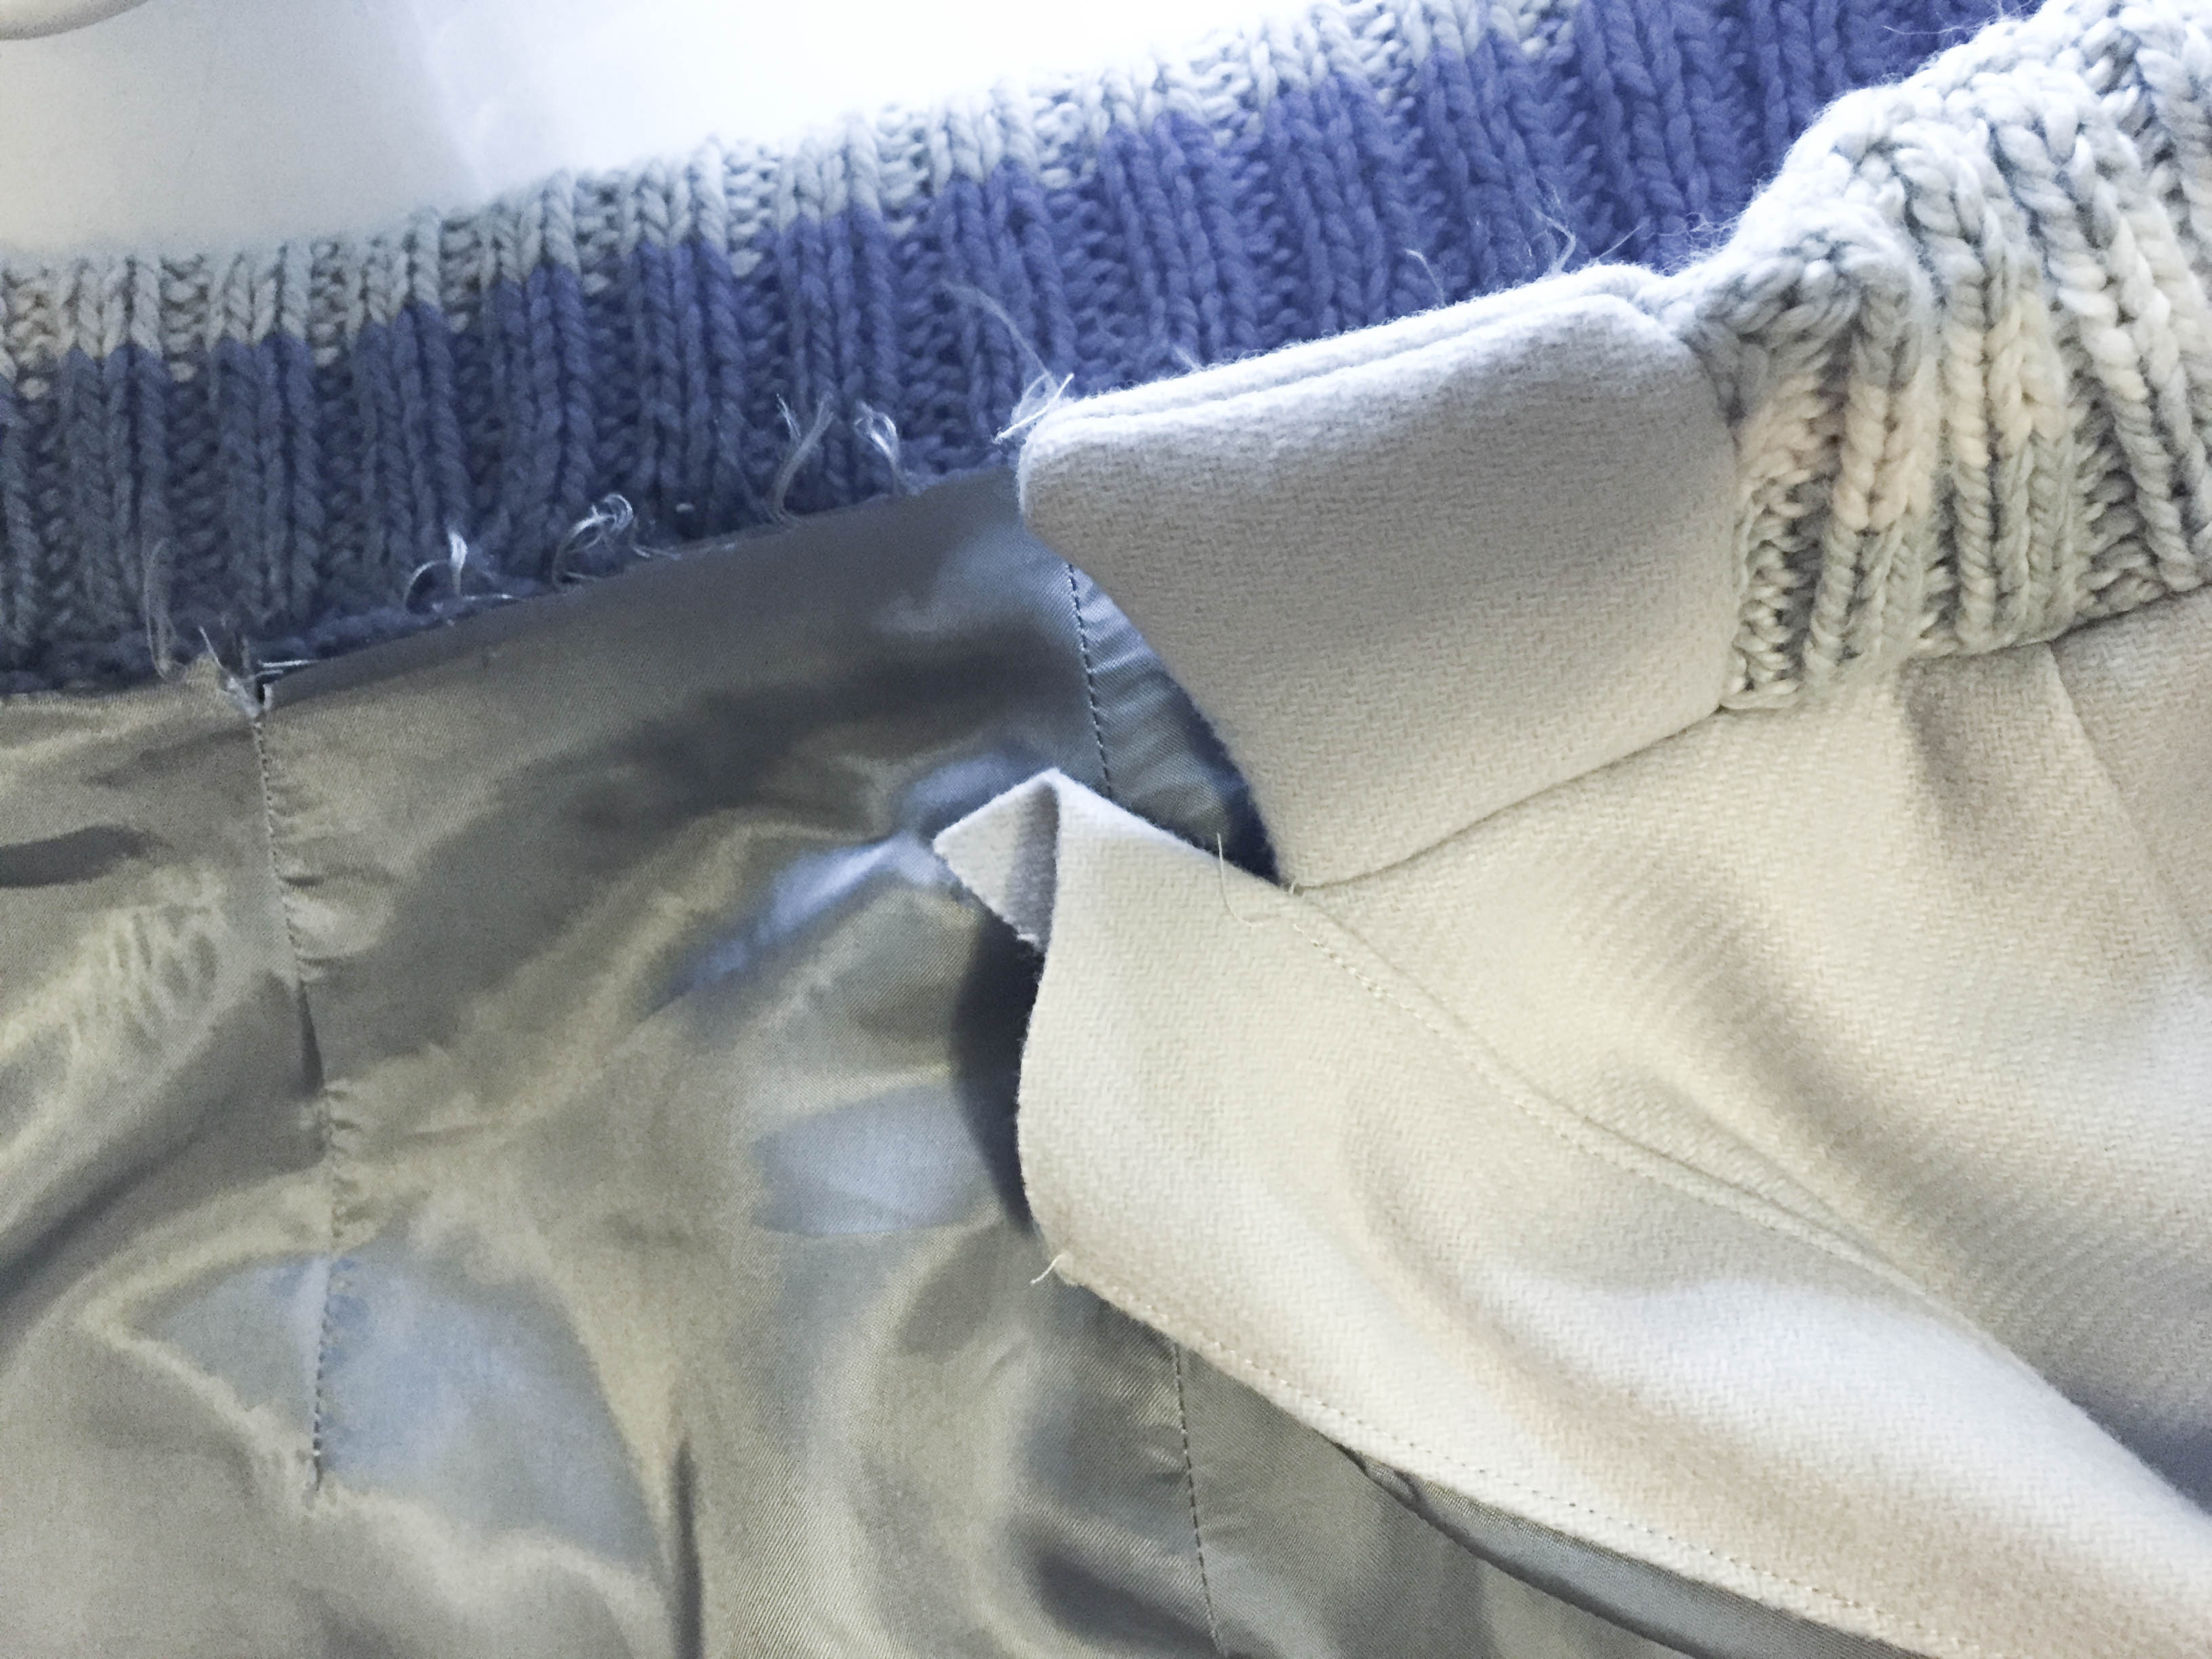
Constructing the waistband, handknit 2×2 rib

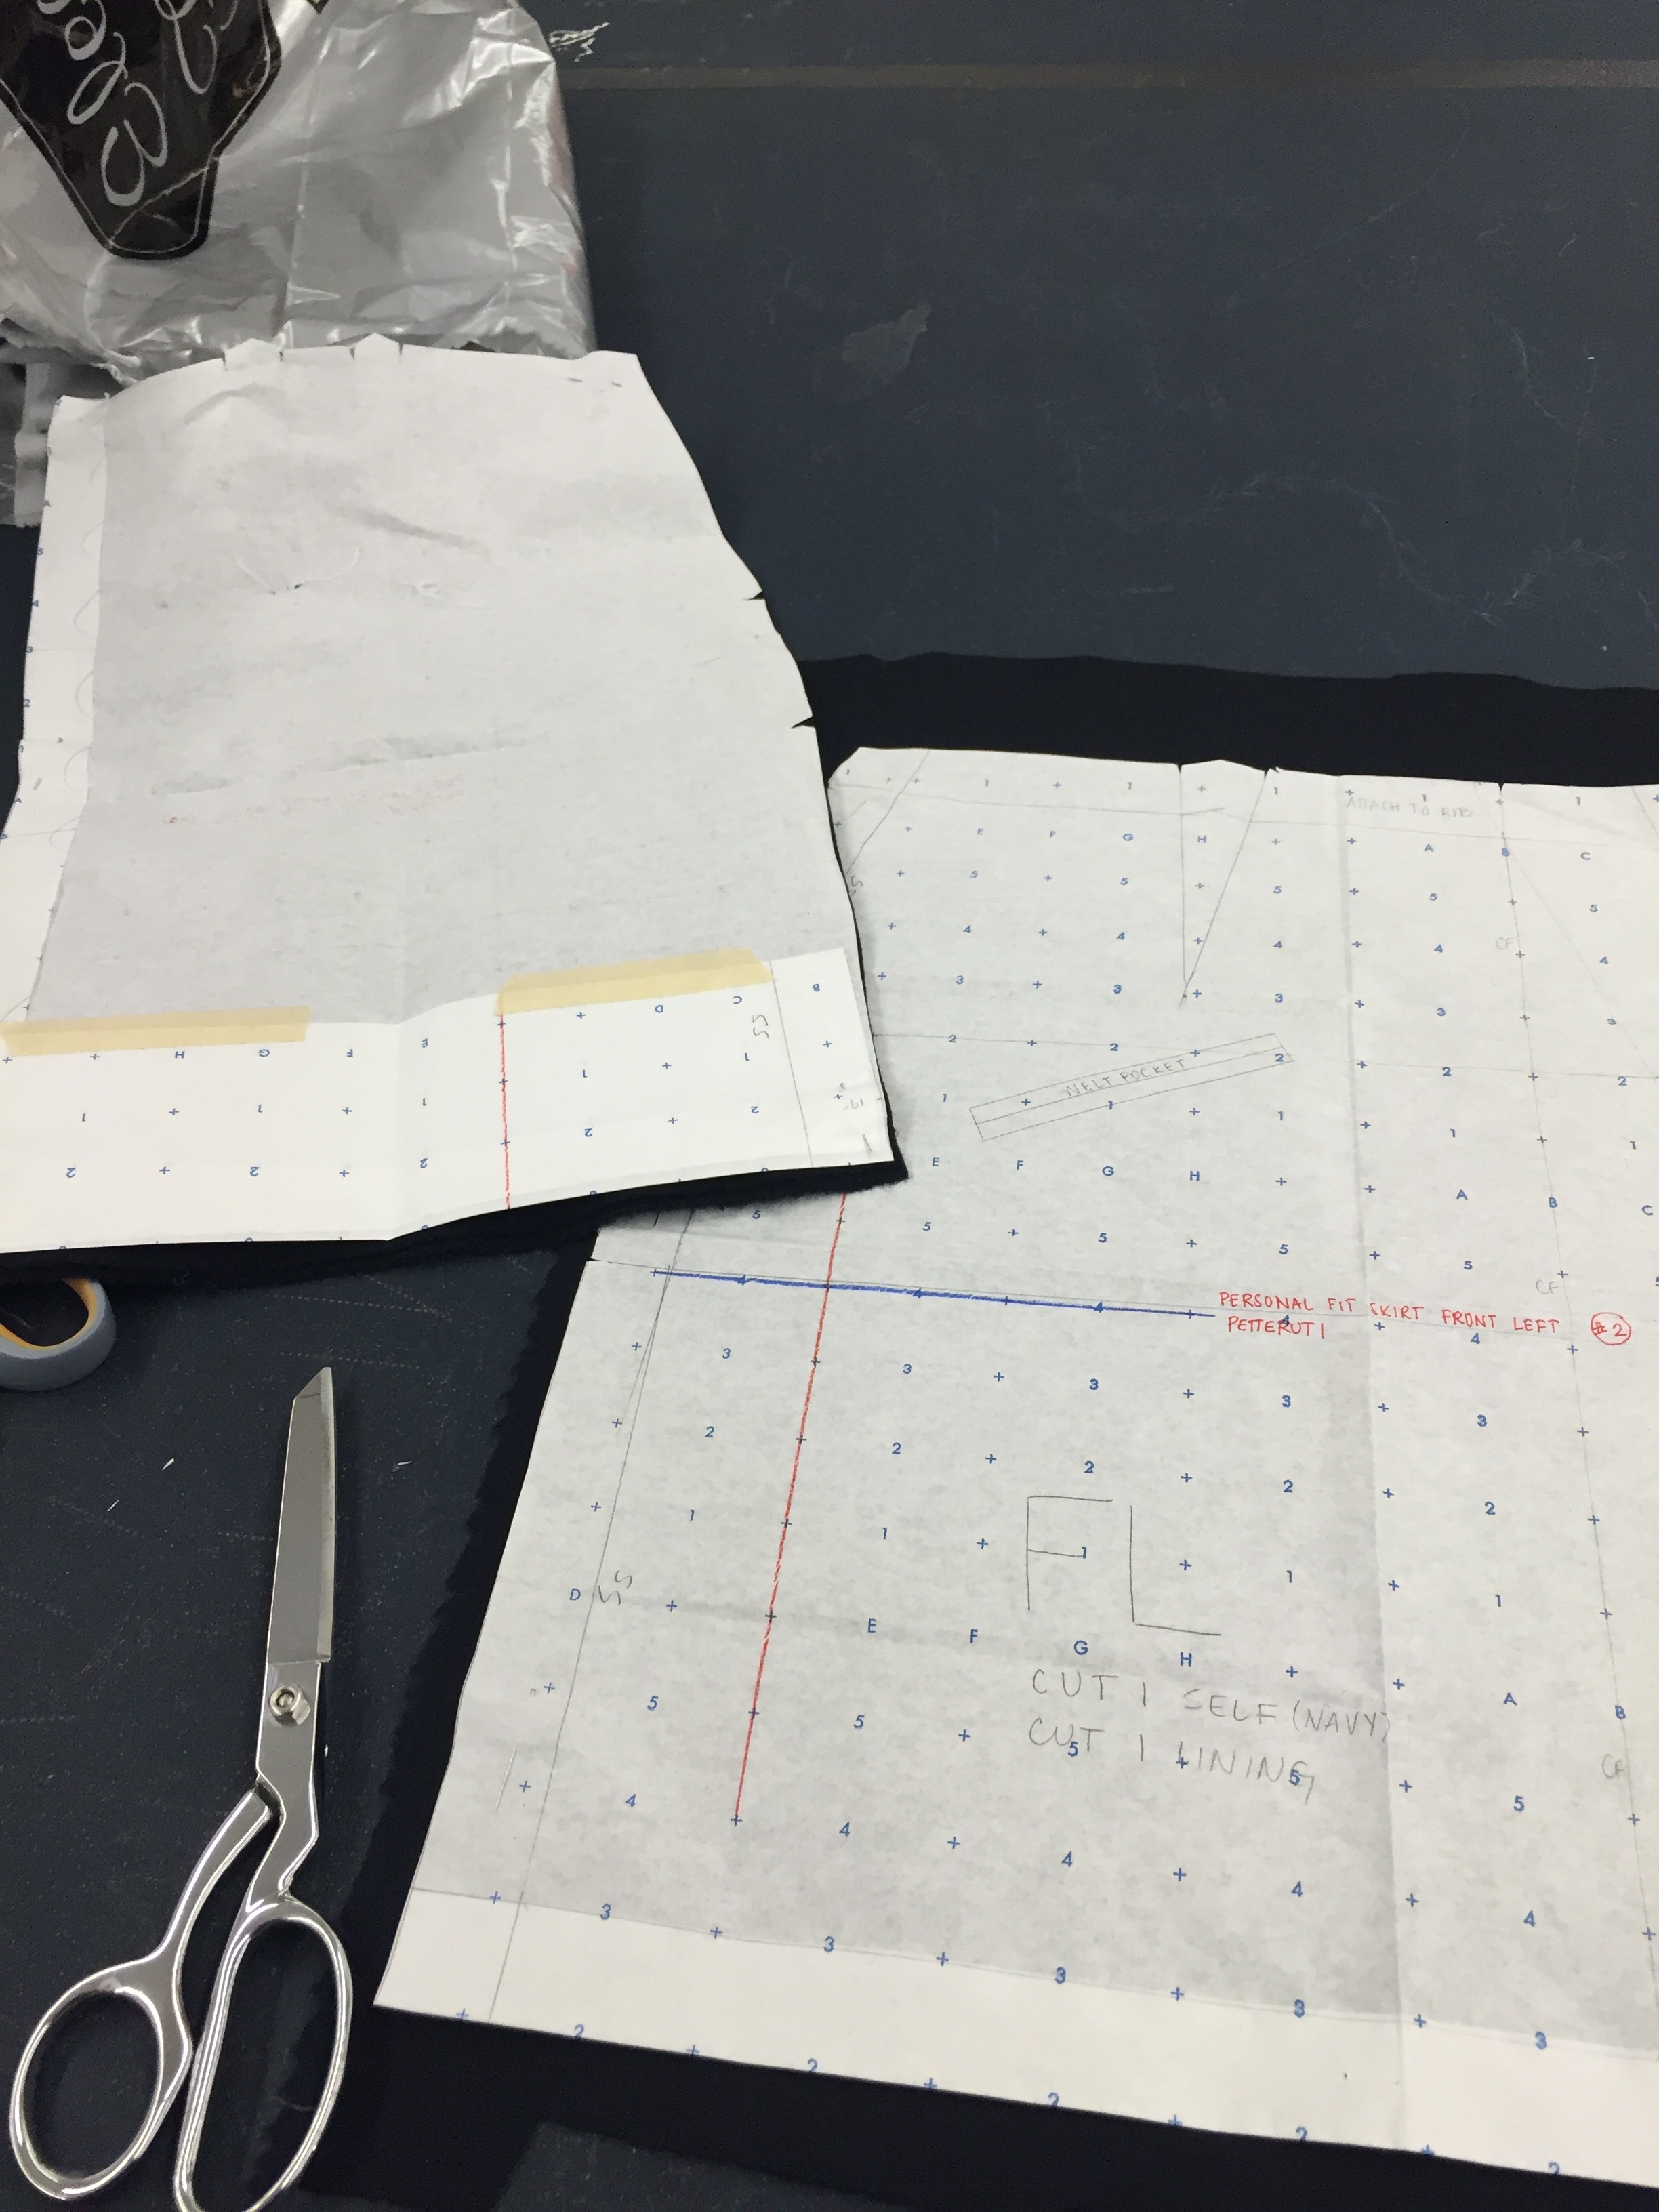
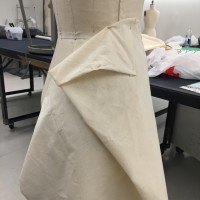
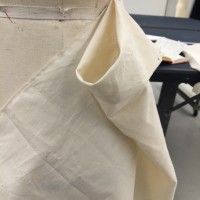
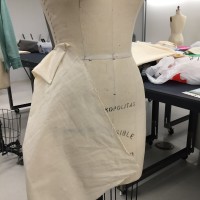
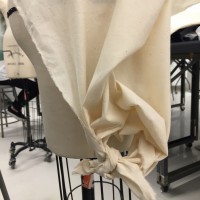
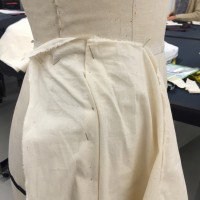
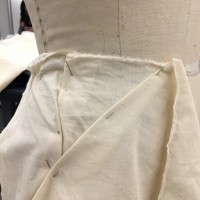
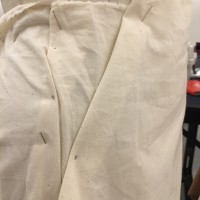
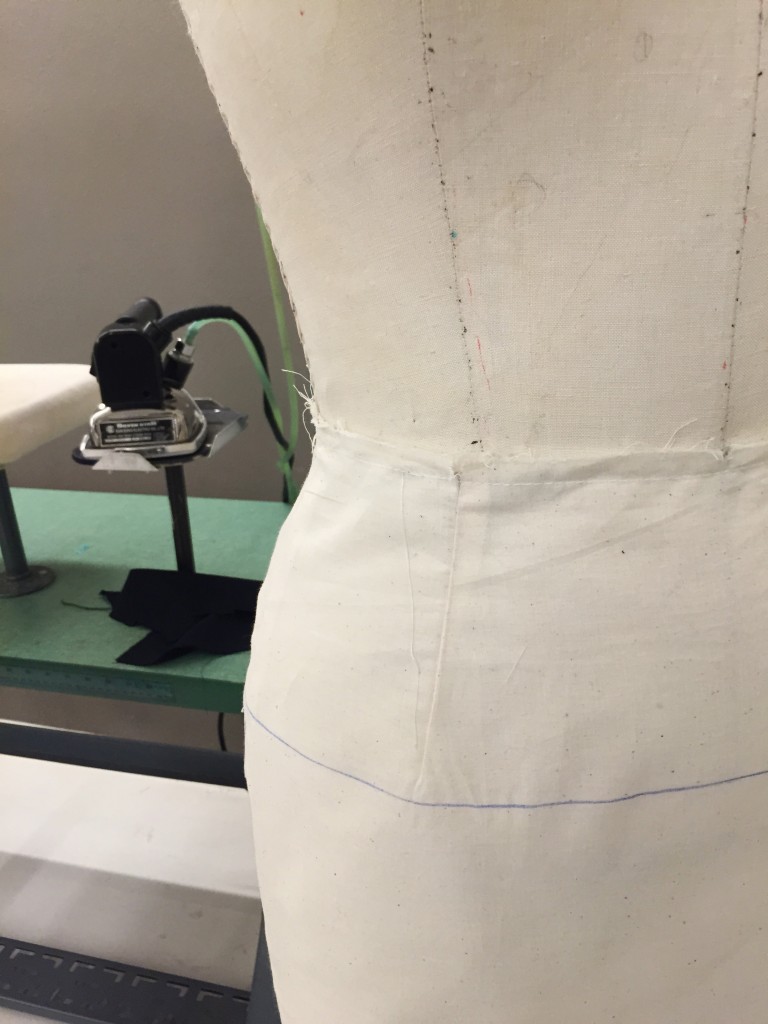
Patternmaking/Muslin
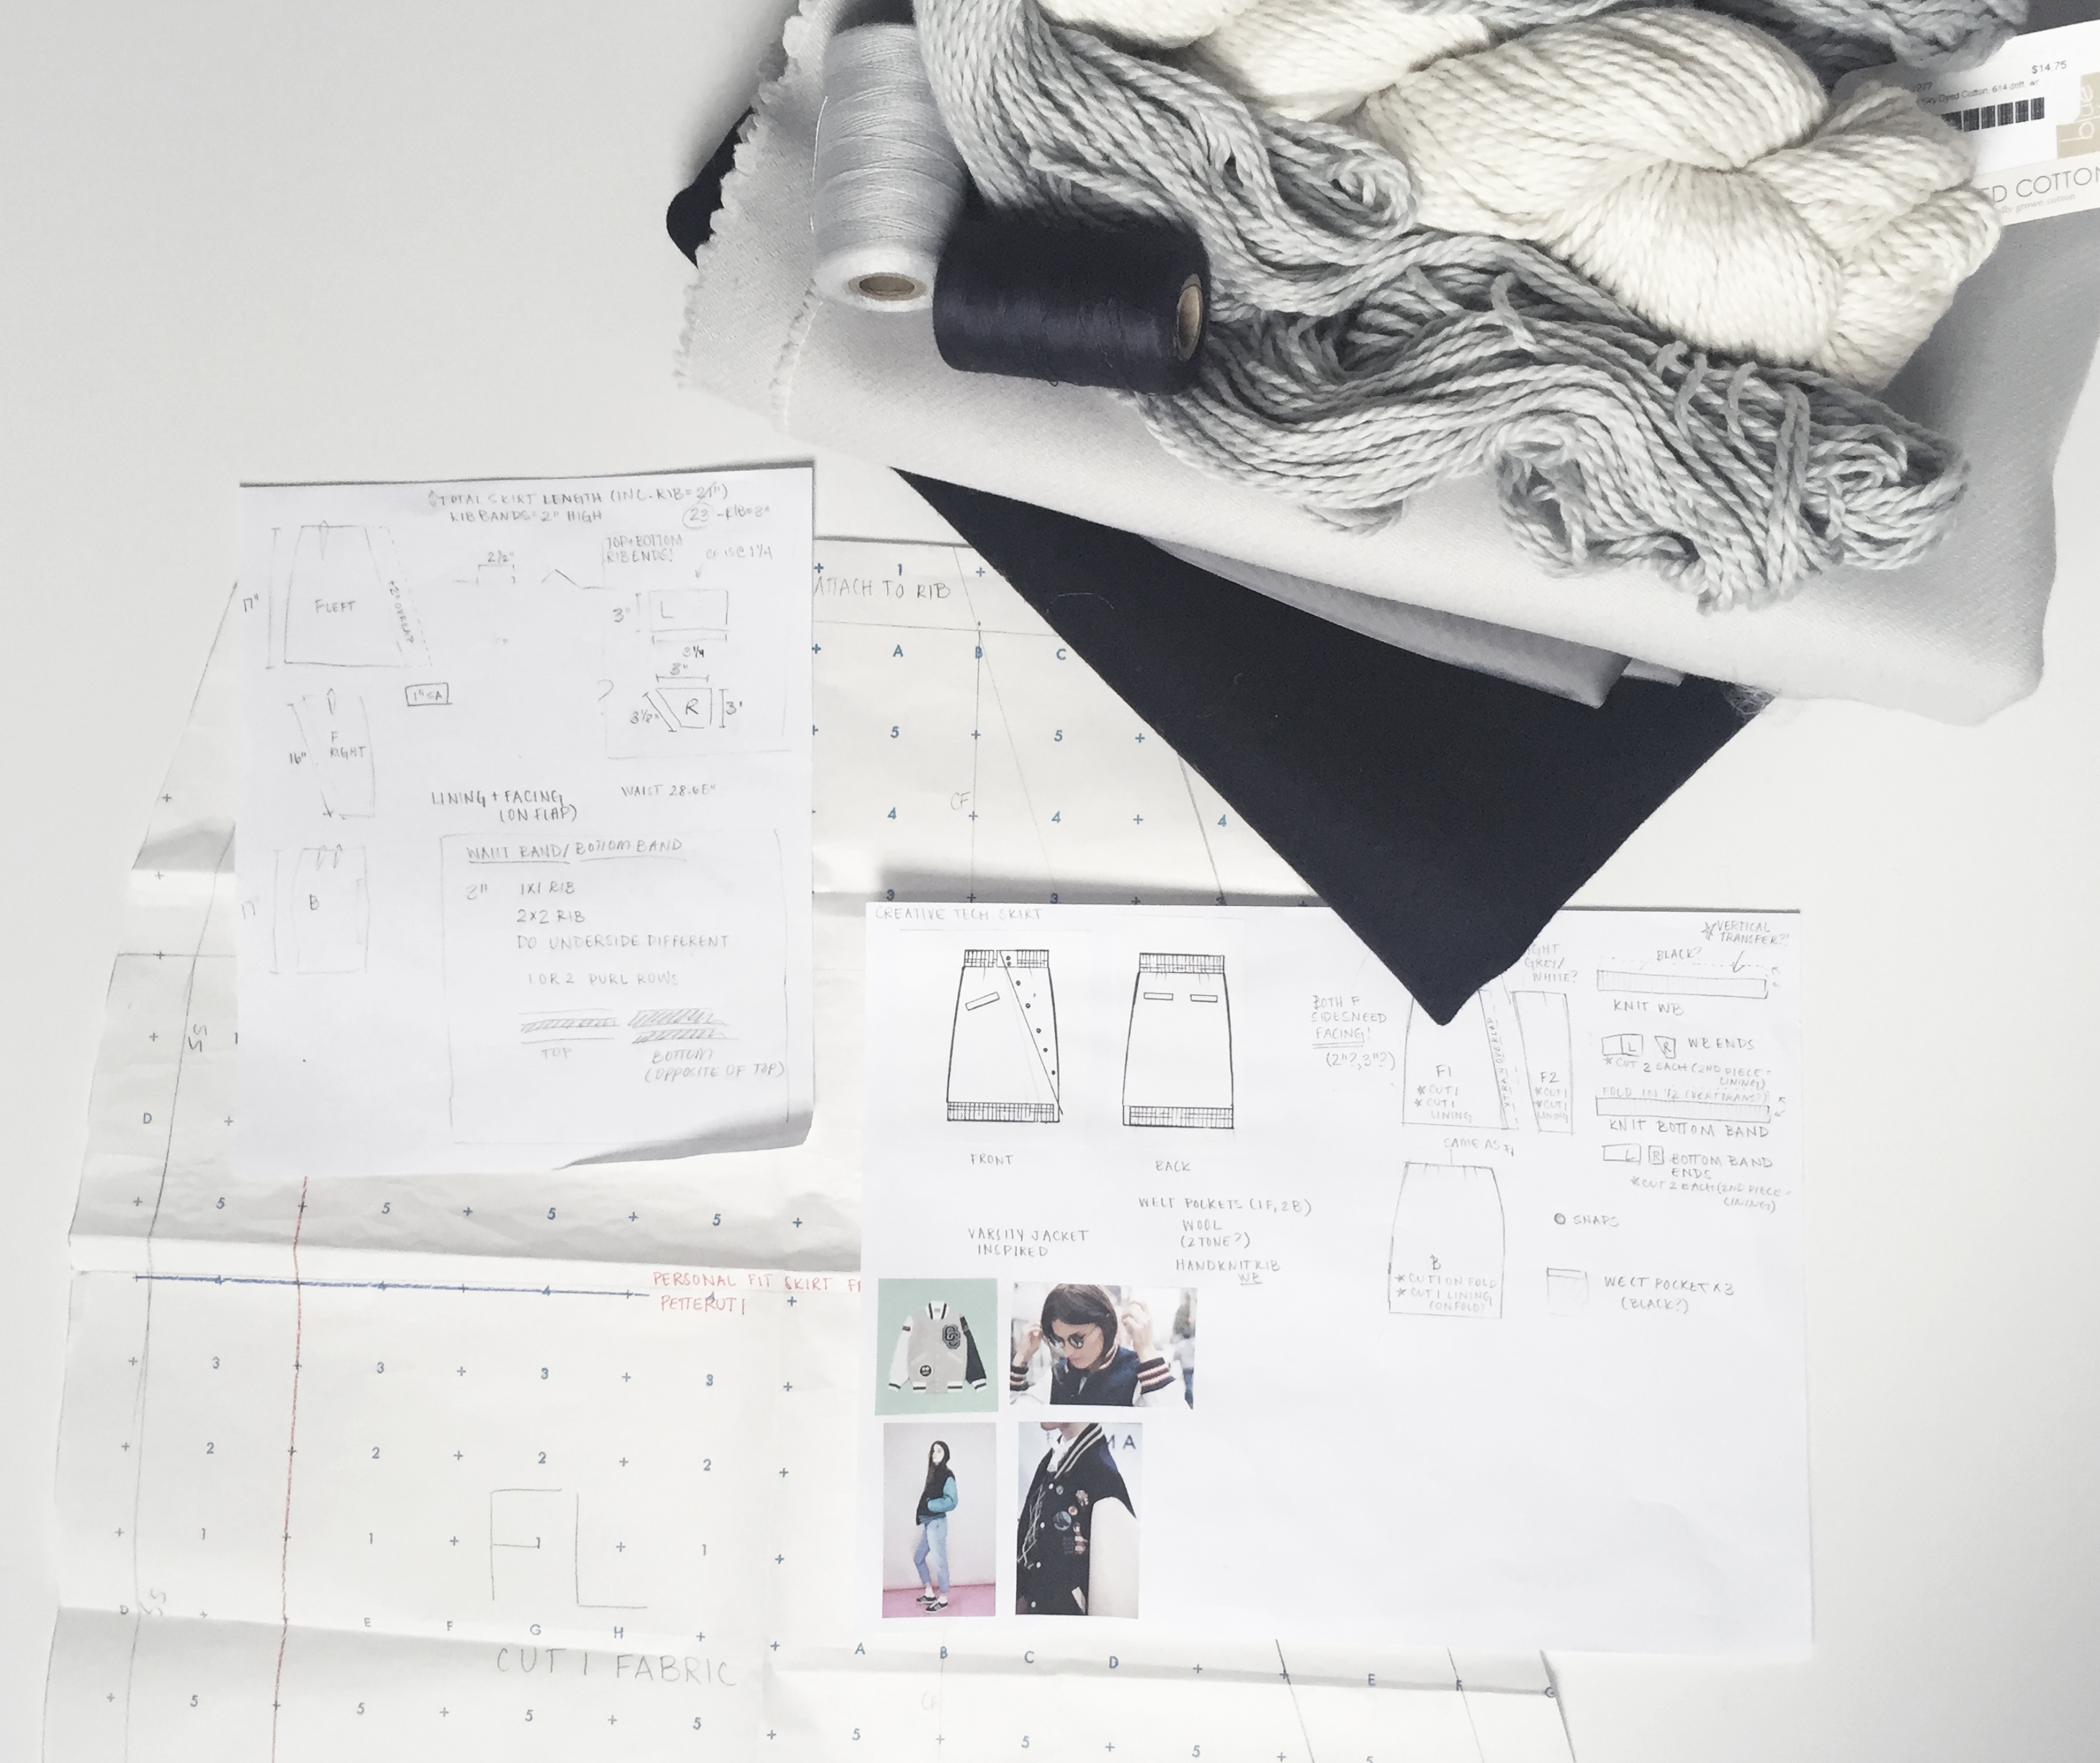
Materials: Light grey blue wool, navy blue wool, cotton worsted weight yarn colors (white, light blue grey, blue)
Flats (F/B/Side)

Notebook/Planning


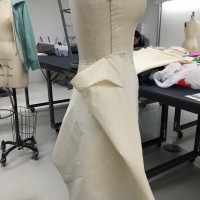
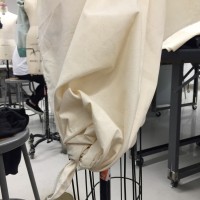
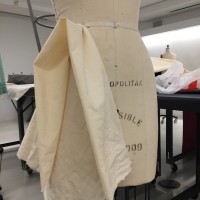
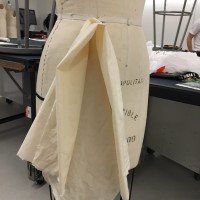
Sketches and Drapes (click to enlarge)


Reflection: Overall, I am extremely pleased with how my skirt turned out. The inspiration from this design came from the style of a classic varsity jacket. My original research assigned in class was focused around historical Chinese skirts. When I was sketching ideas, I was creating designs involving pleating, a technique used by Chinese minorities in their cultural wear. After designing more, the pleats started to look like a knit rib – hence the formation of my waistband and idea to use a varsity jacket as inspiration. This was executed through the details such as the style of the rib knit waistband, welt pocket, and snap closure. The goal for me was to make my skirt wearable and have clean finishes, yet still be unique and have interesting design elements. Because I am interested in knitwear, I chose to hand knit the rib waistband. Originally, I designed a skirt with the rib band on the top waistband and another one at the hem. This being said, as I was designing and started constructing my muslin, I decided to not add a hem band, as I thought it would look too bulky and over-designed. In the end, I am glad I did not knit the extra band, as I think that the skirt looks better as it is. To clean finish the inside, I chose to fully line the inside, which also adds body to the skirt. The only thing I would have done differently is to have added some interfacing to the top closure in order to make the seams straighten out. All of the techniques shown below contributed to my understanding of how a skirt is created and I feel as though I learned a lot through the entire process.
Basic Skirt
Development


Construction Techniques and Samples (pockets, A-line, gore/godet, quilt)

Skirt Research Paper
https://drive.google.com/file/d/0B_WZcfFJYyOiQThtZkhCRVhla3c/view?usp=sharing