This assignment was to make an orthographic drawing of one of our favorite shoes.
Orthographic drawing process:

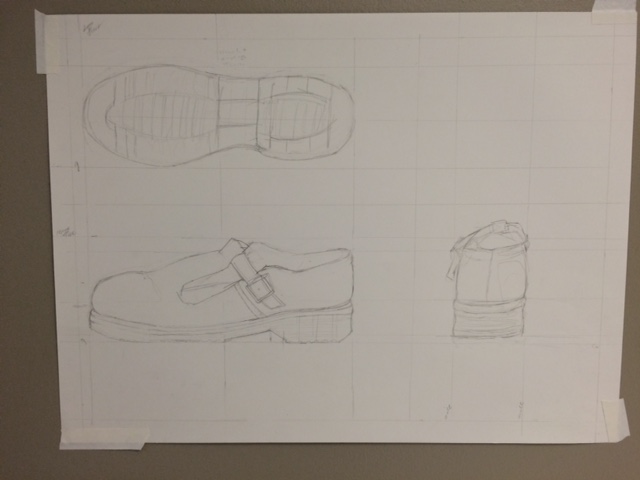
After looking at these in class, I realized I needed to add in the 45 degree angles in the top right corners, fix the quality of the line so that the drawings were cleaner and more accurate, and work on the front and back views of the shoe.
Here are the final drawings:


This part of the project was challenging because you really had to be precise about what you’re drawing. Rather than rely on illusion of depth, surrounding objects, or colour, like you may in a traditional drawing, you had to measure on a one-to-one scale. I think it definitely helped me gain a better understanding of how to represent the shoe as a three-dimensional object, something that was especially relevant in the next phase of the project- the wire replica.
0 comments on “Orthographic Shoe Drawing + Process” Add yours →