Initial Pattern making with Darts
My first step towards making my skirt was measuring my model and drafting the skirt
The skirt was drafted inclusive of the dart points, that I measured in sync with the model’s waist measurement.
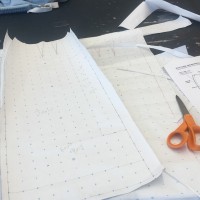
After drafting the skirt on pattern paper, I transferred it onto muslin adding the required seam allowance of 1/2 inch.
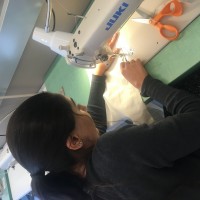
I first practiced by making sewing samples based on the demo shown in class and then sewed the muslin together, cutting and basting the front and back piece of the skirt together.
-
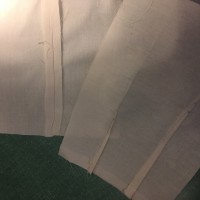
- sewing samples!
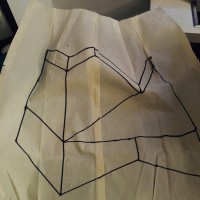
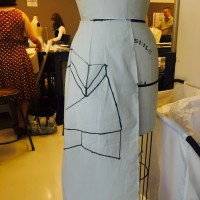
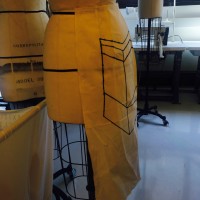
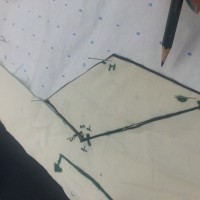
After the basic skirt form was constructed, I used my architectural inspiration in creating the design on my skirt.
Architectural Inspiration for Shingo Sato Skirt


Walking by 5th avenue every single day, I always find myself attracted to the architecture I happen to pass by. I have realized that geometrical shapes in architecture are what appeal to me the most. I feel that geometrical shapes in architecture give a more classy and modern look to buildings, therefore I decided to incorporate these geometric shapes/lines in the design I created for my skirt.
- I wanted by skirt to be symmetrical so I used the same design for both my pieces
- I had to make sure the lines of my design touch the darts and the seam
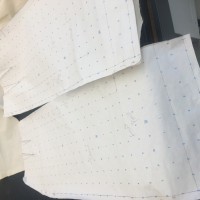
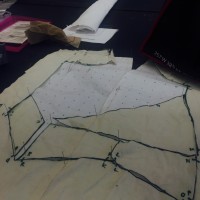
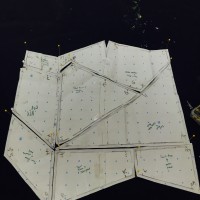
After creating the design came the labelling of the patterns. I realized that labelling my patterns was very important since I had multiple pattern pieces for my skirt once I finalized my geometrical design. I used alphabets to mark where I had to add the notches in my pattern pieces so that it is easier to put together once I cut all the pieces out.
-
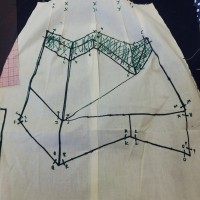
- Labelling
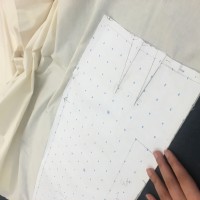
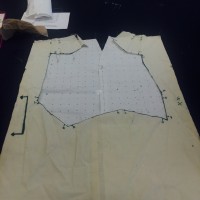
Once I finalized my pattern pieces, I cut the muslin out and transferred the pieces to trace on pattern paper again, with a 1/4 inch seam allowance.
-

- Marking the pattern paper
-
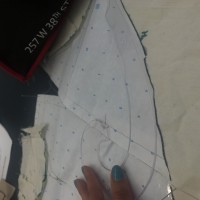
- Using the curve for curved edges
-
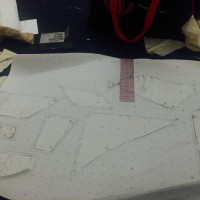
- Patterns with 1/4 seam allowance
Once I finalized my patterns, it was time to cut the patterns on the cloth I chose to use for my final skirt.
Choice of cloth
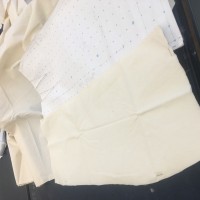
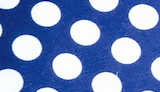
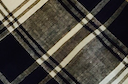
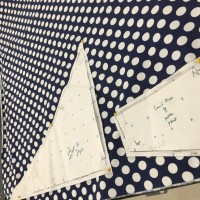
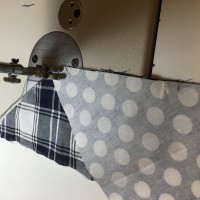
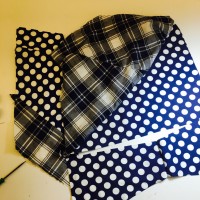
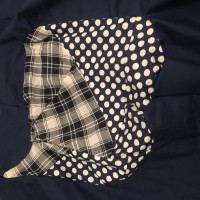
The cloth I chose, and it’s design was based on the information I collected about my model’s fashion style. My model loves the color blue, so I incorporated navy blue as the base color, as well as added a fabric with polka dot prints since I noticed she liked that print as well. To make it more interesting, I even added a third fabric to use which had a print typically used in shirts.
Here are the fabrics I used :

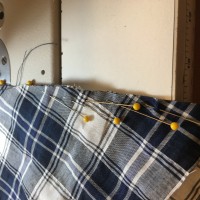
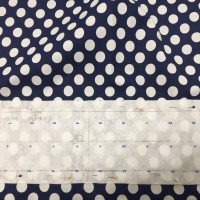
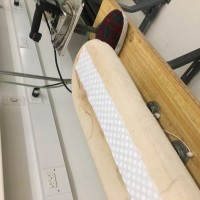
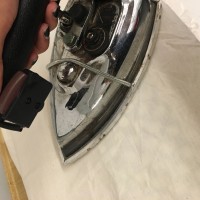
I then ironed the fabric, pinned my pattern paper to the fabric and cut out the fabric adding the notches that I marked on my pattern paper.
-
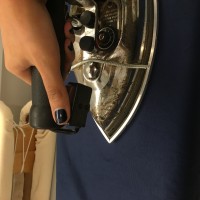
- Ironing the Fabric
-
- Cutting
-
- Pinning
-
- Pinning
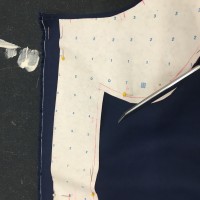
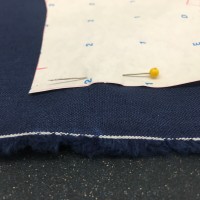
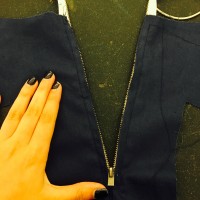
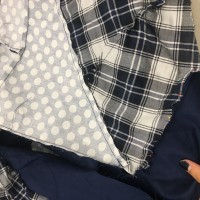
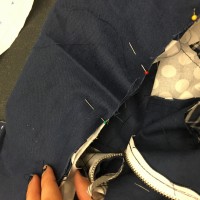
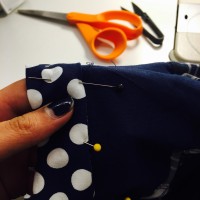
Once I cut the fabric pieces out, I sewed them together seam to seam.
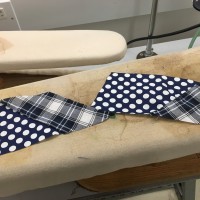

After doing the zipper demo in class, I was able to install the regular zipper into the back piece of my skirt as well
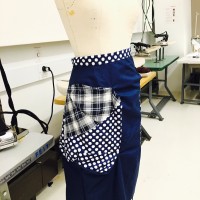
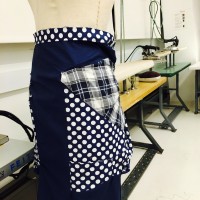
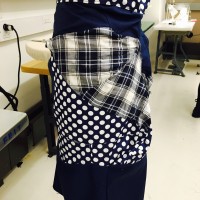
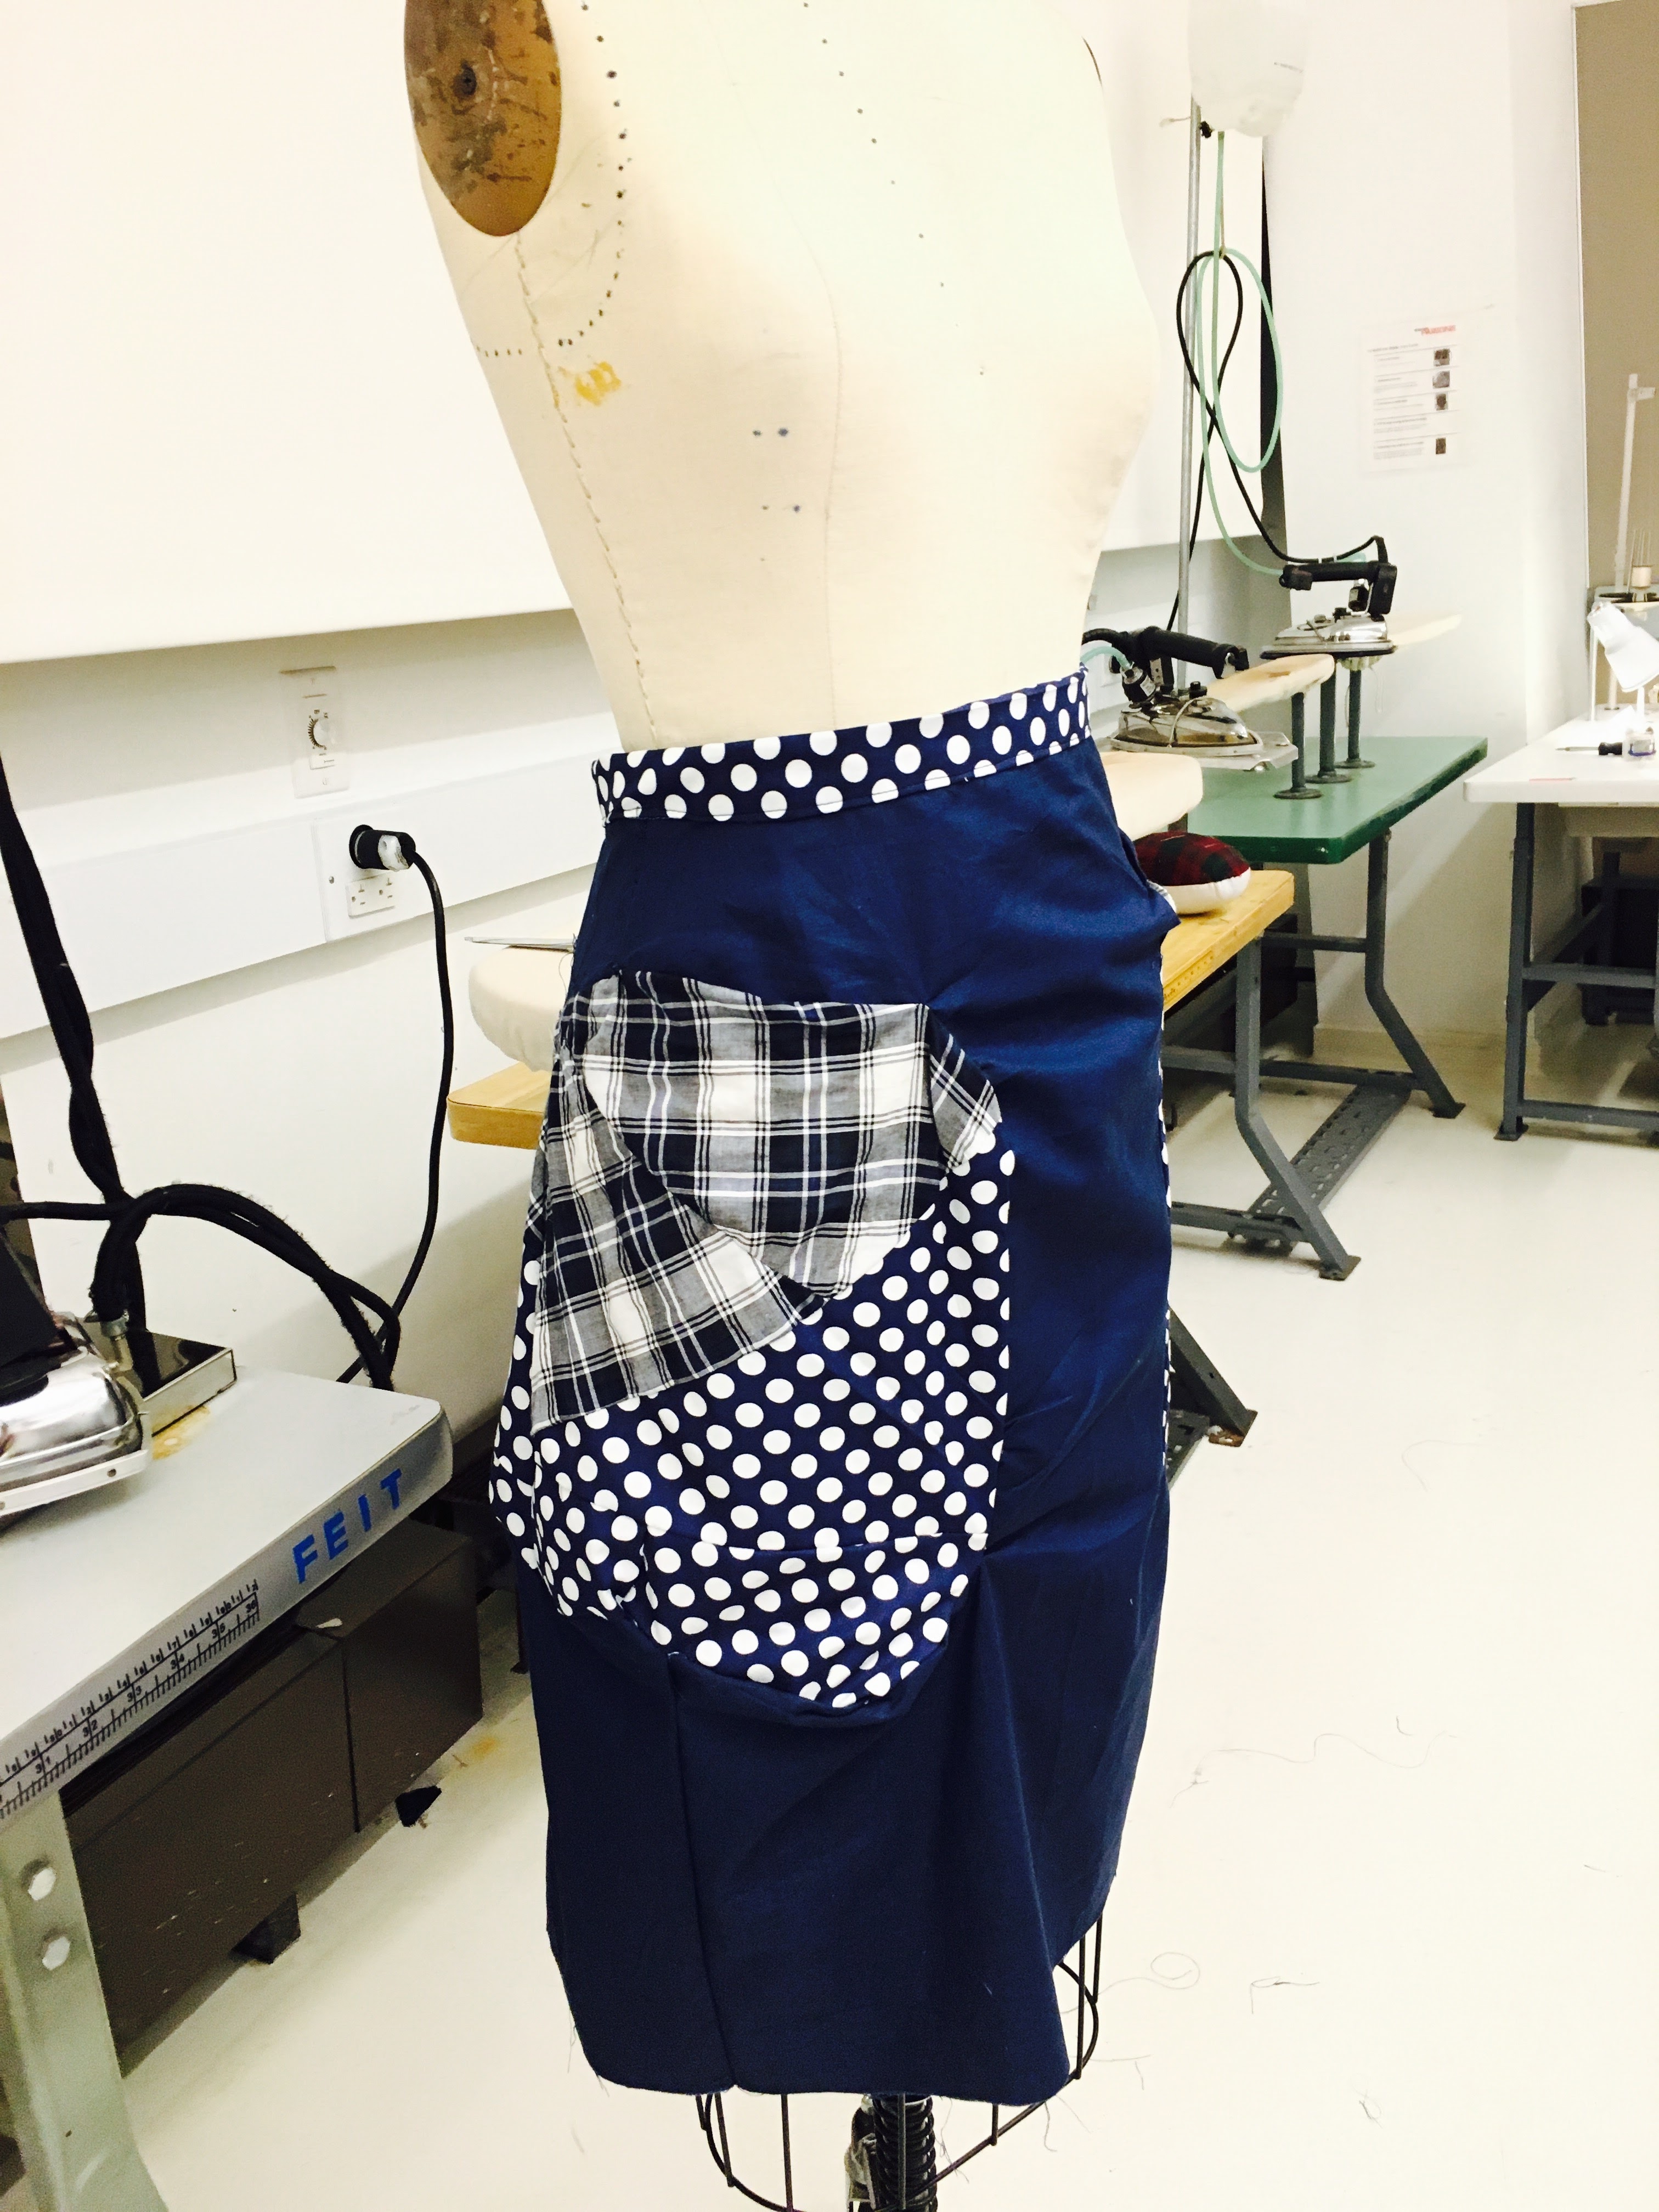
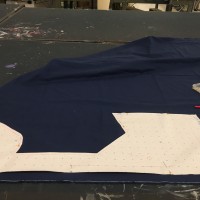
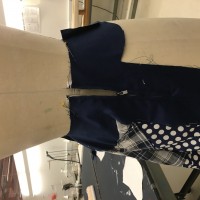
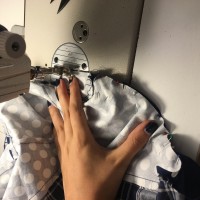
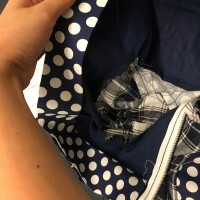
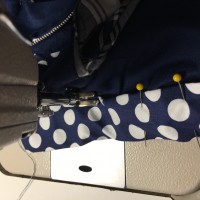
Here are a few more process pictures of my sewing, as well as draping on a mannequin to check the skirt after pinning it
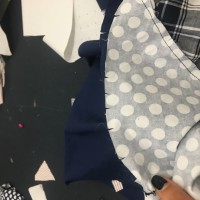
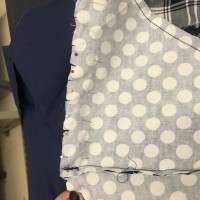
For the waistband, I decided to use the polkadot fabric as I thought it would look aesthetically pleasing with the whole look of the skirt! Here are process pictures for my waistband:

Skirt Outcome!