Shoe Final. Phase IV: Animal Shoe (Bear-owl)

The final part of the shoe project was to create an animal-looking shoe investigating materials. For  Bear-owl, the idea was to create a combination of a bear and an owl. The bear part is on the bottom and the front, and you can see the claws. As for the owl, it represents the buckle of the final piece.

Title: Bear-owl

Materials: Planar; Aluminum, Copper, Wood, Fabric. Linear; 24 & 28 Gauge Wire, Thread, Rivets.

Tools: Needle, Sewing Machine, Blunt Nose & Needle Nose Pliers, Scissors, Drill, Drill Machine, Sanding Machines, Woodcutting Machines, Rivet Gun,

Easiest part: There were no easy parts when doing this project, but the least complicated was cutting the aluminum.

Most challenging part: This is a tough question because every piece was complex and hard to connect, so I would say cutting the copper, and sewing it with wire was the hardest part.

These next pictures are of the first draft of the shoe, done with cardboard, tracing paper, foamier board, aluminum foil, and masking tape.

IMG_0805   IMG_0806


The process and final product of the Bear-owl looks like this:

IMG_0693   IMG_0732  IMG_0747 IMG_0748  IMG_0753  IMG_0754 IMG_0766 IMG_0767

The final pieces altogether look like this:

IMG_0808

Shoe. Phase III: Sewing it.

The first images shown are from a project Kate did. In our class we have been going on field trips to the 92 Y most Fridays since the beginning of the semester. Kate is an 8 year old girl whom I have been helping with her sewing project. As you can see, here is the process and the evolution of her own “stuffed animal” (which looks like bloo from “Fosters Home for Imaginary Friends.”)

image image

IMG_0433


These next photos represent the shoe I sewed. Sewing was a new experience for me, but alongside my classmate, Kate, and my awesome teacher, I feel like I am getting pretty good at it. I will definitely get more into sewing now, and keep practicing to help with future projects.

IMG_0499      IMG_0500

IMG_0515

Screen Shot 2015-03-11 at 12.48.58 PM

Shoe. Phase II: Wire

Making the shoe in wire was a challenge for me because I had never worked with wire before. However, I ended up liking the final piece, and enjoying the process. The first phase (drawing) helped me to get to know my own shoe and create a better measurement of the wire shoe. I am really enjoying this whole project, because it has helped me find a shoemaker side within myself.

IMG_0319 IMG_0338  IMG_0347 IMG_0350  IMG_0341 IMG_0345

Shoe. Phase I: Drawing.

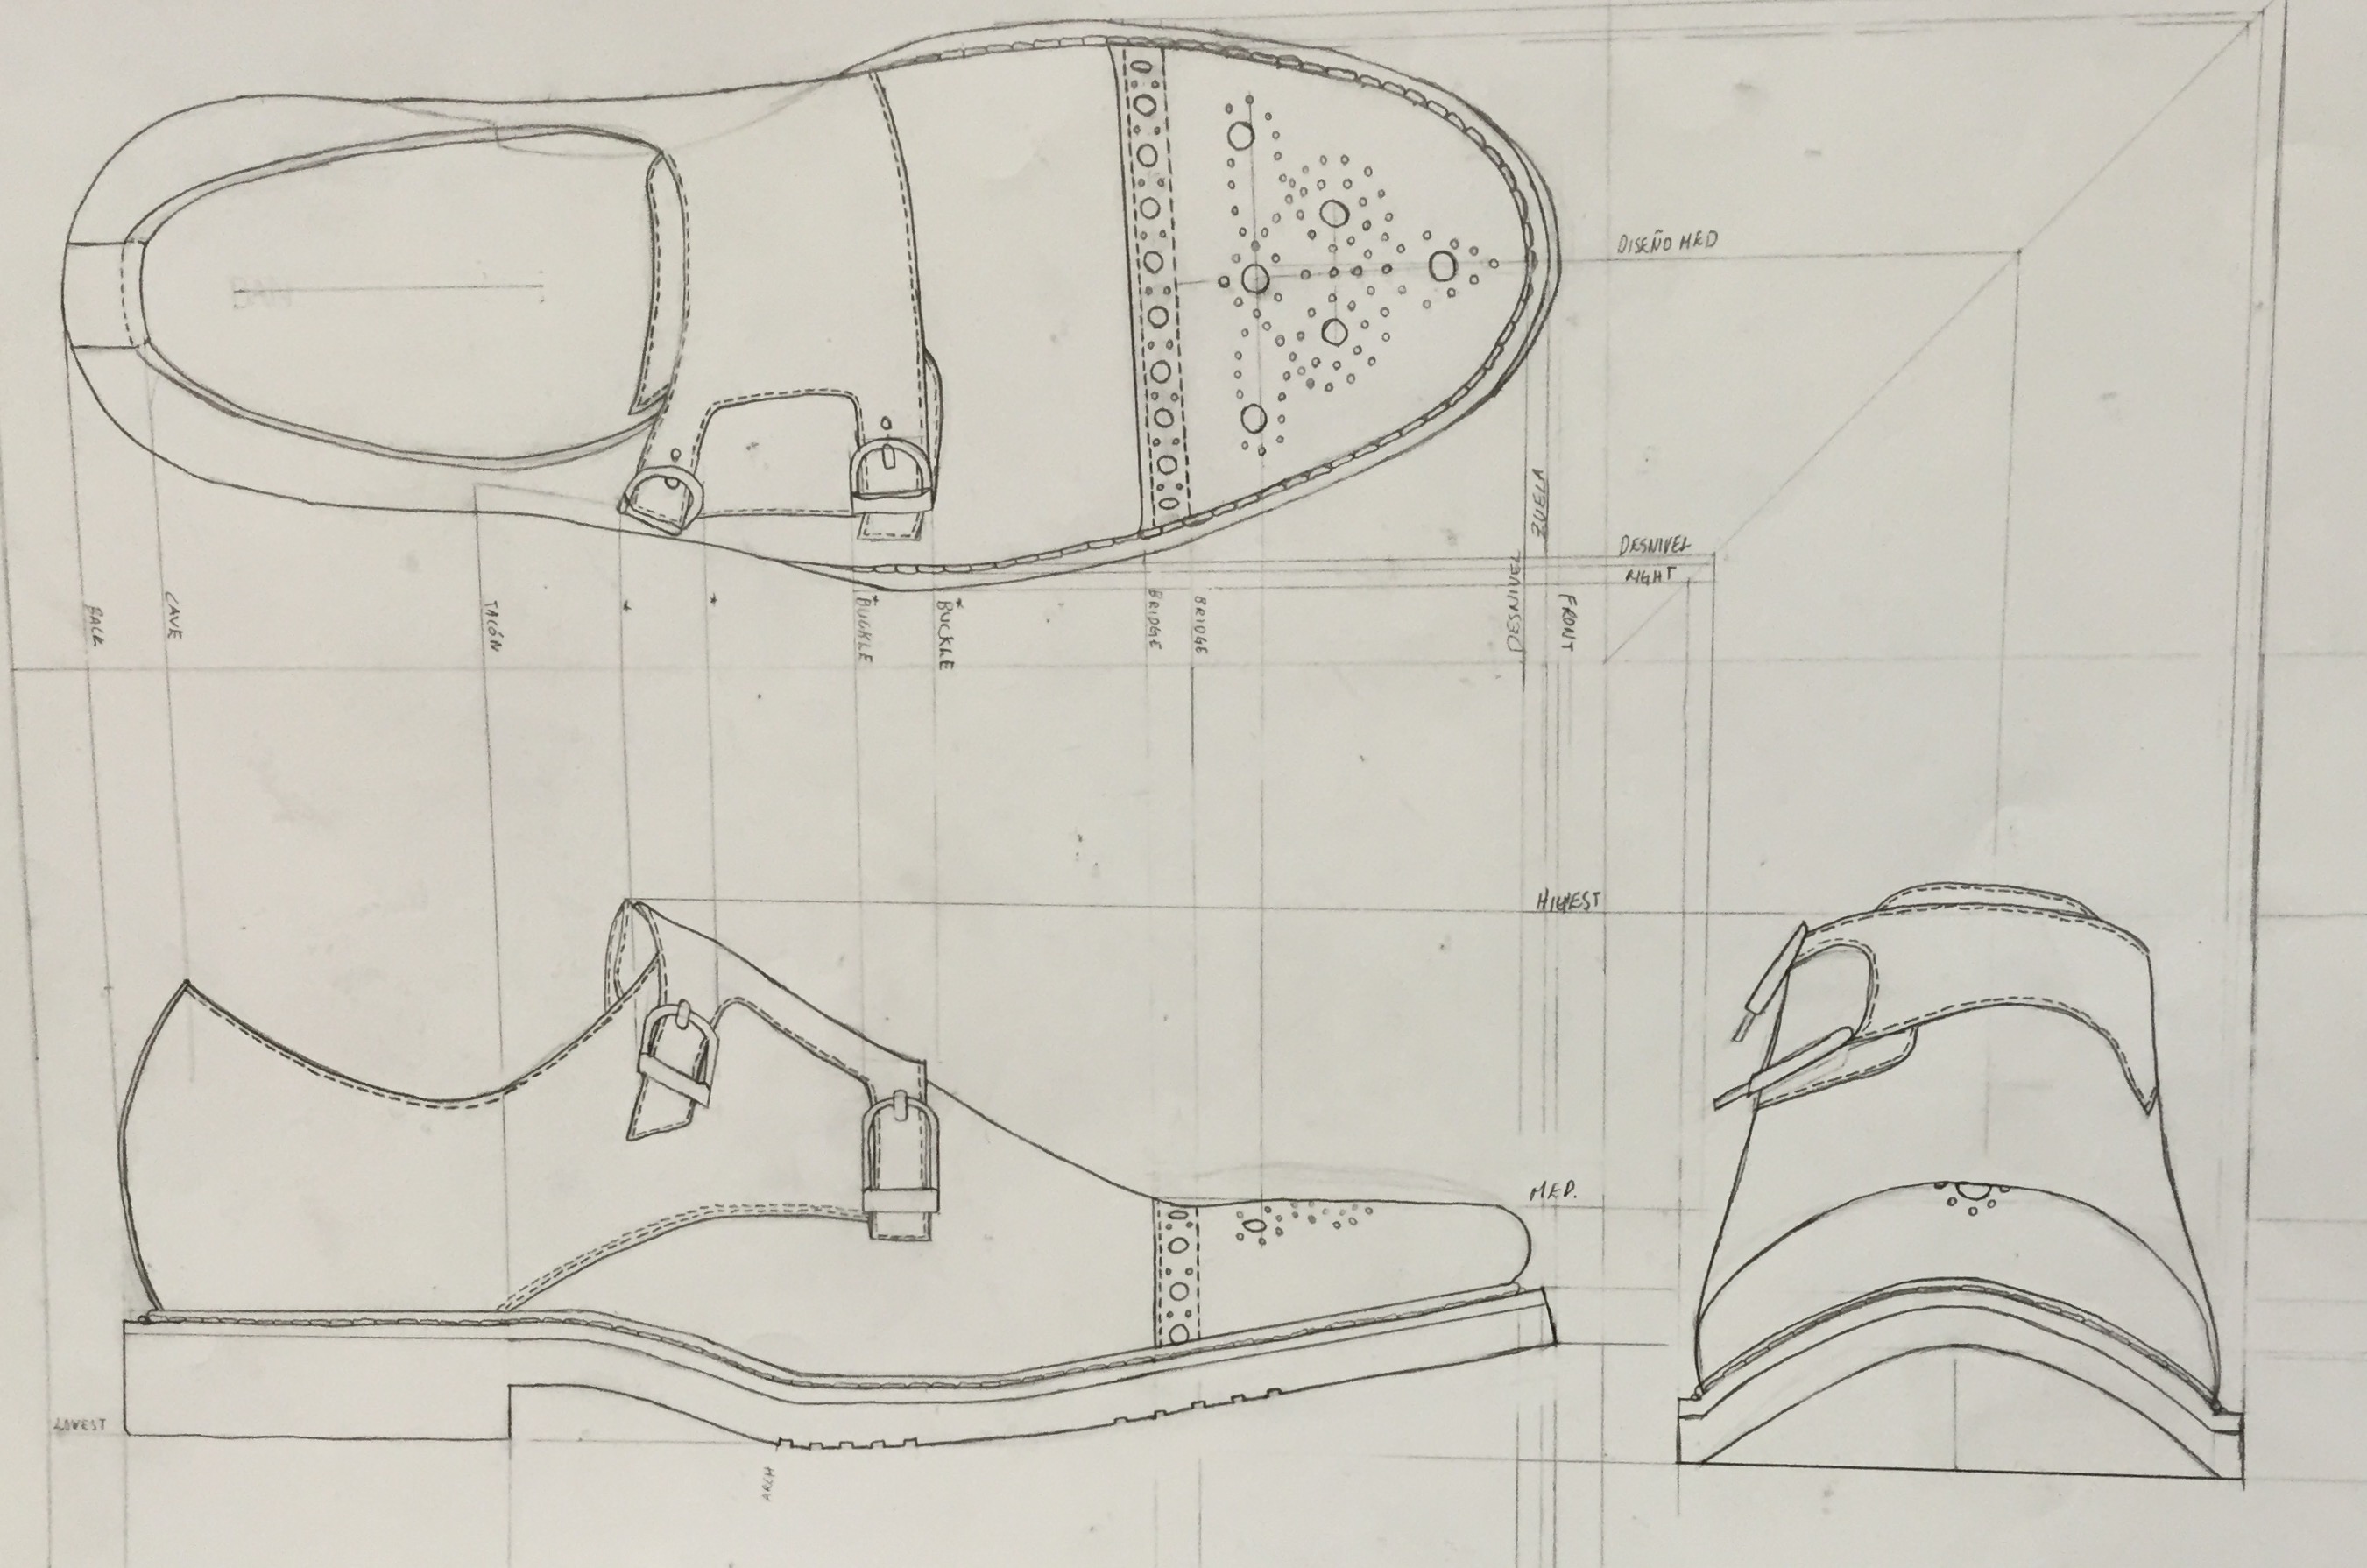
With these drawings I depict the process and the final piece of a Shoe. This was a project with a great impact on me, because I want to be a product designer, maybe even a shoe designer, and it is a basic step towards mechanical/technical drawing. I learned how to measure volume of an object, and portray it in six different drawings from 6 different point of views.

IMG_0286  IMG_0291  Shoe  IMG_0474                 IMG_0480  IMG_0471            IMG_0477