Assignment
For our final Studio 1 project, the task was to choose a topic and a medium out of a list of four and create something, that would go hand in hand with a topic of a research paper we could choose.
Topics: Superheroes, Science Fiction, Social Media/Technology, Mythology
Format: Innovation, Furniture, Book, Body Armor
Research
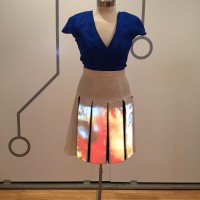
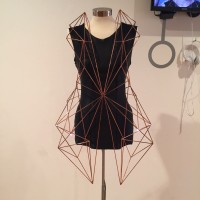
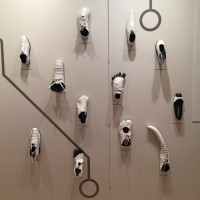
When reading through the different topics, I immediately knew that I wanted to work with the topic of superheroes, because the thought of having a unique superpower that can help and do good for other people has always fascinated me. As for the format, I wasn’t sure if I wanted to do a body armor or a piece of furniture, which is why I started my research by going to the Coded Couture show at the Pratt Manhattan Gallery, as well as various furniture stores around New York.
CODED_COUTURE Exhibition at Pratt Manhattan Gallery

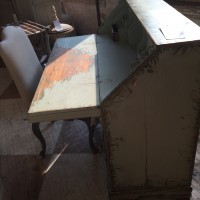
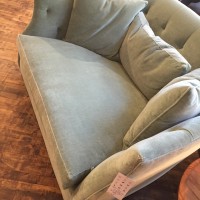
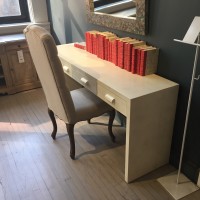
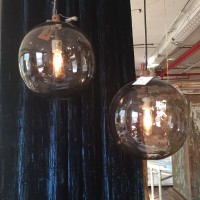
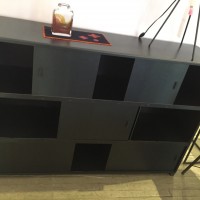
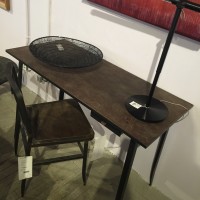
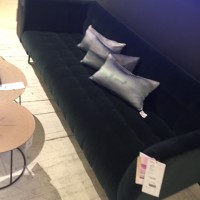
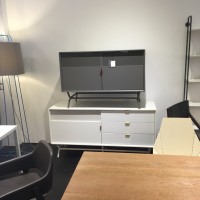
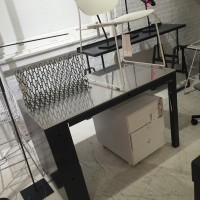
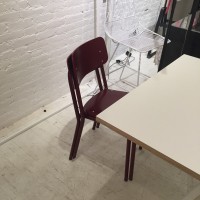
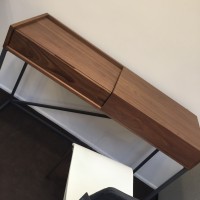
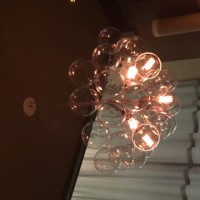
Furniture at ABC, Blue Dot, Organic Modernism


Though I really enjoyed looking at the furniture, I was definitely more inspired by the coded couture exhibition, and also think that is it the more suitable format for the topic. Thinking about a possible superpower I would like to work with, I had to think of the different schools I’ve been to, and how there was always a hand full of people that were bullied and harassed by their peers. I saw those kids suffering from their bullies comments and actions every day and always wanted to be able to help them. I tried speaking up against the bullies a couple of times, but by doing so, you make yourself extremely vulnerable and risk becoming the victim yourself. This is why I want to have the superpower to shield others from emotional pain, no matter if it’s from bullying, a cheating boyfriend or an upset friend.
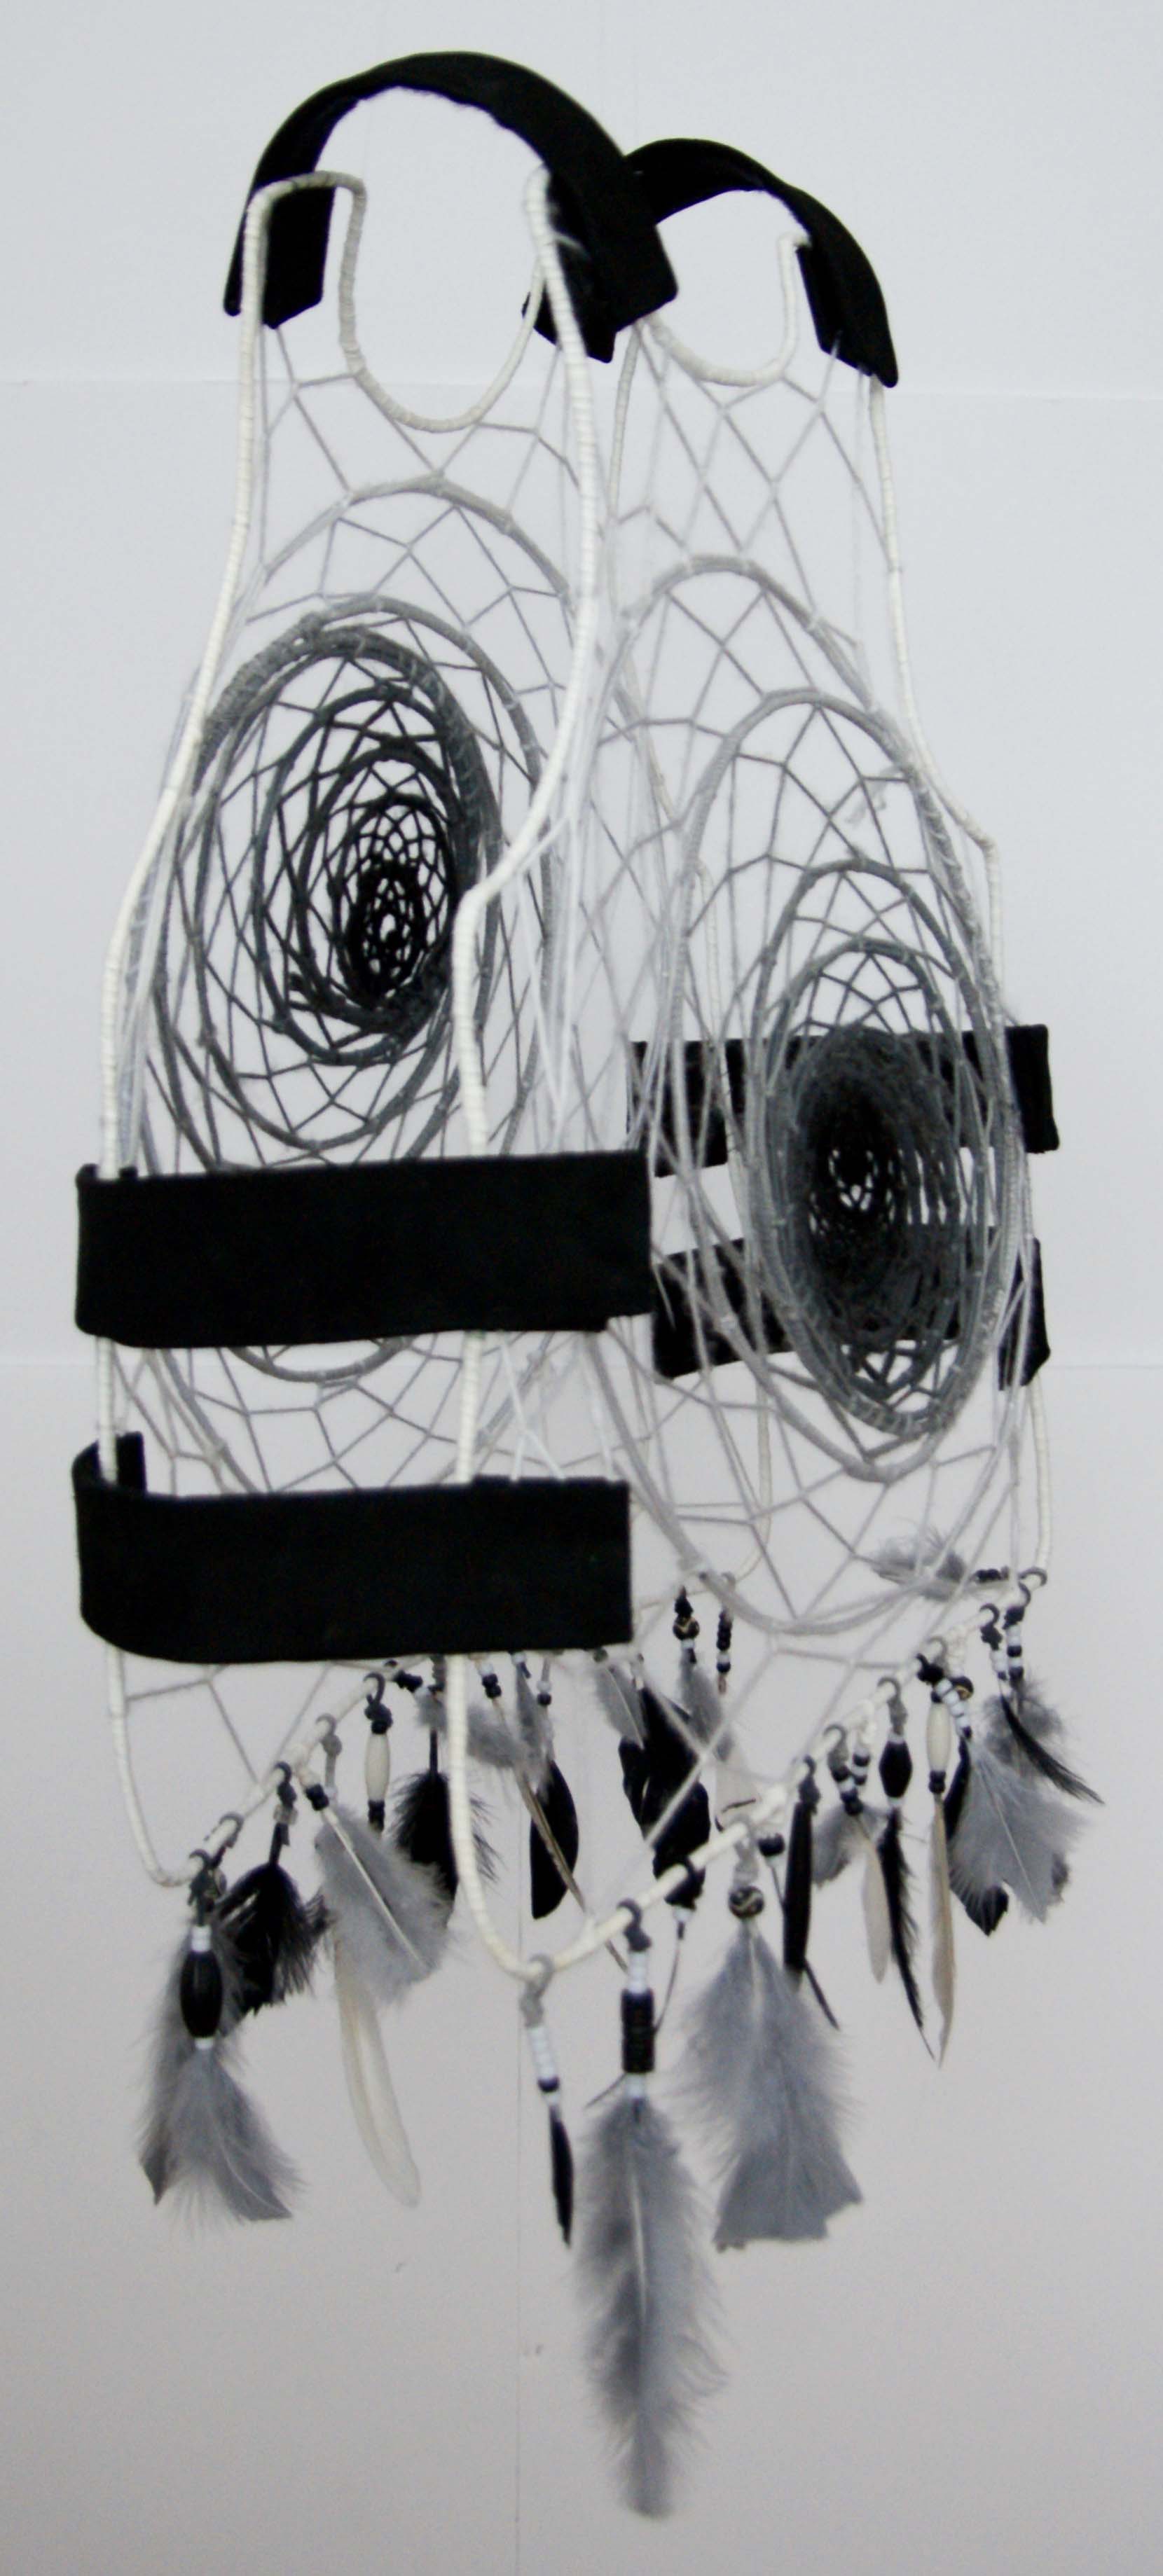
When thinking about the way to portray this superpower as a body armor, I realized that there are hundreds of different ways of physically protecting yourself, from bulletproof vests, to actual body amours, to weapons. However, there is no way to protect yourself from emotional attacks and to keep the negativity and pain away from you. For my final project, I decided to redesign a typical bulletproof vest and make it “insultproof”. Using the concept of the native American dream catcher, I decided on making a vest out of dreamcatchers. For hundreds of years now, native Americans have made these spiritual objects to keep away the evil ghosts, and they have since been adapted all over the world and are believed to keep away the nightmares when placed above someone’s bed.
Playing with this idea, I created a mood board with inspiration pieces as well as different materials I could use:

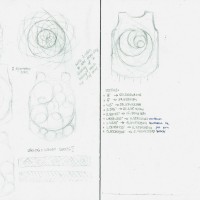
Sketches:
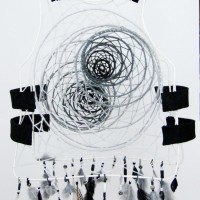
After looking at the moood board, I tried sketching out some ideas I had of how I could design this vest. I ended up choosing the last sketch, the only one on the right page, as the circles form a spiral that ends up pointing towards the heart. This symbolizes that the heart is the part of the body that is protected the most, as it is often times considered the point in our body that we feel with. The design furthermore matches one of my geometric acrylic paintings that I did for my Parsons Challenge. Having the design, I created a mathematical equation to calculate the circumference of the individual circles, so that the distance between each circle would be by 1/4 smaller than the previous one.
-
- Sketches
-
- Life
Materials Brainstorm & Research
Having a basic understanding of what design I wanted to realize, I then started looking at different materials and colors to use. I was torn between using the traditional dream catcher materials, and using materials such as steel and metal that would be used in traditional dreamcatcher vests. In the end, I decided to stick with the traditional dream catcher materials and try to bring across the idea of other materials through the use of color. I therefore chose to work with just white, gray and black. For the materials, I chose traditional yarn, feathers, leather and beads, all in white, black and gray.
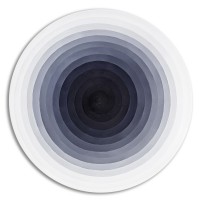
Color Scheme


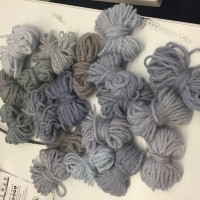
Materials


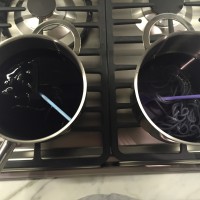
When looking to buy the materials, I found five different gray, white and black tones. However, I wanted to recreate what I had done in the Parsons challenge and what I do in most of my personal work: a very subtle color transformation, blending from one to the next. However, the yarn I had gotten was at times too similar, and other tones were too far apart. I decided to dye my white yarn, so that I could get exactly the color I needed. I expected this to be much easier and less time consuming. Even though the actual dyeing process is very easy, it takes a long time for the yarn to really absorb the dye, and it is only until after this process and after you have washed out the dye that you can see the actual color of the yarn. This is why I tried it many times, ending up with a huge variety of tones.
Exploring Techniques
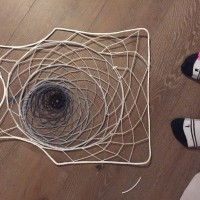
Since I had never made a dream catcher before, I then started looking up tutorials on how to knot these and what patterns could be created. I practices the technique with a couple of sample dream catchers like the one below before starting the actual piece.

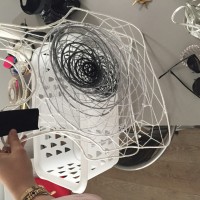
Process of Making
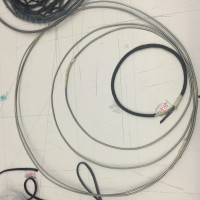
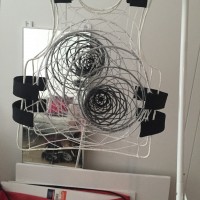
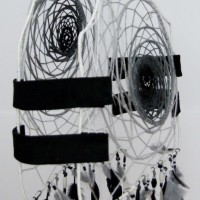
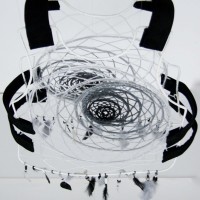
As I had figured out how to make a dream catcher, I first cut all the wire that would the base of the vest to put it together and check if my calculations were correct. I then started making the vest by first tightly wrapping all the wire structures with suede leather band in different gray tones. I then knotted the end of the leather with the corresponding yarn color, which was usually a little darker than the leather, as the whole vest was supposed to get darker when moving towards the center, and started knotting the dreamcatcher. I started with the smallest circle, and then made my way out from there, always knotting the smaller loops into the larger ones as I was knotting the dreamcatcher. While the center point of the front side was on the top left, at the location of the heart, I decided to make the back the opposite way around, to create a contrast between the two sides.

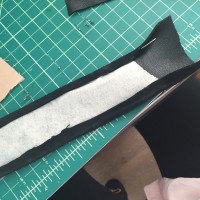
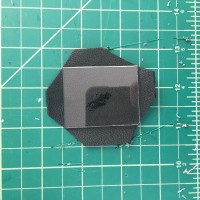
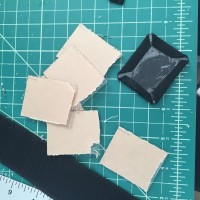
When I finished the knotting, I started exploring how I could make the straps that would hold the whole vest together as well as giving it the bulletproof vest look. As I wanted them to really stand out from the vest, I decided to make them black suede, a material that is very commonly used for dreamcatchers and generally in the native American culture. To add to its stability, I used wire on each side of the strap, folding the leather over the wire and then sewing it together. I did this for all 6 straps and added velcro on the back side of the strips. Additionally, I needed something to put the other part of the velcro onto, so that the straps could easily be taken off and adjusted. I cut little plexi glass rectangles to add stability, covered these in suede leather, and then put the Velcro on the other side. I then drilled holes into the rectangles and sewed them onto the vest.
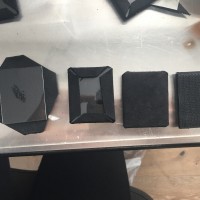
When I fixed the straps onto the vest, I wasn’t sure whether or not I wanted them to be plain black or with ornaments on them. I therefore tried different versions, finally deciding to go with the plain black. I chose that version because I wanted to enhance the practical aspect of the straps, as they were supposed to hold everything together rather than to decorate.
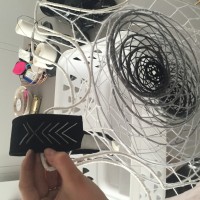
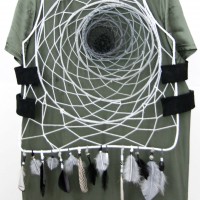
To finalize the project and really enhance the concept of native American dream catchers, I added the traditional feathers and beads at the bottom of the vest, using the same leather string I had used for the dreamcatchers.

Final Photos
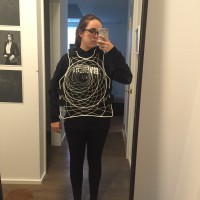
I then shot the photos against a white wall. As it is hard to see the white part of the dream catcher against a white wall, I decided to fill the vest with a vest for the last photo. This imitates what it would look like on a body. Thanks to the adjustable straps, the vest fits most sizes and is very easy to put on and take off.

Final Project Presentation
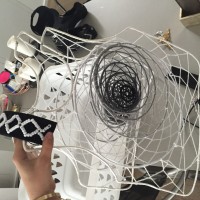
For the final project presentation, I hung the vest from the ceiling. I also prepared an artist talk on Prezi, which can be found here: https://prezi.com/s6ny4mistxfb/int-sem-studio-1-artist-talk/