Int Studio 2: Visual Culture.V25.Sp23 – Project 4: Final Project

CONCEPT

My concept and theme for Bridge 4/Project 4 in Seminar and Studio is Japanese ceramic art. More specifically the impact of the Mingei movement on the aesthetic and purpose of Japanese tea ceremonies. As for my studio project’s final, I intend to create an interactive and contemporary booklet, which was inspired by traditional flip books.

Before settling on the final design, I’ve created a mind map of inspirations and concepts for my final piece. The mind map was helpful in terms of creating a cohesive concept along with my seminar essay, and helps me visualize my idea

This is the mind map

PROCESS

In order to make the process clear and easier to understand, I will be breaking it into three major parts; making ceramic cups, designing the booklet, and producing the booklet.

Ceramic cups in making…

To start this project, I have to make and study the making of (hand-building) ceramic cups. I had to choose the most appropriate clay for hand-building cups, I’ve chosen 630 multi-use white clay (White Stoneware Clay: Ideal for all techniques such as wheel throwing and hand building. Cone 6 Shrinkage 13.0% Absorption 1.5%) as its the most appropriate clay for hand-building. the image below is a brief process of two methods I chose to hand-build my cups with.

Finally, I chose to use the slab building method because I prefer the finish and form better than the coil method.

Slab method on the left and coil method on the right
Greenware (First fire)
Alabaster white glaze over Celadon grey
Glazed. To achieve the ‘washed out’ effect, I applied the white glaze and quickly wipe off the surface of the glaze, to reveal the clay underneath.
Final Product

DESIGNING THE BOOKLET

For the medium of this project, I intended to redesign traditional flip book. I got my inspiration our guest speaker, Yucheng and Kat Bawden. Initially, I was fascinated by interactive books that requires care, time, and creativity. Therefore I chose the size of my main page, and use Adobe Illustrator to render the pattern of my book. We also went to the image archive in the NYC public Library to gather some information for the cups.

Images from the image archive.
Inspiration from Kat Bawden
This is the pattern that I intend to print on a large sheet of paper using plotter printer.

I’ve made three different versions of the booklet, each of them are different in folding techniques and folding directions. After I’ve made my decision on which booklet style I wanted, I labeled the pages with two different colors. The black color represents the order of the pages when viewed from the front page (?), and blue indicates the page order based on the unfolding order.

After taking photos of the cups, I used Procreate to move and re-arrange the cups into the way I wanted it to.

this is how it looks after I arranged the cups.

PRODUCING THE BOOKLET

I used the plotter printer to print the booklet, I used a bone fold to create the crease for a cleaner fold.

using a ruler to guide the bone fold for a straight line.

FINAL PRODUCT

REFLECTION

As a reflection: if you had all the time, budget and support in the world, how could you see this project developing further?
– I would either mass produce this using traditional washi paper for that organic texture and sell it, or I would print this HUGE and make it an interactive art work.

Ideally where would you like it be installed, viewed, or shown (in a gallery, museum, public, bookstore, online, etc)?
-I would install this piece in public or museum. Ideally a zen garden with tatami to really submerge yourself into the tea ceremony environment.

What was the biggest “ah-ha” moment for you in your process? Perhaps this came to you through thinking or how your idea developed, or through your making process.

  • When I started working on ceramics. It pulled out the “eager to learn more” side of me and it made me more interested in this topic. Also, when I started folding and assembling the booklet, things started to fall in place and that was comforting.

SUSTAINABLE SYSTEMS.L.SP23 – FINAL PROJECT

言盤 – SPEECHPLATE

  • What is the practice or object you have committed to enact or create for your final project?
    • I’ve committed to working with one type of material and technique in order to practice the methods to make my final product.
  • In what ways DOES this practice/skill or object provide joy, functionality and/or good health for you over 10 years?
    • Working with ceramics is indeed a calming, meditative, and satisfying activity. By practicing the skill provides me joy as I am interested in ceramic works. Ceramic work also gives me a break from starring on screens and kept me away from the overwhelming noise pollution and stress from classes. If I were to practice this skill for the next 10 years, I am assuming that my mental healthy and body will be more healthy.
  • How have you planned to repair or allow your project to be renewed and change over time — making it more resilient (able to last/be useful) for at least 10 years?
    • If my pallet broke/cracks, I can put it back with ceramic glue. Although it would not be food safe, but it can be used as many other non-food related purposes such as a jewellery trinket.
  • How will your project invite more sustainable systems by preventing unnecessary/excess materials from entering the waste stream and support Environmental Justice over the next 10 years — and potentially beyond? 
    • Since my project is quite versatile and durable, its life span would be longer. Also since I’ve glazed my work in food-safe glaze, this could be used as a food utensil which would probably last longer as it does not require much traveling and chances of coming in contact with hard objects.

REPAIR/RESILIENCY POSTER

PERFORMATIVE DEMONSTRATION/ DOCUMENTATION

https://www.youtube.com/watch?v=t-2Sw7WaICs

The Set up for filming the video.
Greenware Plate
Plate cleaned and glazed.

I rolled out a slab of white ceramic clay, and cut the shape of the piece out. I waited for the surface to dry up a little before carving the indentations. The leg on the side is made to hold utensils.

Final Piece.

[LS] Int Studio 1: Shift.A35.Fa22 – Bridge 3 Folding/Pattern (Kimono Inspired)

  • Write an Introduction to this assignment describing both seminar and studio assignments

The objective for bridge 3, we are creating a garment or a sculpture with patterns that represents our own live and/or experiences. We started off the bridge by visiting The MET to see Kimono Style, in the muesuem, we studied many different forms and pattern of the Kimono. We also explored the relationship between patterns, forms, and status. The museum visit interlinks with our final product. To create my piece, I need to create patterns that represents my identity, I chose to depict my third-culture background and my experience as an first-year international student. For seminar class, we have to complete a design process journal which we will have to record our process of coming up with ideas and receiving feedbacks from our peers.

  • Process: Develop Solutions and Build a Test Model (use Part 4 of your seminar assignment)

I wanted to incorporate nature into my piece. Therefore, I created this DNA-looking spiral to represent DNA, and while folding many prototypes, I realized that when the wind blows on the spiral, it spins. It’s very satisfying to watch it turn repeatedly. The project gave me the idea of creating a wind catcher, which led to this Japanese glass-globe wind chime. I wanted to make a wind catcher because it’s all-natural. Wind influences how the piece will spin and moves, which is like maturity. When the times come, you will know what you have to do. I then explored different paper types: soft newspaper, standard printing, card, and drawing. The soft paper was much easier to manipulate and mold through this experiment, but the final product looks very draft-like and not structural. The whole piece was just too light that it did not interact with the wind.
On the other hand, card paper was challenging to manipulate and create a clean edge. It was also too heavy for the wind to blow and move. Lastly, drawing paper was the most successful one. The weight of the paper weighs down the piece when hanging, so it doesn’t curl upwards and interacts with the wind perfectly. For the pattern, I will be printing it onto the paper directly and folding it. I intend to fold printed paper because the folding process will wash away some ink on the paper and give it an age-washed finish. That will enhance my intention and expression.

  • Feedback (Part 5-6 of seminar assignment)

Present ideas and receive feedback

 I presented my ideas and concept to my peers while waiting for my professor. Most of my peers recognized my idea and symbolism since most of them were international students like me. Naturally, it will be easier for them to understand my point of view. However, some of my peers think my concept could’ve been more substantial and concrete. They thought my project idea was a bit too overwhelming and distracting, and they recommended that I stay focused on one area and expand from there. When I discussed my idea with my professor, she seemed to like my idea. She thinks I could make more replicas of the same piece to enhance the strength of my piece. She also recommended I make this piece more interactive. I was able to make adjustments to my piece. I ended up making three wind catchers in different sizes. 

Improve and finalize the design

While folding the designs, I have to choose between a very structured stiff paper that is more aesthetically pleasing and functional but difficult to fold and get the exact form or softer paper that is easier to fold and achieve that exact edge but its lighter and doesn’t look as good as stiff paper. After trial and error, I’ve decided to use stiff paper, I like the form stiff paper creates, and despite the clean edges, it works well as a wind catcher, its heavy enough to weigh the whole lotus pieces down and turns gracefully. I also experimented with different papers for my lotus. I tried folding the lotus (I knew that I would need thin paper for this) with vellum paper, tracing paper, and newsprint paper (the thickest of them all). Newsprint was an immediate no because of its thickness. Tracing paper is glossier and wouldn’t hold the lotus’s form. The vellum paper worked amazingly. 

For my final piece, I made a triangular structure out of a plywood stick and attached my wind-catcher to each corner. Each strand of the wind catcher has three lotuses (small lotus, big lotus, and small lotus) I attached them to beading strings and used tape to attach them to the spiral. Each wind catcher has different sizes and lengths.

  • Reflection (Part 7 of the seminar assignment)

My strength for this piece is the structure, size, and pattern. My structure was solid and bold, and the scale of this piece also heightened the boldness of the piece. The prints were intimate and meaningful, and at the same time, the piece as a whole was aesthetic and functional. On the contrary, I would change how I attach the lotuses. It was the most challenging part of the whole process. Despite using vellum paper to make the lotus, it was still heavy, and it was hard to balance the lotuses onto the beading string.
Consequently, the lotus would tilt to one side rather than sitting upright. Even though I tried to make the lotus stand upright using tape, the tape’s appearance made the piece look less aesthetically pleasing. If I were to do this again, I would plan a more holistic experiment and prototype to pre-see the challenges and solve them earlier. I want to try changing the attachment method to make the final design more fruitful.

  • also include photos of inspiration, process, and final project

Read Before You Start!

By uploading files to a learning portfolio site to share with others, students are declaring that they created the content or that they have the right/permission to distribute this material within a class (in the case of Canvas) or on the Internet (in the case of uploading to a learning portfolio site). Should you have any questions about how to acquire this permission or your use of the materials, please see the Copyright & Citation tab on the Library’s Images for Designers and Art Researchers page or email ereserves@newschool.edu.

[printfriendly]

Welcome to the Parsons Learning Portfolio!

The Learning Portfolio is where you will tell your Parsons story. If you have questions or would like to learn more about the many ways you can design your portfolio, be sure to visit the Student Resources + Support site at portfolio.newschool.edu/studentsupport. But before you do, be sure to read the About pages under Courses and Topics in the menu bar and in the Links section of the footer, as well as the other three posts found on the homepage.

As a student at The New School, you can create as many blogs as you wish. But when you first registered for your Learning Portfolio at portfolio.newschool.edu, a portfolio/blog was created for you with your Net. Id. at the end of the URL, e.g. http://portfolio.newschool.edu/YourNetId. Hopefully, that’s the blog you’re reading right now. Have a look at the address bar for confirmation. It’s important that you use that blog—that URL—as your Learning Portfolio. It makes it possible for your instructors and classmates to find your Learning Portfolio. To learn about privacy settings, see the Help menu.

The Learning Portfolio is a tool with which you will engage throughout your education at Parsons (and perhaps beyond). The focus of the Learning Portfolio is on reflection, on looking across your many courses and semesters and the various assignments and projects throughout the curriculum. The portfolio is a way for you to examine your own progress and performance, to share your work with others, and to tell a story about your time on campus (New York, Paris, and elsewhere).

[printfriendly]

The Importance of Categories and Tags

By the end of your first semester, you will have posted a lot of content to your learning portfolio. One of the challenges for you, your instructors, potential employers, family and friends will be sorting through it all. The Courses and Topics menus based on categories and tags, the tag list, your post titles and the search box are all ways of finding things in your portfolio, but Categories and Tags are the two most important. Both help you reflect back on the work, but they also give visitors a way to understand the relationship that exists across the images, text, videos, and other content that you’ve created in the various projects, classes, or years at Parsons.

As mentioned elsewhere, Categories and Tags are two means of aggregating and presenting related content in your portfolio. Your learning portfolio comes pre-populated with categories for each of the courses you will be taking in your first year at Parsons. It also come pre-populated with over 60 tags for you to use, but you can create new ones at any time. Log into the Dashboard of your learning portfolio to see the full list of categories and tags. You will find both under the Posts tab.

Categories and Tags in the Dashboard

So whenever you make a post, be sure to assign a category for the relevant course and year and add relevant tags that might be thematic or as specific as the name of the course project the post relates to. For example, your final project in Space & Materiality might require you to develop a proposal, preliminary sketches, some historical or technical research, a prototype and a final product. These might be uploaded in separate posts, each of which could be tagged as Space Final Project. To find them all, one would simply click on the tag in the tag list or at the bottom of one of the posts to pull them all together under the heading of Posts Tagged “Space Final Project”.

This post has been assigned the tag of LP Instructions. You’ll see the tag at the bottom of the post, in the sidebar and in the footer. Click on it in any of the three locations to see what happens. On the first day of the semester, the result will look a lot like the homepage—four posts about the learning portfolio—but over time, these posts will get buried amongst all of the other content you’ll be posting to your portfolio. To find any of them, all you’ll need to do is click on the LP Instructions tag.

Posts Aggregated by Tag

Wouldn’t it be nice to be able to do that for each of your projects or themes you’ll be exploring?

Though less selective, the search box is another way to find things in your portfolio. You will get much better search results if you put some thought into giving each post a concise but descriptive title.

  • More information about categories and tags can be found here.

[printfriendly]

Use the Block Editor to drag and drop and create media rich posts!

The WordPress block editor also called the block editorWordPress editor or Gutenberg editor is the new way of publishing content in WordPress. The new WordPress block editor offers an array of blocks that can be used to create media-rich pages and posts. You can control the layout of the blocks with ease, to build visually appealing web pages.

Blocks are the content elements that you add to create content layouts. You can add blocks for paragraphs, images, headings, lists, videos, galleries, and more.

Block Editor Tutorial

Here’s a video tutorial to help you get started! You can find more video tutorials about the Block Editor HERE.


Switching between the Block Editor and Classic Editor.

If you would prefer to work with a more basic editor (without drag and drop functionality) you can switch to the Classic Editor. Go to SETTINGS in your WordPress dashboard. Select WRITING and then CLASSIC EDITOR


More Design Options!

Want to add more types of media like tiled image galleries and sliders? Activate the Jet Pack plug in

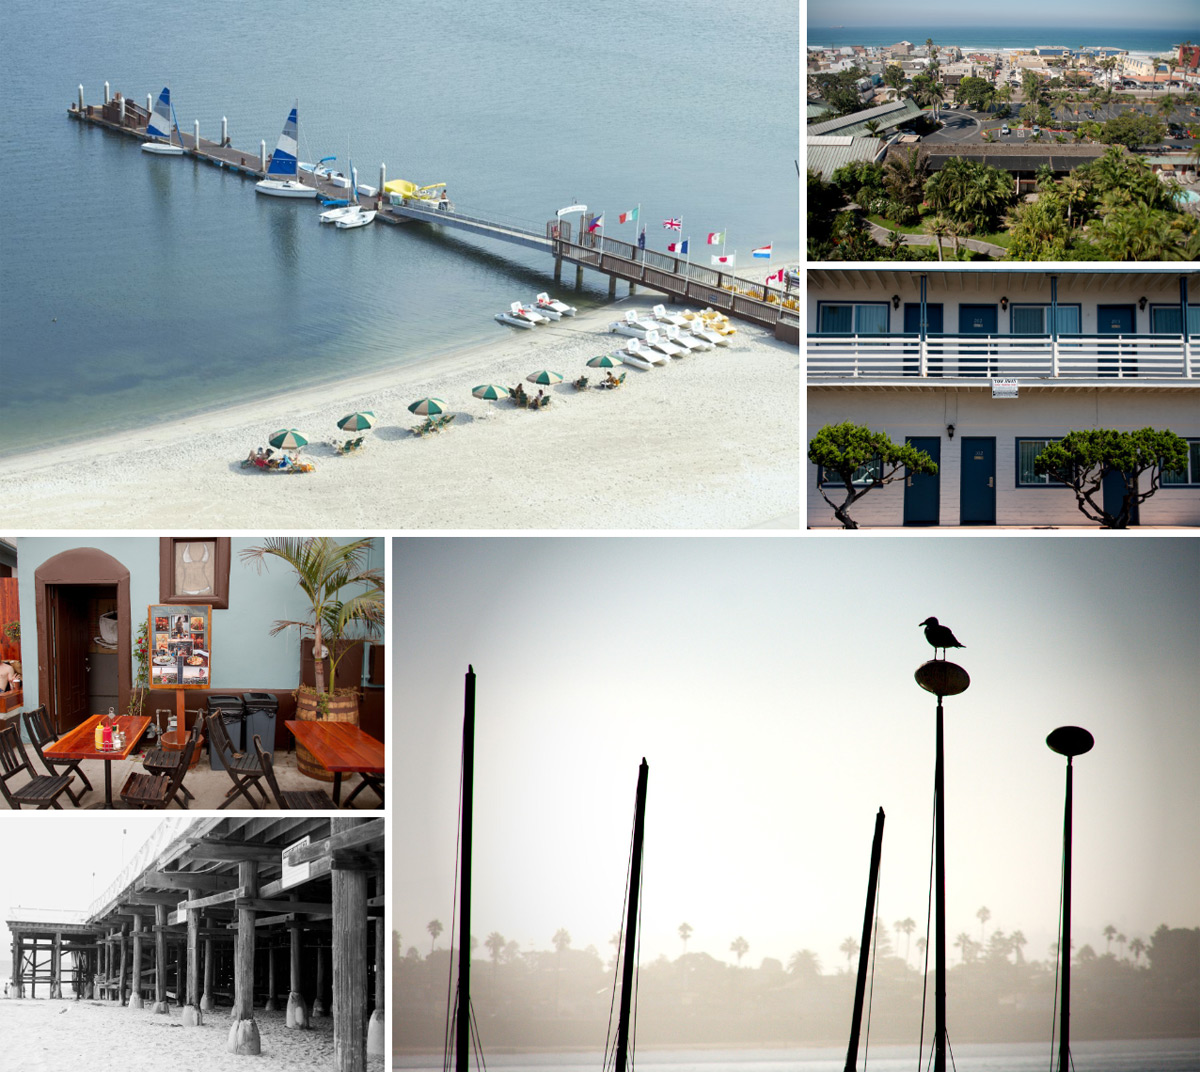
Jetpack Tiled Gallery
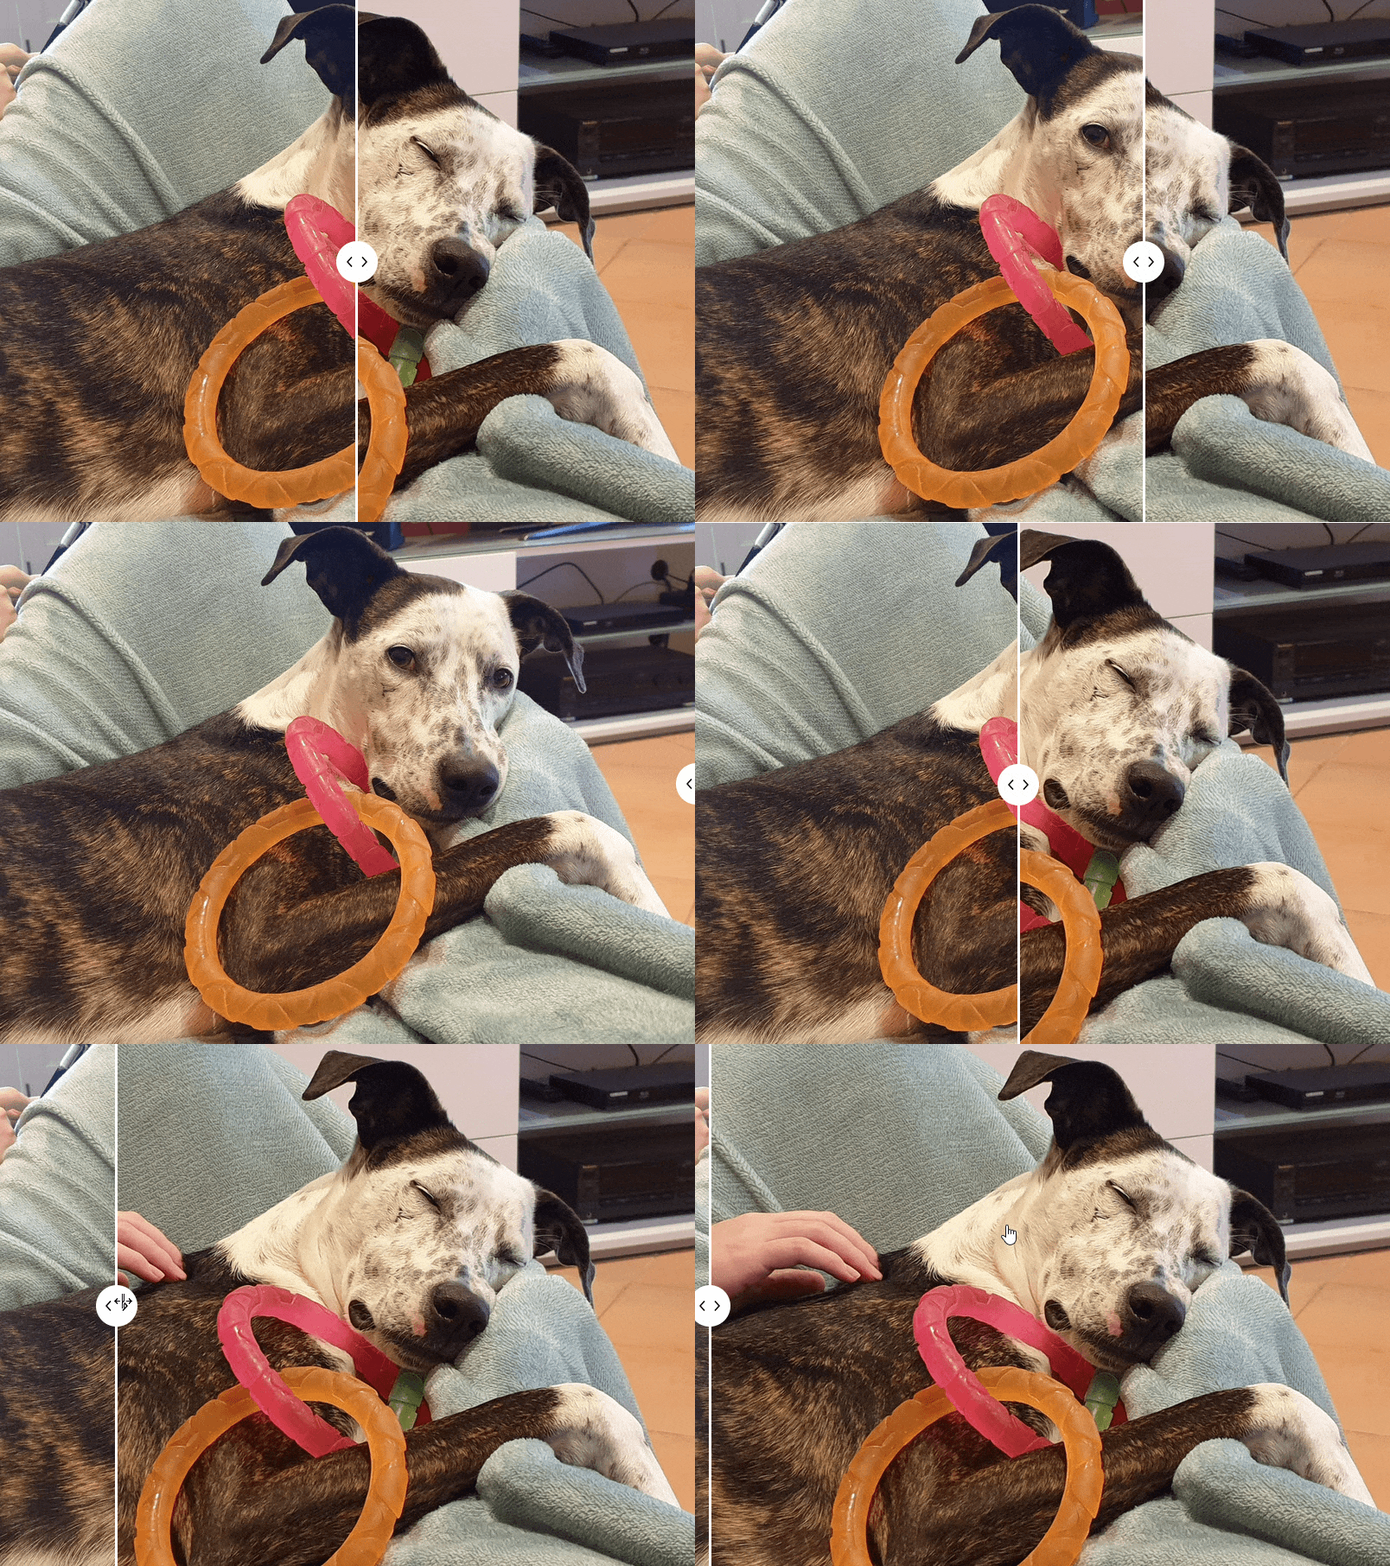
Jetpack Image Compare
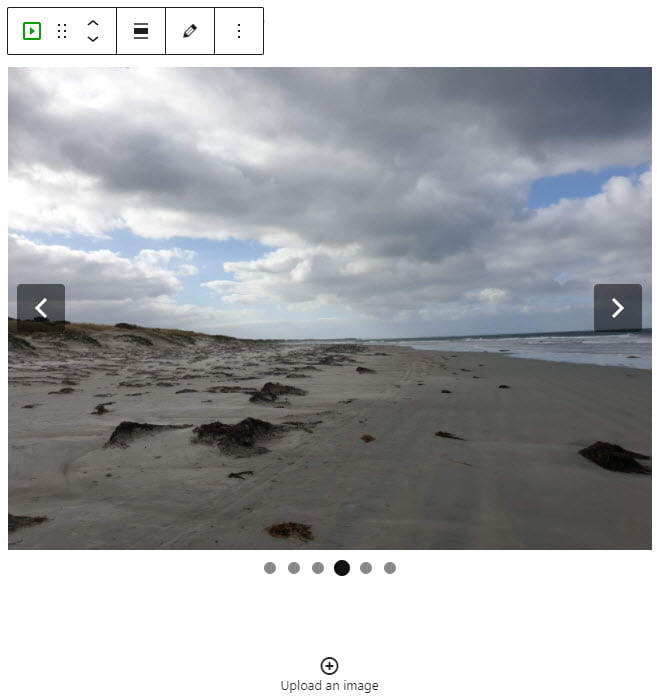
Jetpack Slideshow