Studio 1:Memory
Bridge Project #2:Visual & Auditory Experiment
Idea/Goals
During our Visual & Auditory Experiment, Storey and I had very similar experiences. We found the ear plugs to be ineffective and while wearing them we felt that they only muffled the sound around us rather than actually getting rid of it completely. Therefore, instead of focusing on an audio experience for our Bridge Project #2, Storey and I focused on creating a visual experience.
While being blind I found myself listening to the sounds happening around me and filling in the blanks. When I heard a sound, the source of the sound would pop into my mind. My instincts immediately allowed my to visualize something in my head. Sometimes I was able to single out sounds and focus on them while other times I was overwhelmed with multiple sounds that cause different images to flash in my mind and I would feel like I was taking in a lot of information at once.
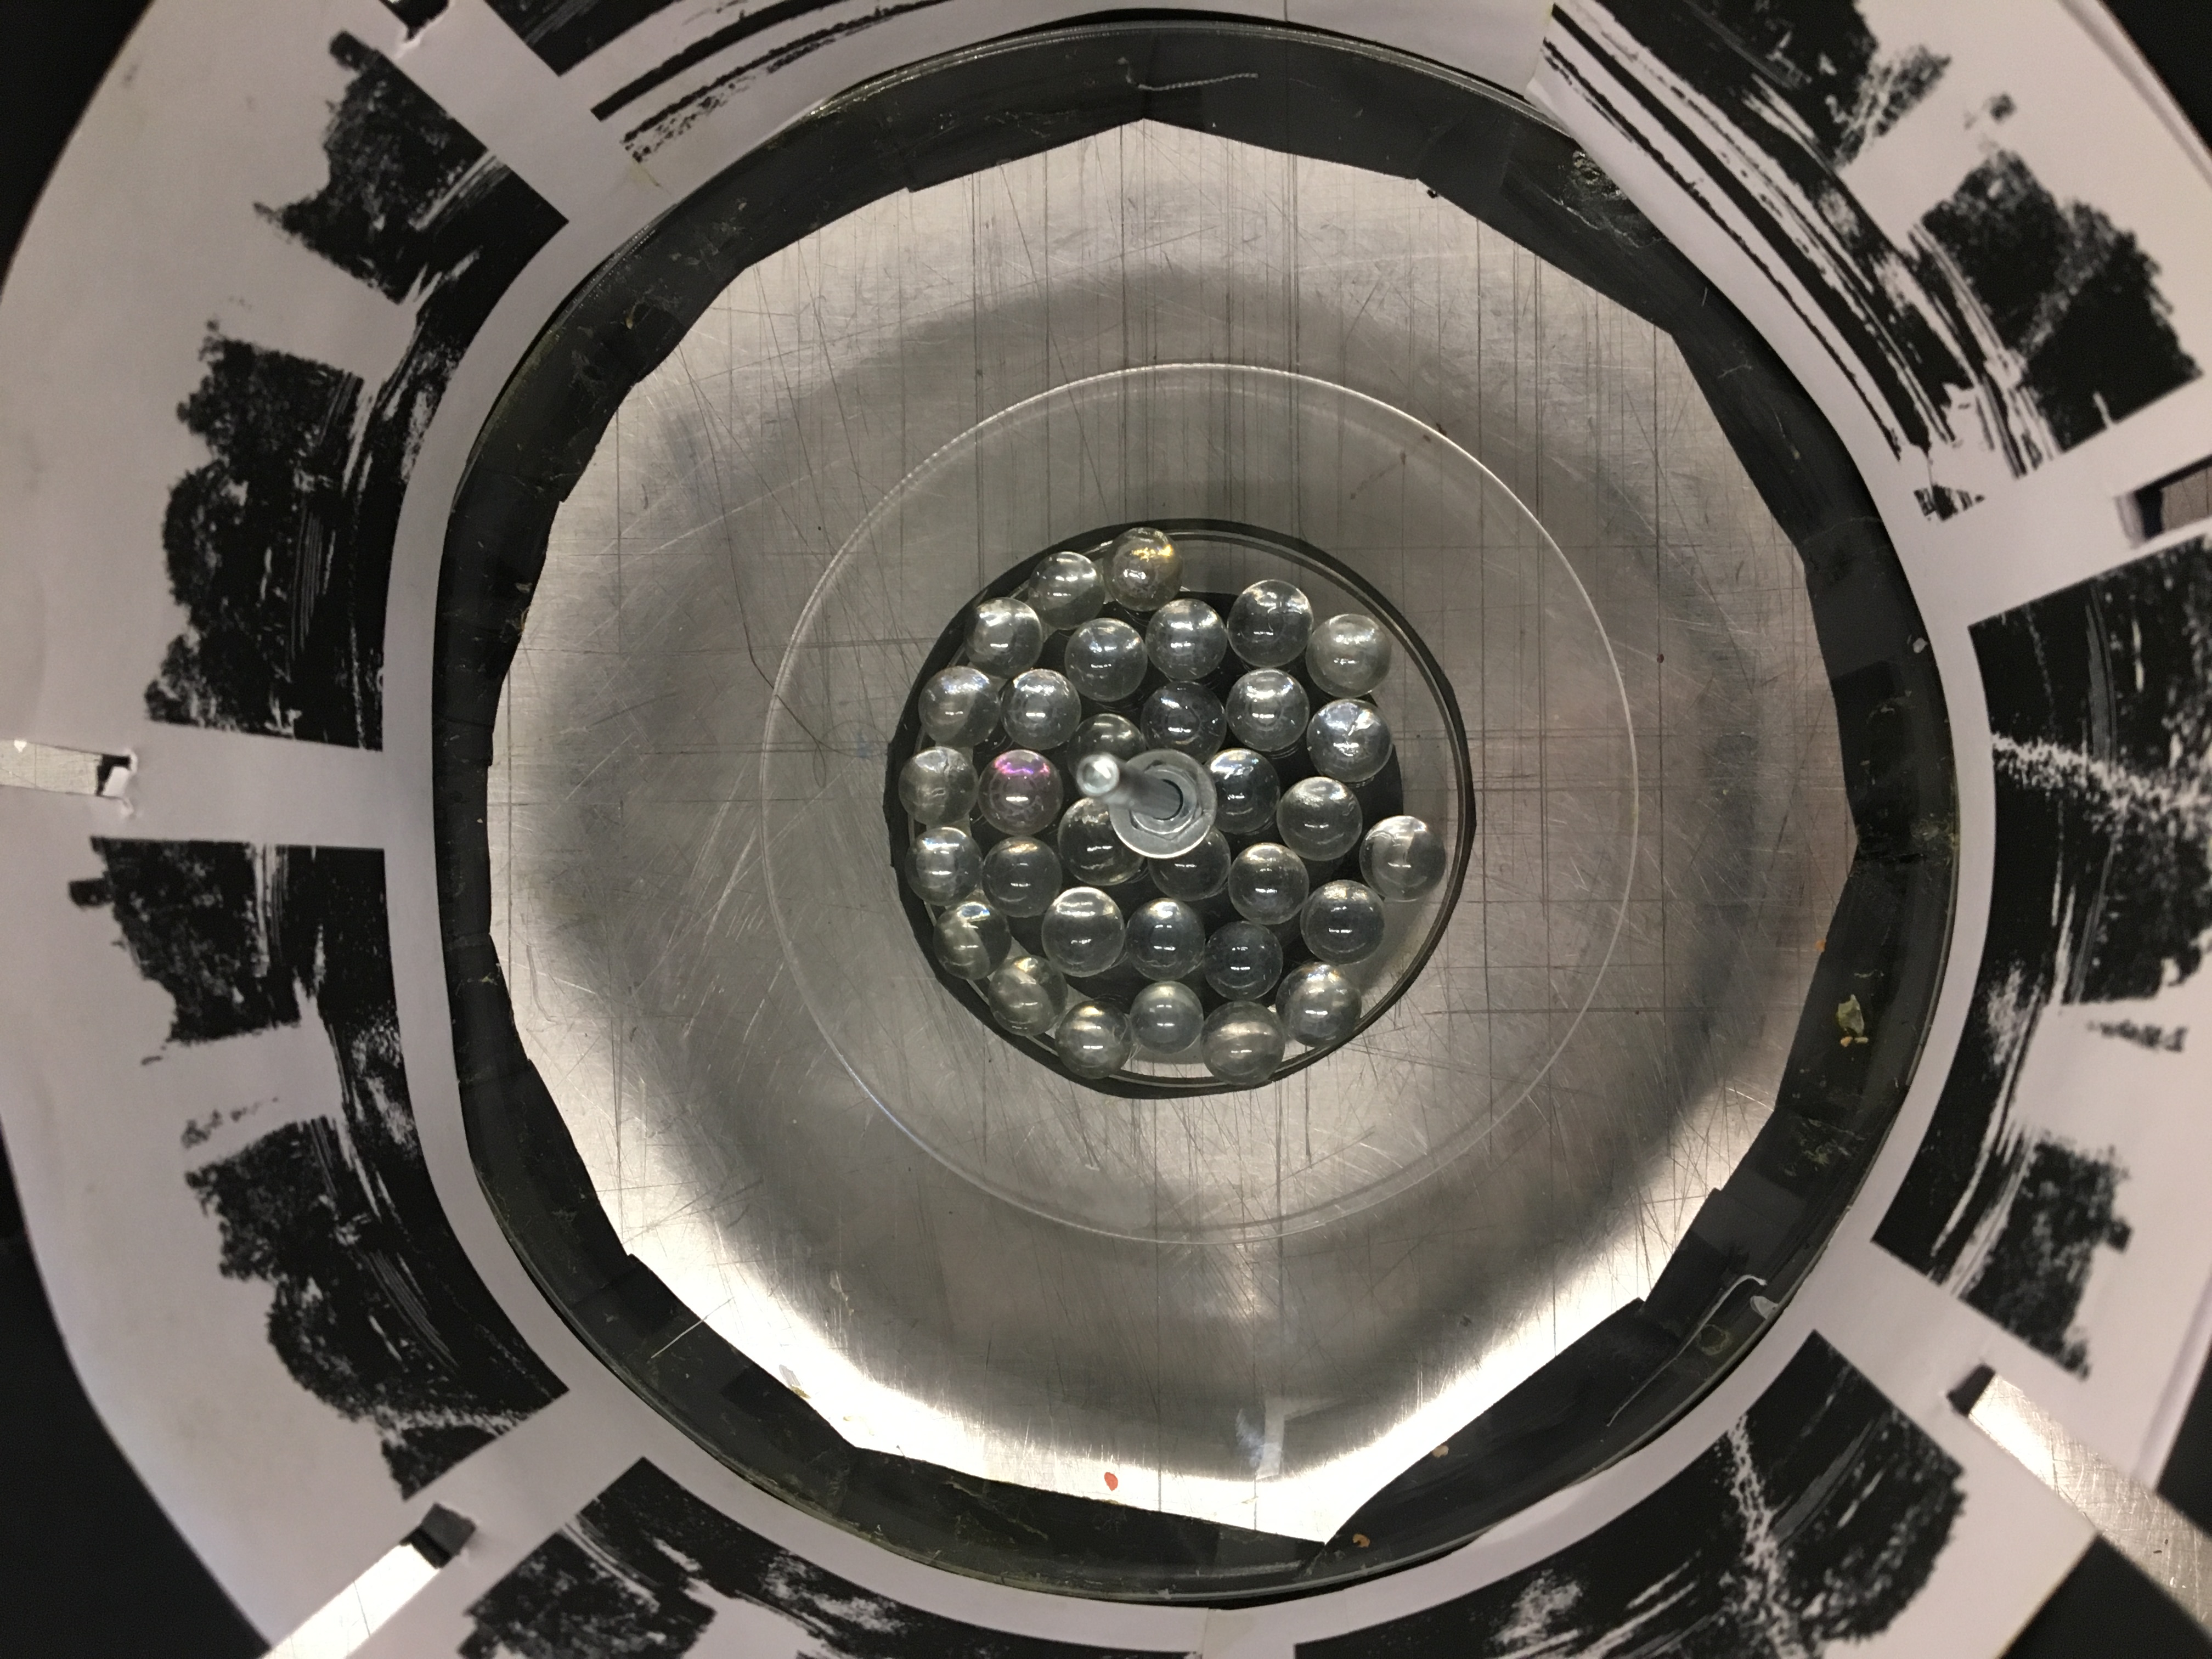
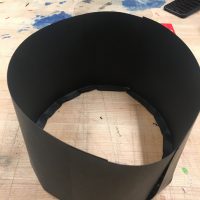
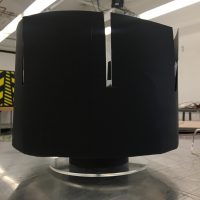
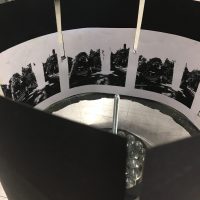
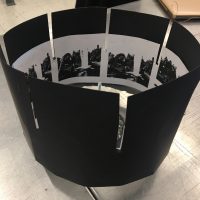
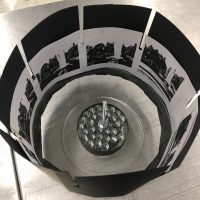
Storey and I both experienced a “flashing”effect in our minds which is why we decided to make this a part of our project. While brainstorming in class Storey mentioned a zoetrope. After some research we decided that this would be a perfect representation of our experience. The black represents us being blind and the pictures inside the zoetrope are ones we took of Washington Square Park. Our goal was to let people interact with the project and look at the photos as the zoetrope spins. When the device spins it causes a “flashing” effect and we wanted everyone else to experience it. While everyone was watching the zoetrope we also included a sound effect in the background so that they could hear the things that we heard at the park.
Materials
-cardstock
-foam
-acrylic
-marbles
-nut and bolt
-washer
-pictures
Making Process
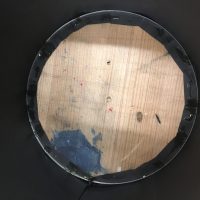
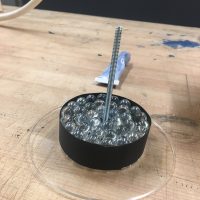
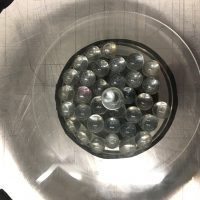
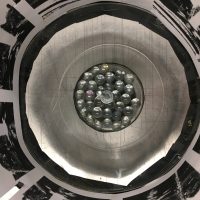
The making process was simple yet hard. The biggest challenge we had been gathering all the correct materials after that everything went smoothly. First I printed the pictures and Storey cut the acrylic we had gotten into circles. We had one circle 5 inches in diameter for the base, on 3 inches for the base for the marbles, and one 8 inches in diameter to sit on top of the marbles. We measures to find the center of each circle and drilled a hole in each one. Wen we took foam and cut it into medium-sized circles, glued them together and down on our 5in base. We poked holes throughout the middle as we put the bolt in through the 5in acrylic and then the foam. On top of the foam we placed our 3in base and then glued our first piece of cardstock around it. On top of our 3in base we put down marbles which were kept in place by the cardstock. On top of our marbles we placed our 8in base which had our second piece of cardstock glued to it, and our pictures glued to the cardstock. Our final step was cutting slits in between the pictures on the cardstock and putting the washer and nut on the bolt to keep everything in place.
Final
Video
Audio Added to Presentation