To start this project, I traced the 1/4 size bodice pattern onto pattern paper and made 2 copies so I had 2 fronts and 2 backs. I then folded each pattern according to their darts, labeled the center front, center back, neck, shoulders, bottom, side, and shoulder seam, and ended up with 2 of these:

I then taped the 2 together to make a bodice.
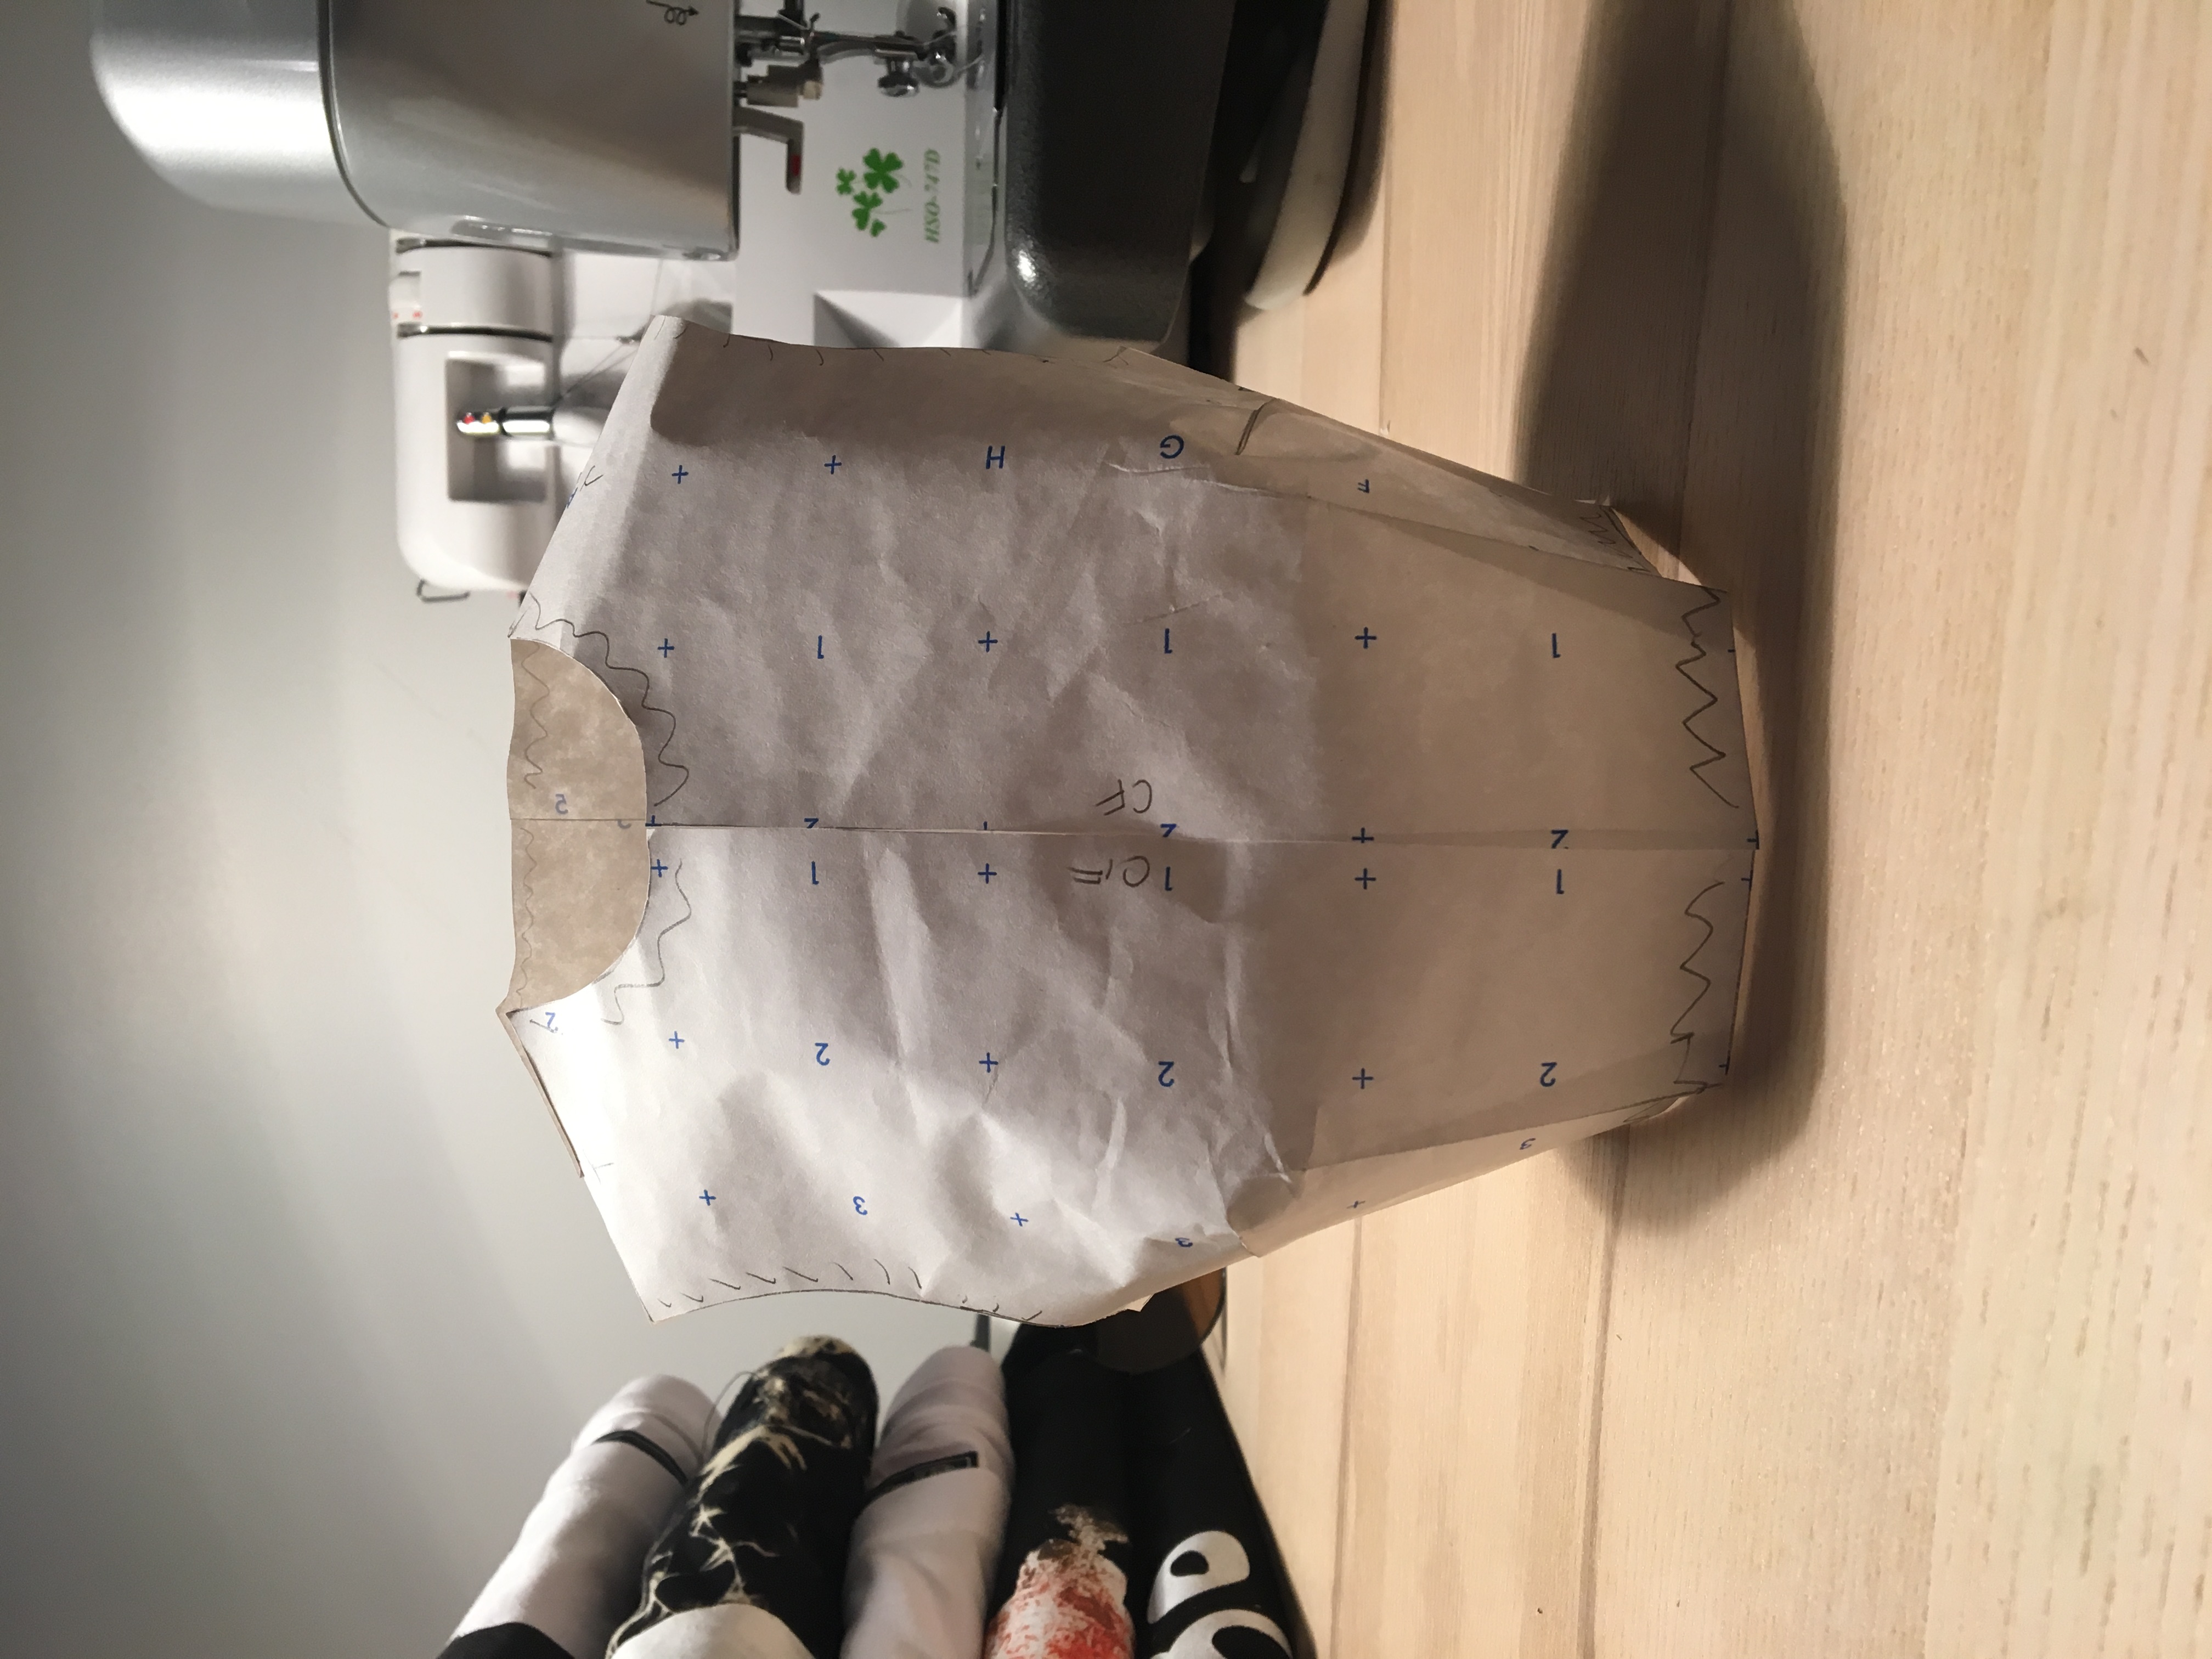


With the first bodice, I did a simple, symmetrical design. After I drew the lines on, I made notches and labeled which fabric would be which:

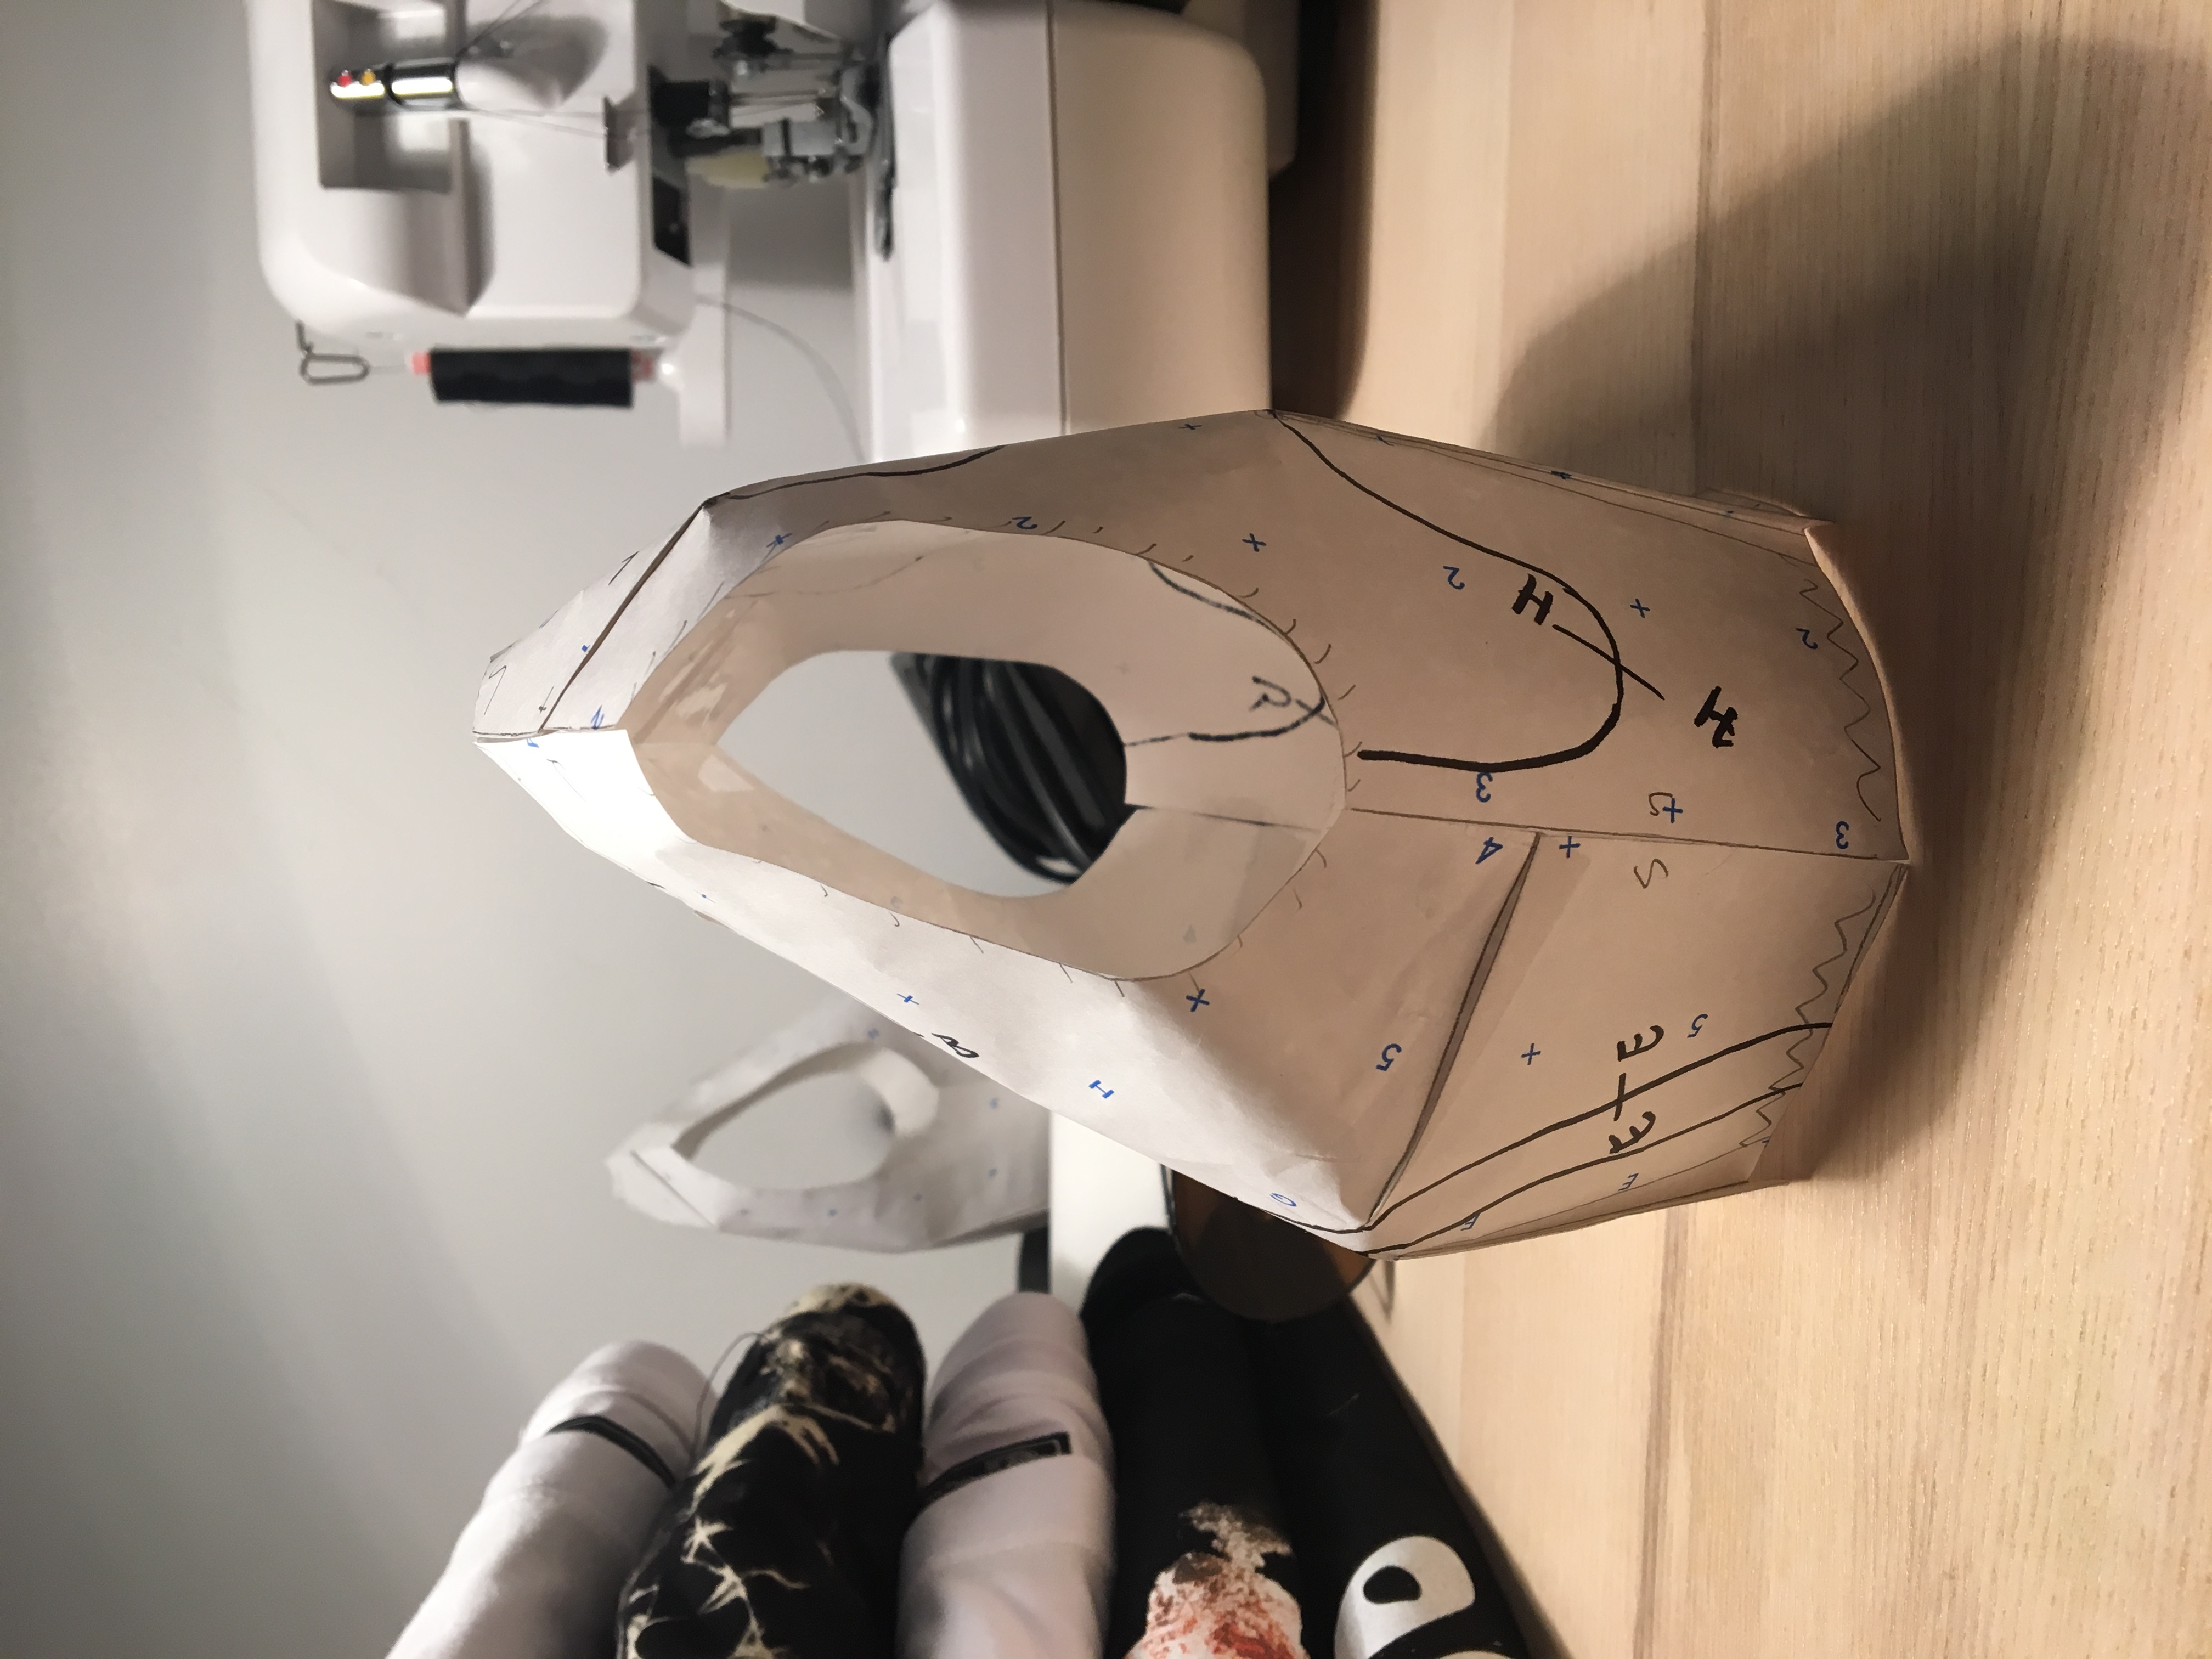
Then I cut out the pattern and ended up with this!:

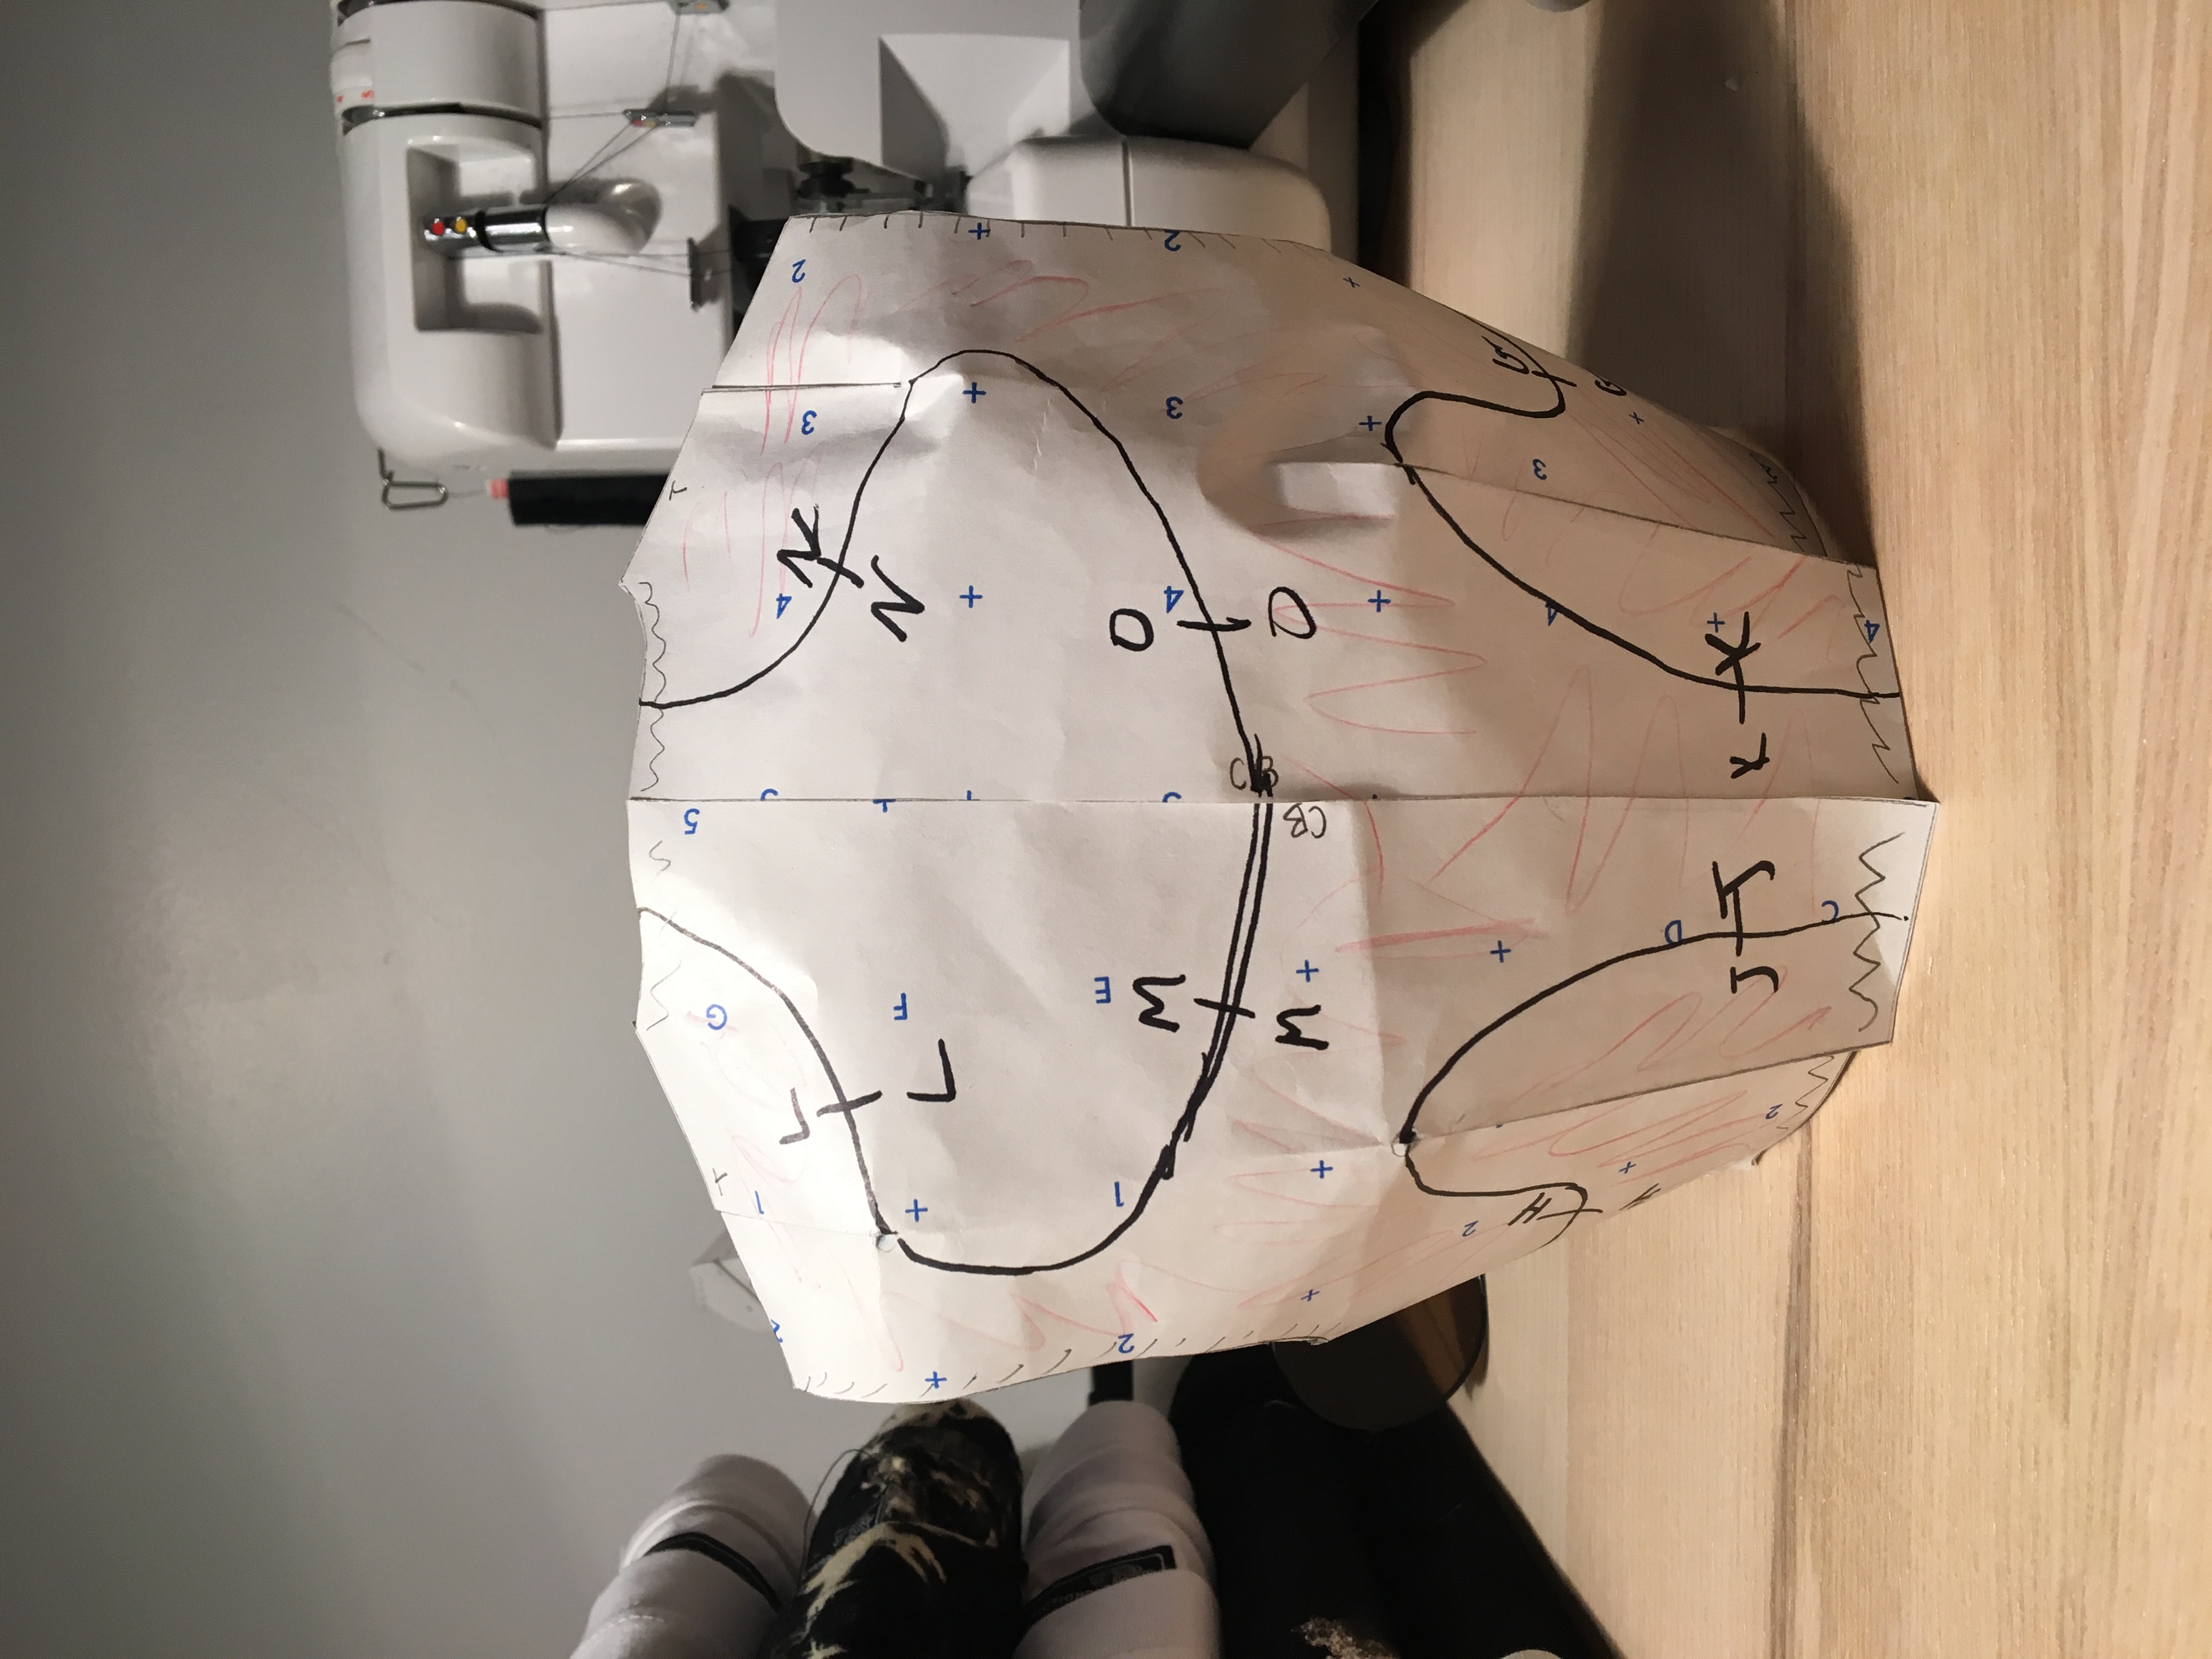
For the second version, I decided to go a little crazier and try something new. I started with the same bodice as before. The lines I drew on the second one looked like this:


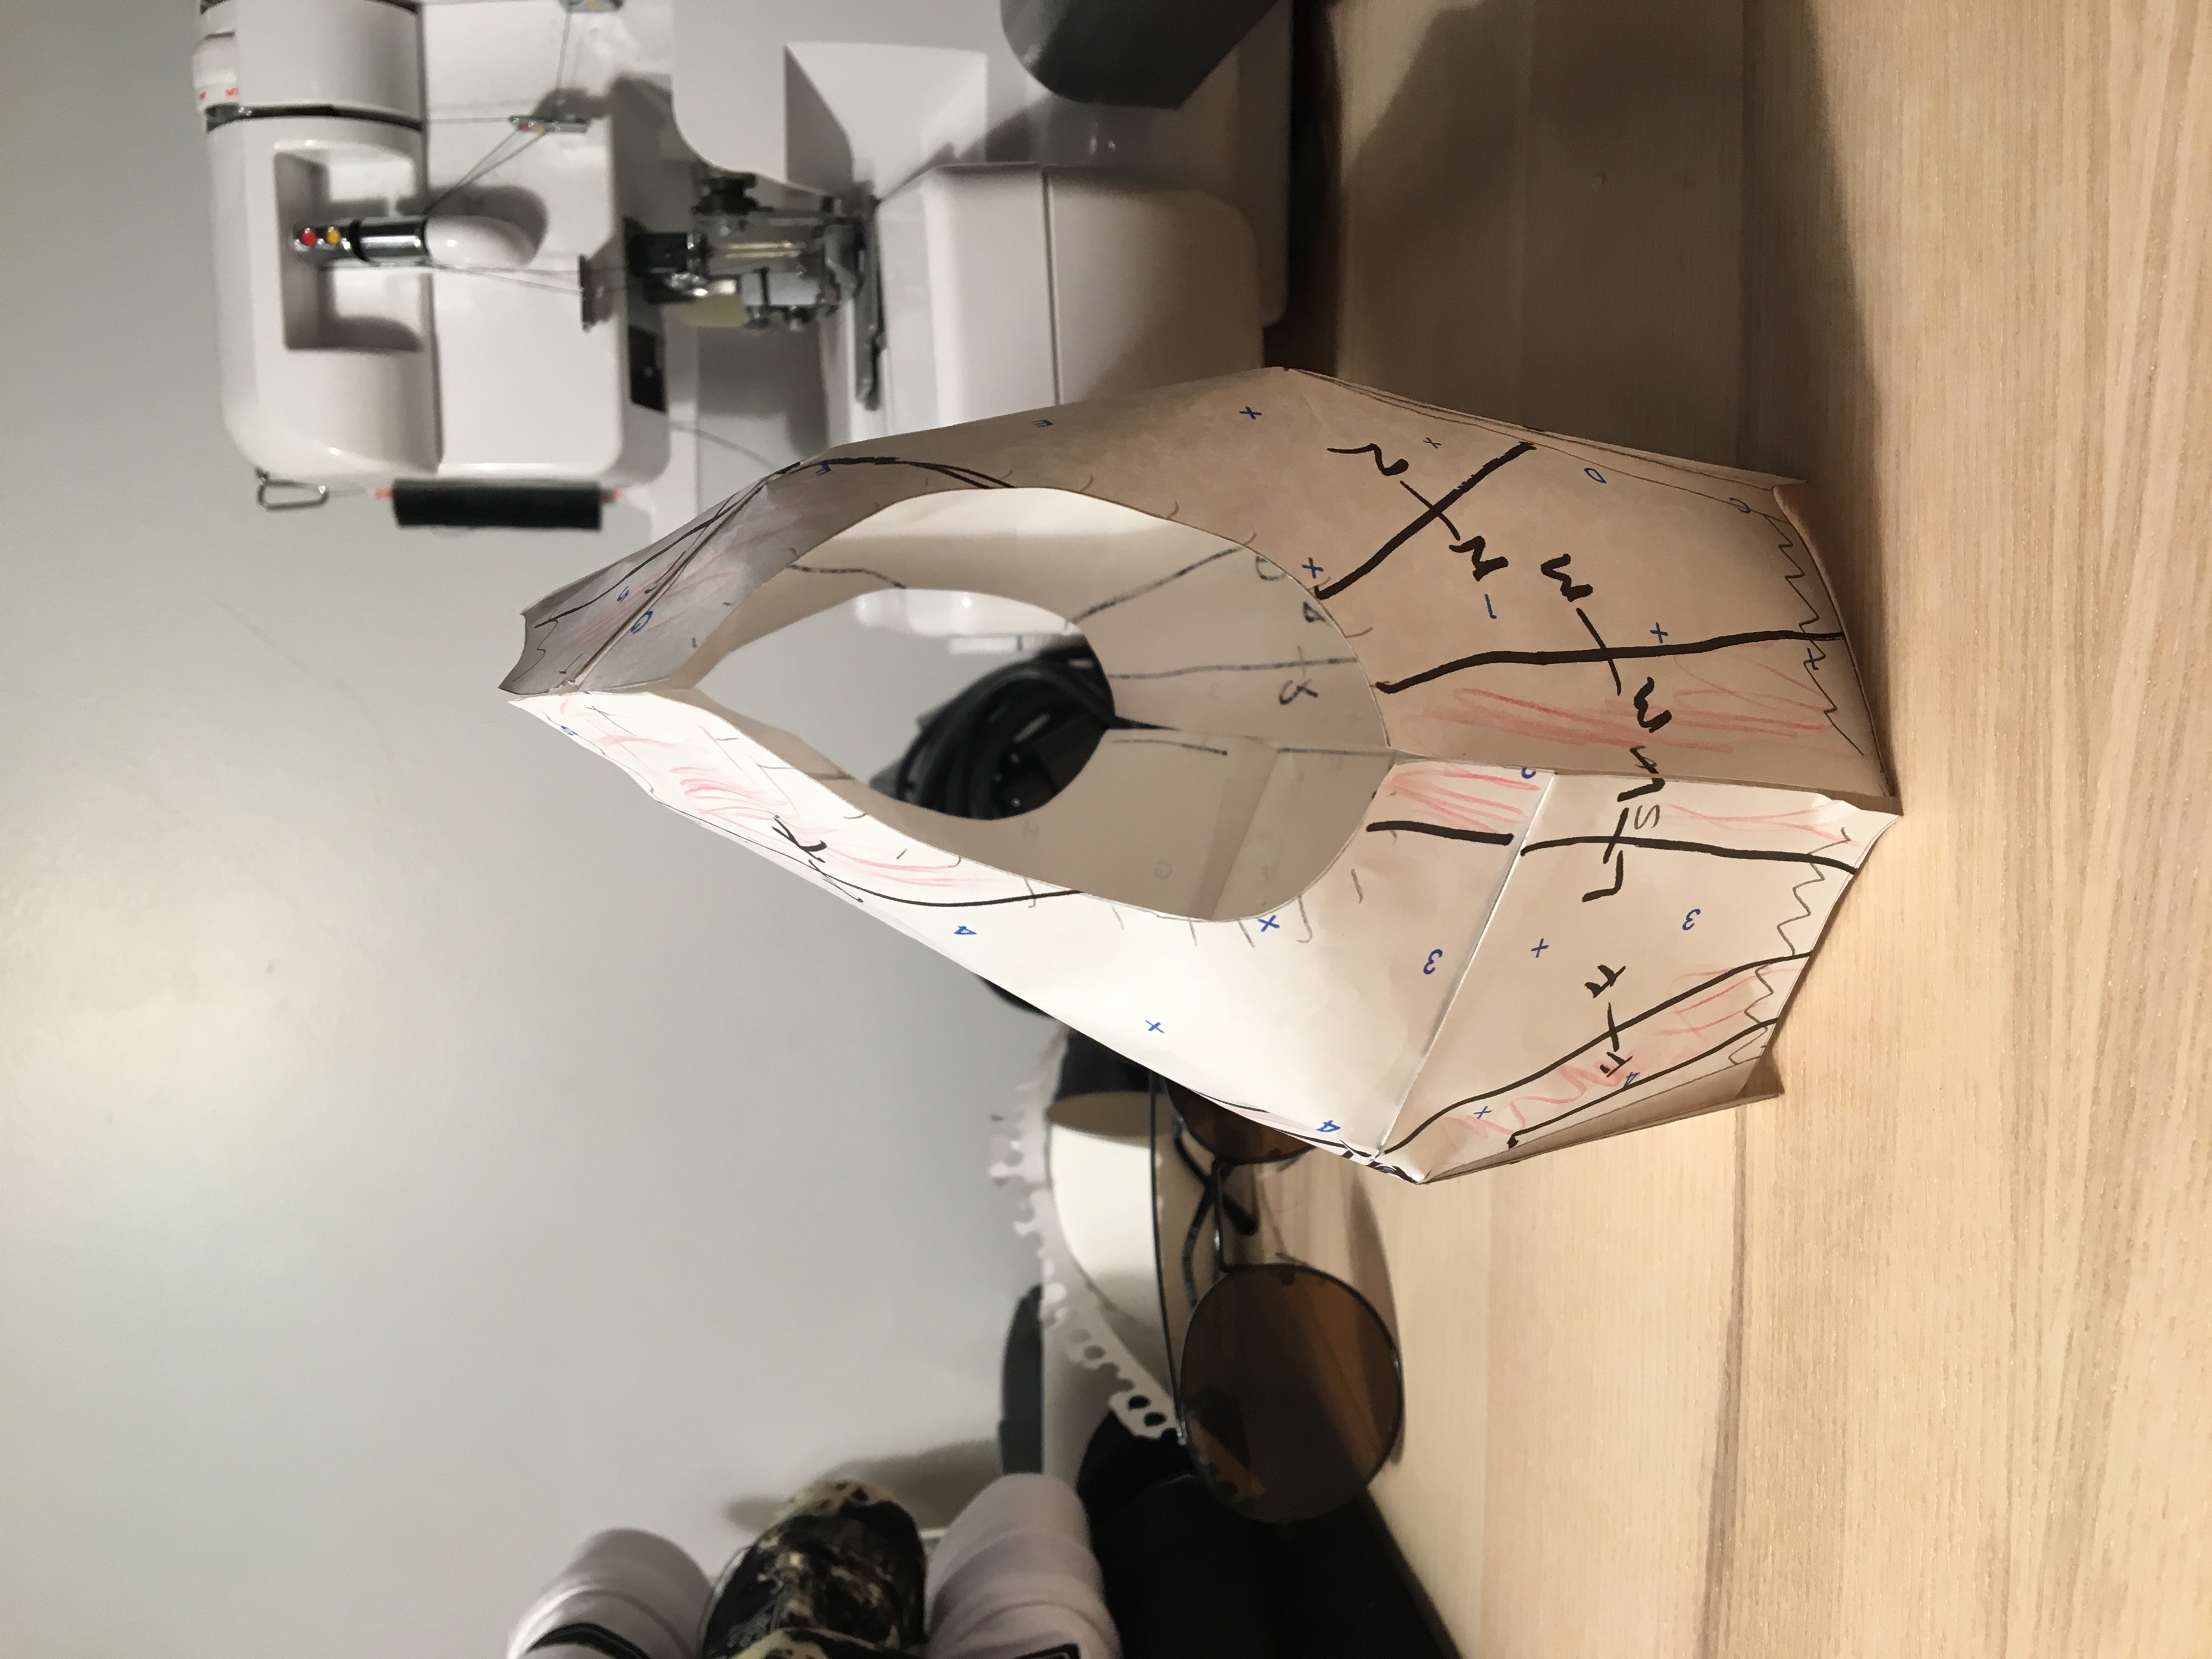
After cutting this one out and laying it flat on the table, I realized I had a problem. One of my front pieces was not laying flat, even though one of my lines touched the apex of the waist dart. I realized then that I had to cut that piece through the dart instead of just having it touch the dart, so what once was 1 piece became 2. I then had to do the same thing to the back piece that surrounded the triangle, and once I did this, the whole pattern laid flat.
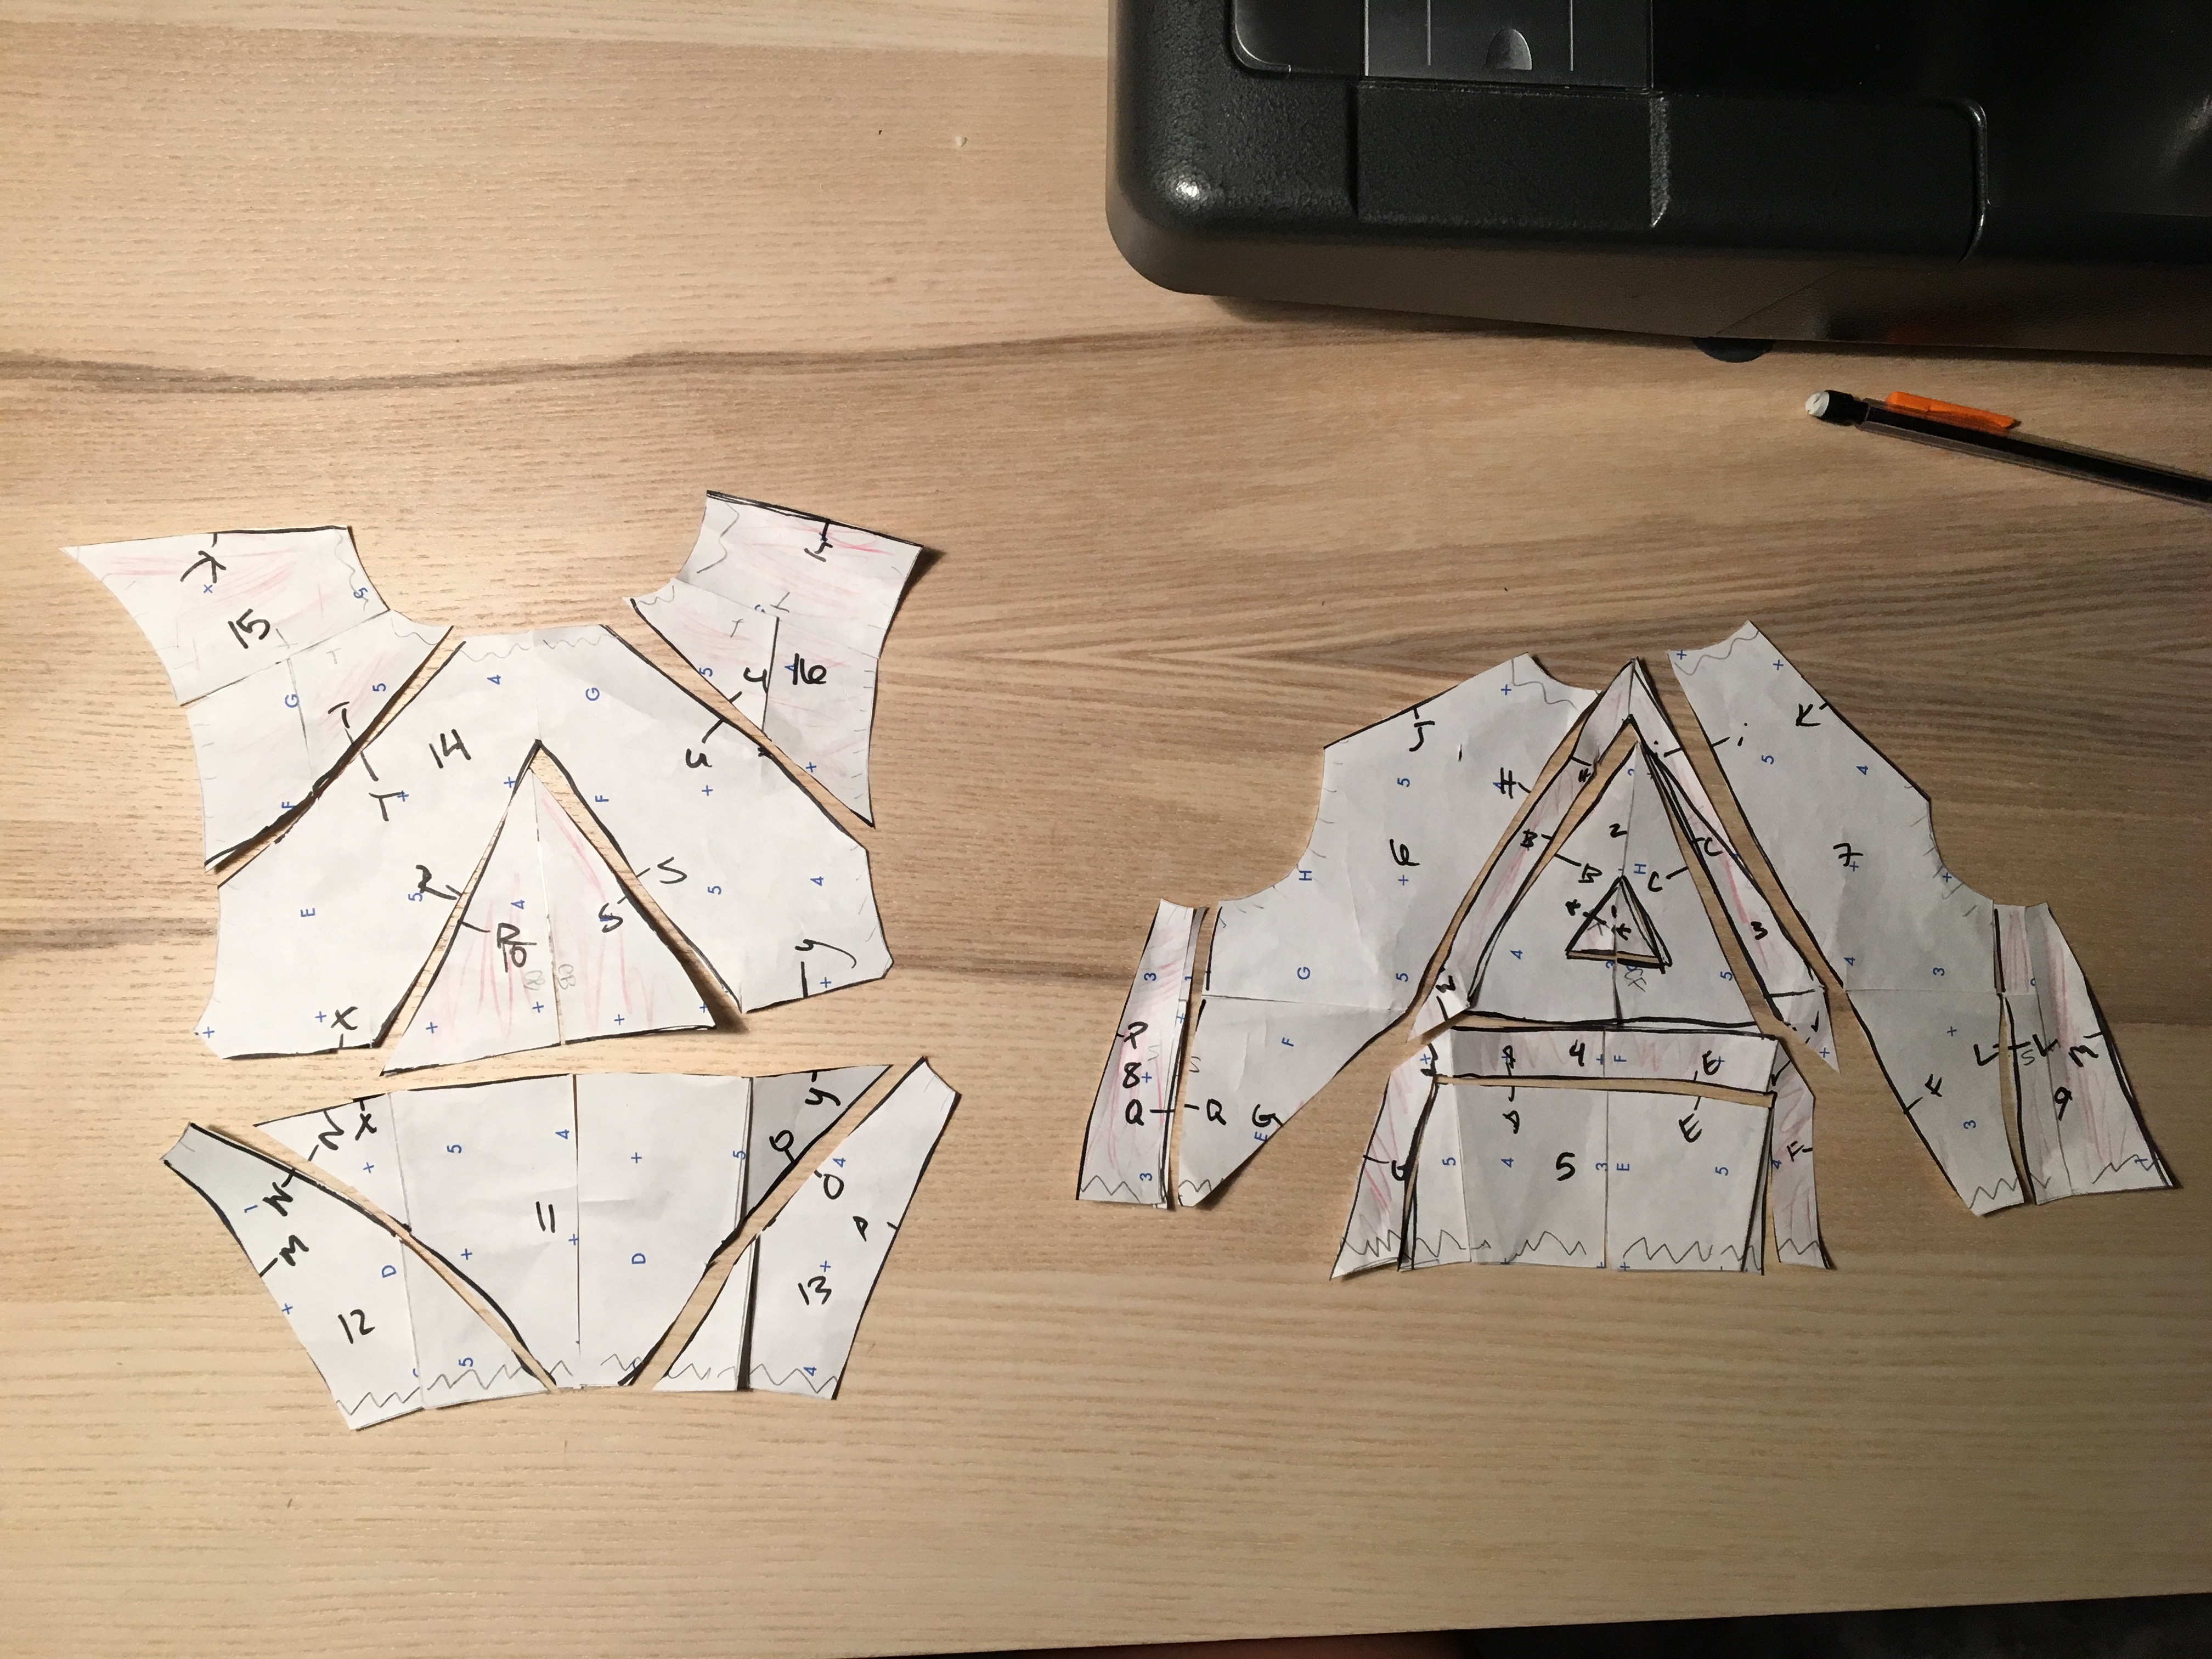
In the first version, I ended up with 4 pattern pieces, and in my second version, I ended up with 16 pieces.
Overall, I loved this exercise. I love that you can pretty much draw whatever you want on the bodice as long as the lines pass through a few points, and then you can make a fitted garment!