Categories and the Courses Menu
The Courses menu will help you and others navigate to posts related to individual courses. But for this to work as expected, you will need to apply the right categories to each of your posts.
Creating and Using Categories
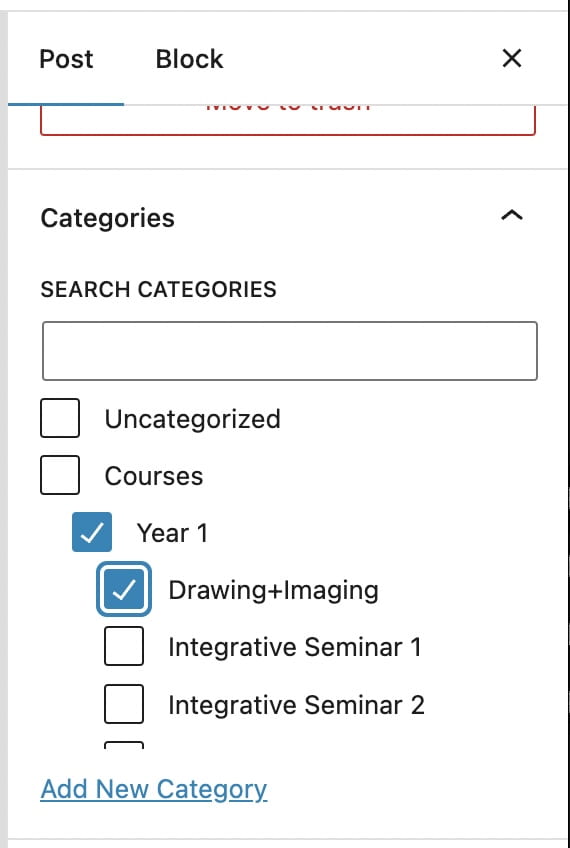
When you make a new post, you need to assign it a category. You do this so the post will appear when you click one of the items in the menu. On the right side of the new post window, you will find a box in the Page tab where you can select the right course category.

Categories are hierarchical.
What that means is that the category “Drawing+Imaging” is listed under the parent category “Year 1,” which, in turn, is under the parent category “Courses.” This helps to organize the categories and make them easier to find when you are making a new post.
To make full use of course categories, be sure to check the box for the individual course as well as the year in which it is listed. You will notice that at the very bottom of the Courses/Year 1 menu is a link to “All Year 1 Courses.” This will yield results only if you check the “Year 1” category when making your post.

Adding and Deleting Menu Items
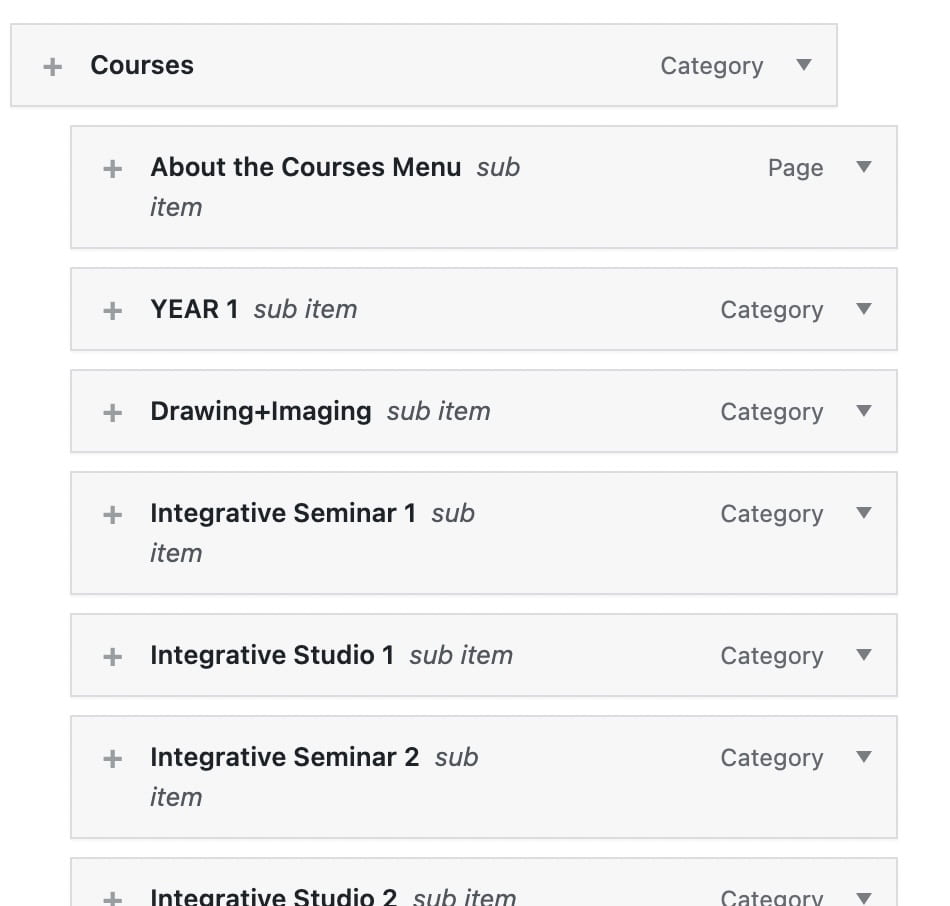
When you are ready to add NEW categories that relate to your second-Year courses, be sure to maintain this hierarchical structure. After adding a new course category, you will also need to add the category to the Courses menu. Like categories, menu items are also hierarchical. That’s what causes them to be organized in drop-down menus.
When you first open your portfolio you’ll notice that the Courses menu contains a link to each of the courses that might be taken by a first-year BFA or BBA student at Parsons.
Depending on your degree program, you might not be taking all of these courses in your first year. If you are certain of that, you can remove those courses from the Courses menu and delete the corresponding categories.
Here’s a video about editing the navigation menu