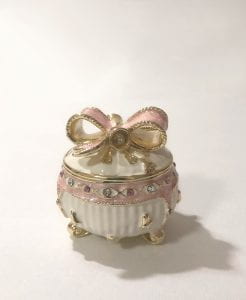
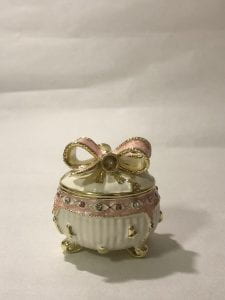
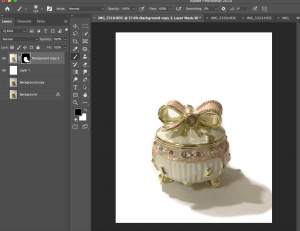
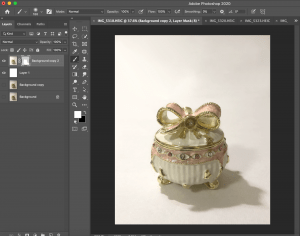
Final Product Photo:
The process:
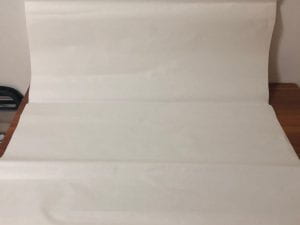
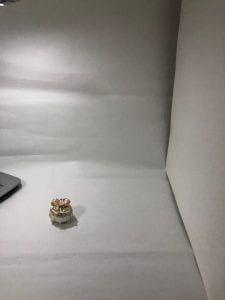
1. I set up a seamless backdrop by sticking a piece of paper on the wall. The bottom part of paper is dropped on a table. I fix the paper background with tapes.
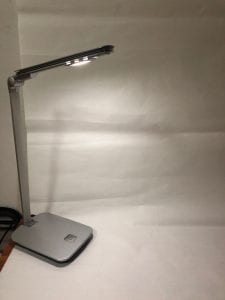
2. I set up the light.
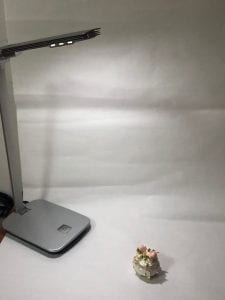
3. I placed the object- a jewel case.
4. I added a bounce card on the other side.
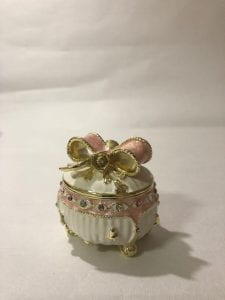
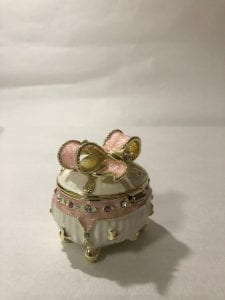
5. I started taking photos. Because I don’t have tripod, so I held my phone and put my arms straight on a chair to prevent camera moving. I took lots of photos, here are some of them.
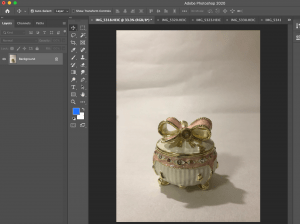
6. Then I put the first one in Photoshop, starting to edit it.
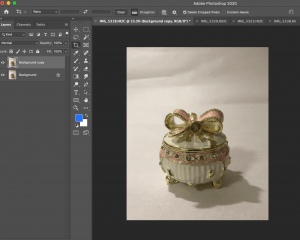
7. I cropped the image into a proper size.
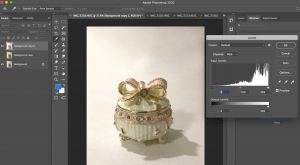
8. I cleaned the background by using the tools: clone stamp\patch. Then I adjusted the levels of color.
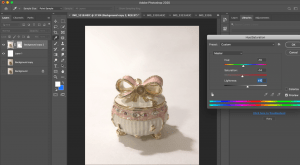
9.I made a mask on the background because I want to make the background more flat and white. I adjusted the opacity of the mask to make the image look nature.
10. I adjusted the color level, hue and saturation again. I think this step made the photo look much better.

