
Tutorial for making fabric buttons with conductive fabrics.

Gather the Materials

Cut the conductive fabric. leave tails

Cut these in the thick fabric and 2 more of the same size with the thin fabric

Cut small holes in thick fabric for buttons. Then sew the squares over them


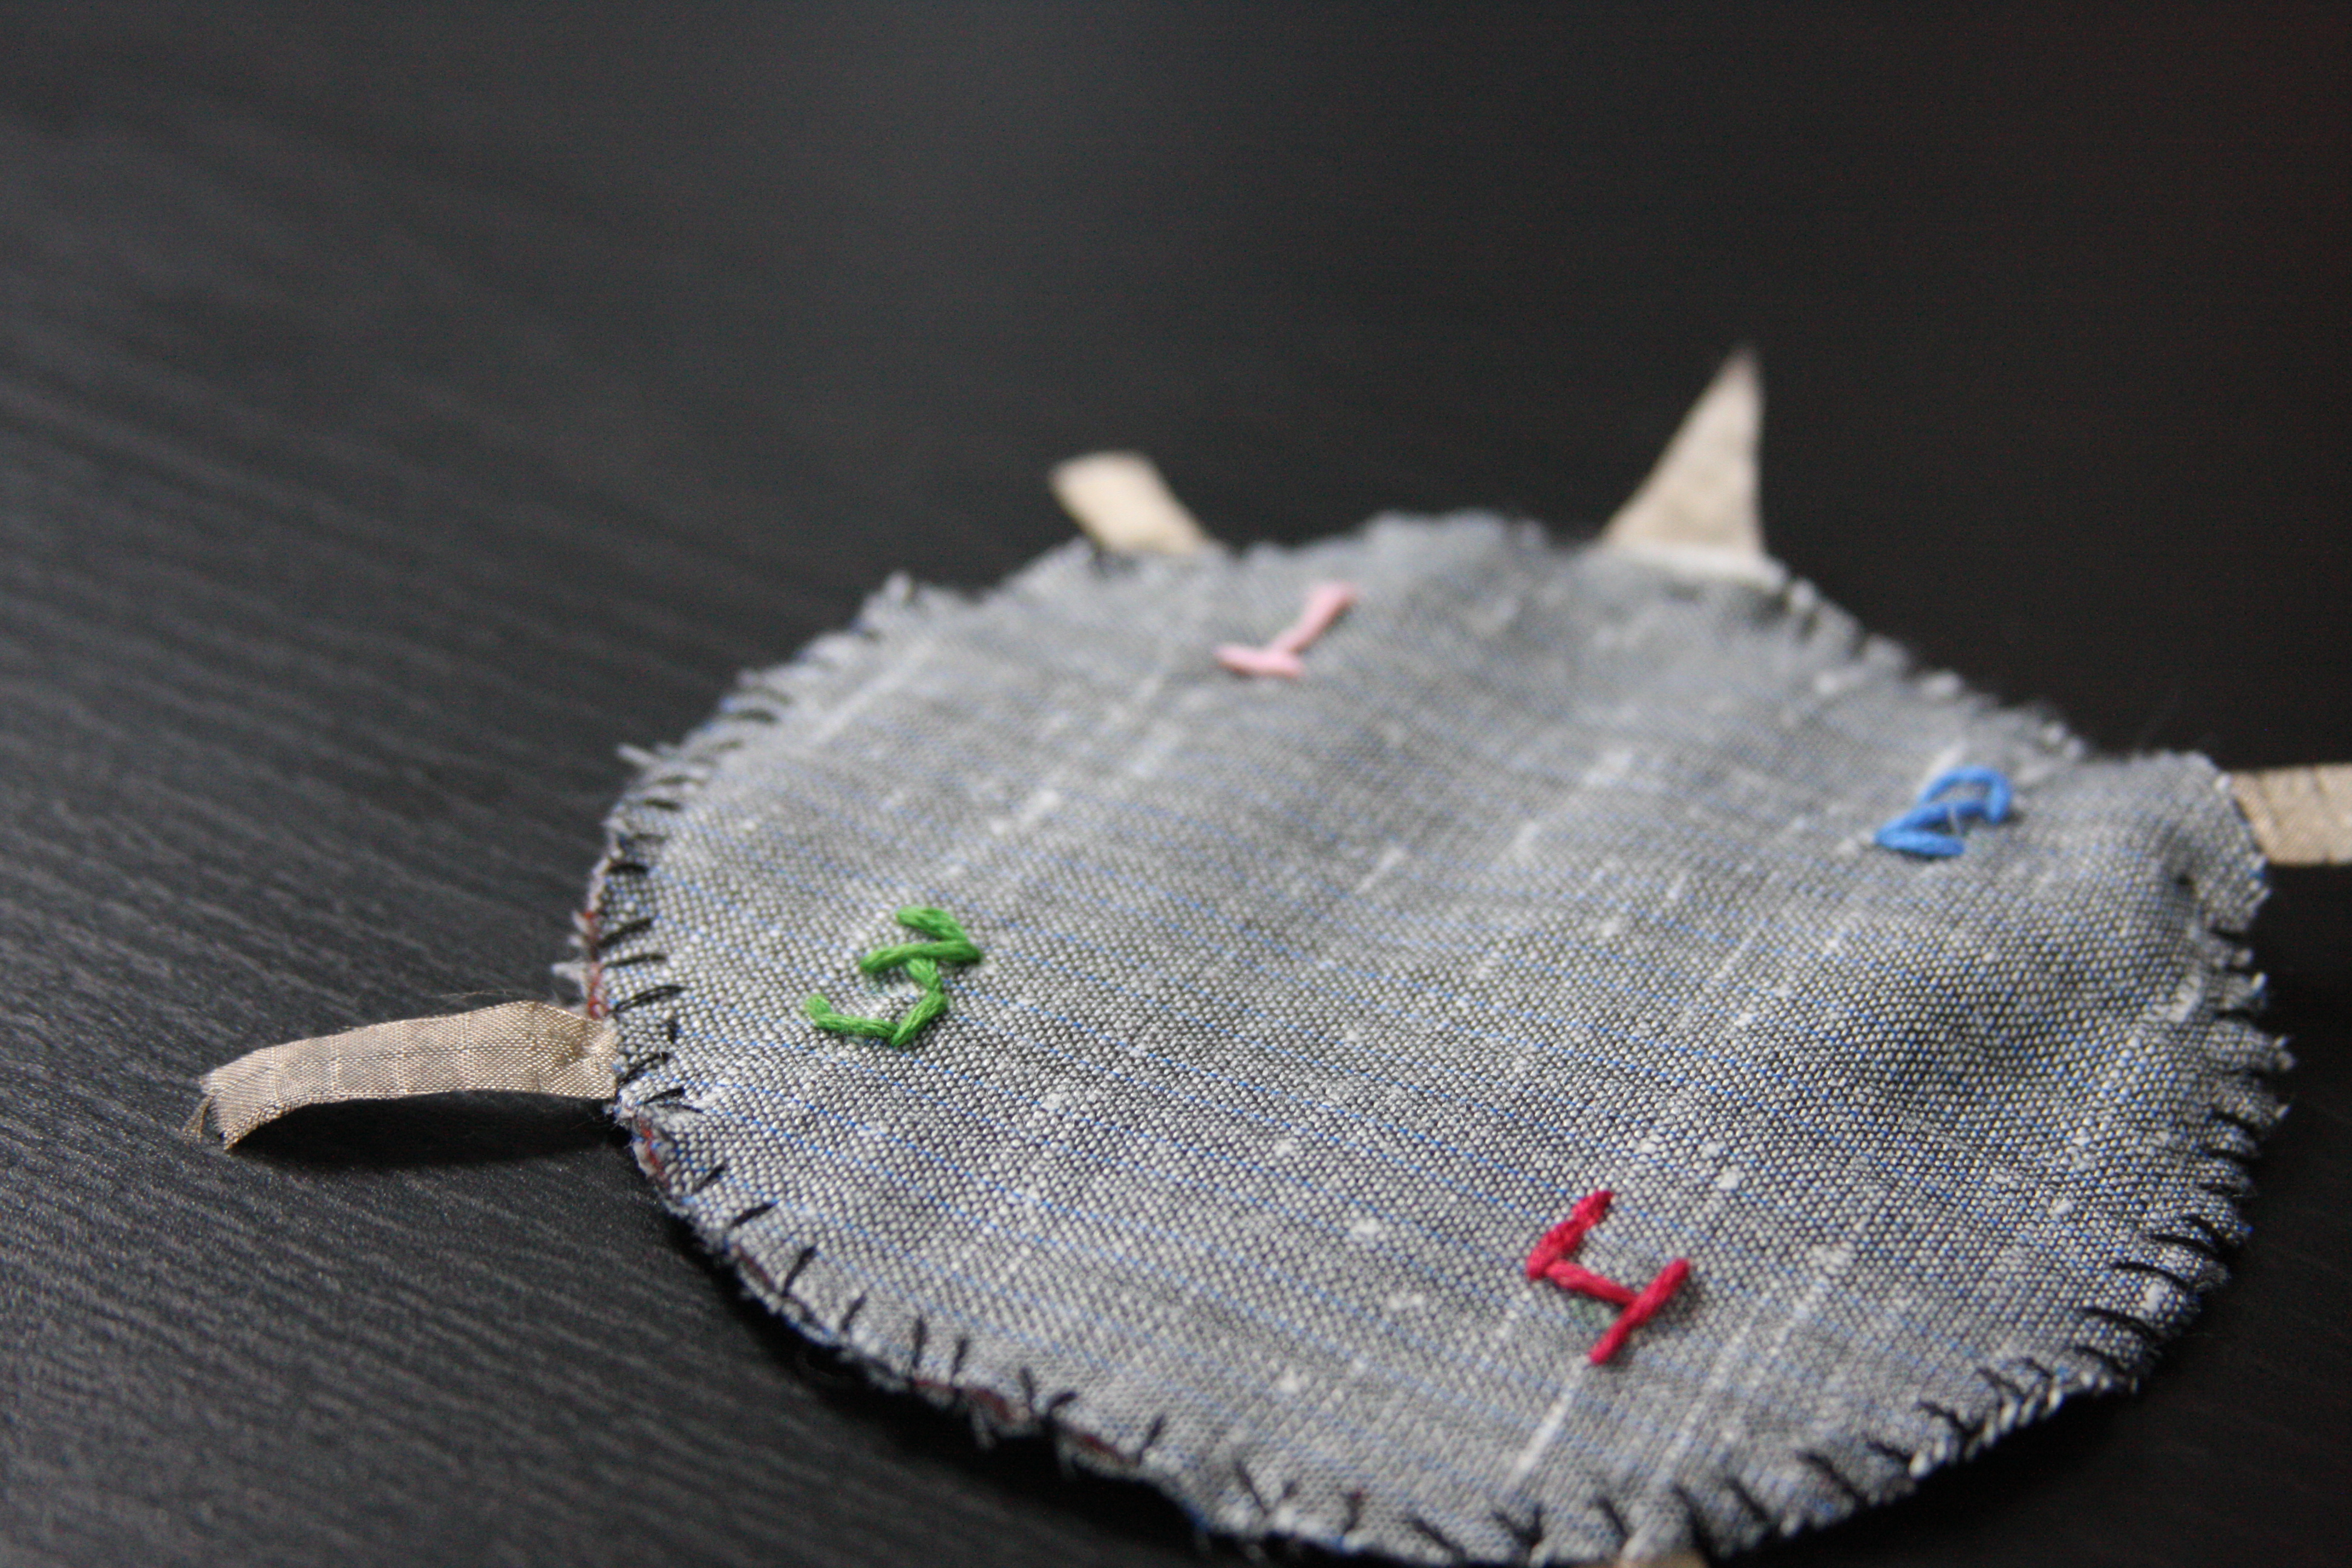
Sandwich the fabrics in this order: embroidered thin fabric on top, then thick circle, then conductive fabric circle and then the other thin fabric circle on the bottom

Align the button placement and sew all the fabrics together along the edge, leaving the tails exposed


Press on the “buttons” to allow conductive fabrics to touch and trigger the function