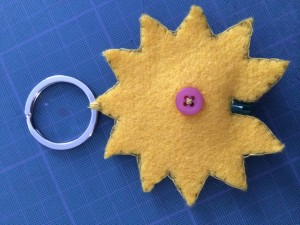
In this post you will learn how to create a Mini LED Keyring Flashlight in 10 simple steps.
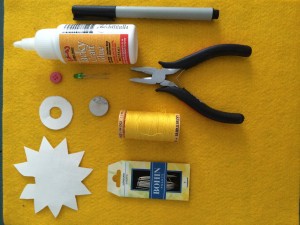
Step 1: Materials
- LED
- Felt Fabric
- Coin Battery
- Glue
- Stencils
- Needle
- Thread
- Keyring
- Scissors
- Small Pliers
- Button
- Pen
Step 2: Tracing your Stencils
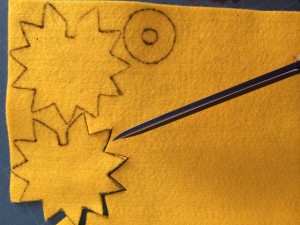
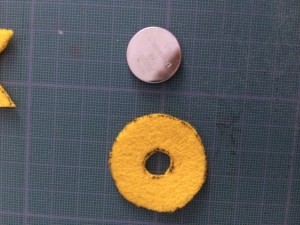
For the first stencil you can create your own shape. However the circle stencil should remain a circle a little larger than the size of your coin battery with a hole the size of your button in the middle.
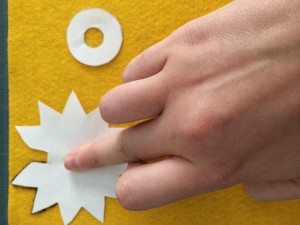
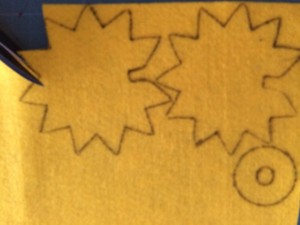
Once you have created your stencil, you should place them onto your felt fabric and trace them out. Trace the star shape stencil out twice and the circle stencil once.
Step 3: Cutting
Once you have traced out your stencils onto the felt you are ready to cut them out.
Step 4: Bending the LED
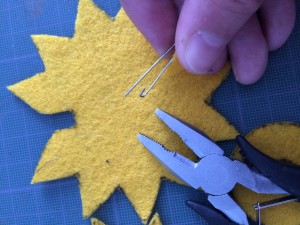
After you have cut out your stencils you can put them to one side and take up your LED. Using your small pliers bend each metal end of the LED into a half curl.
Step 5: Adding the LED to the Battery
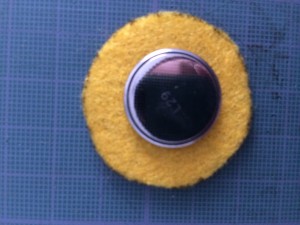
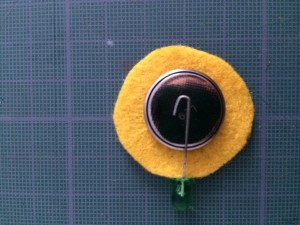
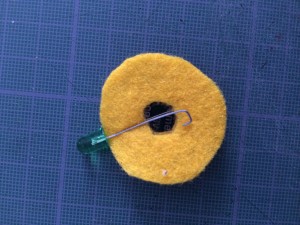
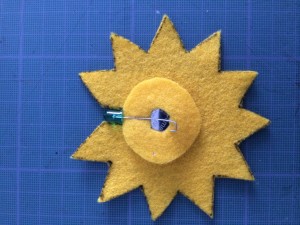
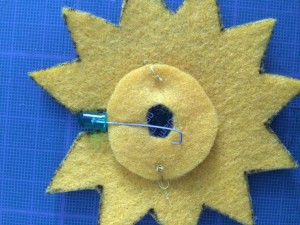
Next place the battery onto the felt circle with the hole. Then sandwich the battery and the felt circle in-between the two metal ends of the LED. One lead of the LED should lay onto the felt circle and shouldn’t touch the battery through the hole of the circle. The other lead should directly lay on the battery. IMPORTANT NOTE. Make sure that the positive lead of the LED (the longer lead) is touching the same side as the positive battery (the side with the + sign), and the two negatives touch.
To confirm that you have matched the positive with the positive and the negative with the negative, push down on the felt side of the lead and see if the LED lights up.
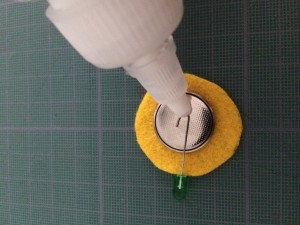
Next you should glue the LED lead to the battery on the side without the felt. Make sure that you glue it down at the end of the lead where the curl is, so that it doesn’t affect the switch.
Step 6: Adding the Button.
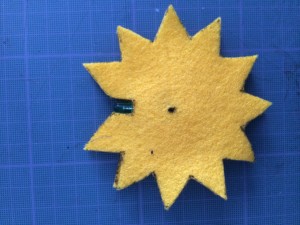
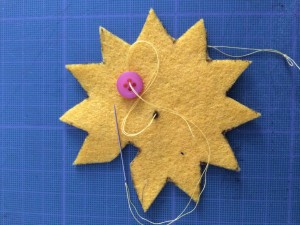
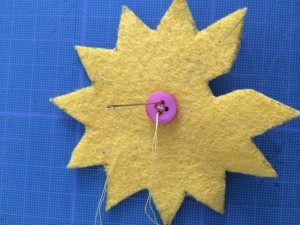
To know where to place your button you need to assemble the remaining parts. So take one of your felt stars and use this as the bottom. Then place on top the LED and the battery, (making sure that the LED is situated in the gap). Then take your remaining felt star and place it on top, ensuring that you match all the points and the LED is still visible in the gap. Once this is done you can feel for the hole in circle of the felt and make a dot, in the middle of the circle on the top star, with your pen. This is where you will sew on your button.
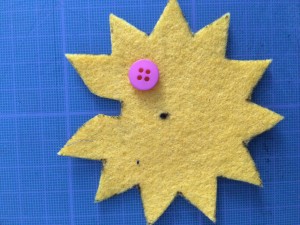
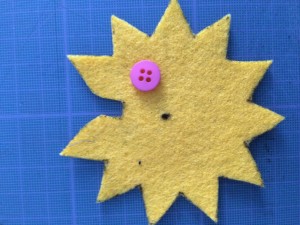
Once you have your dot marked you can take the top star and sew on your button, making sure your thread is going through the dot you marked.
Step 7: Tacking down the LED and Battery
After you have sewn on your button you should tack the LED and the Battery to the bottom layer. Before you tack down the circle felt make sure that the LED is still in the correct place, in-between the gap. To tack the circle down down use two stitches on either side of the circle. Make sure the stitches are invisible on the bottom layer felt star.
Step 8: Sewing it together
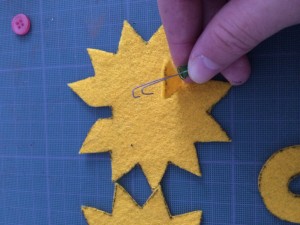
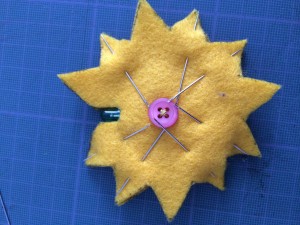
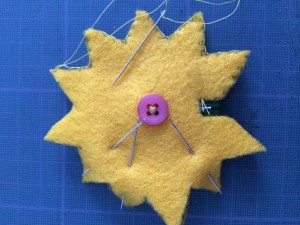
After you have tacked the LED and the Battery to the bottom felt circle you are now ready to sew the whole thing together. Once again place the felt star on top. Once you have situated it into the correct position so that all points match and the LED is visible in the gap, pin everything into place.
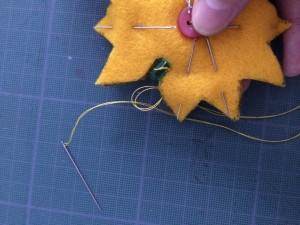
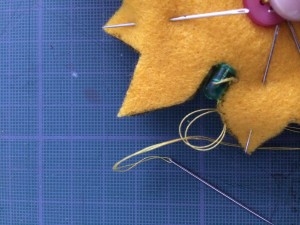
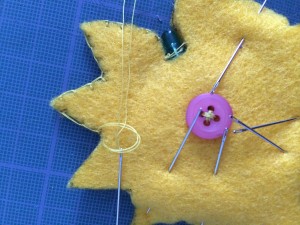
Once you have everything pinned into place then you can start sewing it all together. I doubled my thread and knotted them together at the end. Then I used the blanket stitch to sew around both edges of the top and bottom felt star. Once you have sewn around the entire shape and are back to the beginning make a small knot to close it all together.
Step 9: Testing
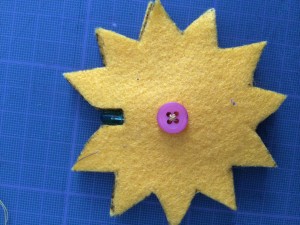
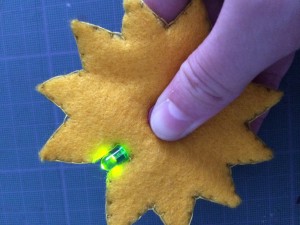
Once you have finished sewing everything together, test your flashlight by holding it and pressing down on the button – your LED should light up.
Step 10: Attaching the Keyring
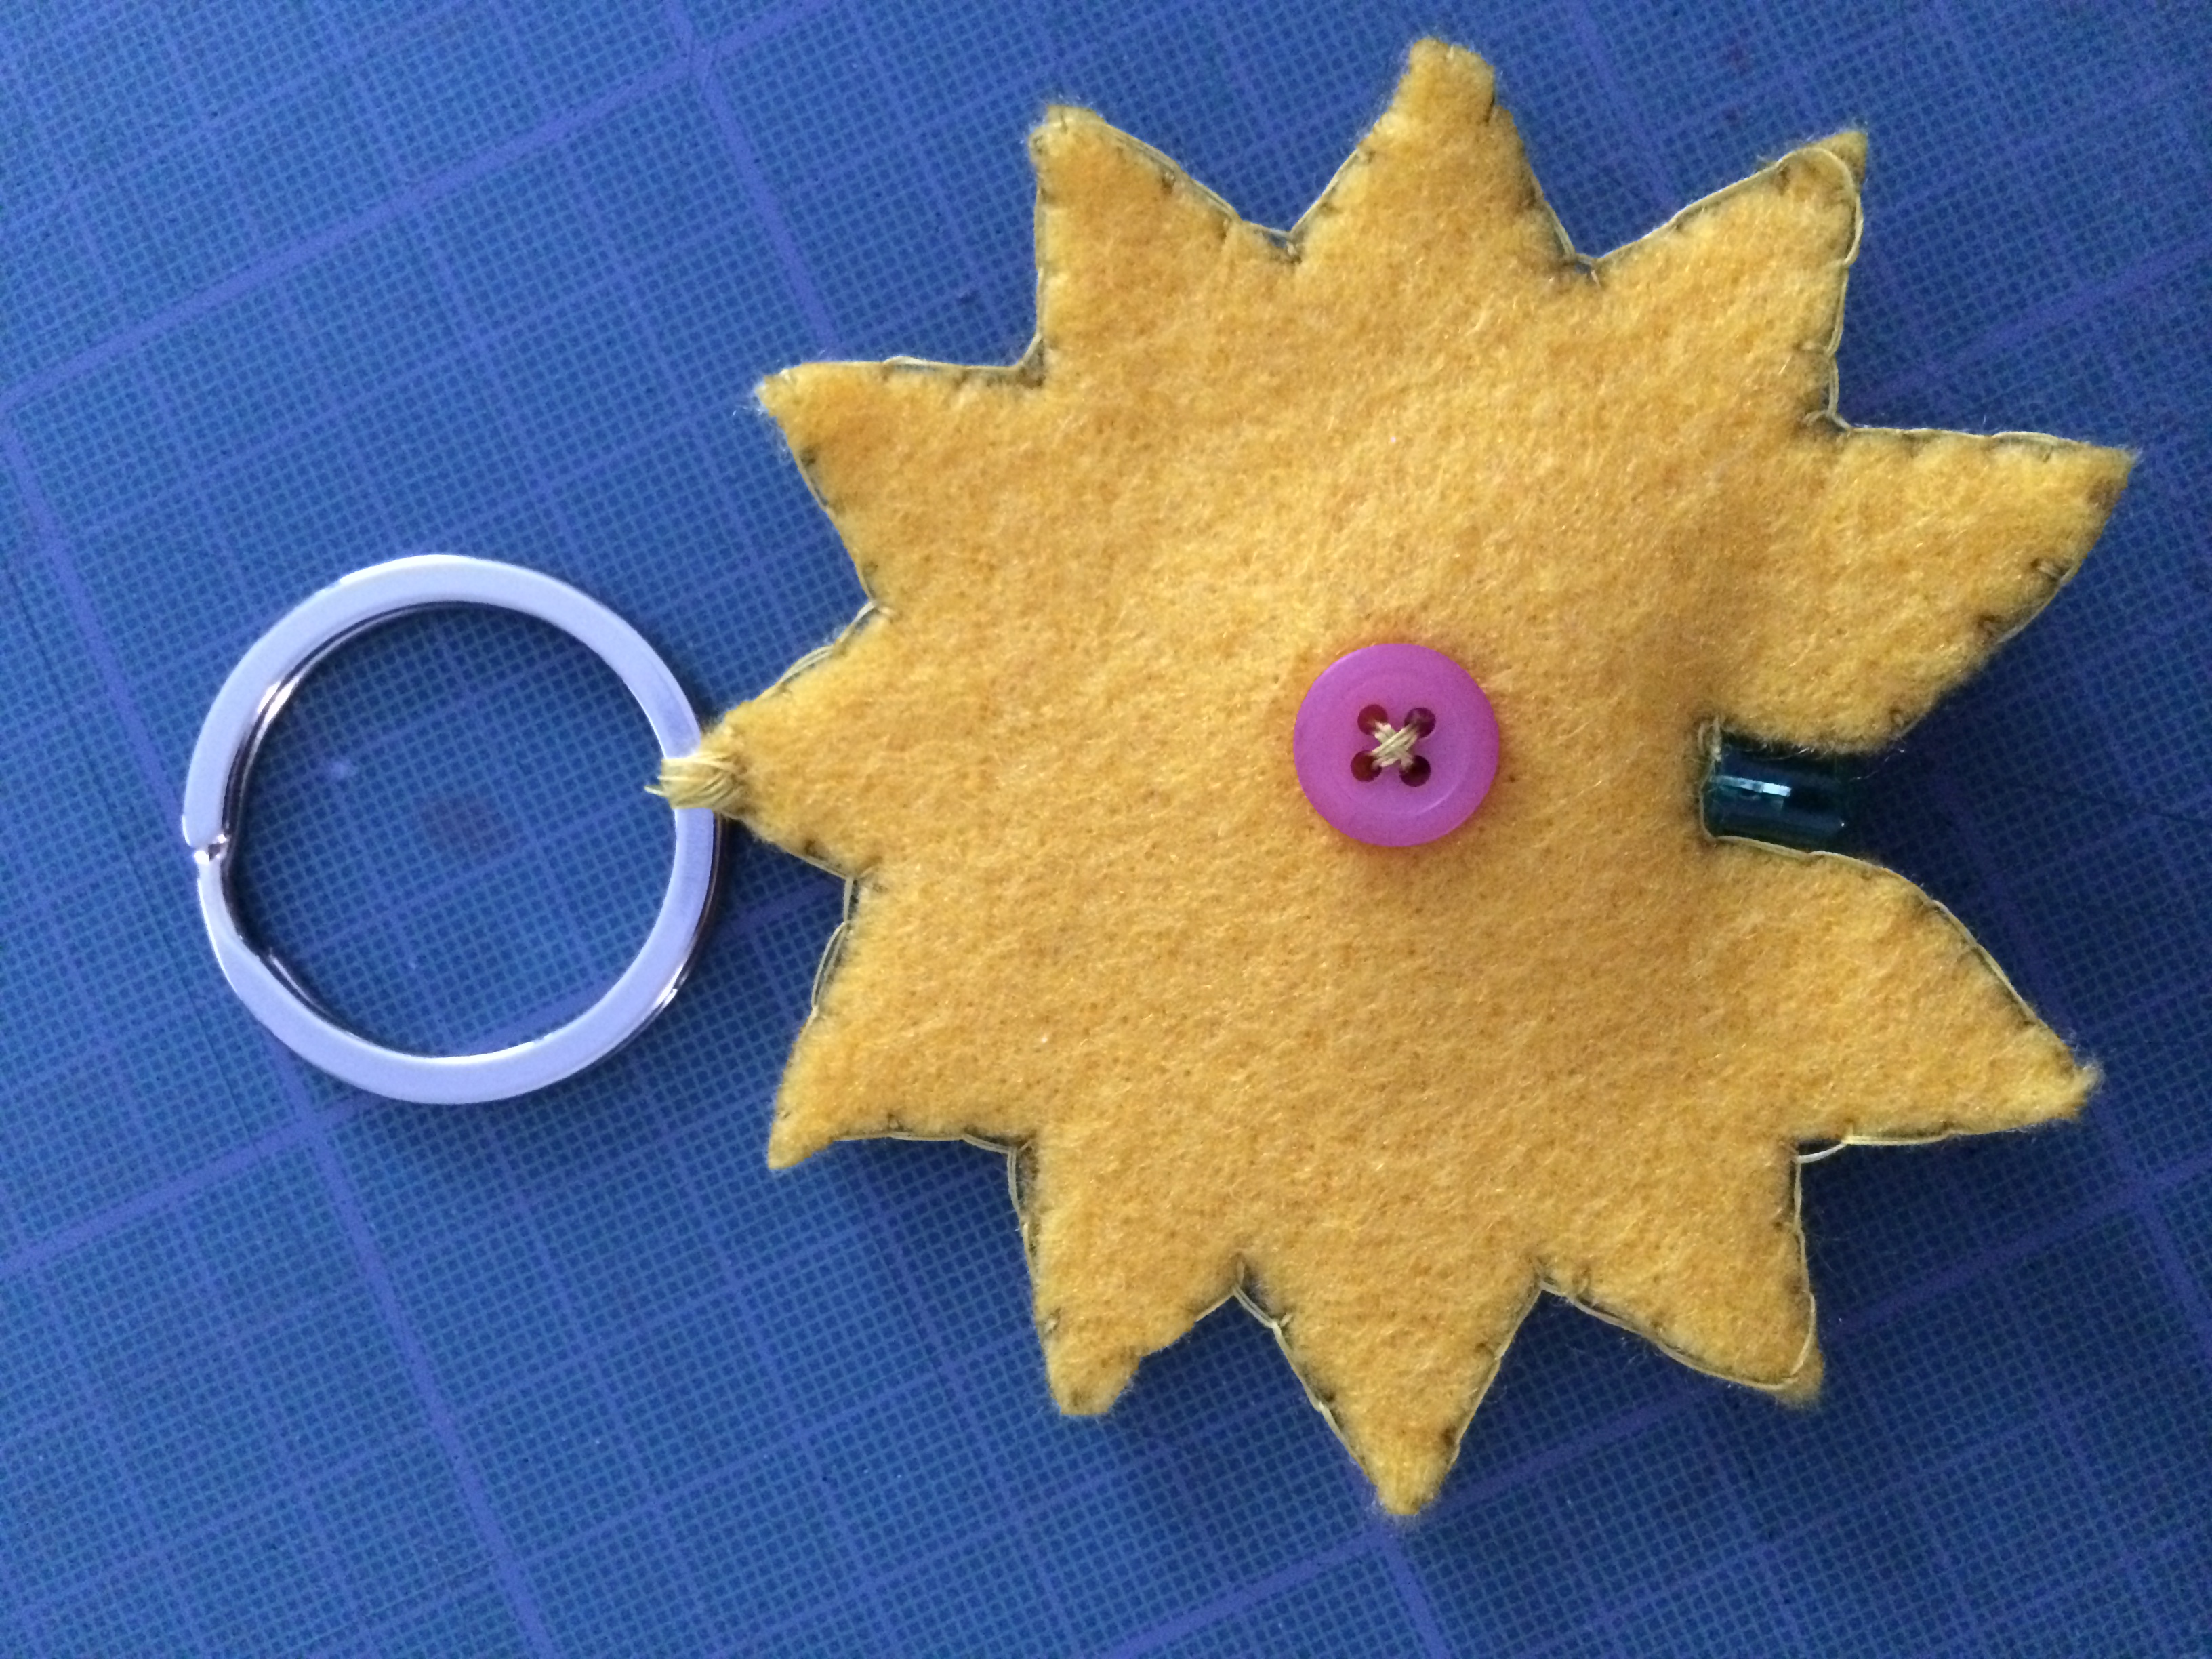
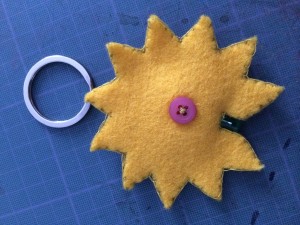
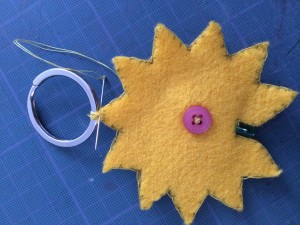
Now that you have sewn everything together and your flashlight works, you can attach your keyring. I chose to attach my keyring at the opposite end to my LED. To attach the keyring simply sew the keyring to the end of one of your points making several loops to ensure that it is securely connected.
Now you have a mini LED keyring flashlight.

