
Materials:
Needle and thread
Conductive material
Neoprene or something squishy (in this case, knitted sample)
Decorative fabric
Pre-made zipper pouch
Step 1:
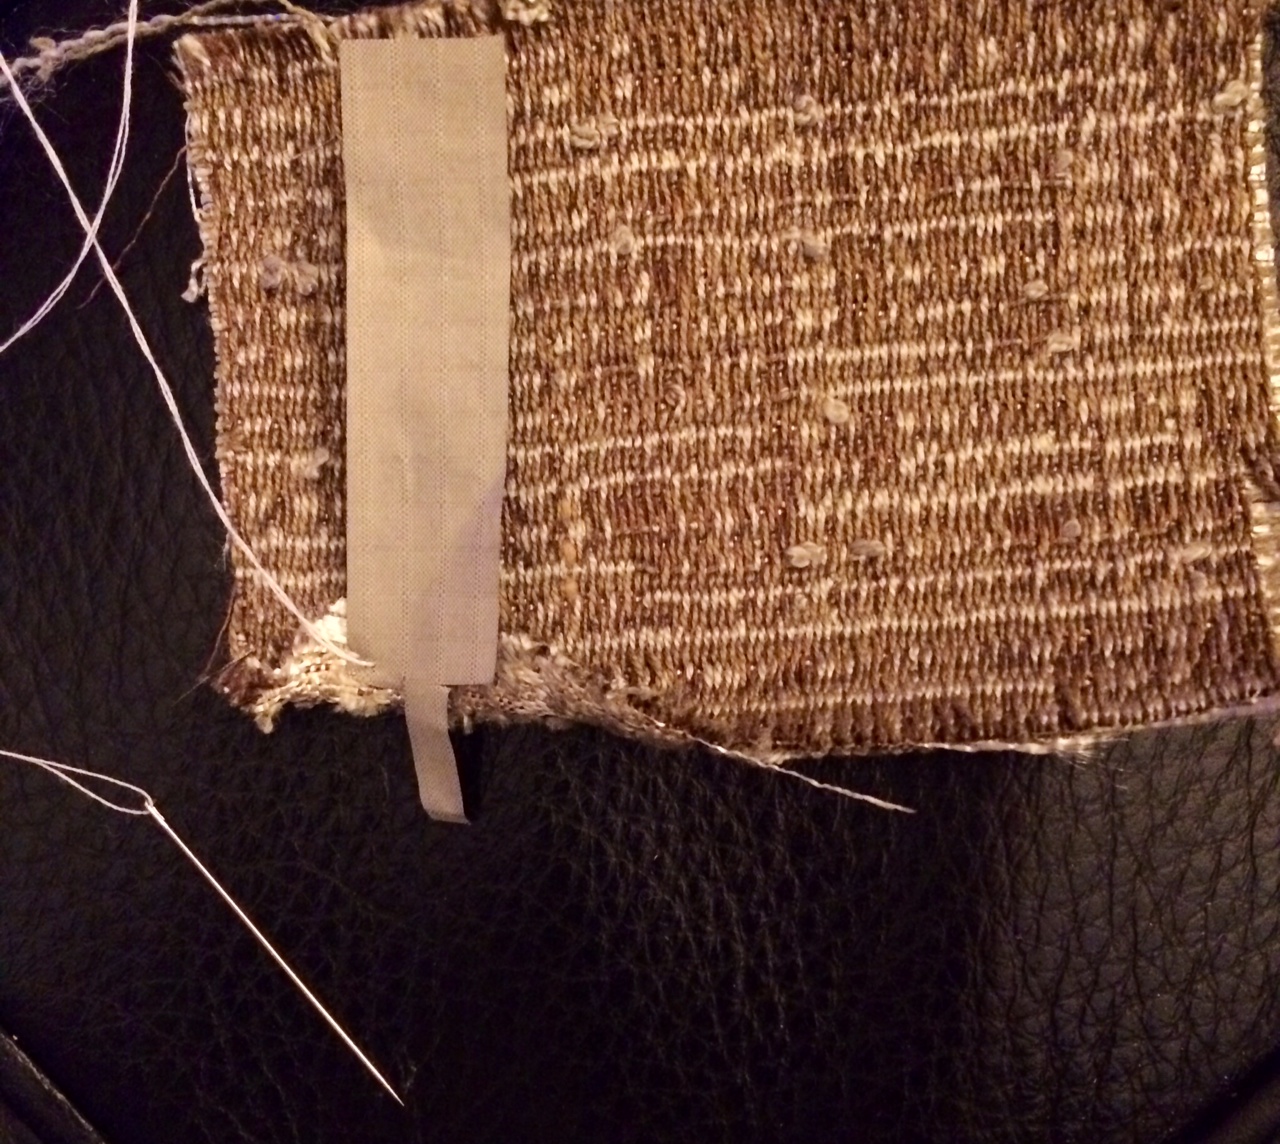
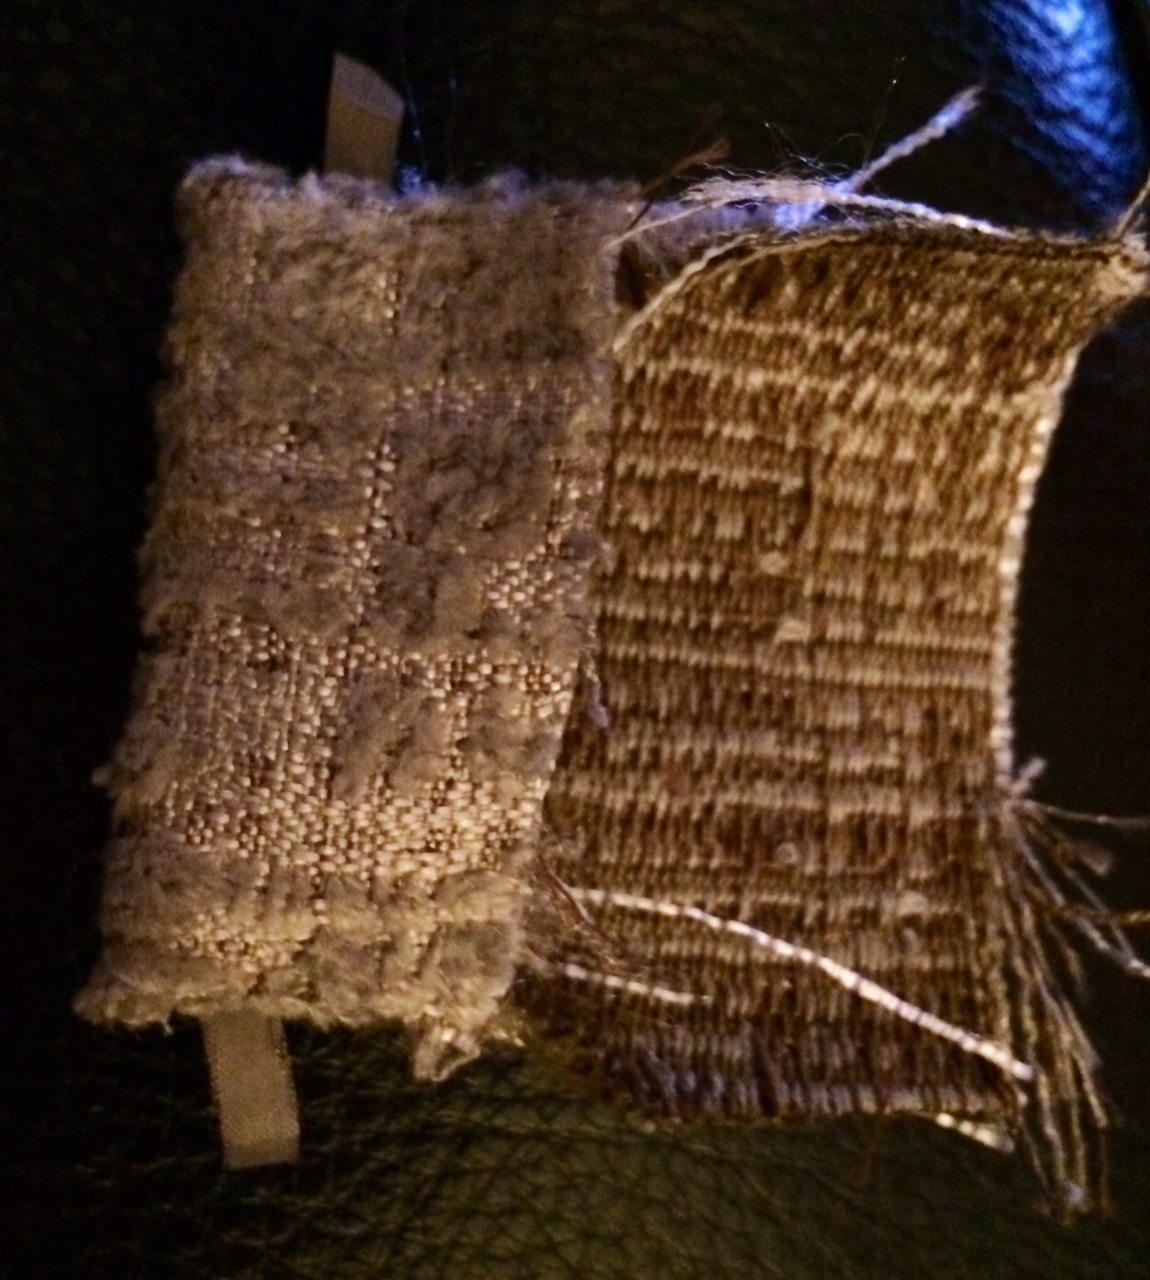
a) Decide on the shape and size of the finished zipper pull. In this case, 1.5 cm by 4 cm. Cut two pieces of conductive material to roughly this size, adding long tails to each end in order to later test the finished circuit.
b) Cut a piece of decorative fabric at least three times as wide as your zipper pull’s finished width and 2 cm longer than your zipper pull’s finished length. In this case, 4.5 cm wide by 6 cm tall.
c) Place one piece of your conductive material on the edge of your decorative material, and hand sew them together.
Step 2:
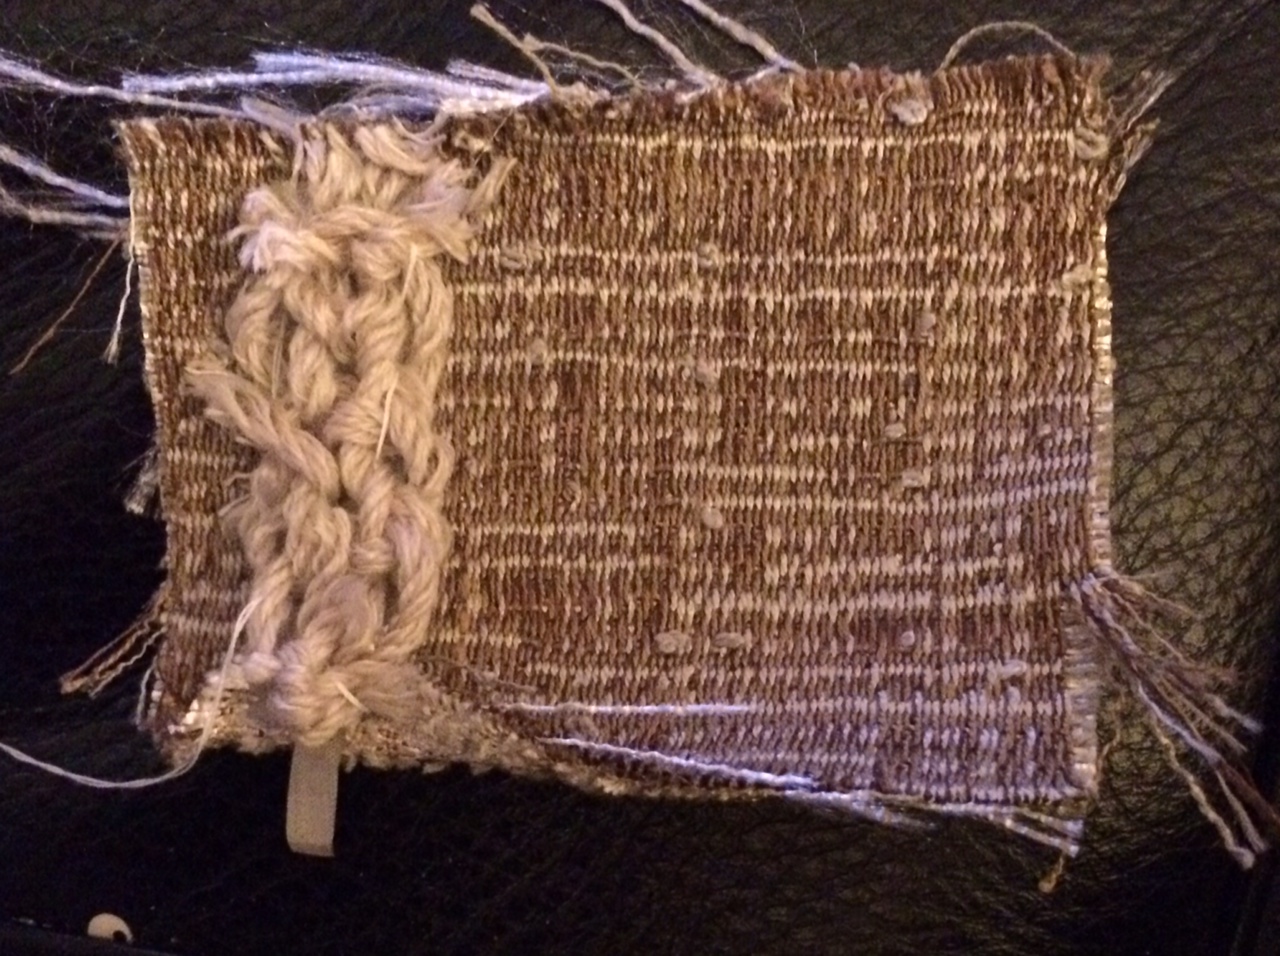
a) Hand sew your knitted sample to the conductive fabric.
b) Turn up 1 cm of the bottom of your decorative fabric to make a hem that hides the raw edges and covers the knitted material.
Step 3:
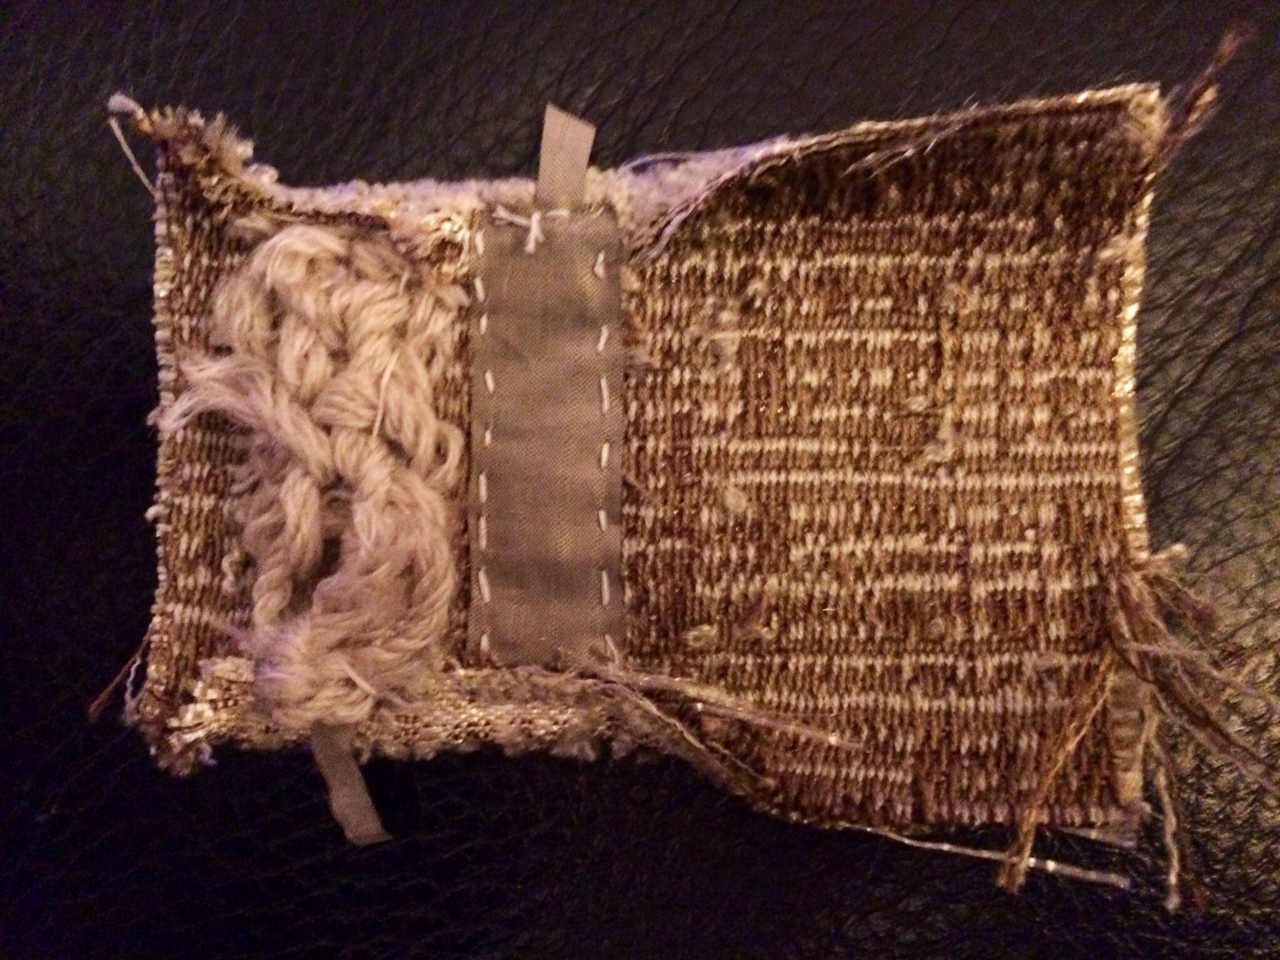
a) Turn 1 cm of the top raw edge down to create a hem that encases your knitted sample.
b) Hand sew the second piece of conductive material to your final fabric. Be sure that it does not touch the first piece of conductive material in any way.
Step 4:
a) Fold the two sides together and hand sew at the top and bottom.
b) Trim the piece down, fold the long sides in, and hand sew together to finish all edges.
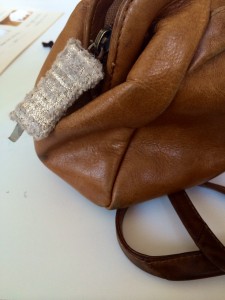
Step 5: attach to a zipper; button will function when pinched.