
So it may be a little bit early… but we’re already feeling the christmas spirit and giving Santa and Rudolf a head start this year!
In this post I will show you How to Make an Origami Reindeer with an LED Red Nose…
To find out how to make Santa in order to complete this scene and to view the complete video you will need to refer to How to Make an Origami Santa with a White LED Hat:
ORIGAMI REINDEER-RUDOLF
You will need:
– two square pieces of white paper, approximately 21cm x 21cm.
– scissors
– tape or glue
– red LED light
– copper conductive tape
– solder
– soldering iron
TO BEGIN:
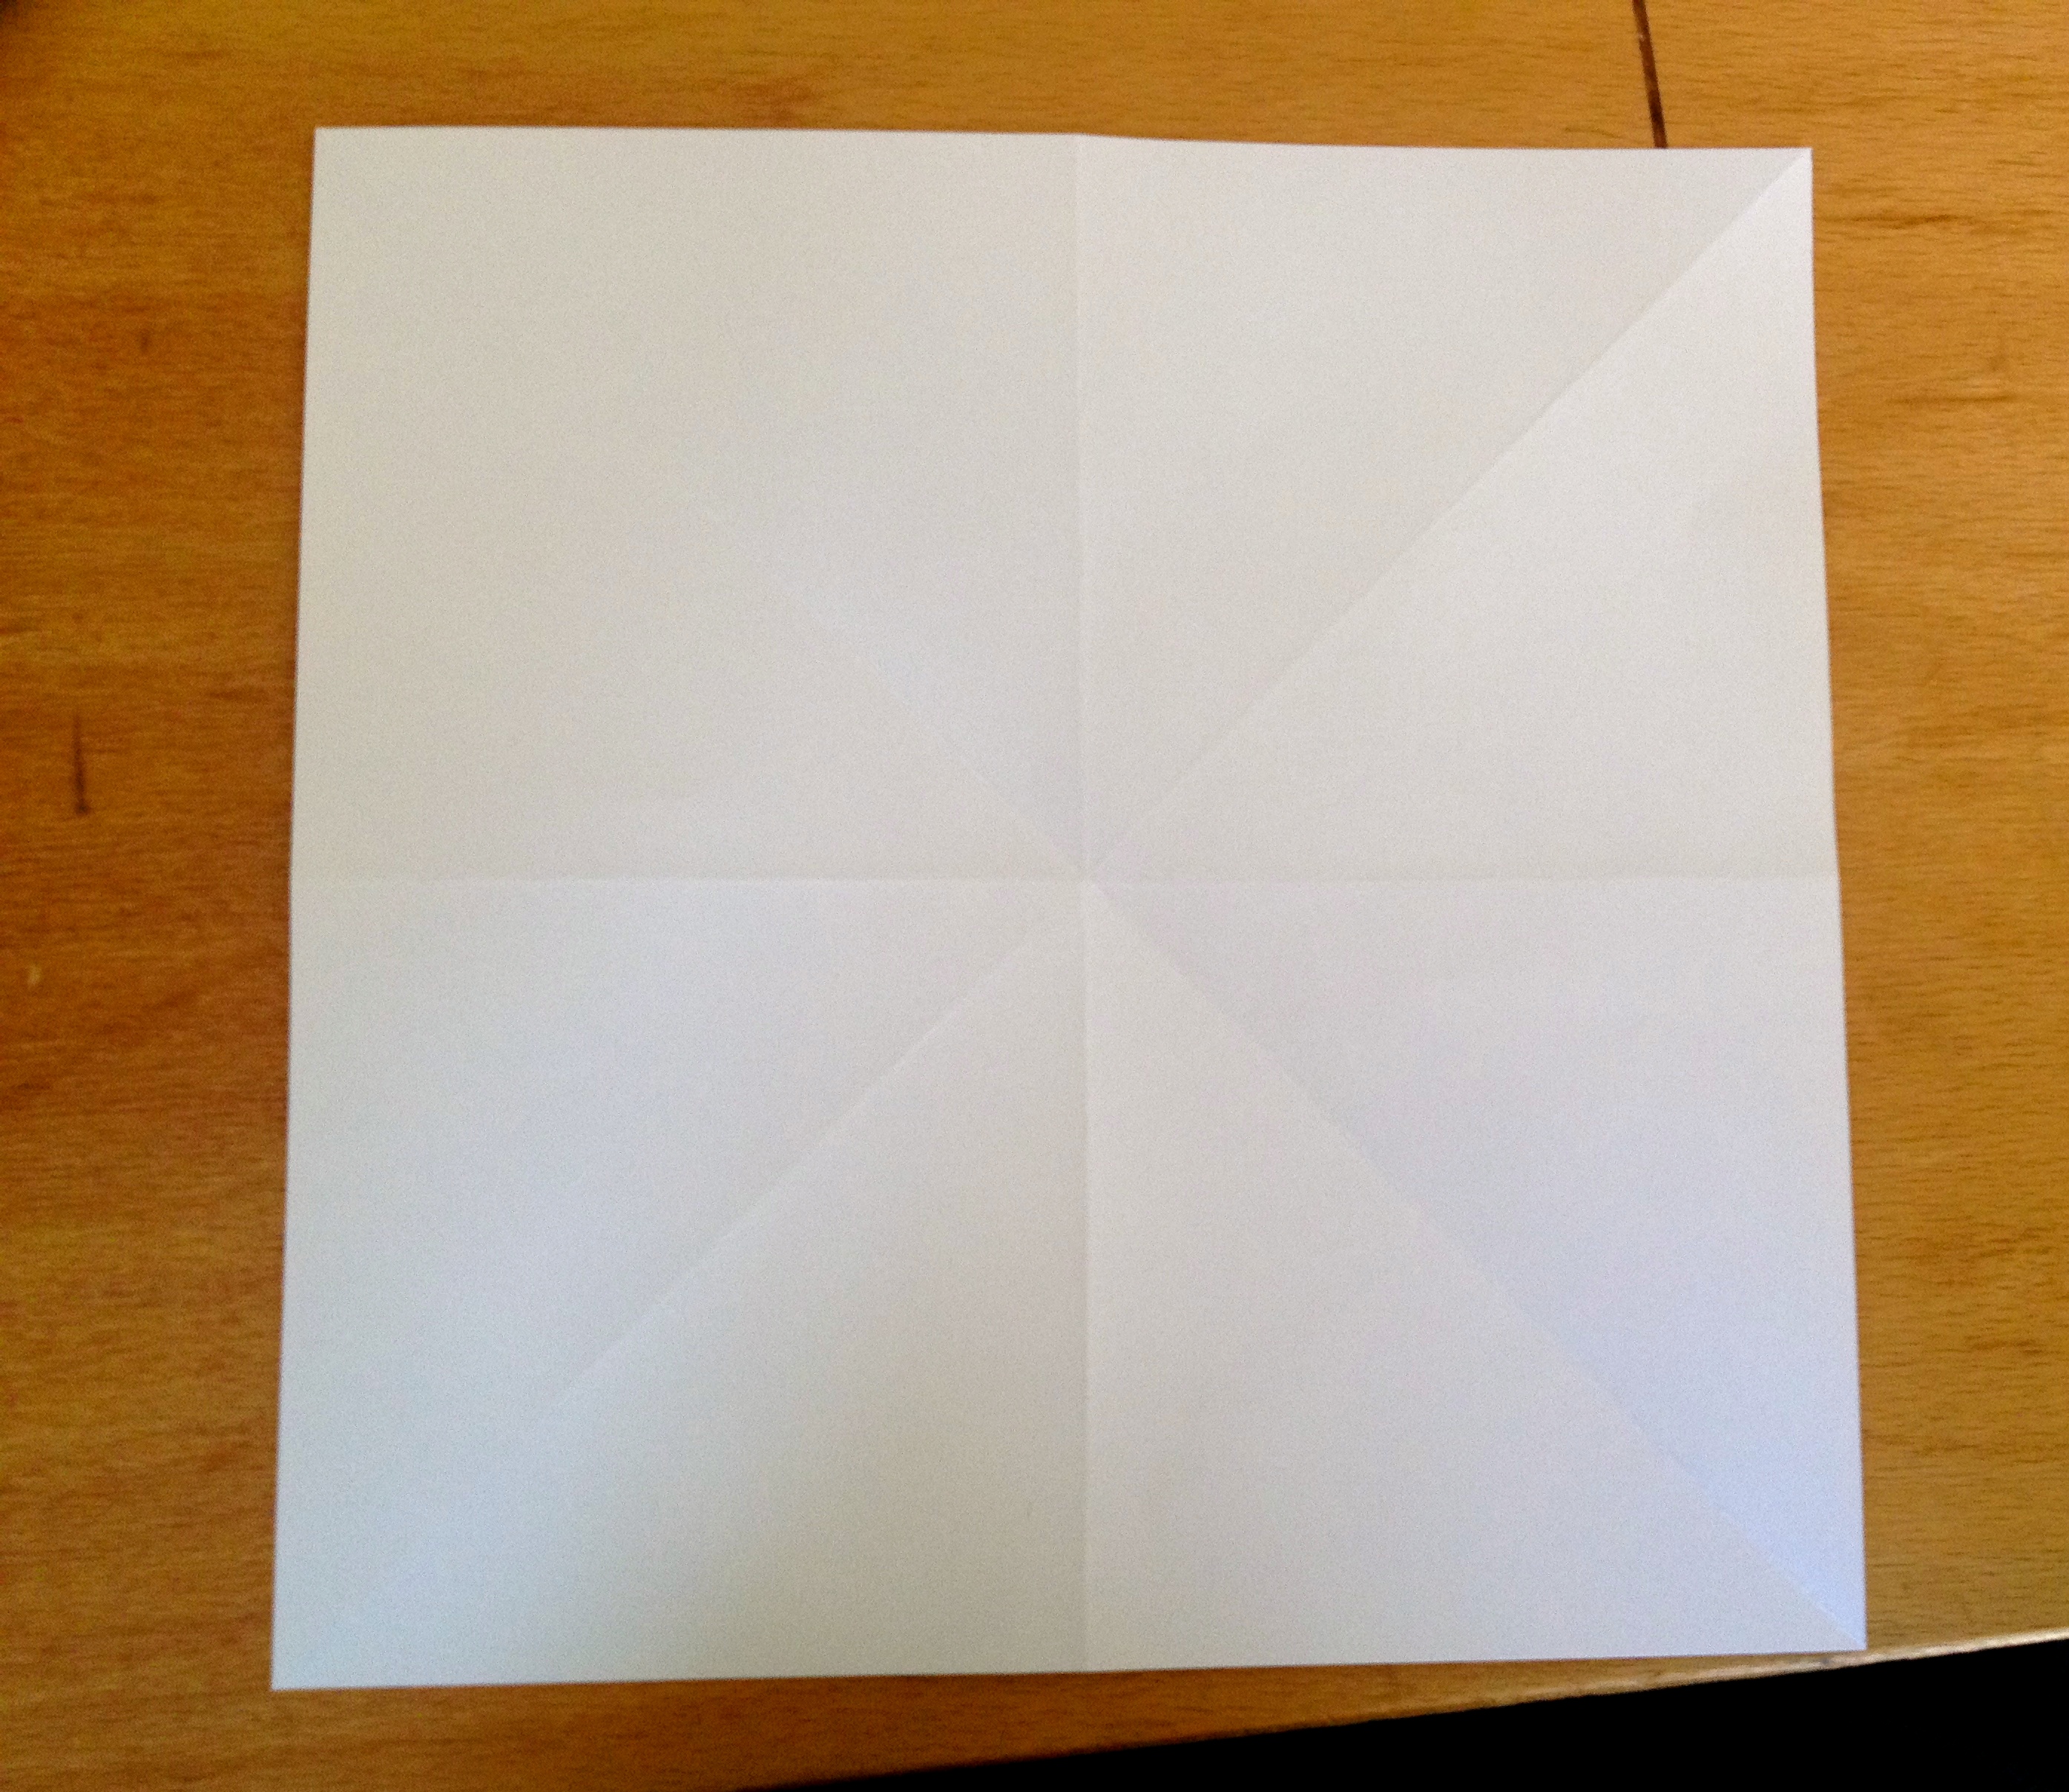
1. Fold your paper in half, creasing well.
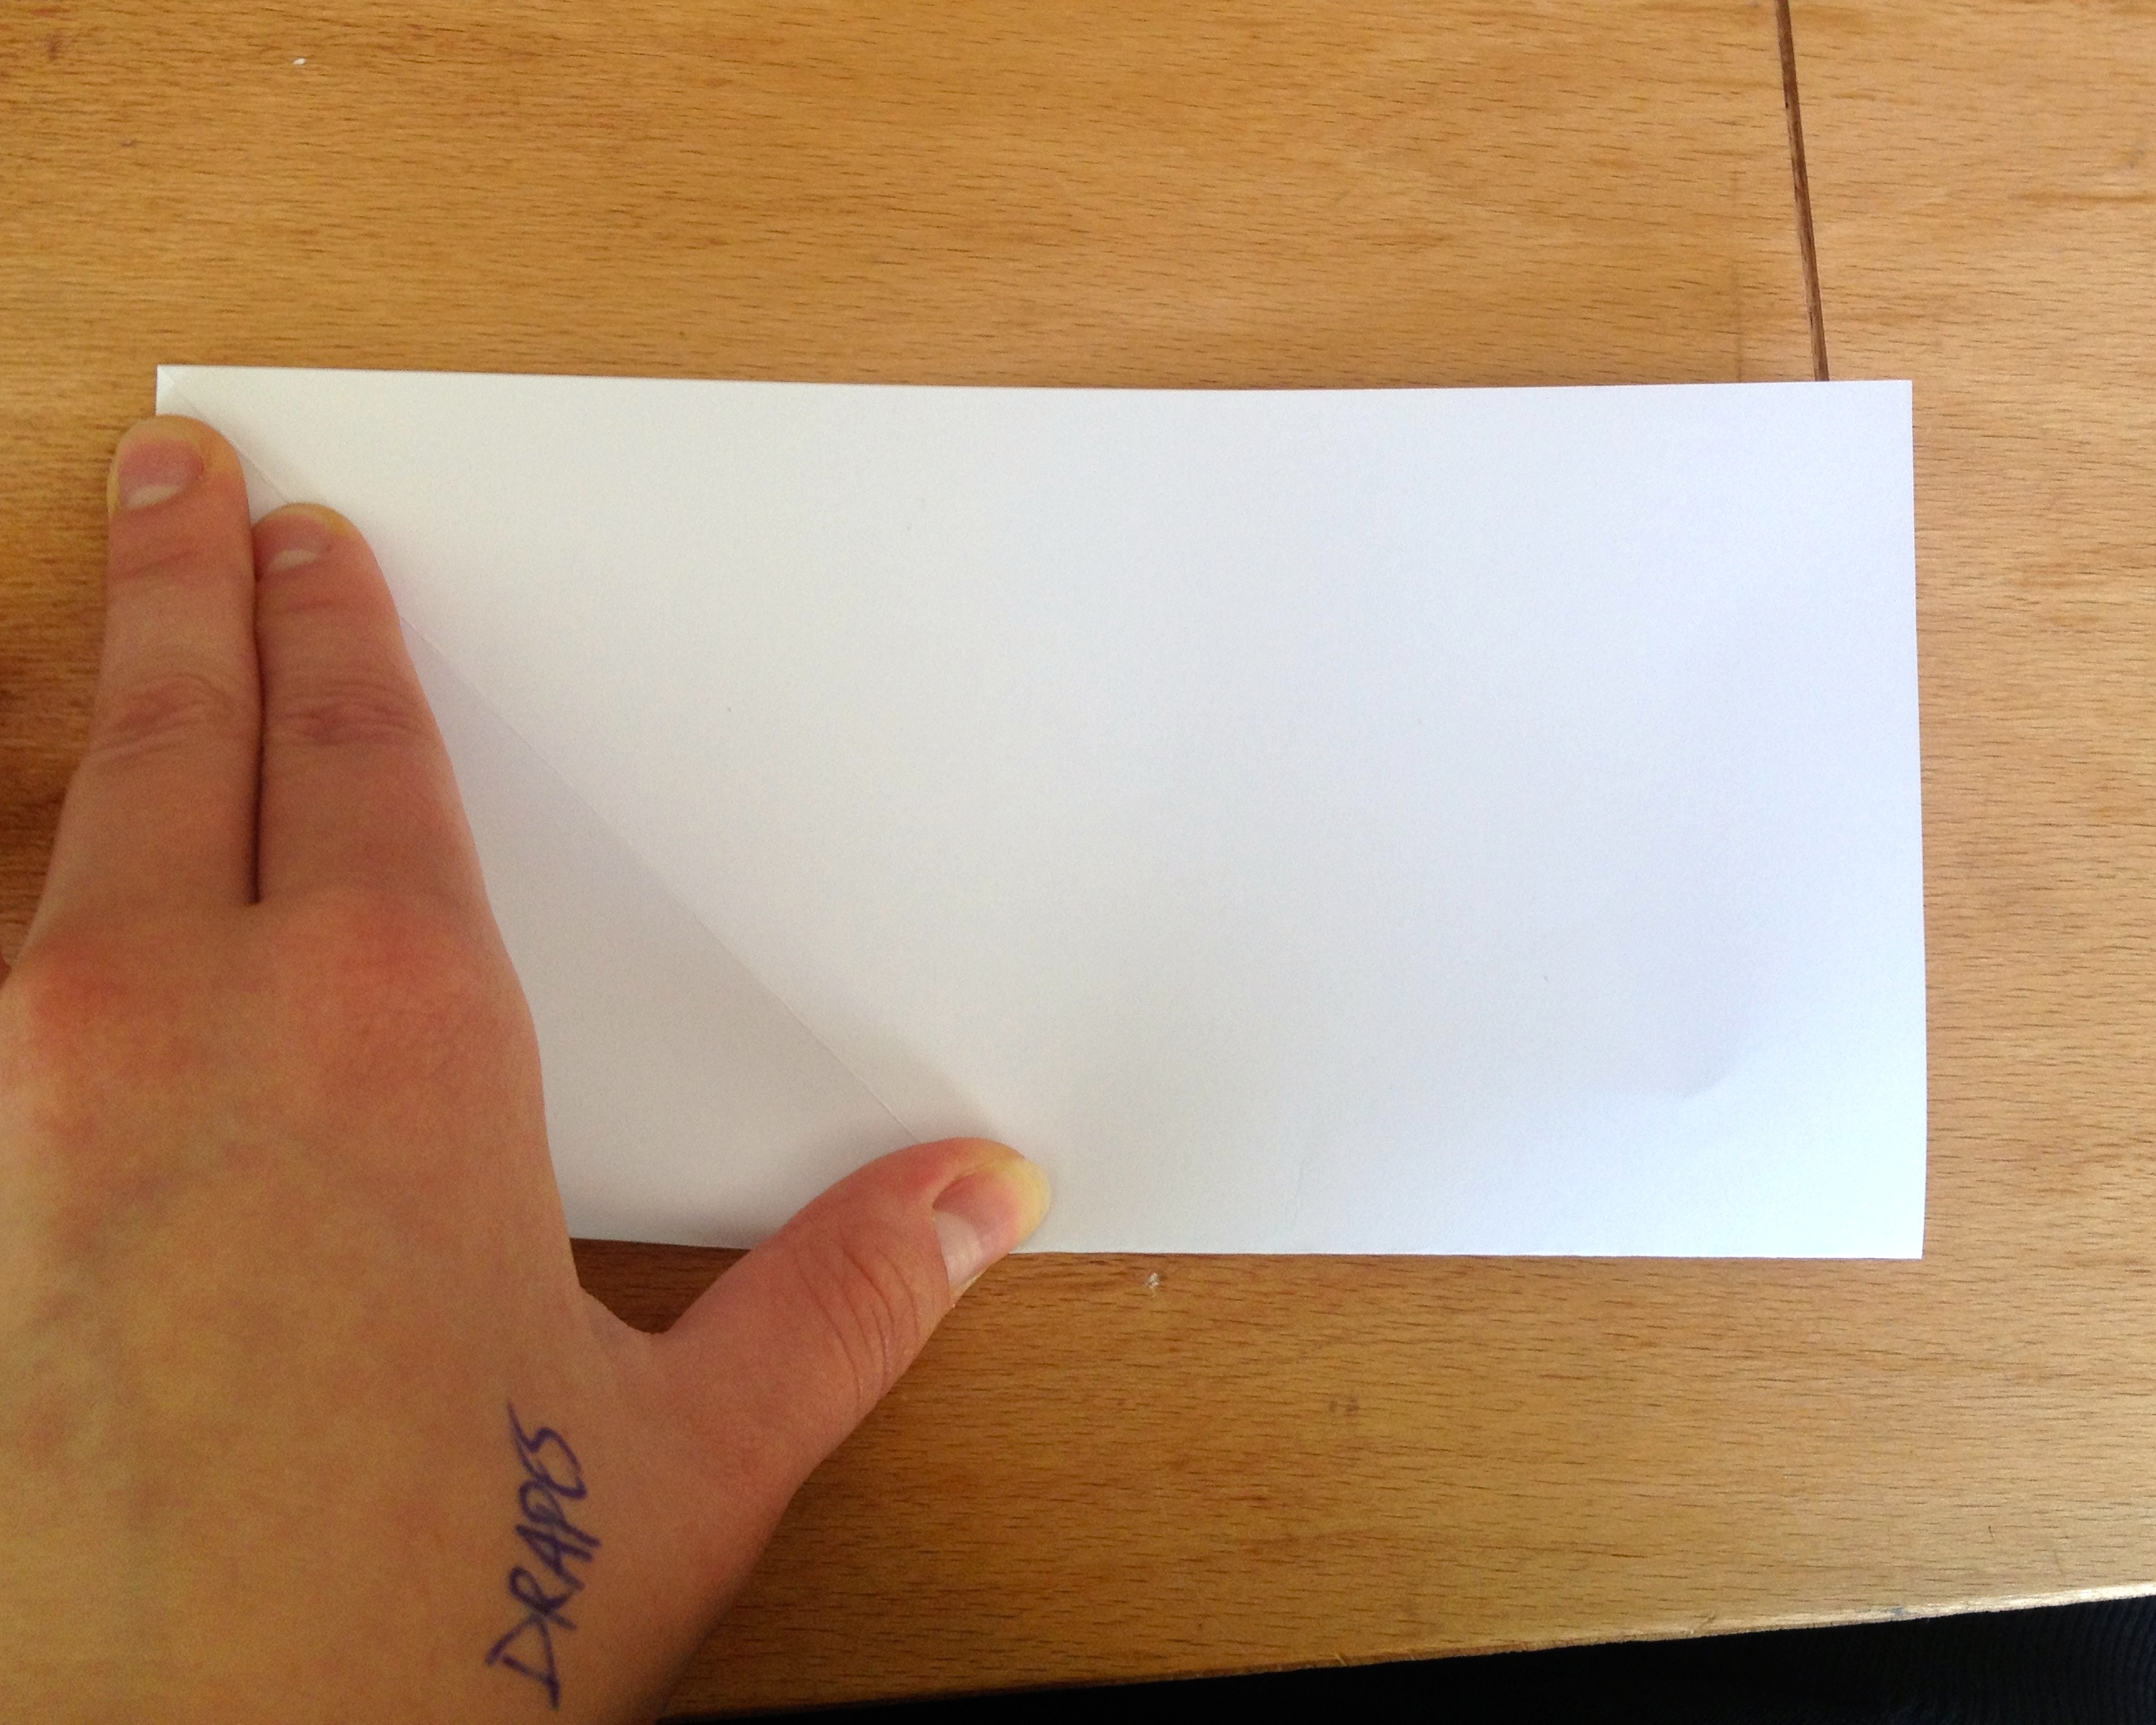
2. Fold your paper in half the other way.
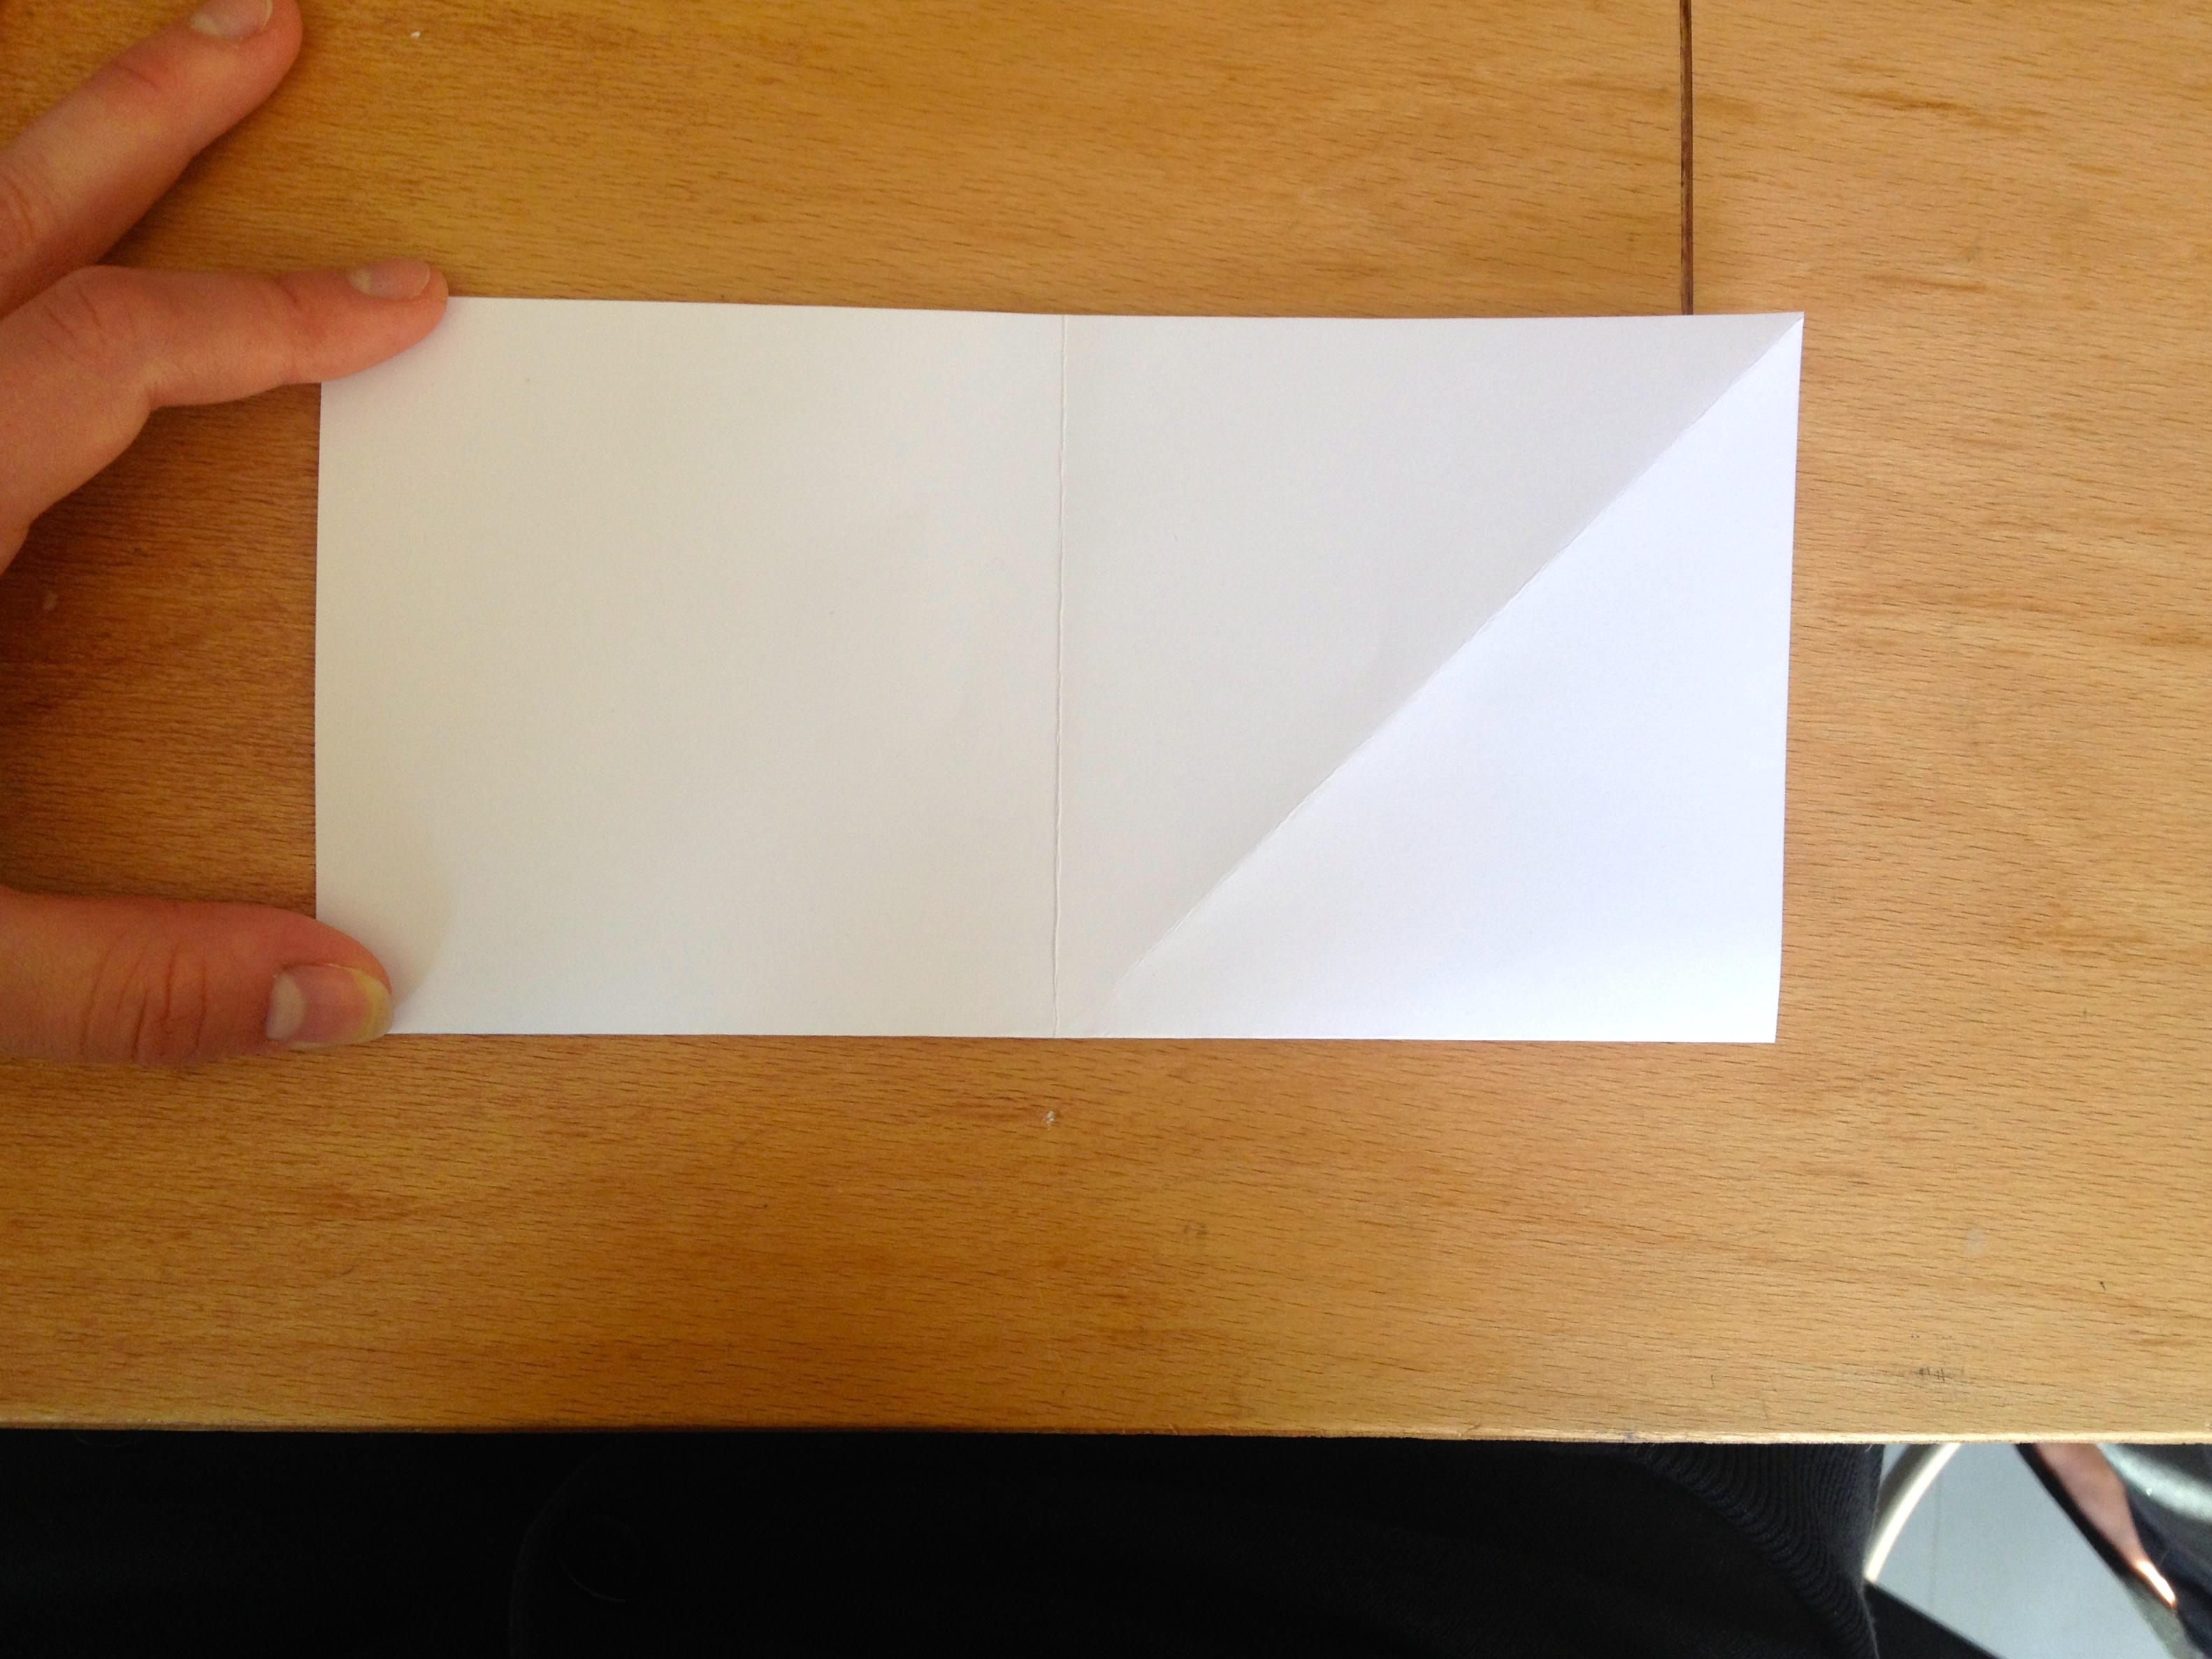
3. Fold your square diagonally, (make sure it’s perfect!)
4. Now fold the other diagonal.
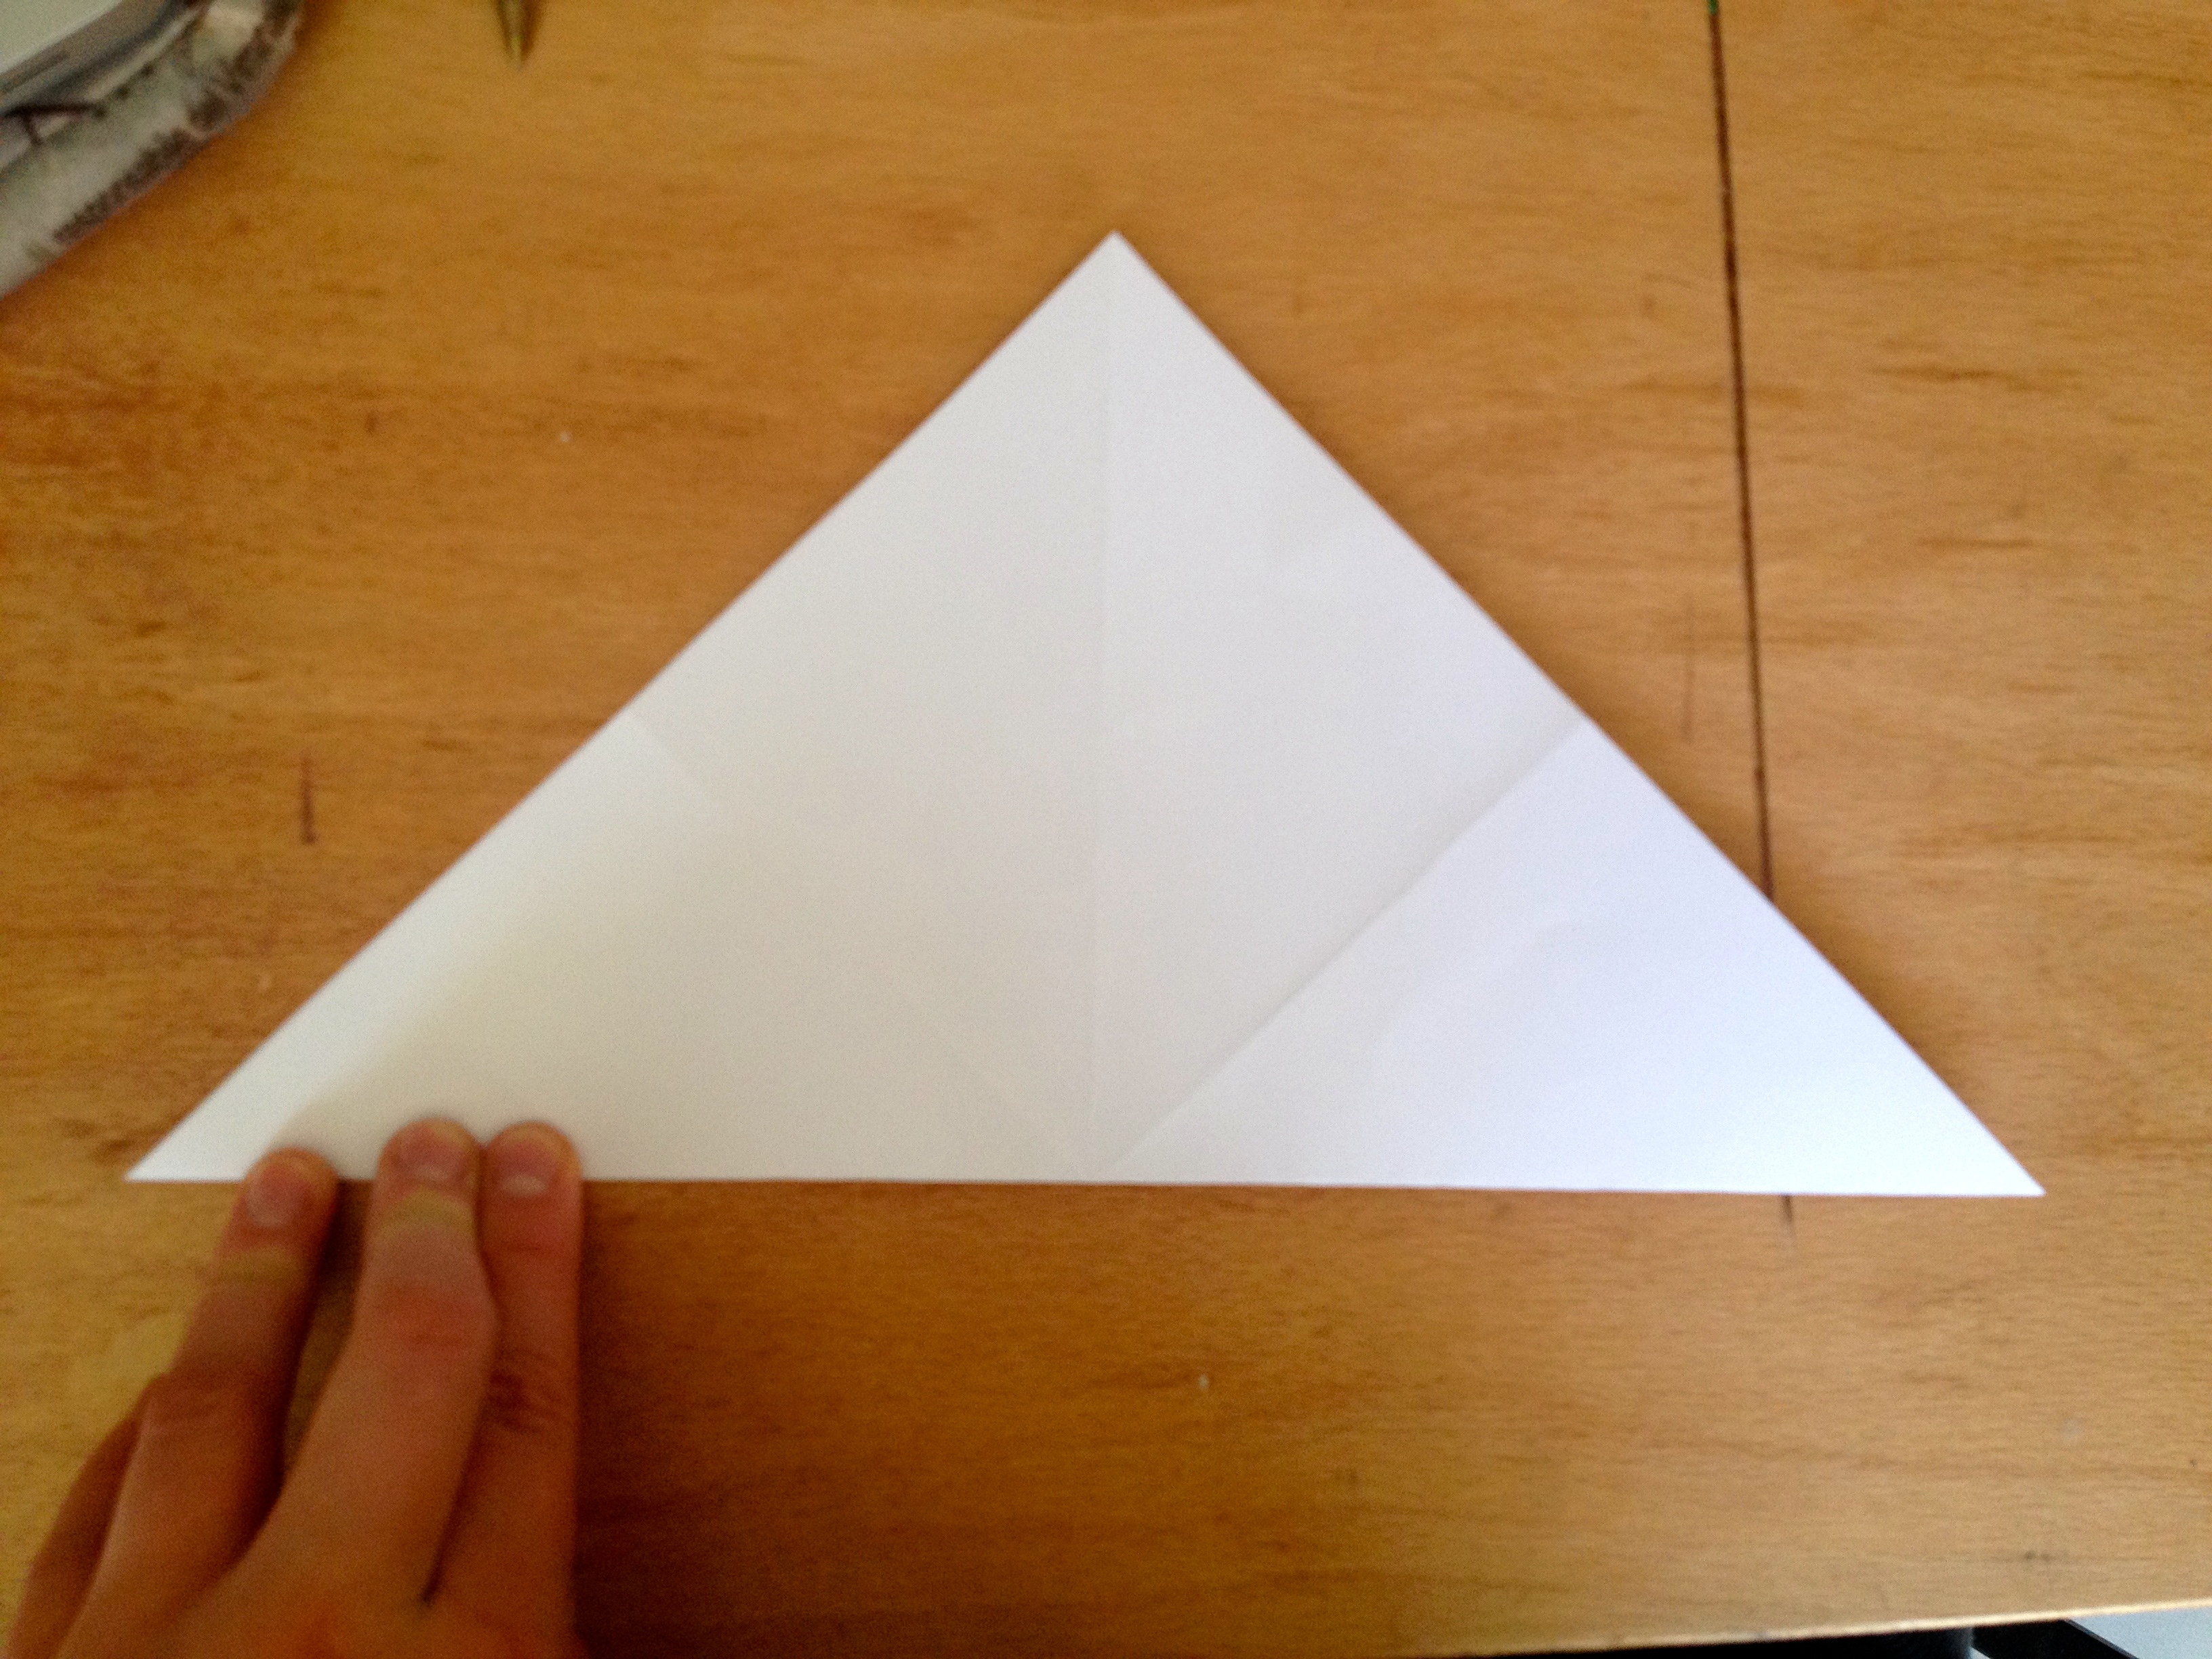
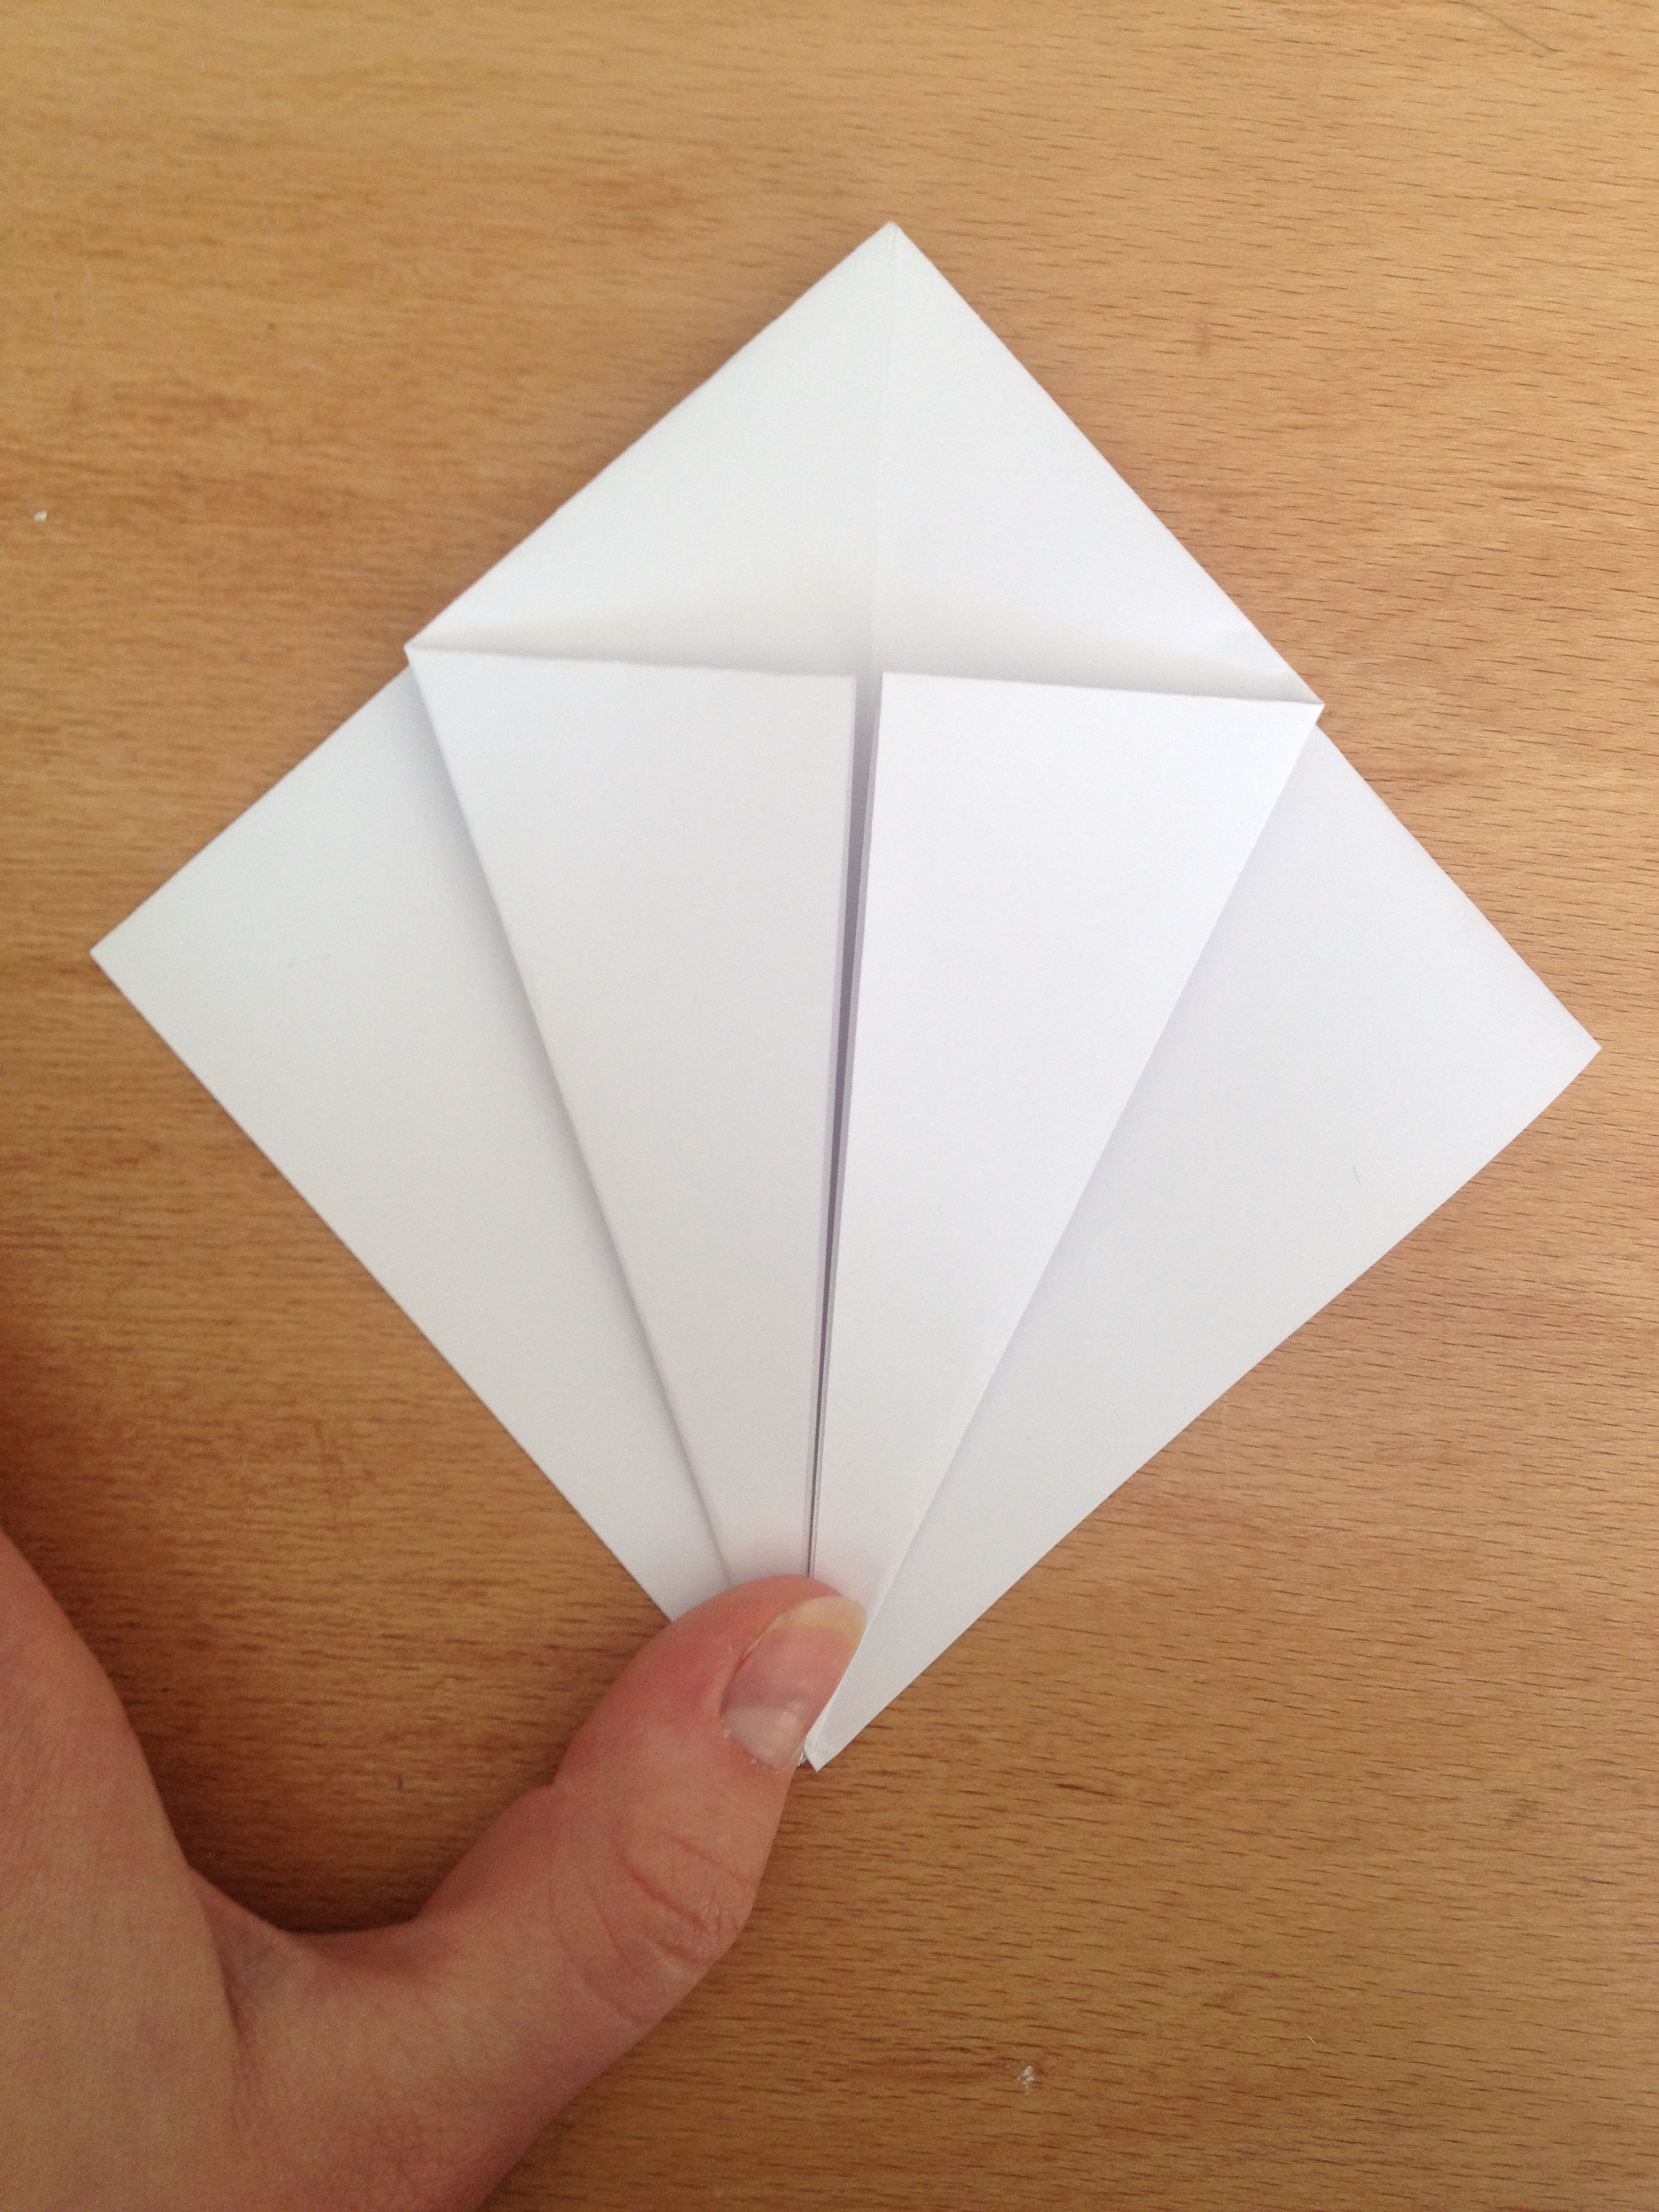
You should have four lines crossing your paper.
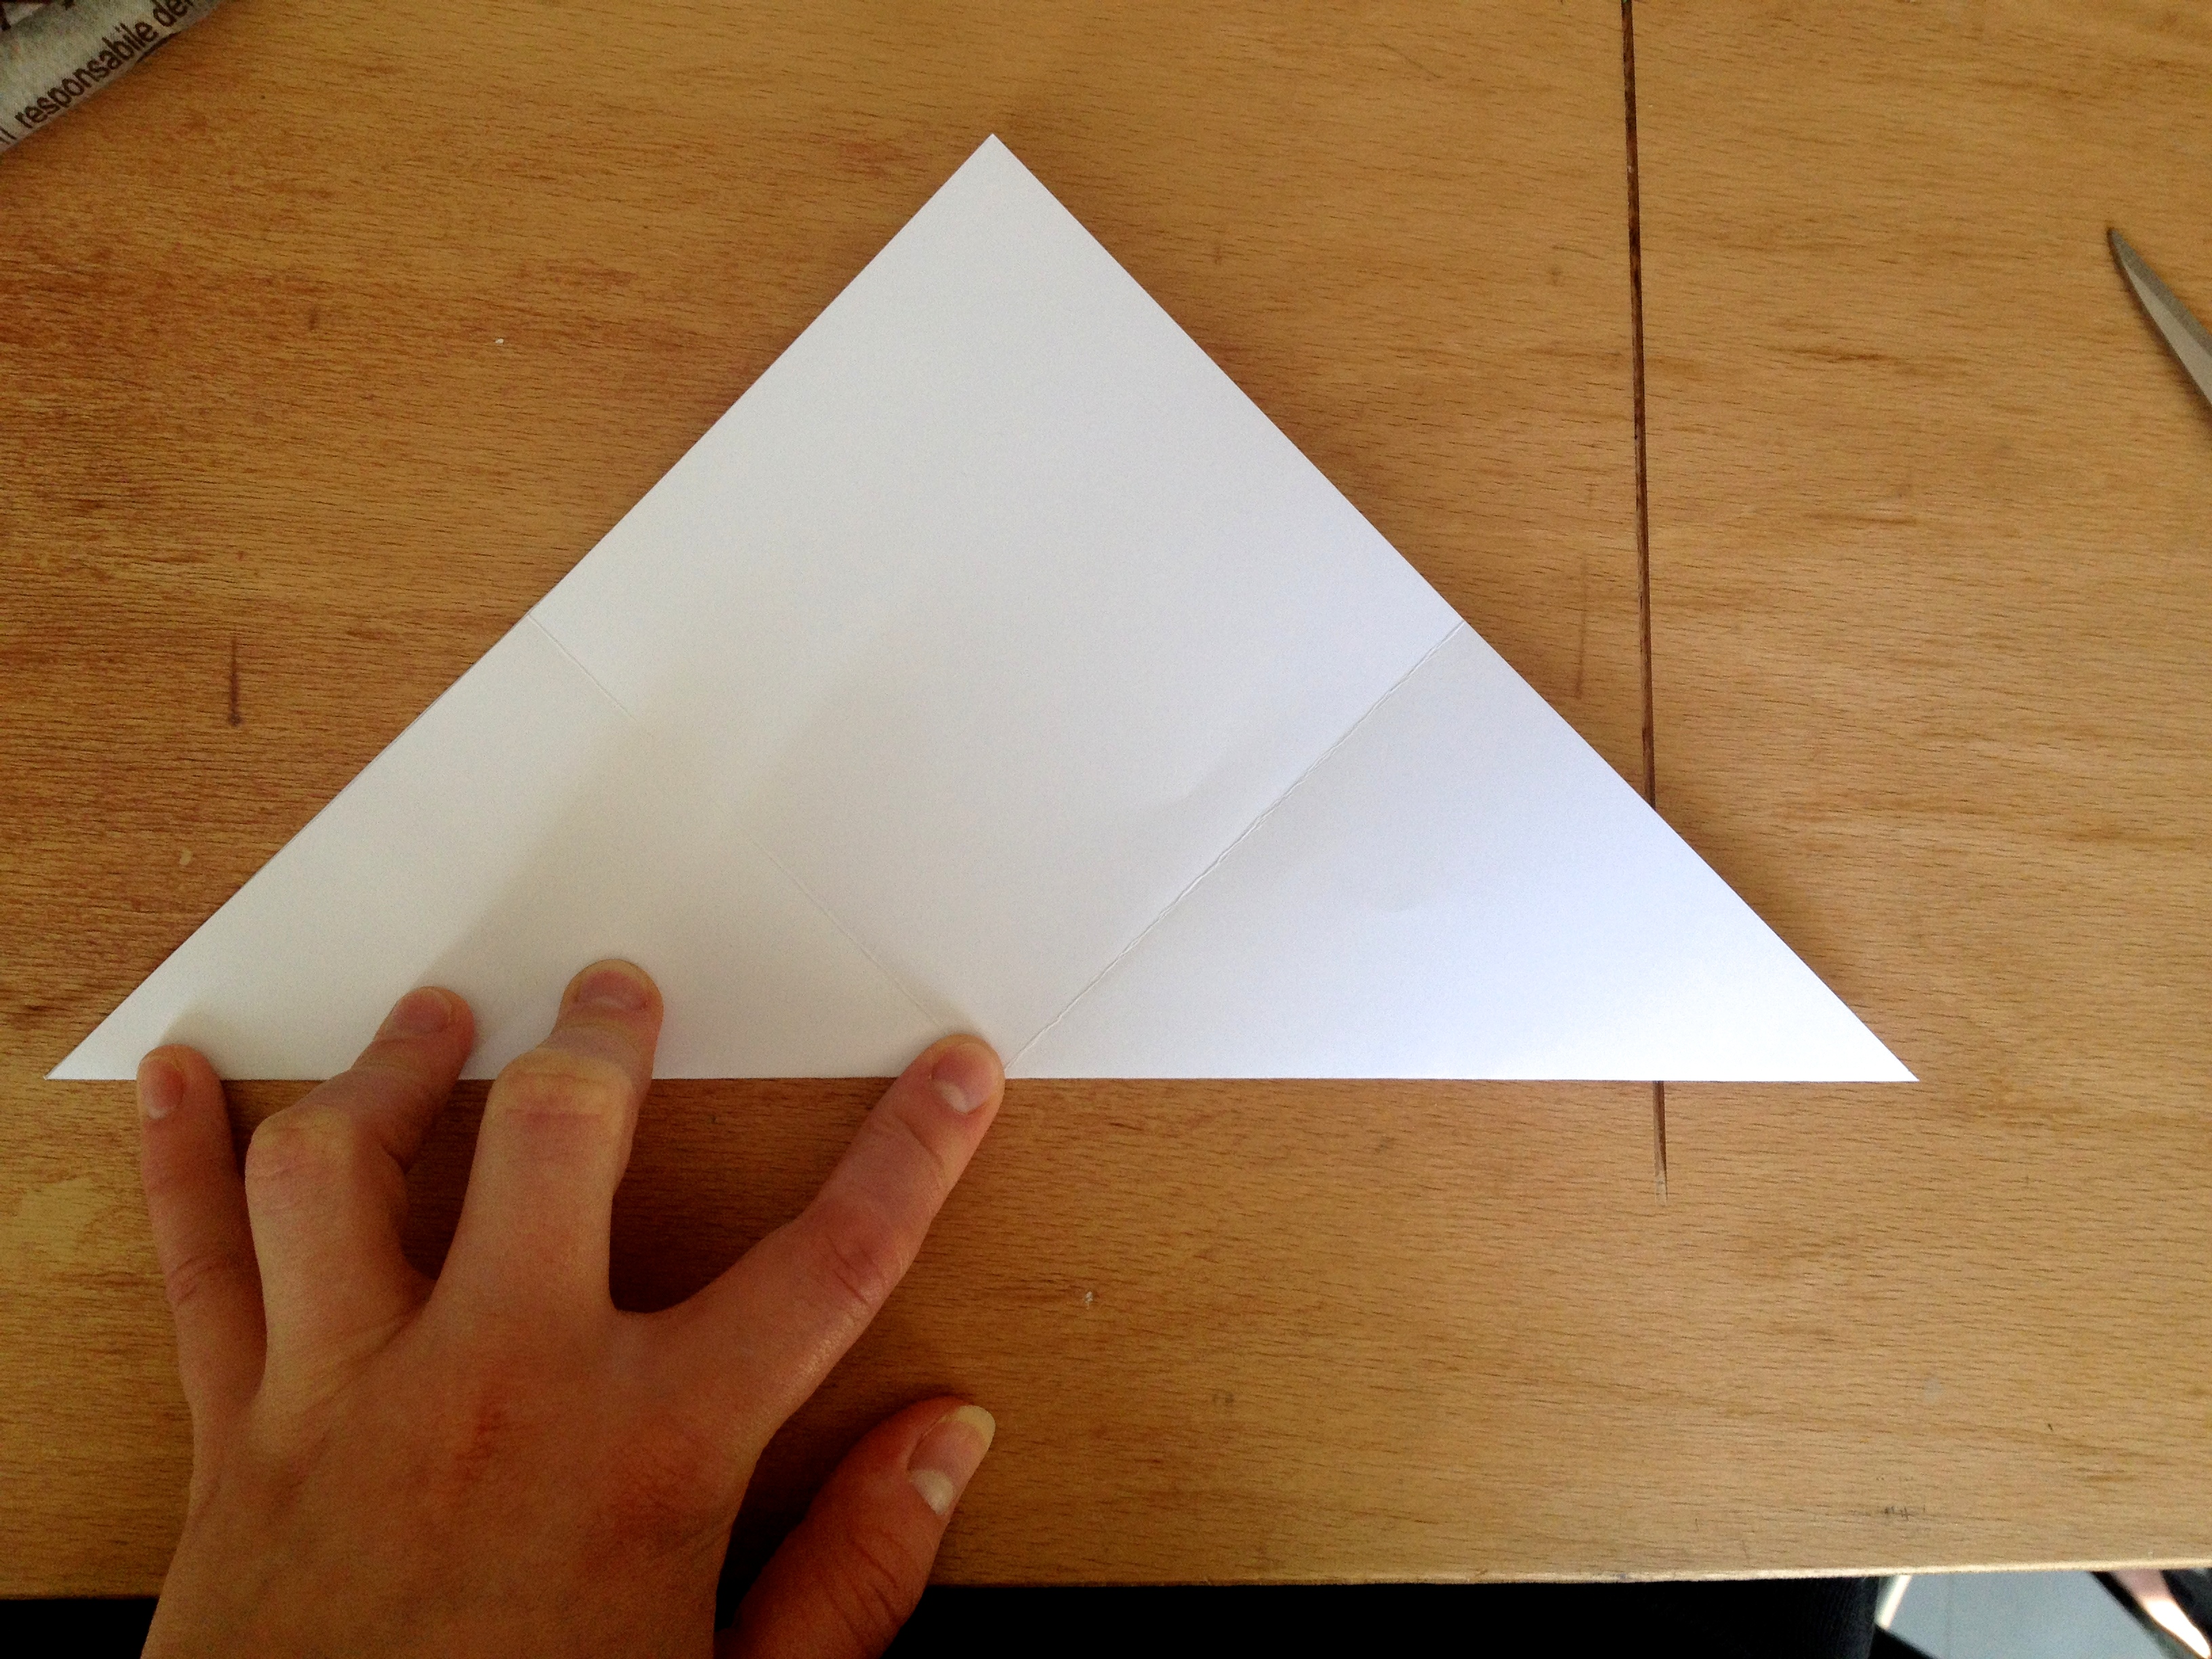
5. Fold in on each half of one of the lines you just creased.
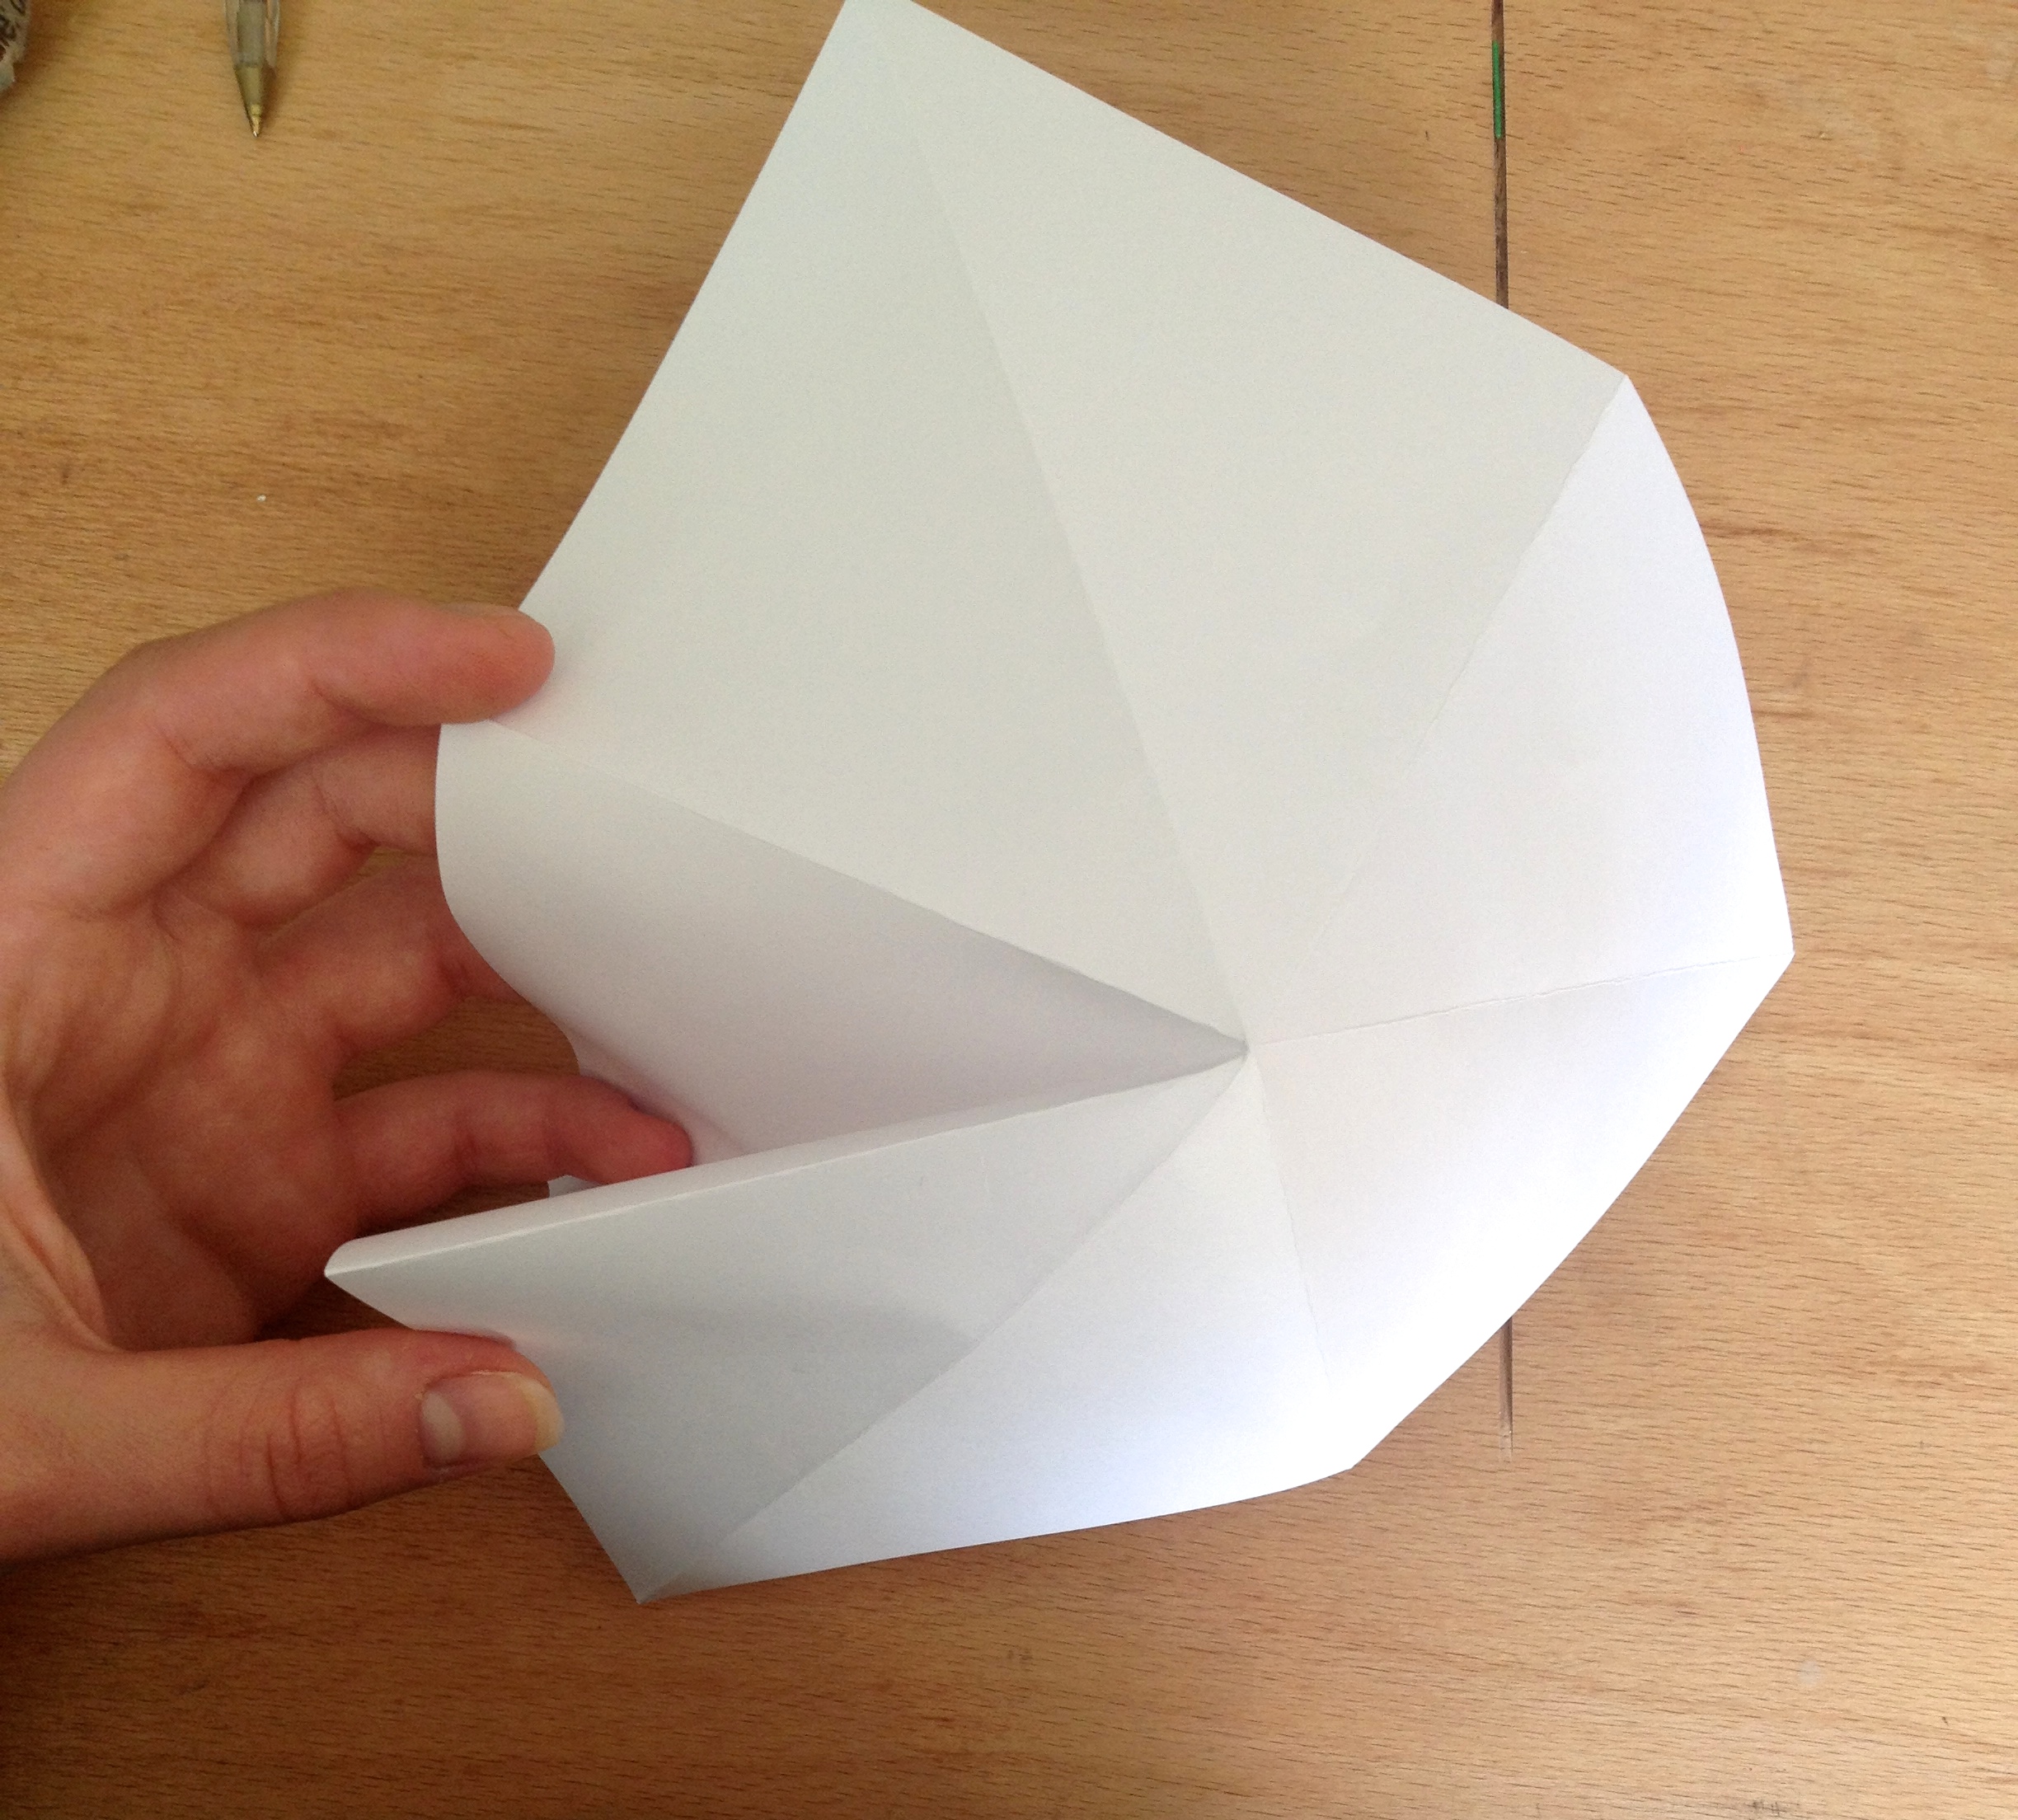
Creating a point.

Which when flat, makes a smaller square. The point end should be at the top and the bottom (the closest side to you) should be open-able.

6. Fold the left side corner in to the middle crease.
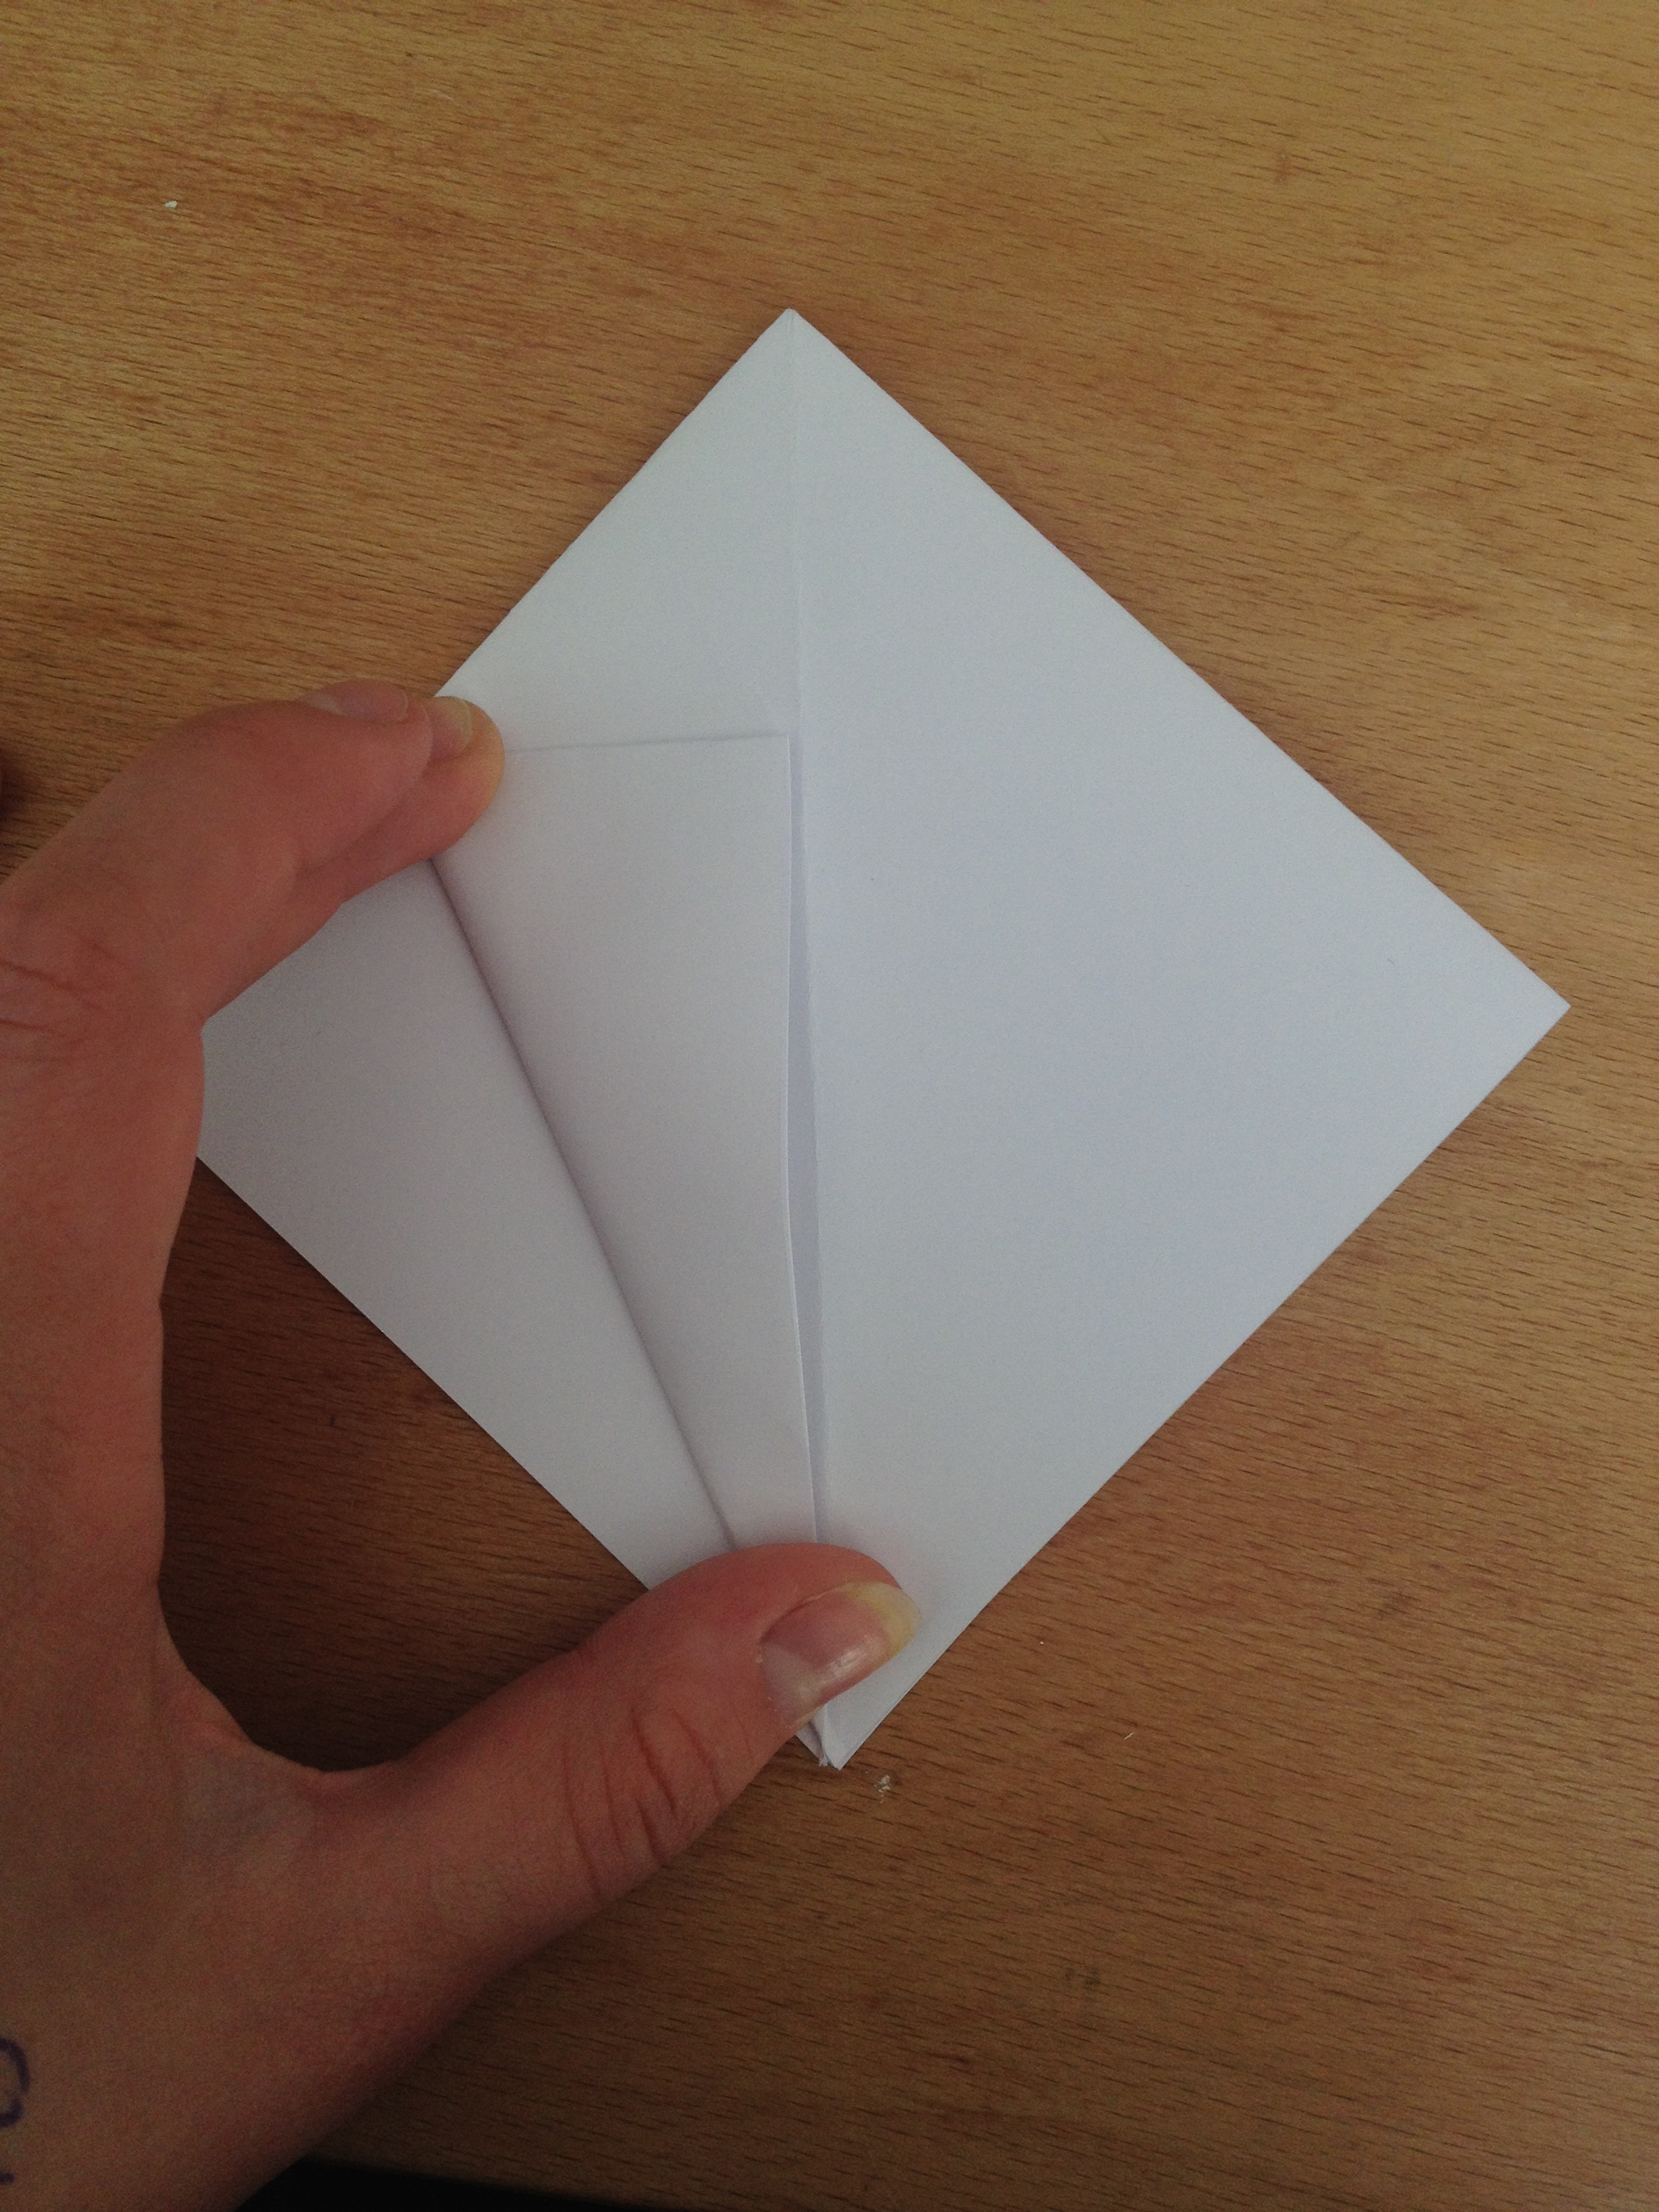
7. Now fold the right side corner in.
8. Fold the top triangle down to make a crease.
9. Then lift it back up.
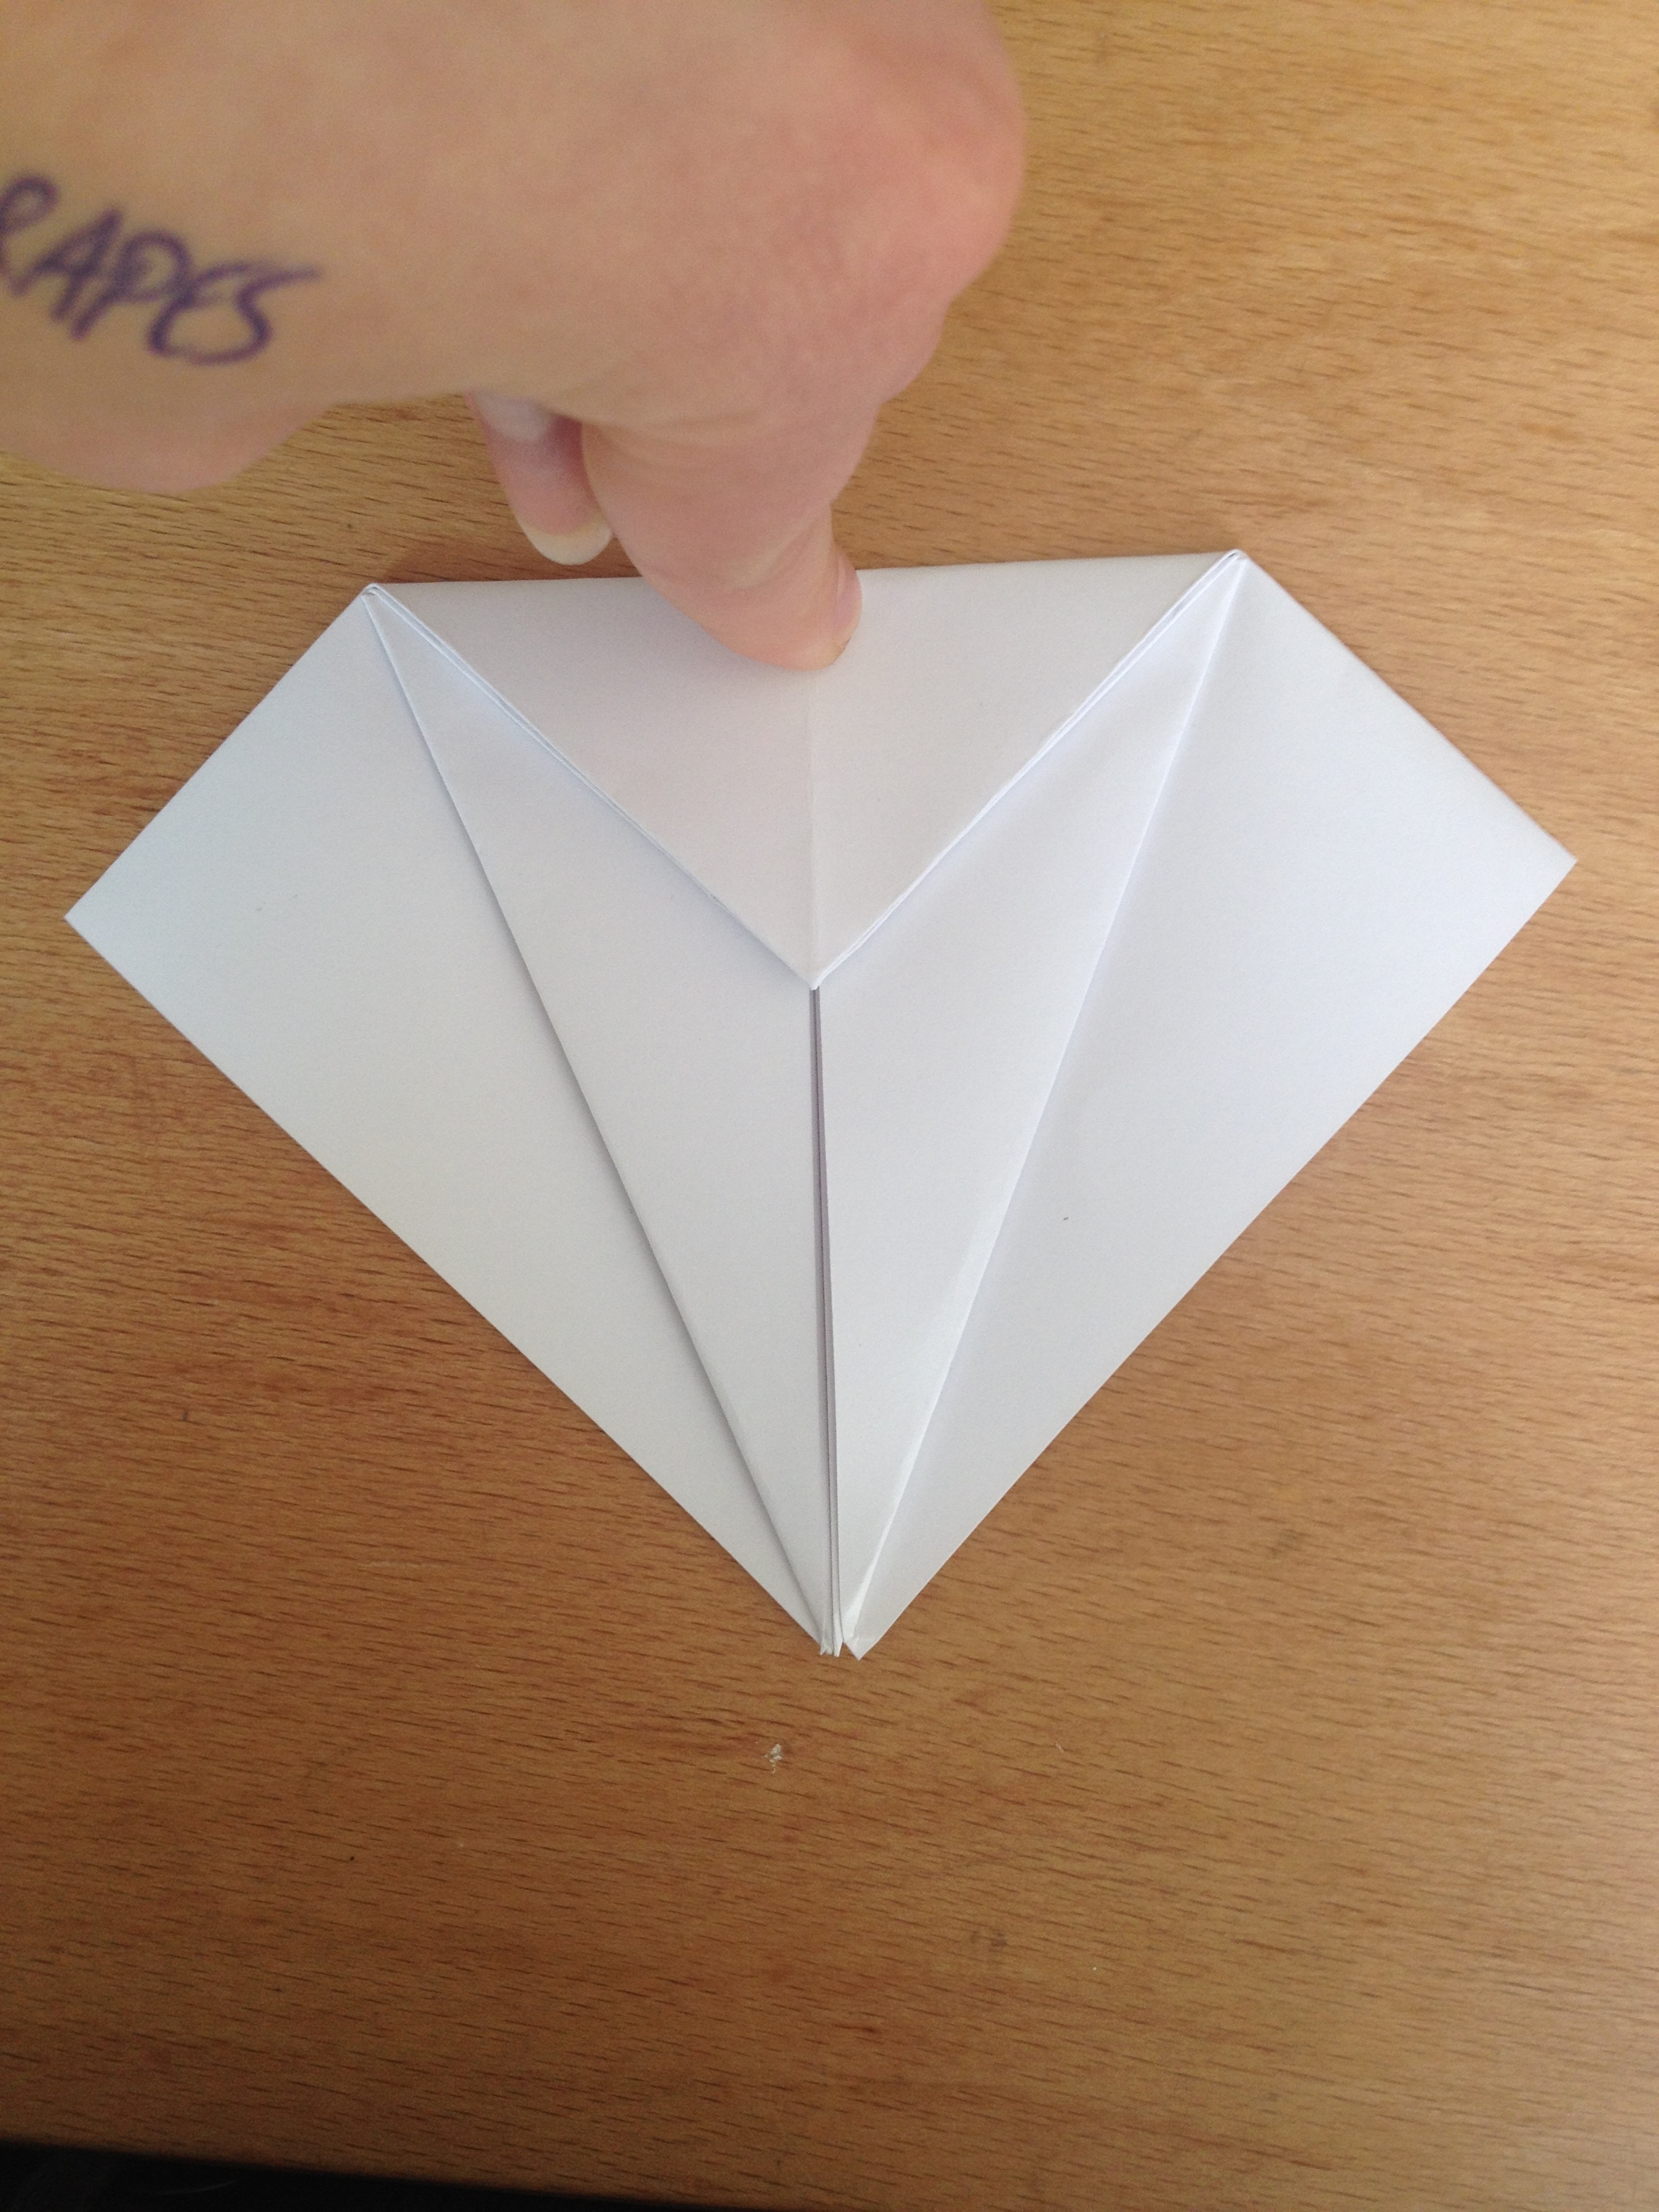
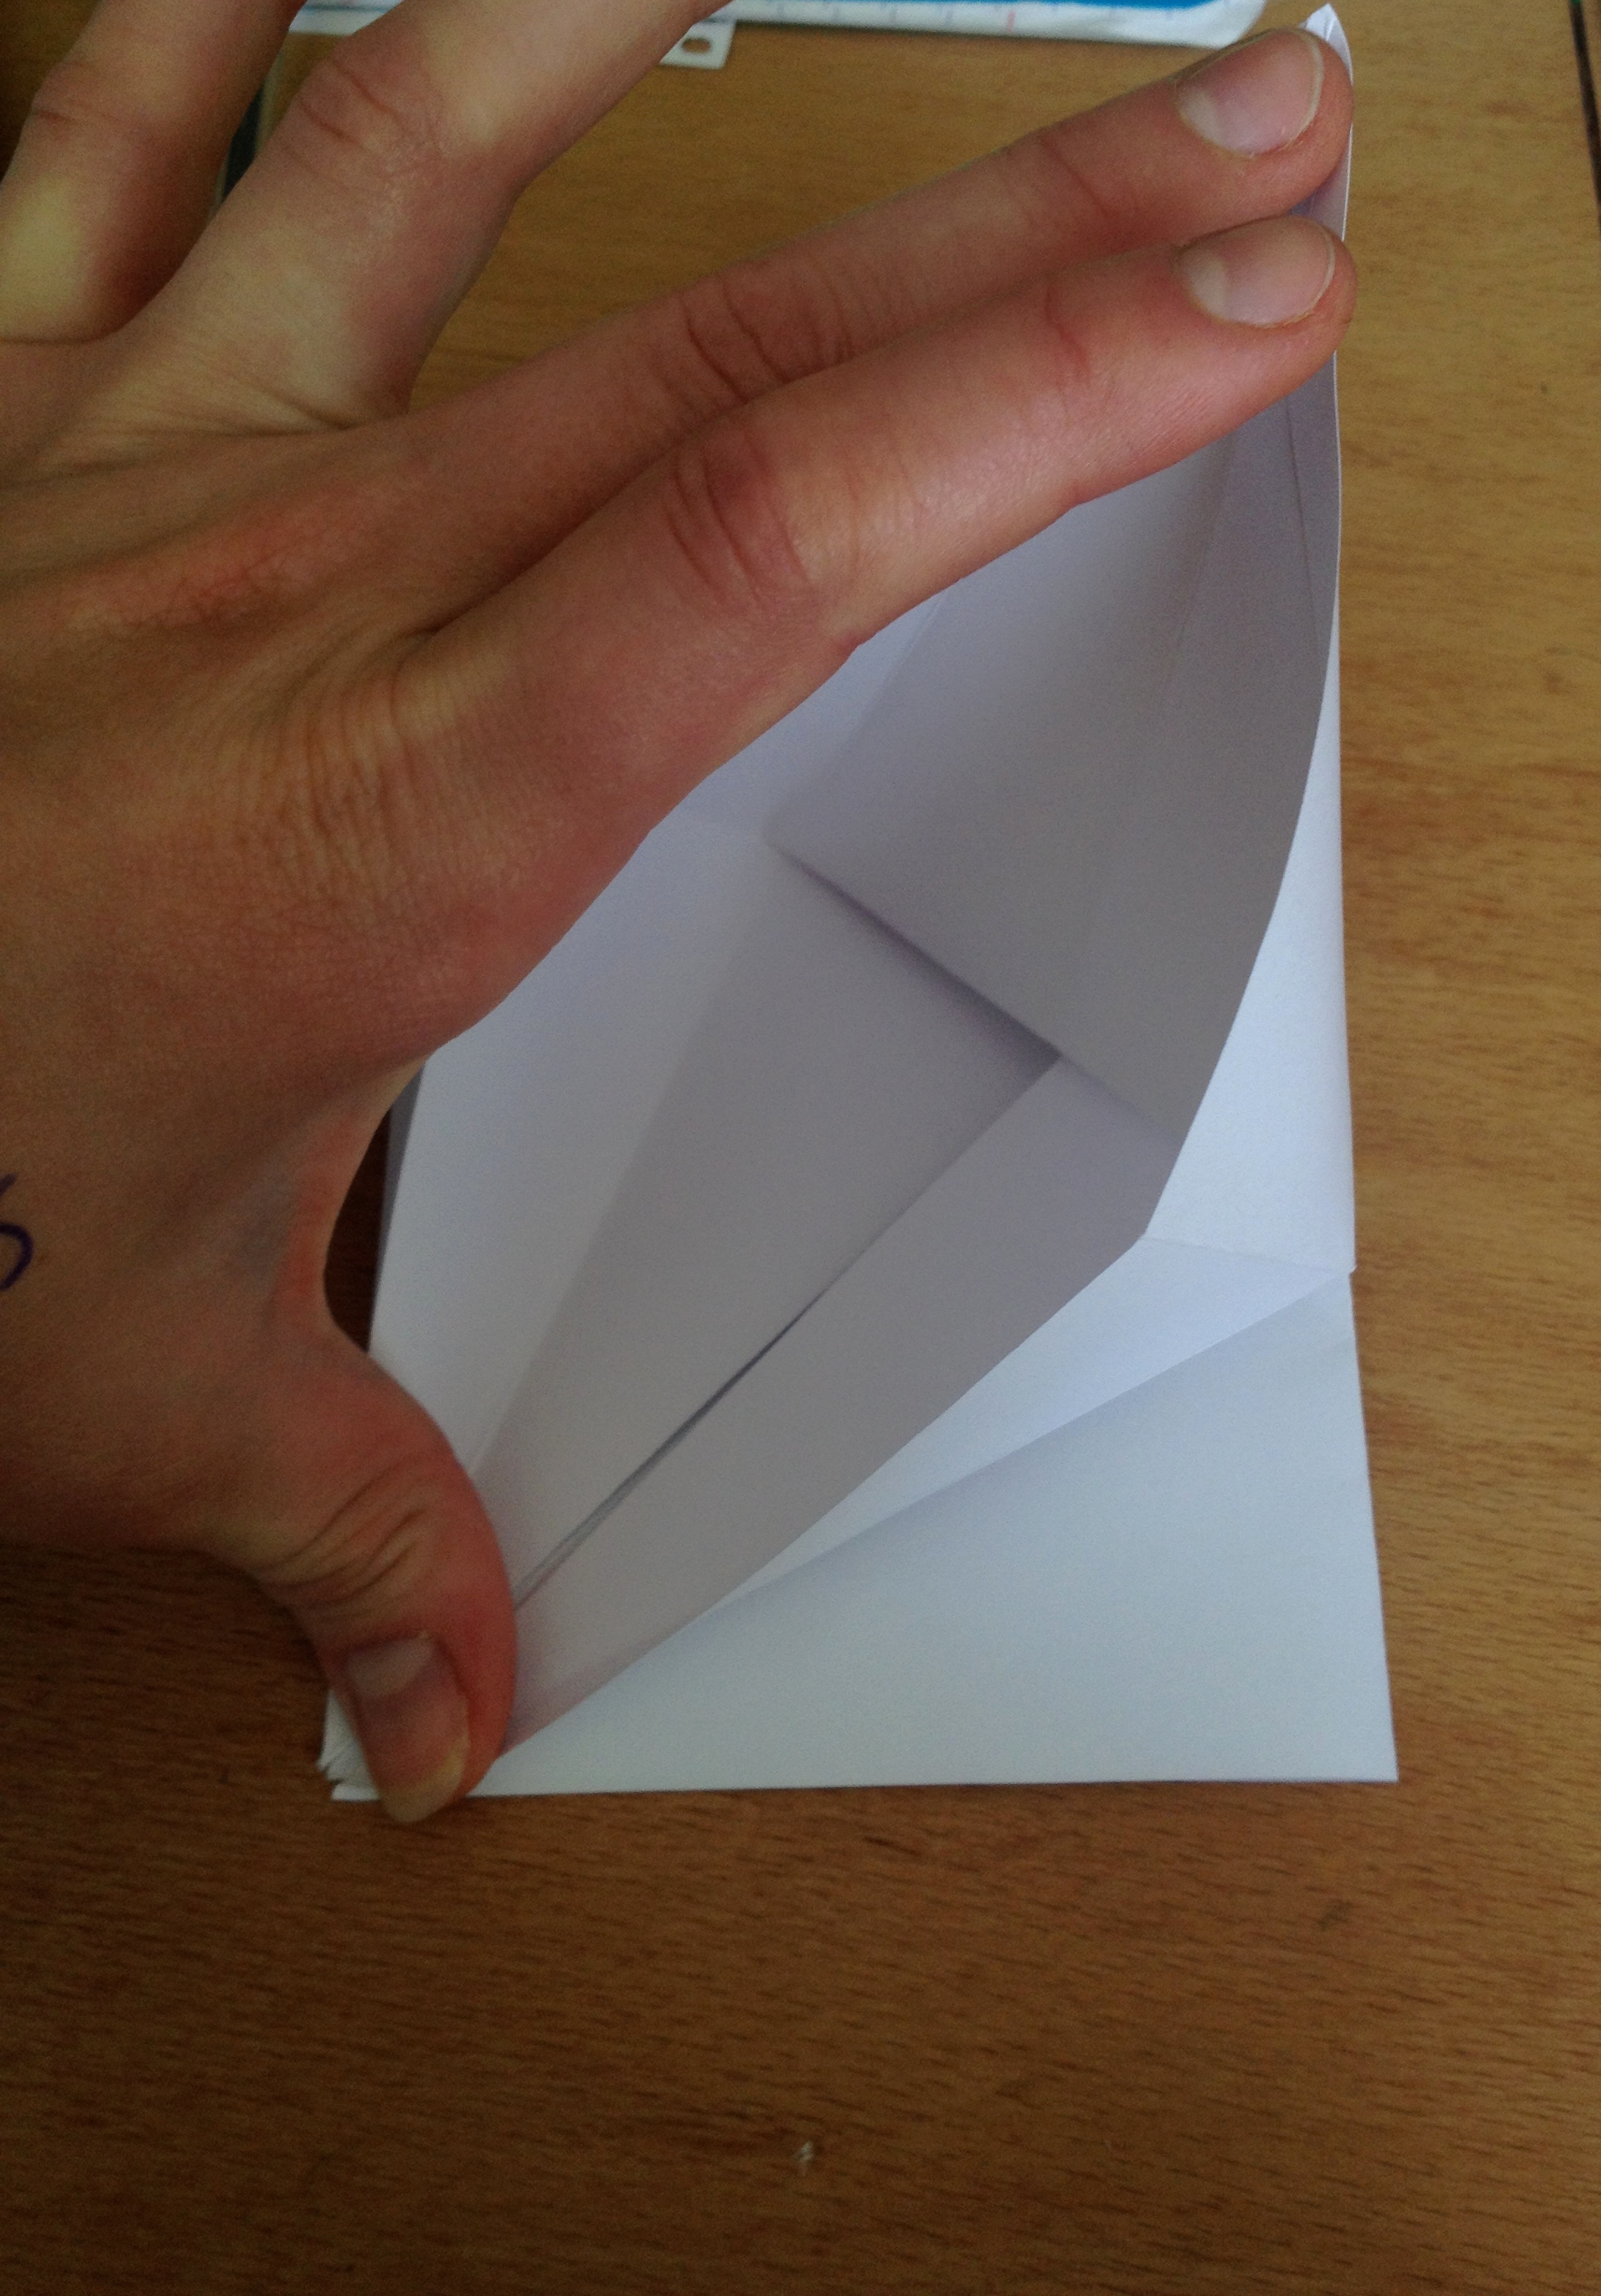
10. Now open up the side folds. You can clearly see the creases.
11. Take the top layer at the bottom point and lift it up.

Open it all the way.
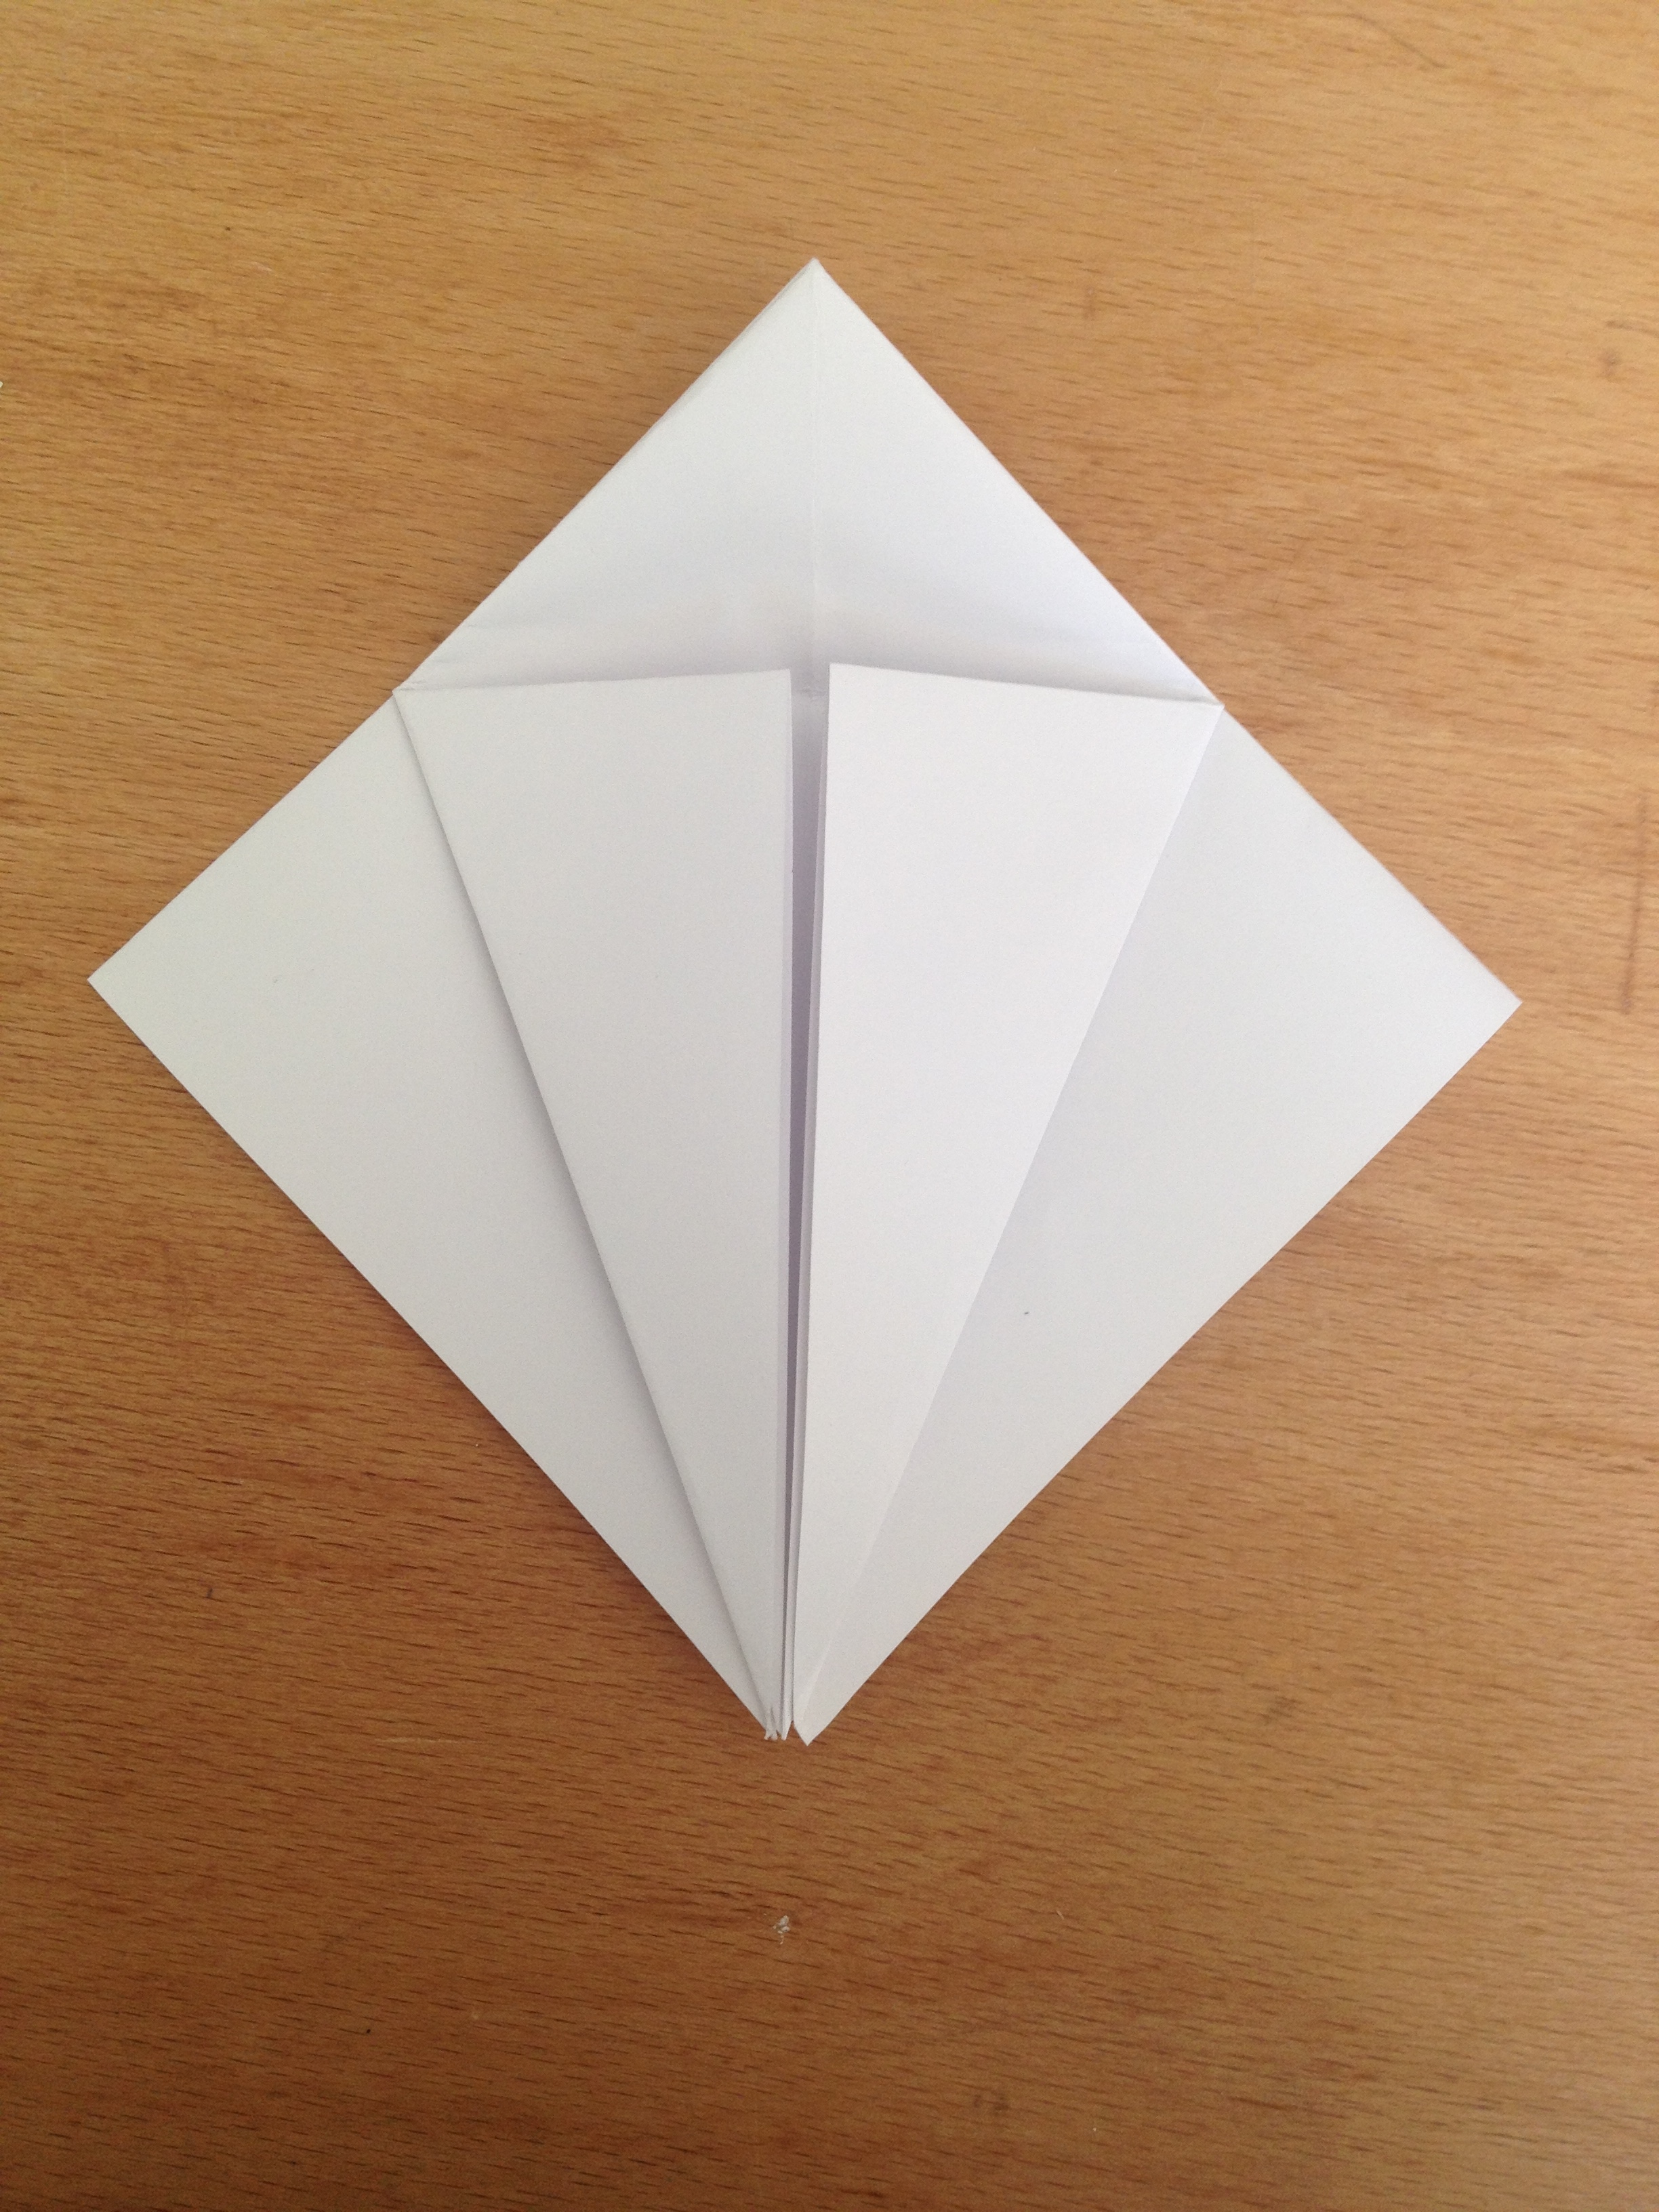
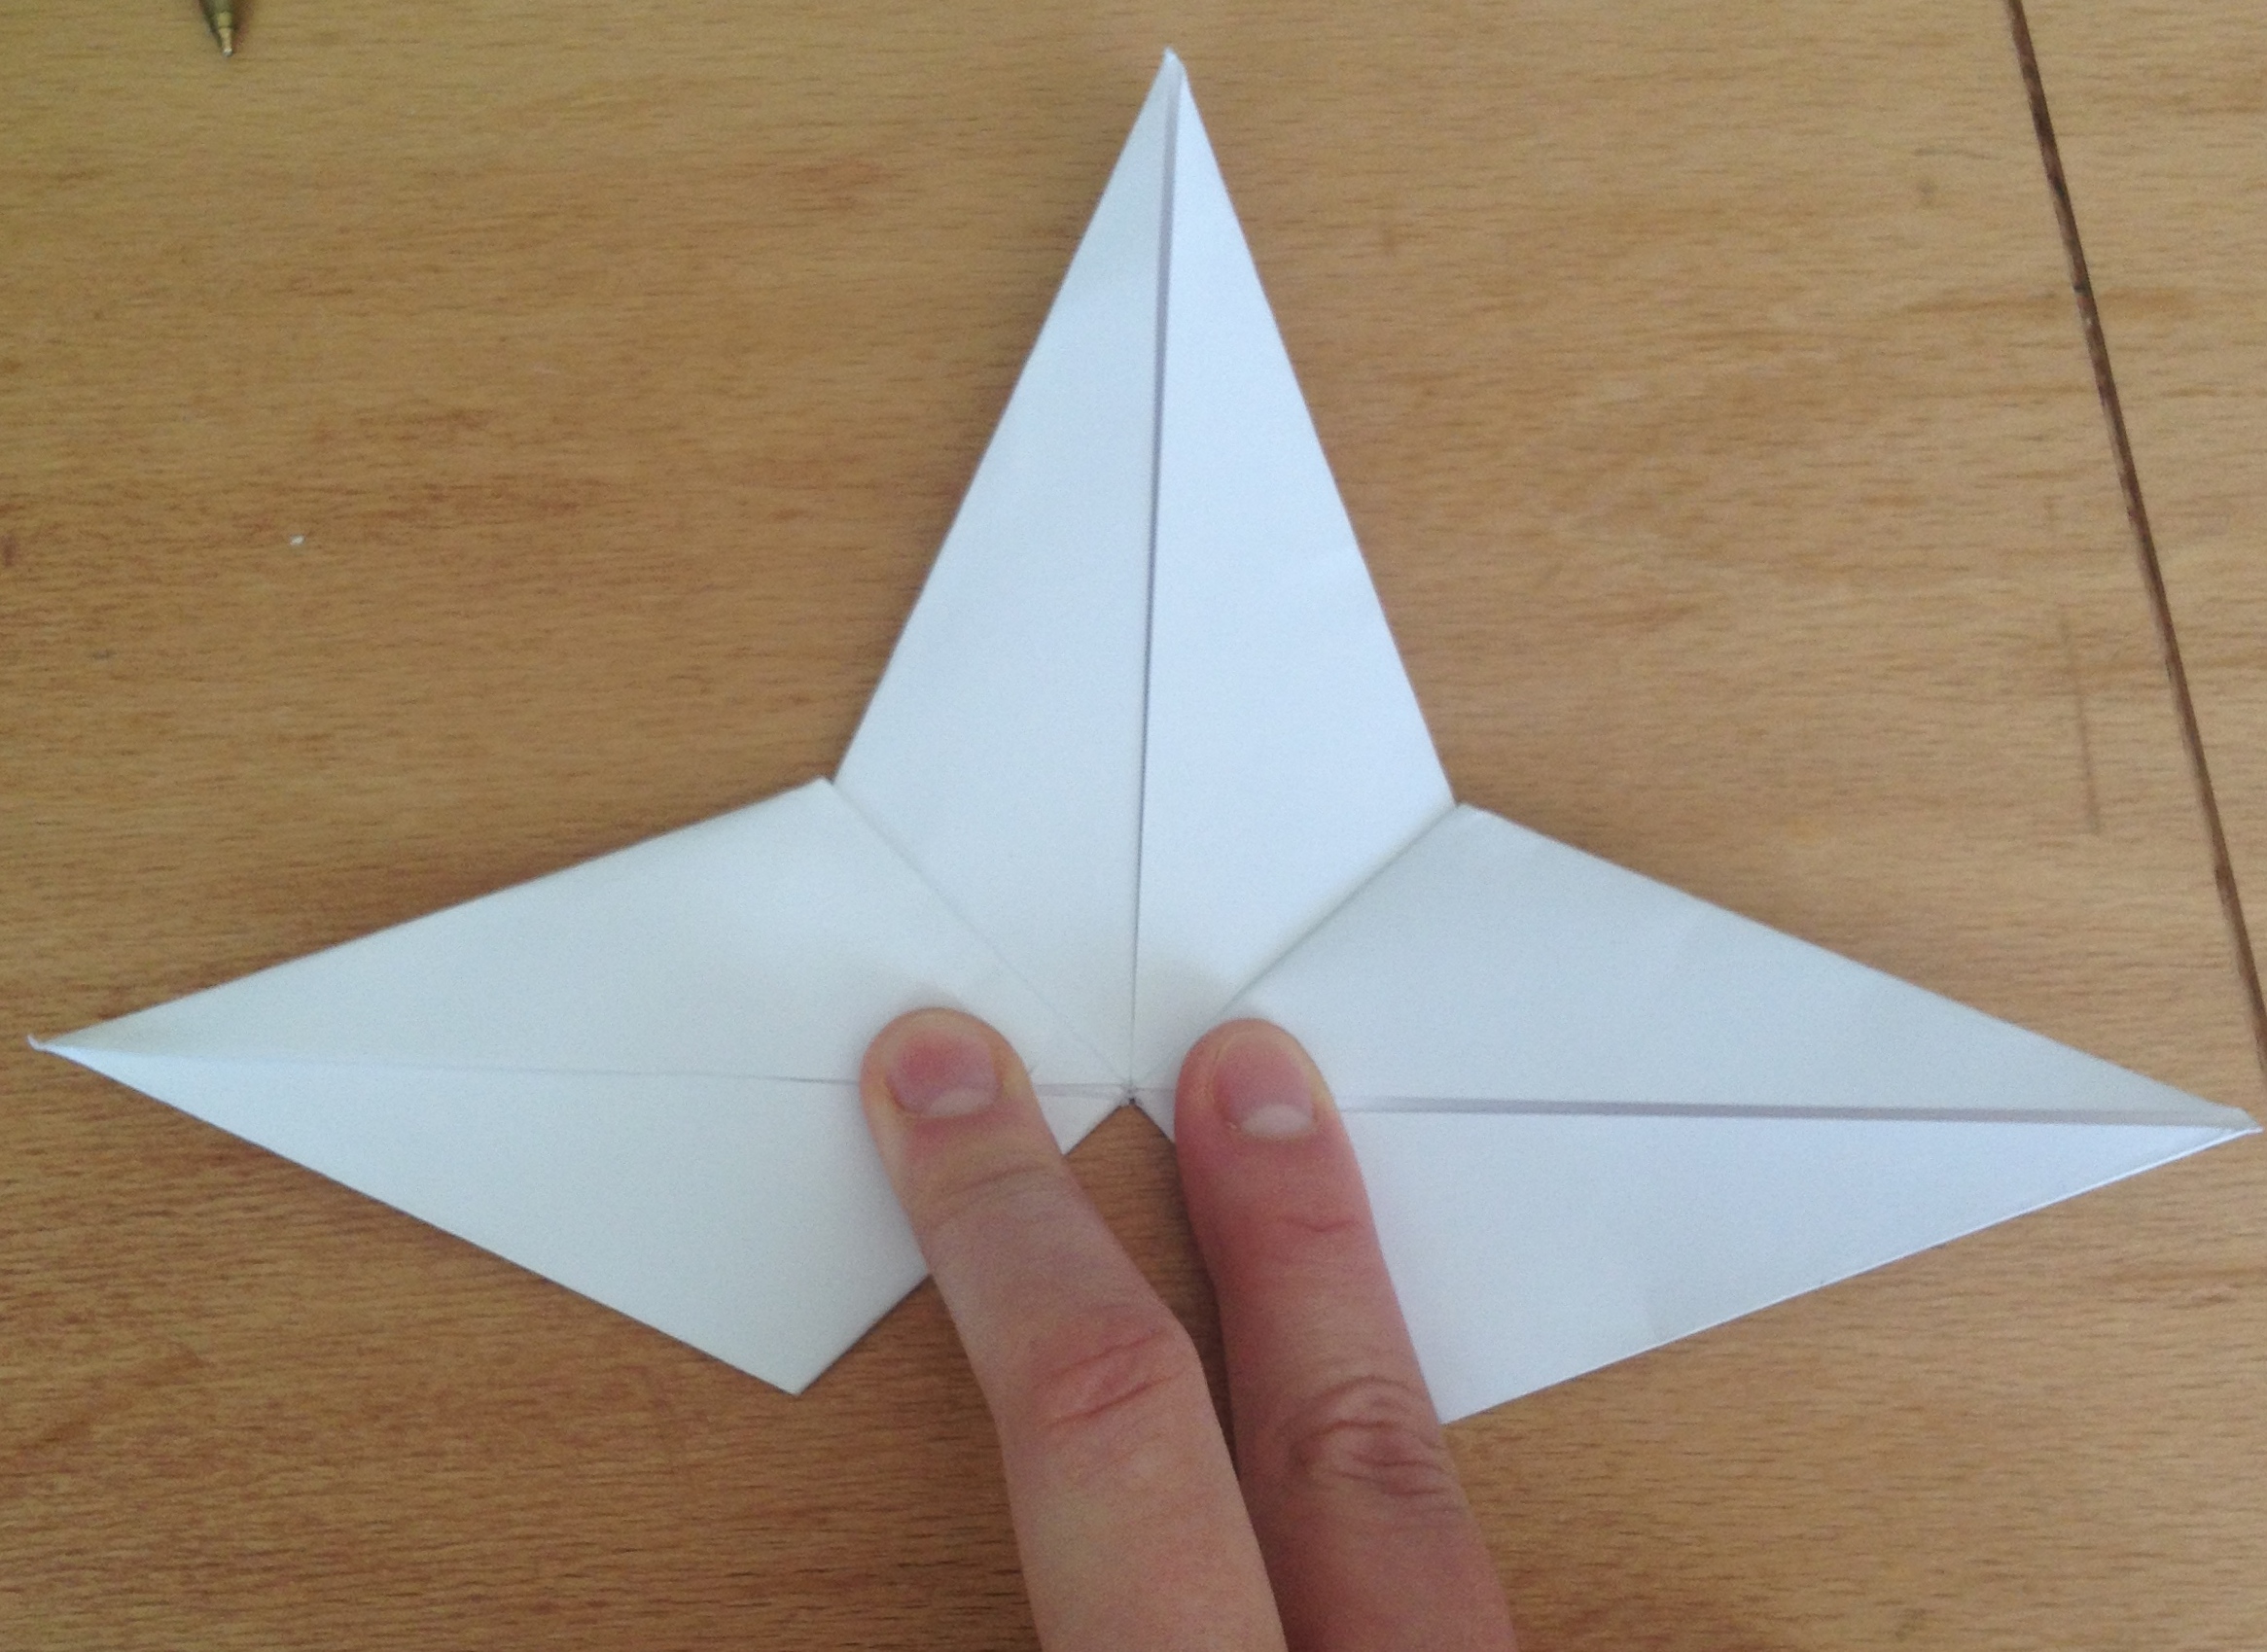
12. Then fold in the left side on top of the creases you made.
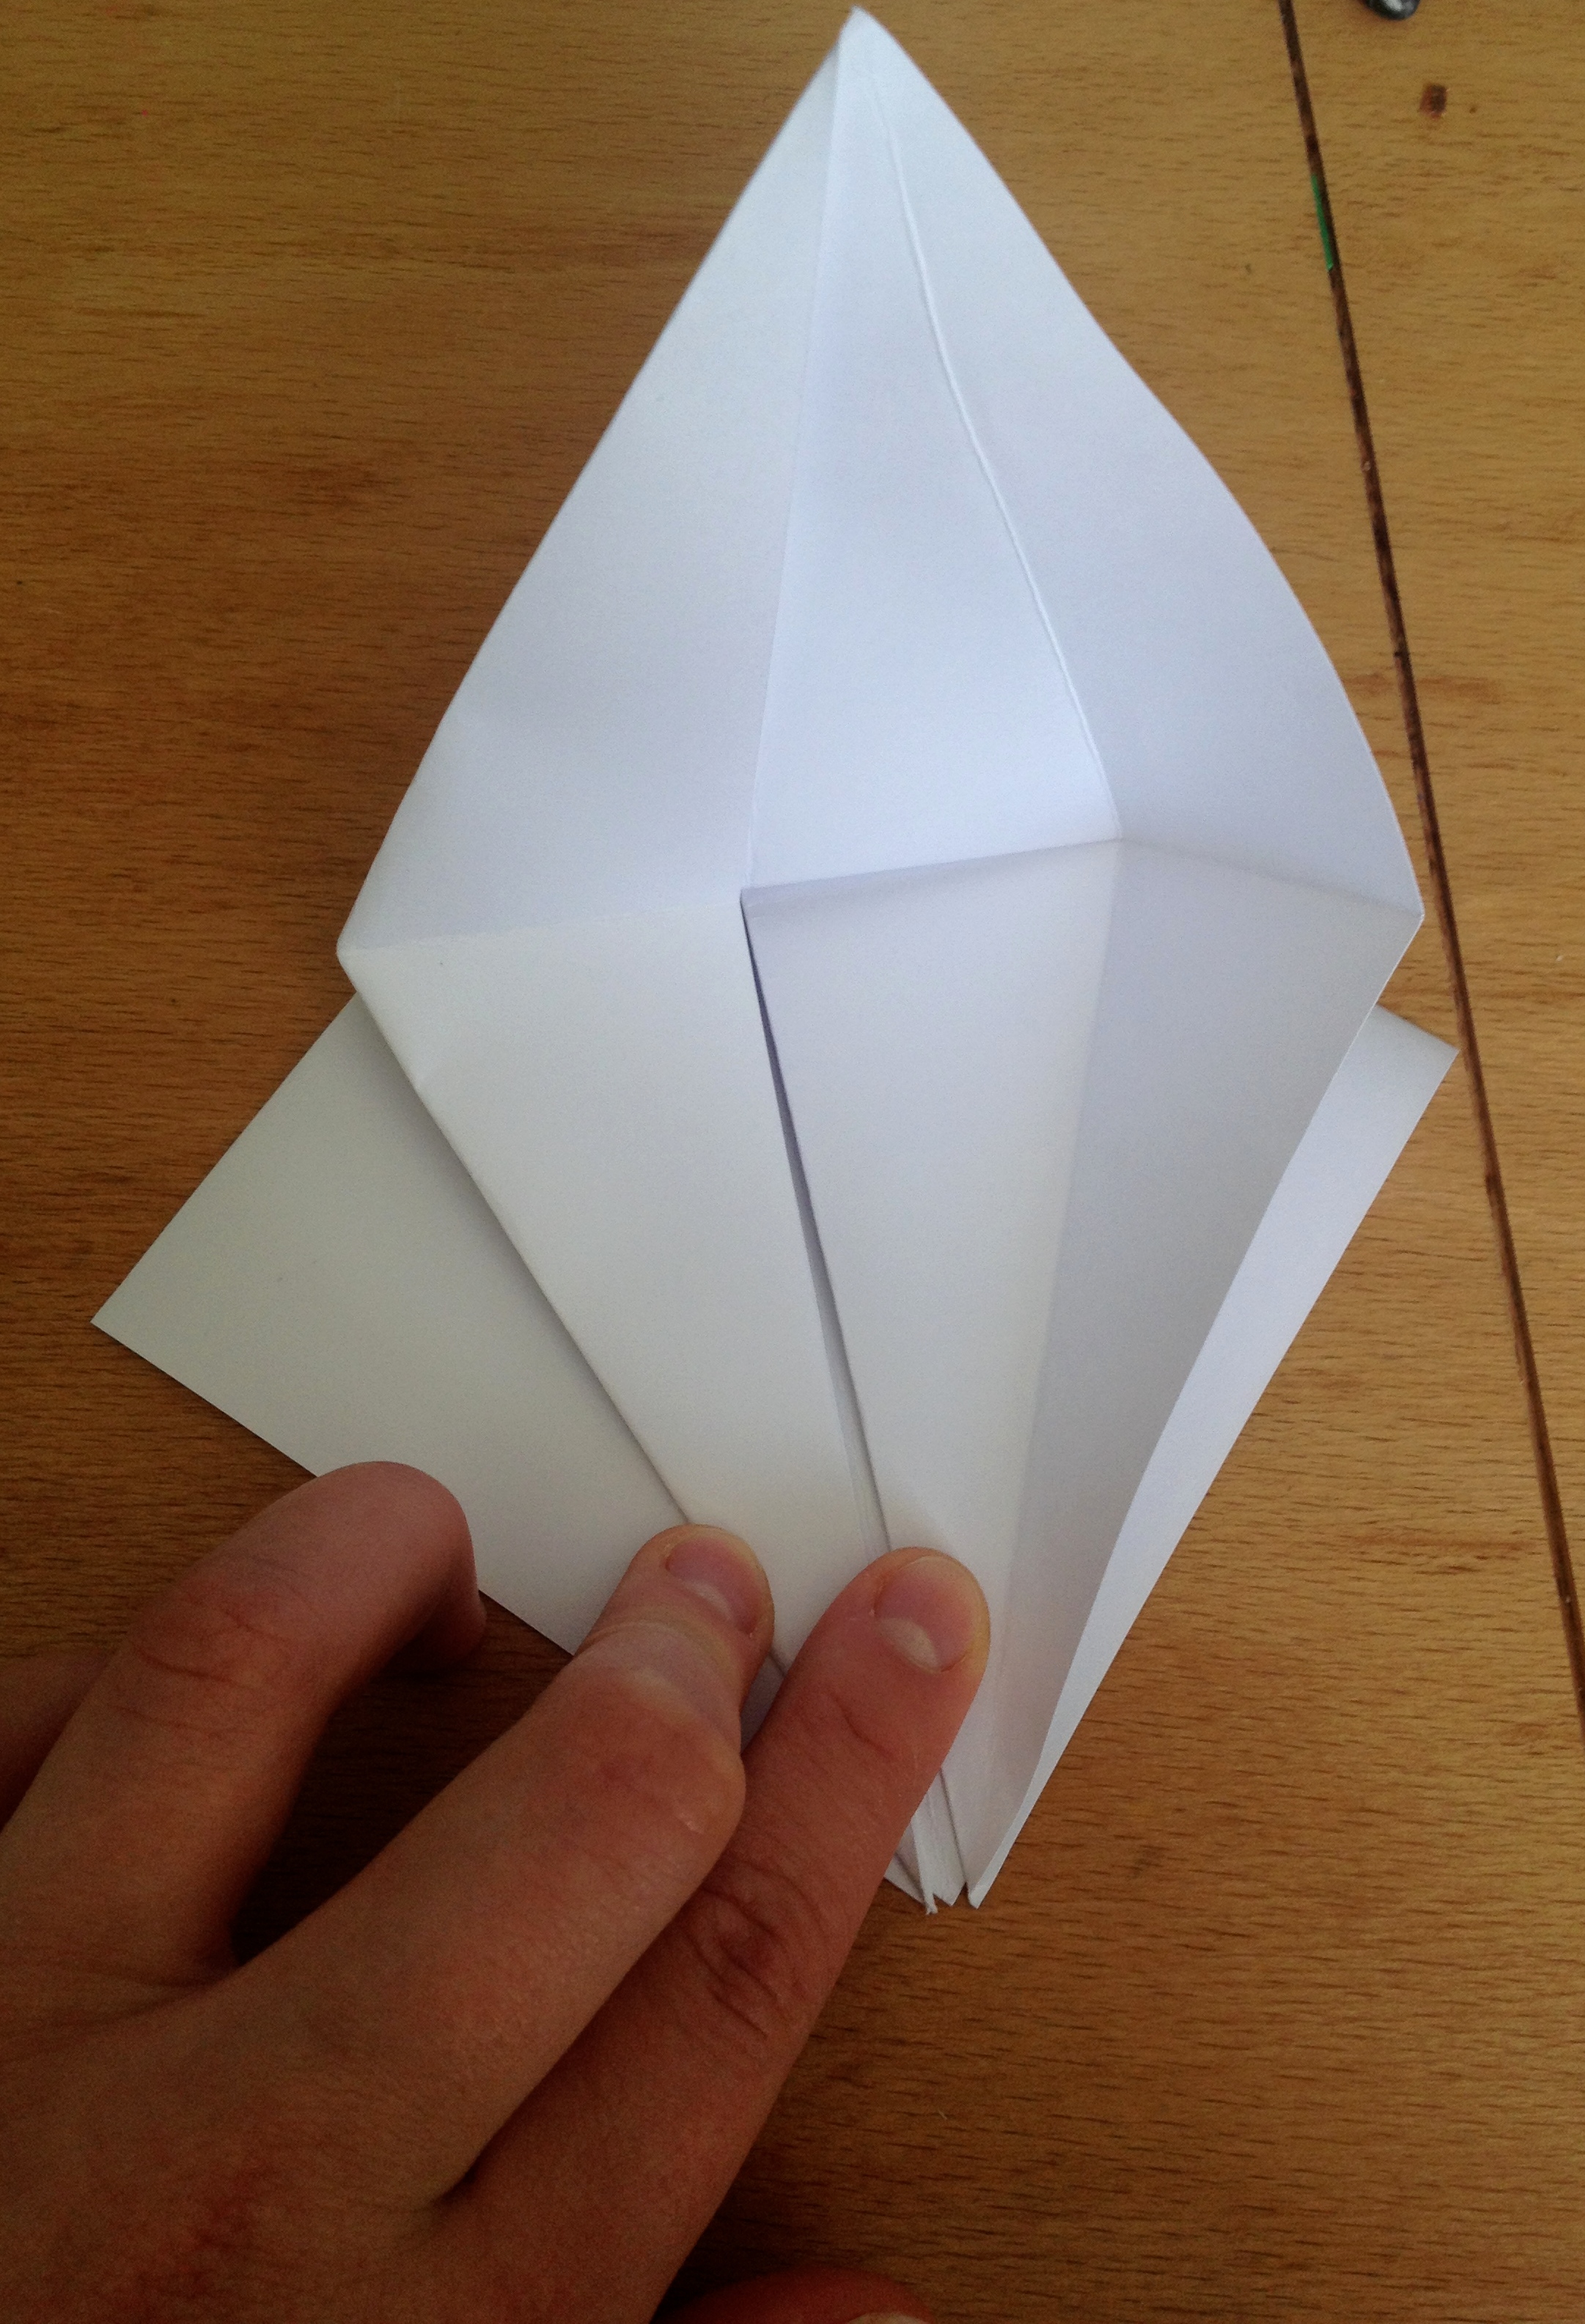
13. Now the right side.

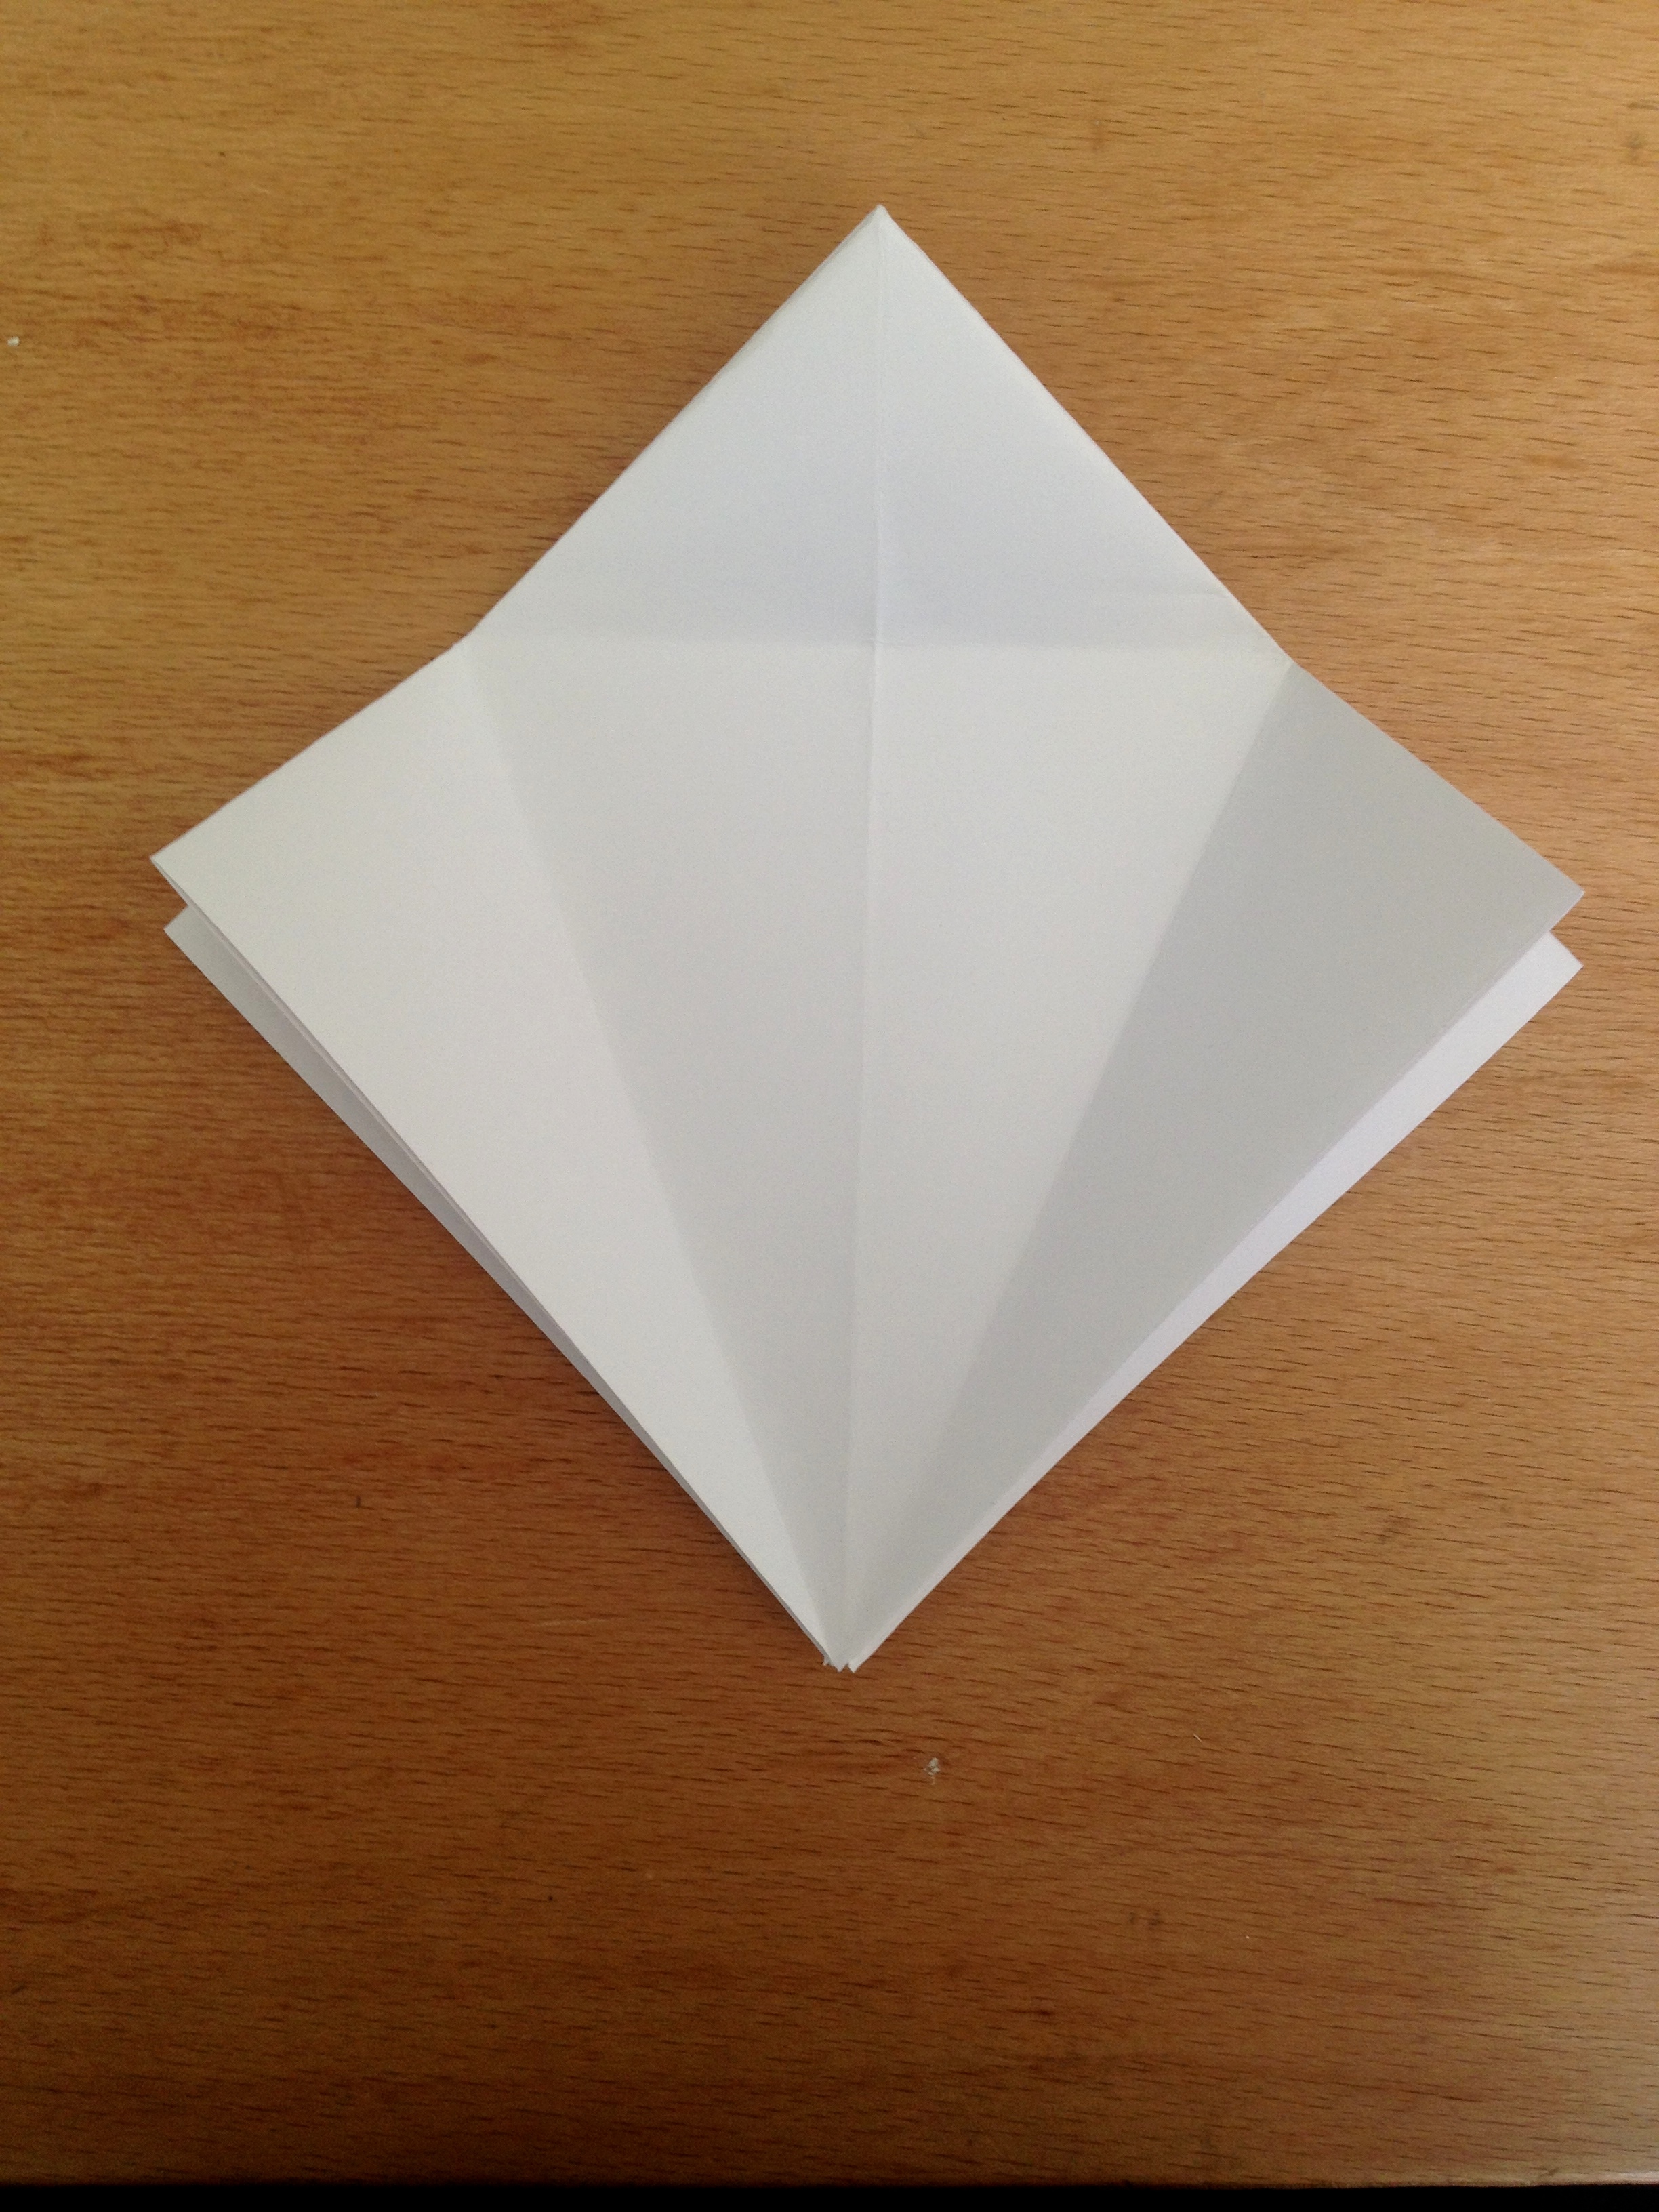
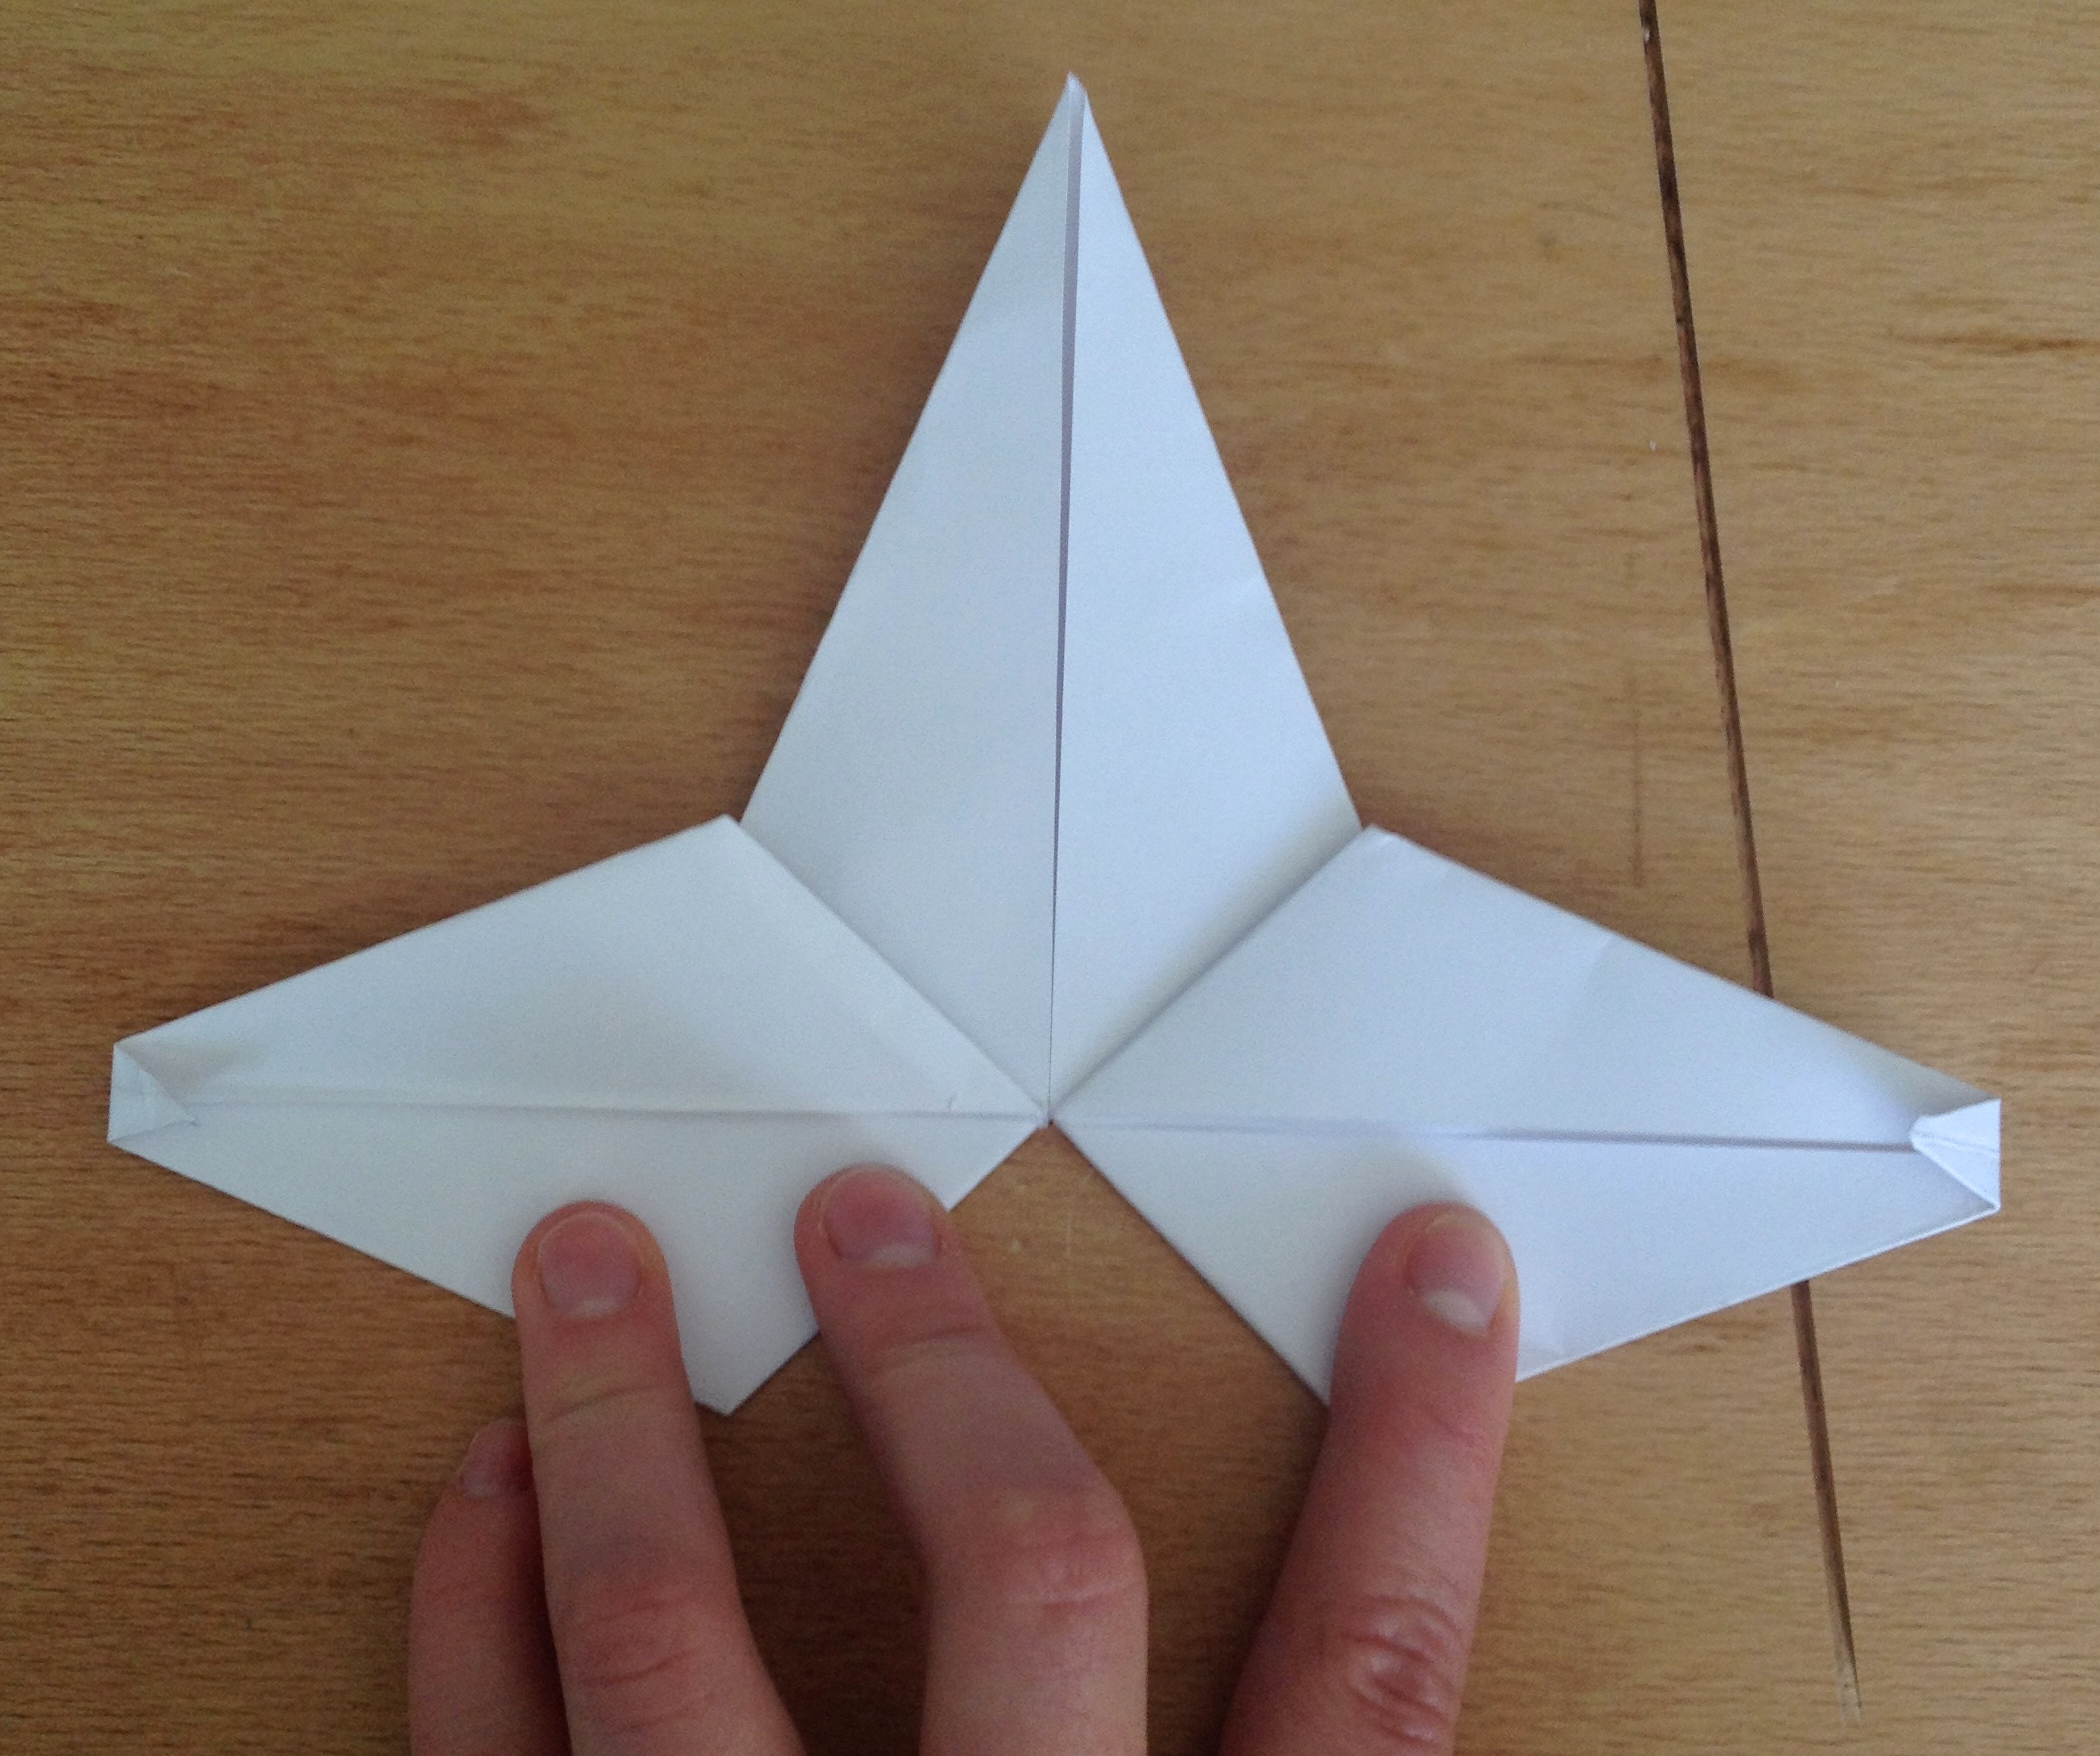
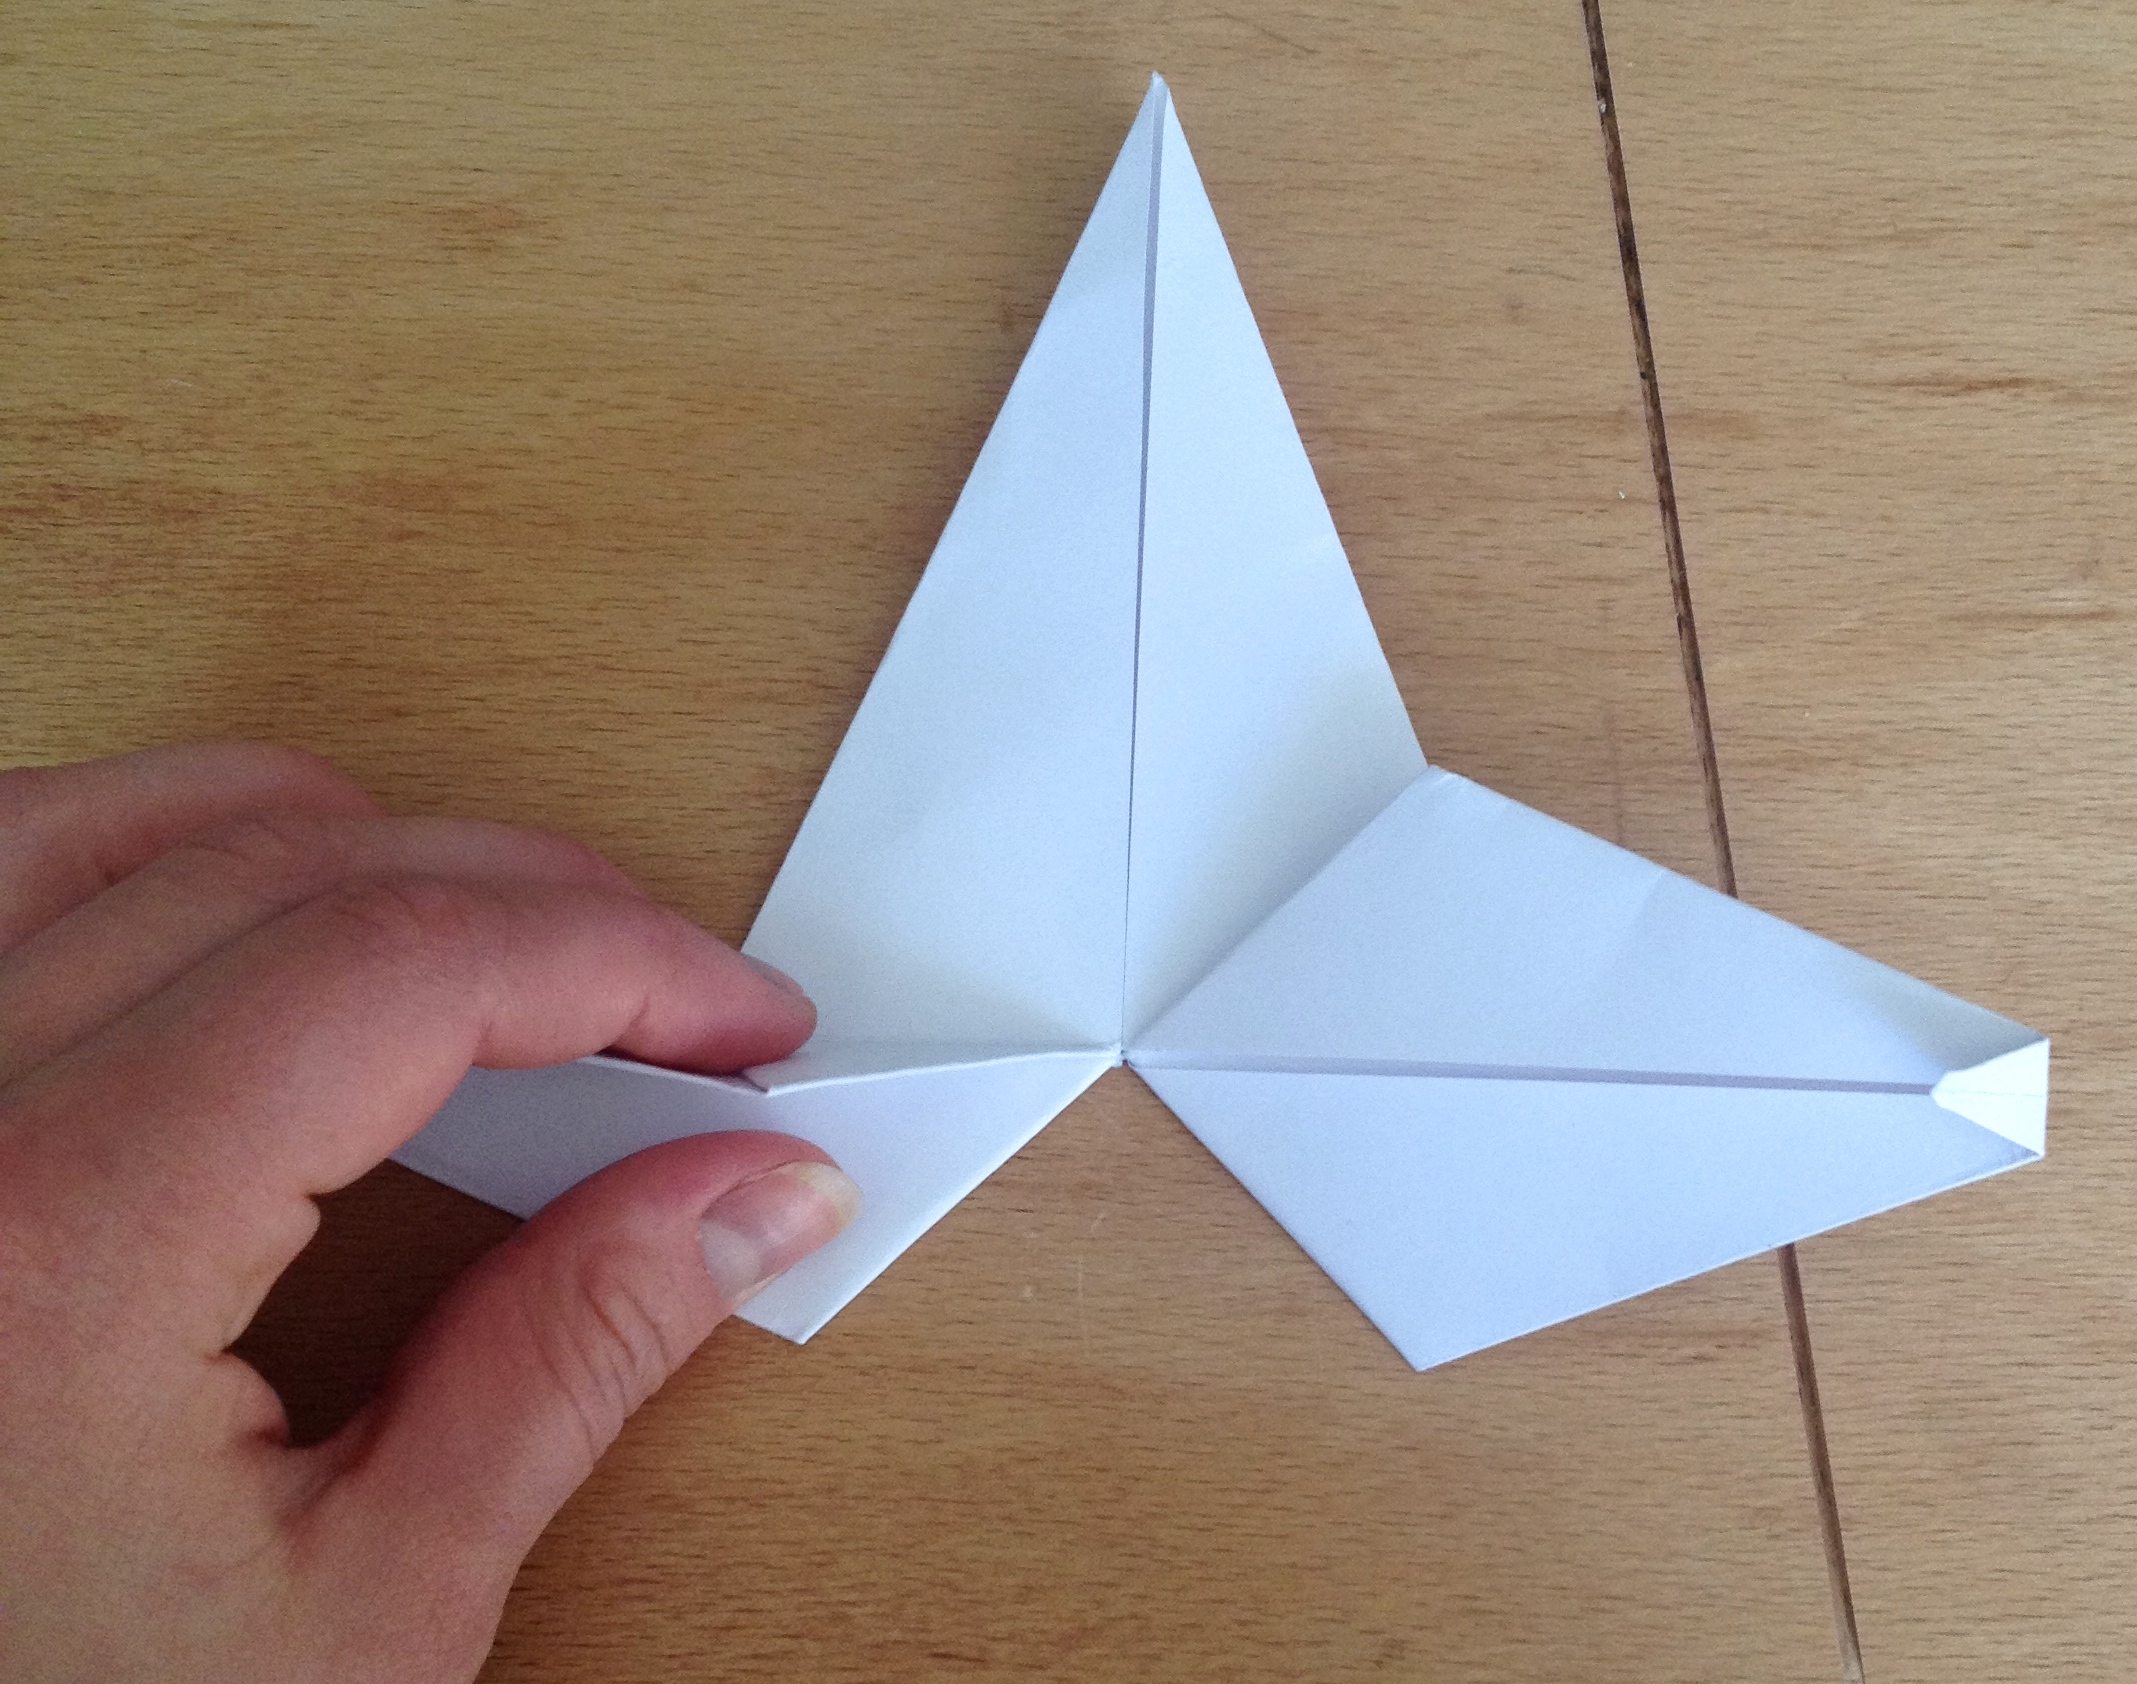
14. Turn it over.

15. And repeat. Fold the left corner in to the central crease.
16. Fold the right side into the center.
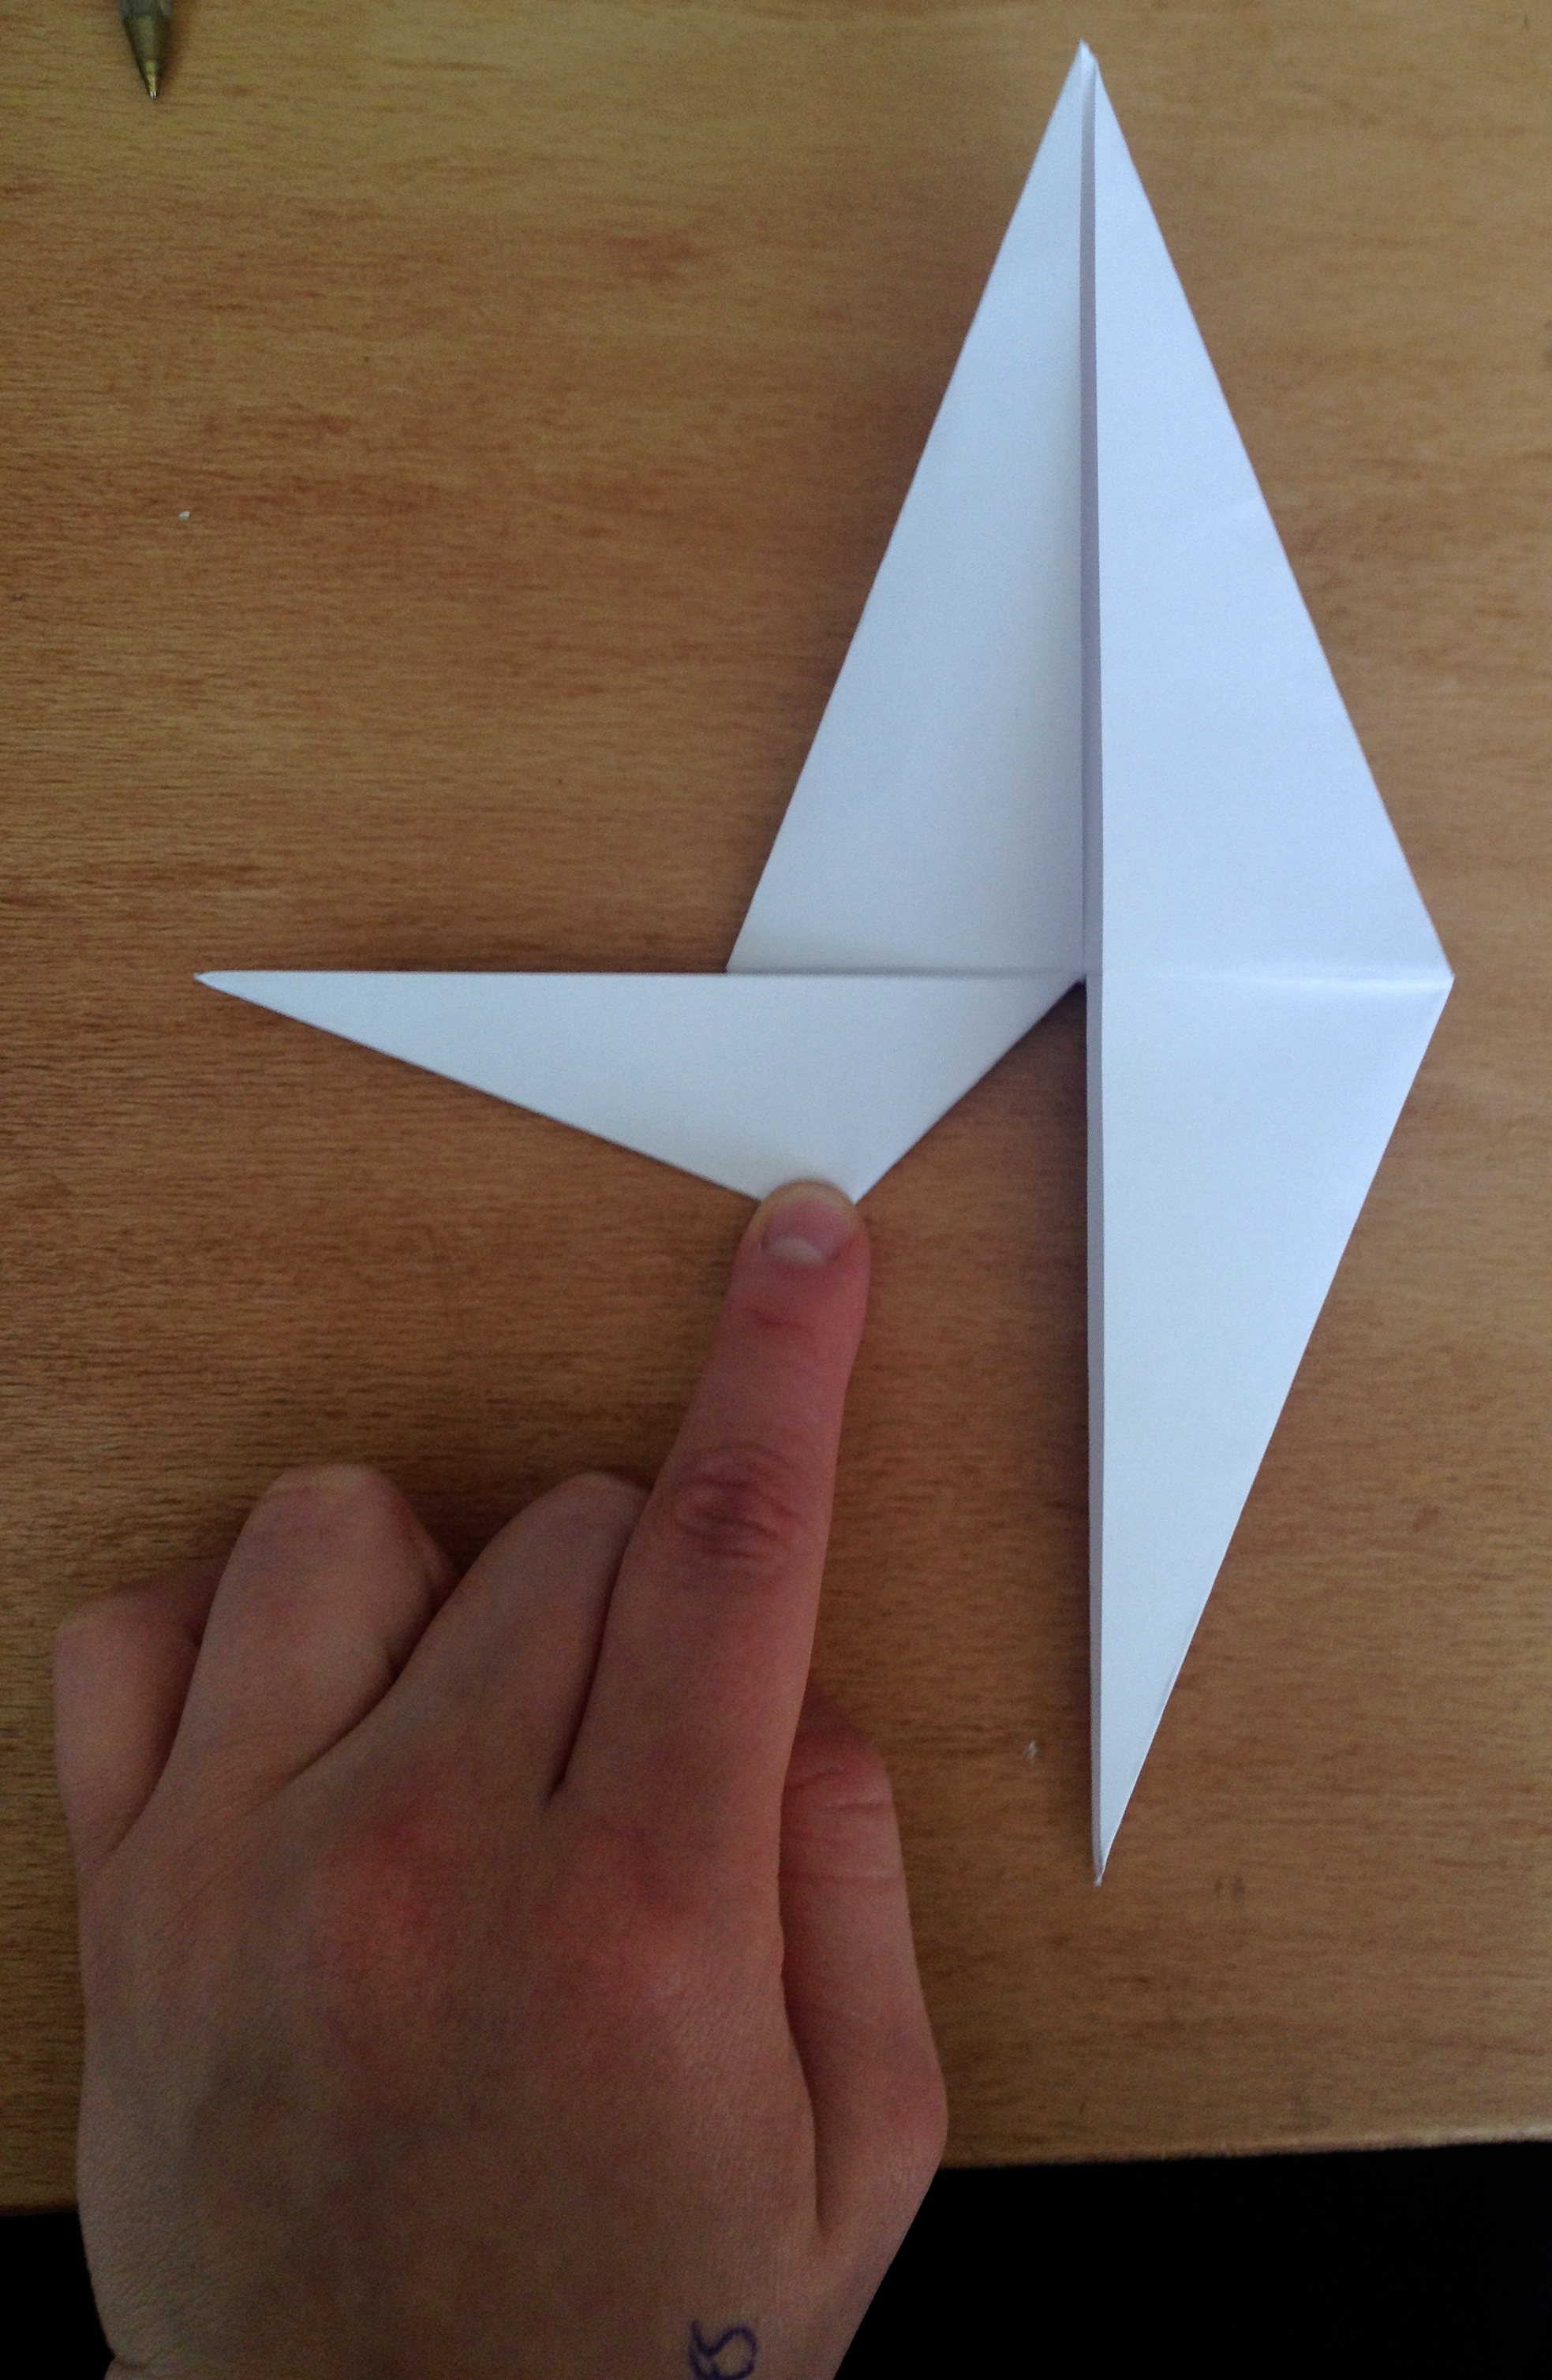
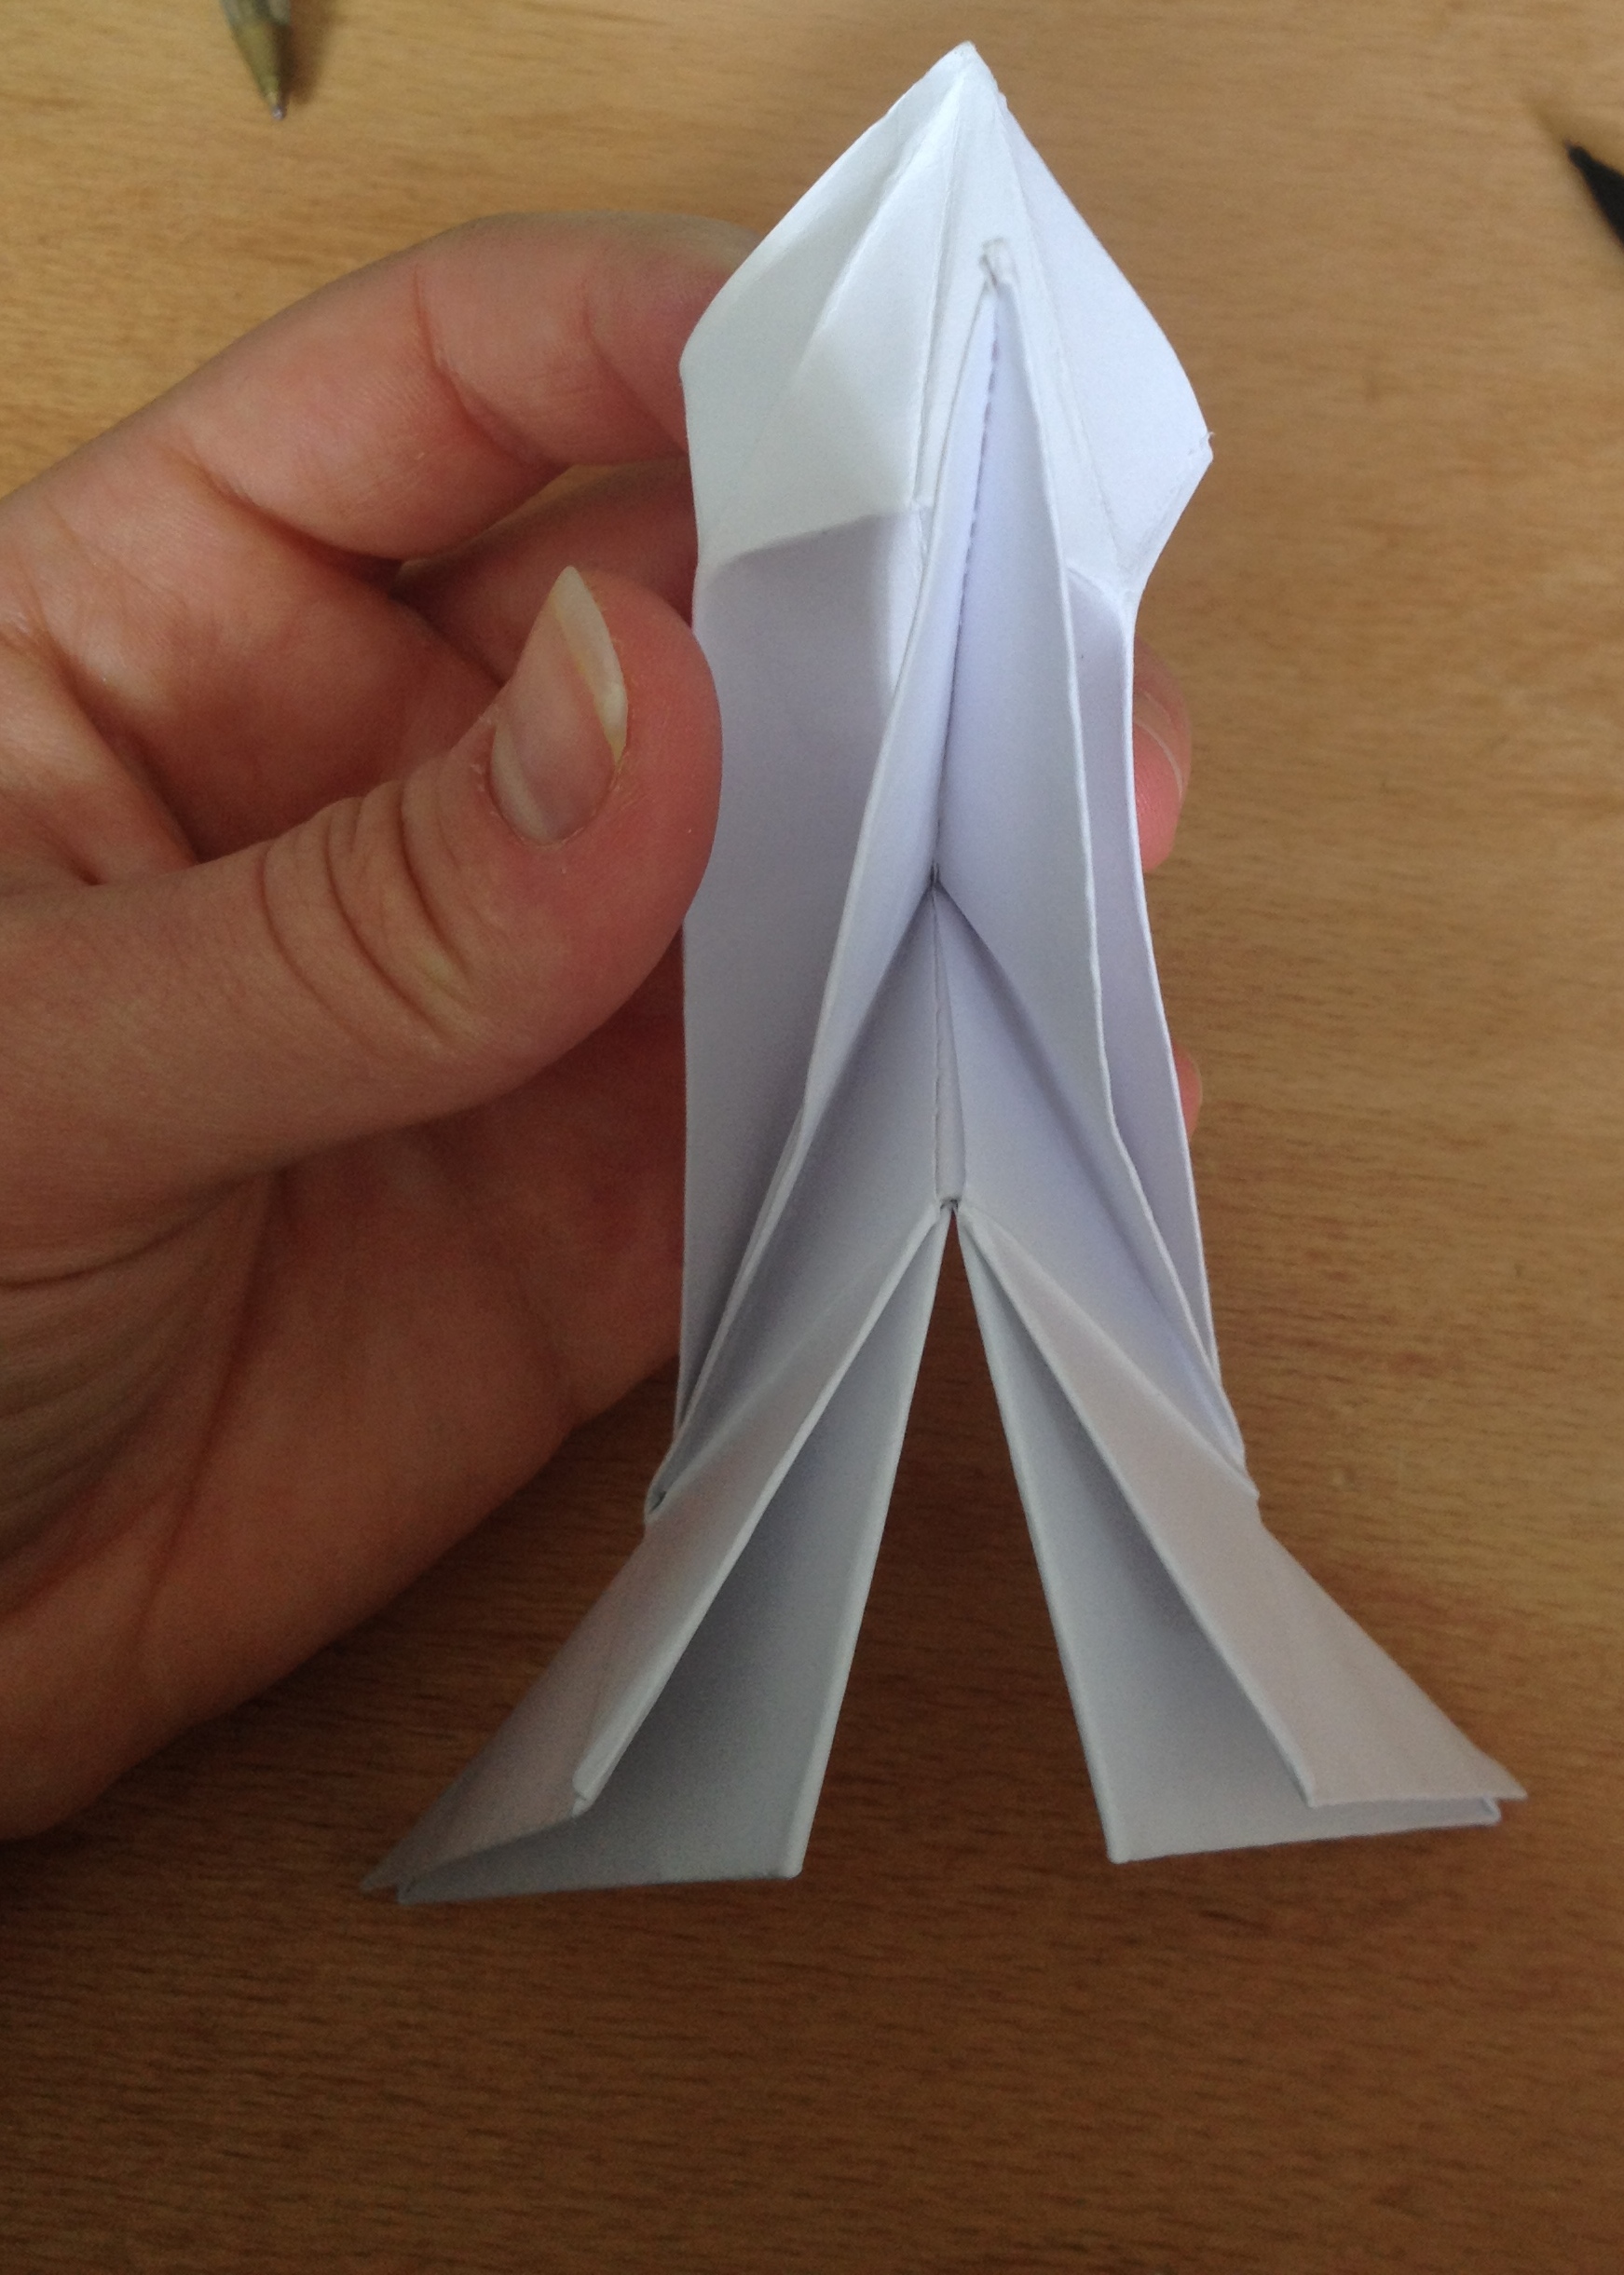
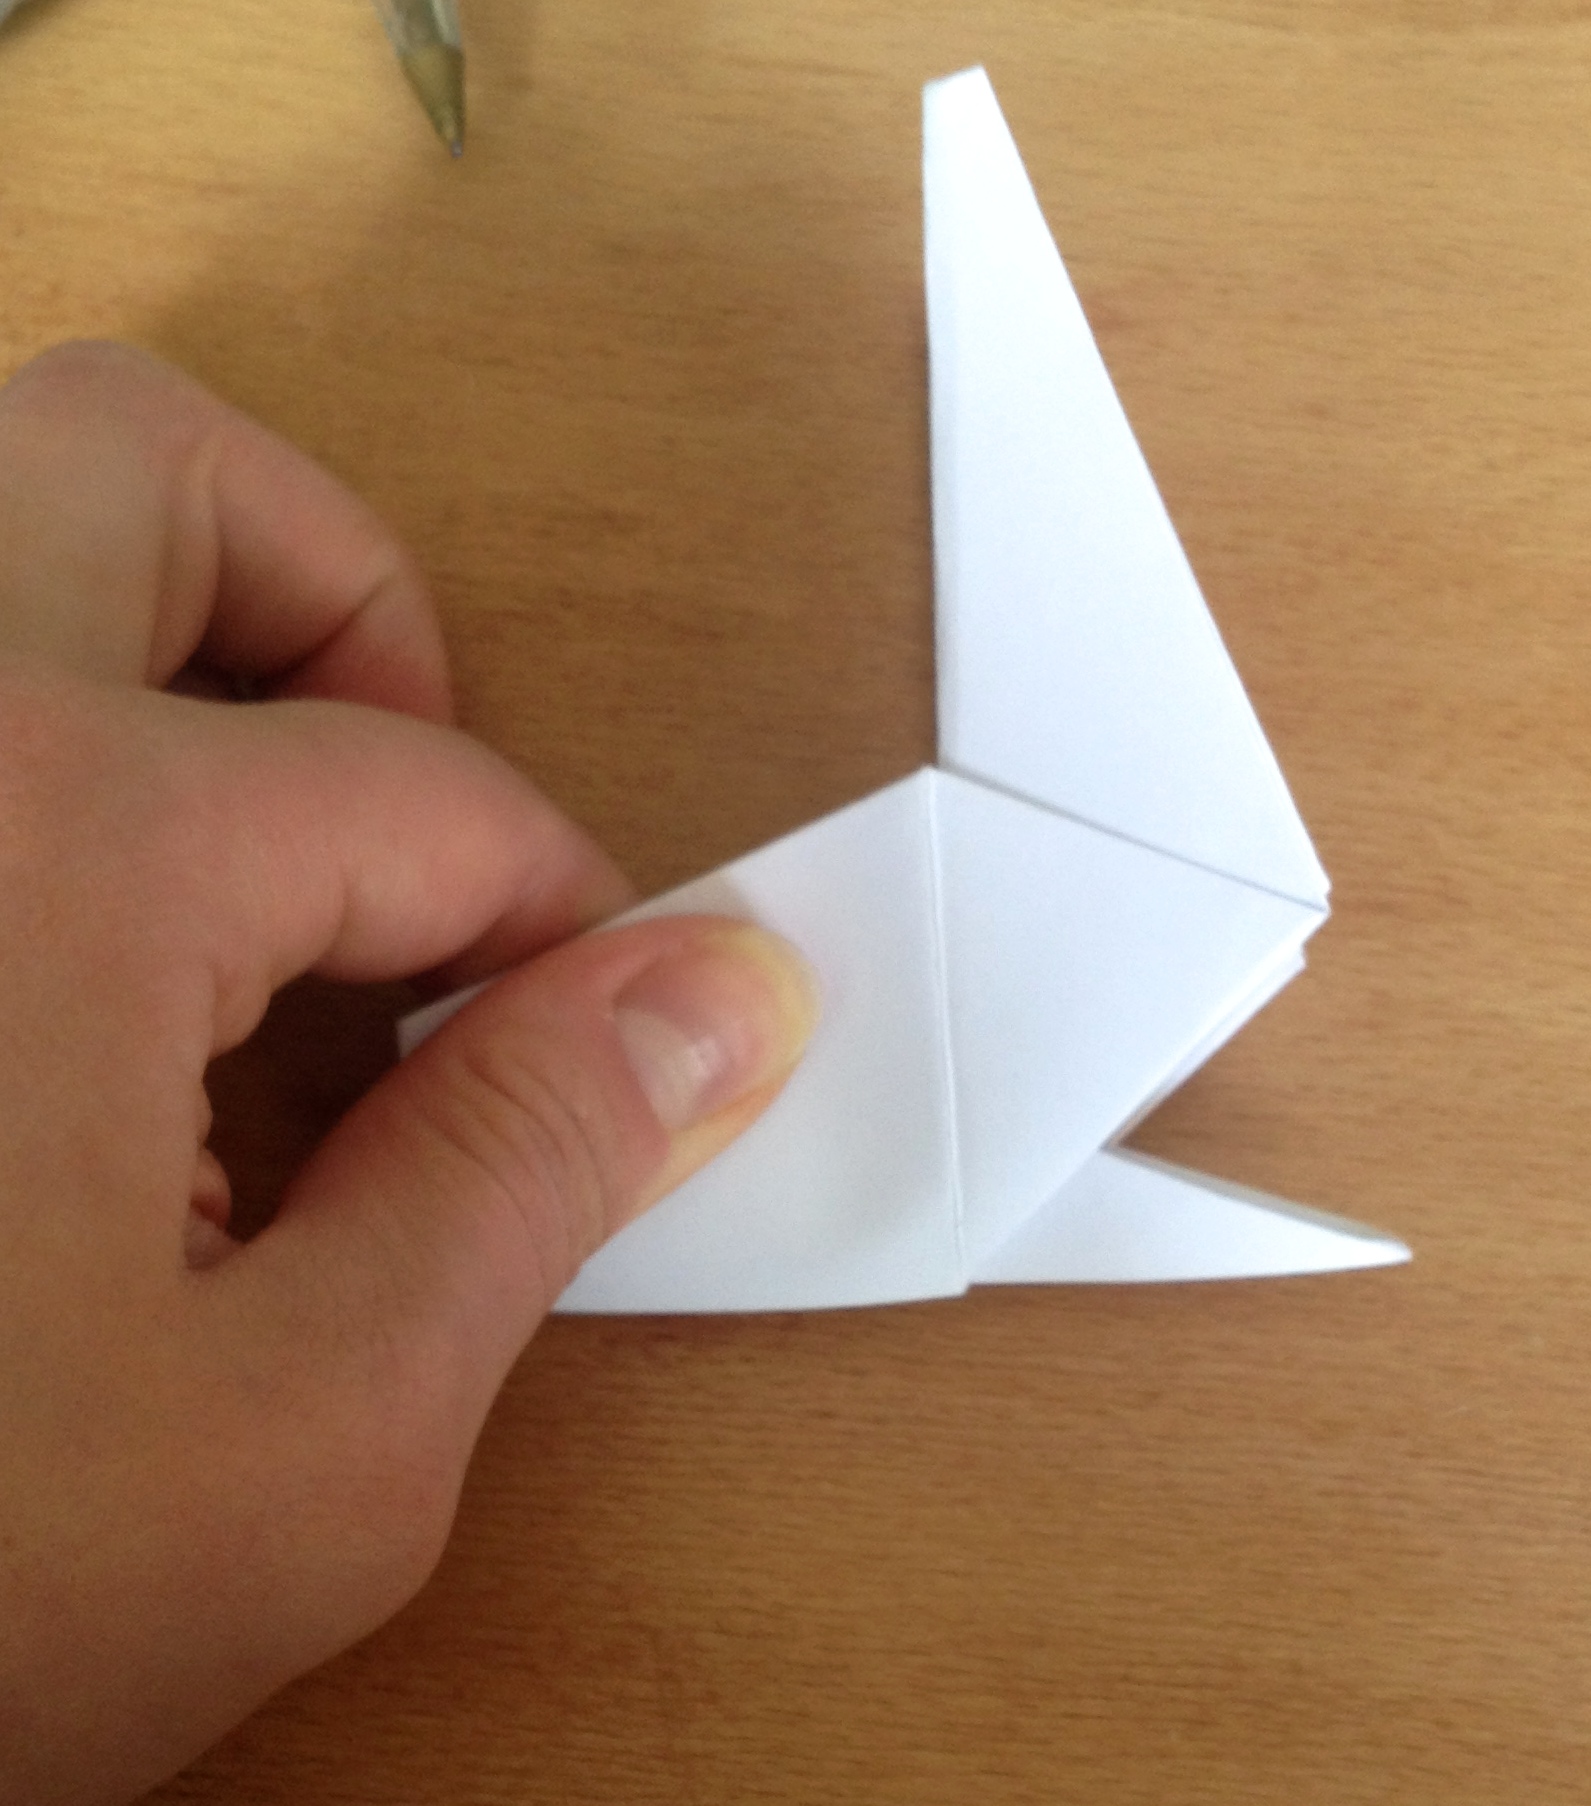
17. Then fold the top point down to re-crease it now in the other direction.

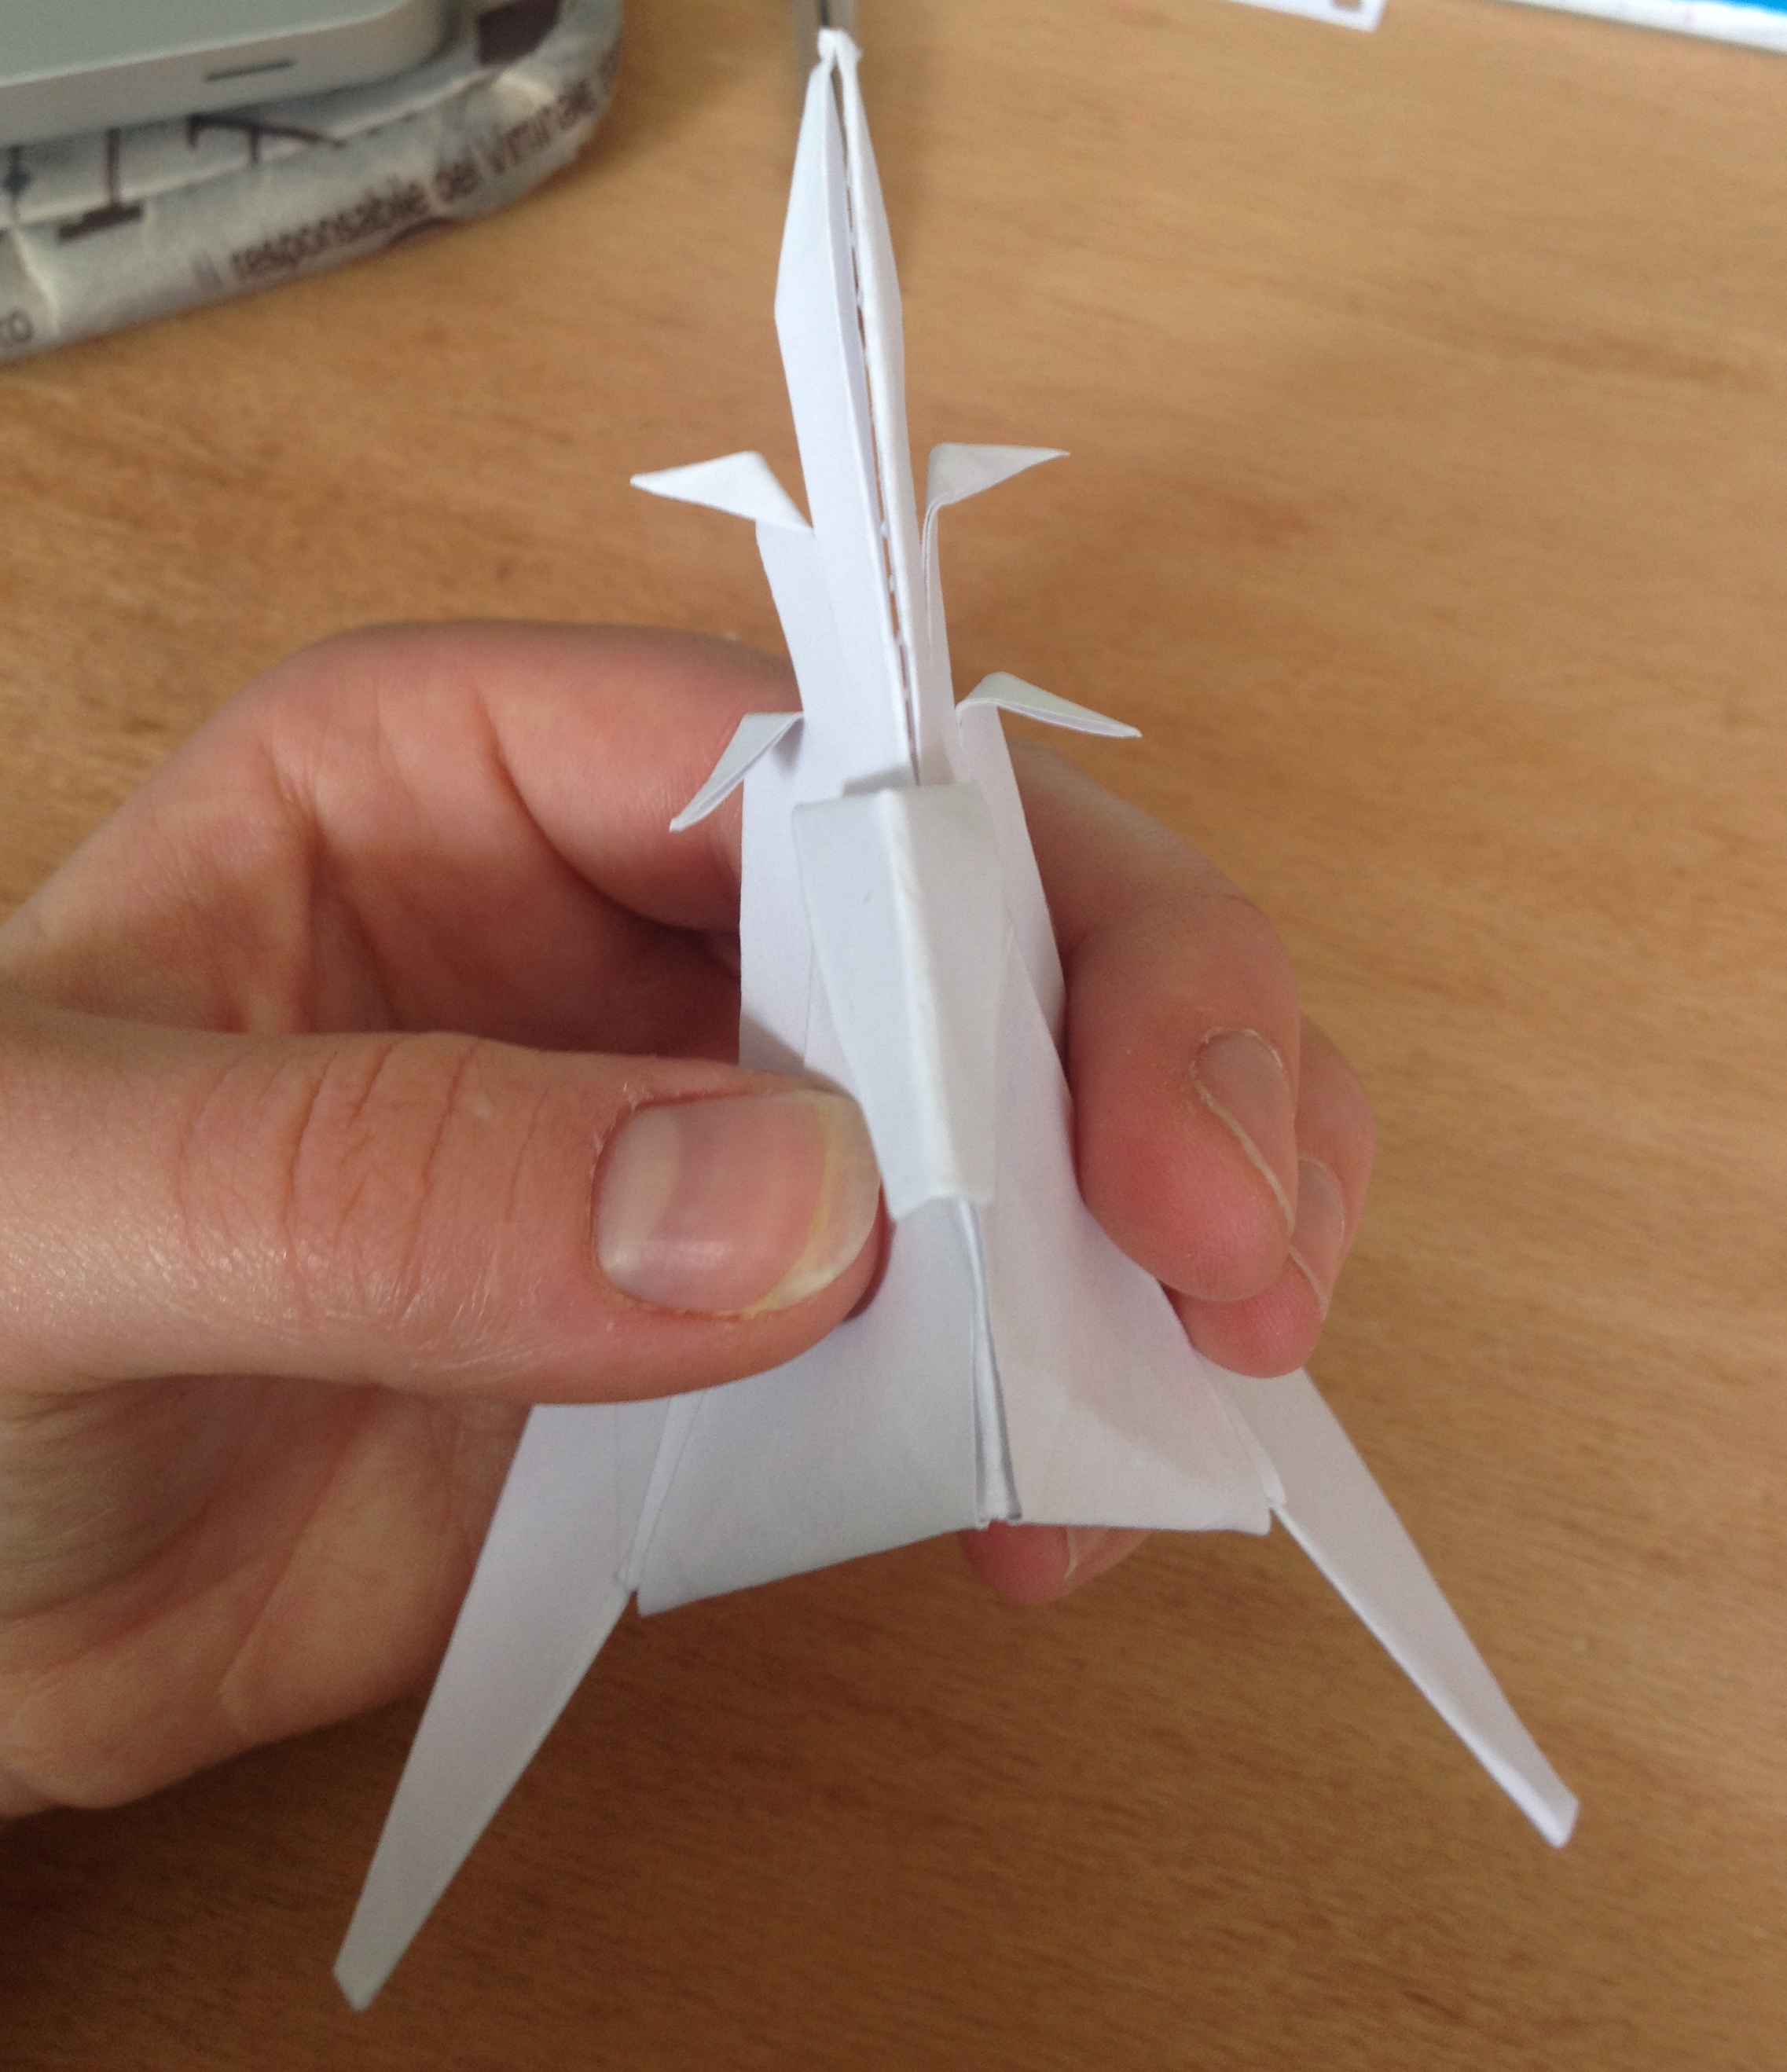
18. Open up the folds.
19. Take the bottom point and open up the top layer.
20. Then fold the left side in on your creases.
21. Then the right side.
22. Now take the left free leg and fold it up to the left.
23. Do the same with the right side.

24. Lift the leg up perpendicular to the table,

Then open it at the side and
flatten it down.
25. Repeat for the next leg.


26. Fold in a tiny tip of each leg.
27. Fold down the top of each leg.
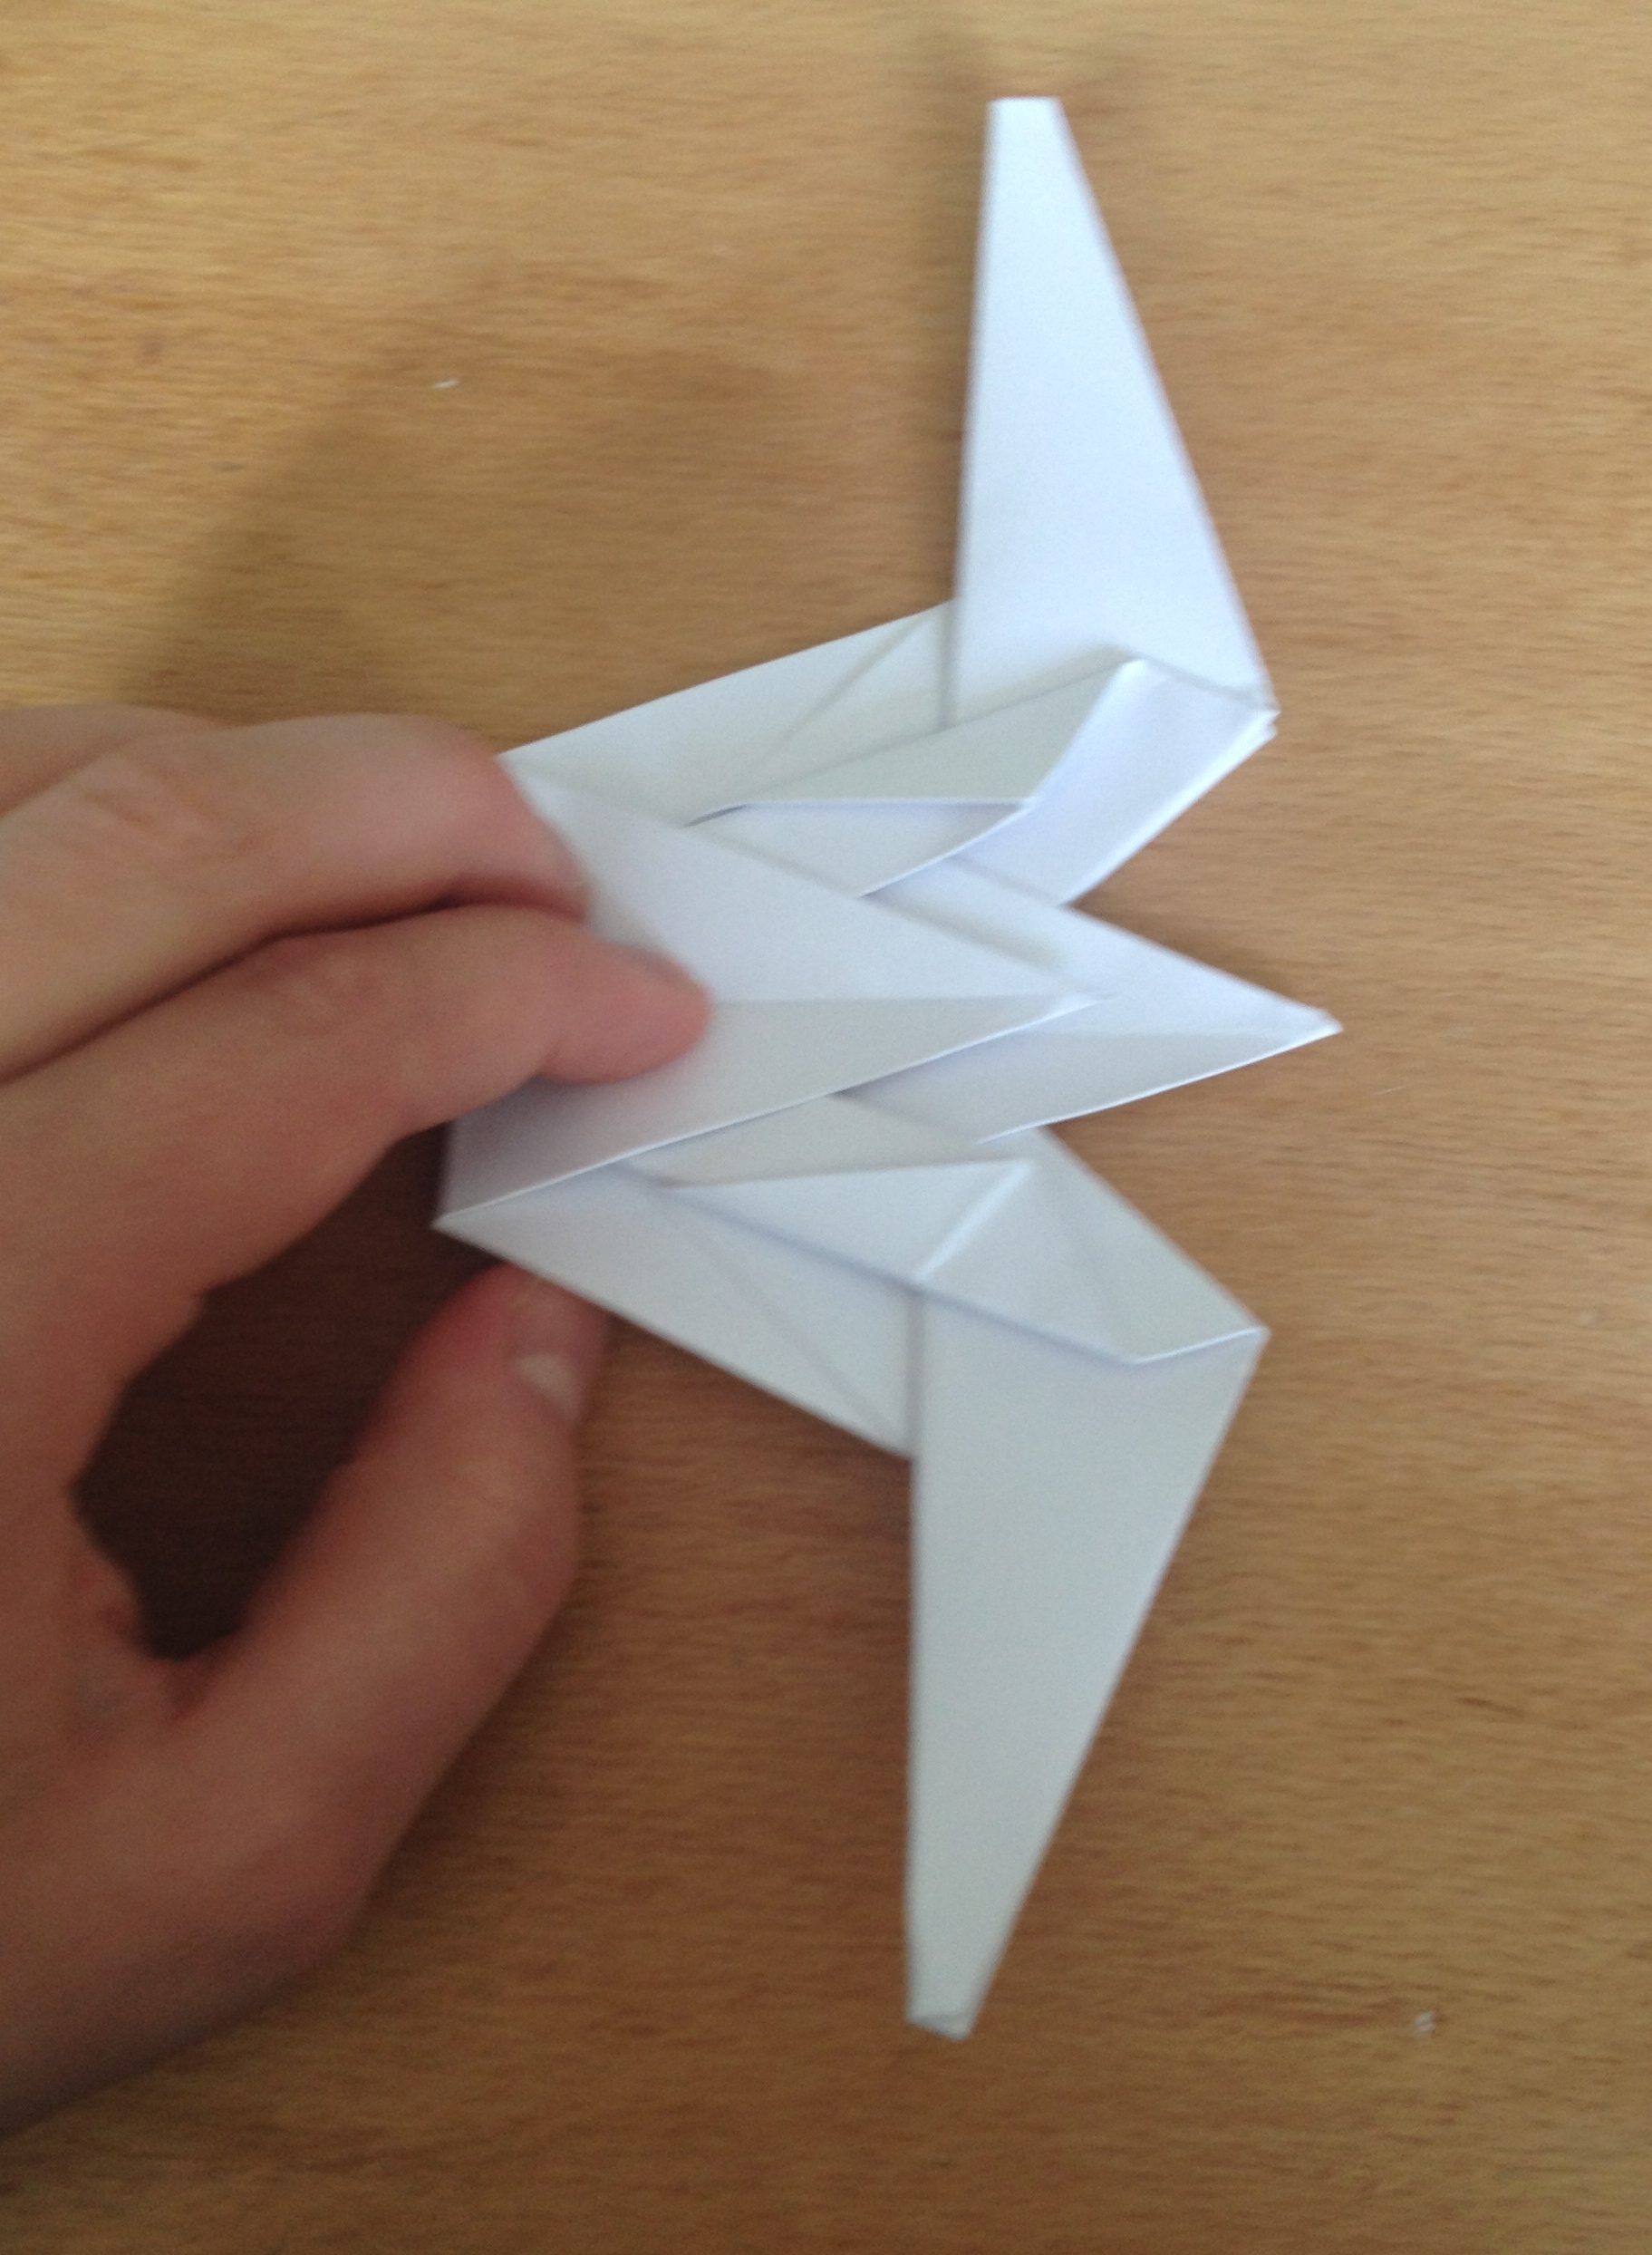
Now repeat steps 1-27 on the second piece of paper.

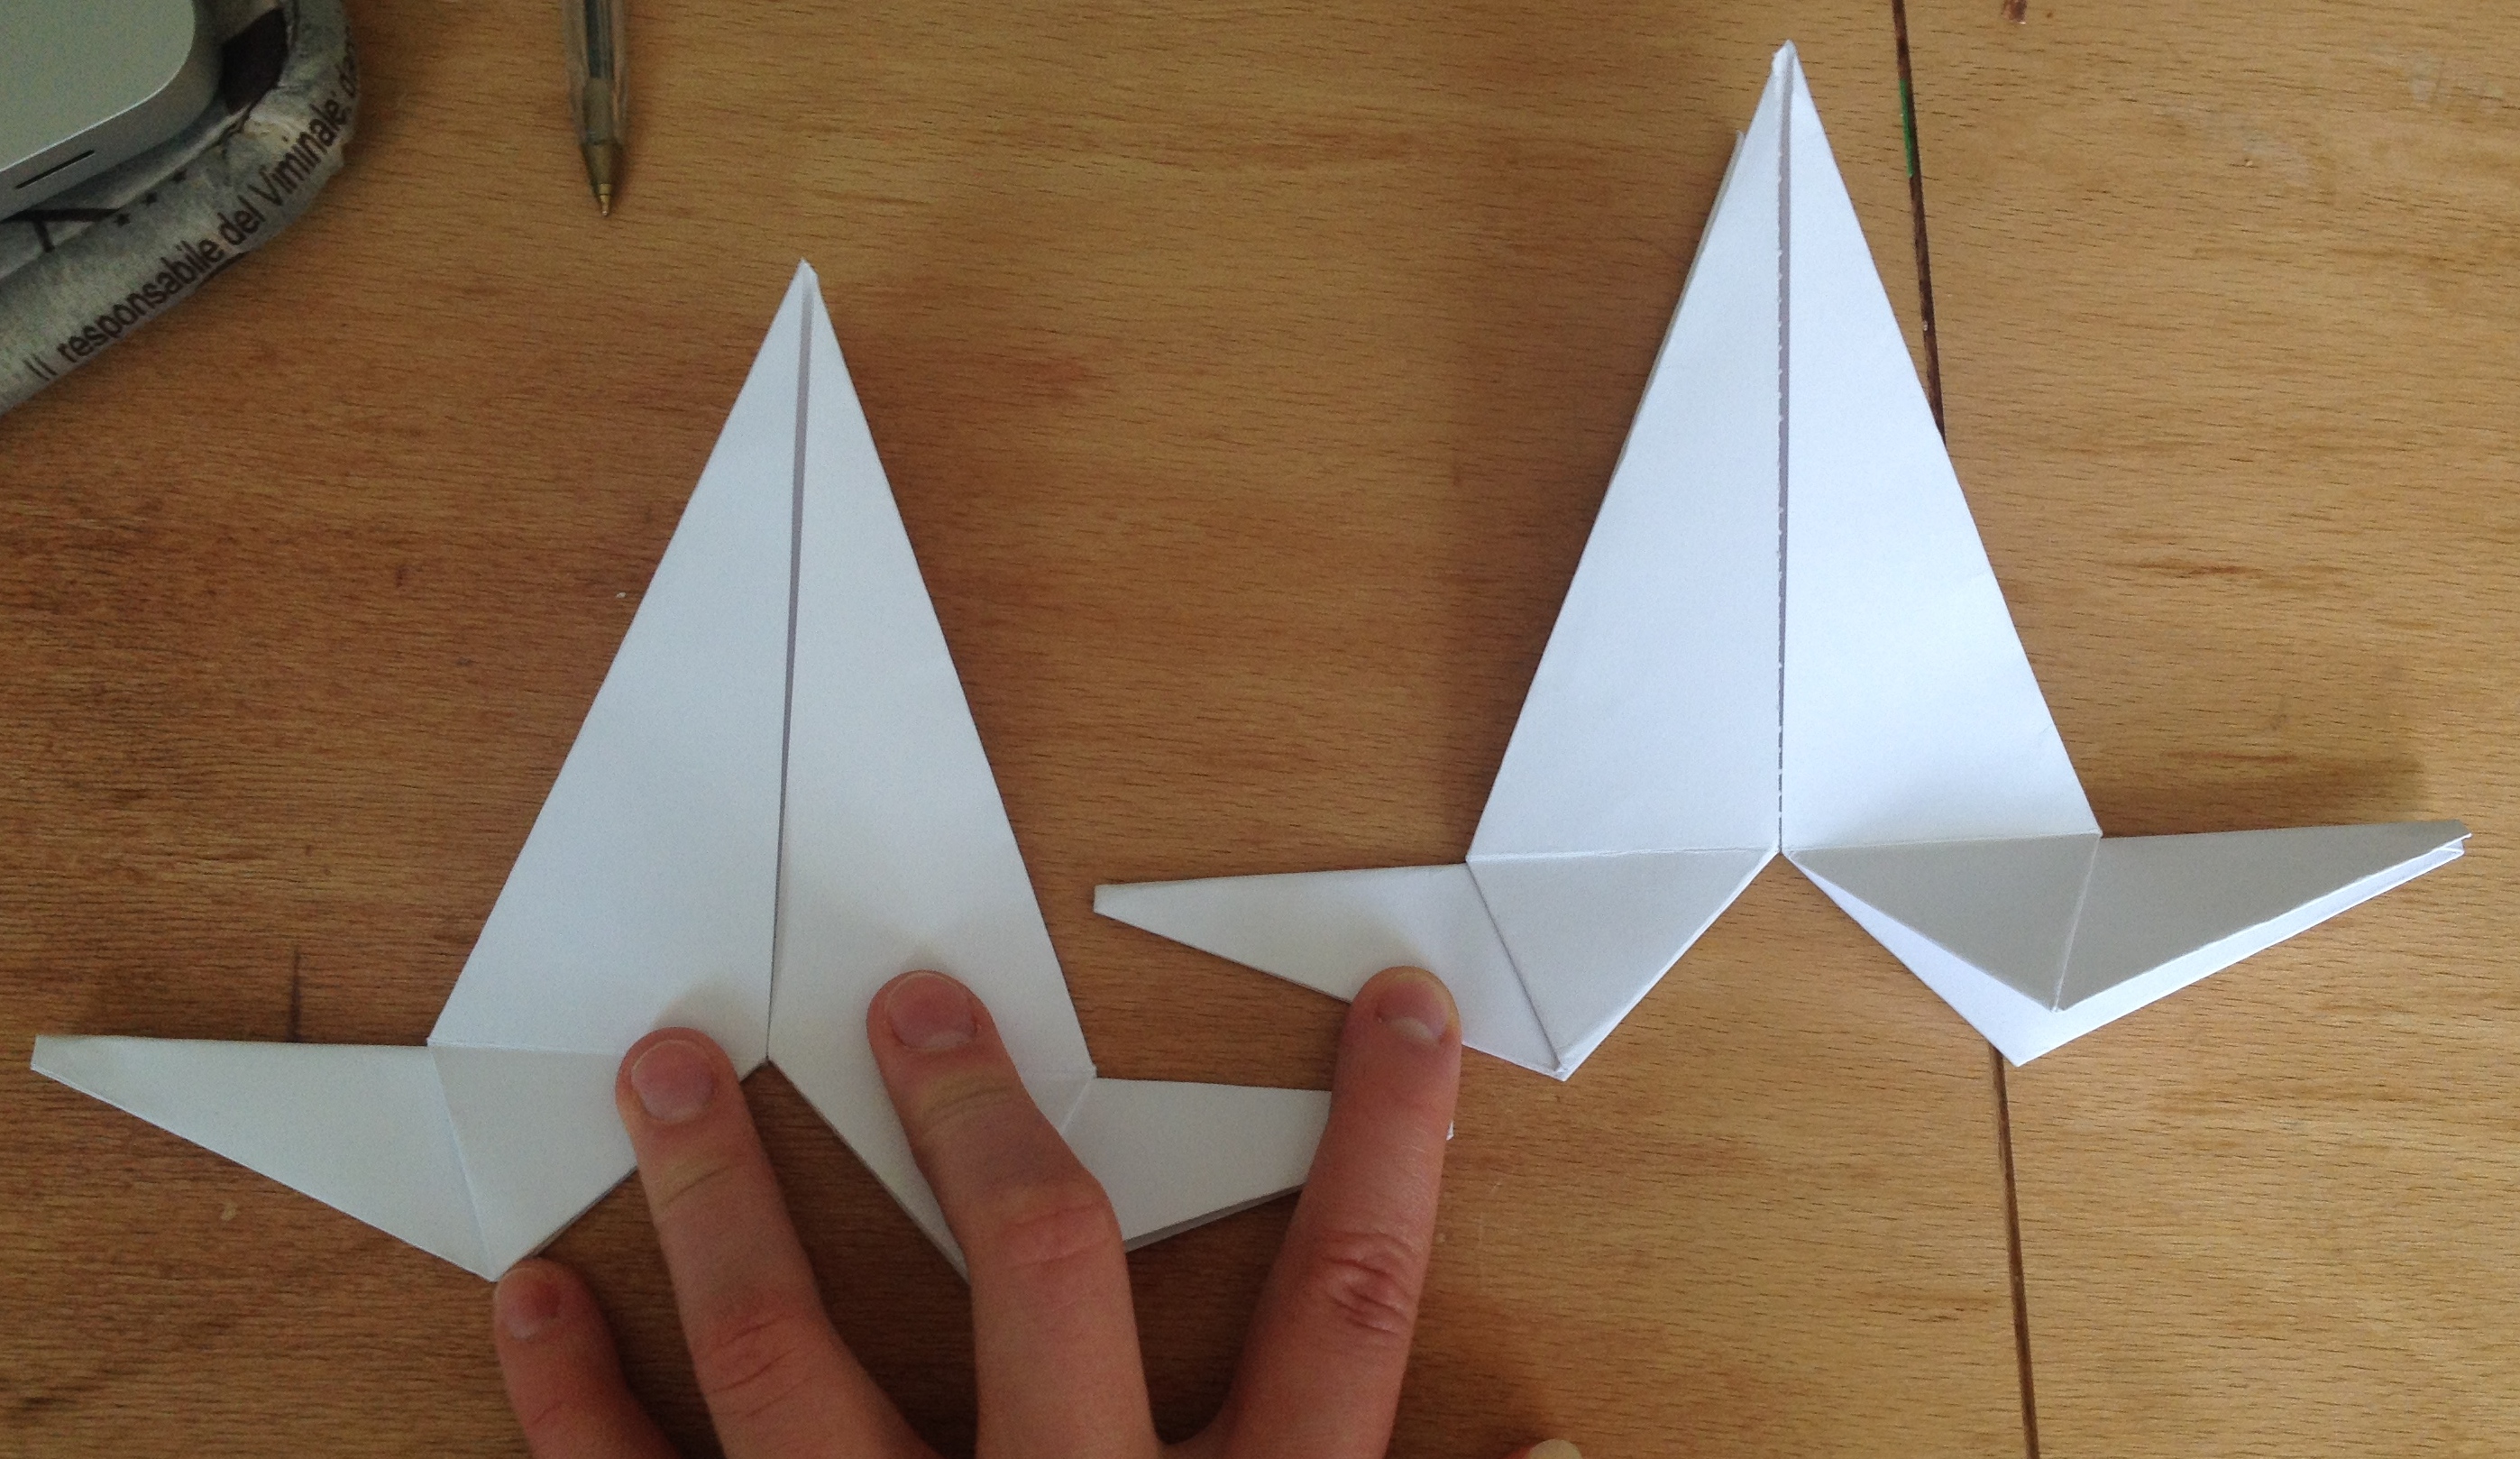
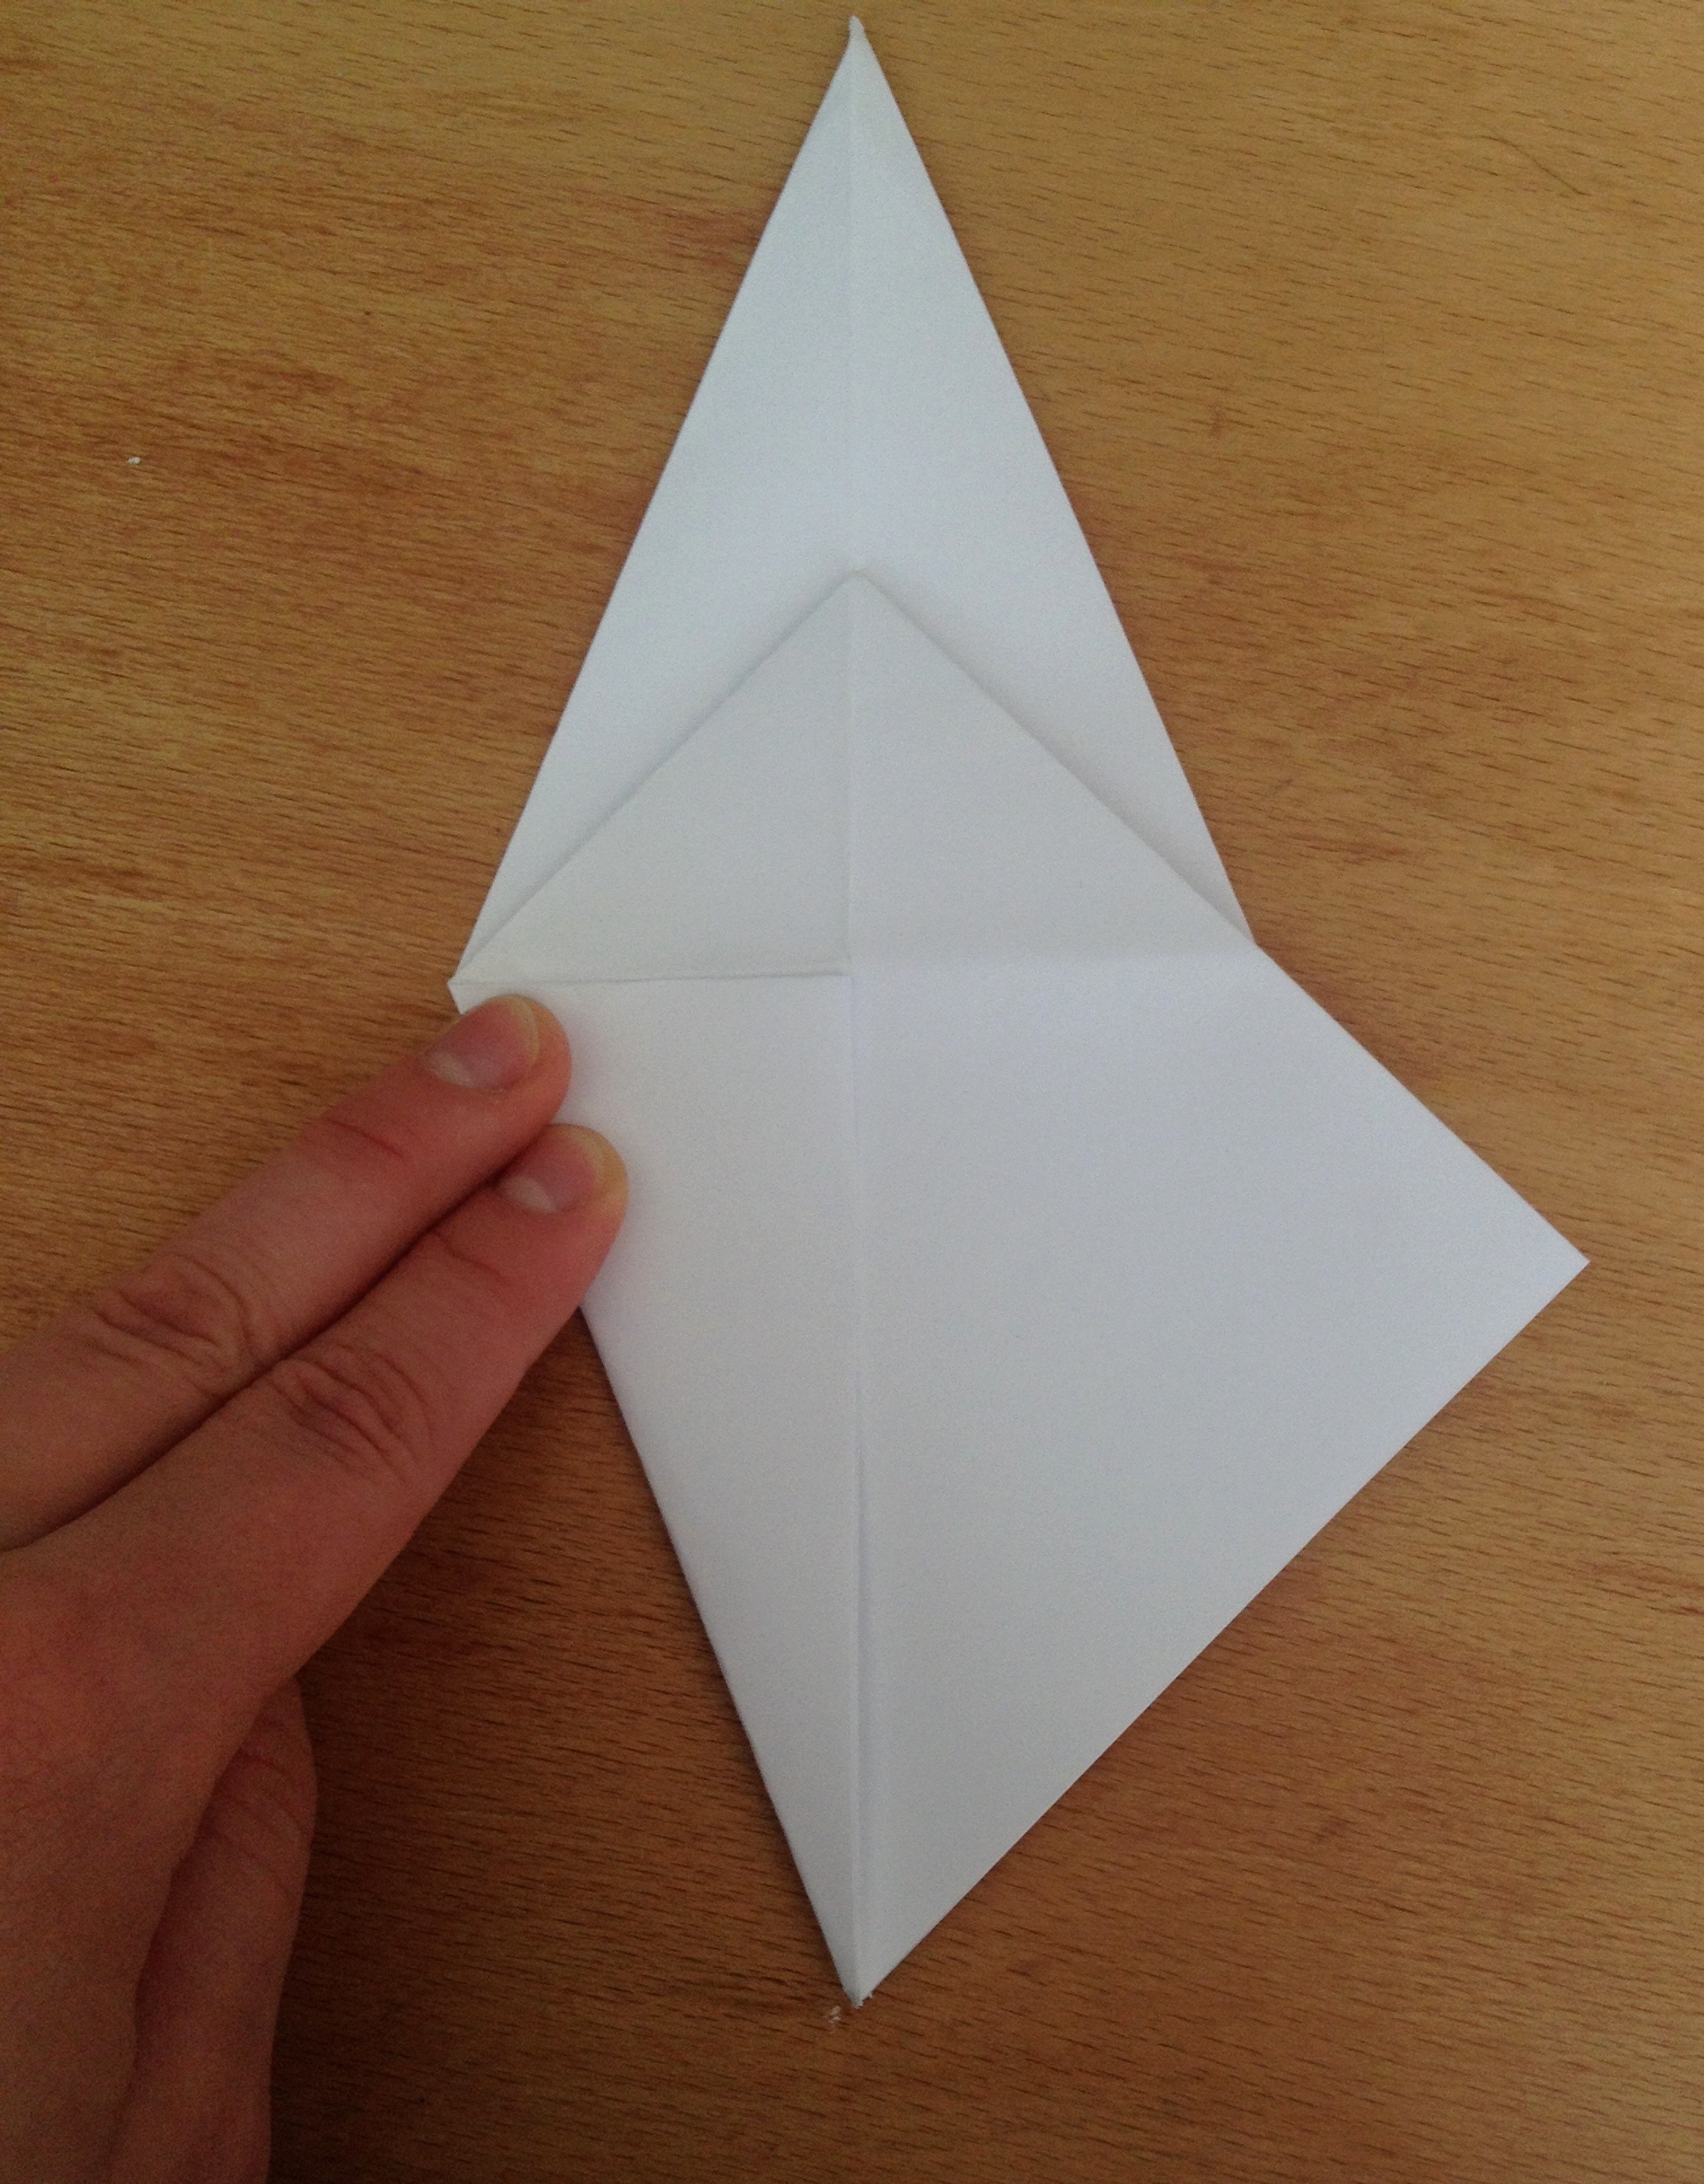
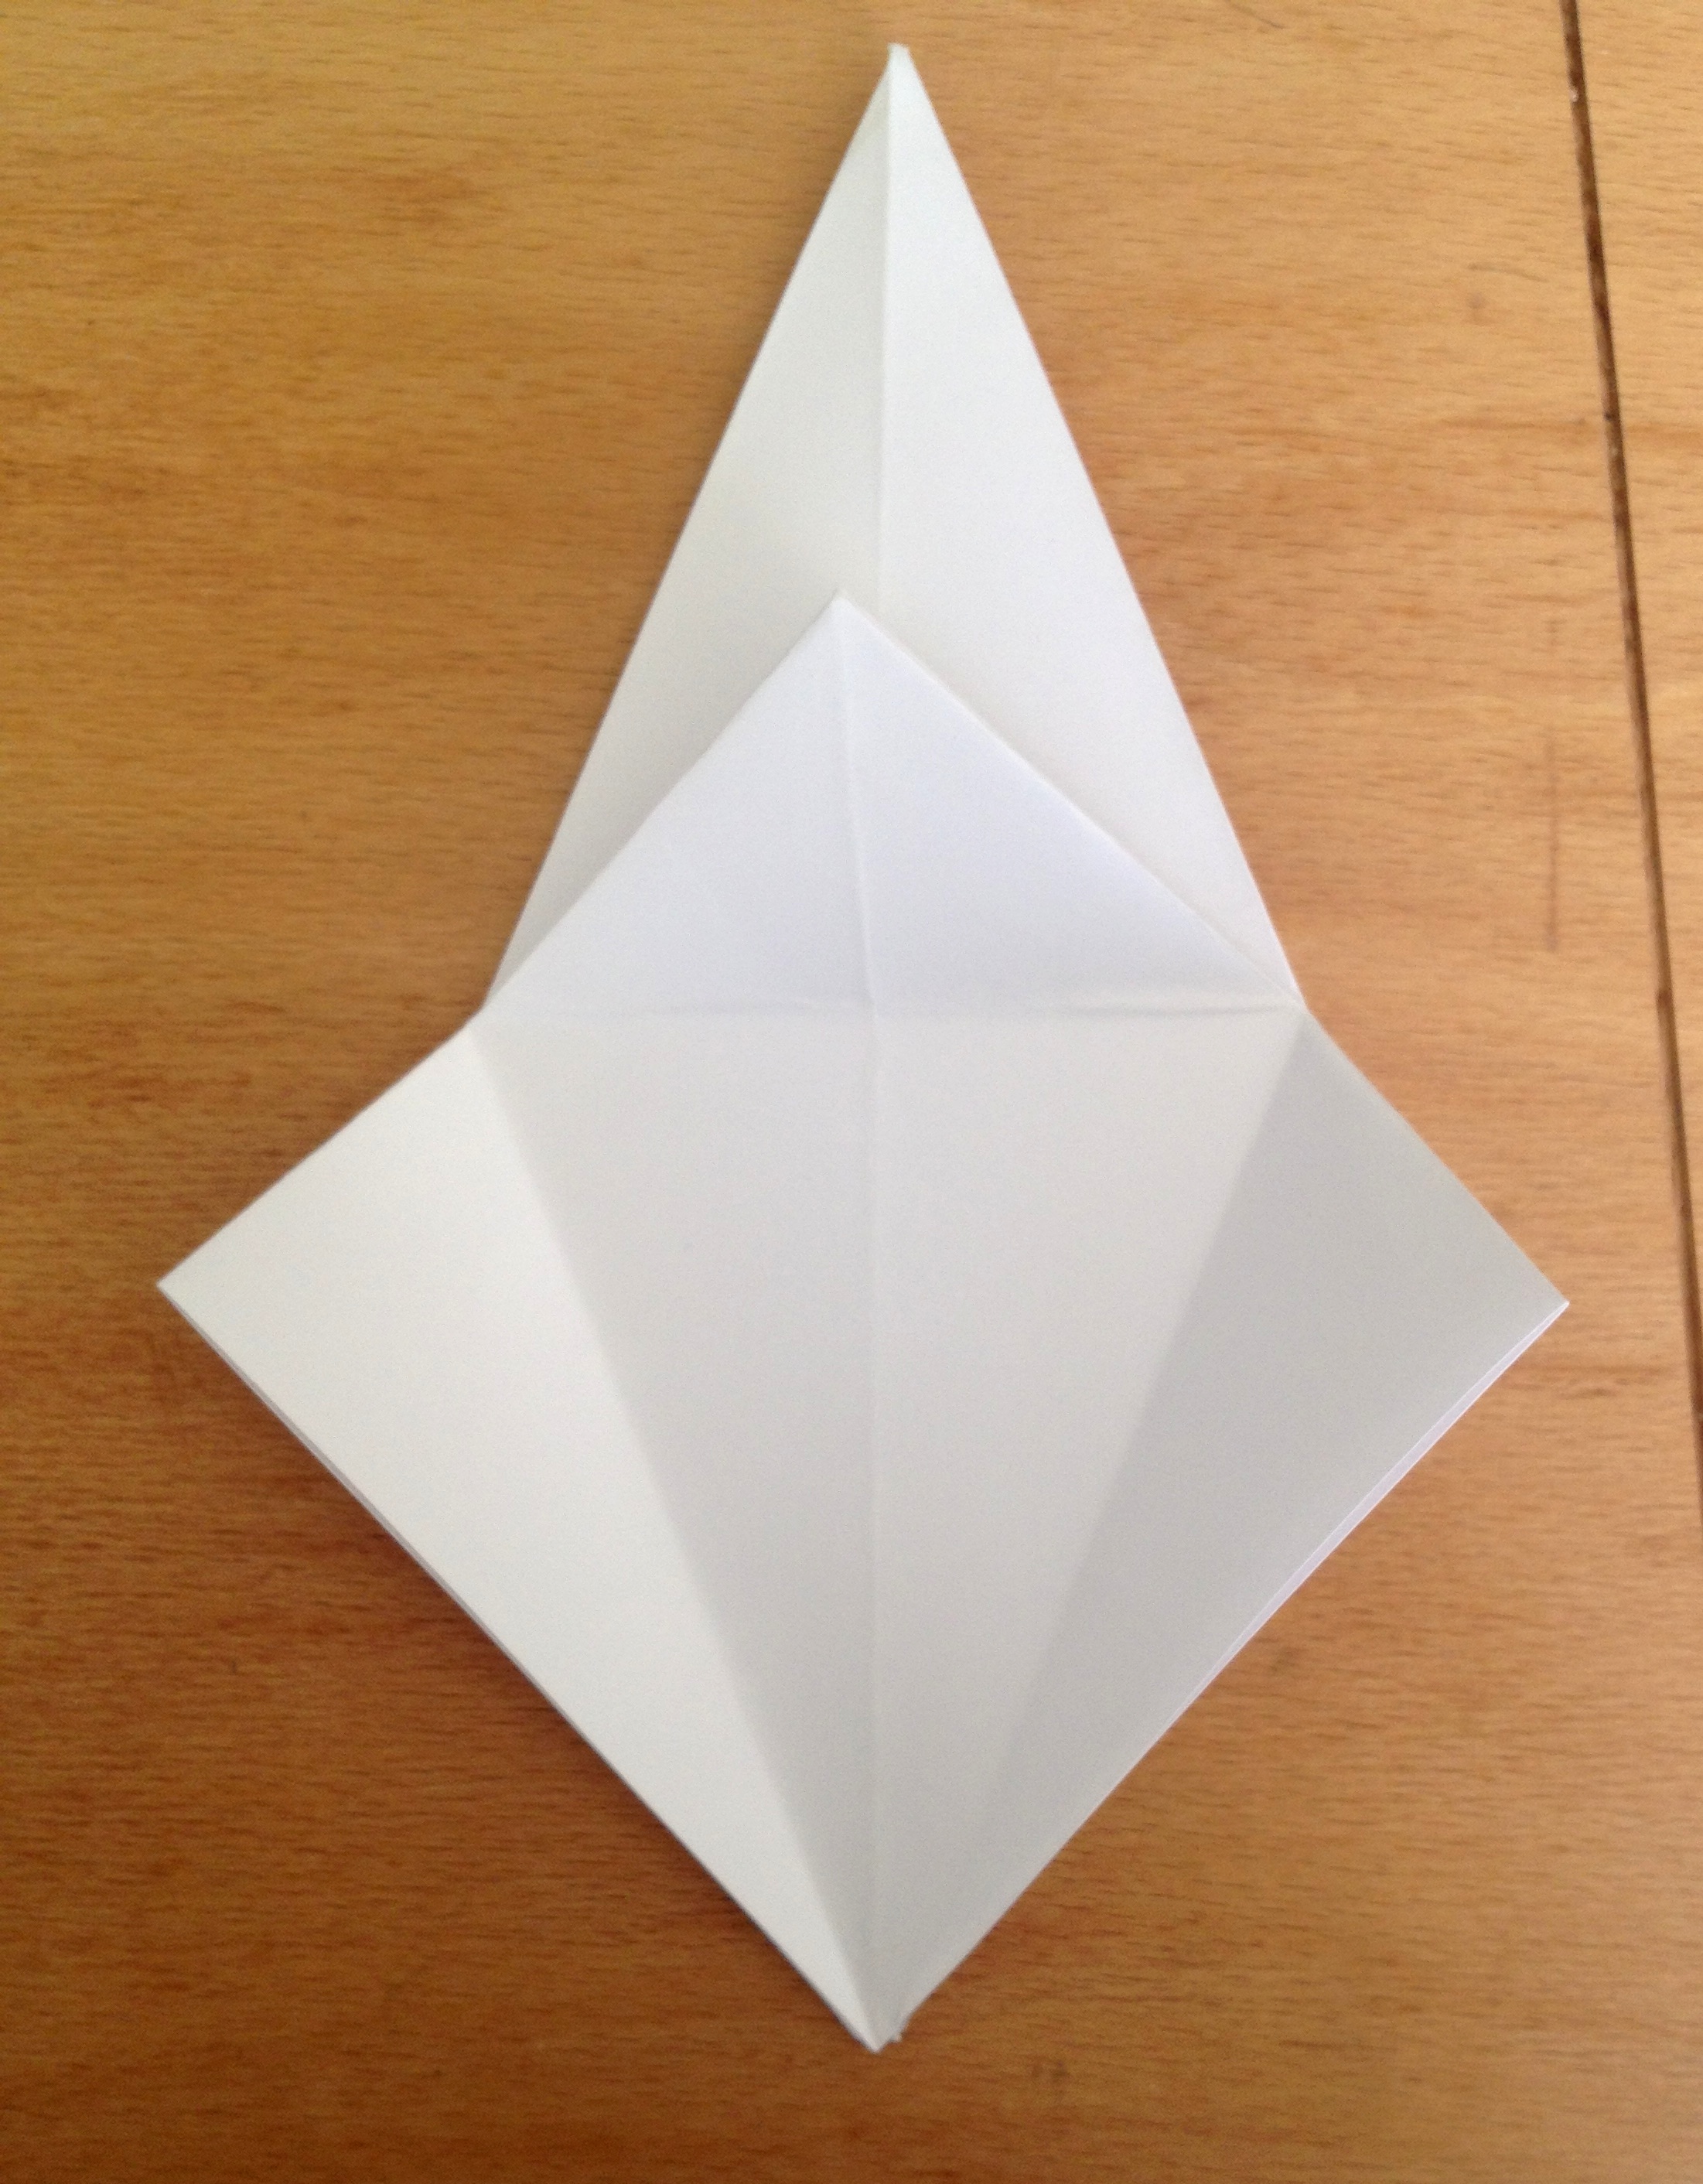
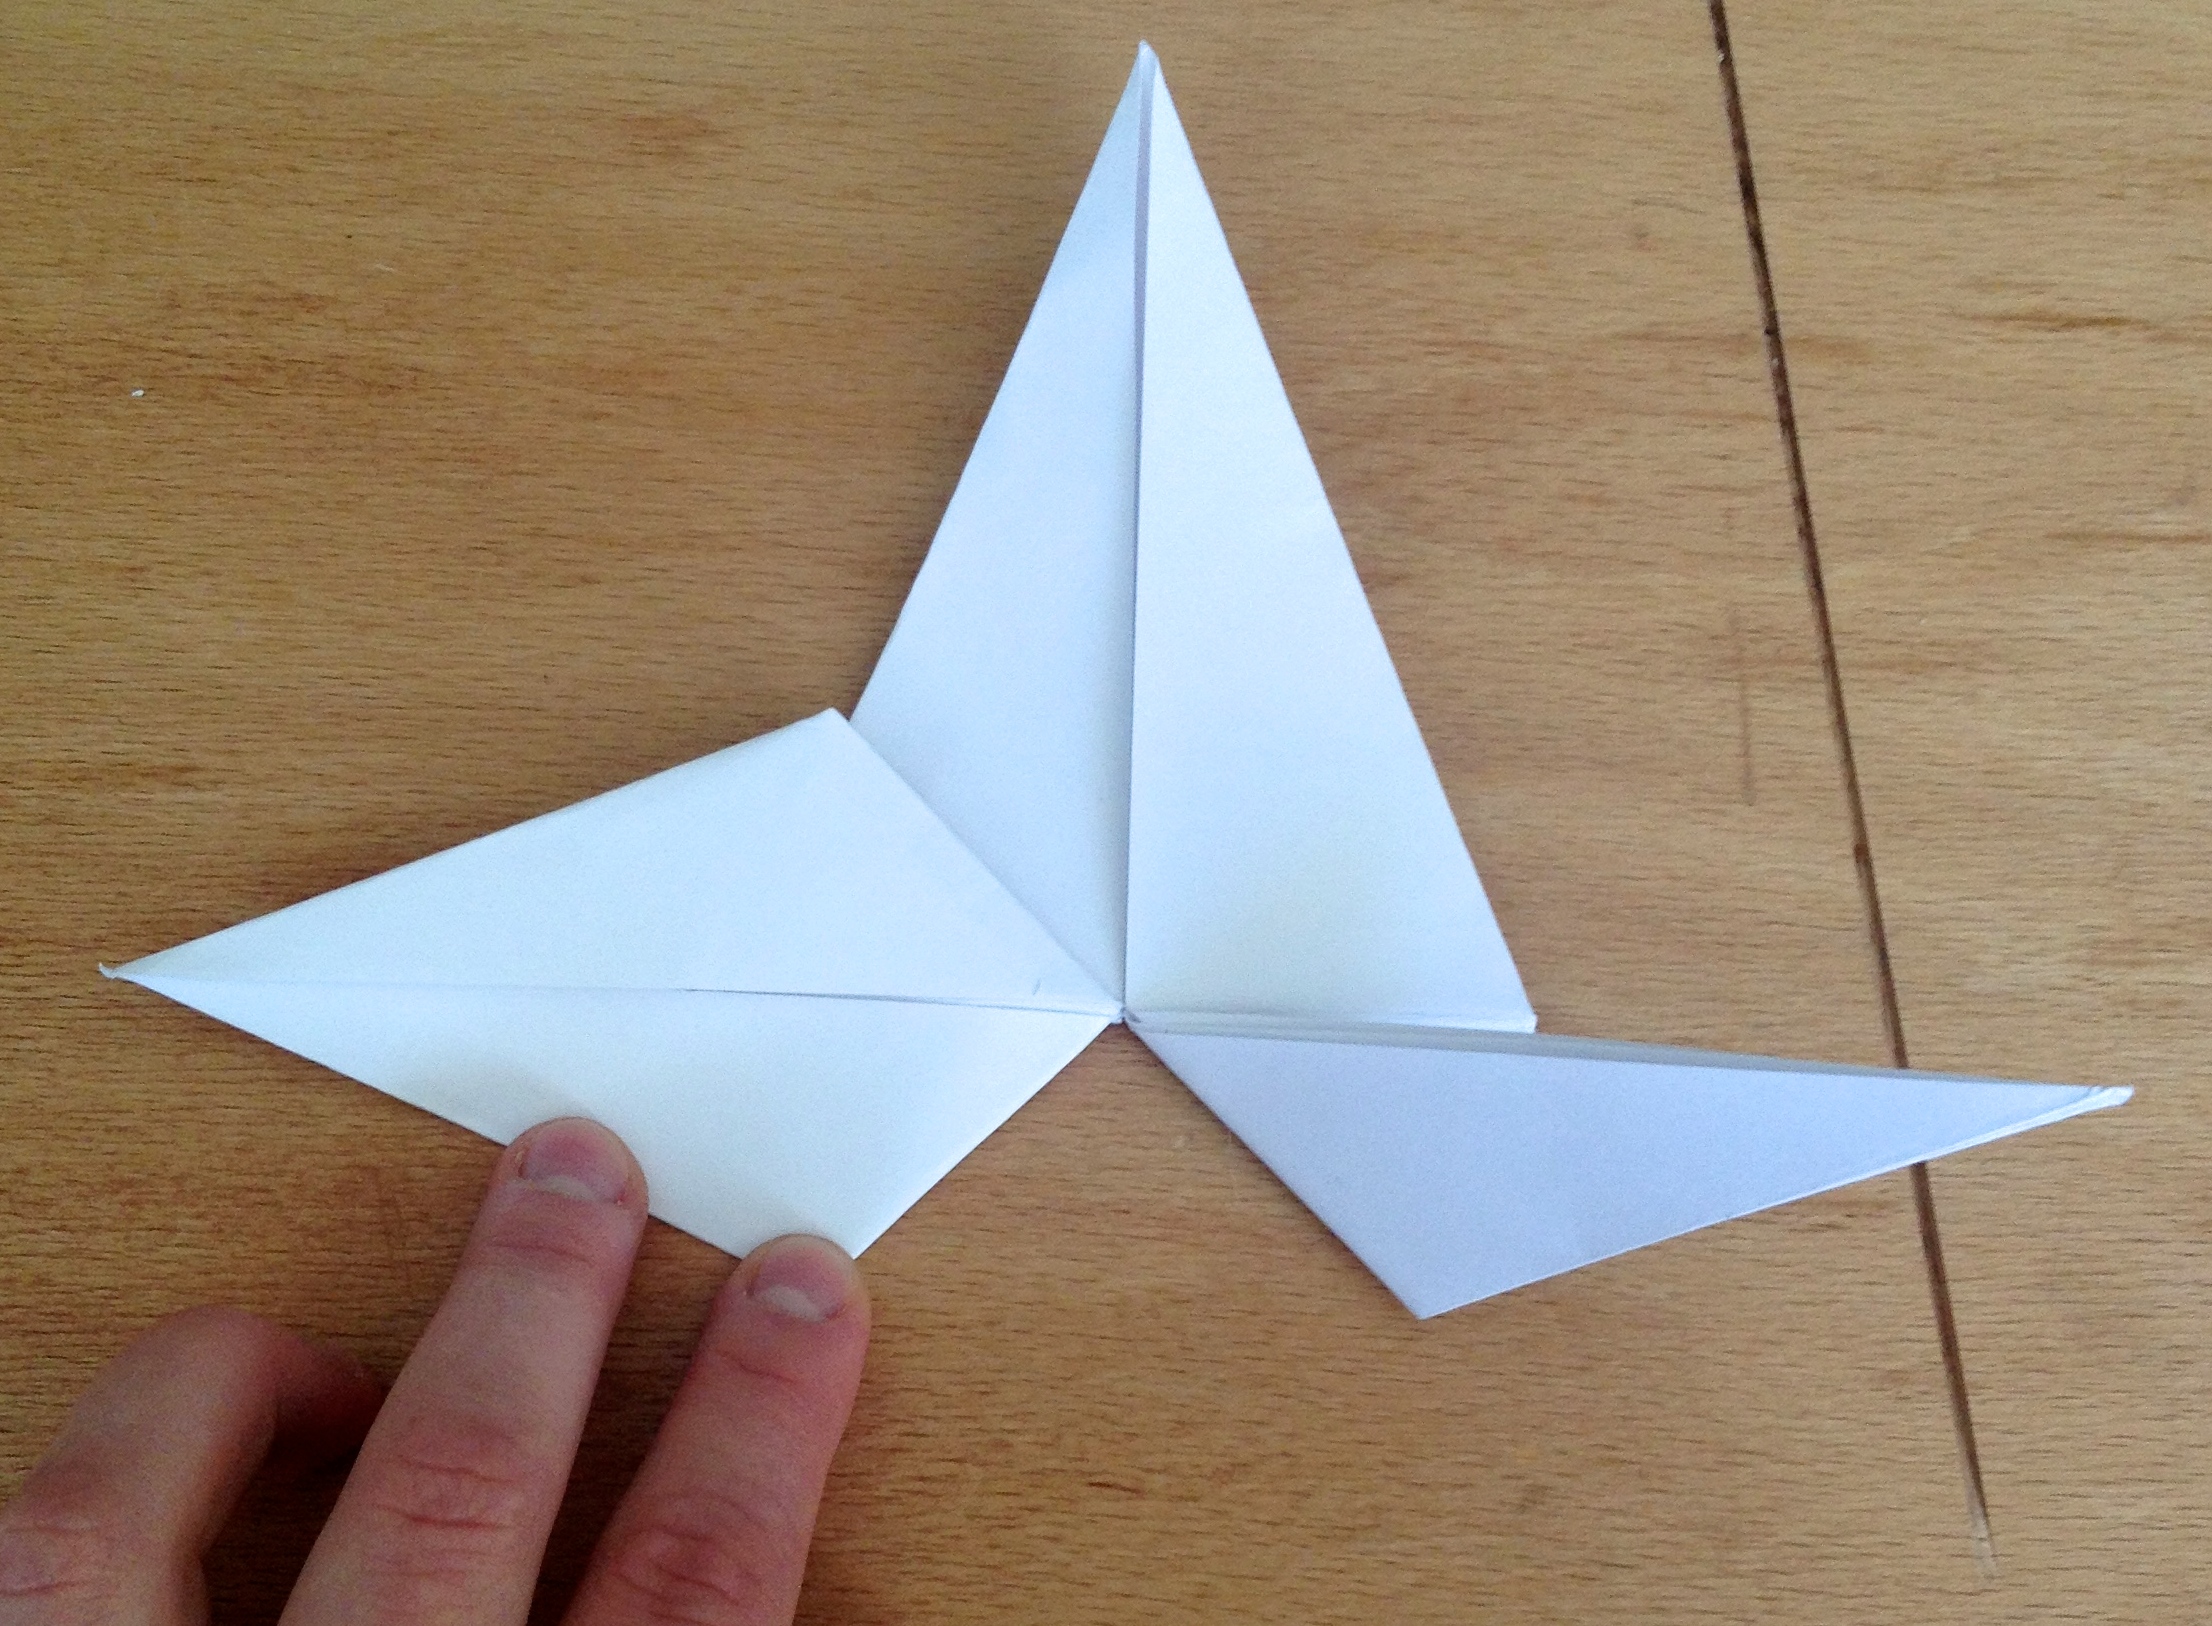
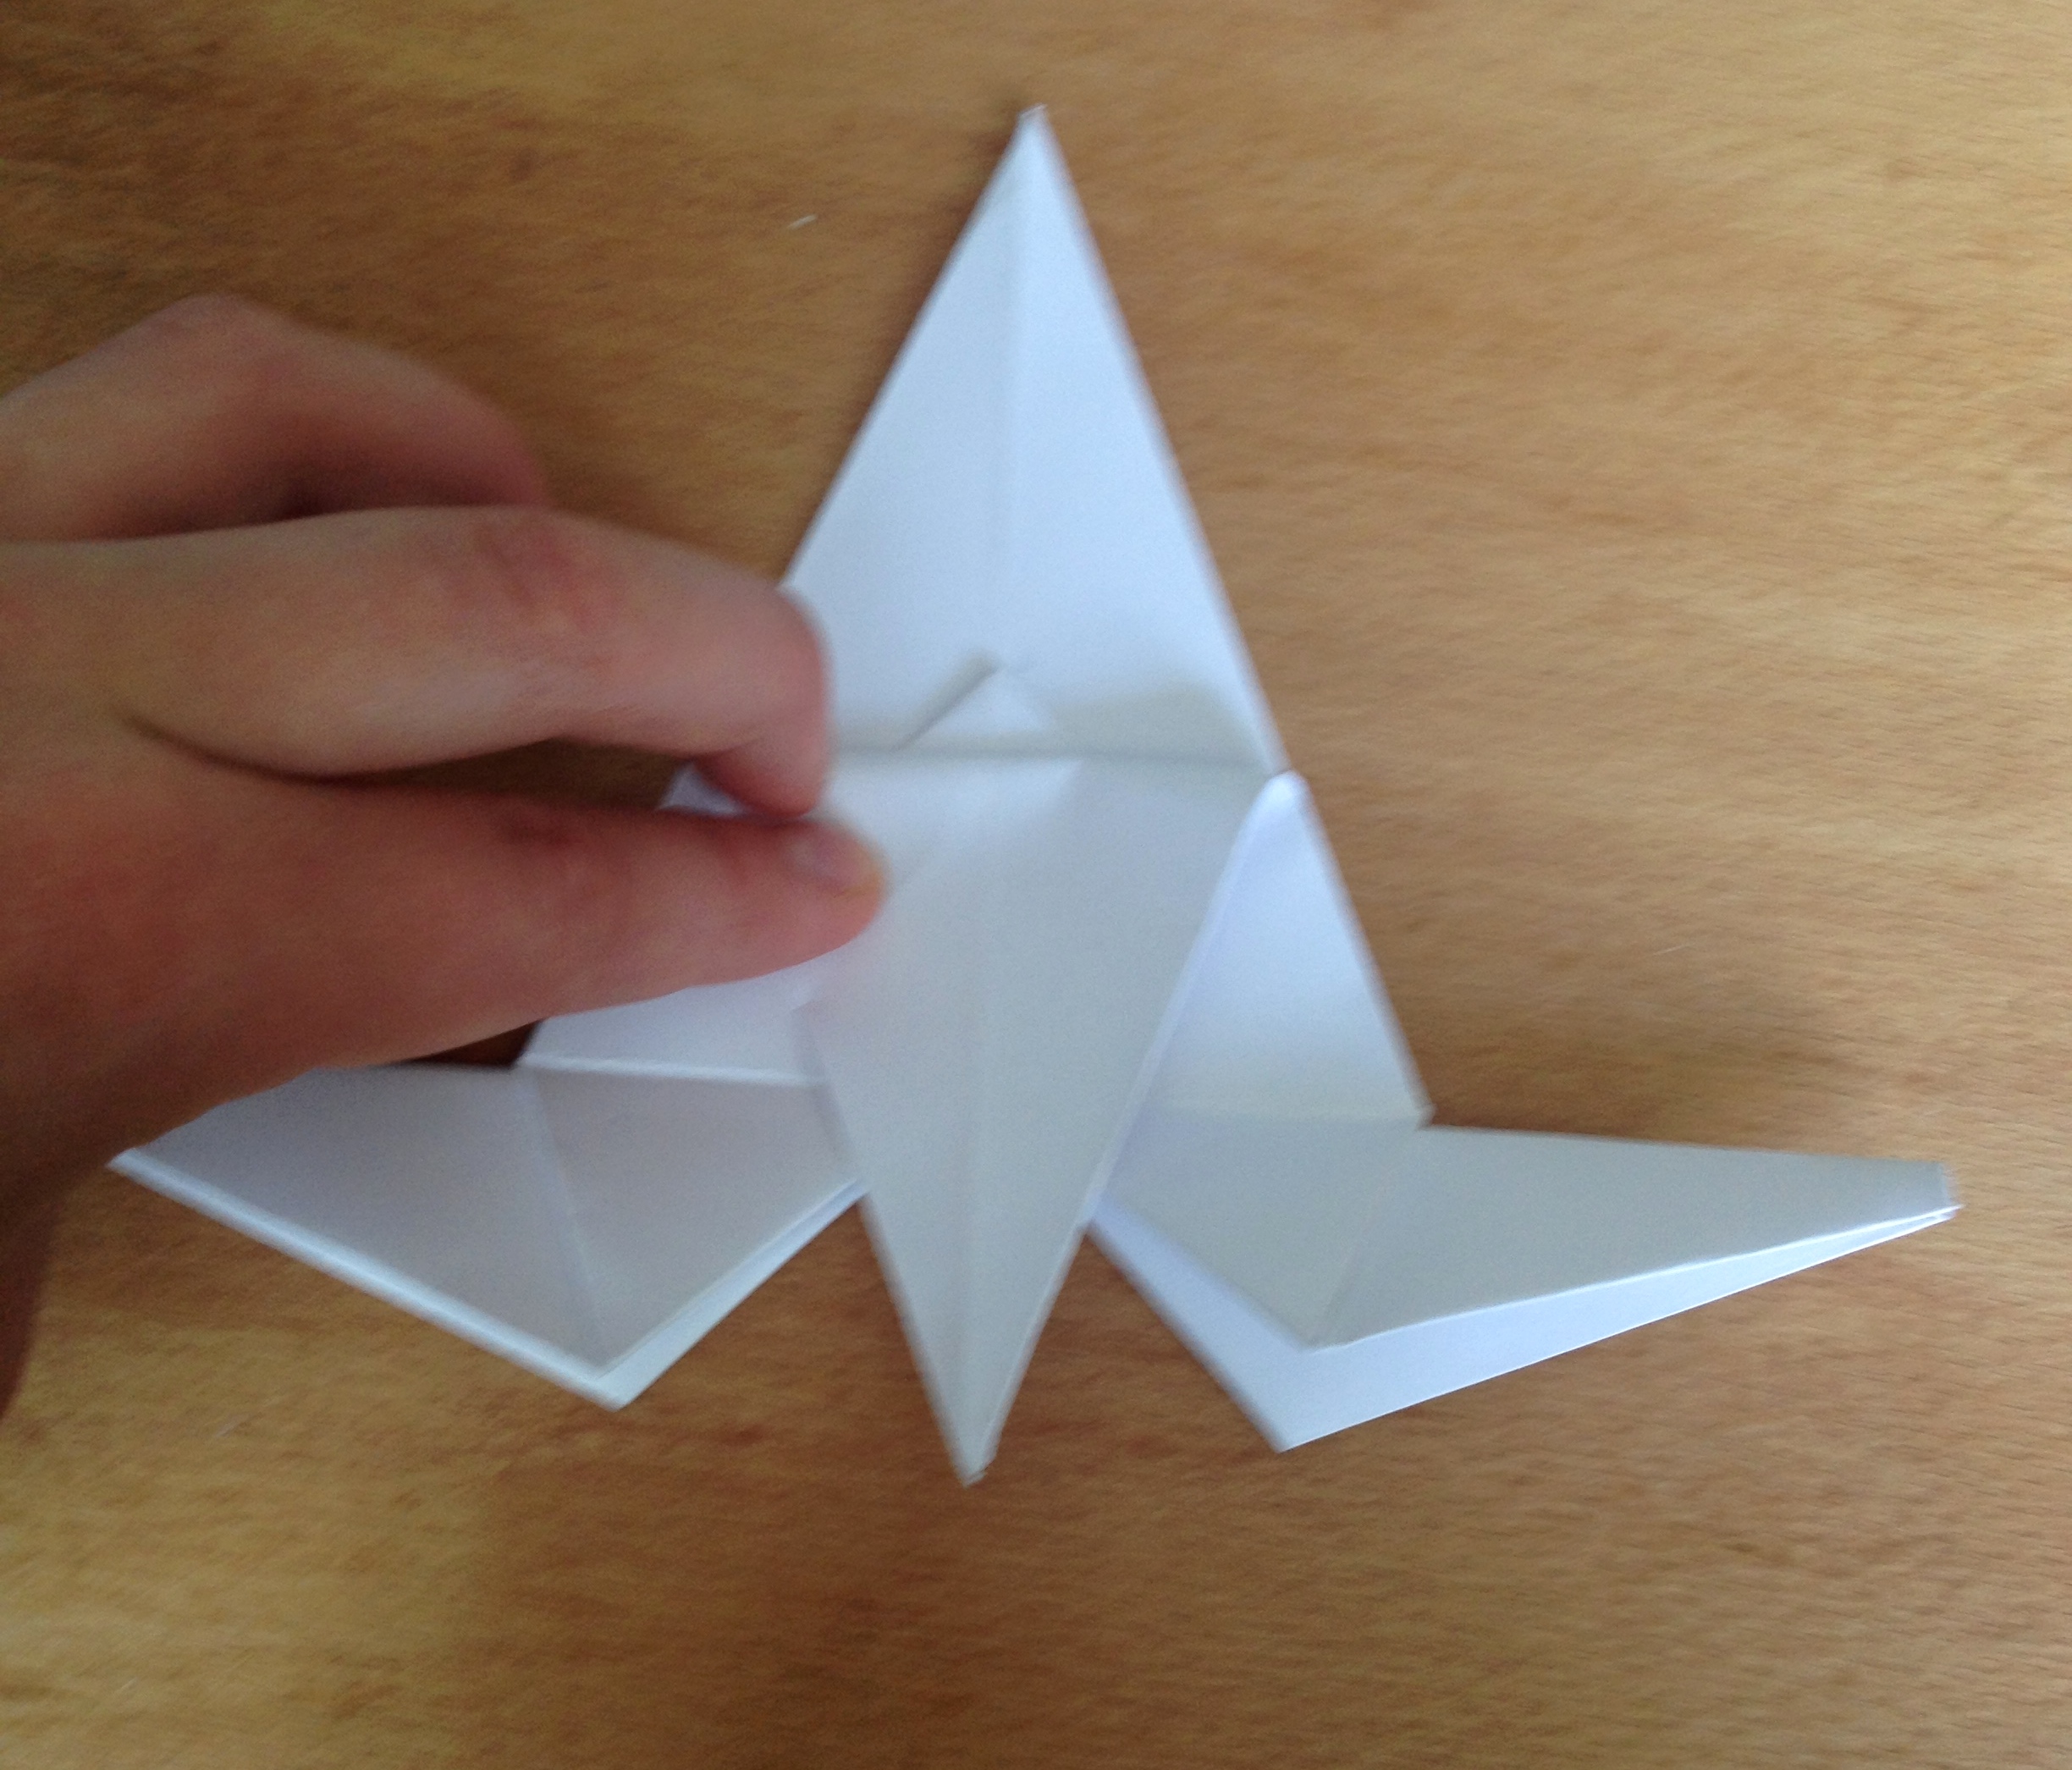
28. Take one of your previous creations and fold the top triangle in, creasing halfway on each side.
It should form a smaller triangle.
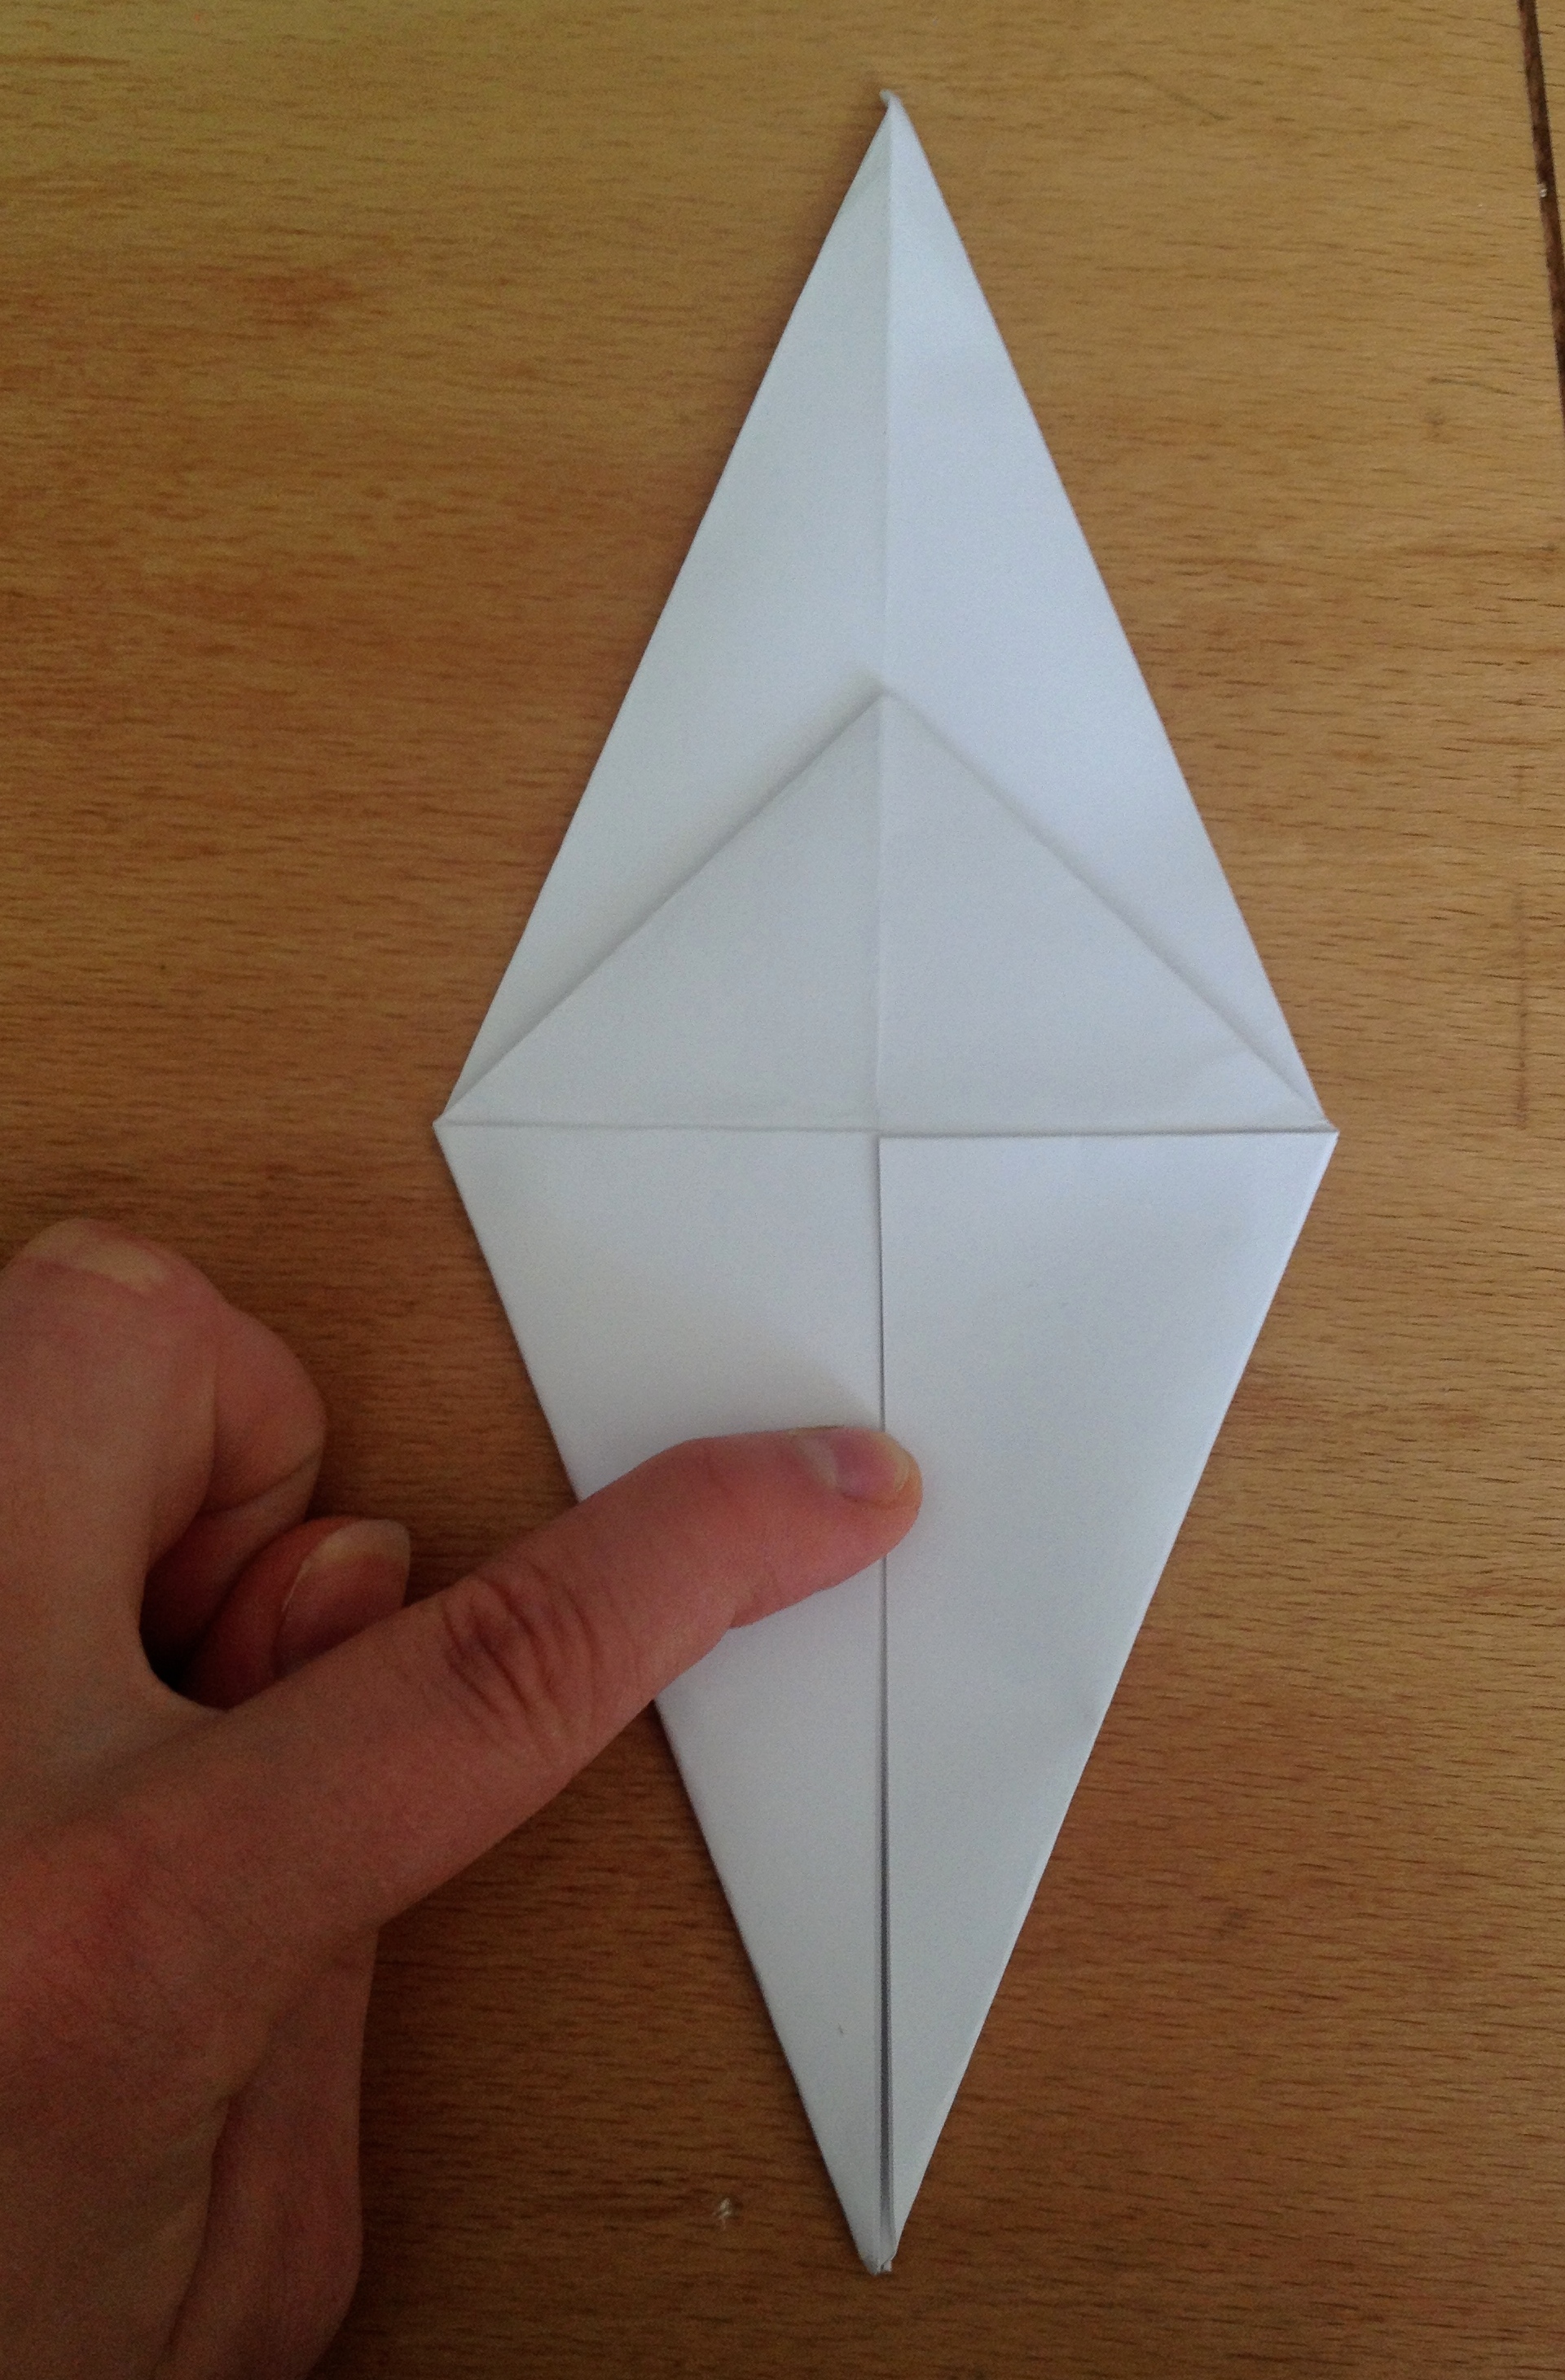
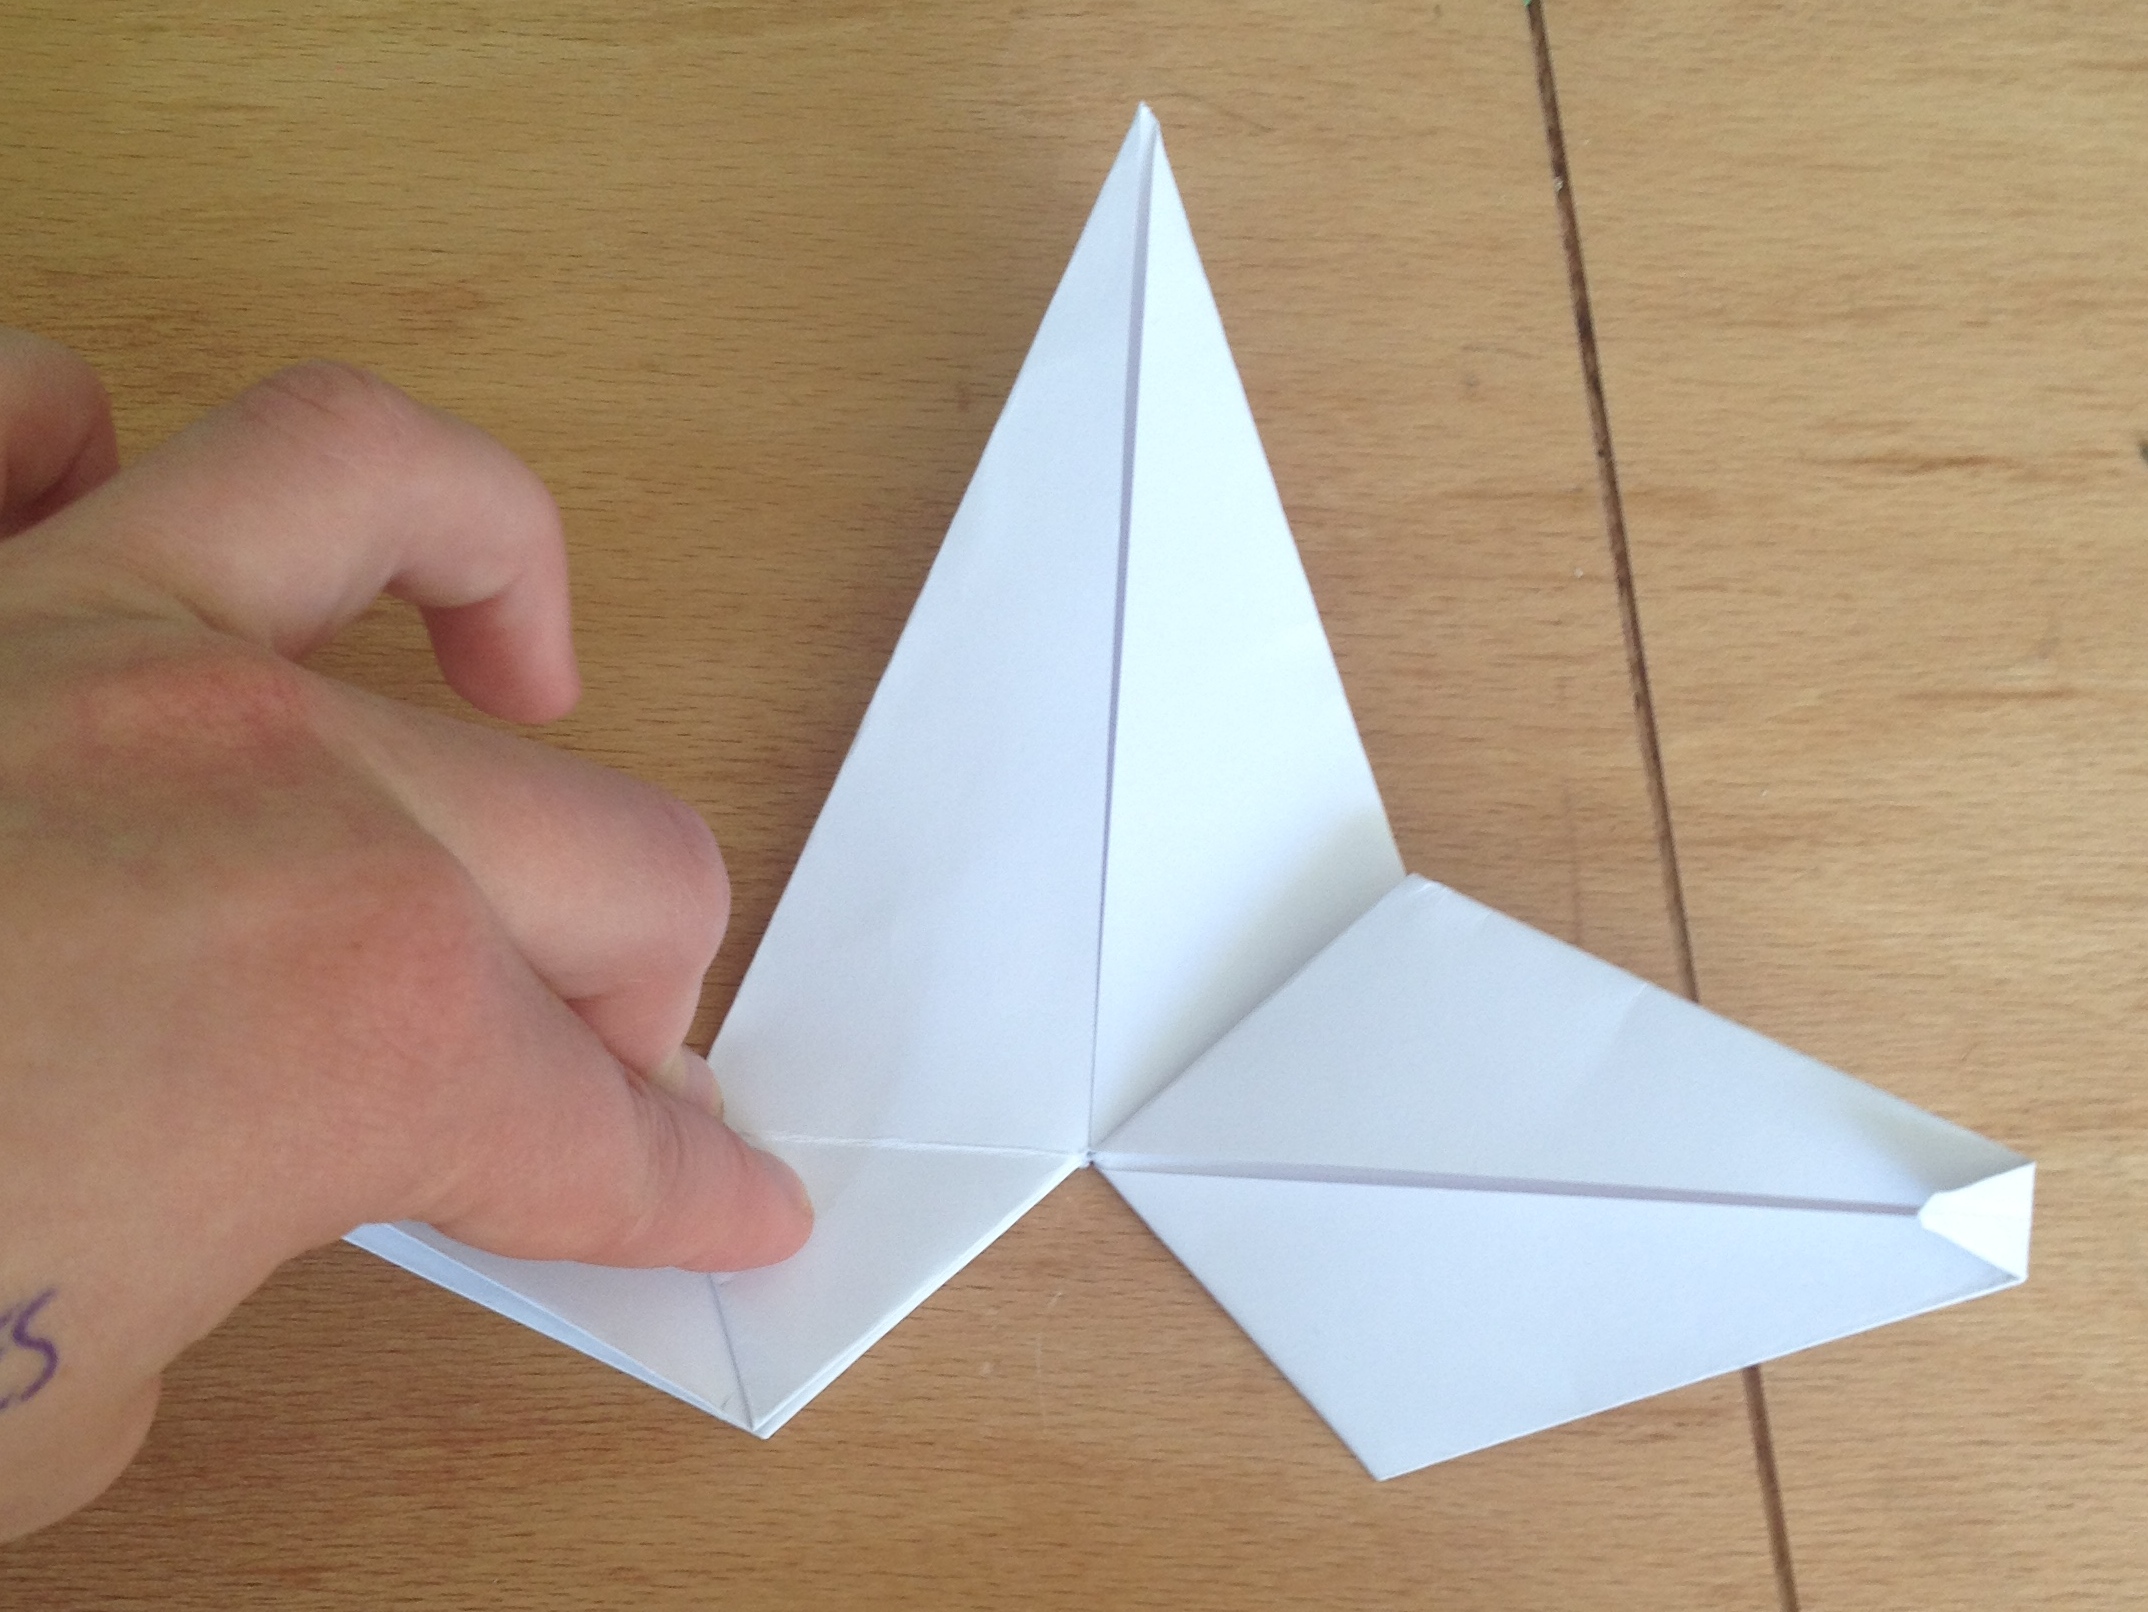
29. Now fold along the creases of the smaller triangle while pushing in the sides of the larger triangle to meet.

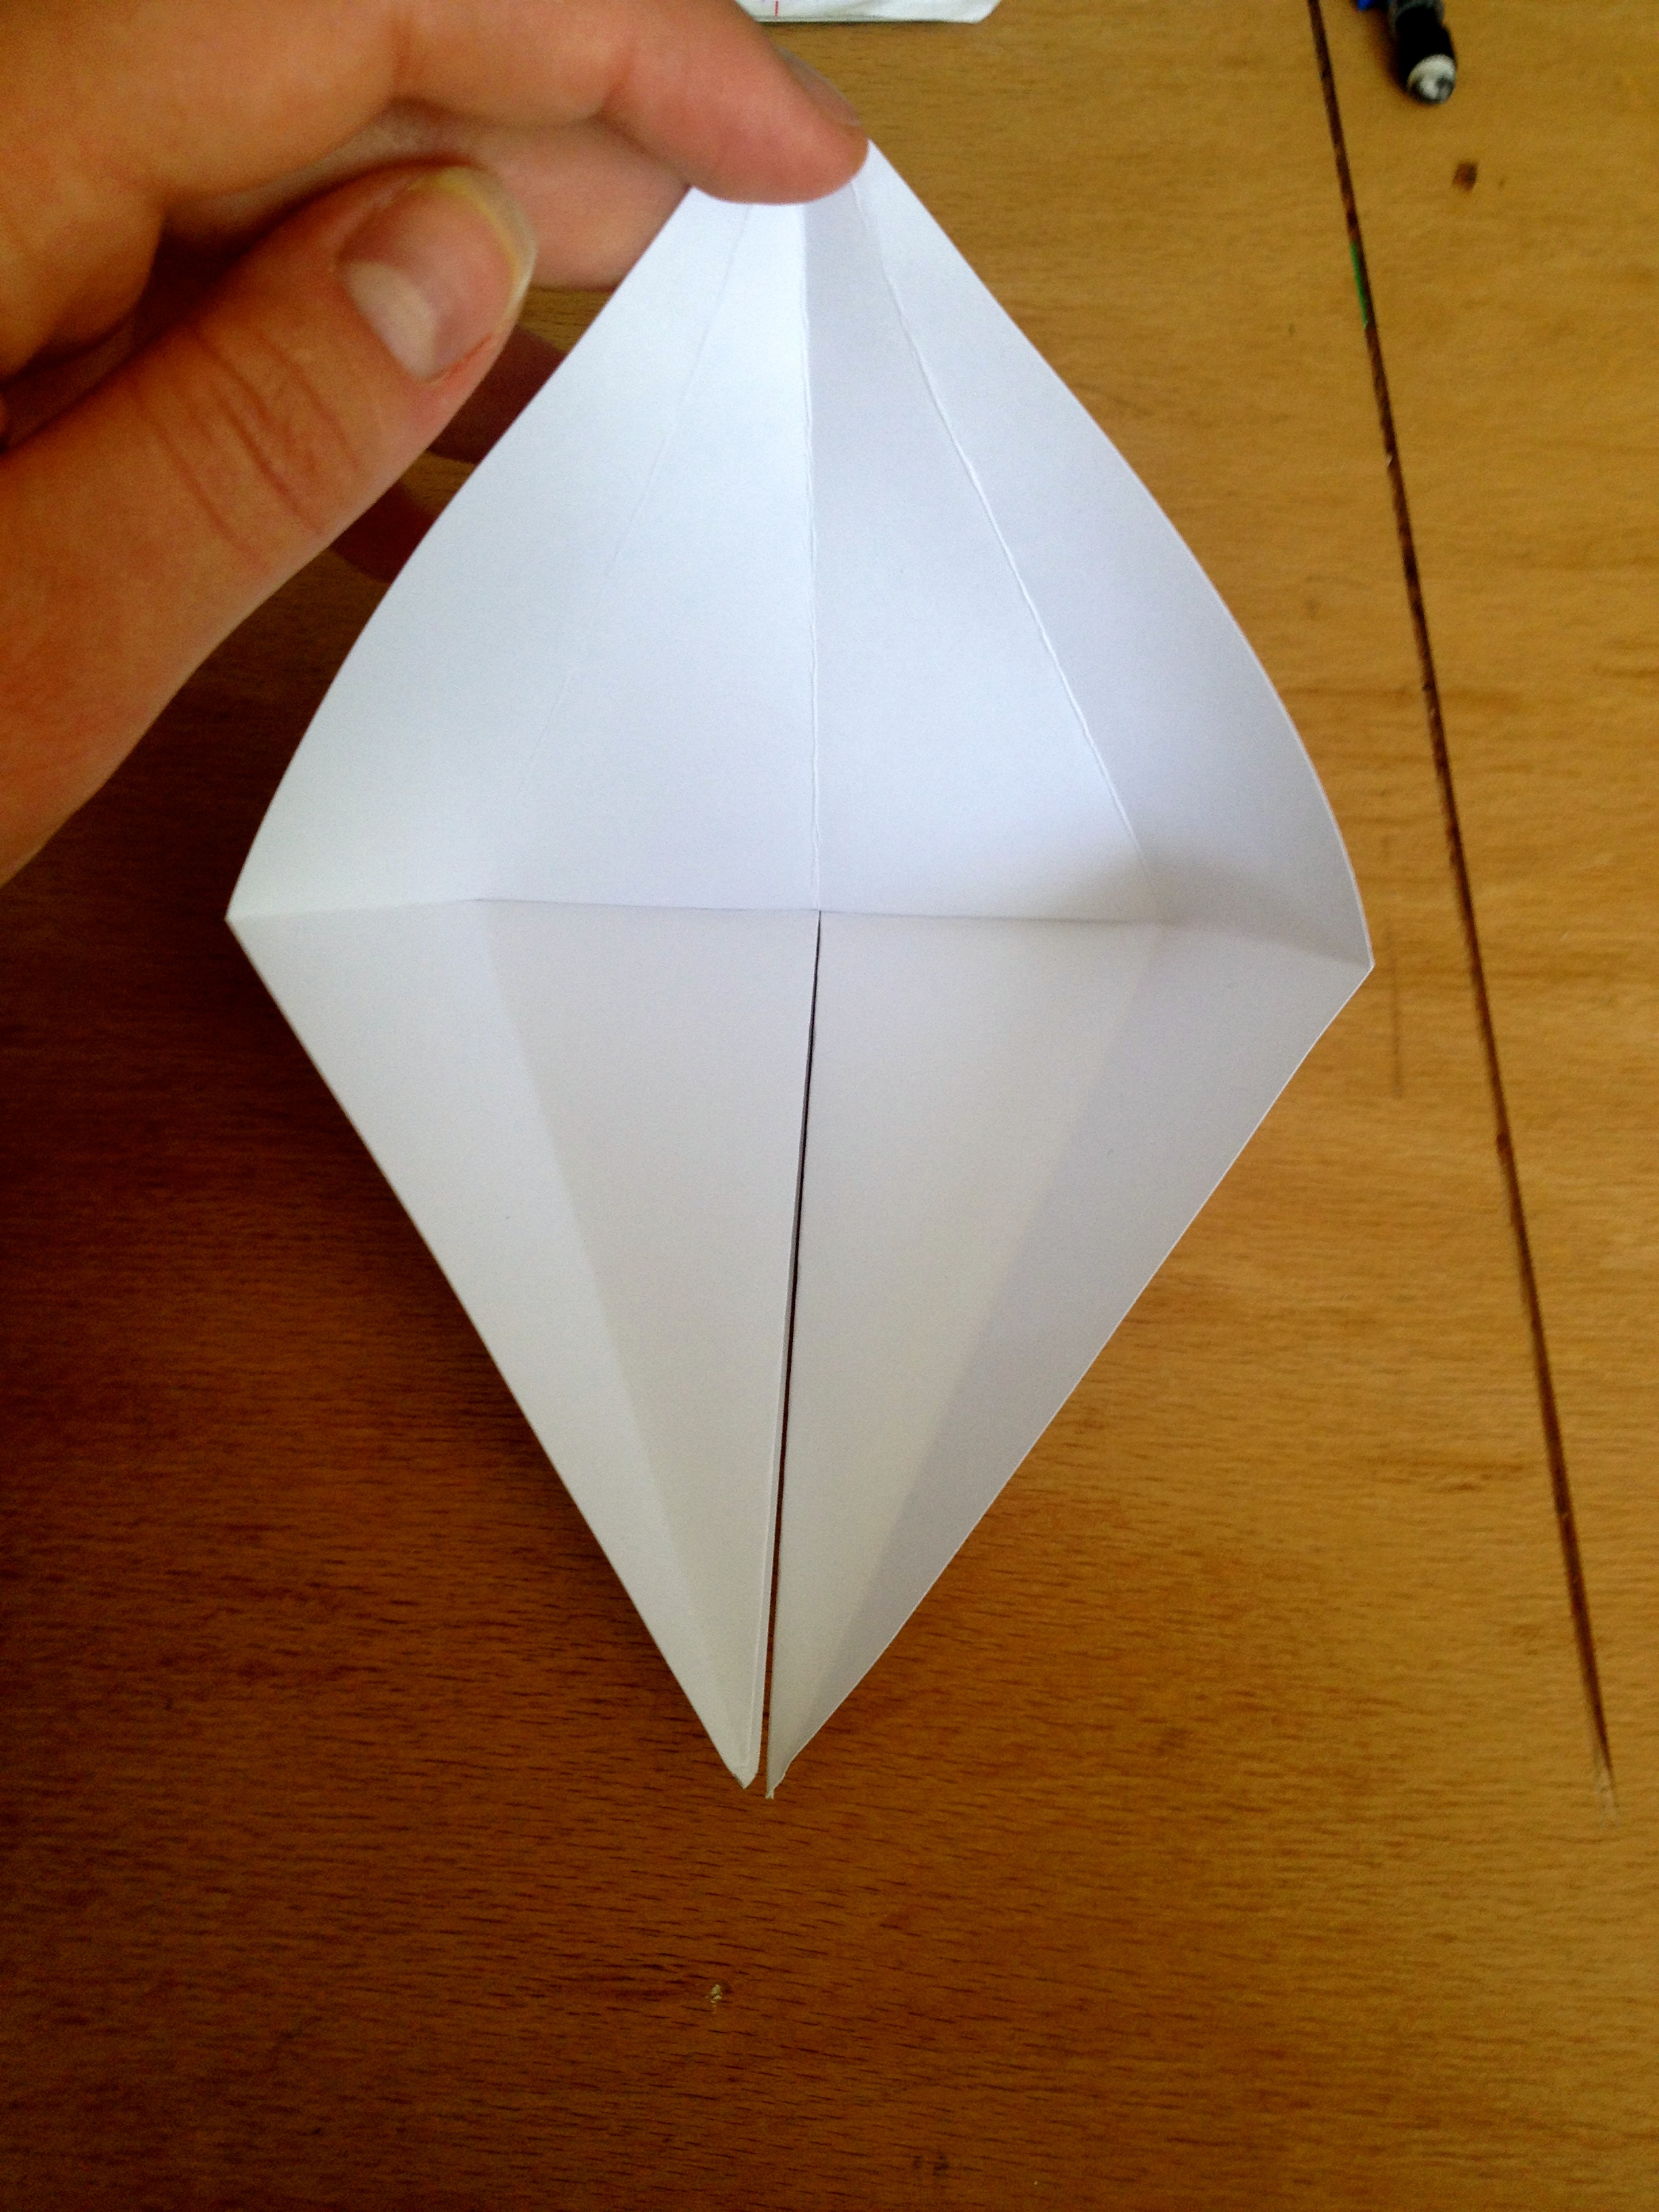
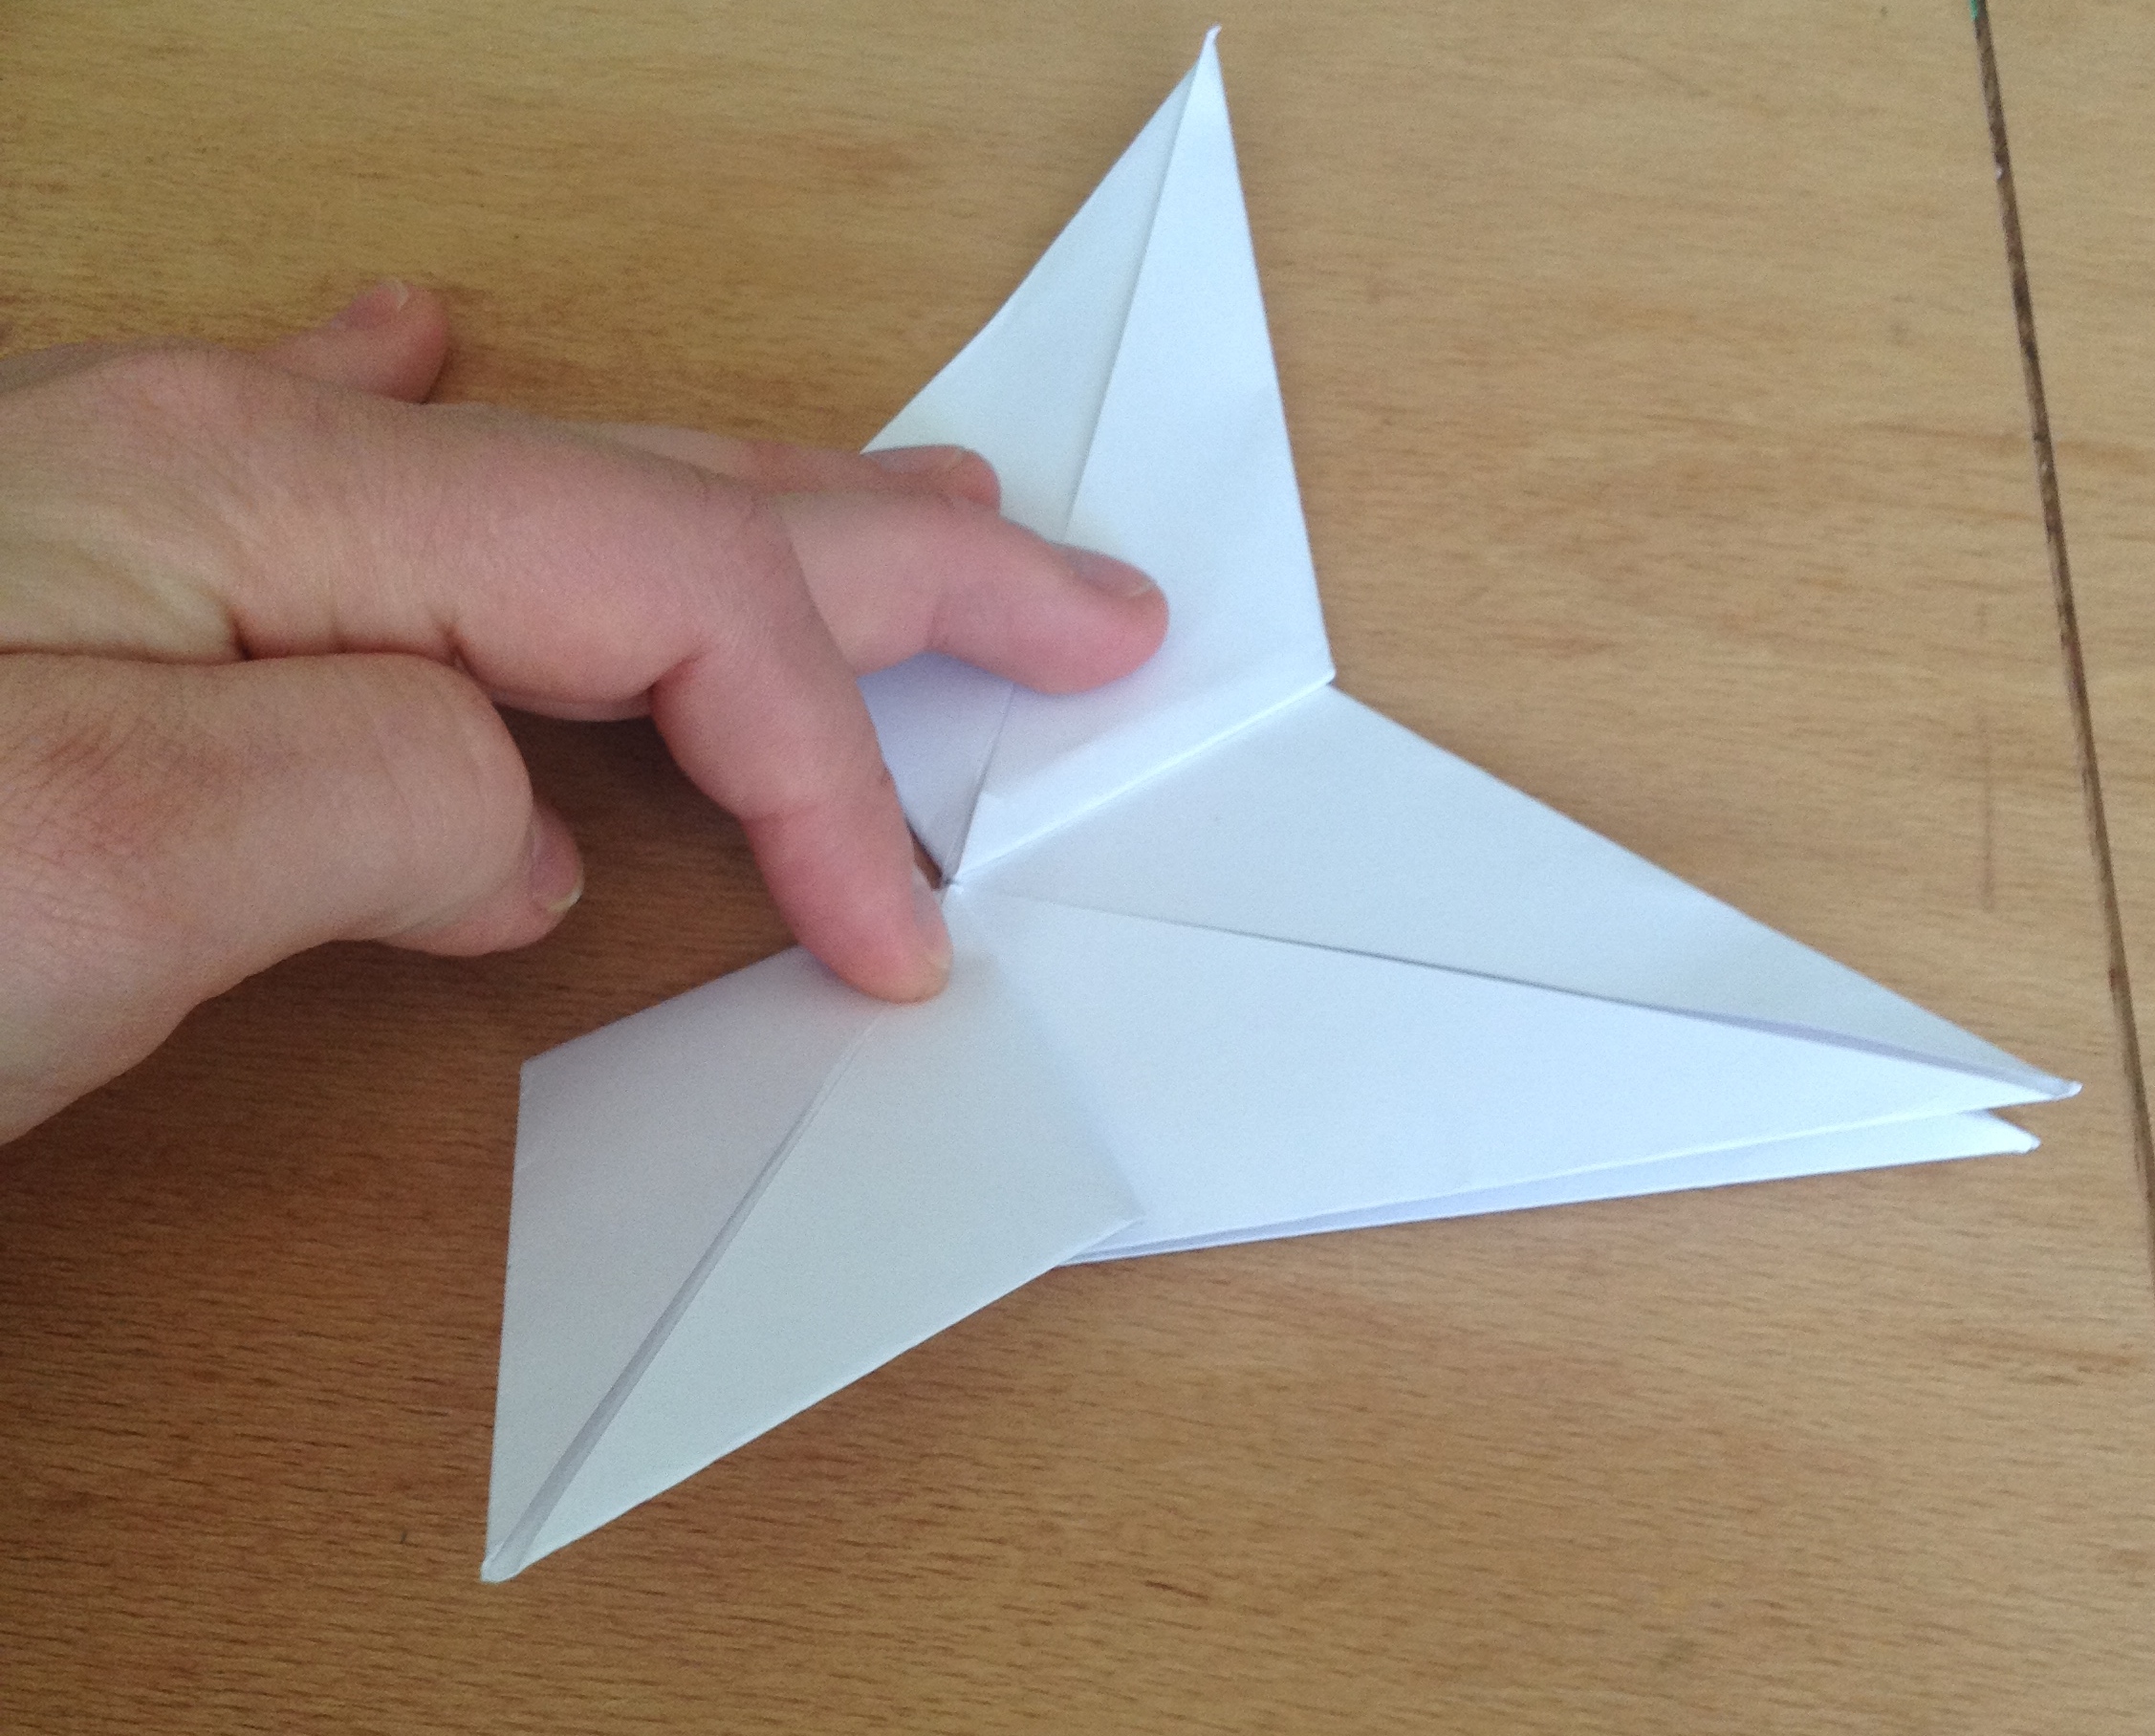
30. Fold the entire thing in half.
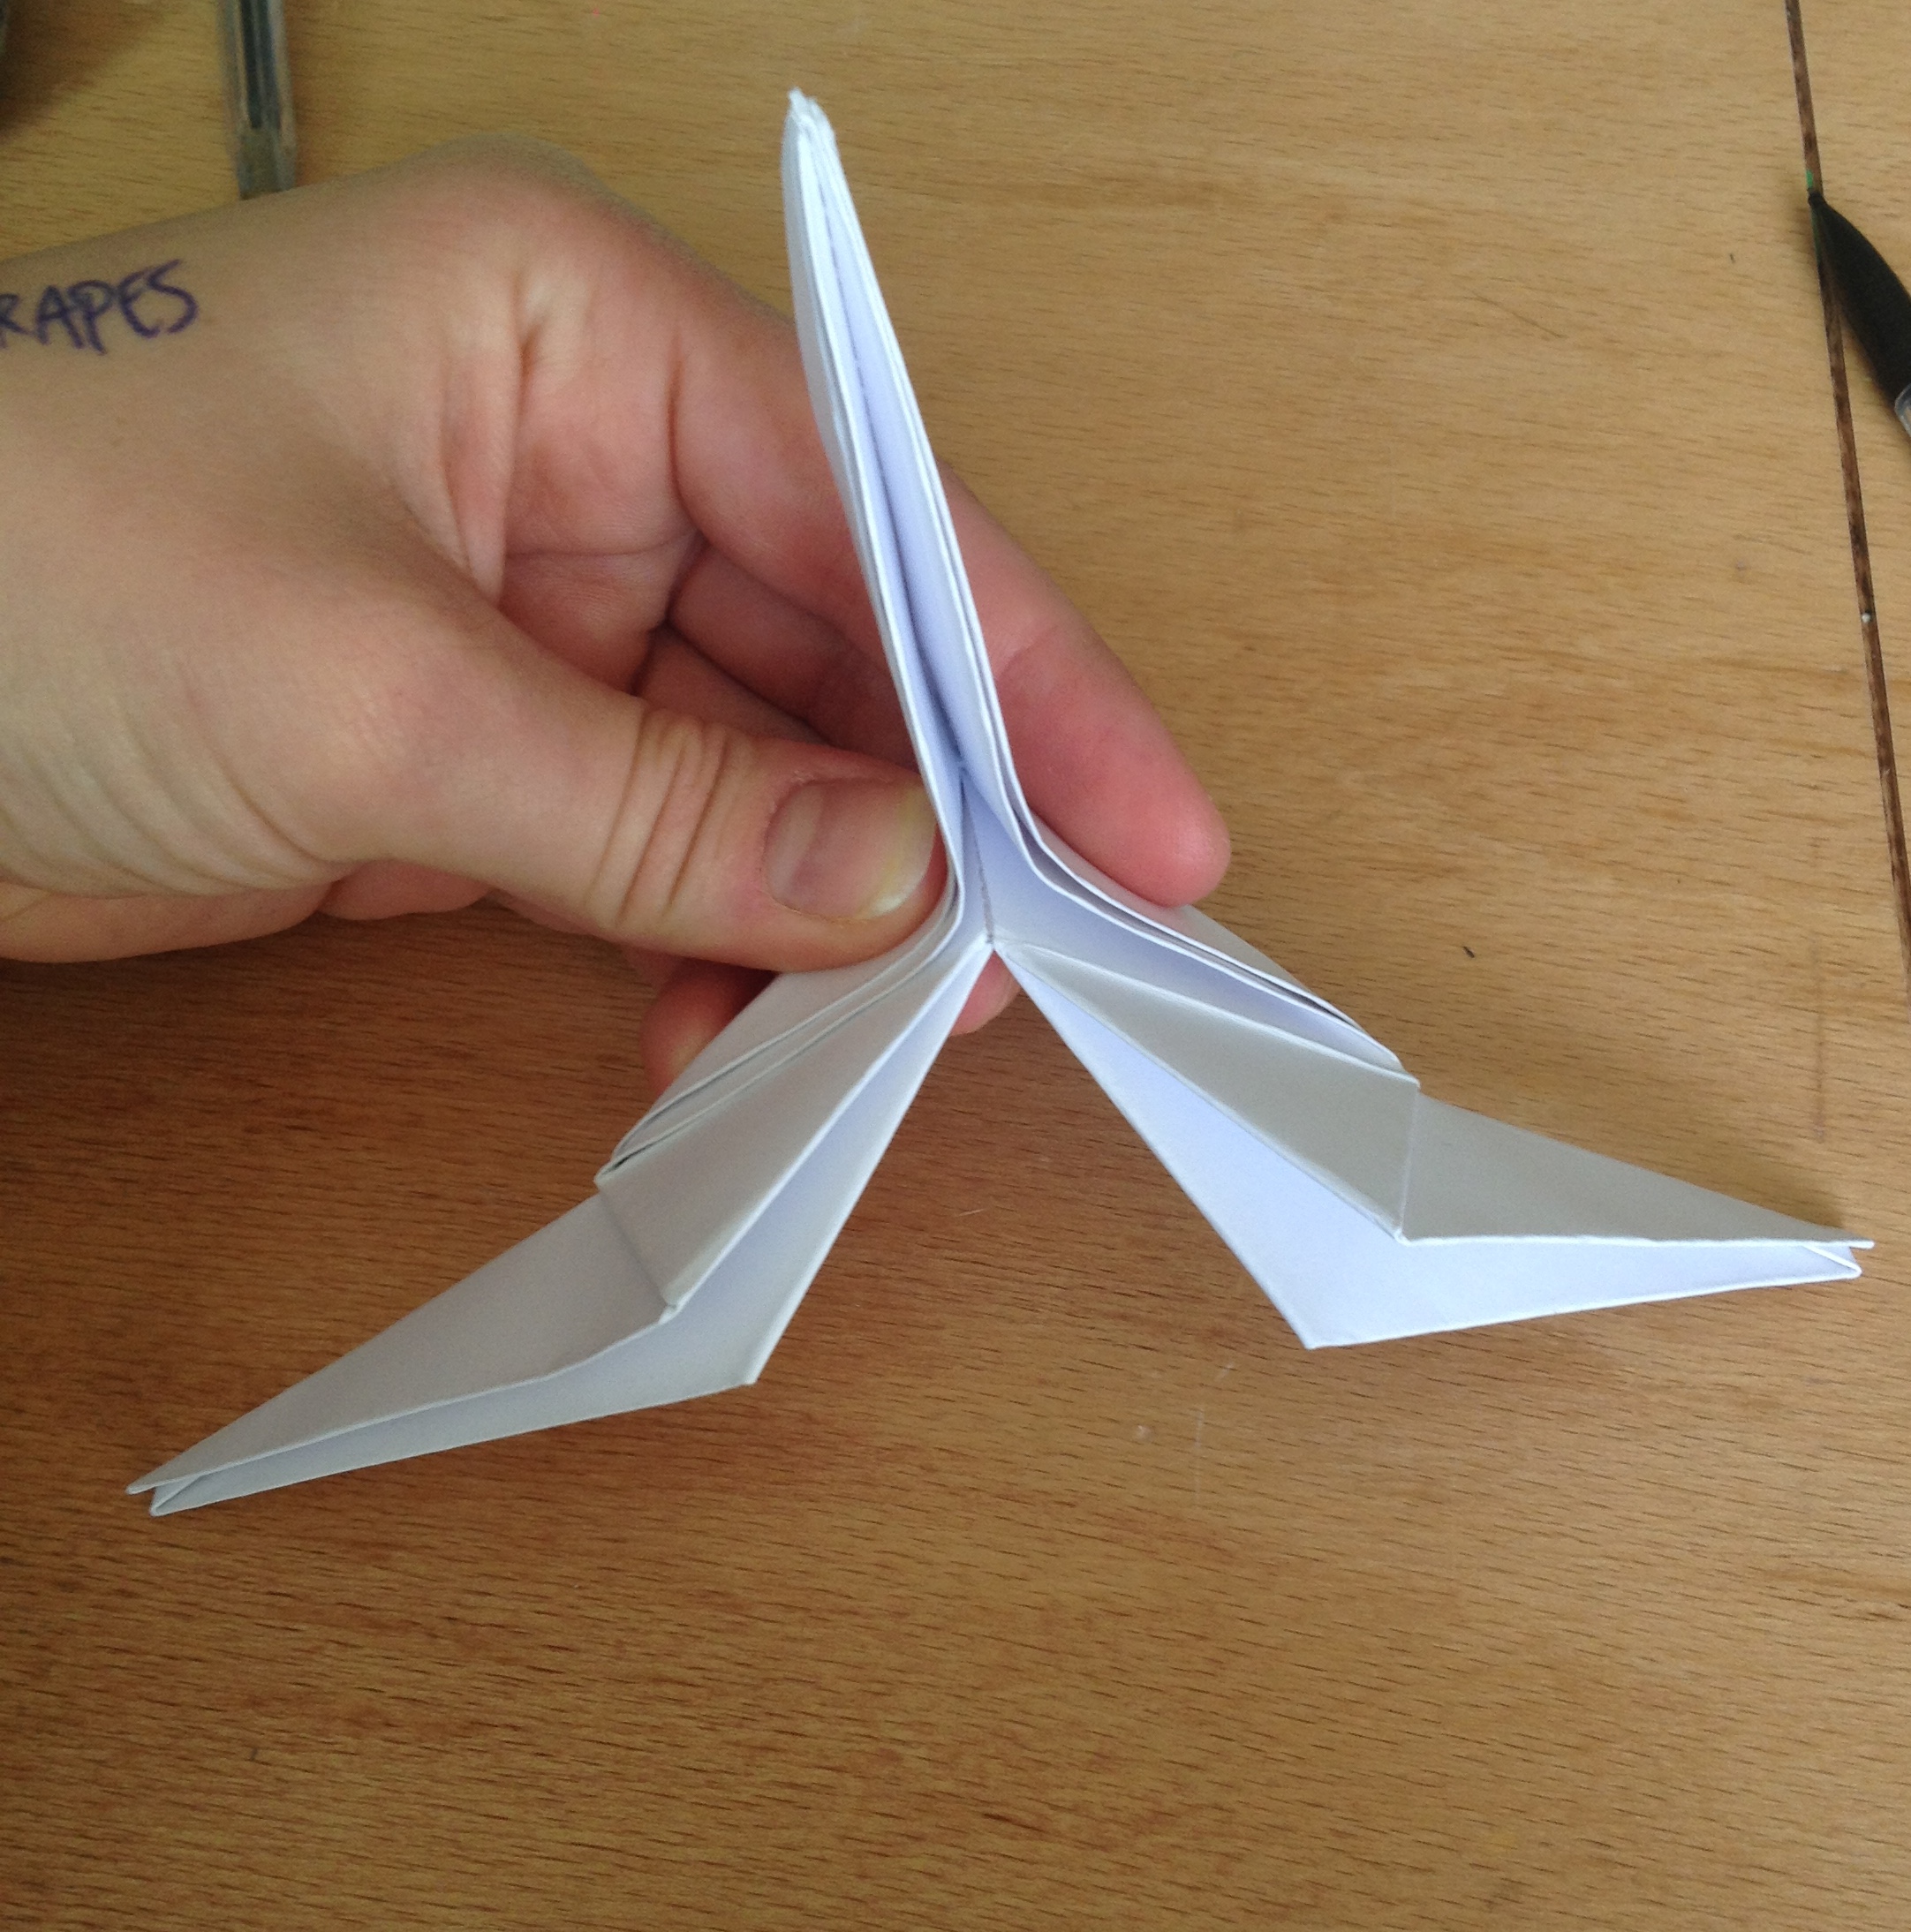

From the side, you will see the top two points separate a bit.
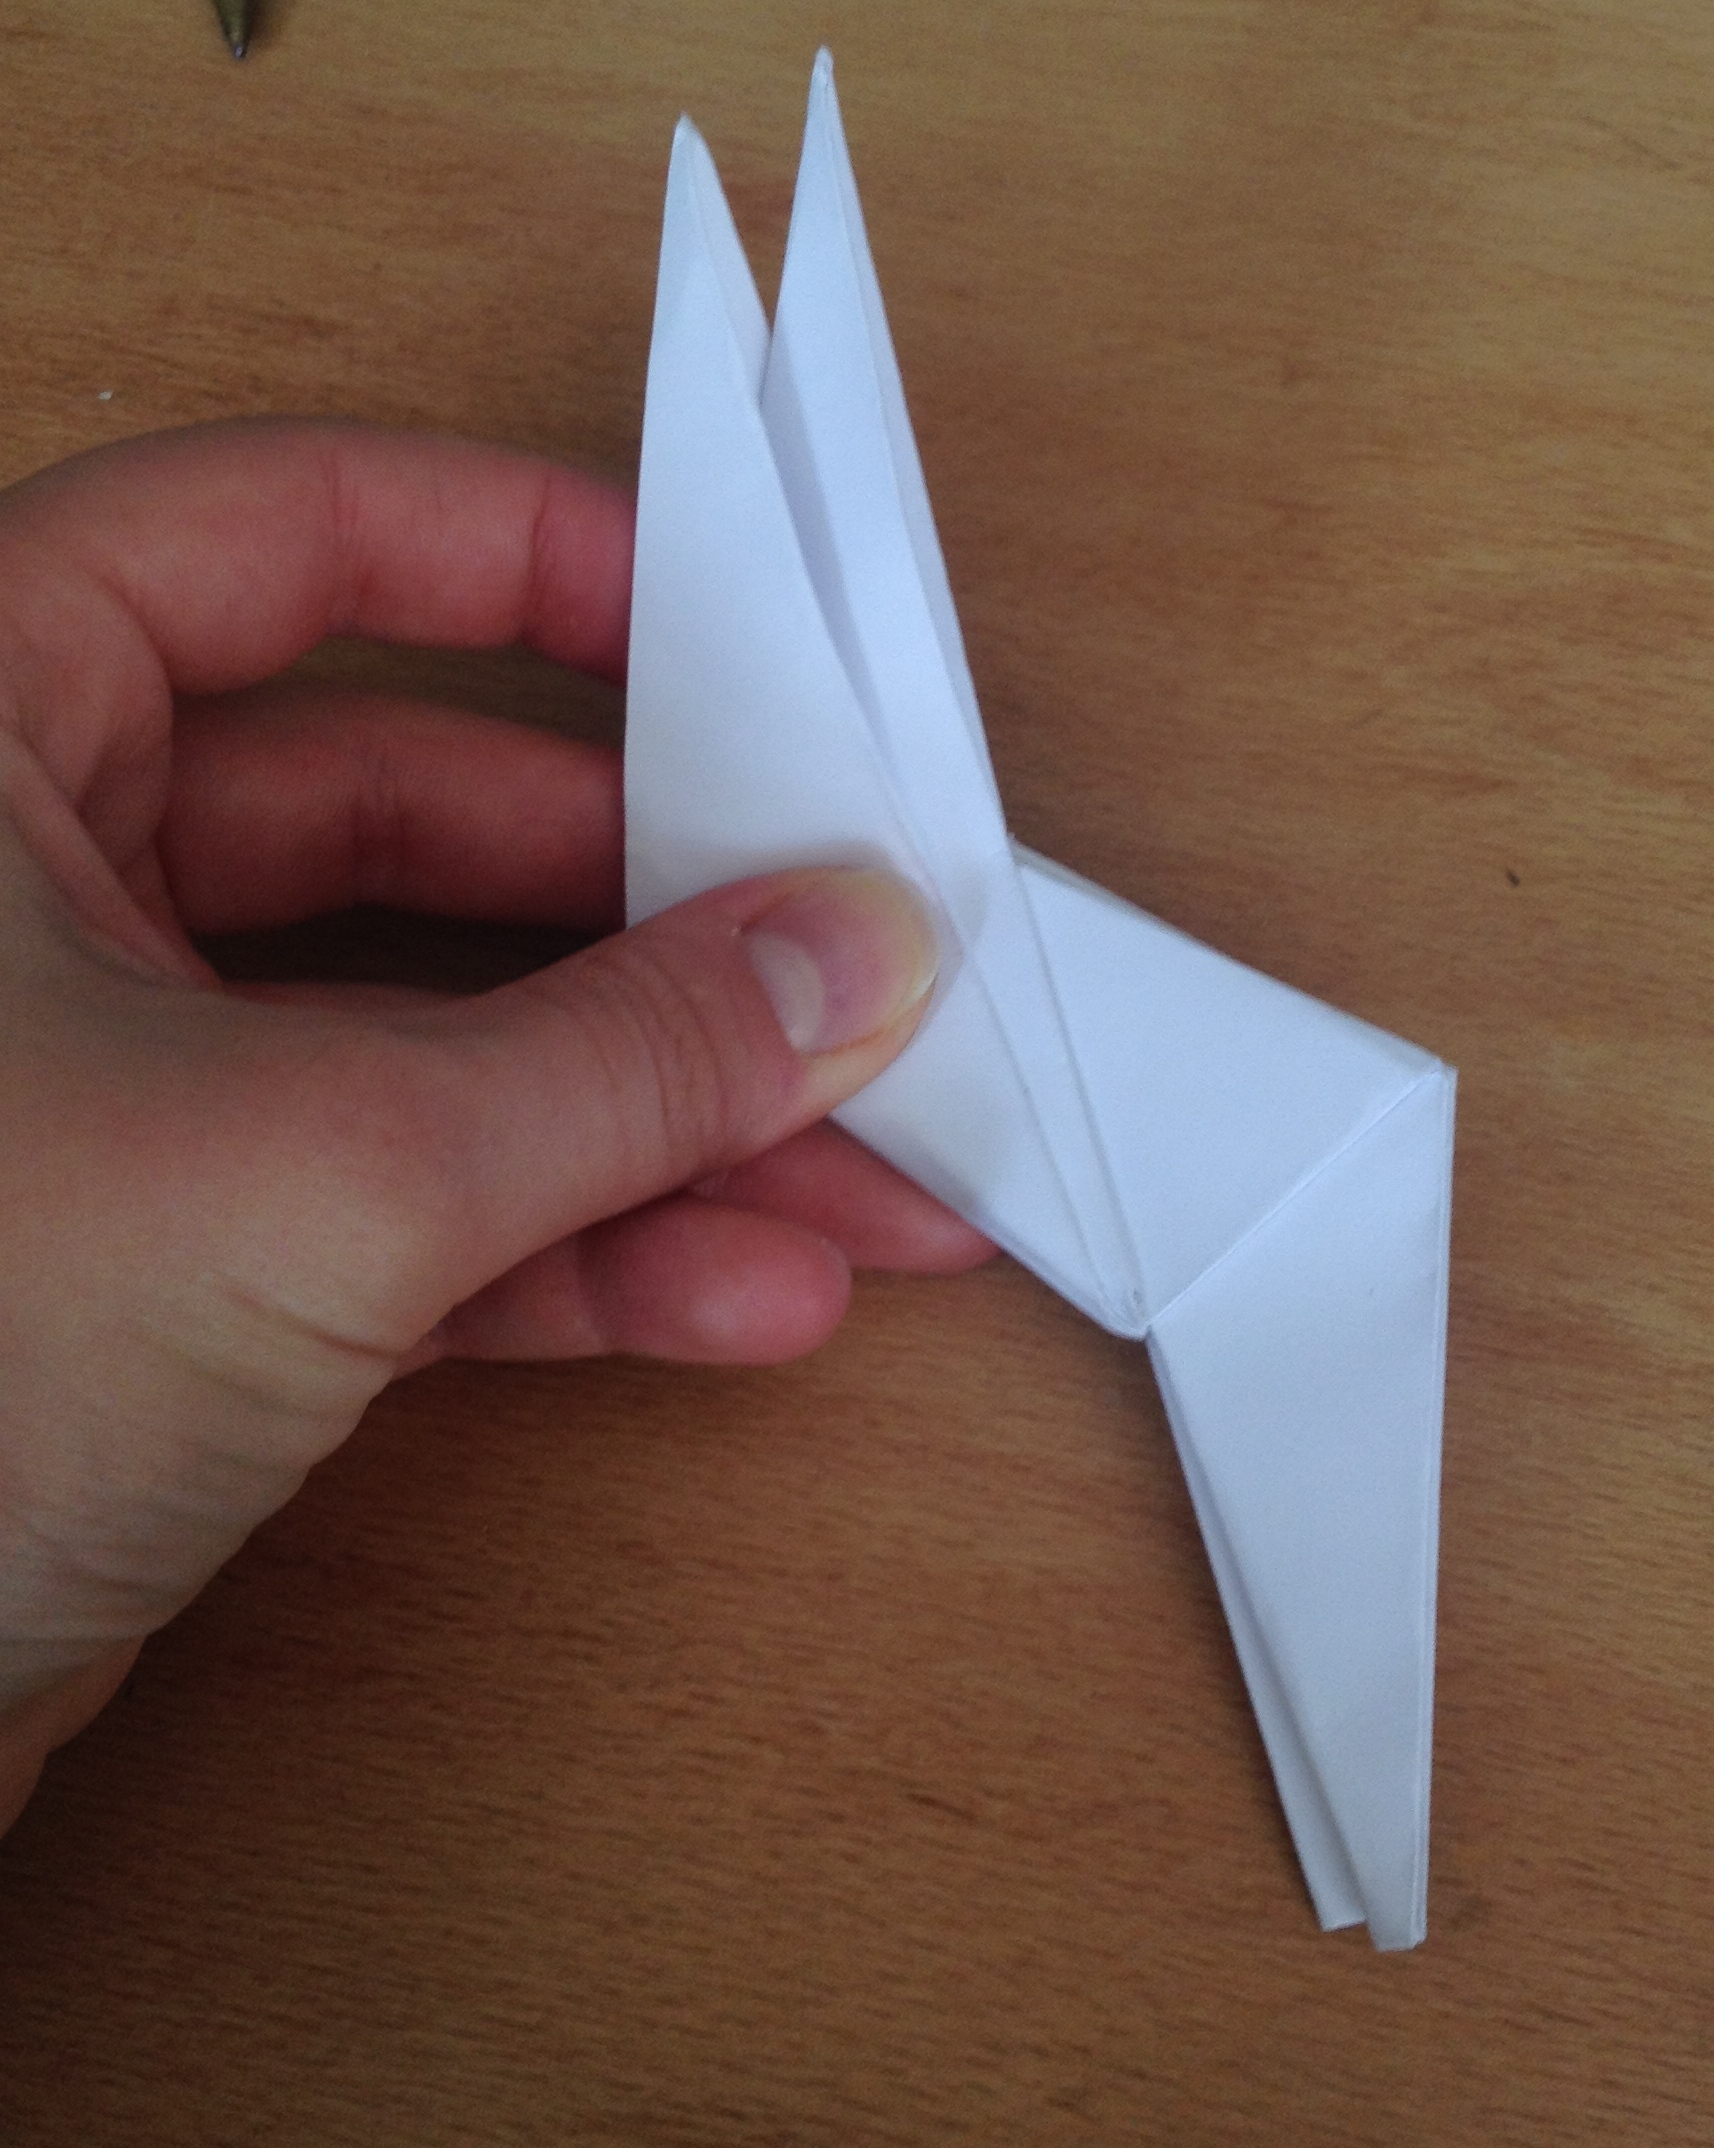
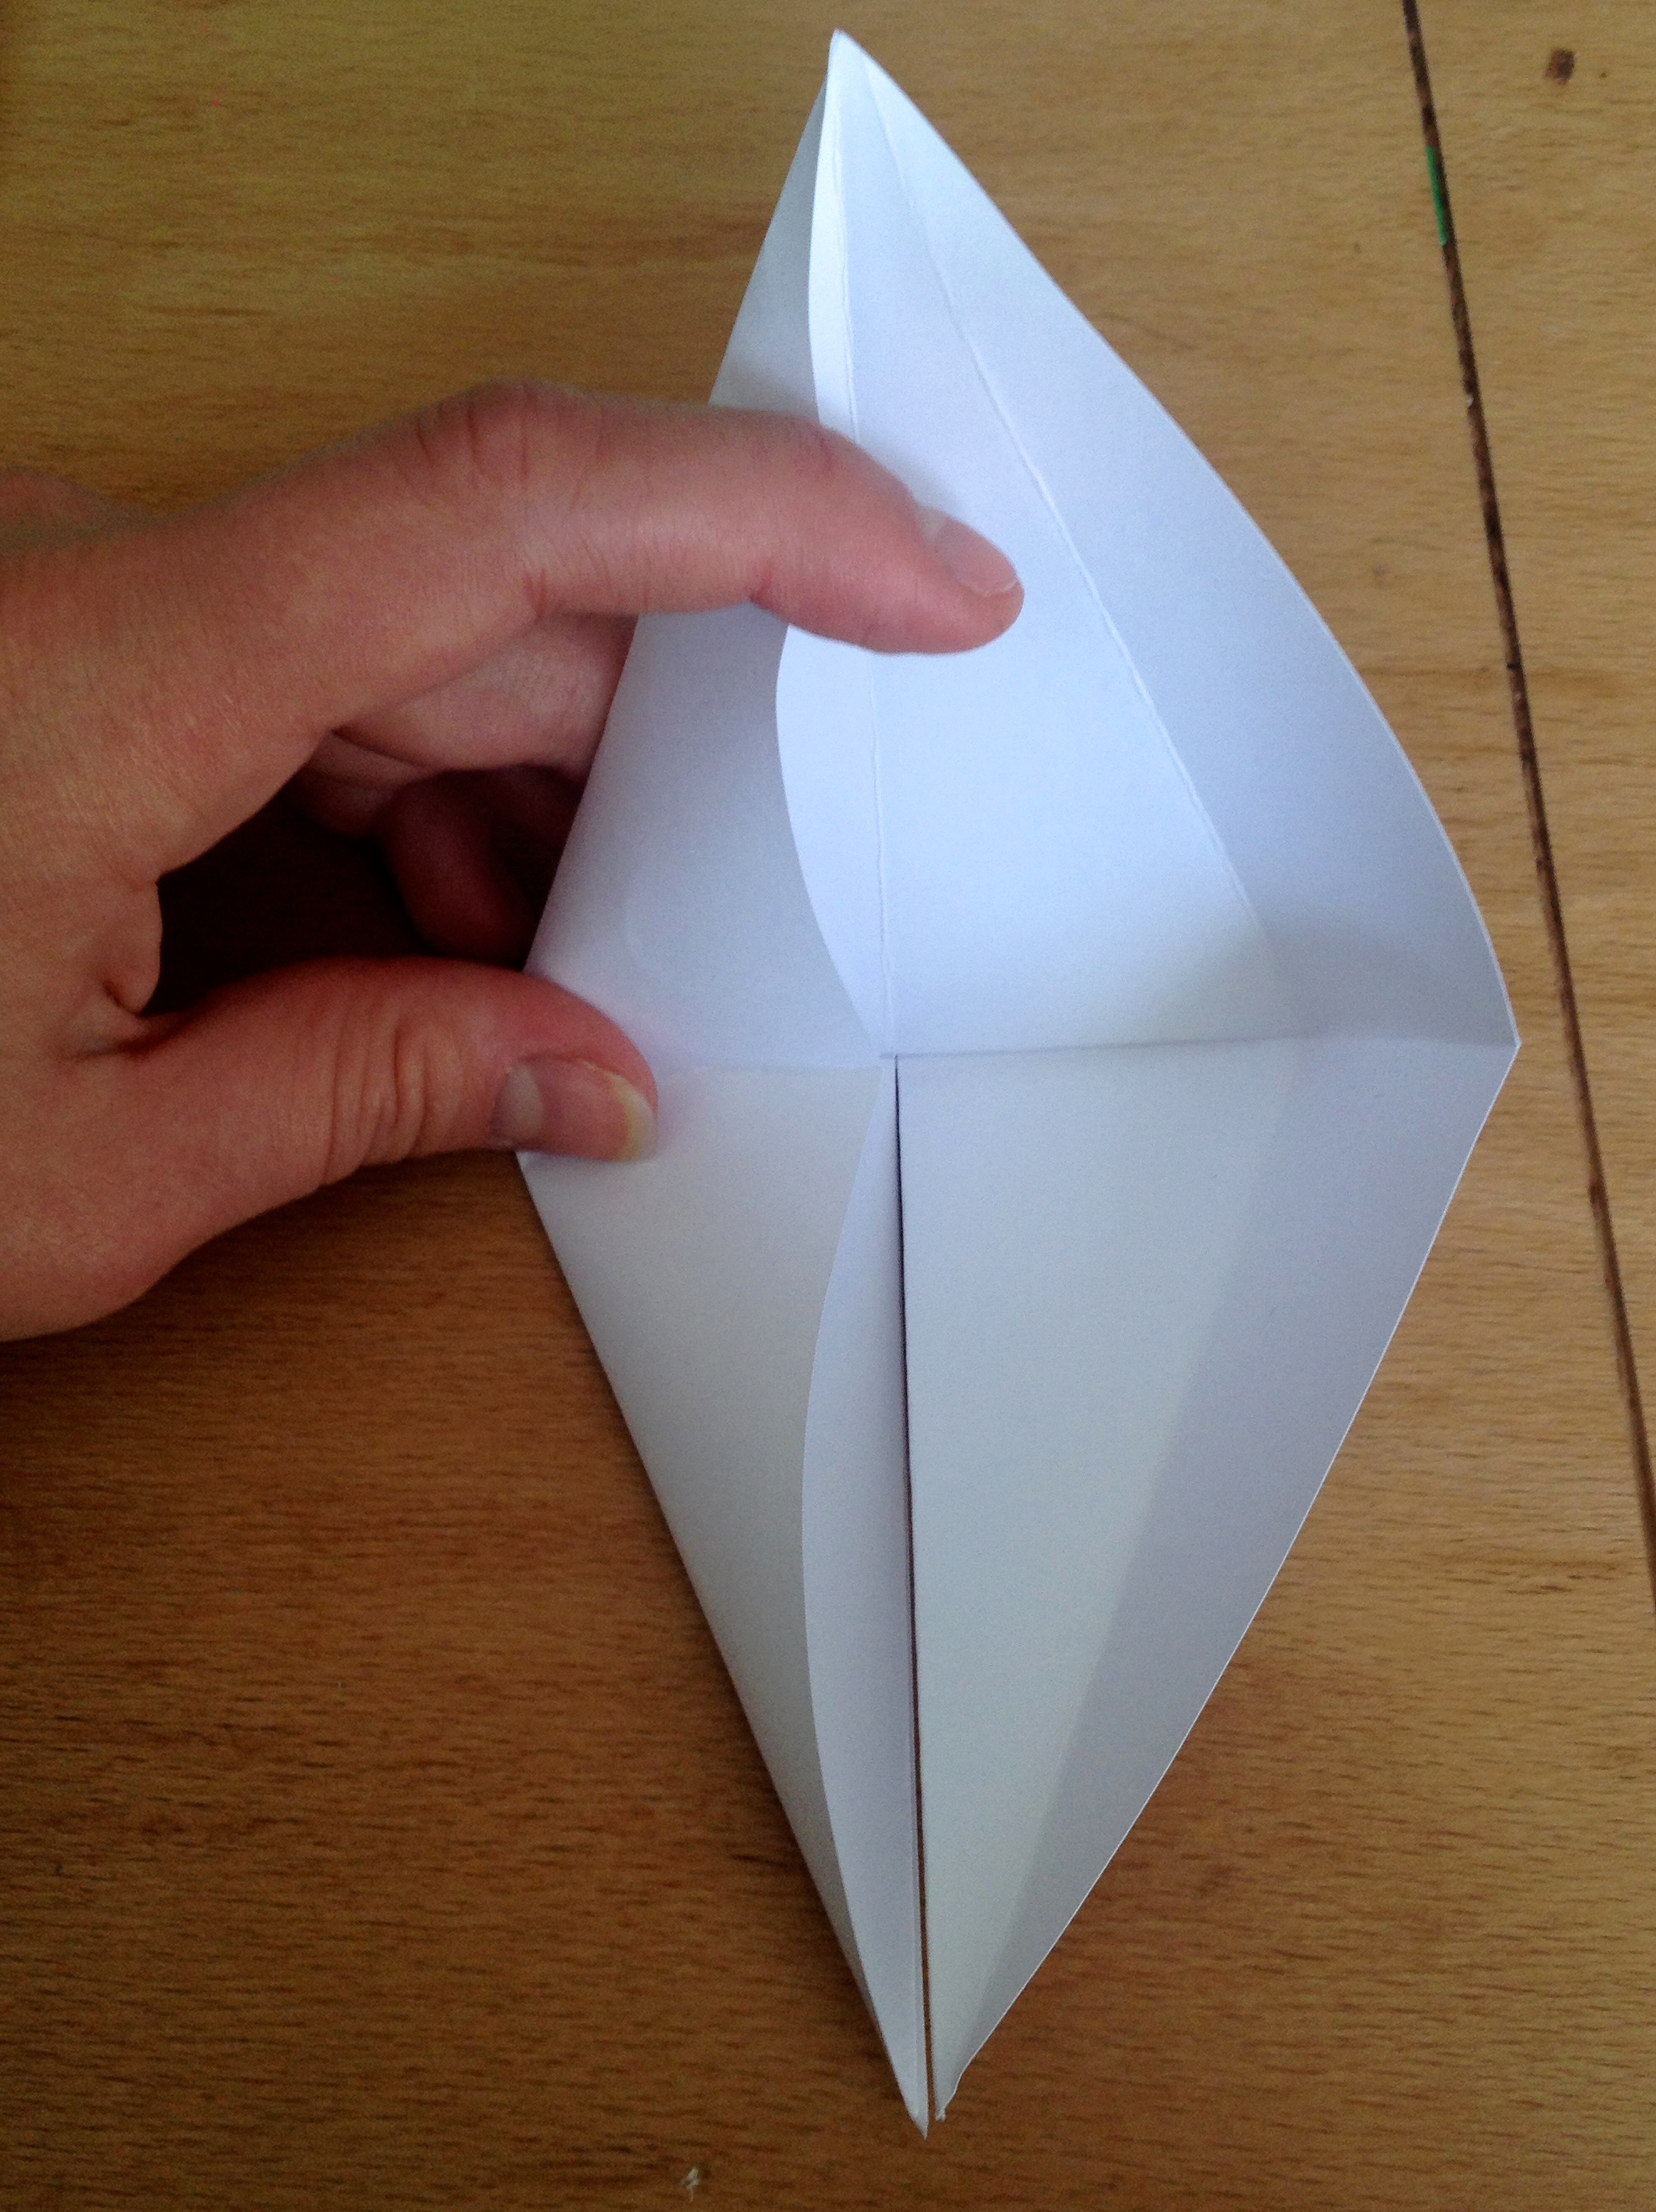
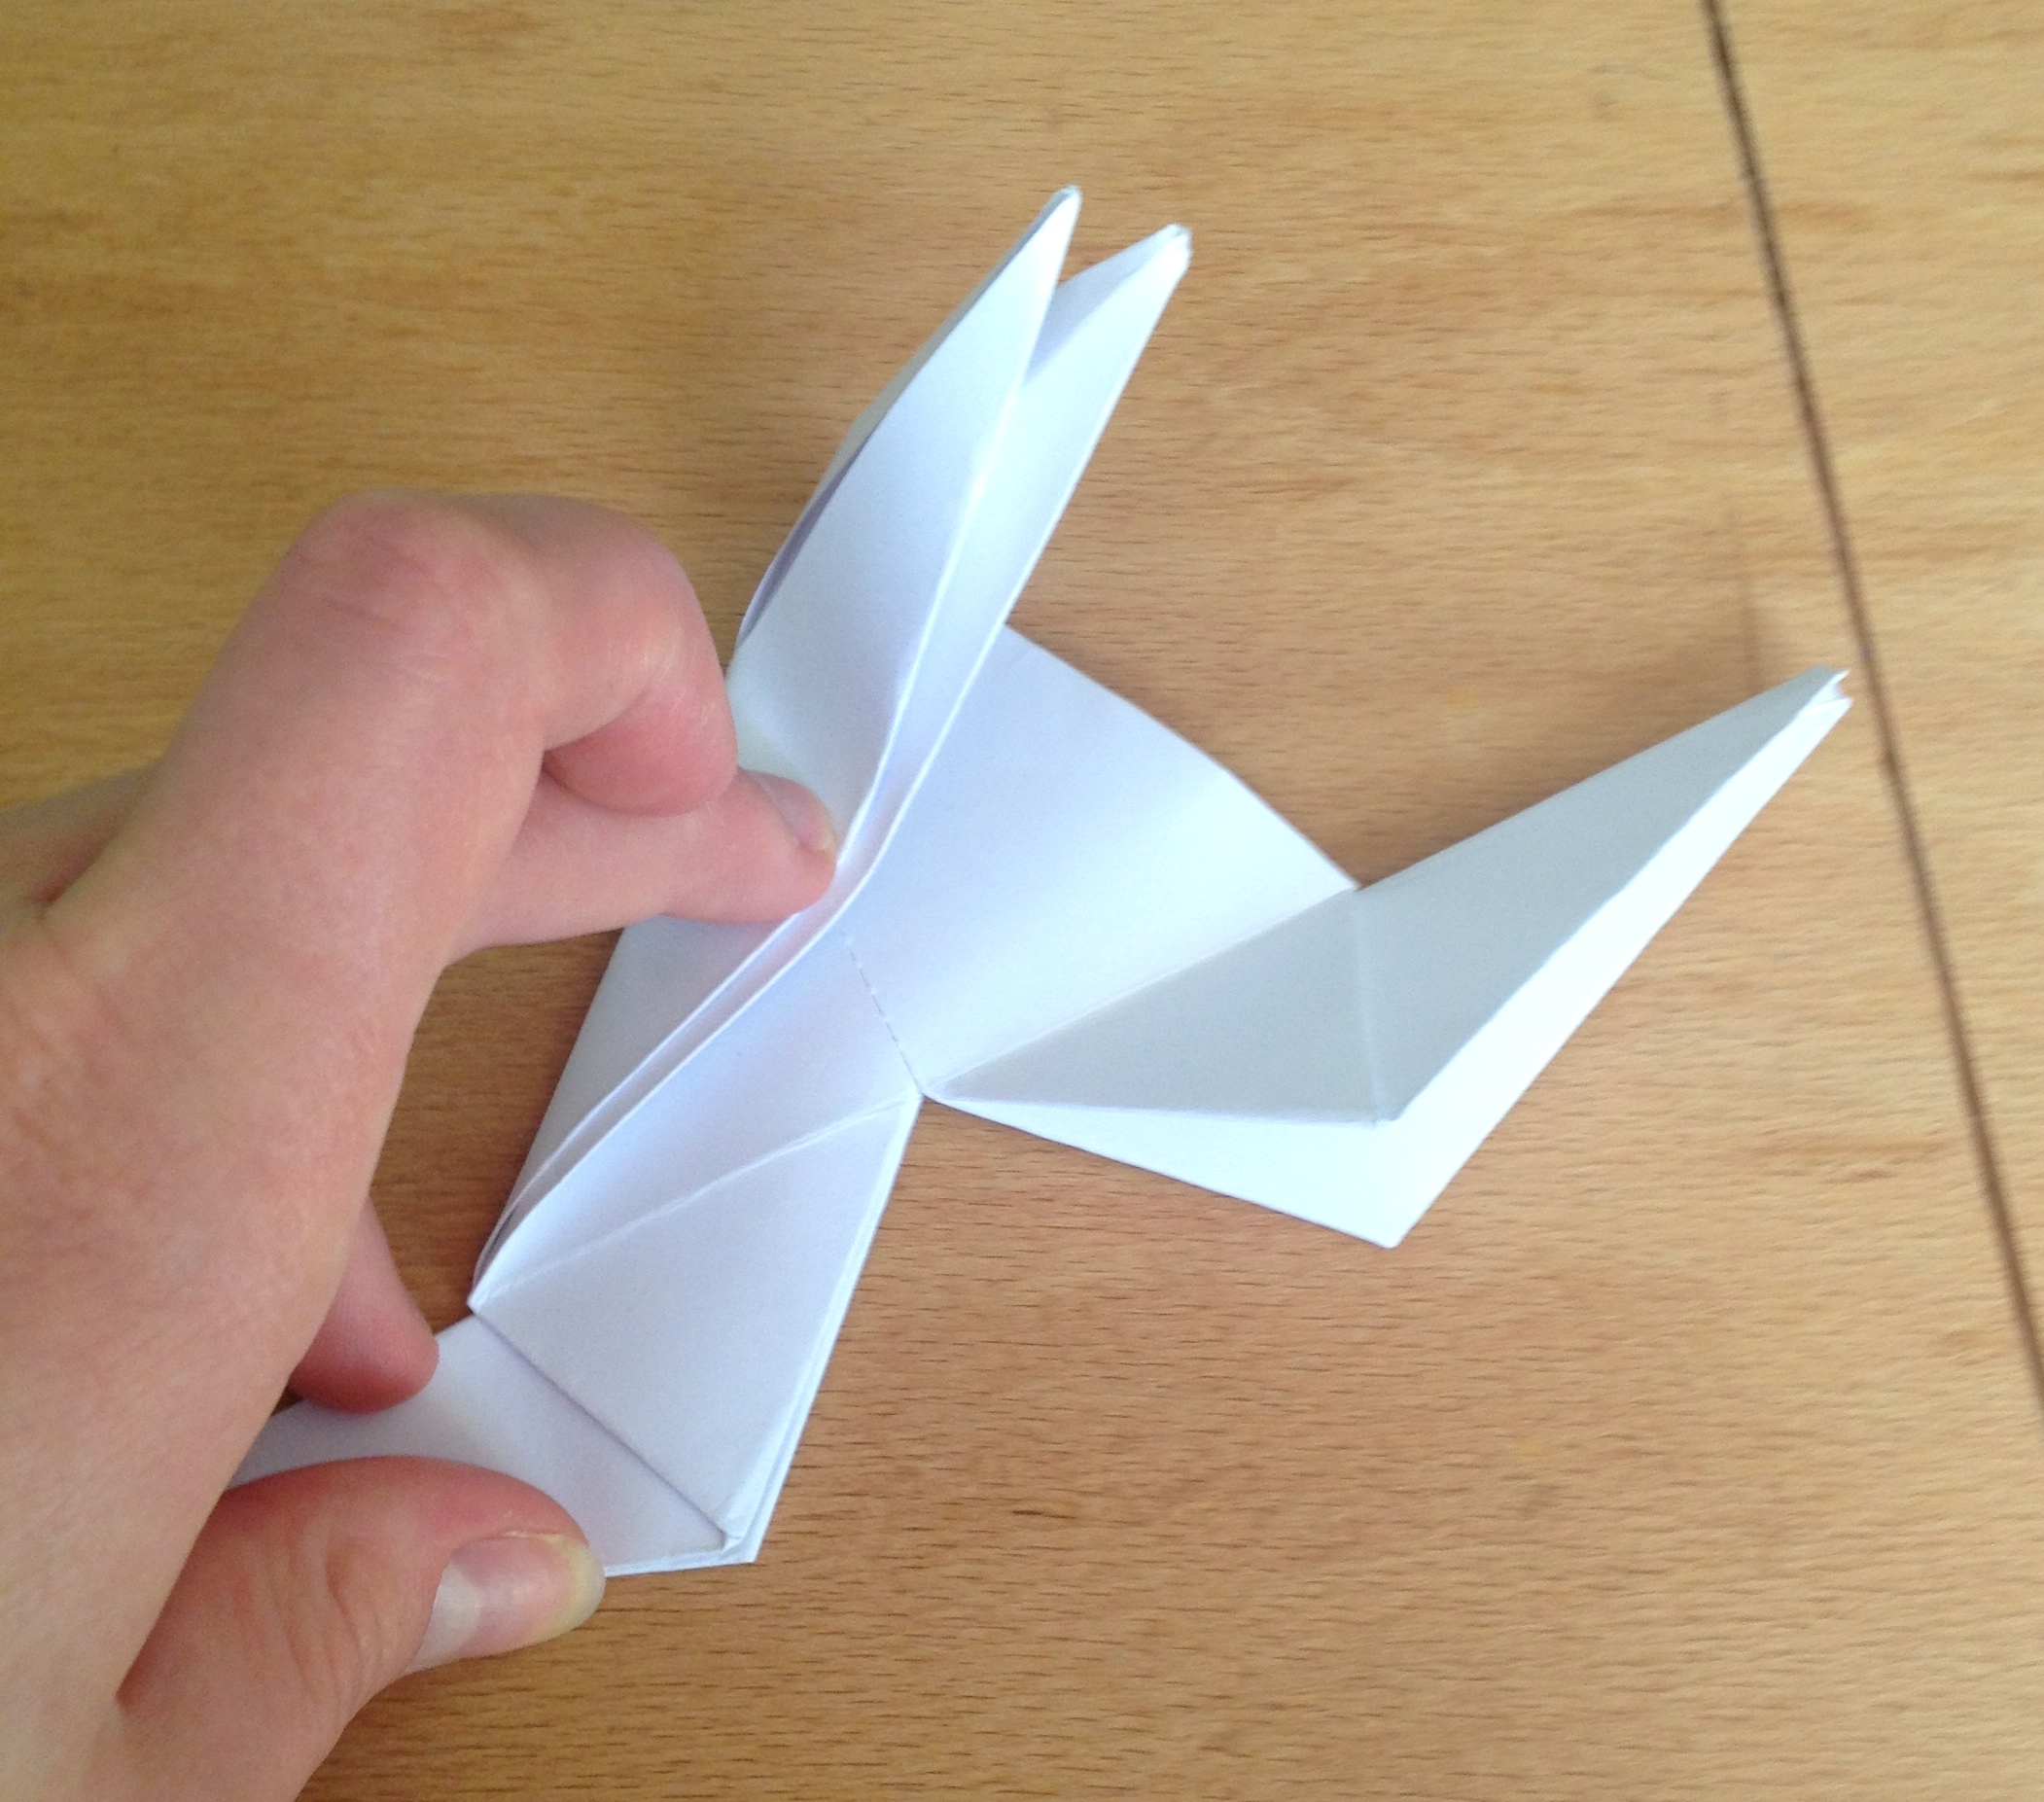
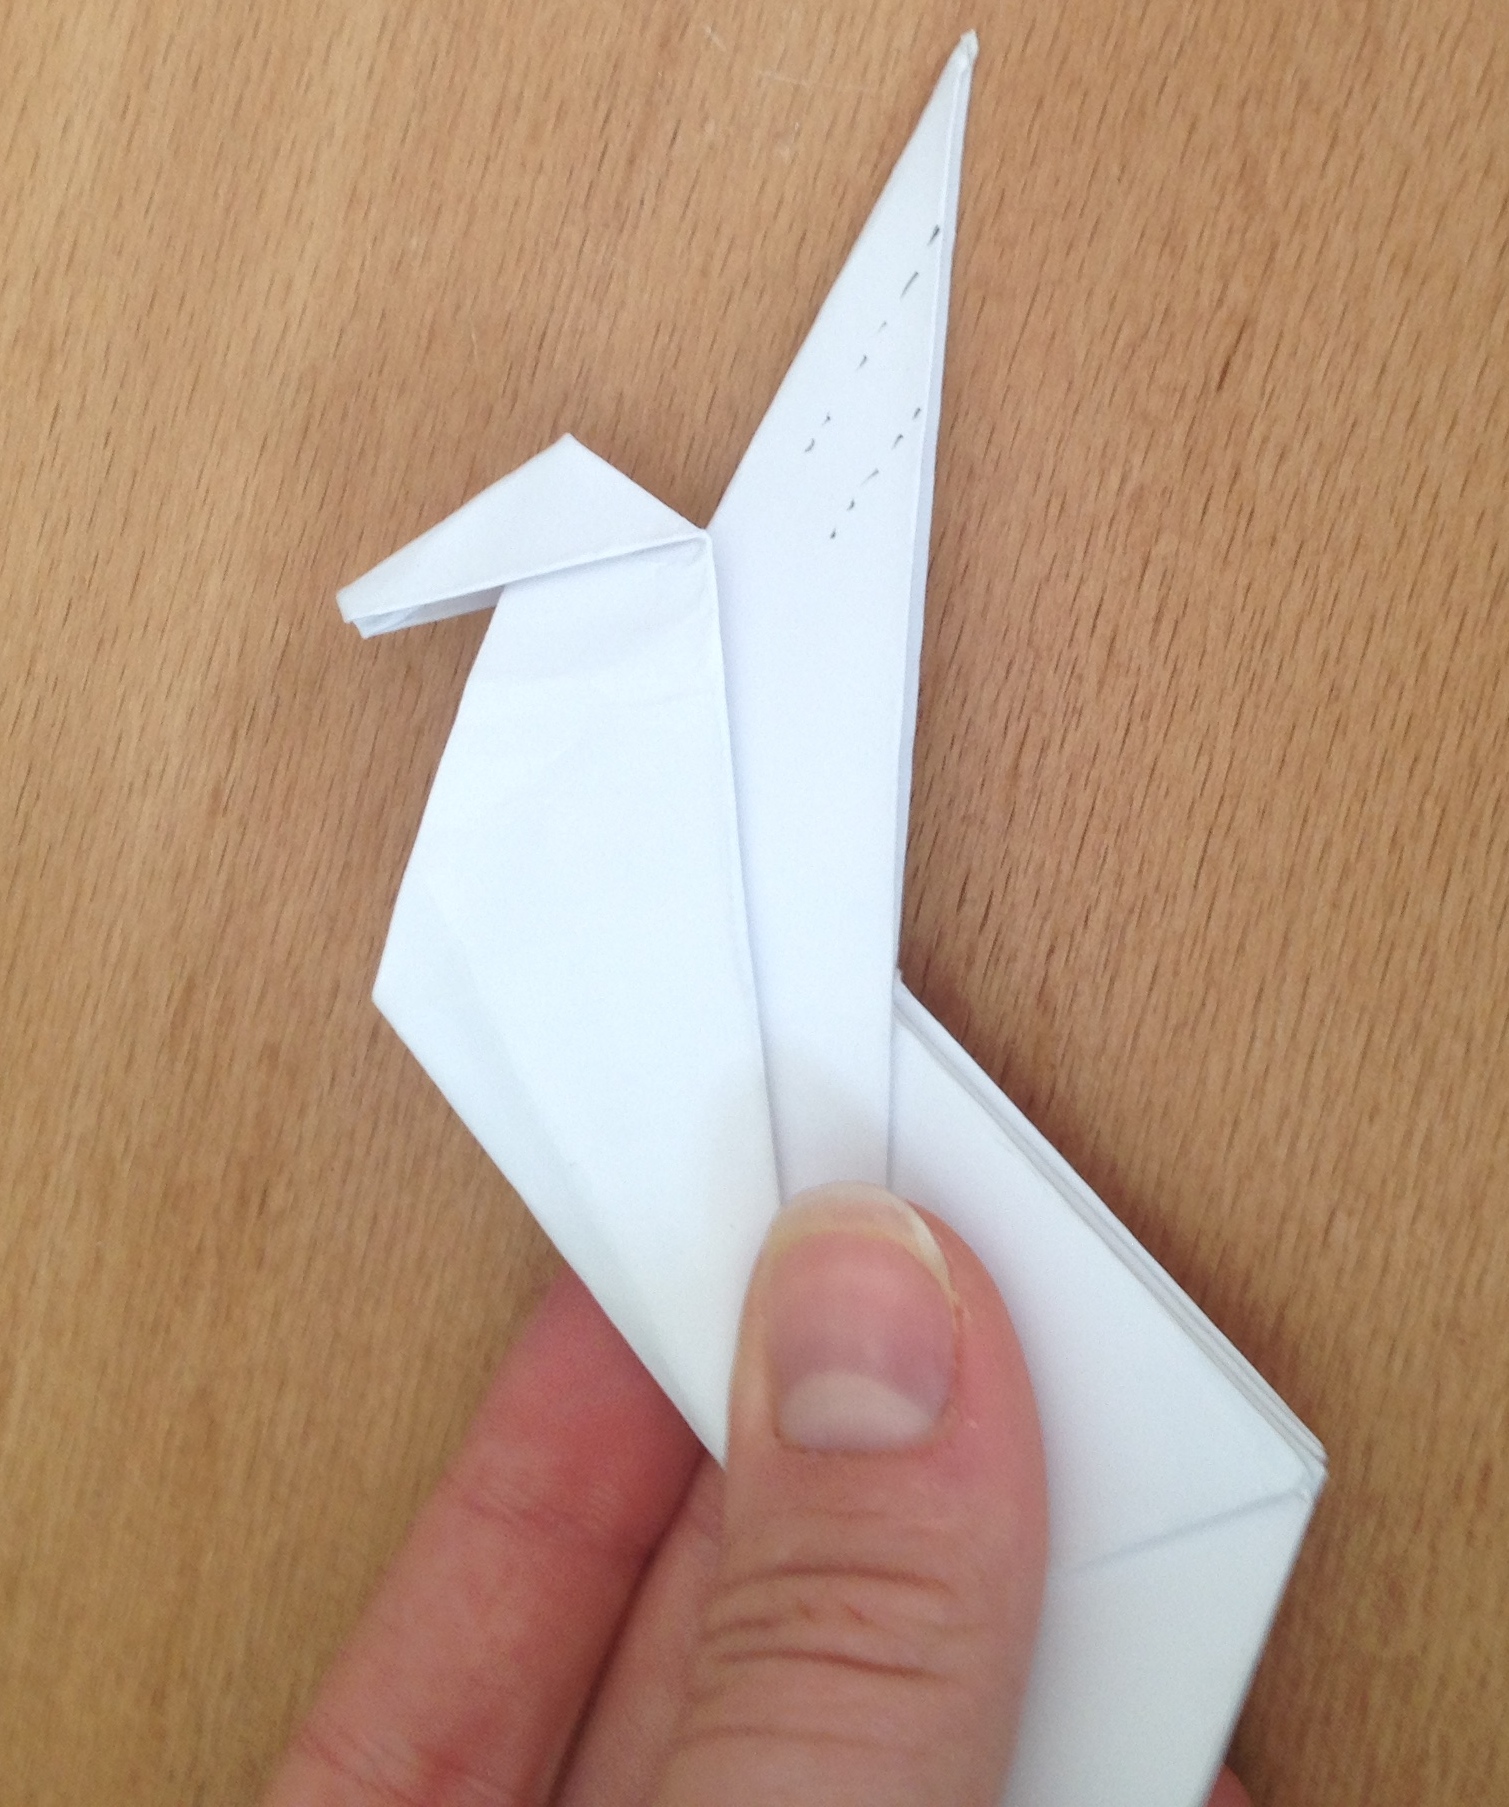
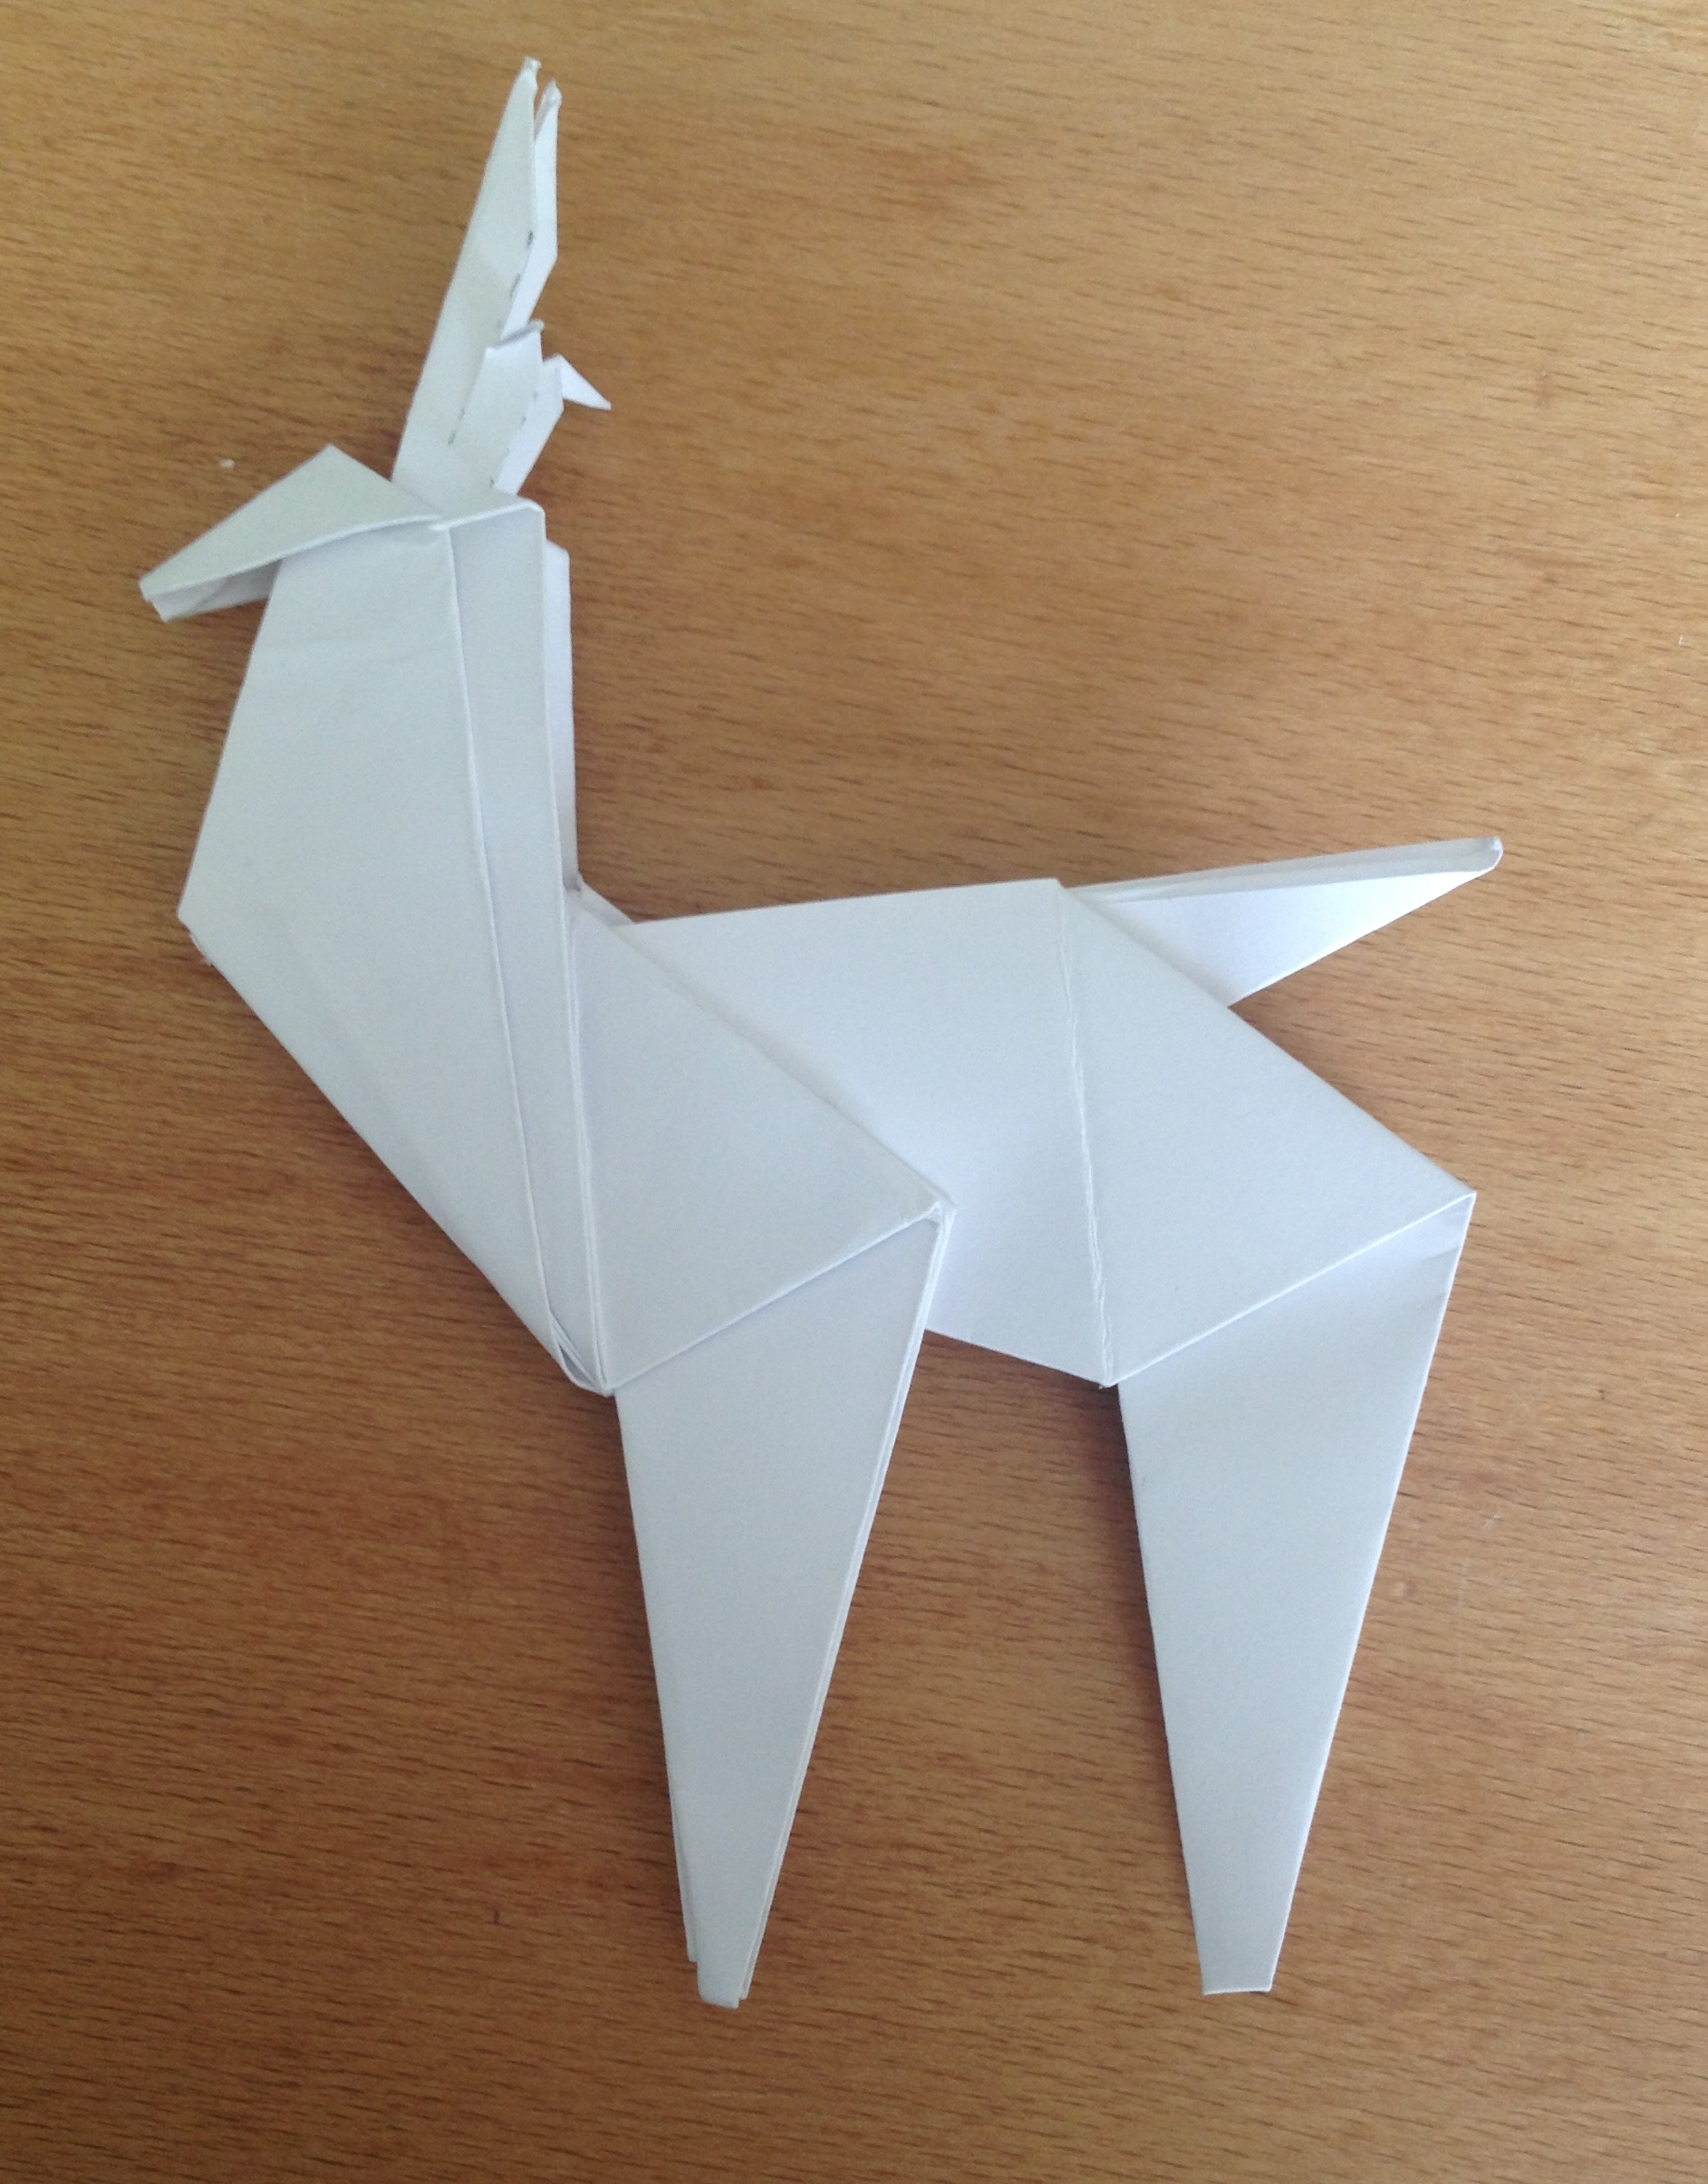
31. Crease down the front tip in both directions. This will become the reindeer head.

32. Now open the front points folds

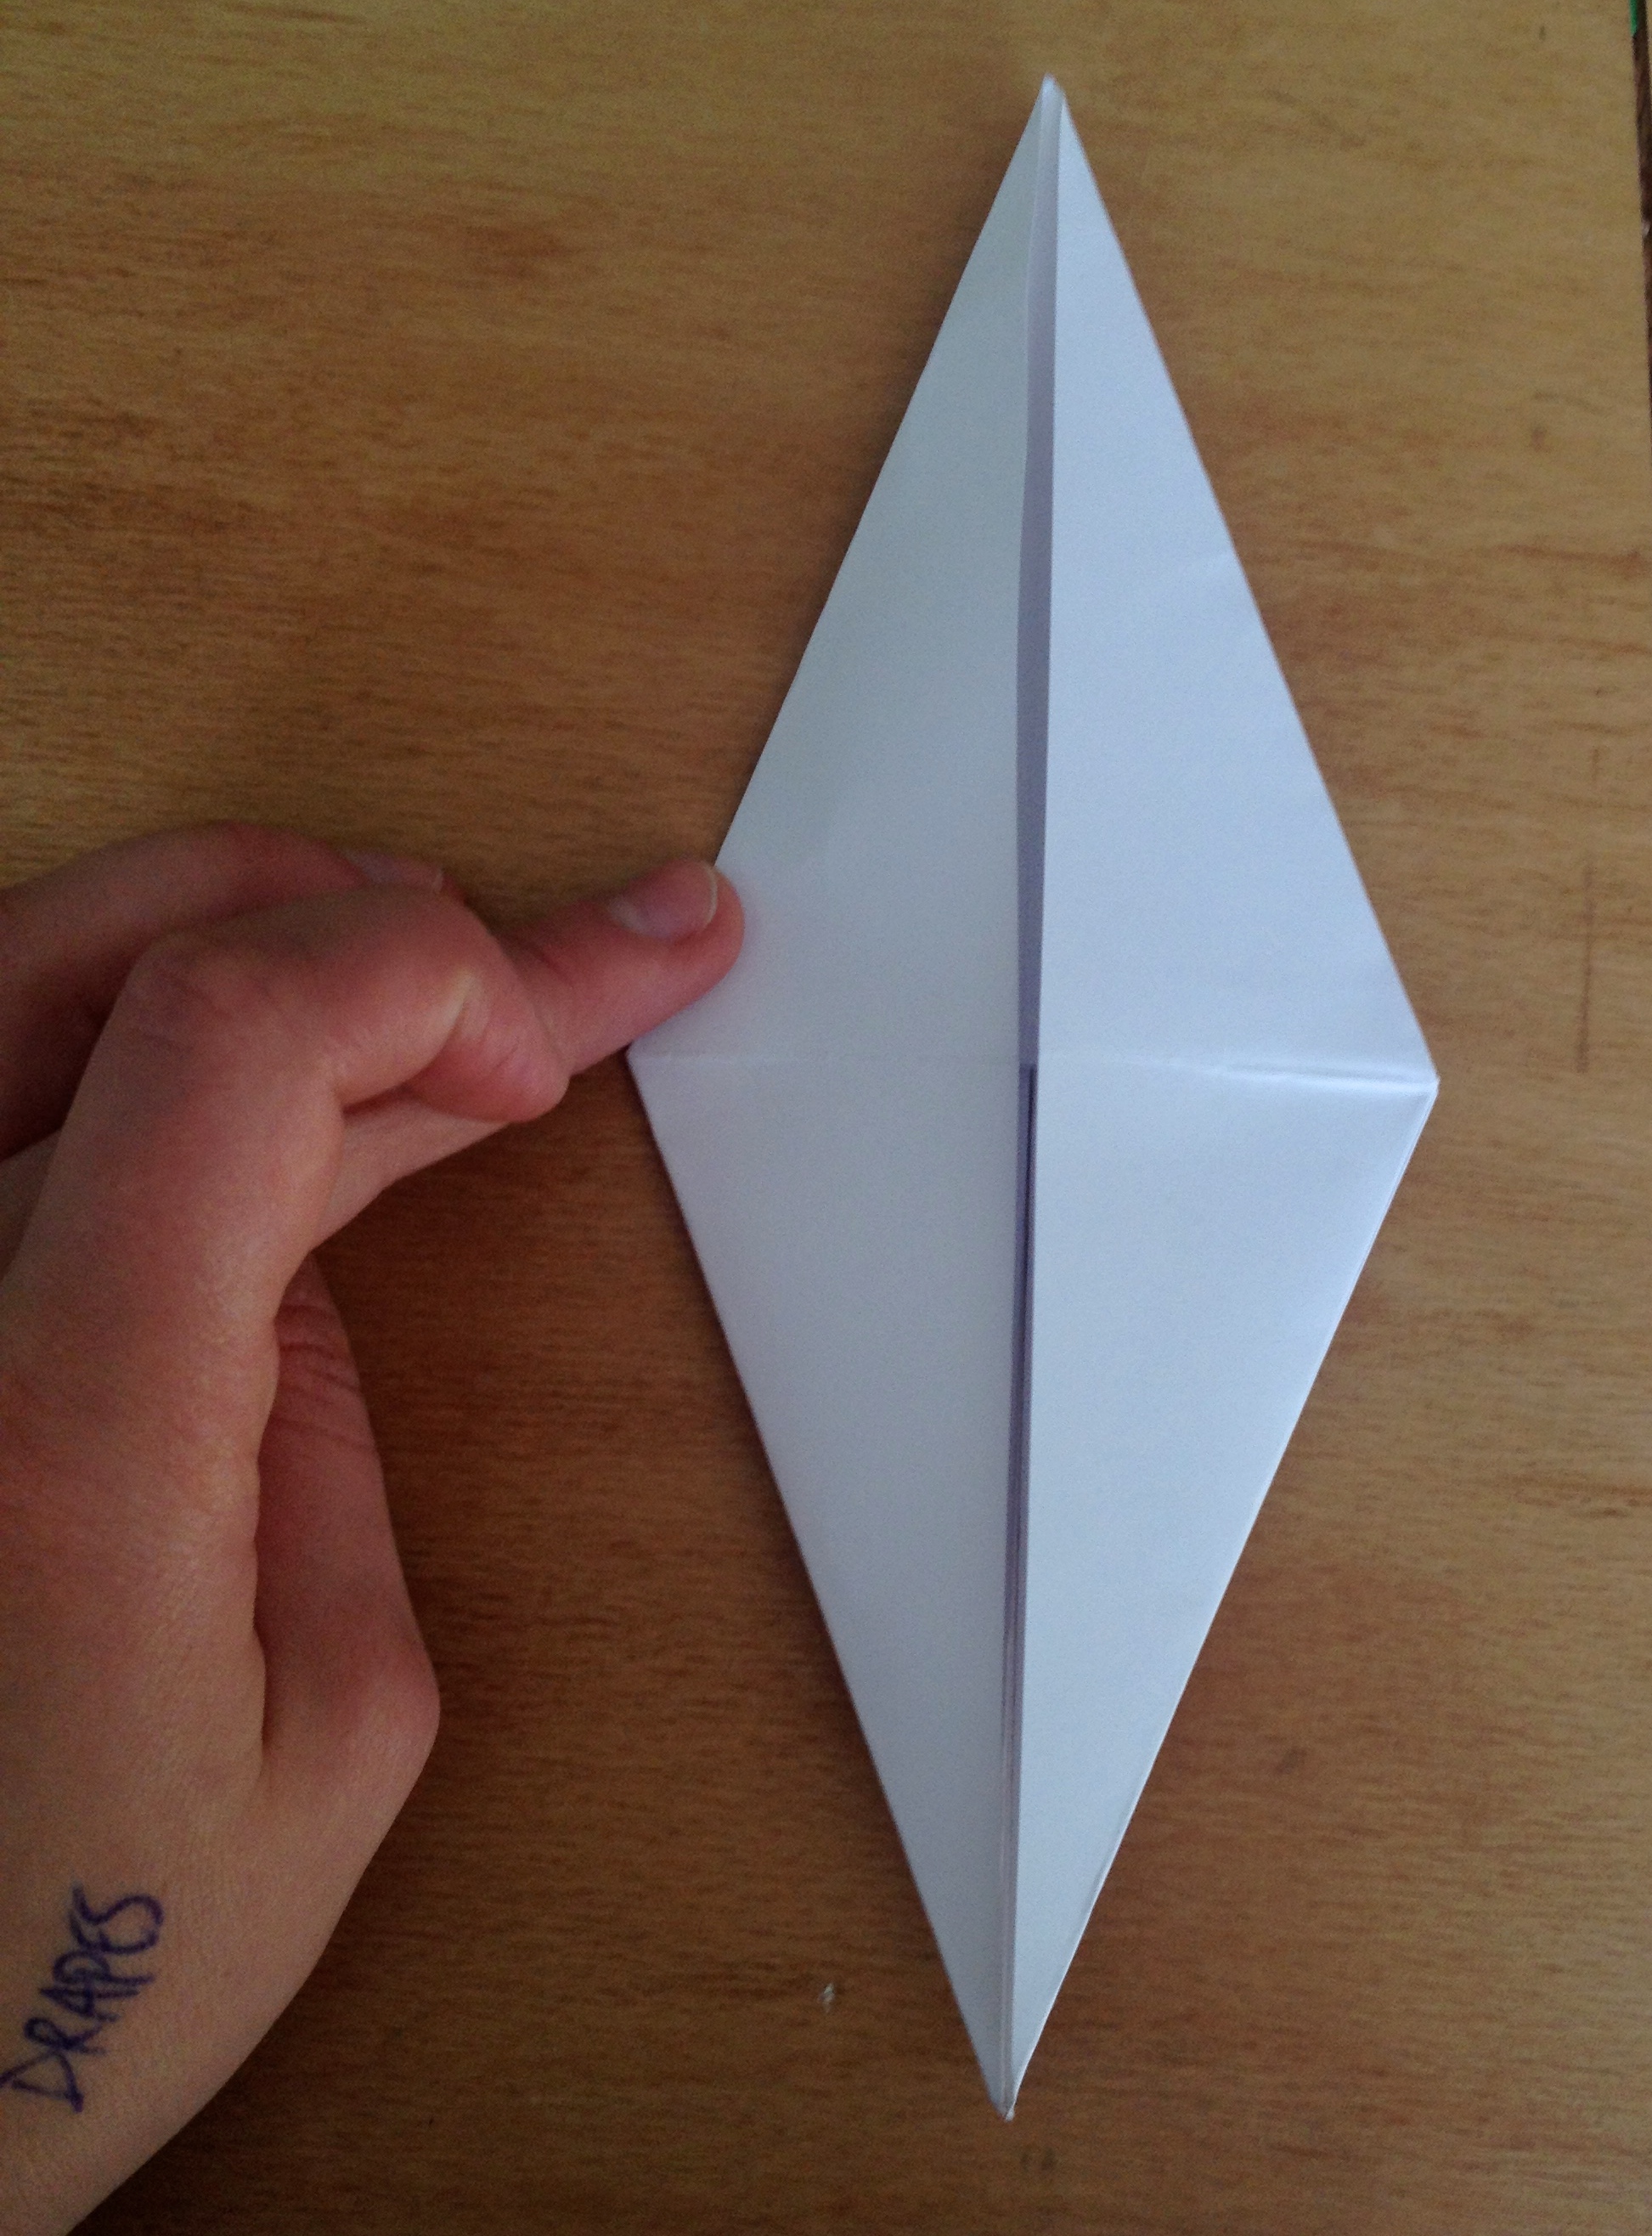
And invert the creases you just made in order to make the head 3D.
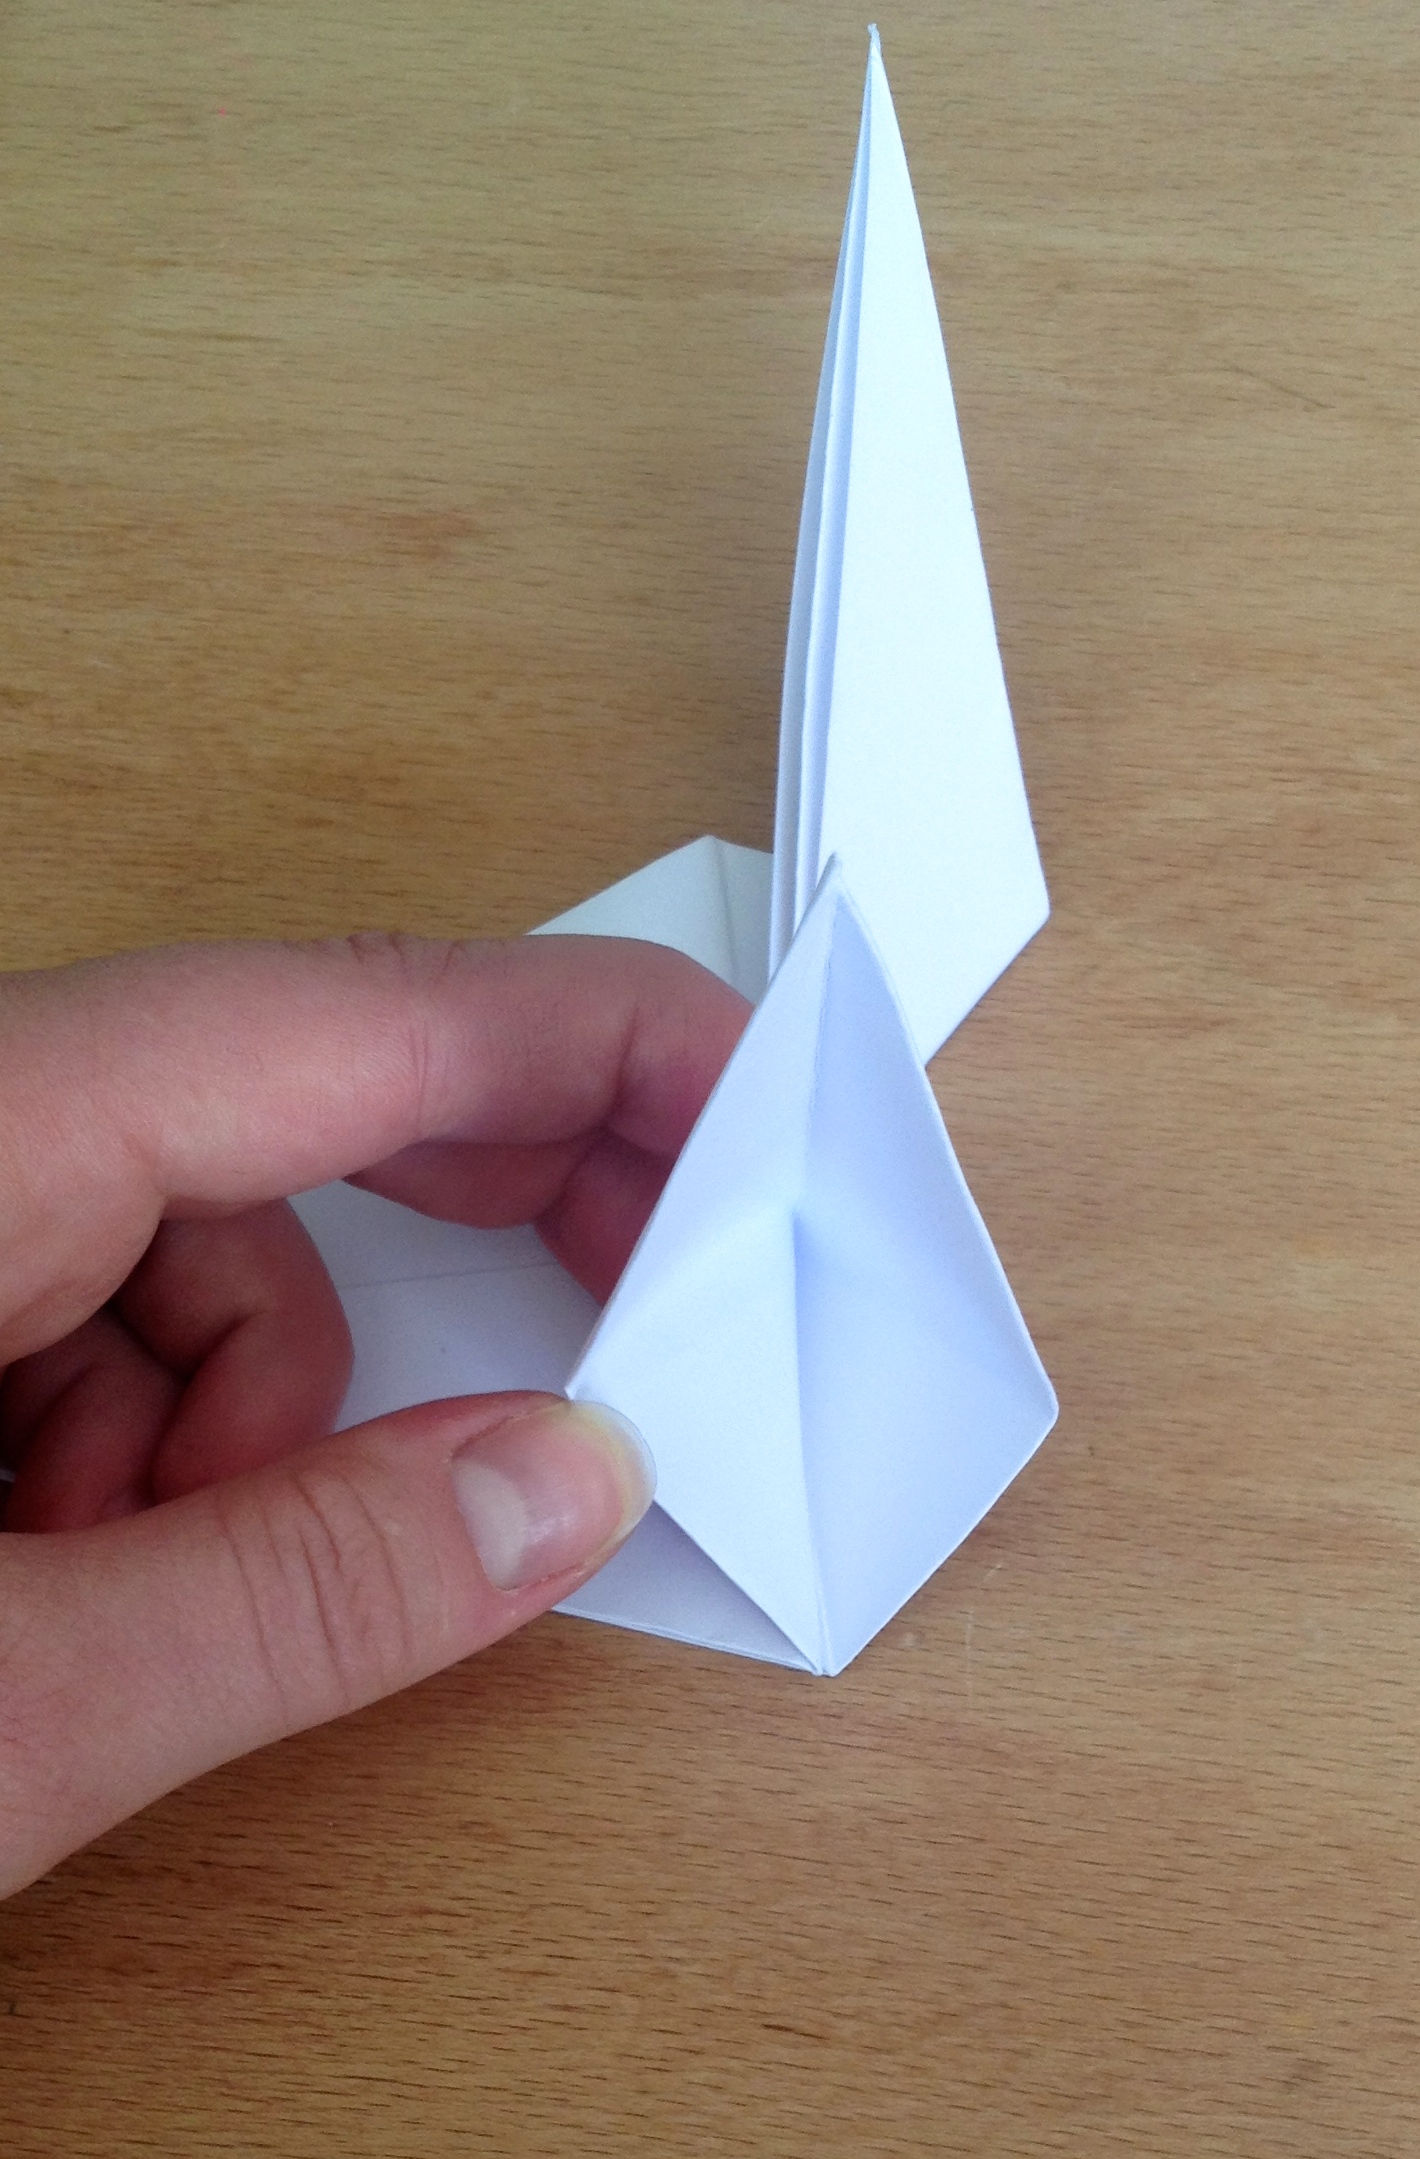
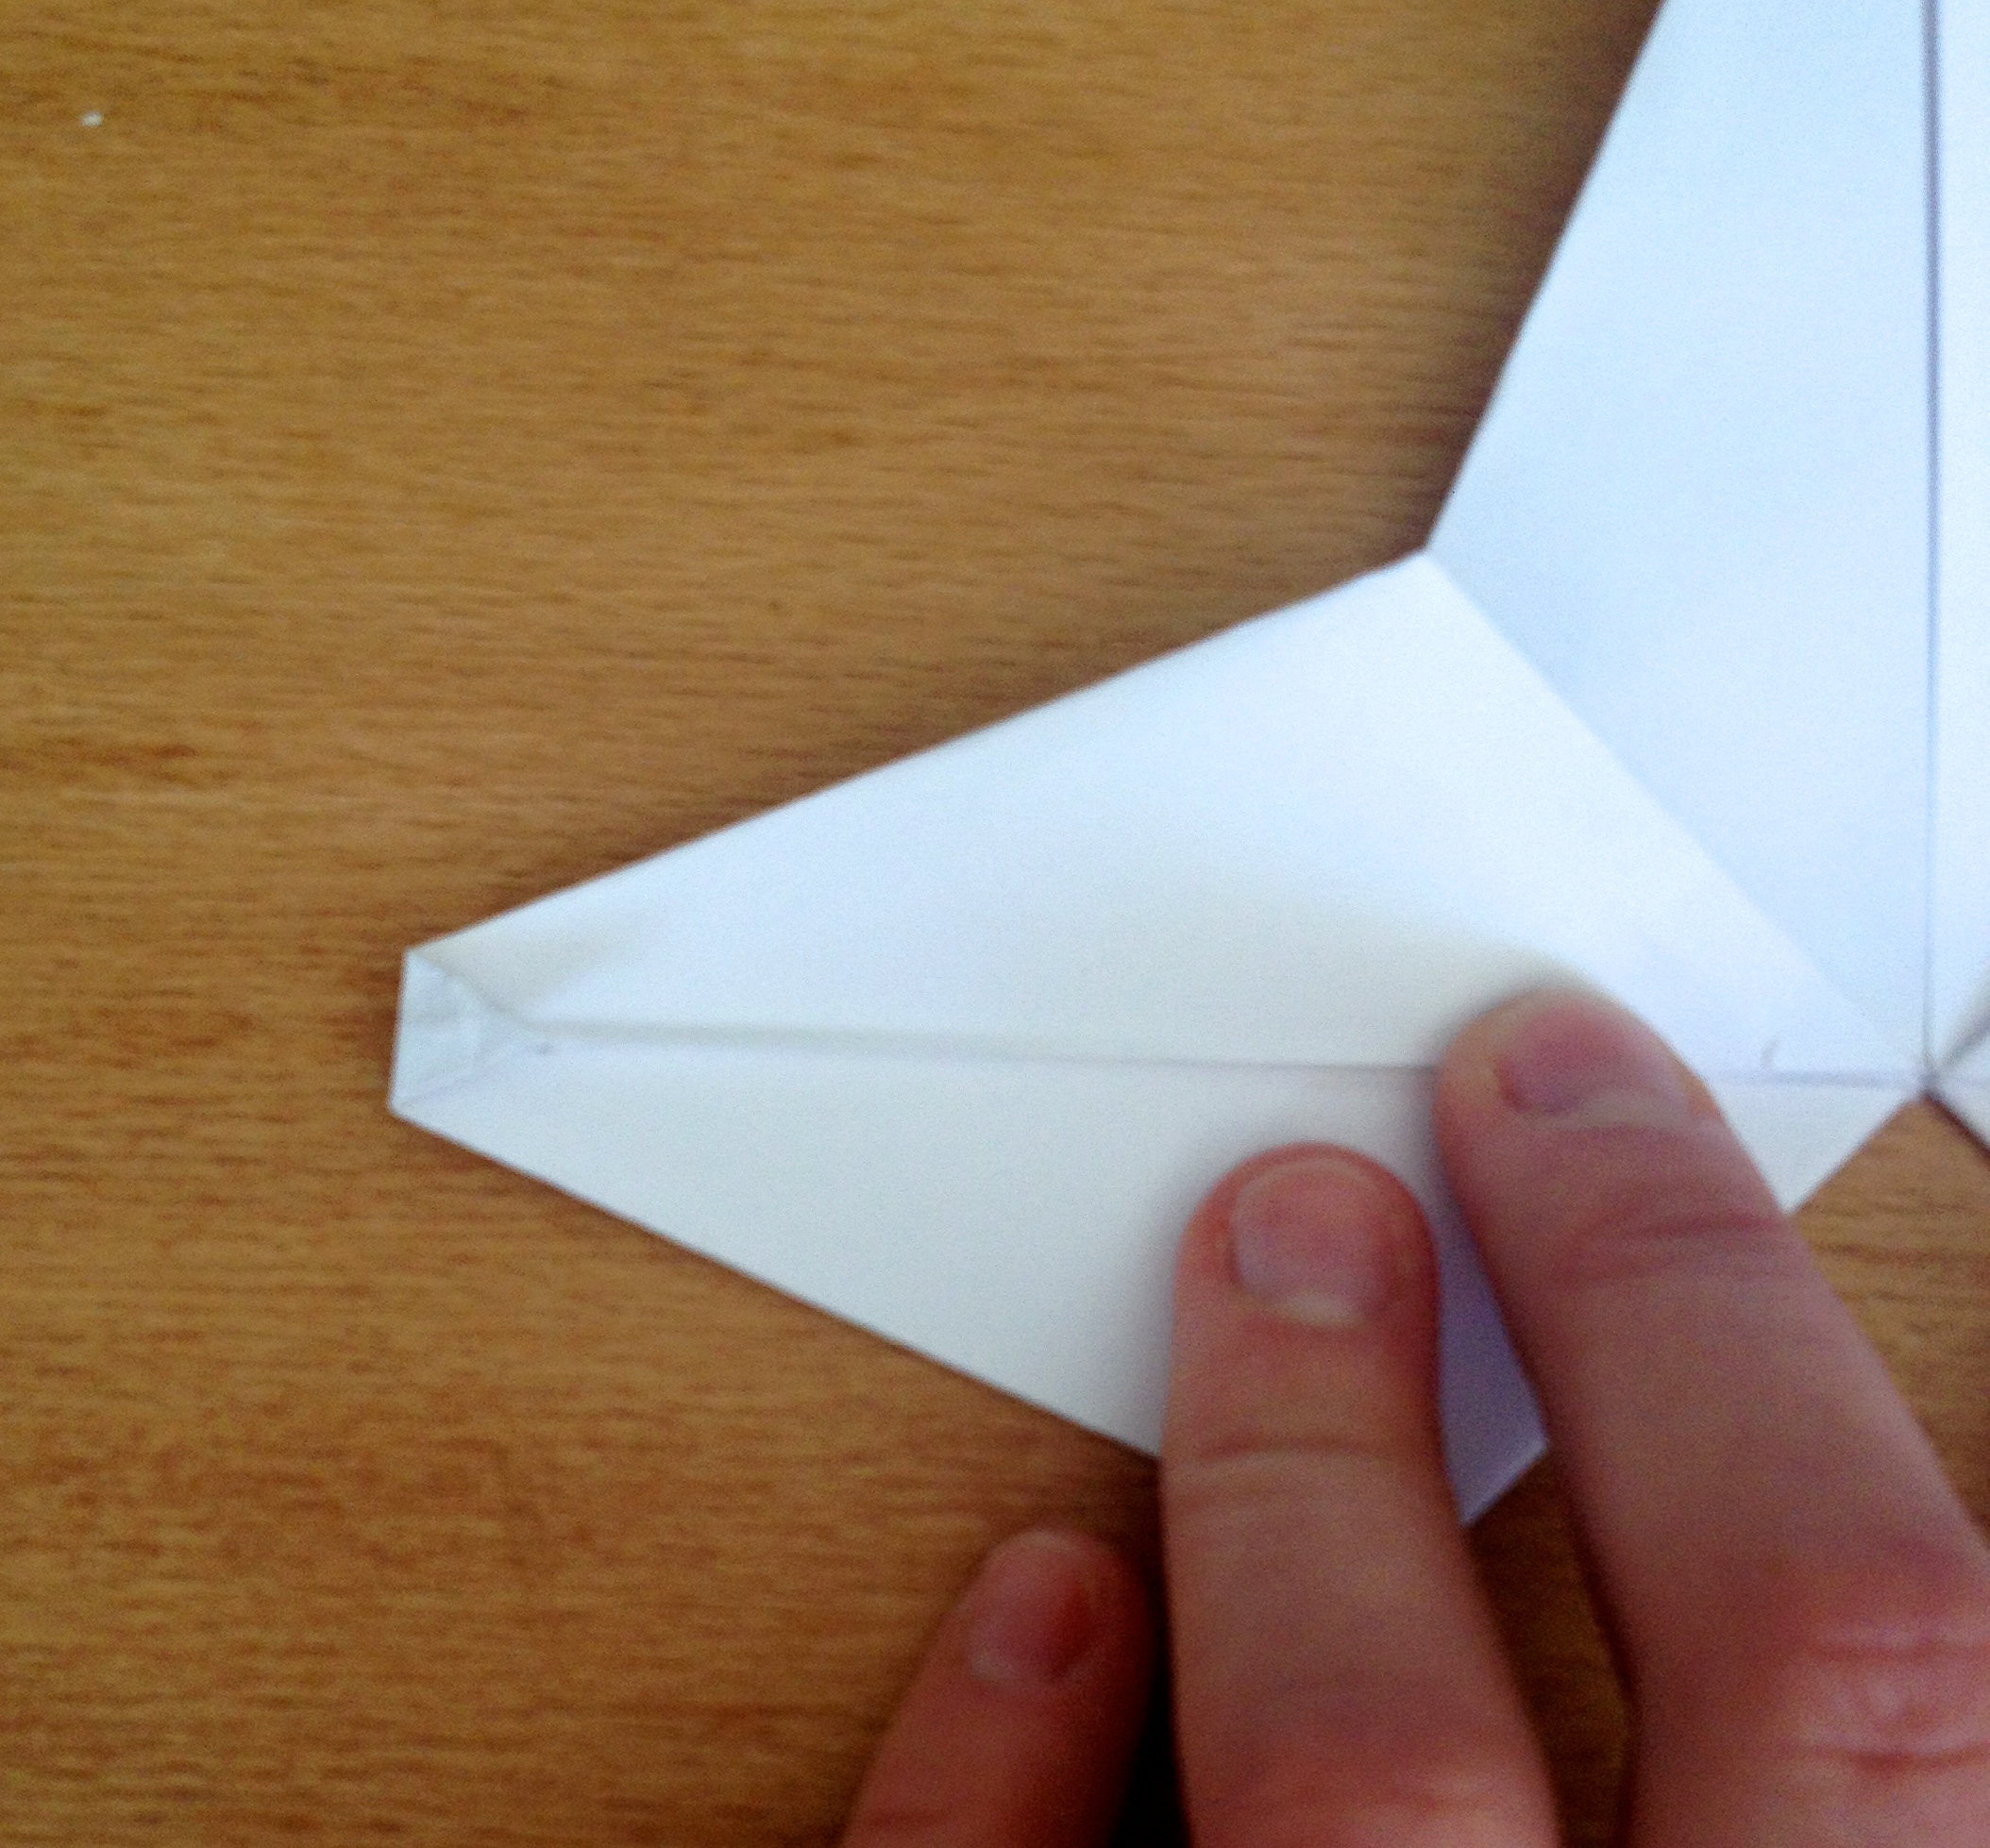
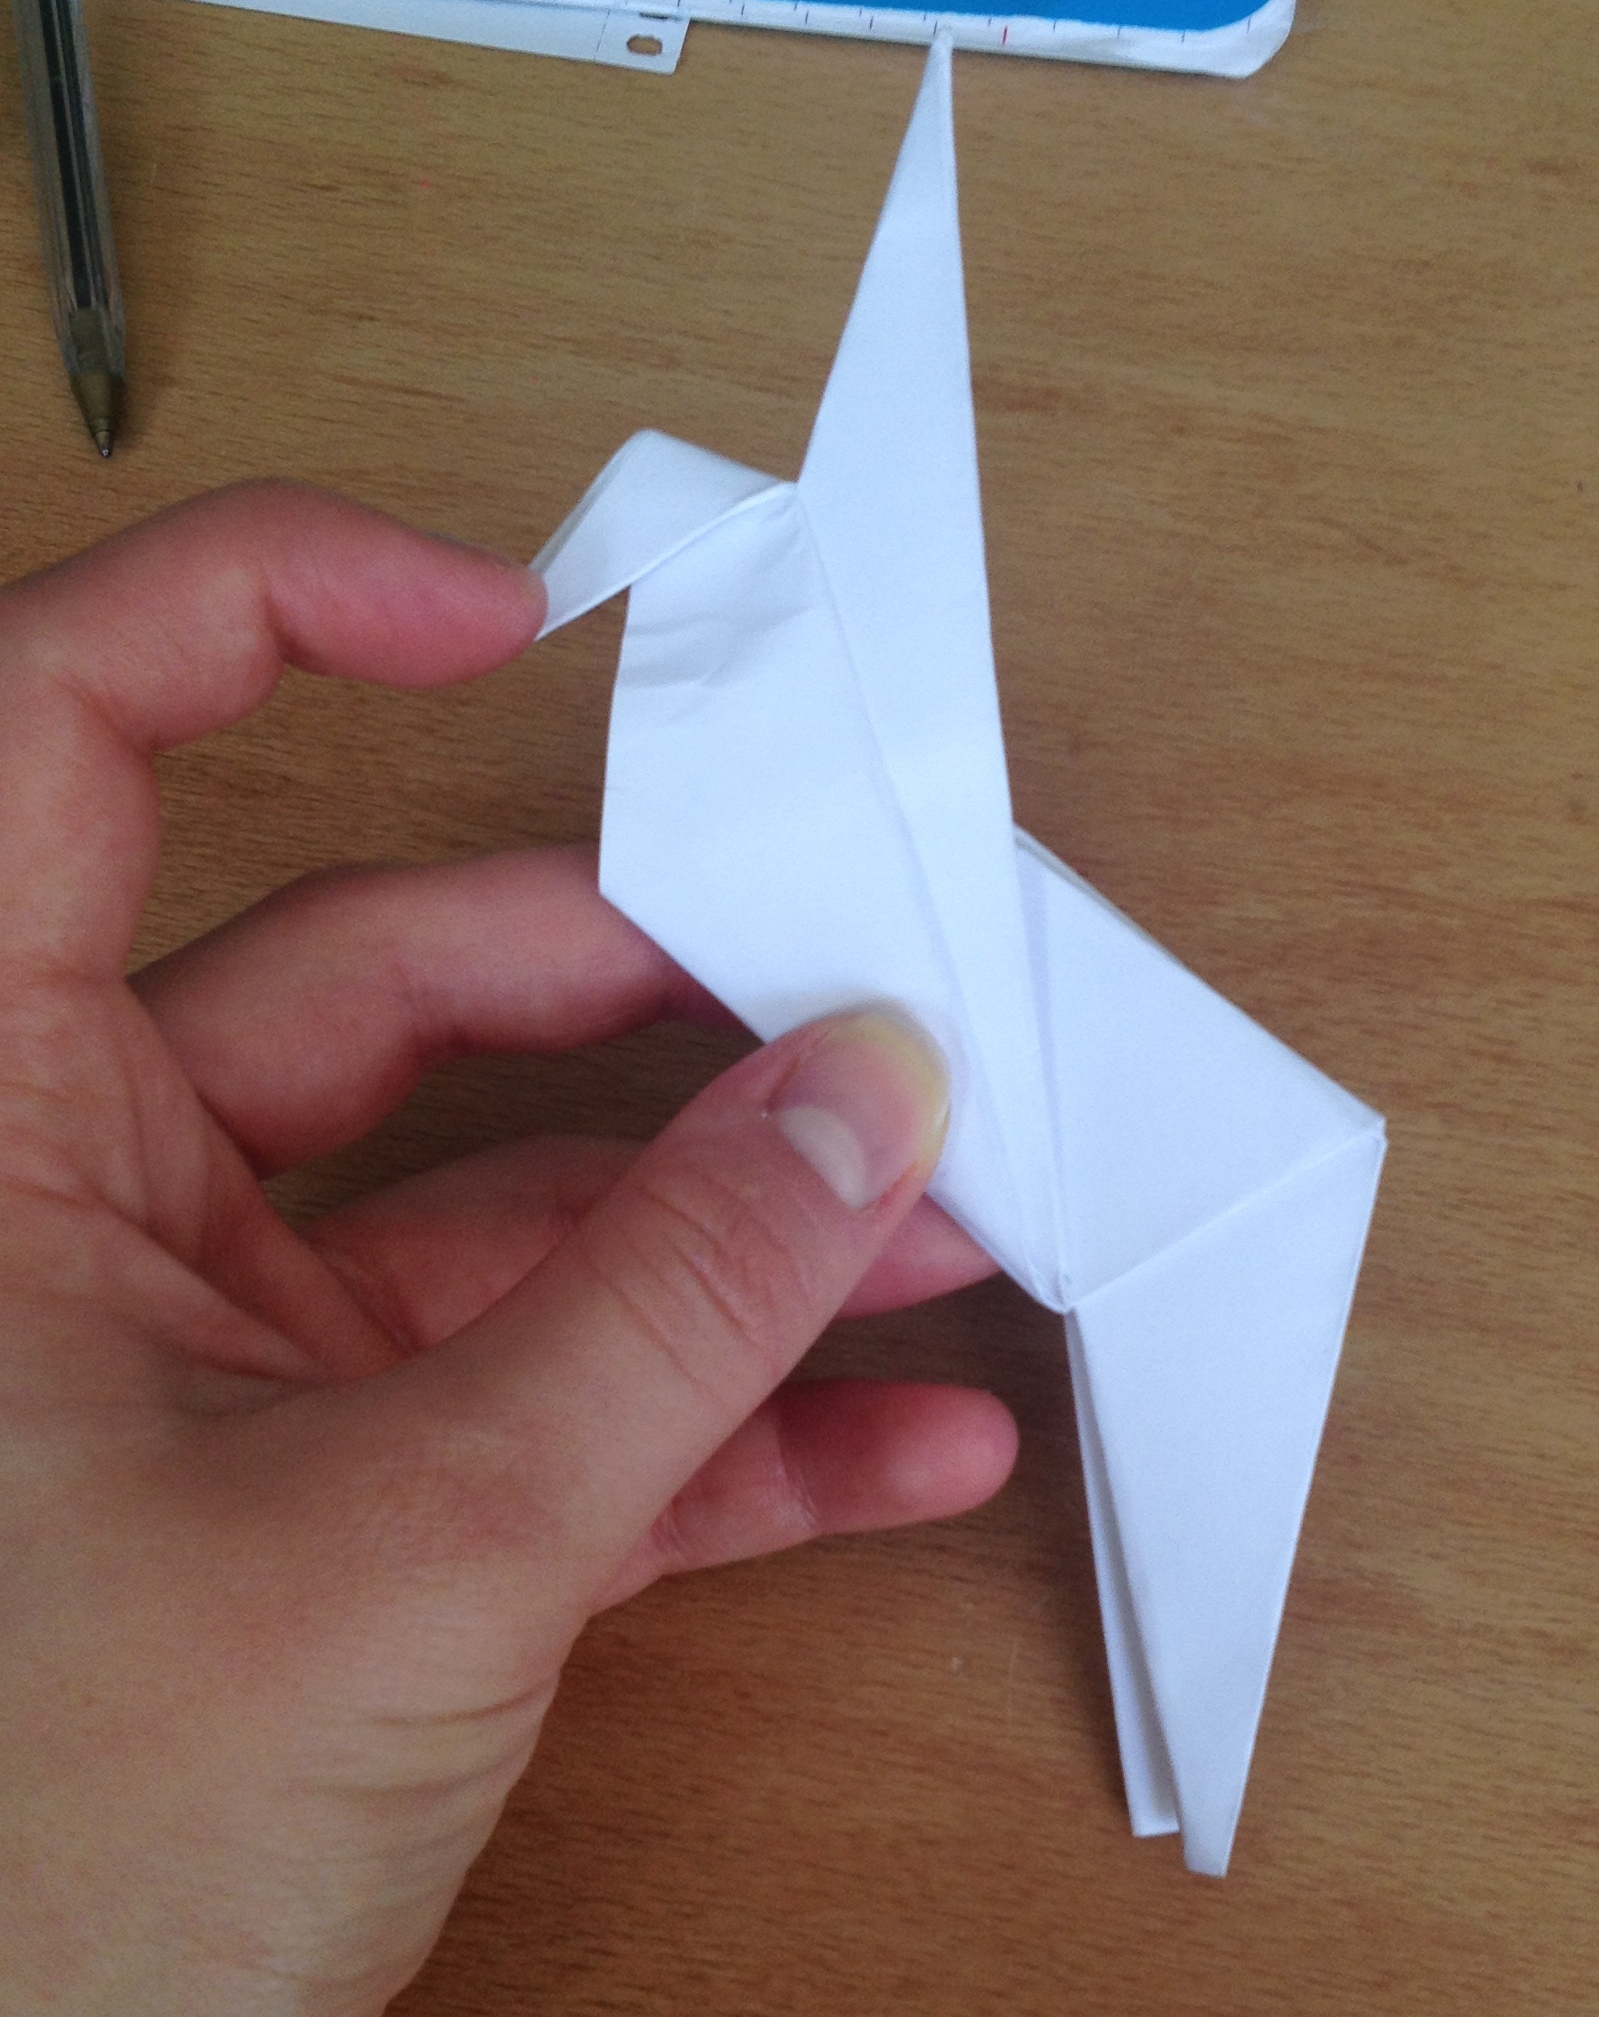
33. Fold in the tip of the nose to make it more of a snout.
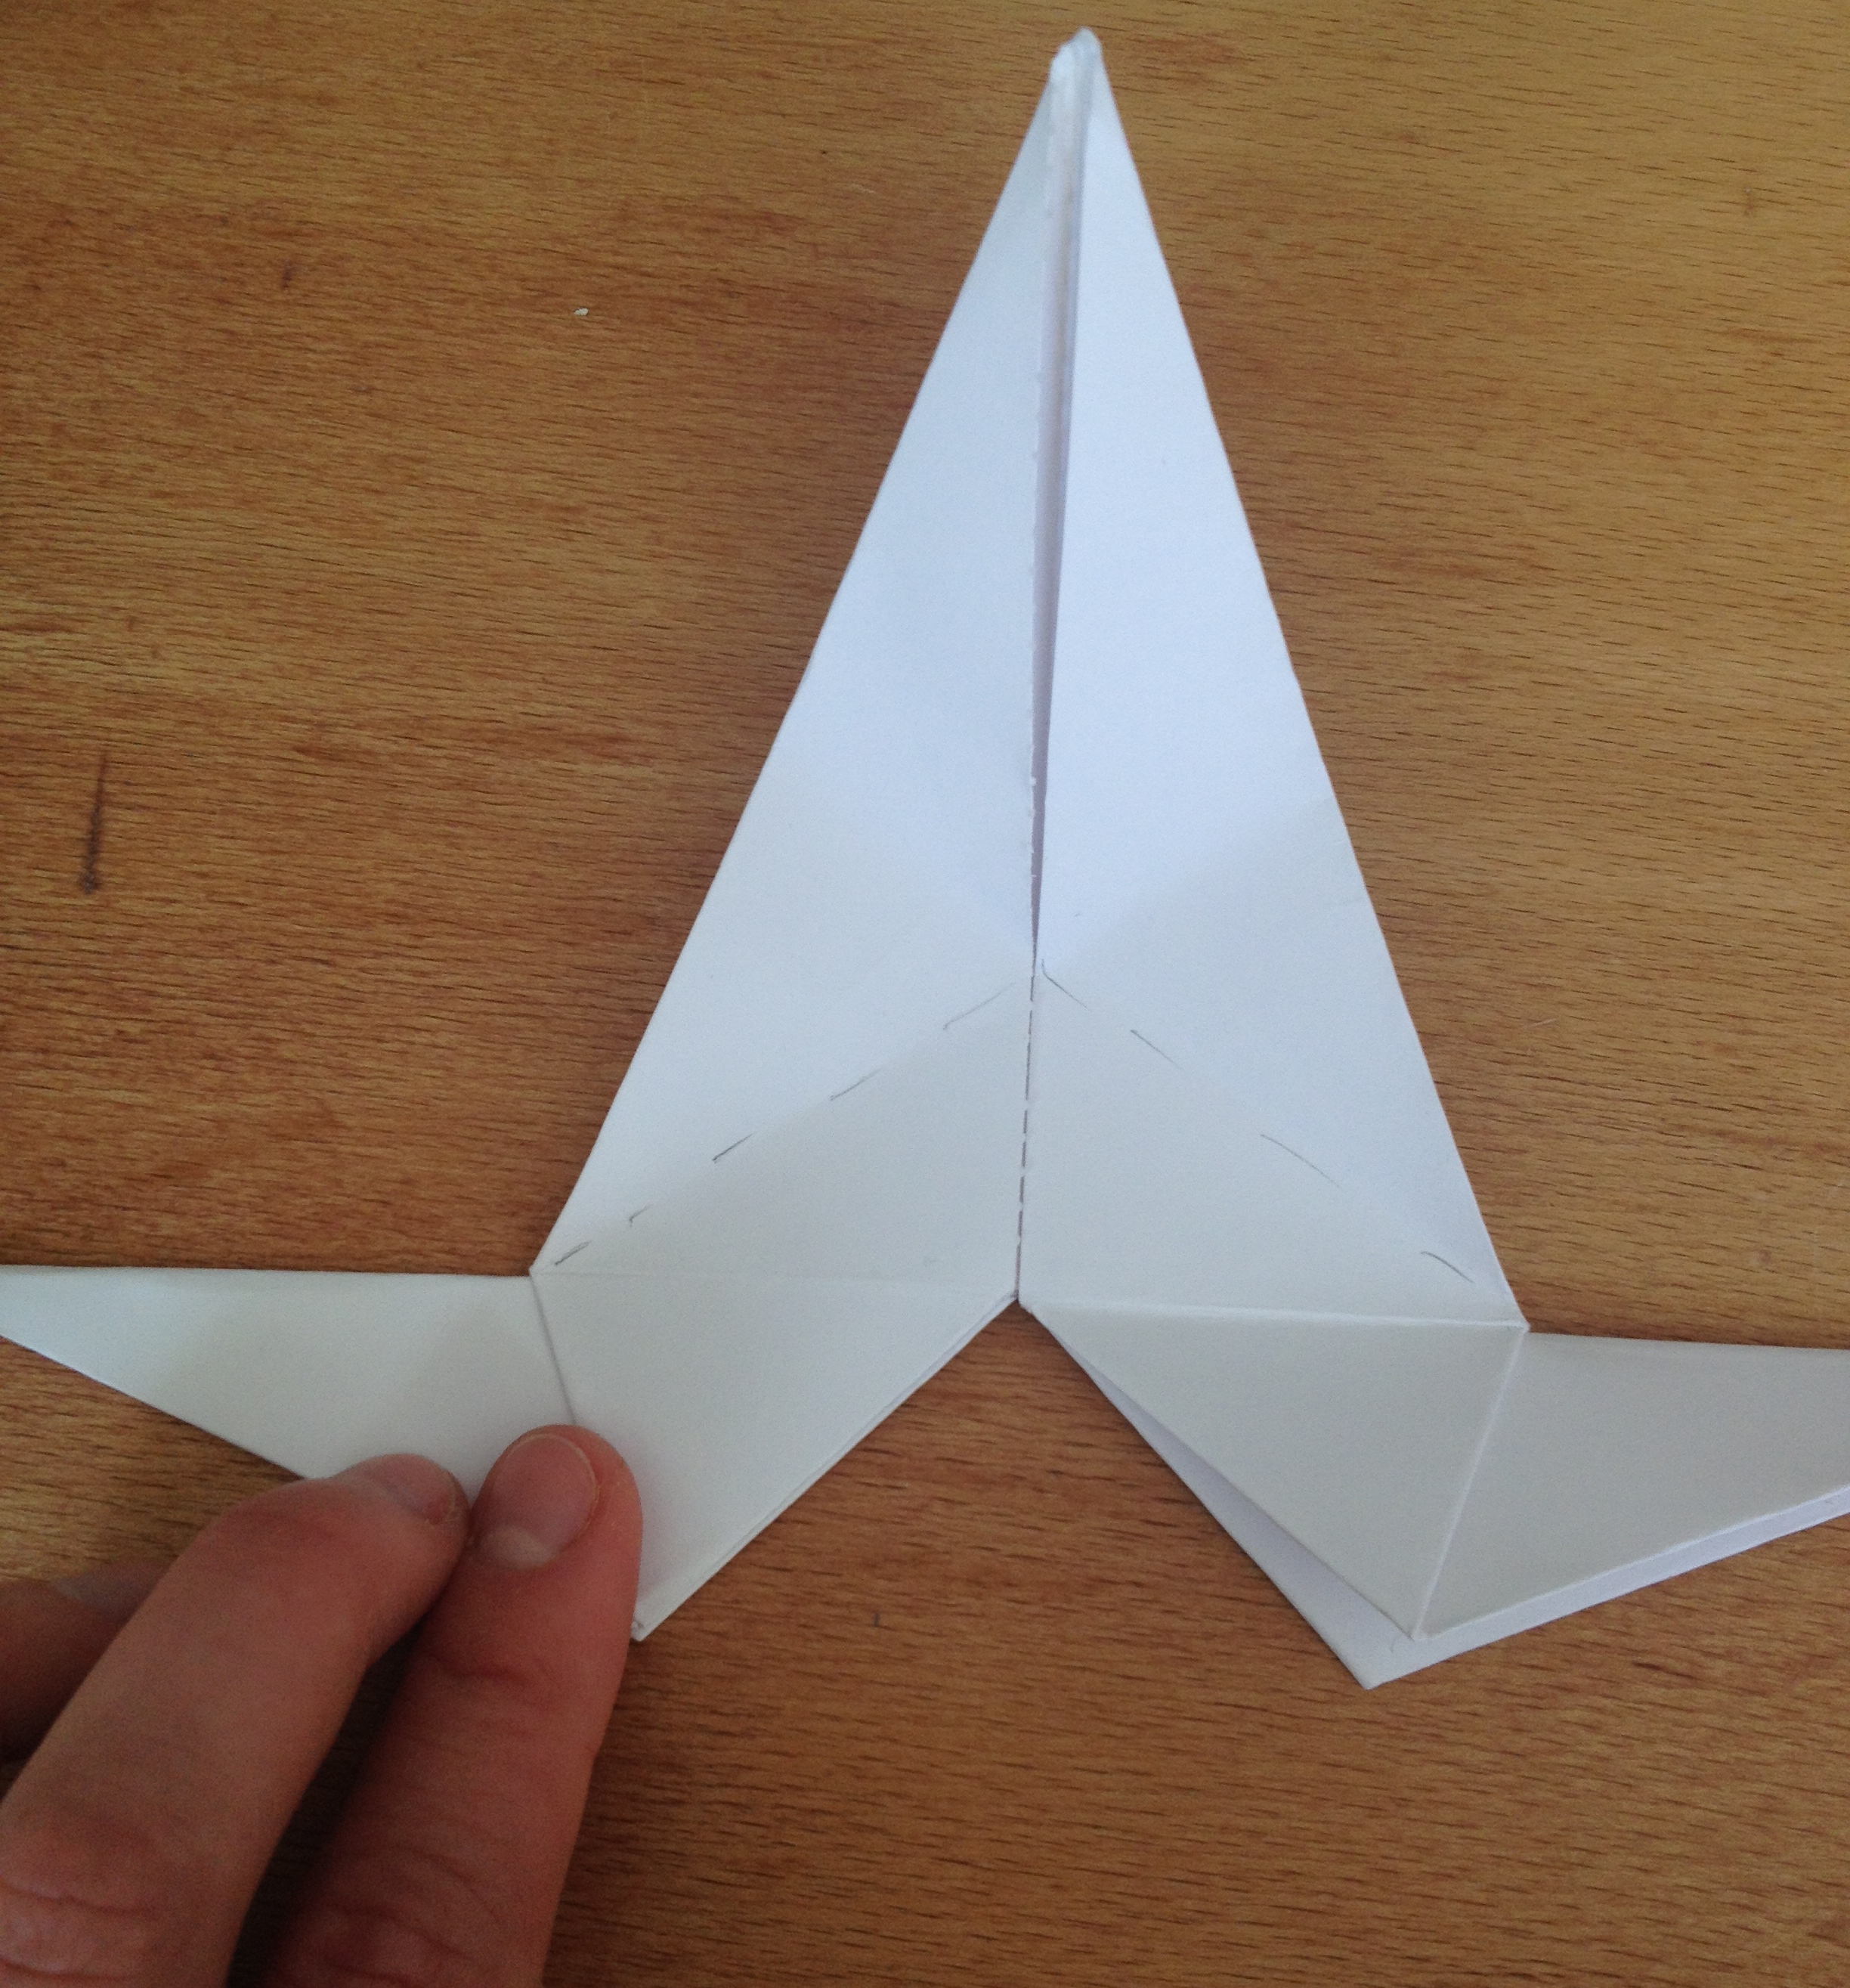
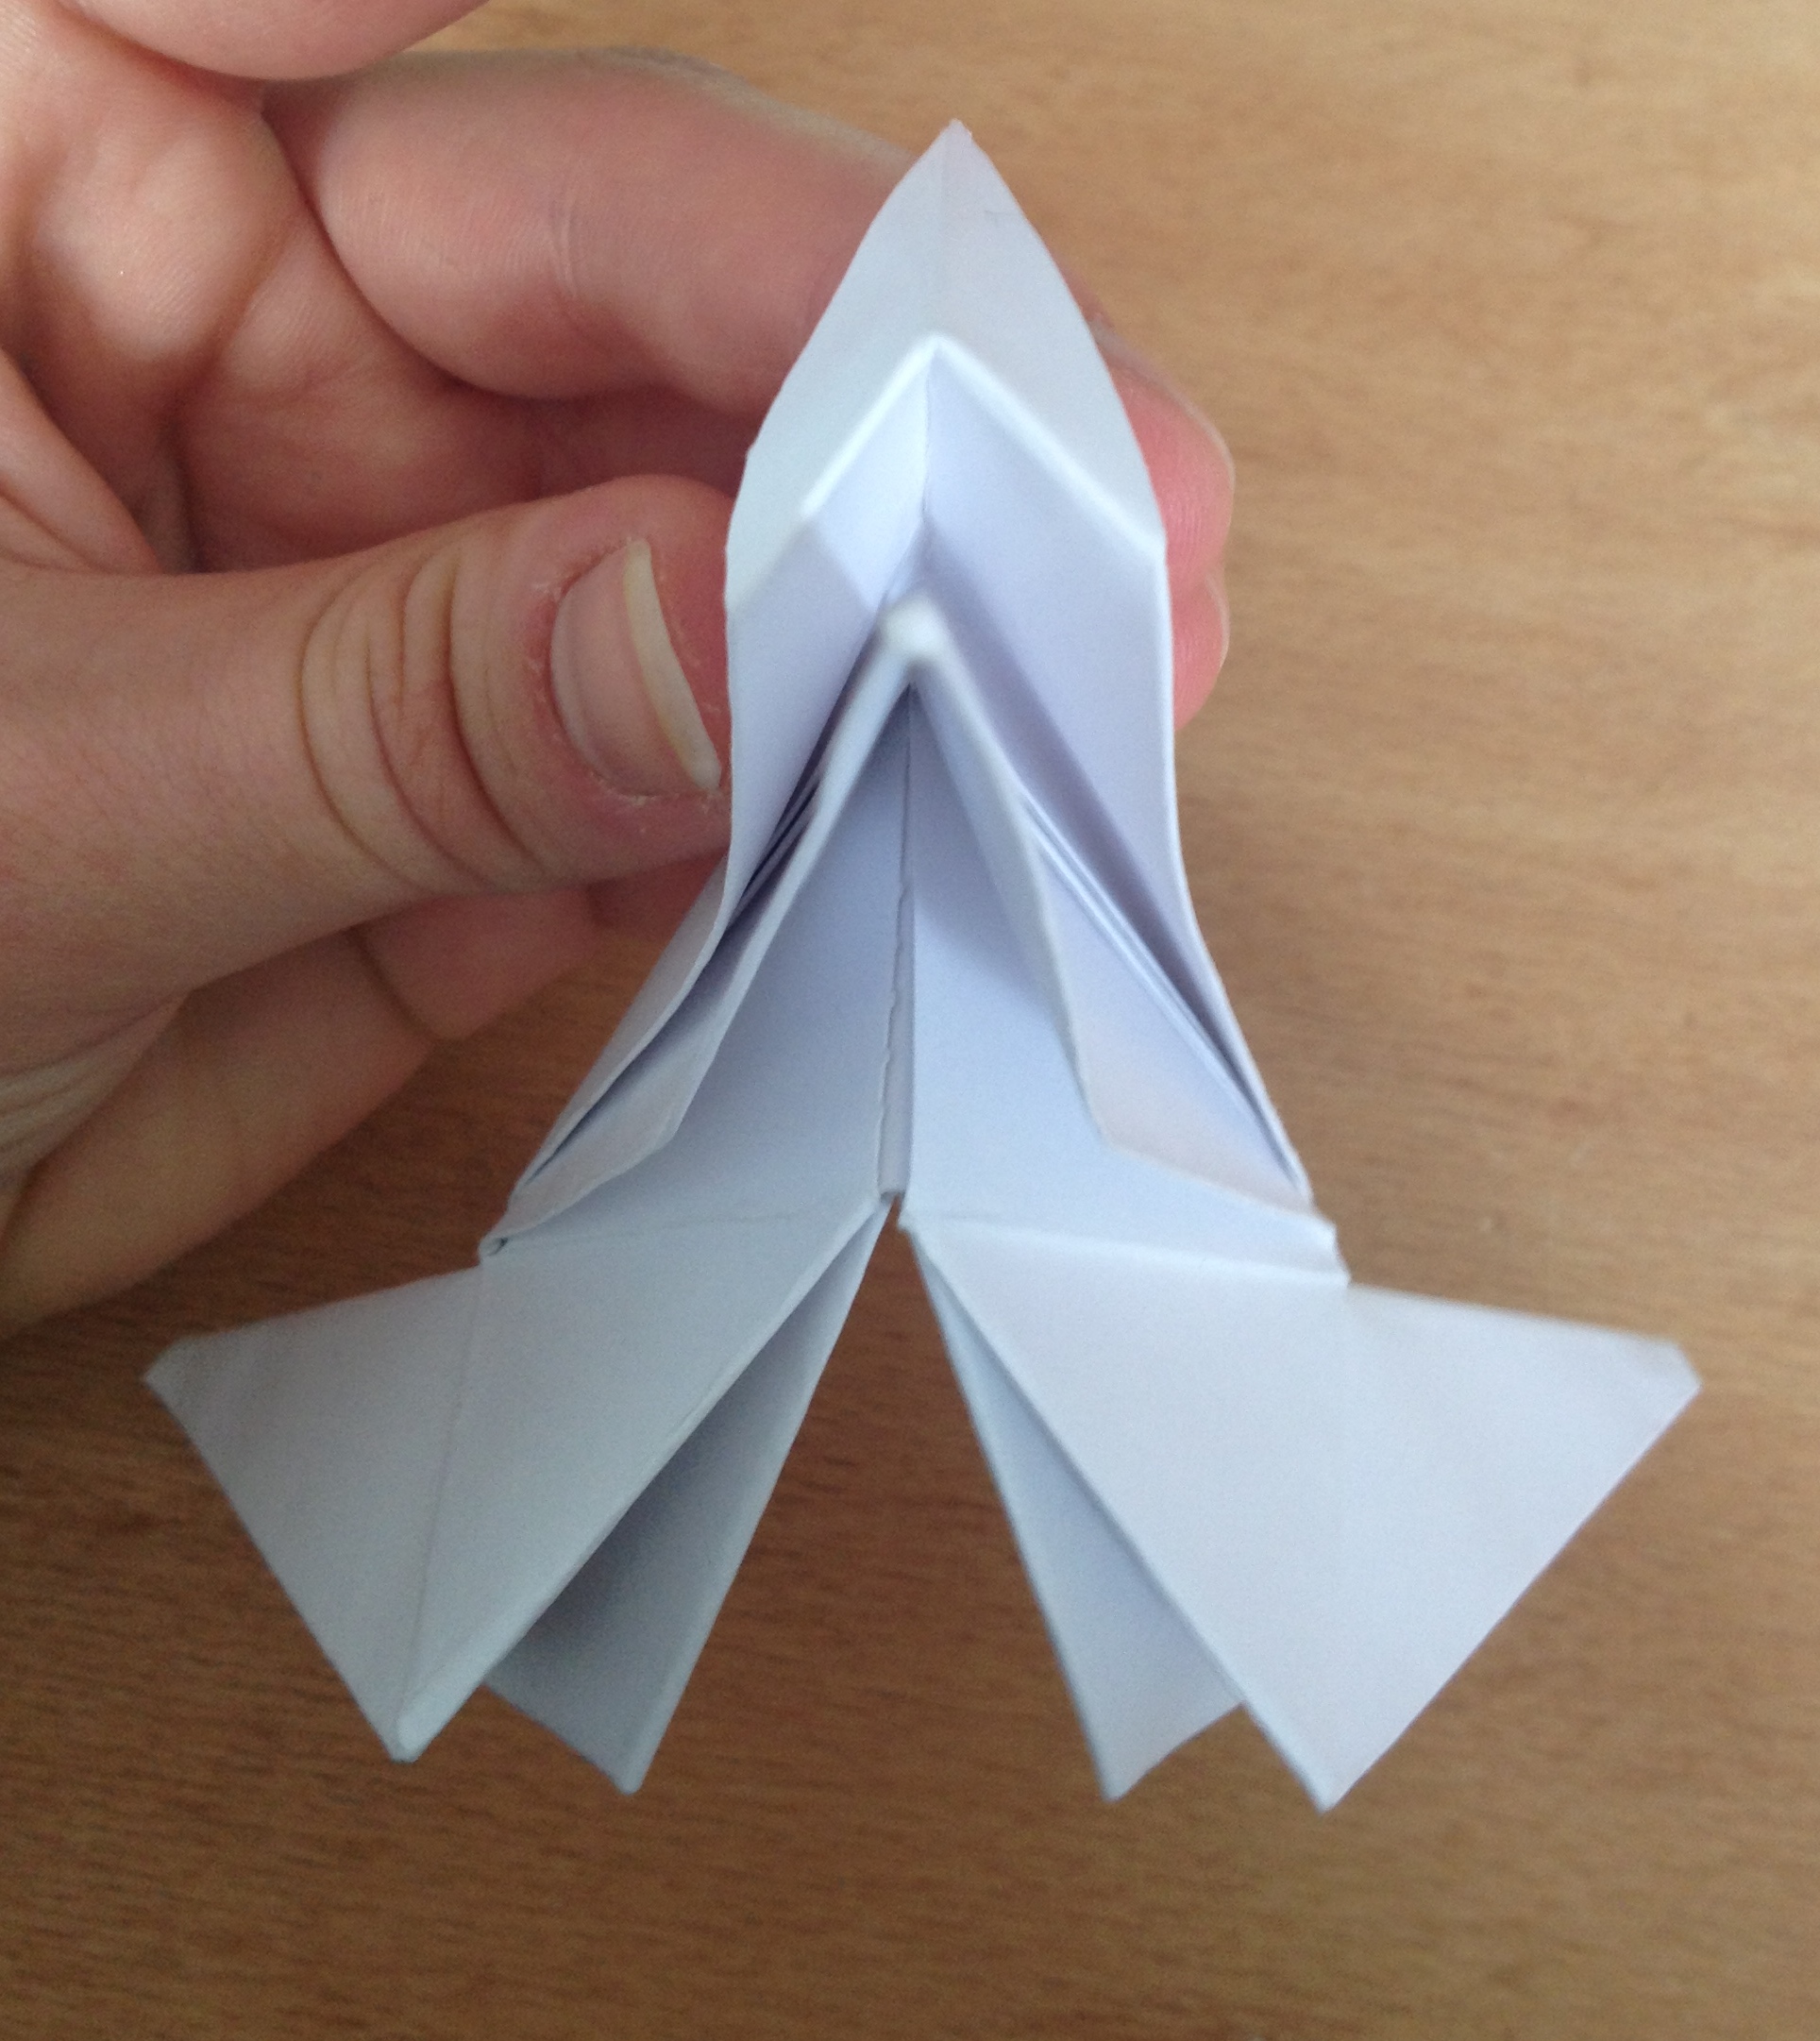
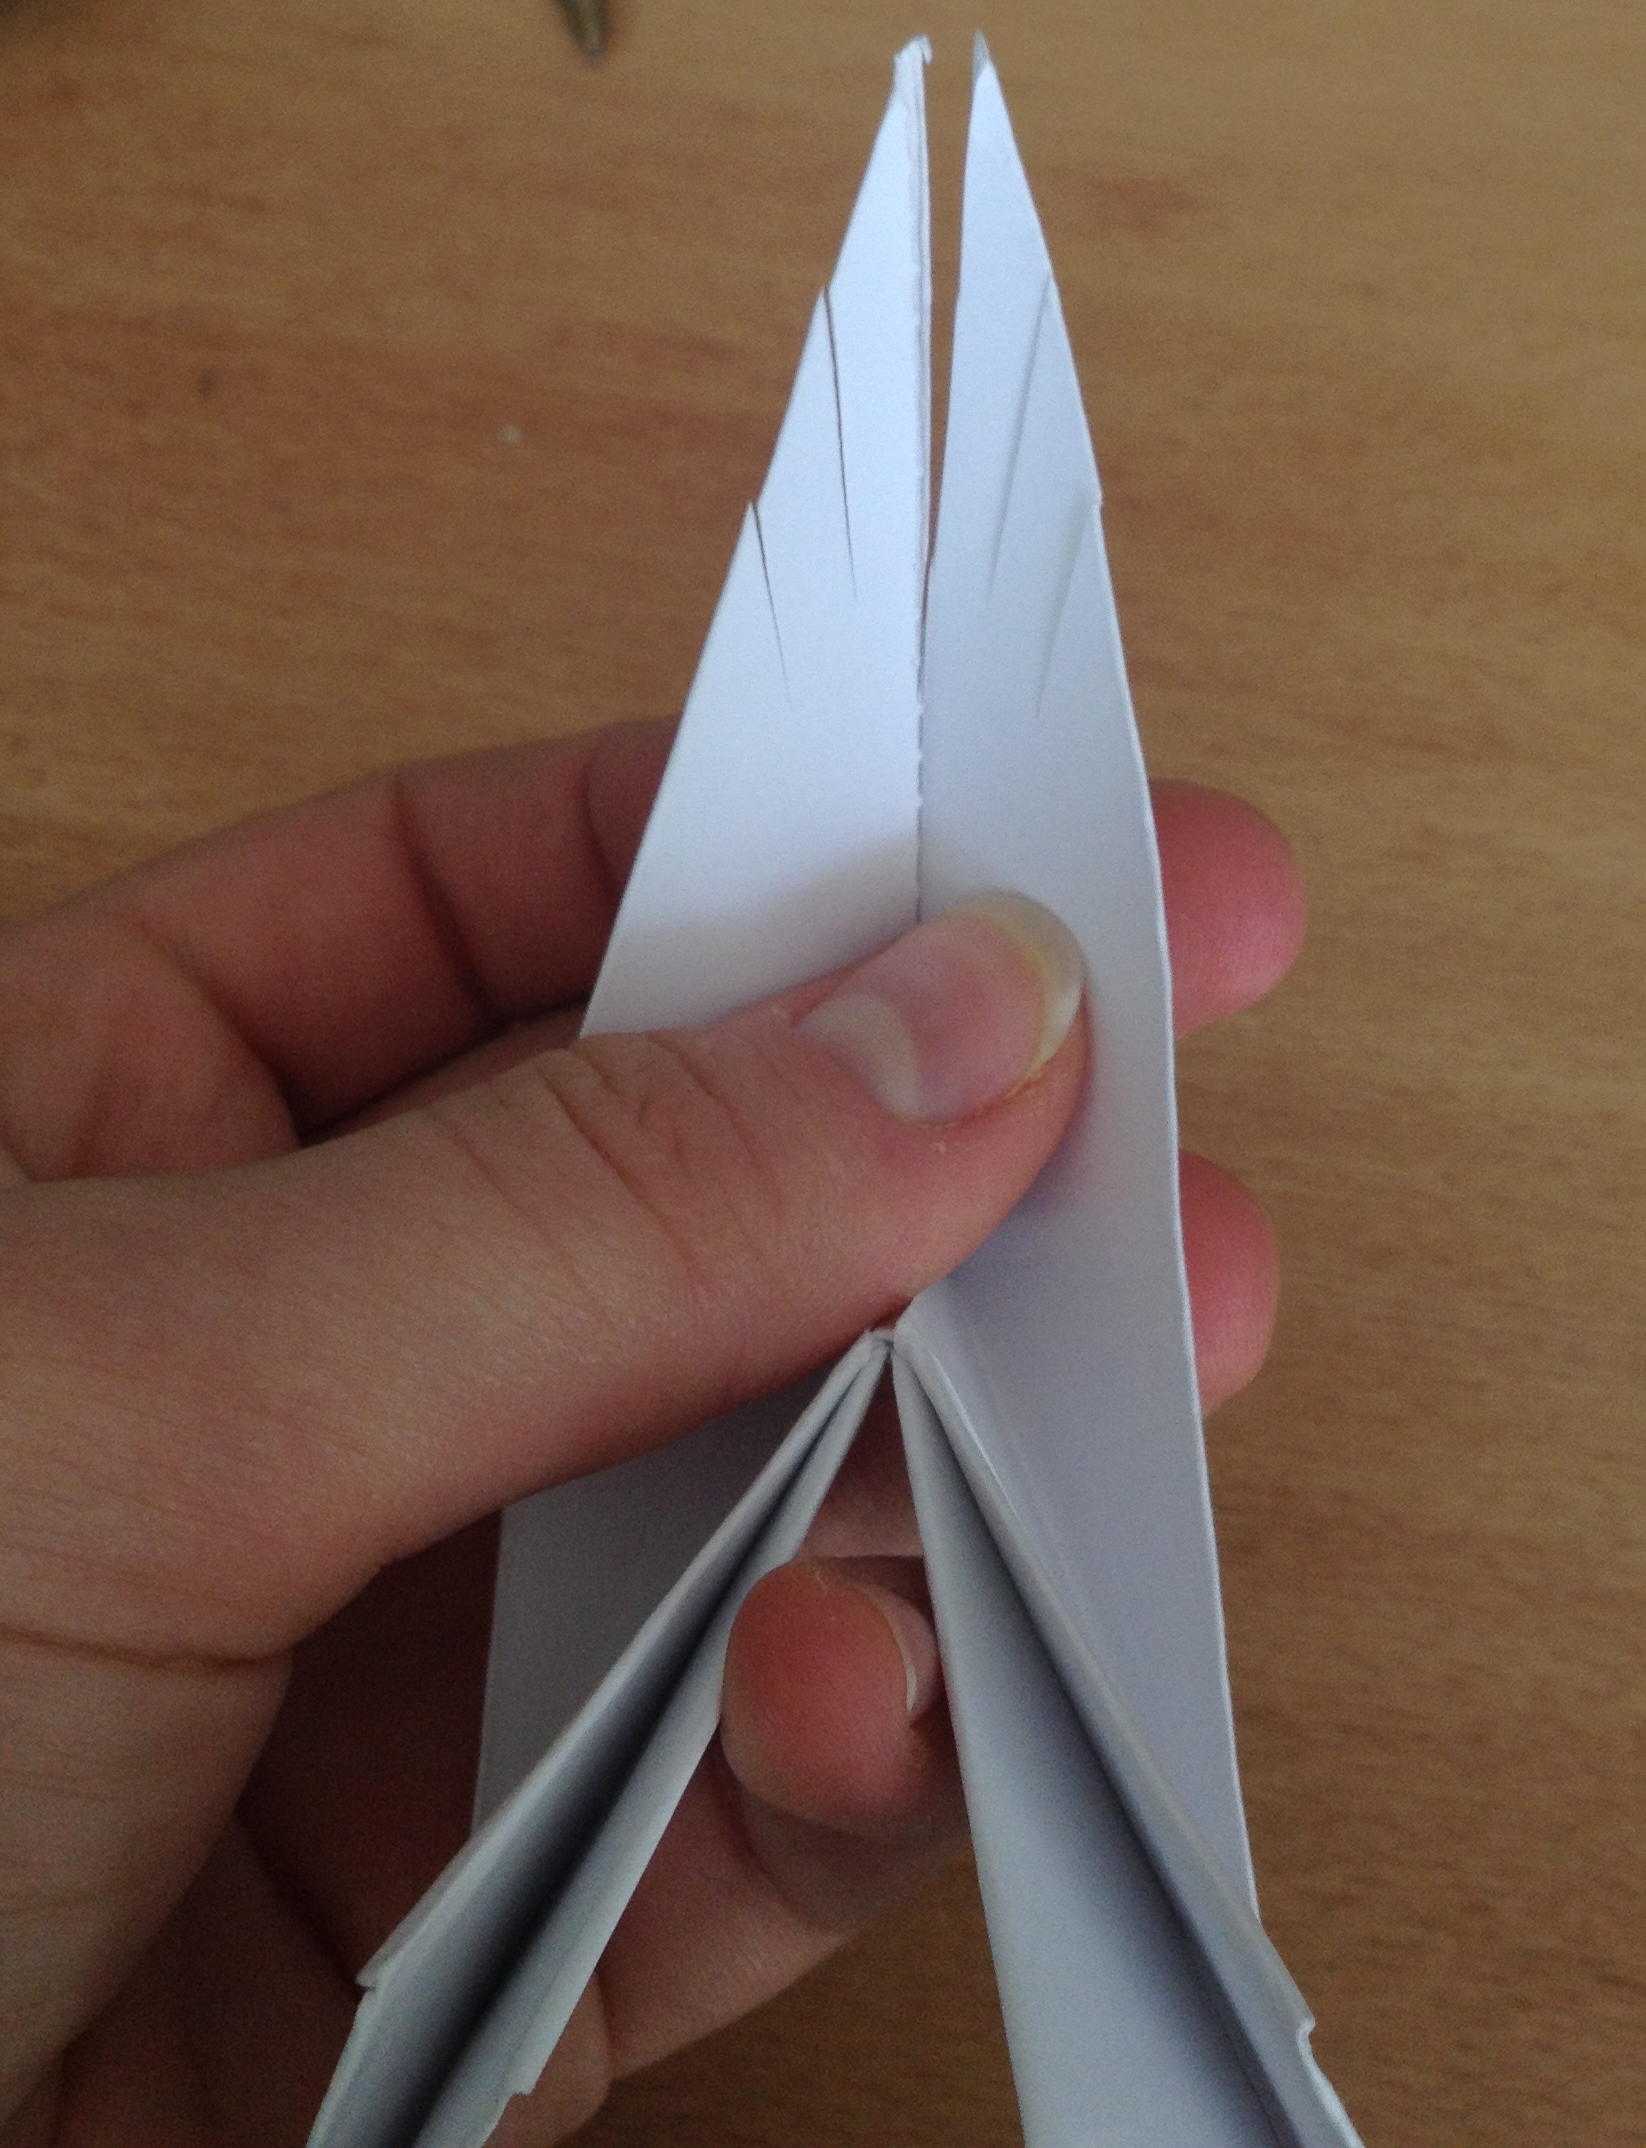
34. Make three cuts along the second upper point.
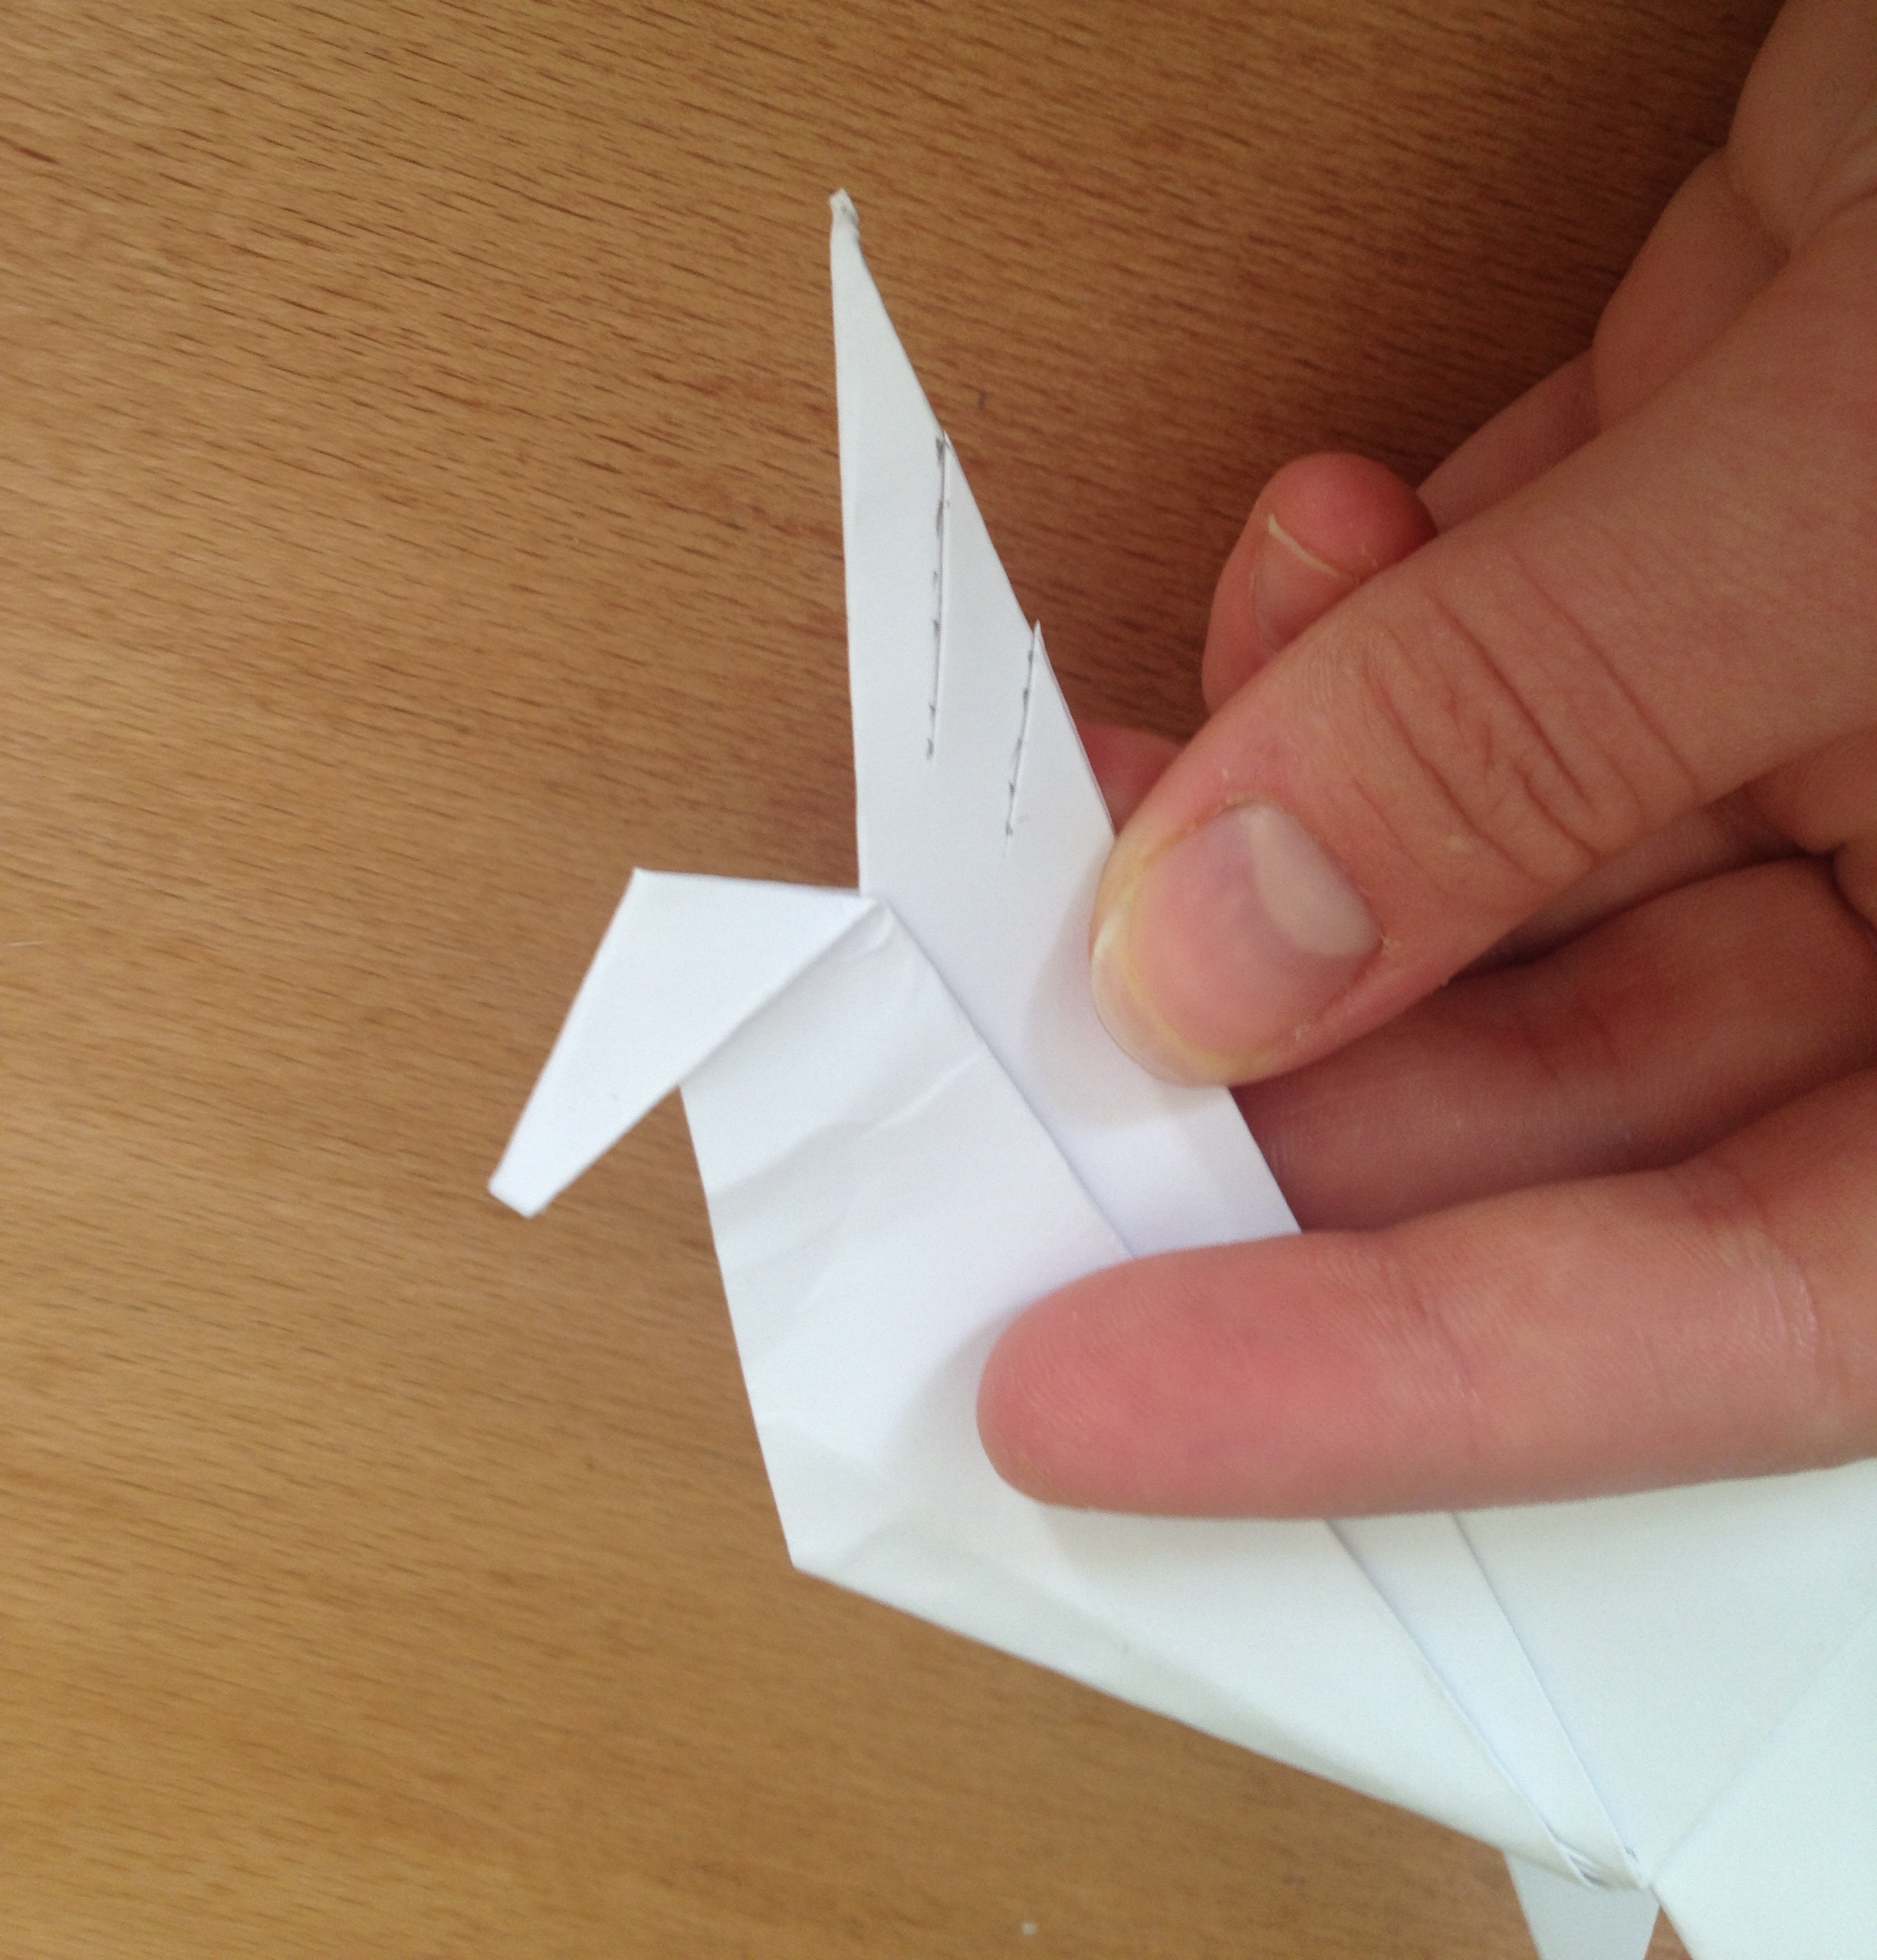
The three cuts should go all the way through to both sides of the upper point.
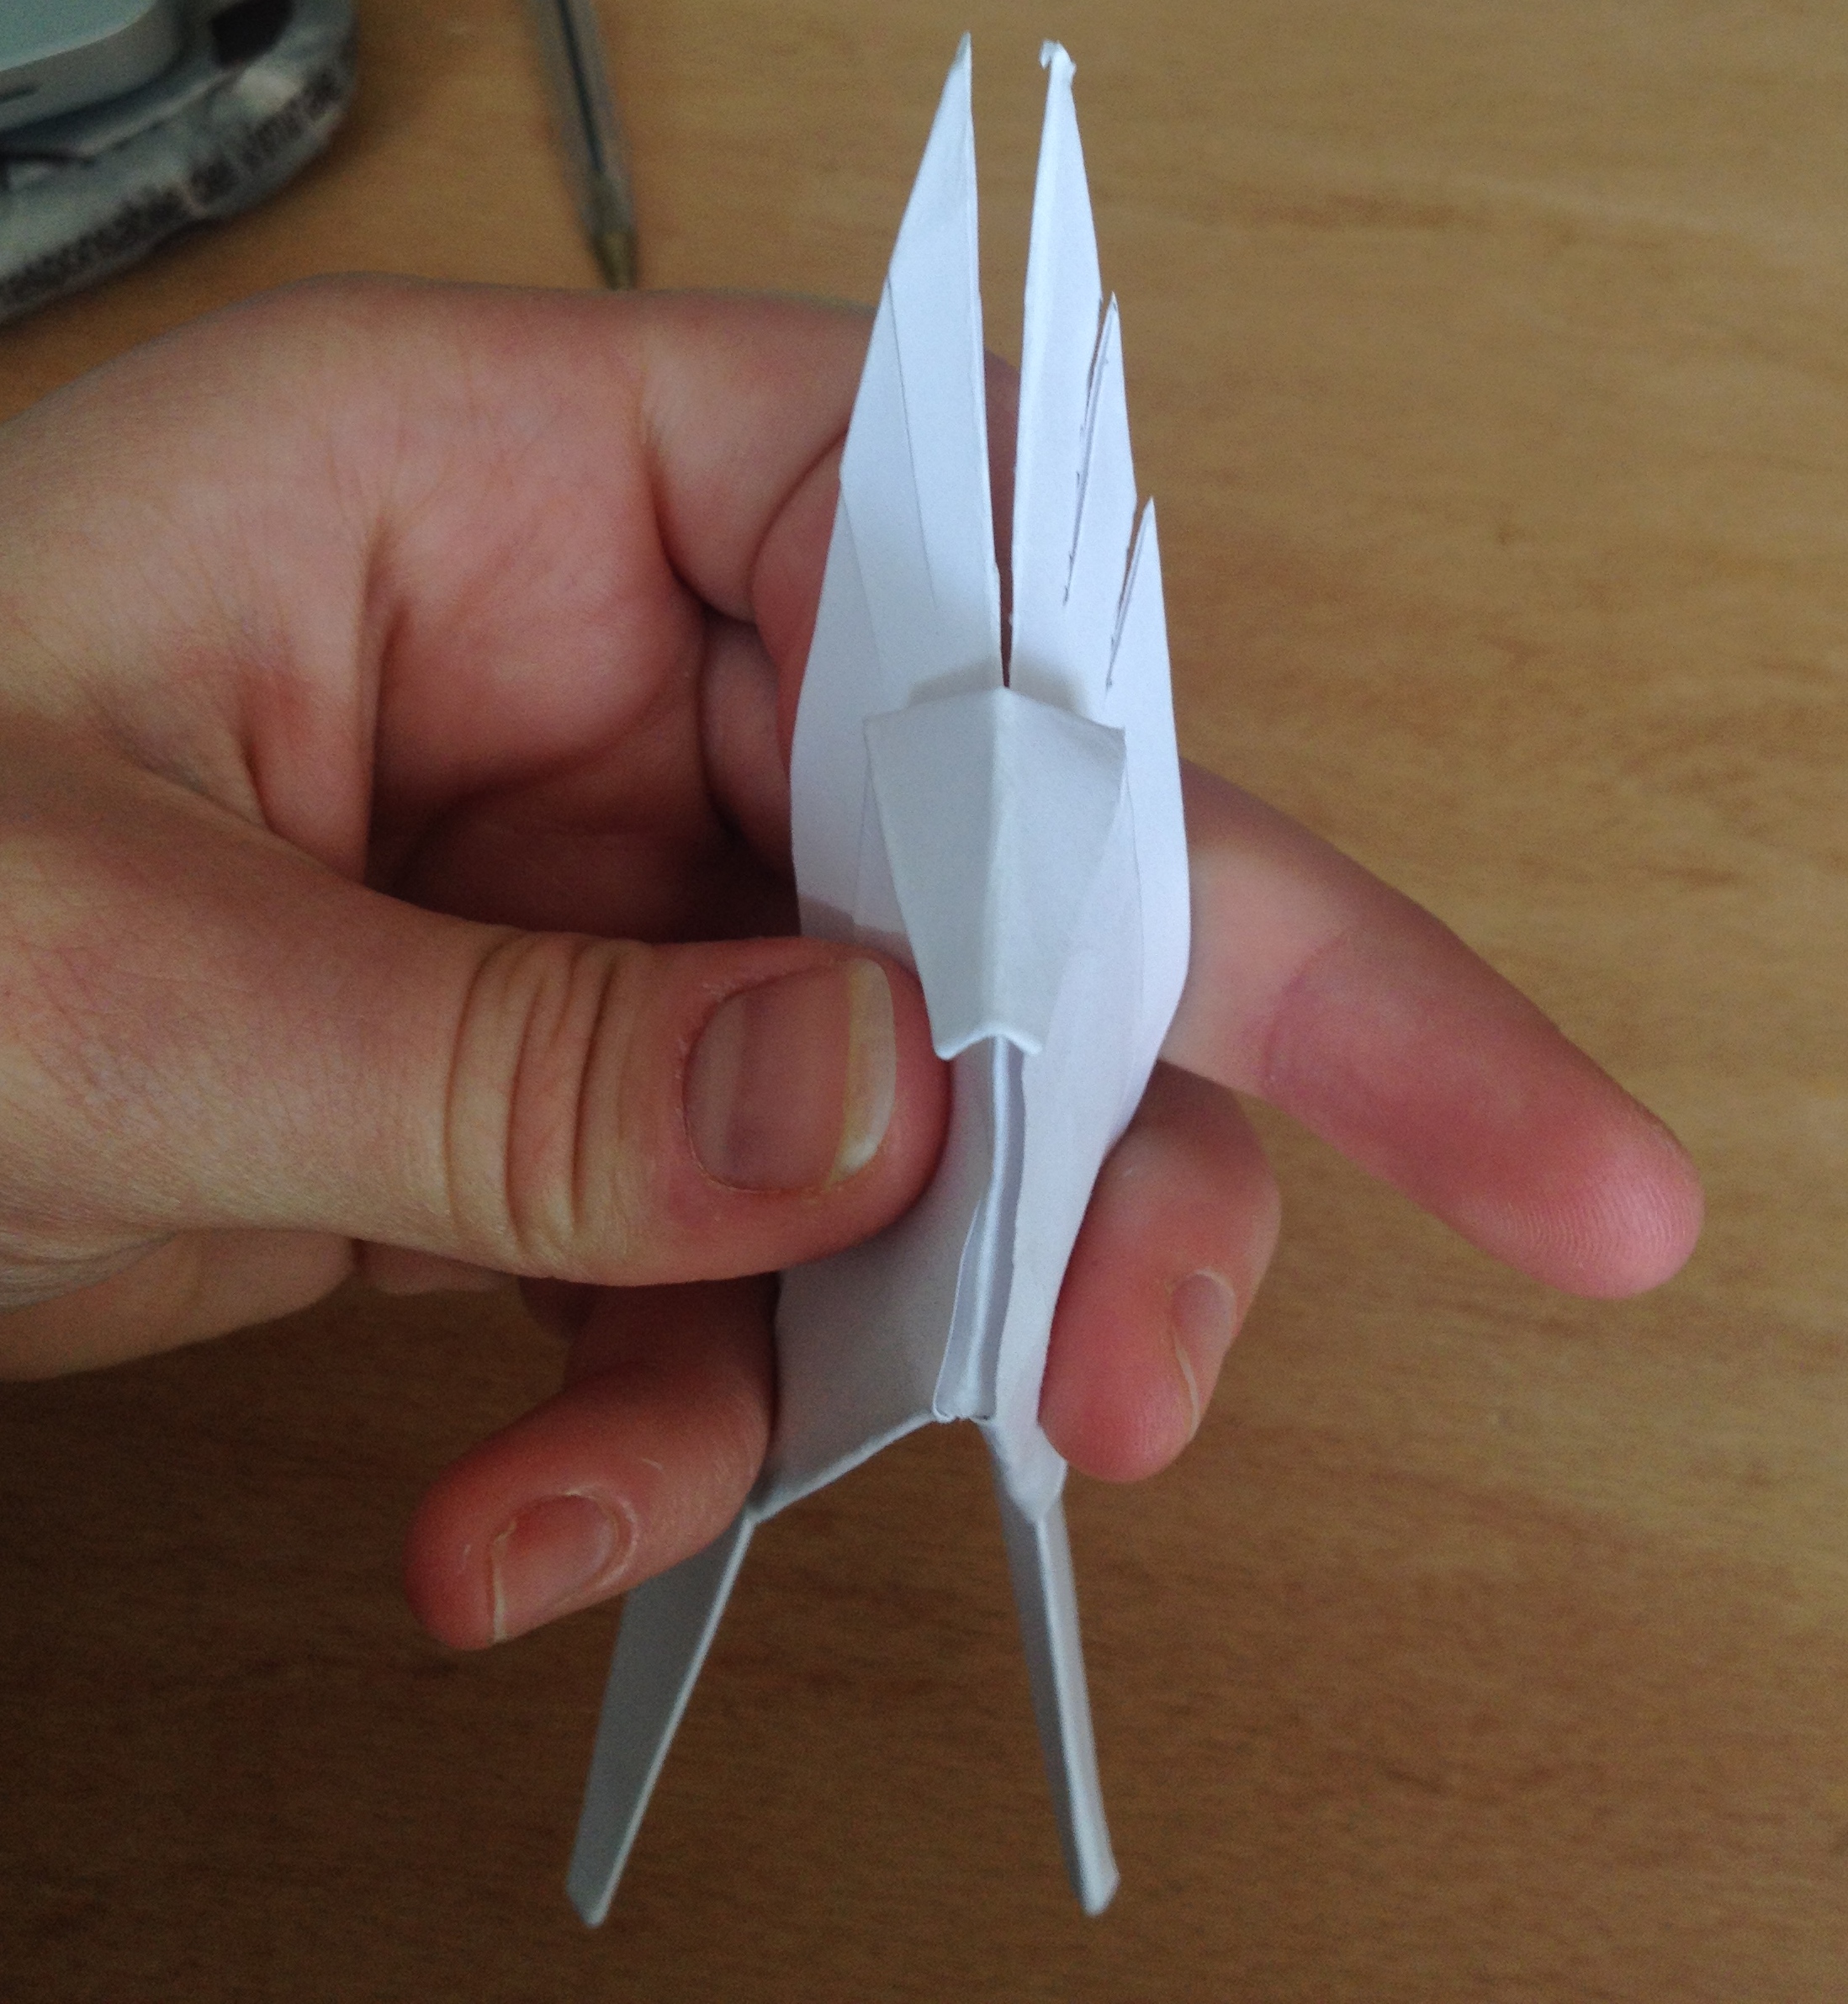
35. Fold down the top tip of the second and third cut you made to form the antlers.
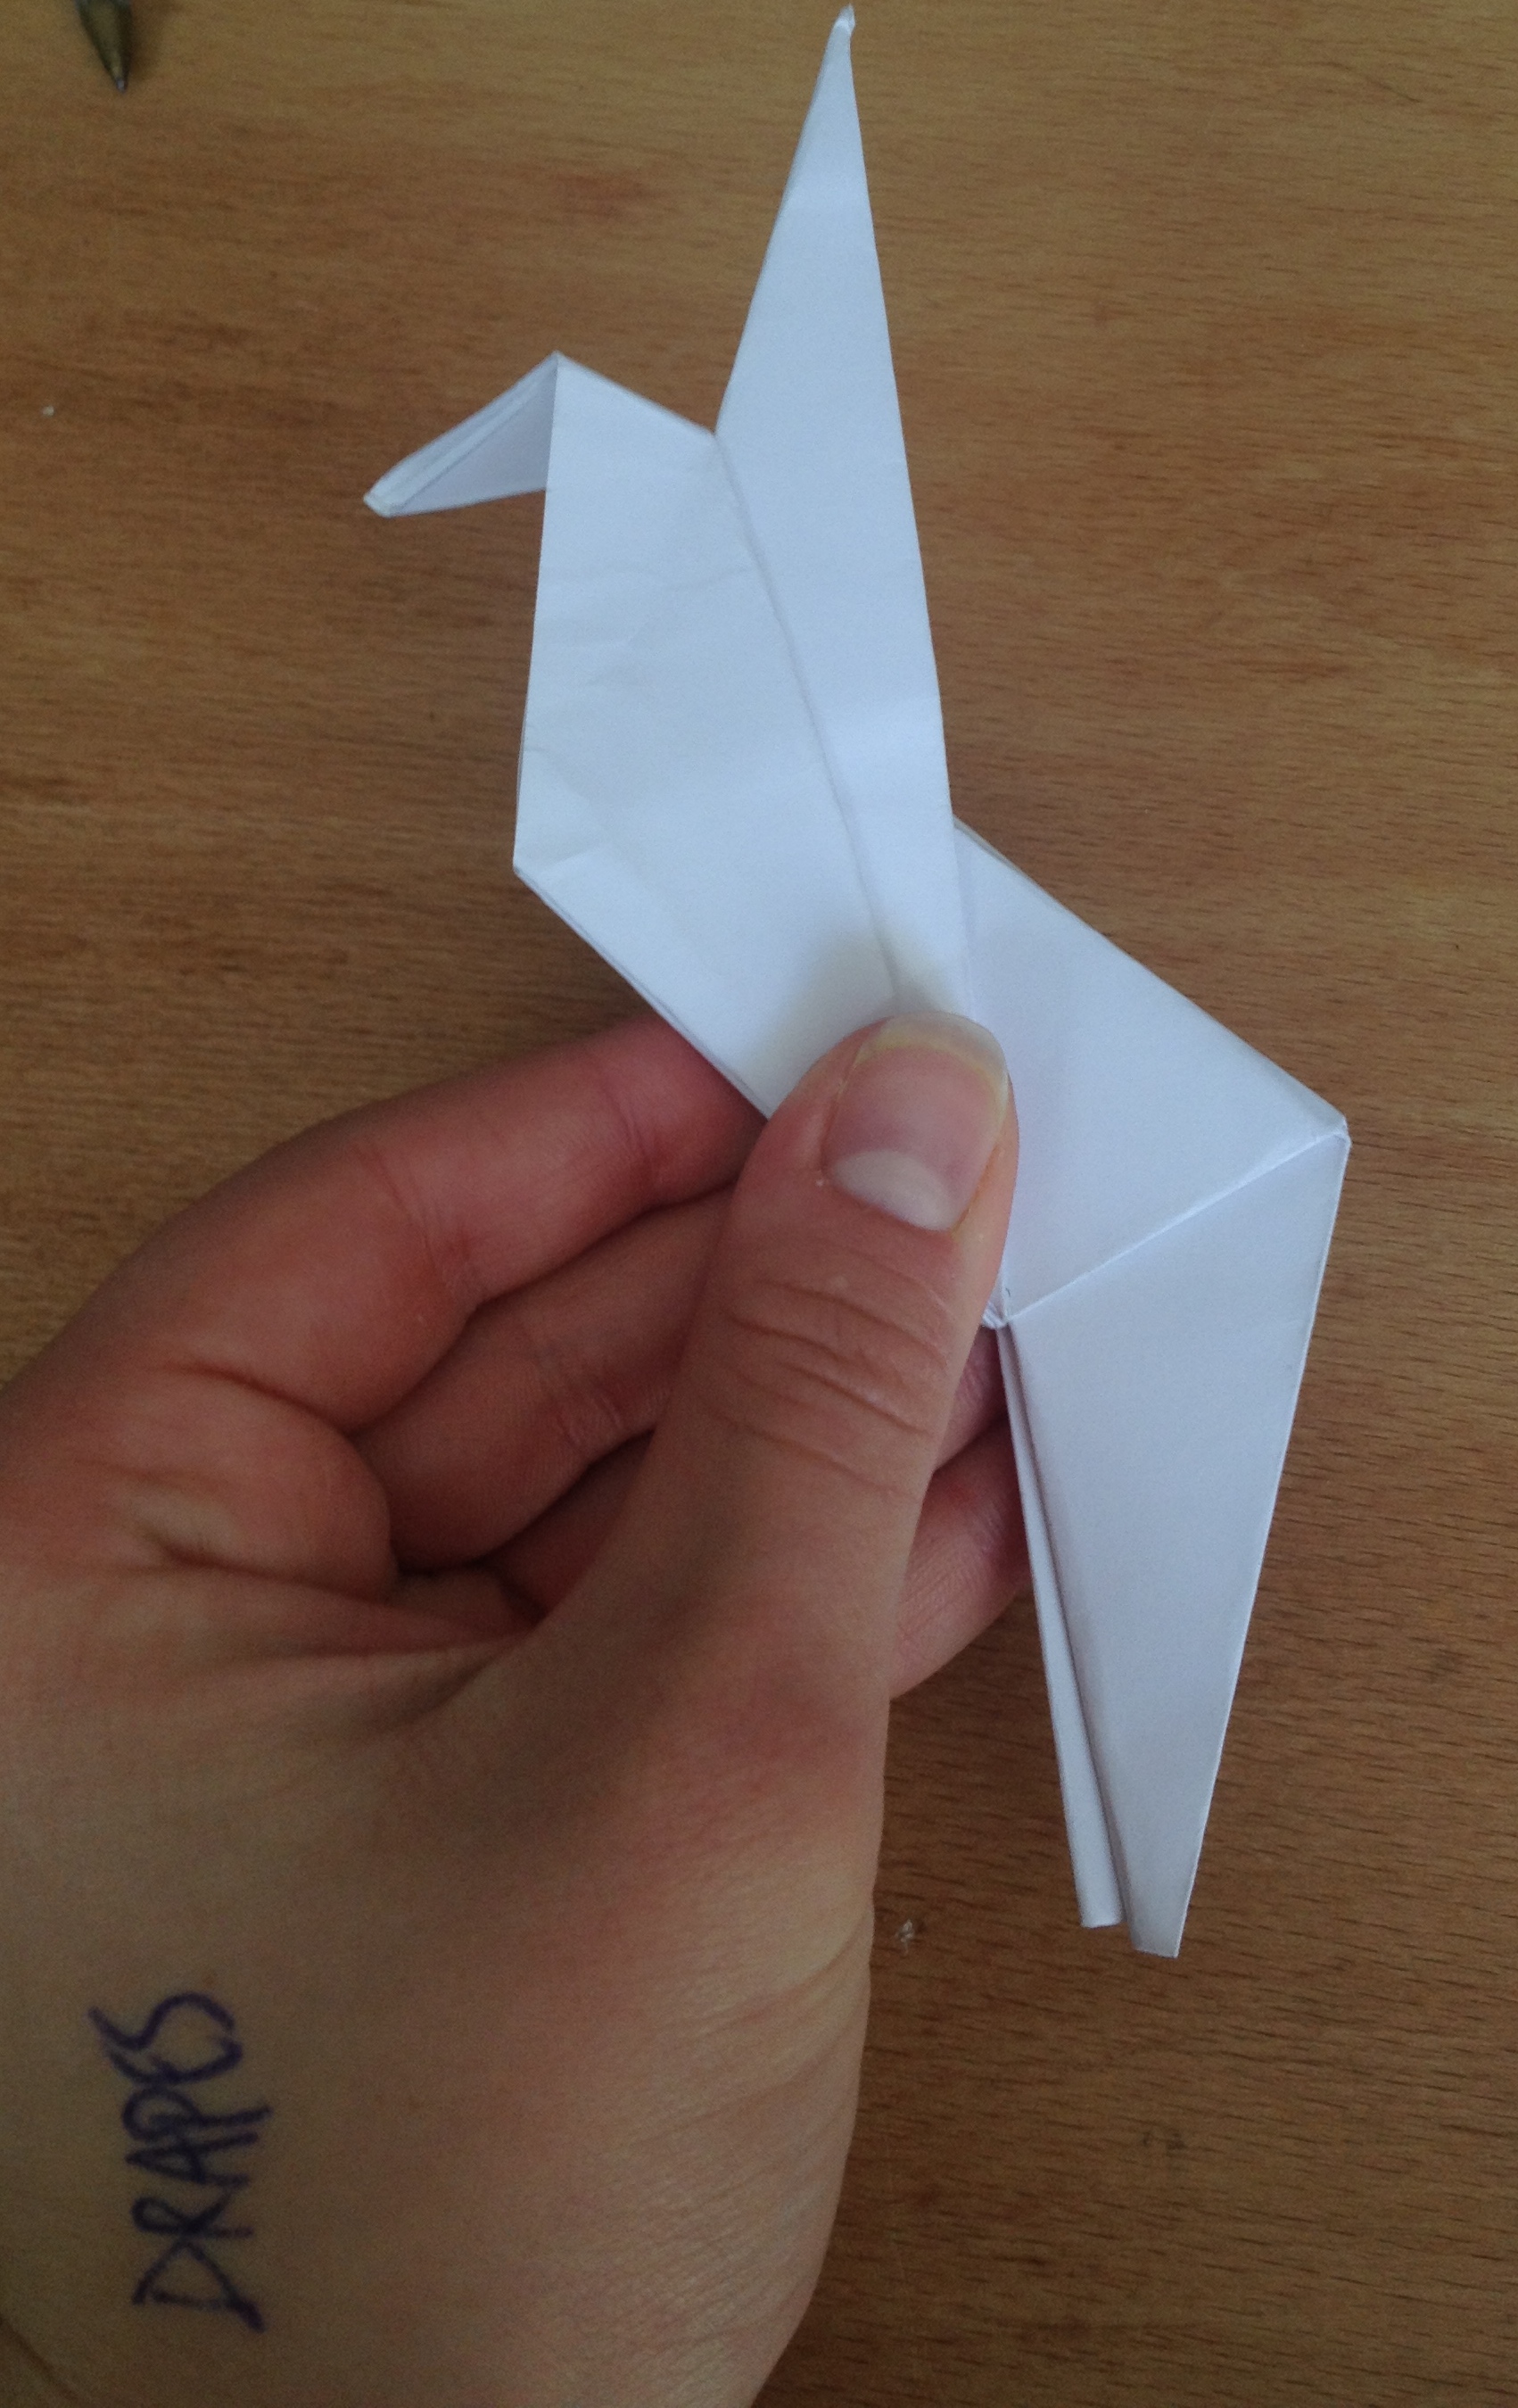
36. Take your second piece of folded paper.
Fold down the top layer of the upper triangle halfway.
37. Fold in the left outer edge formed by the top triangle and the left leg.
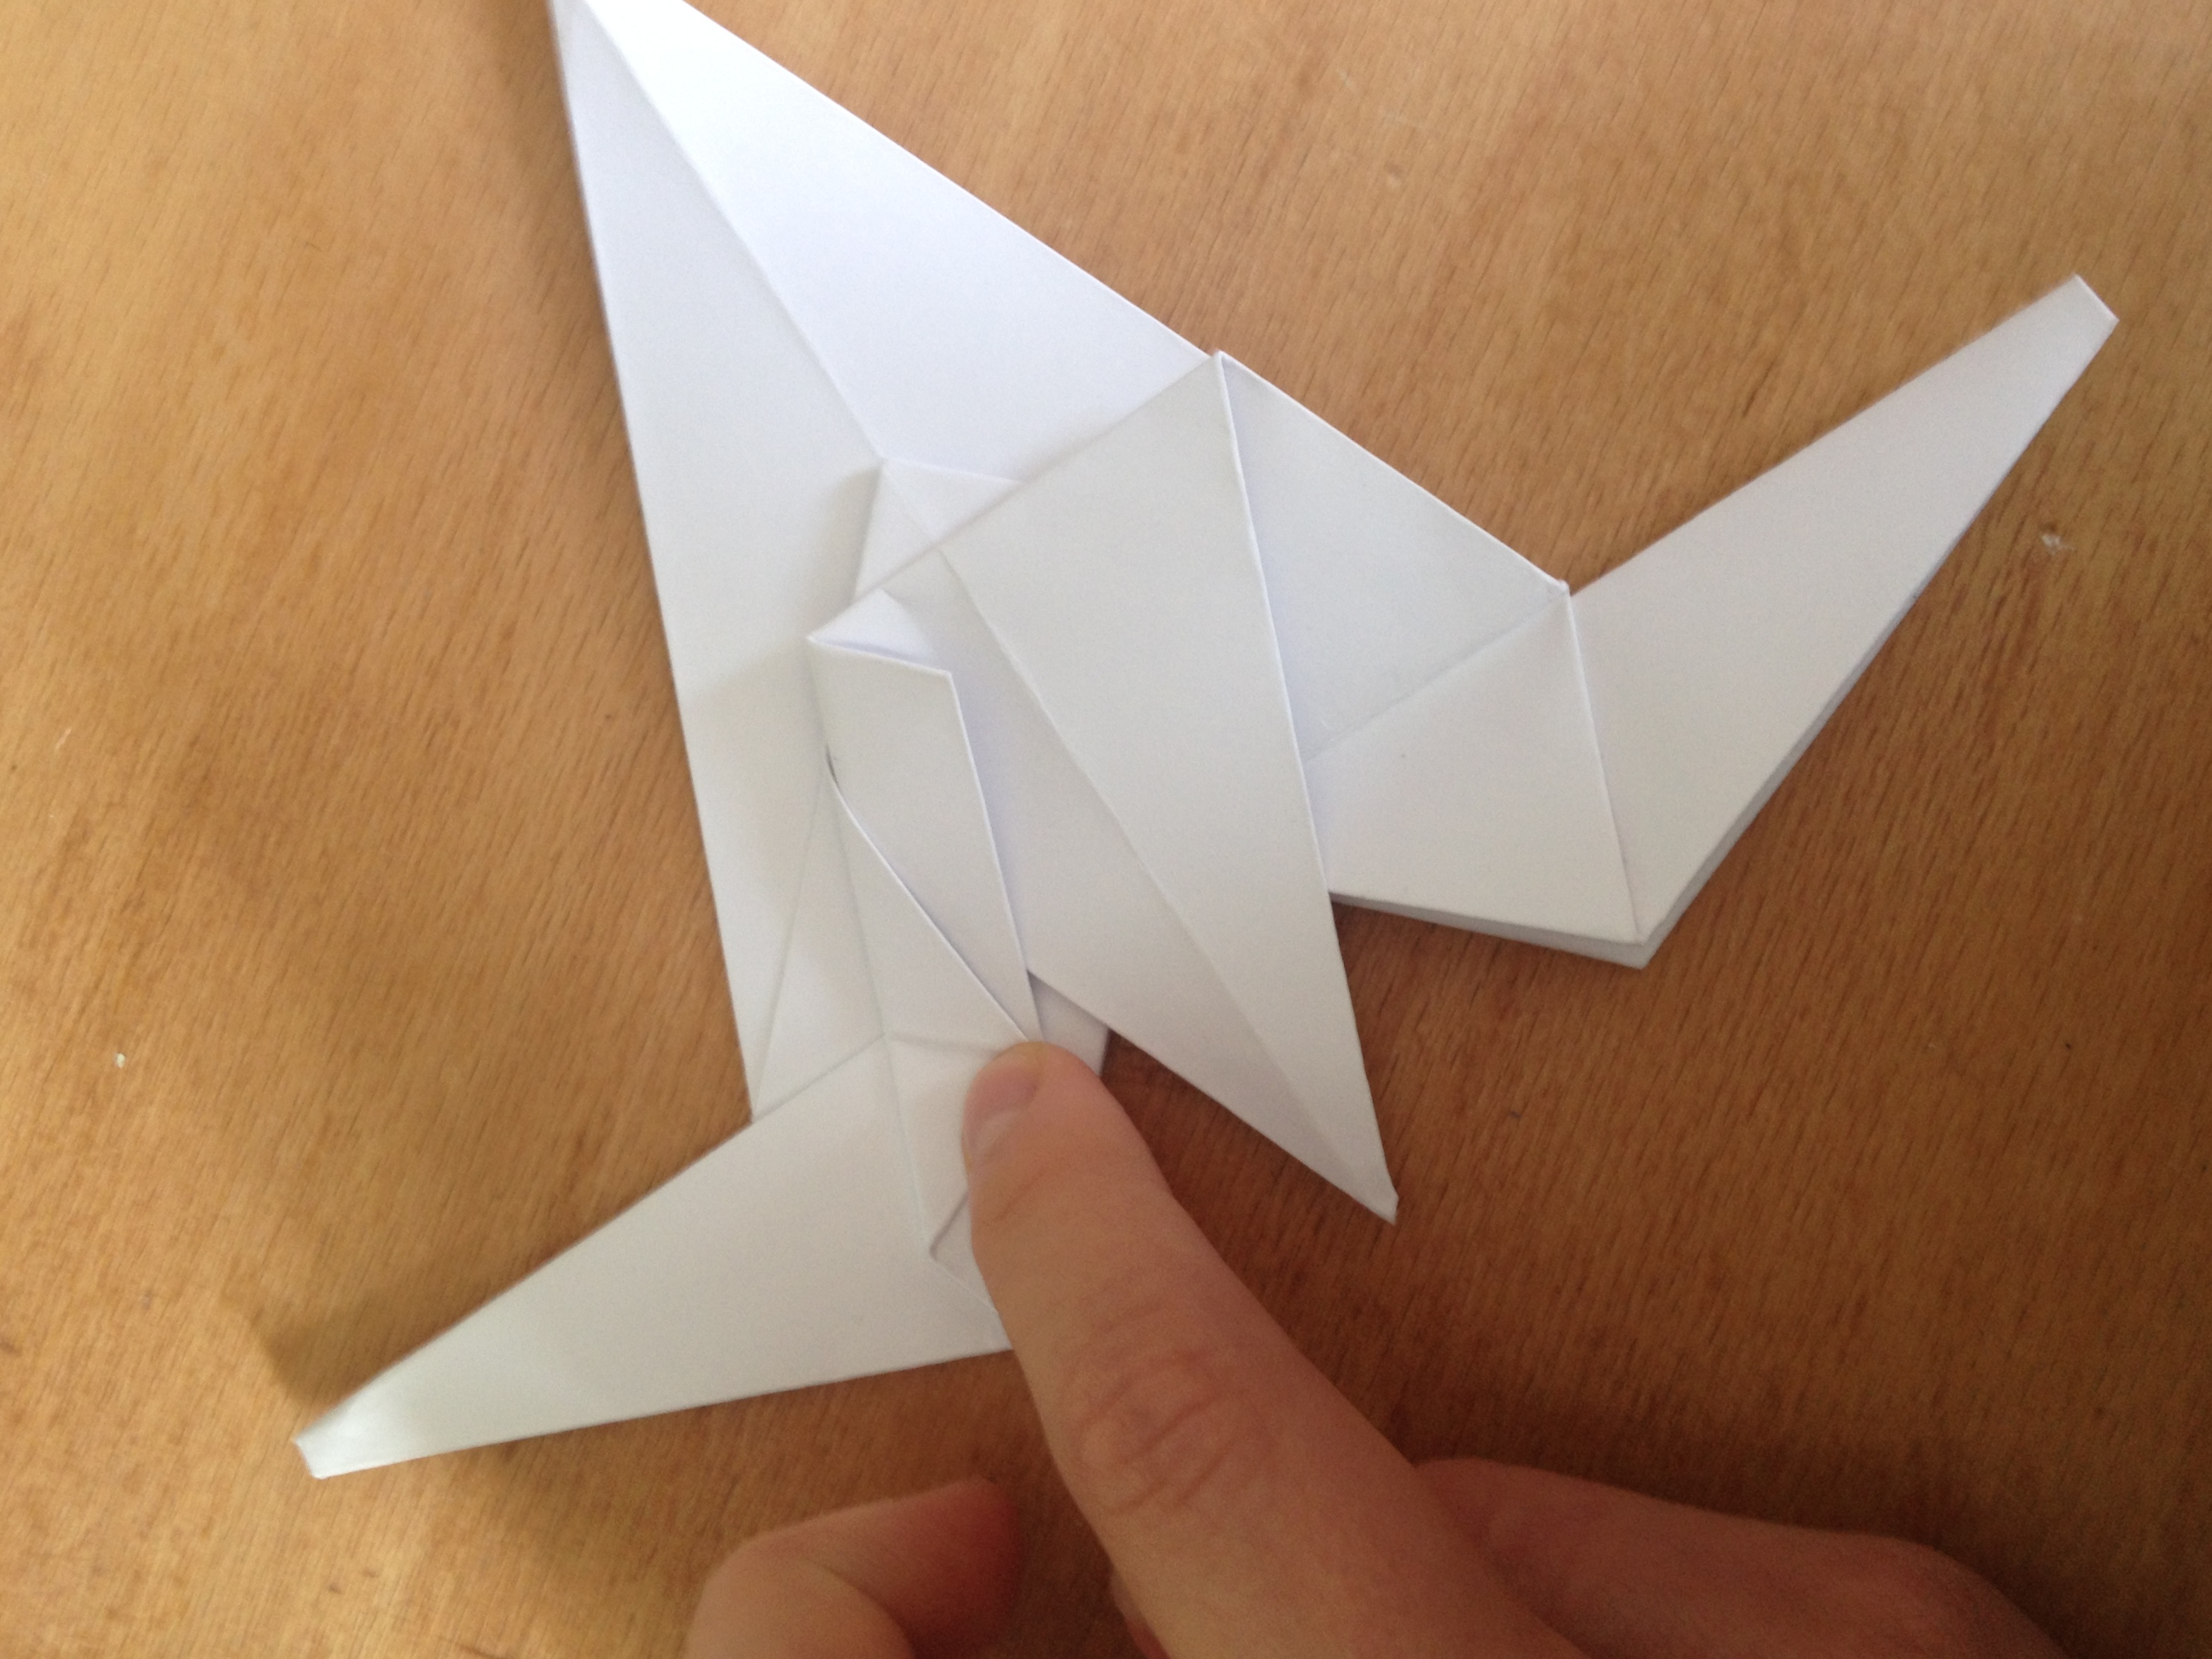
38. Fold in the right outer edge.

39. Fold the bottom layer of the upper triangle down over the other layer.

40. Now fold the whole thing in half.
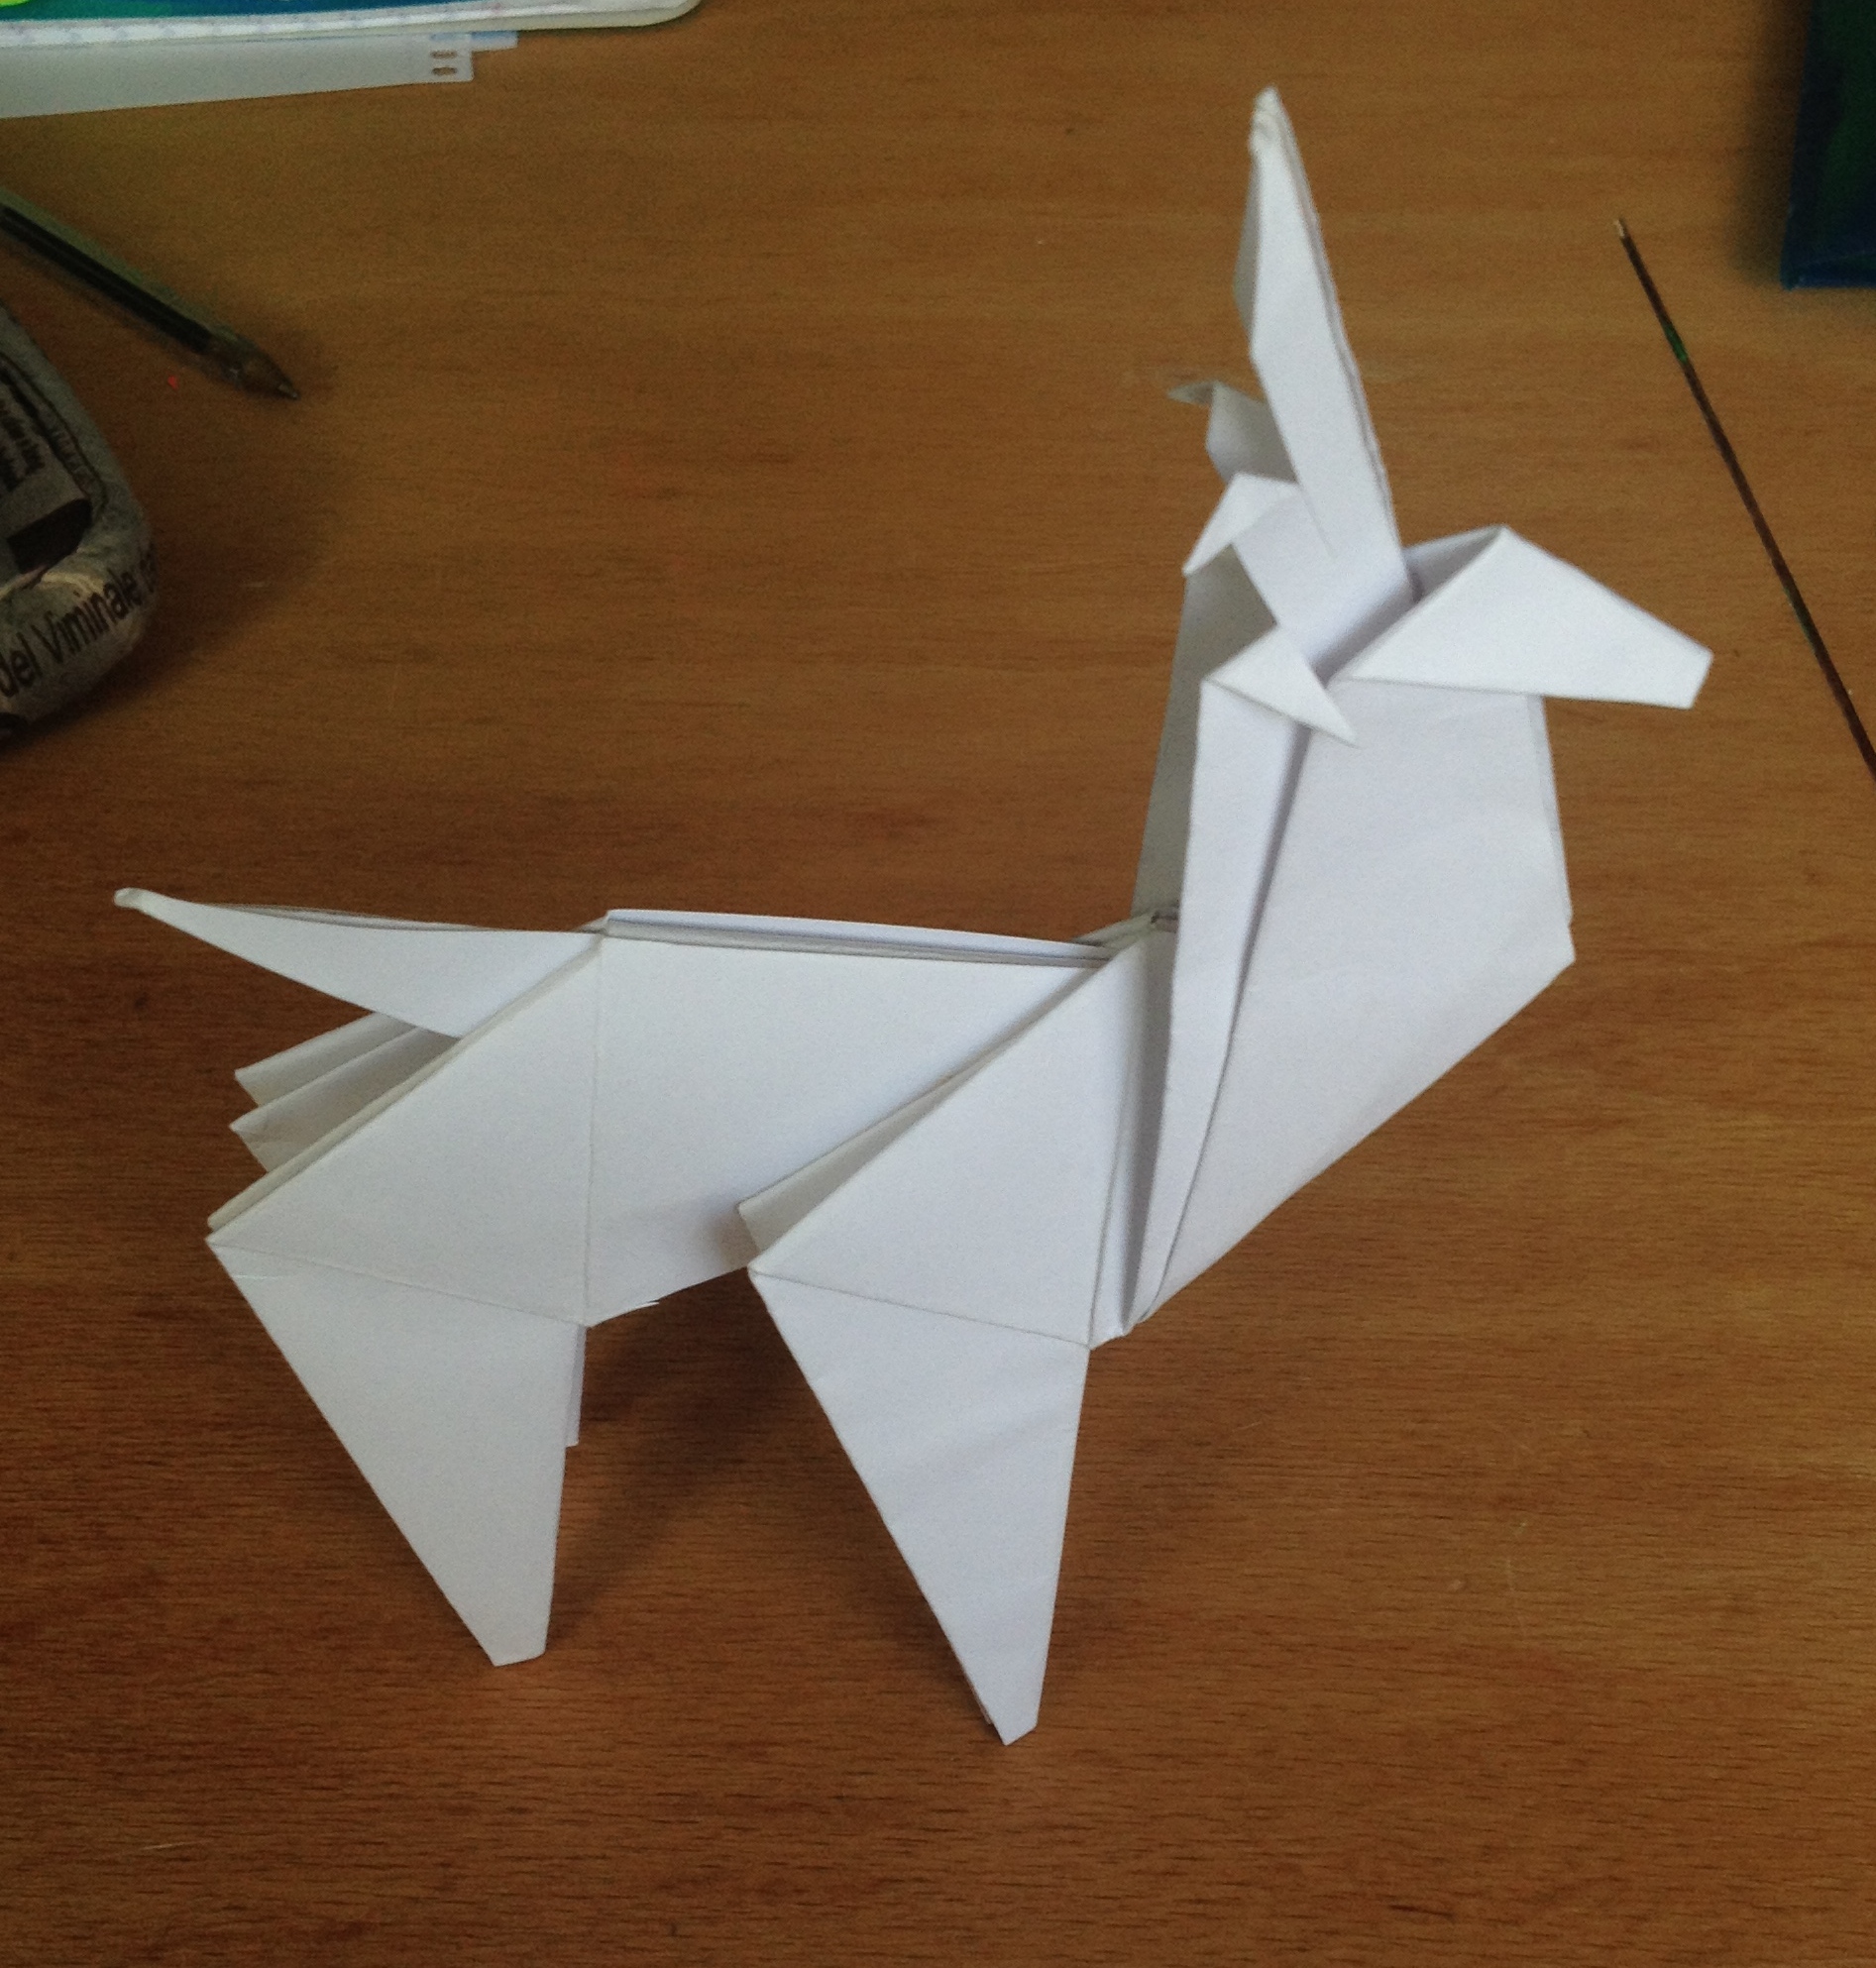
41. Put tape, double sided tape or hot glue on the inside of the front legs of your reindeer.
42. Line up the back end inside the front end.
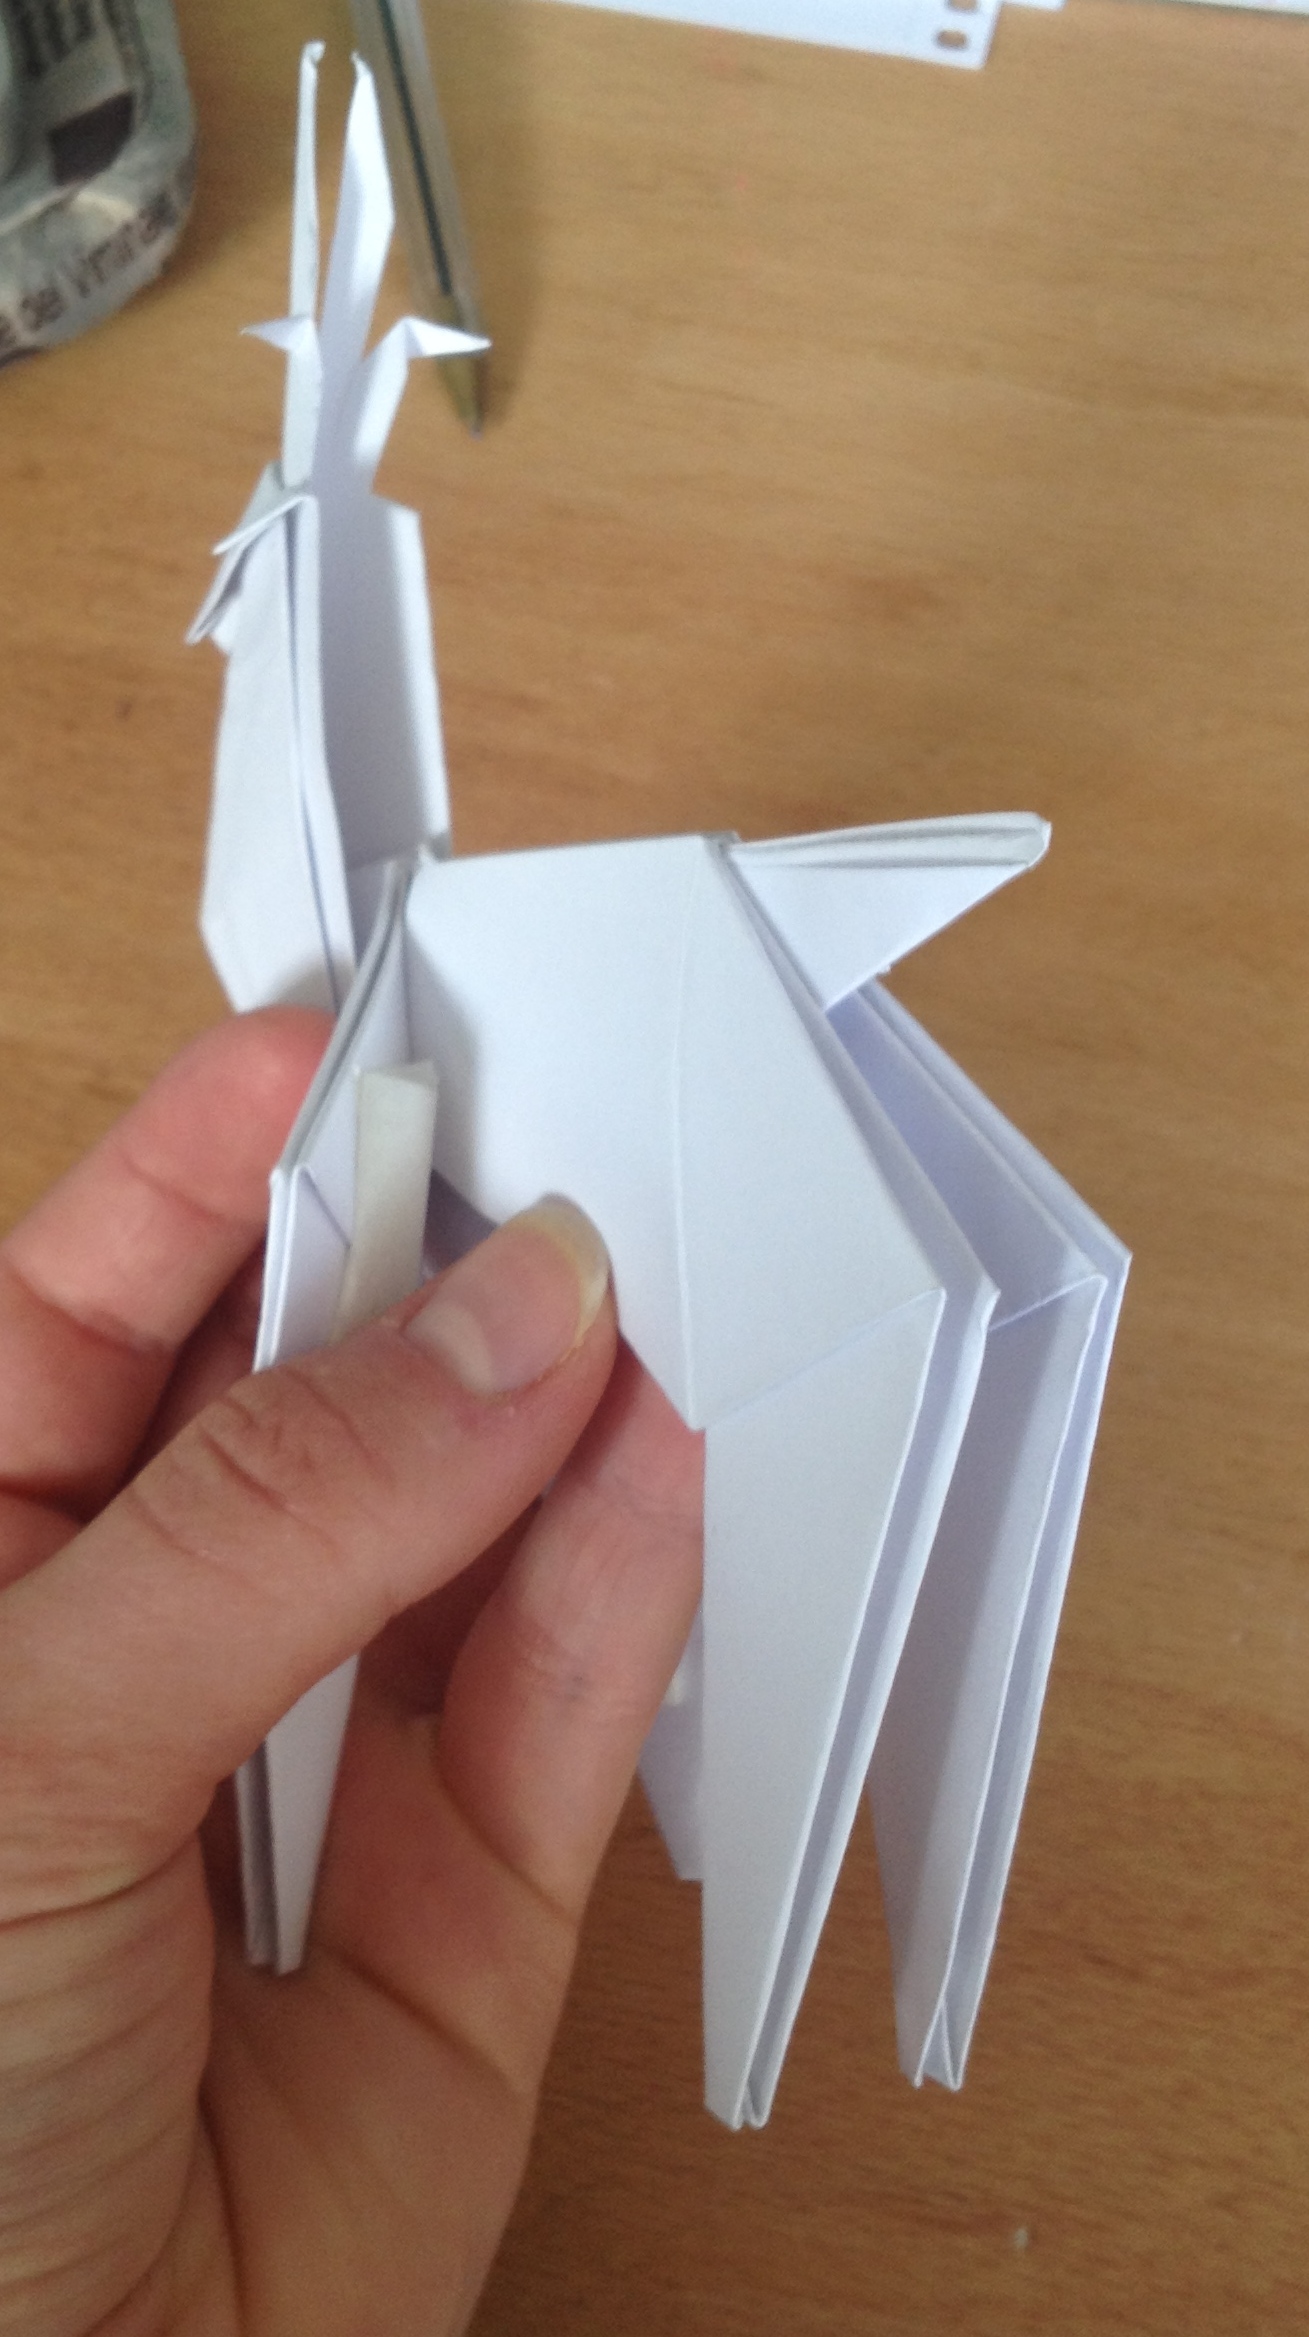
Then stick him together!
You should have lined up his legs equally so that he stands.
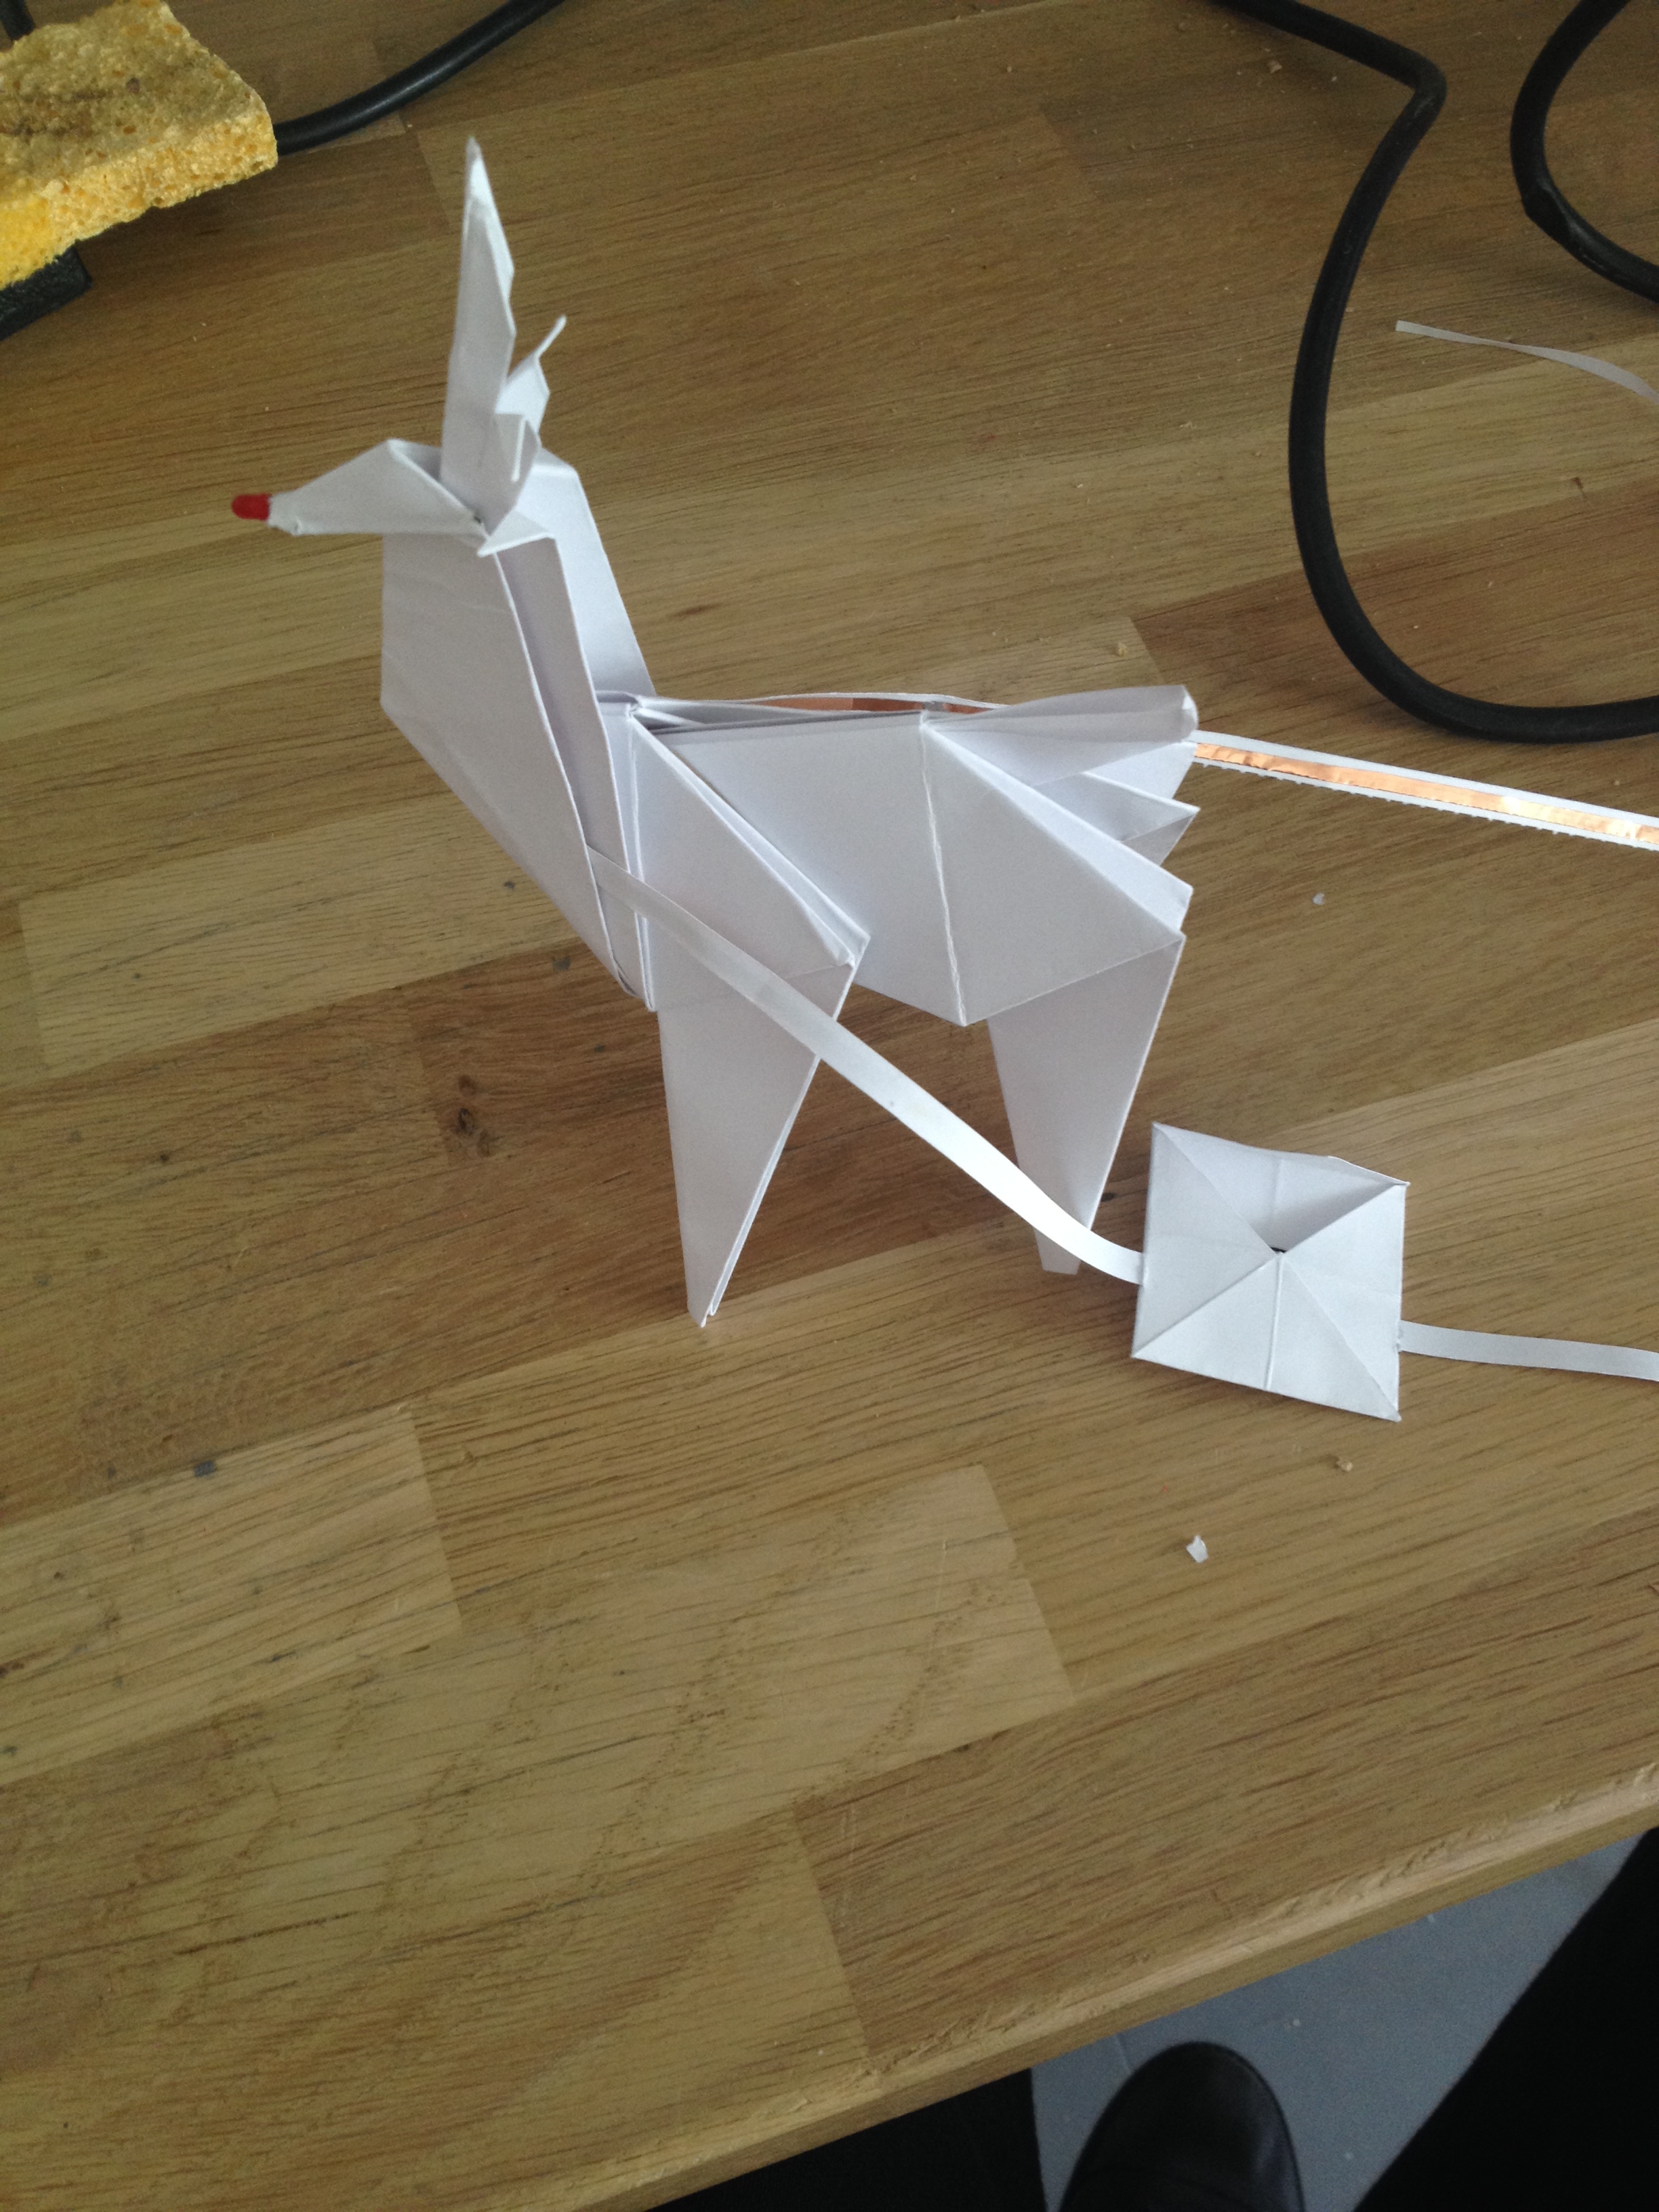
NOW FOR THE CIRCUITRY
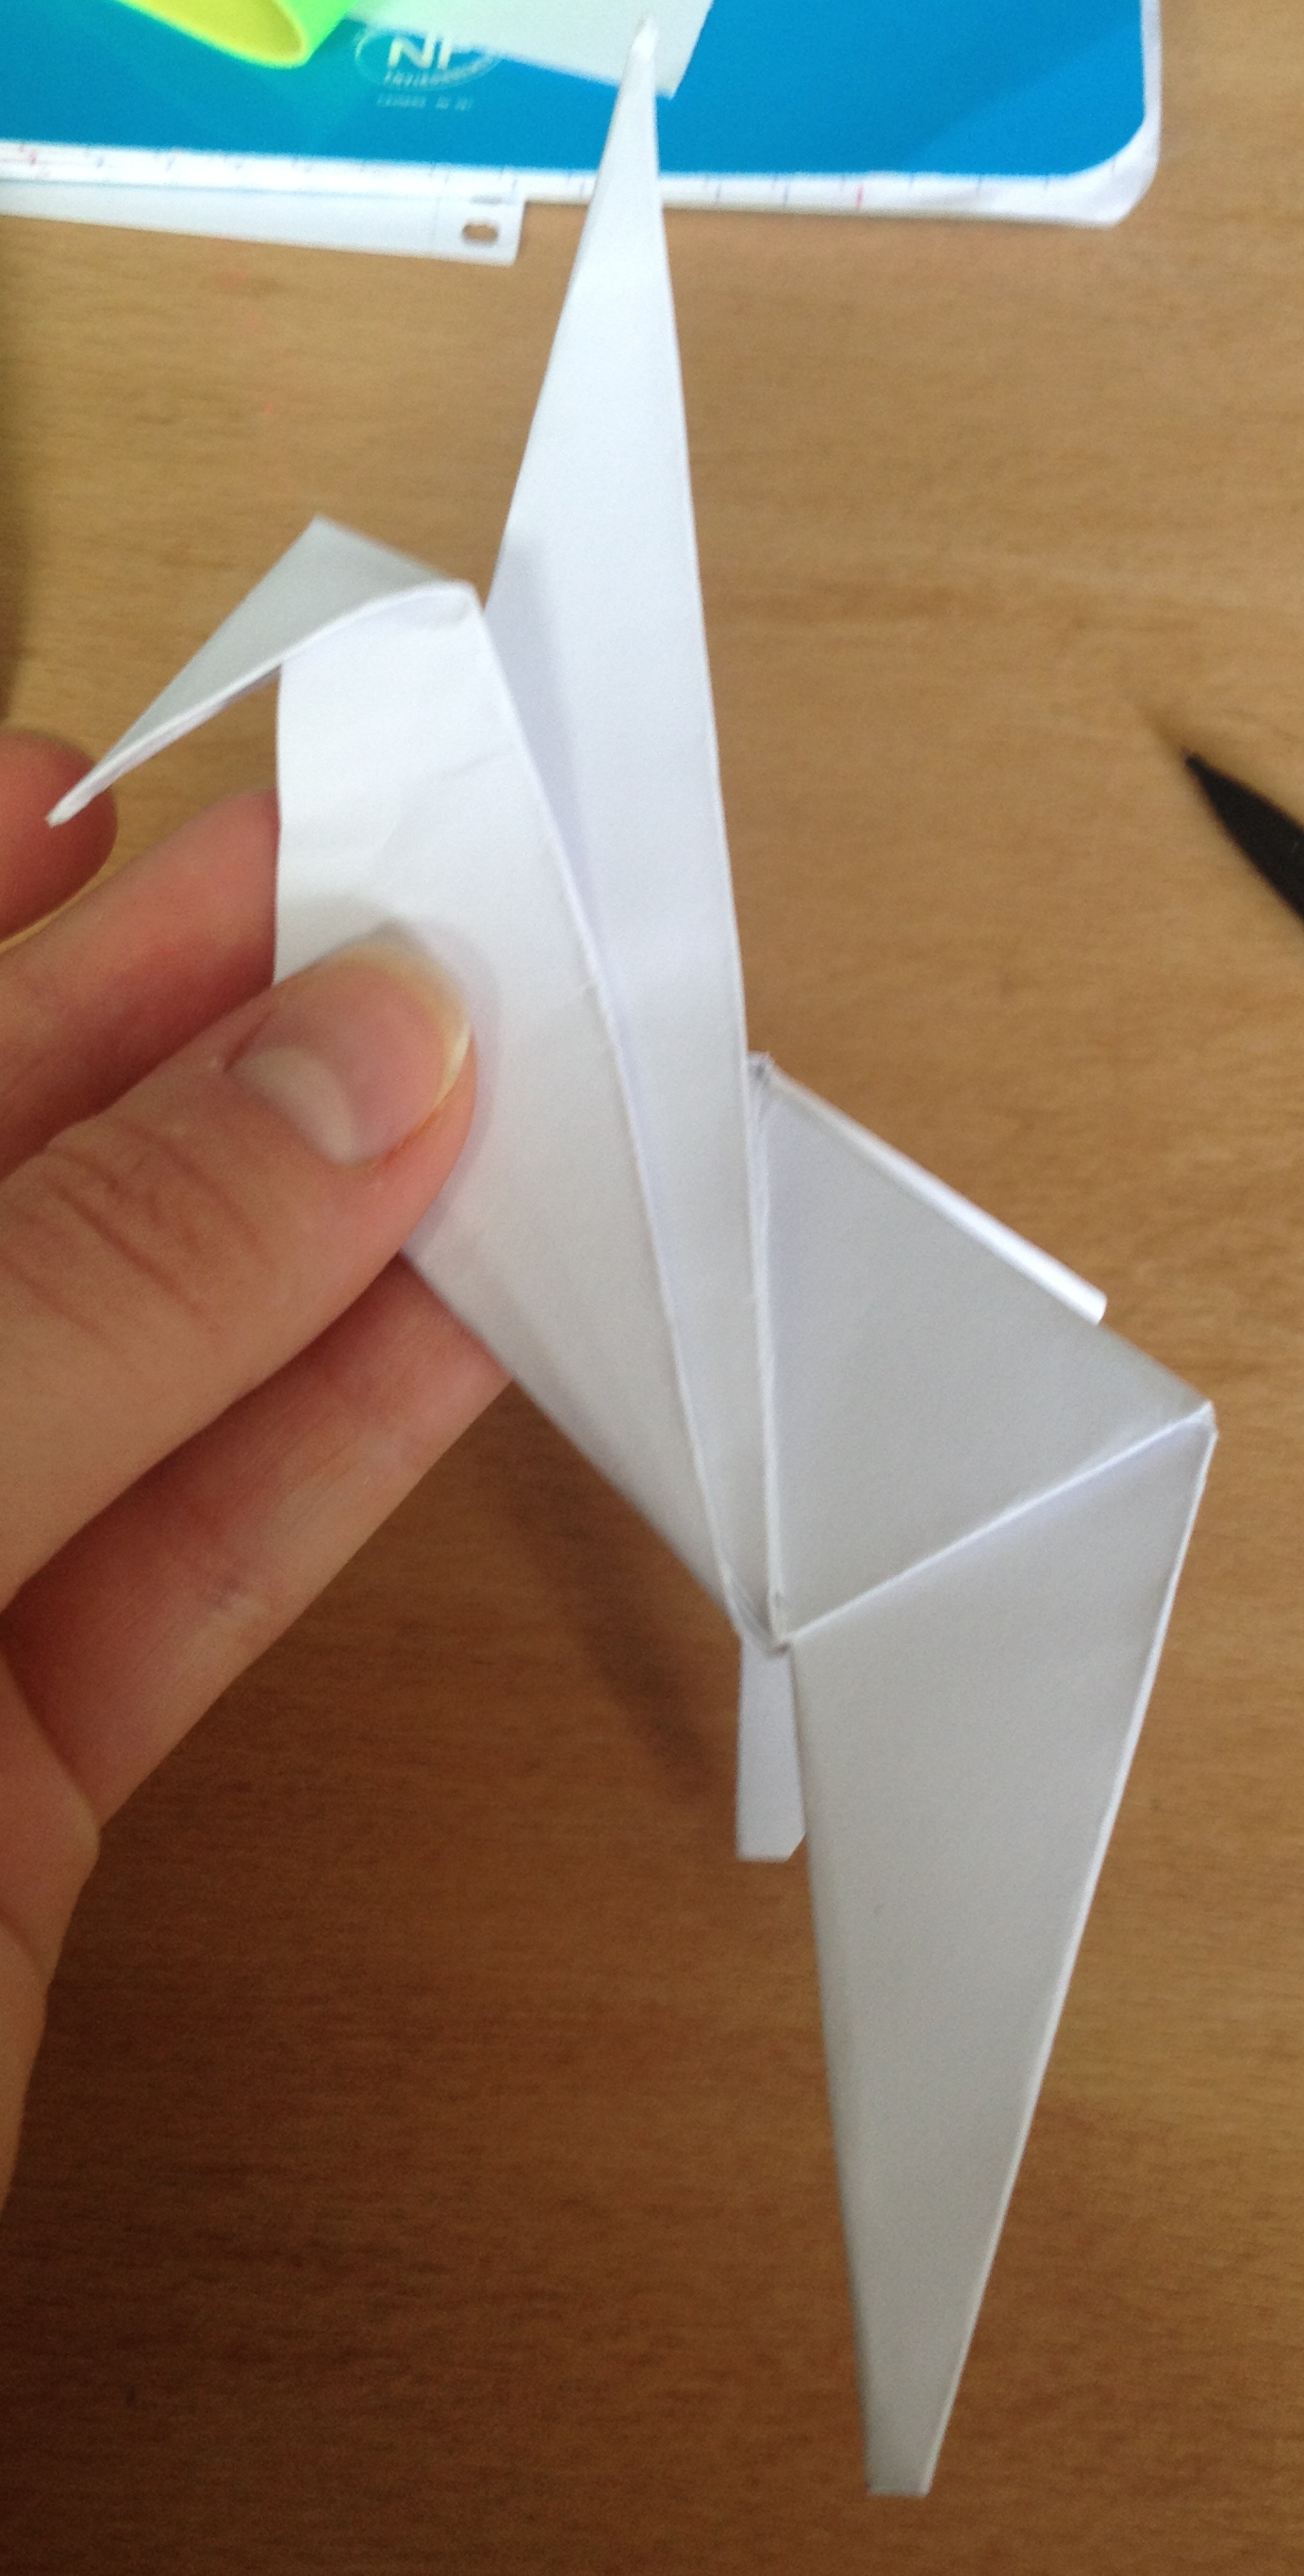
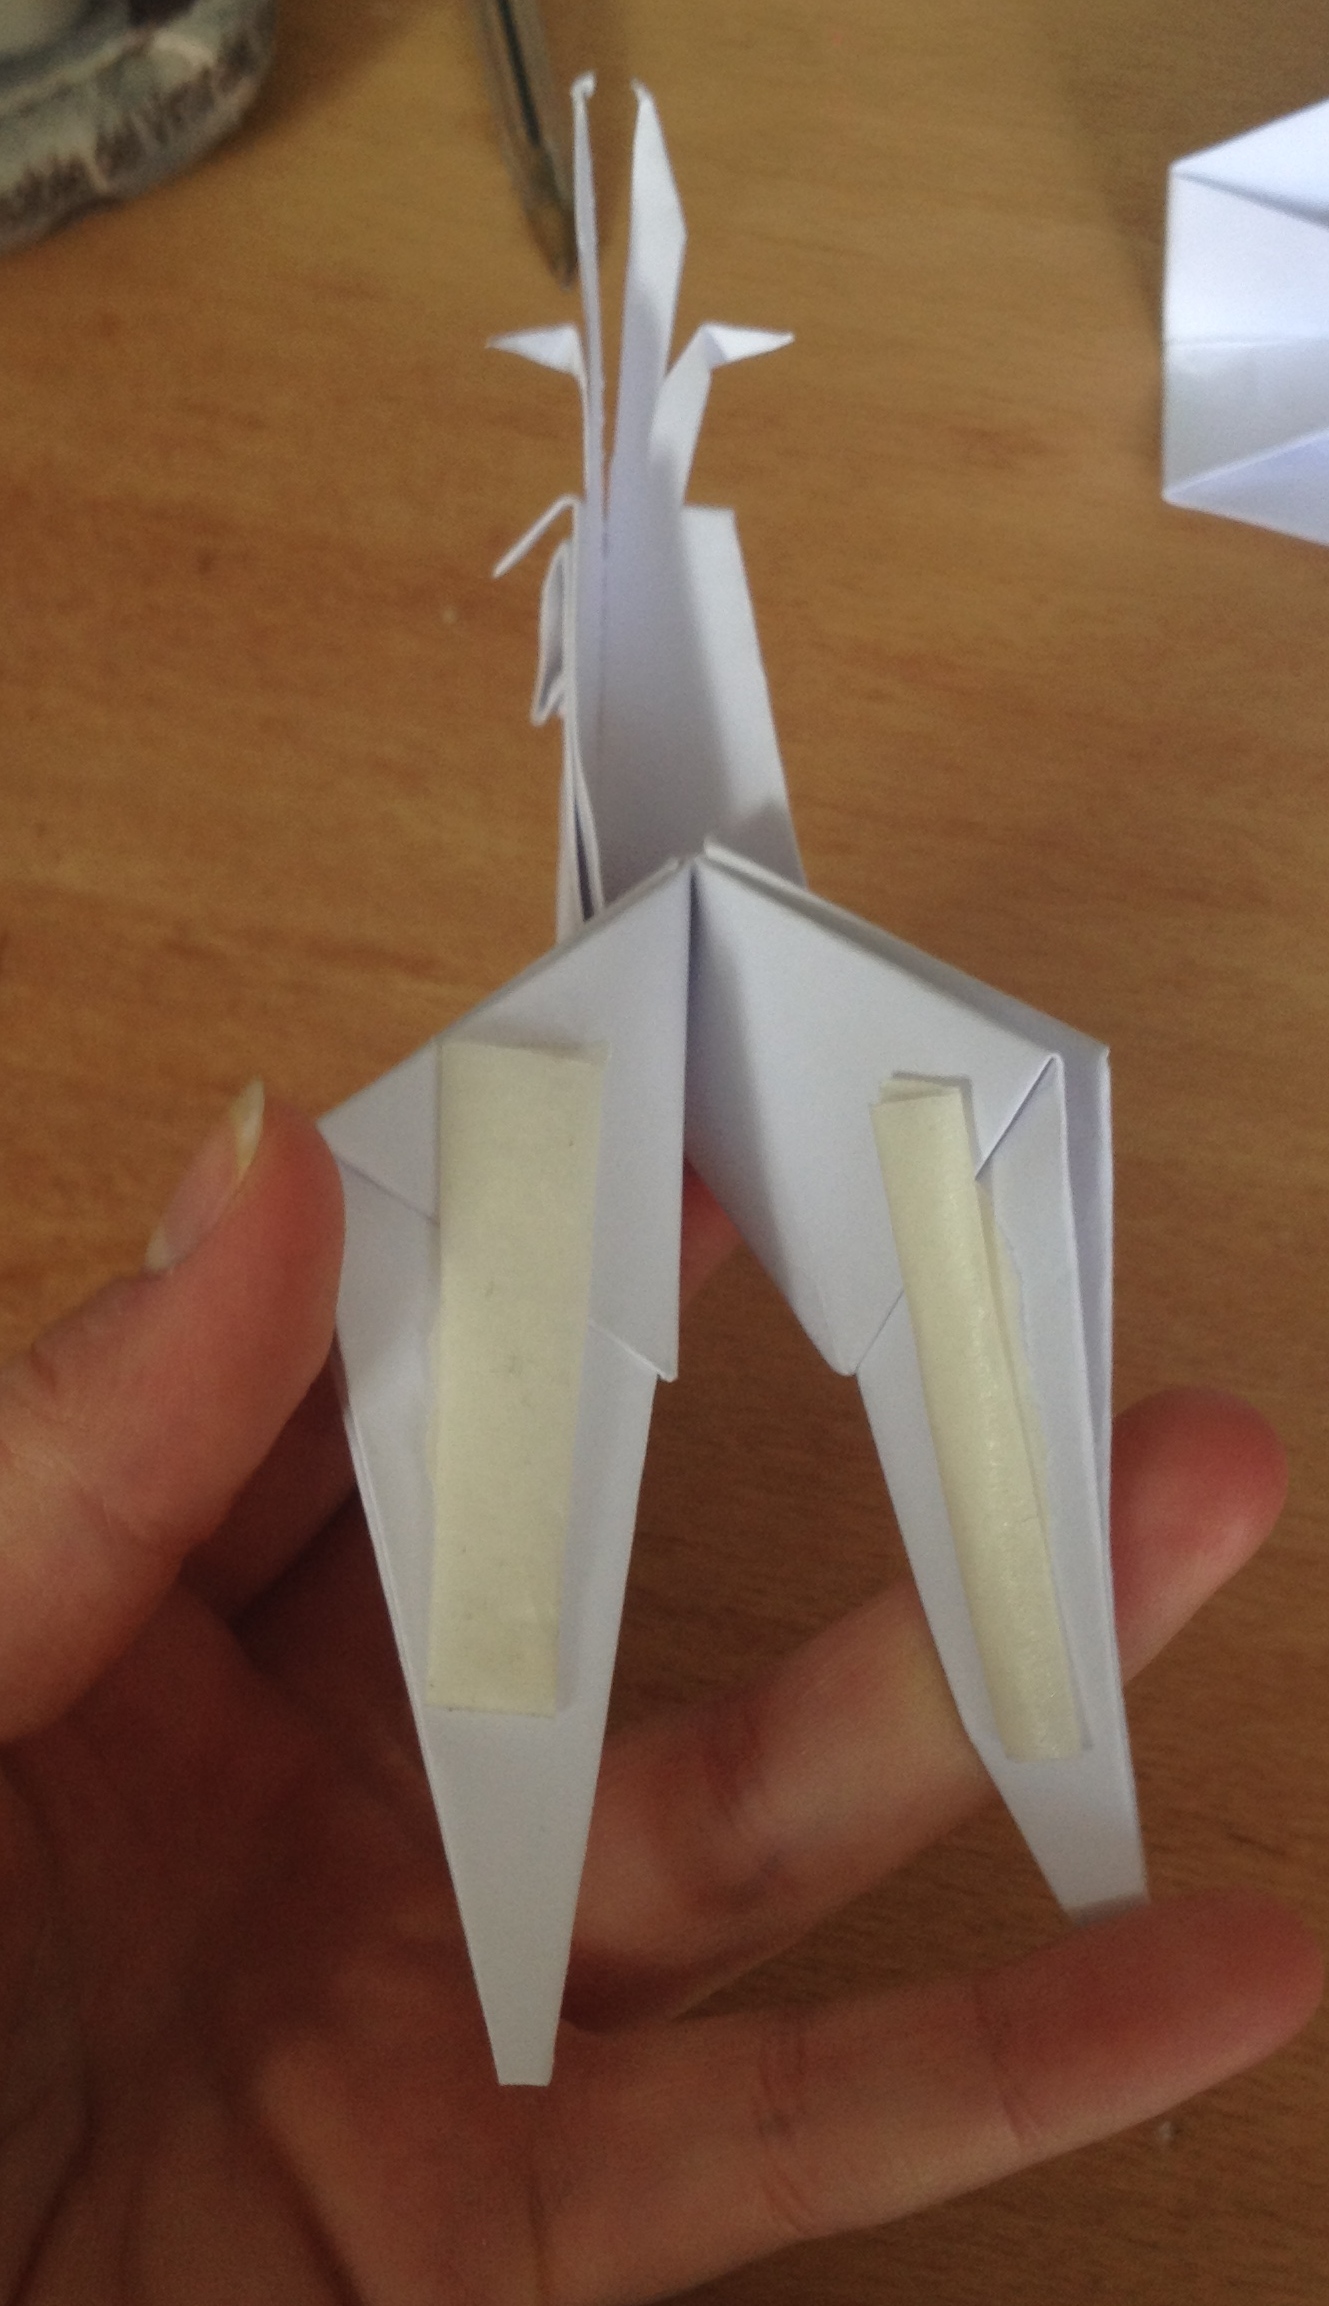
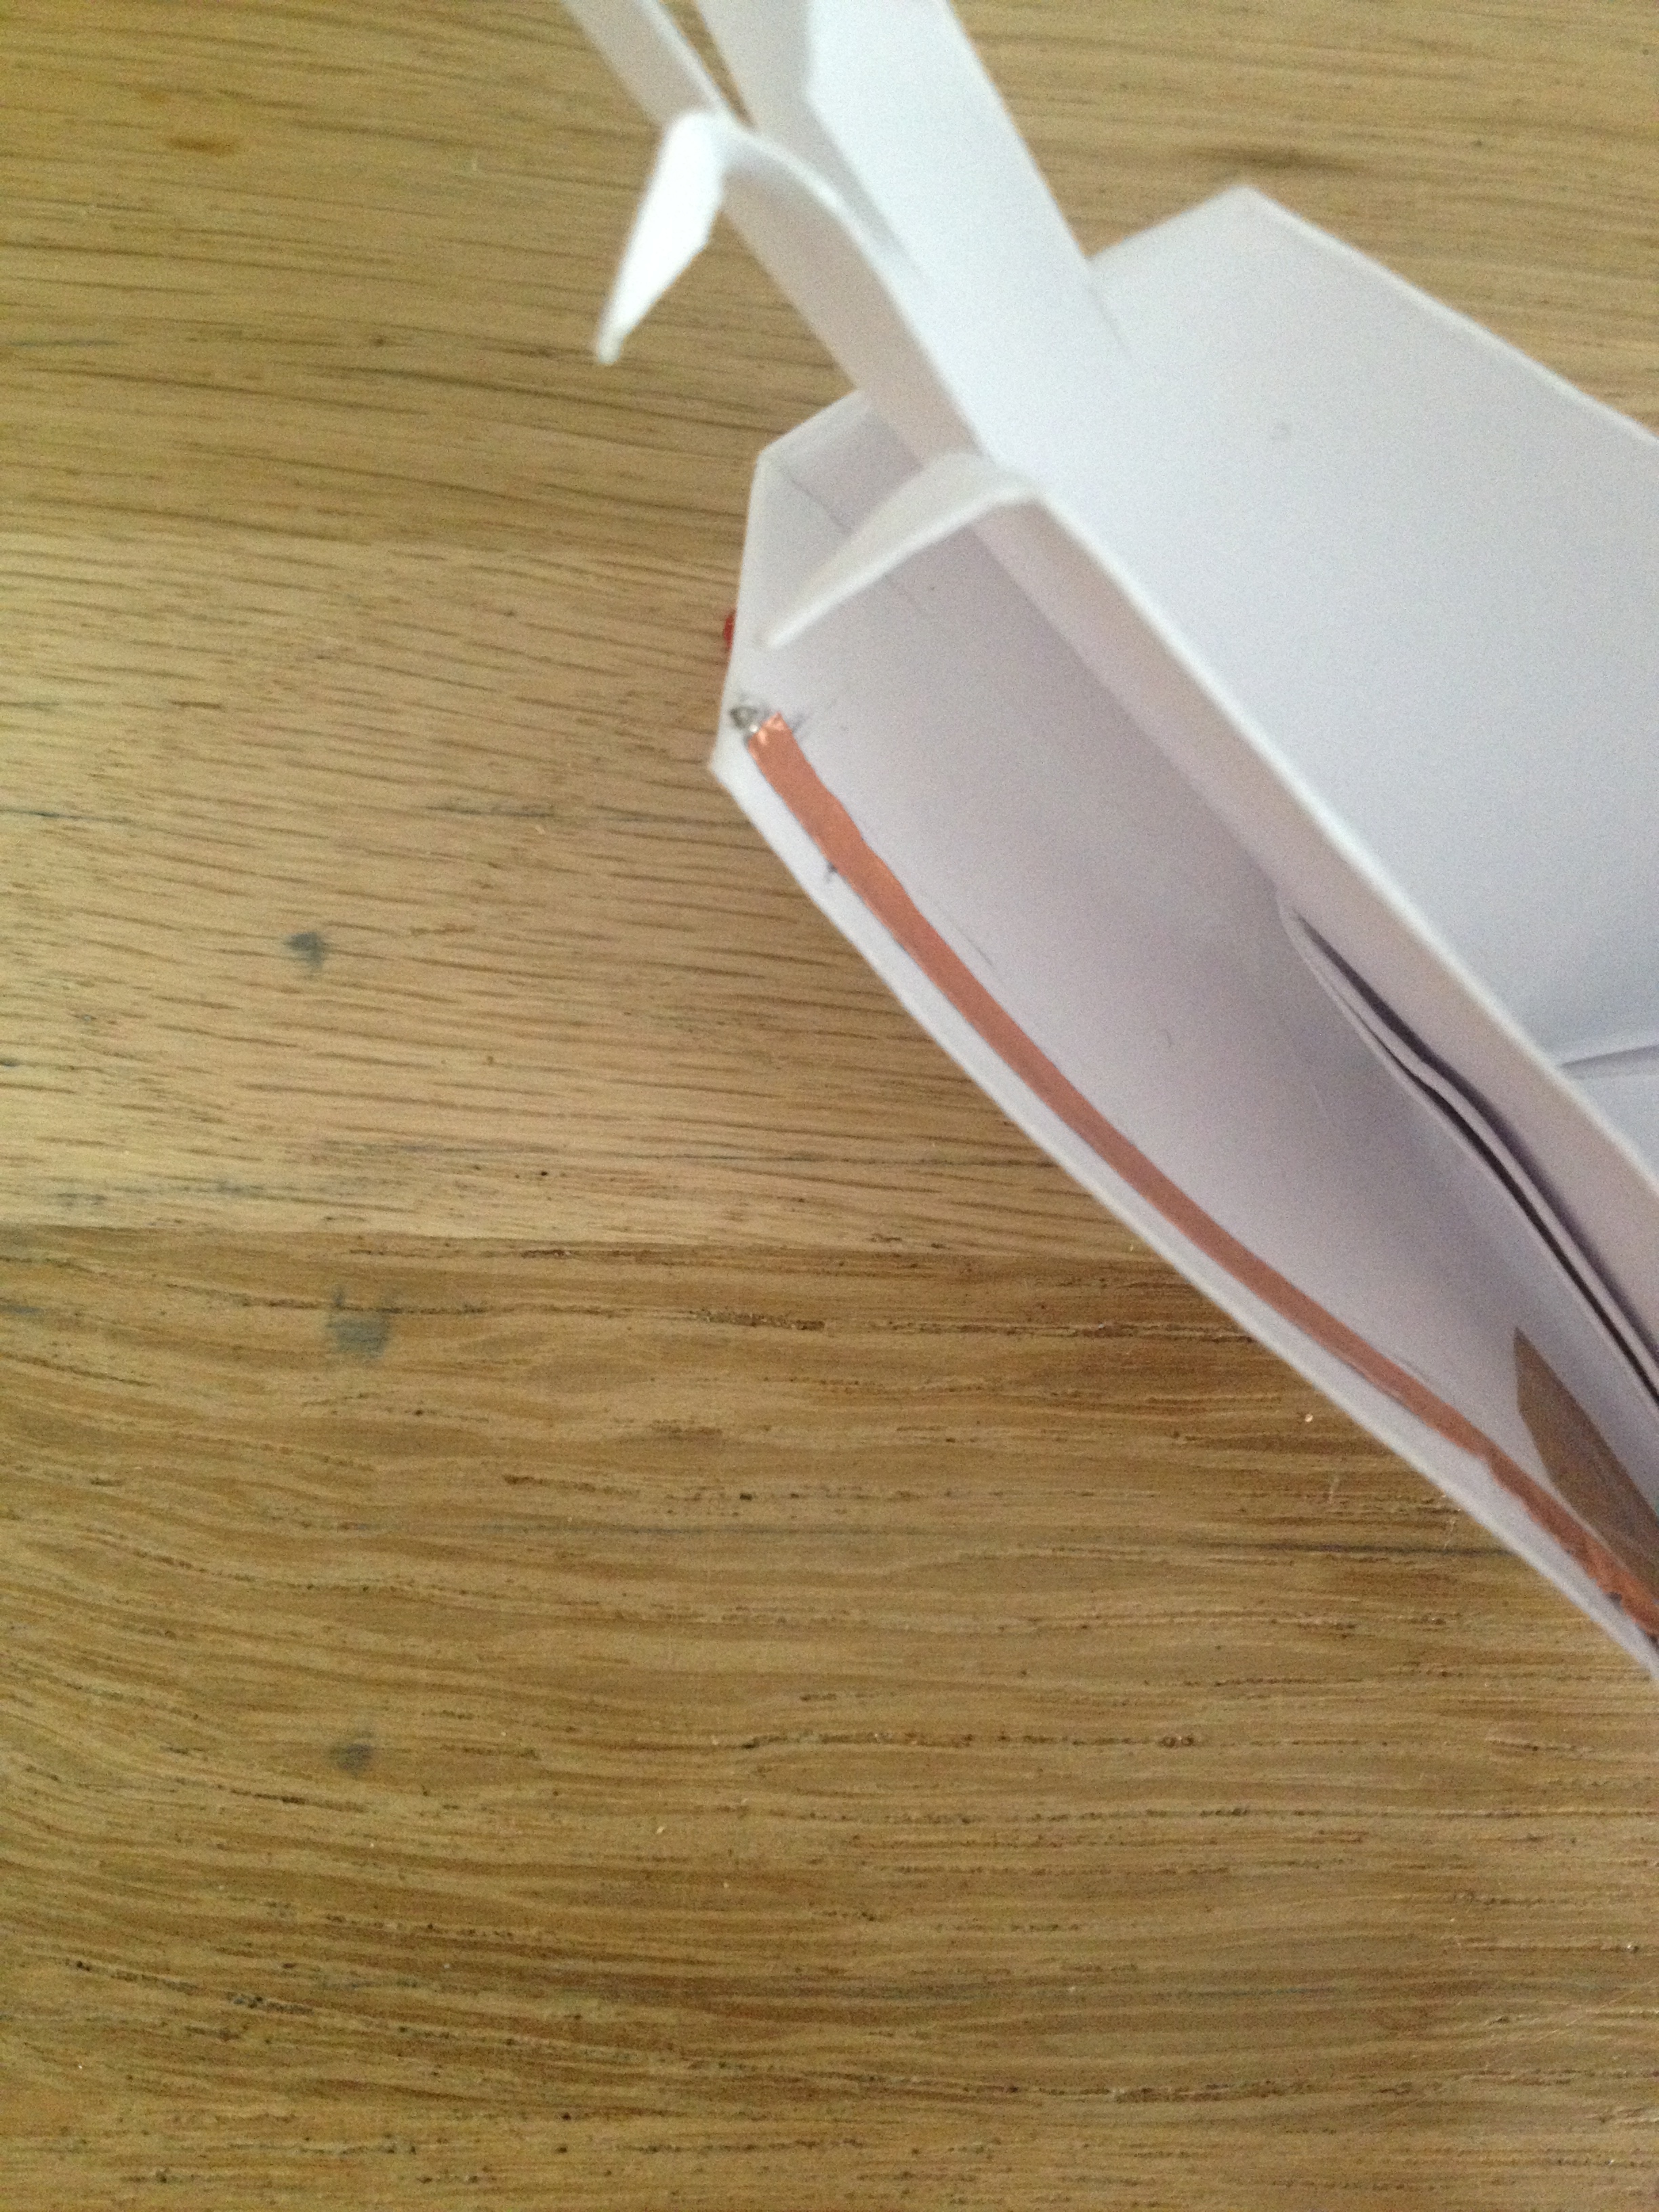
Take your red LED light and poke holes on each side of the reindeer snout. Then insert a leg on each side between the fold of paper.
Make sure to note which is positive and which is negative.

The legs should just poke out the back of the head.
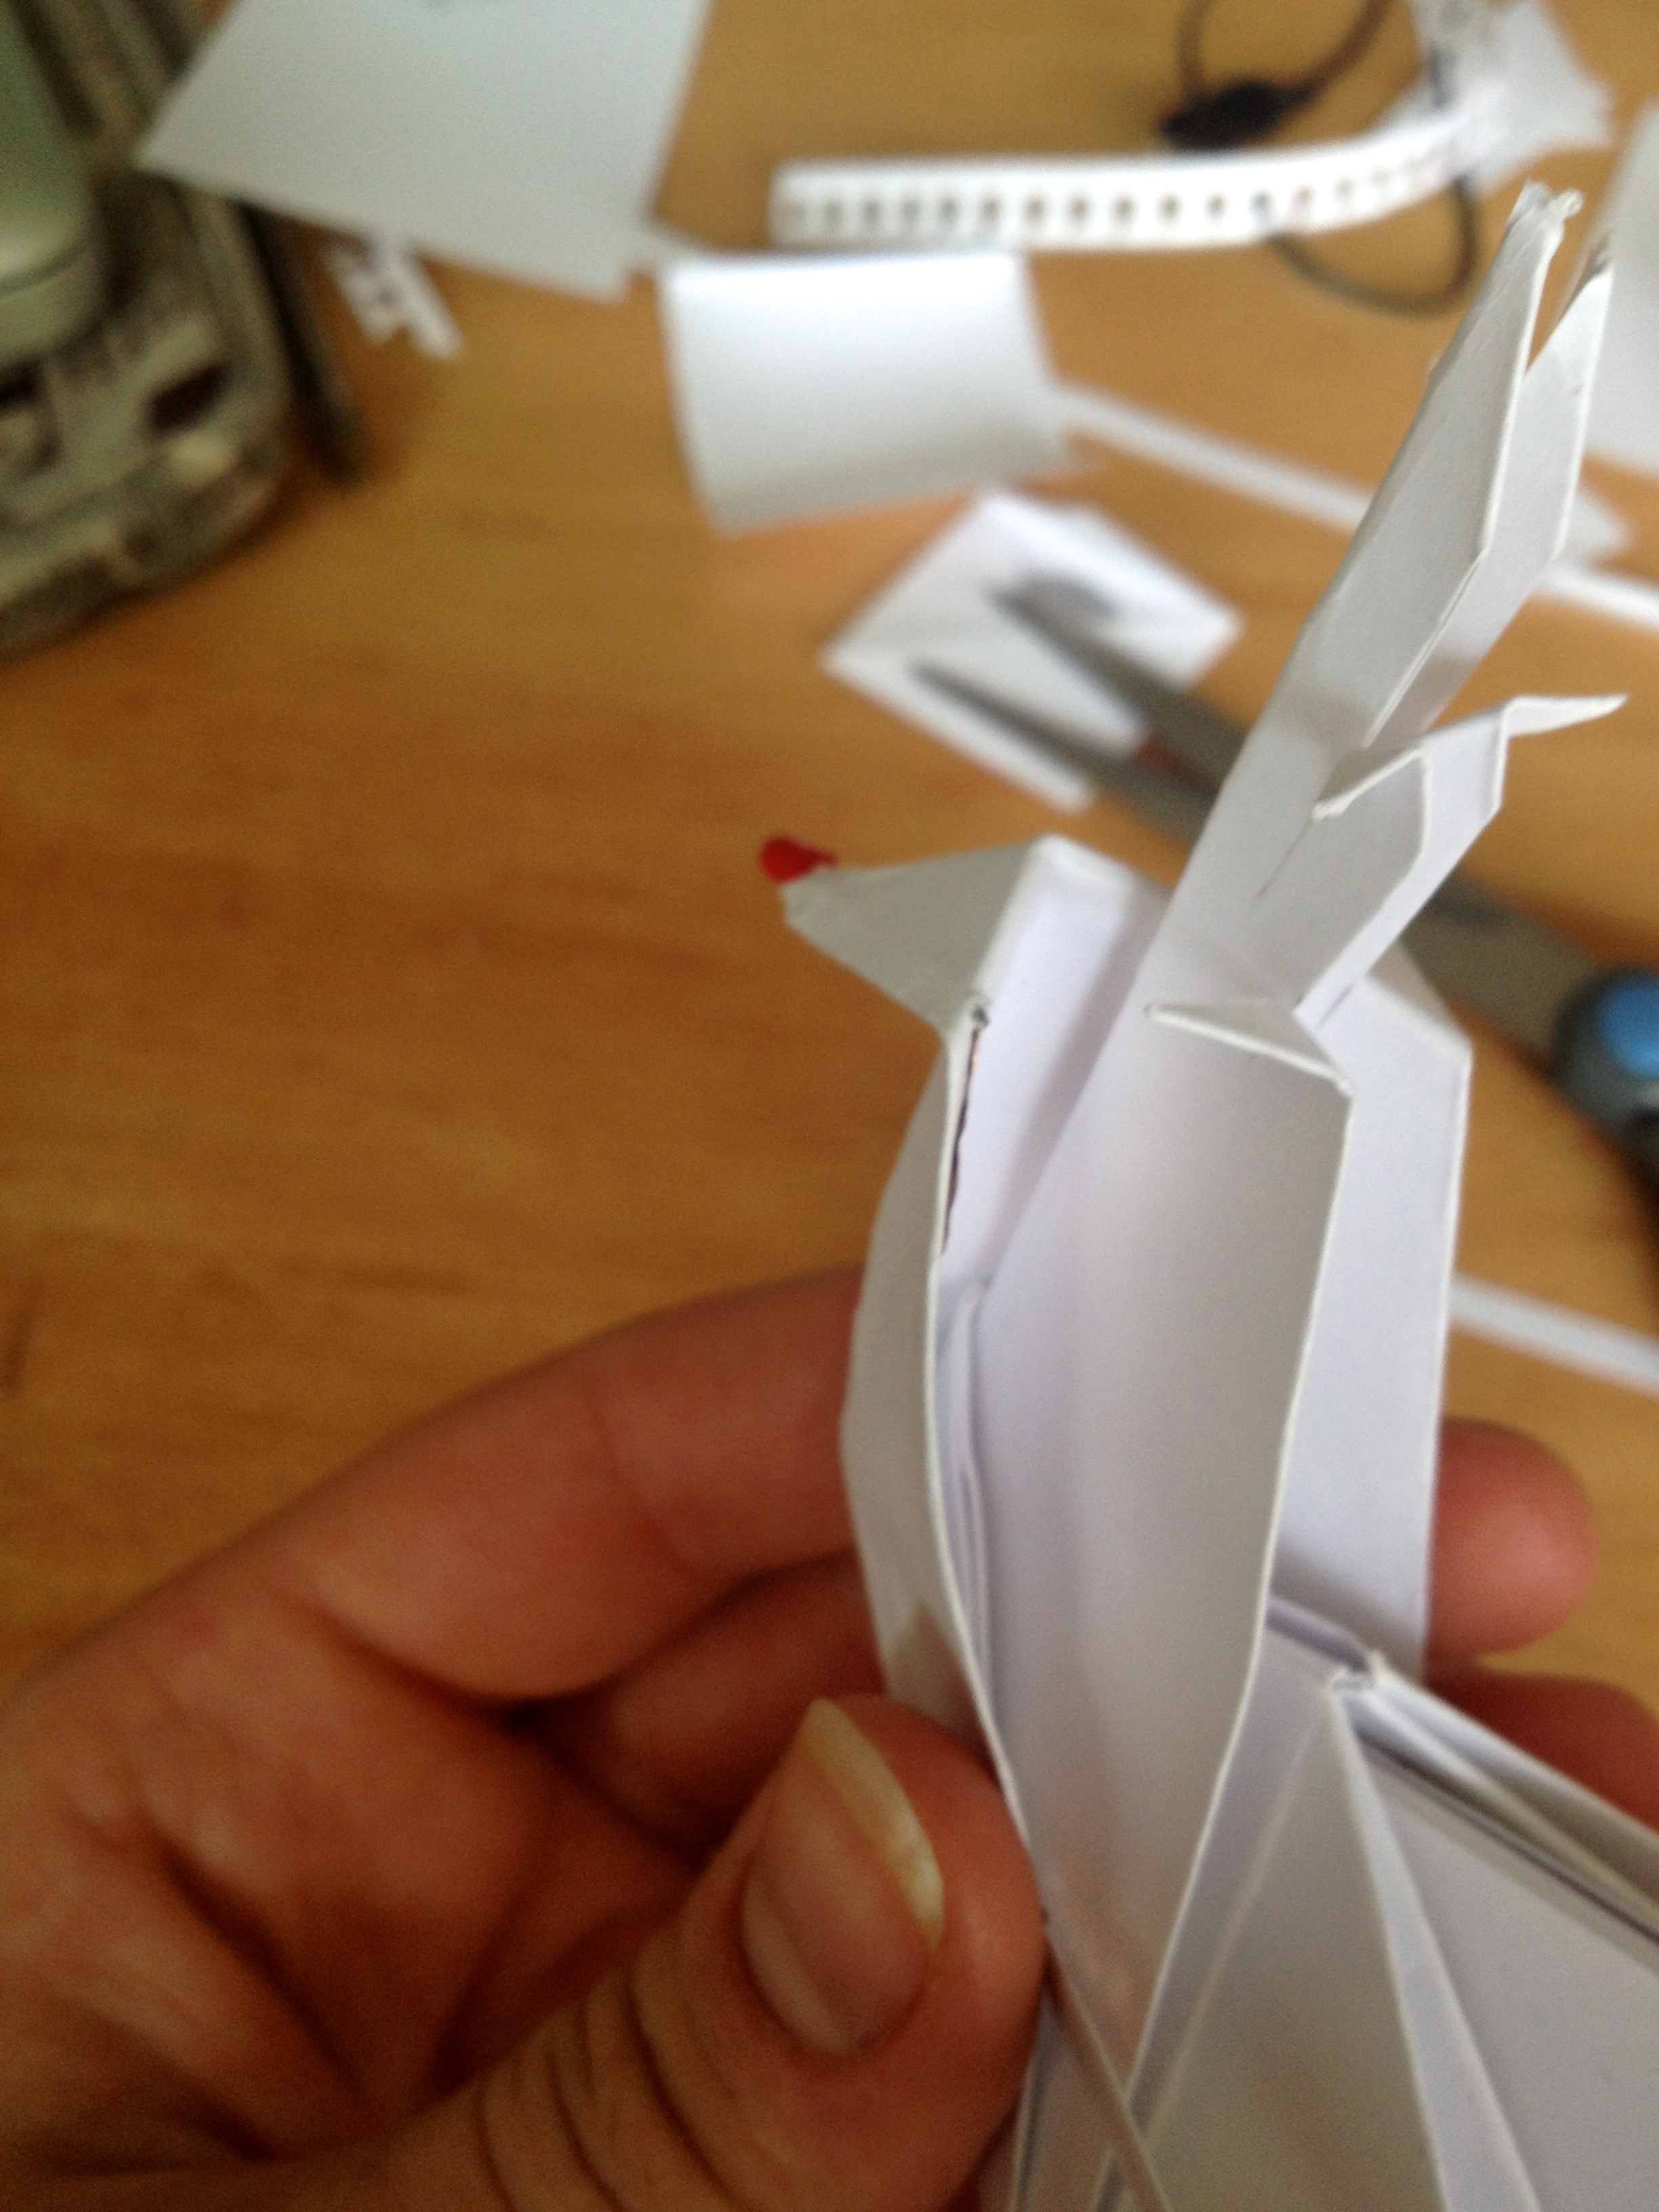

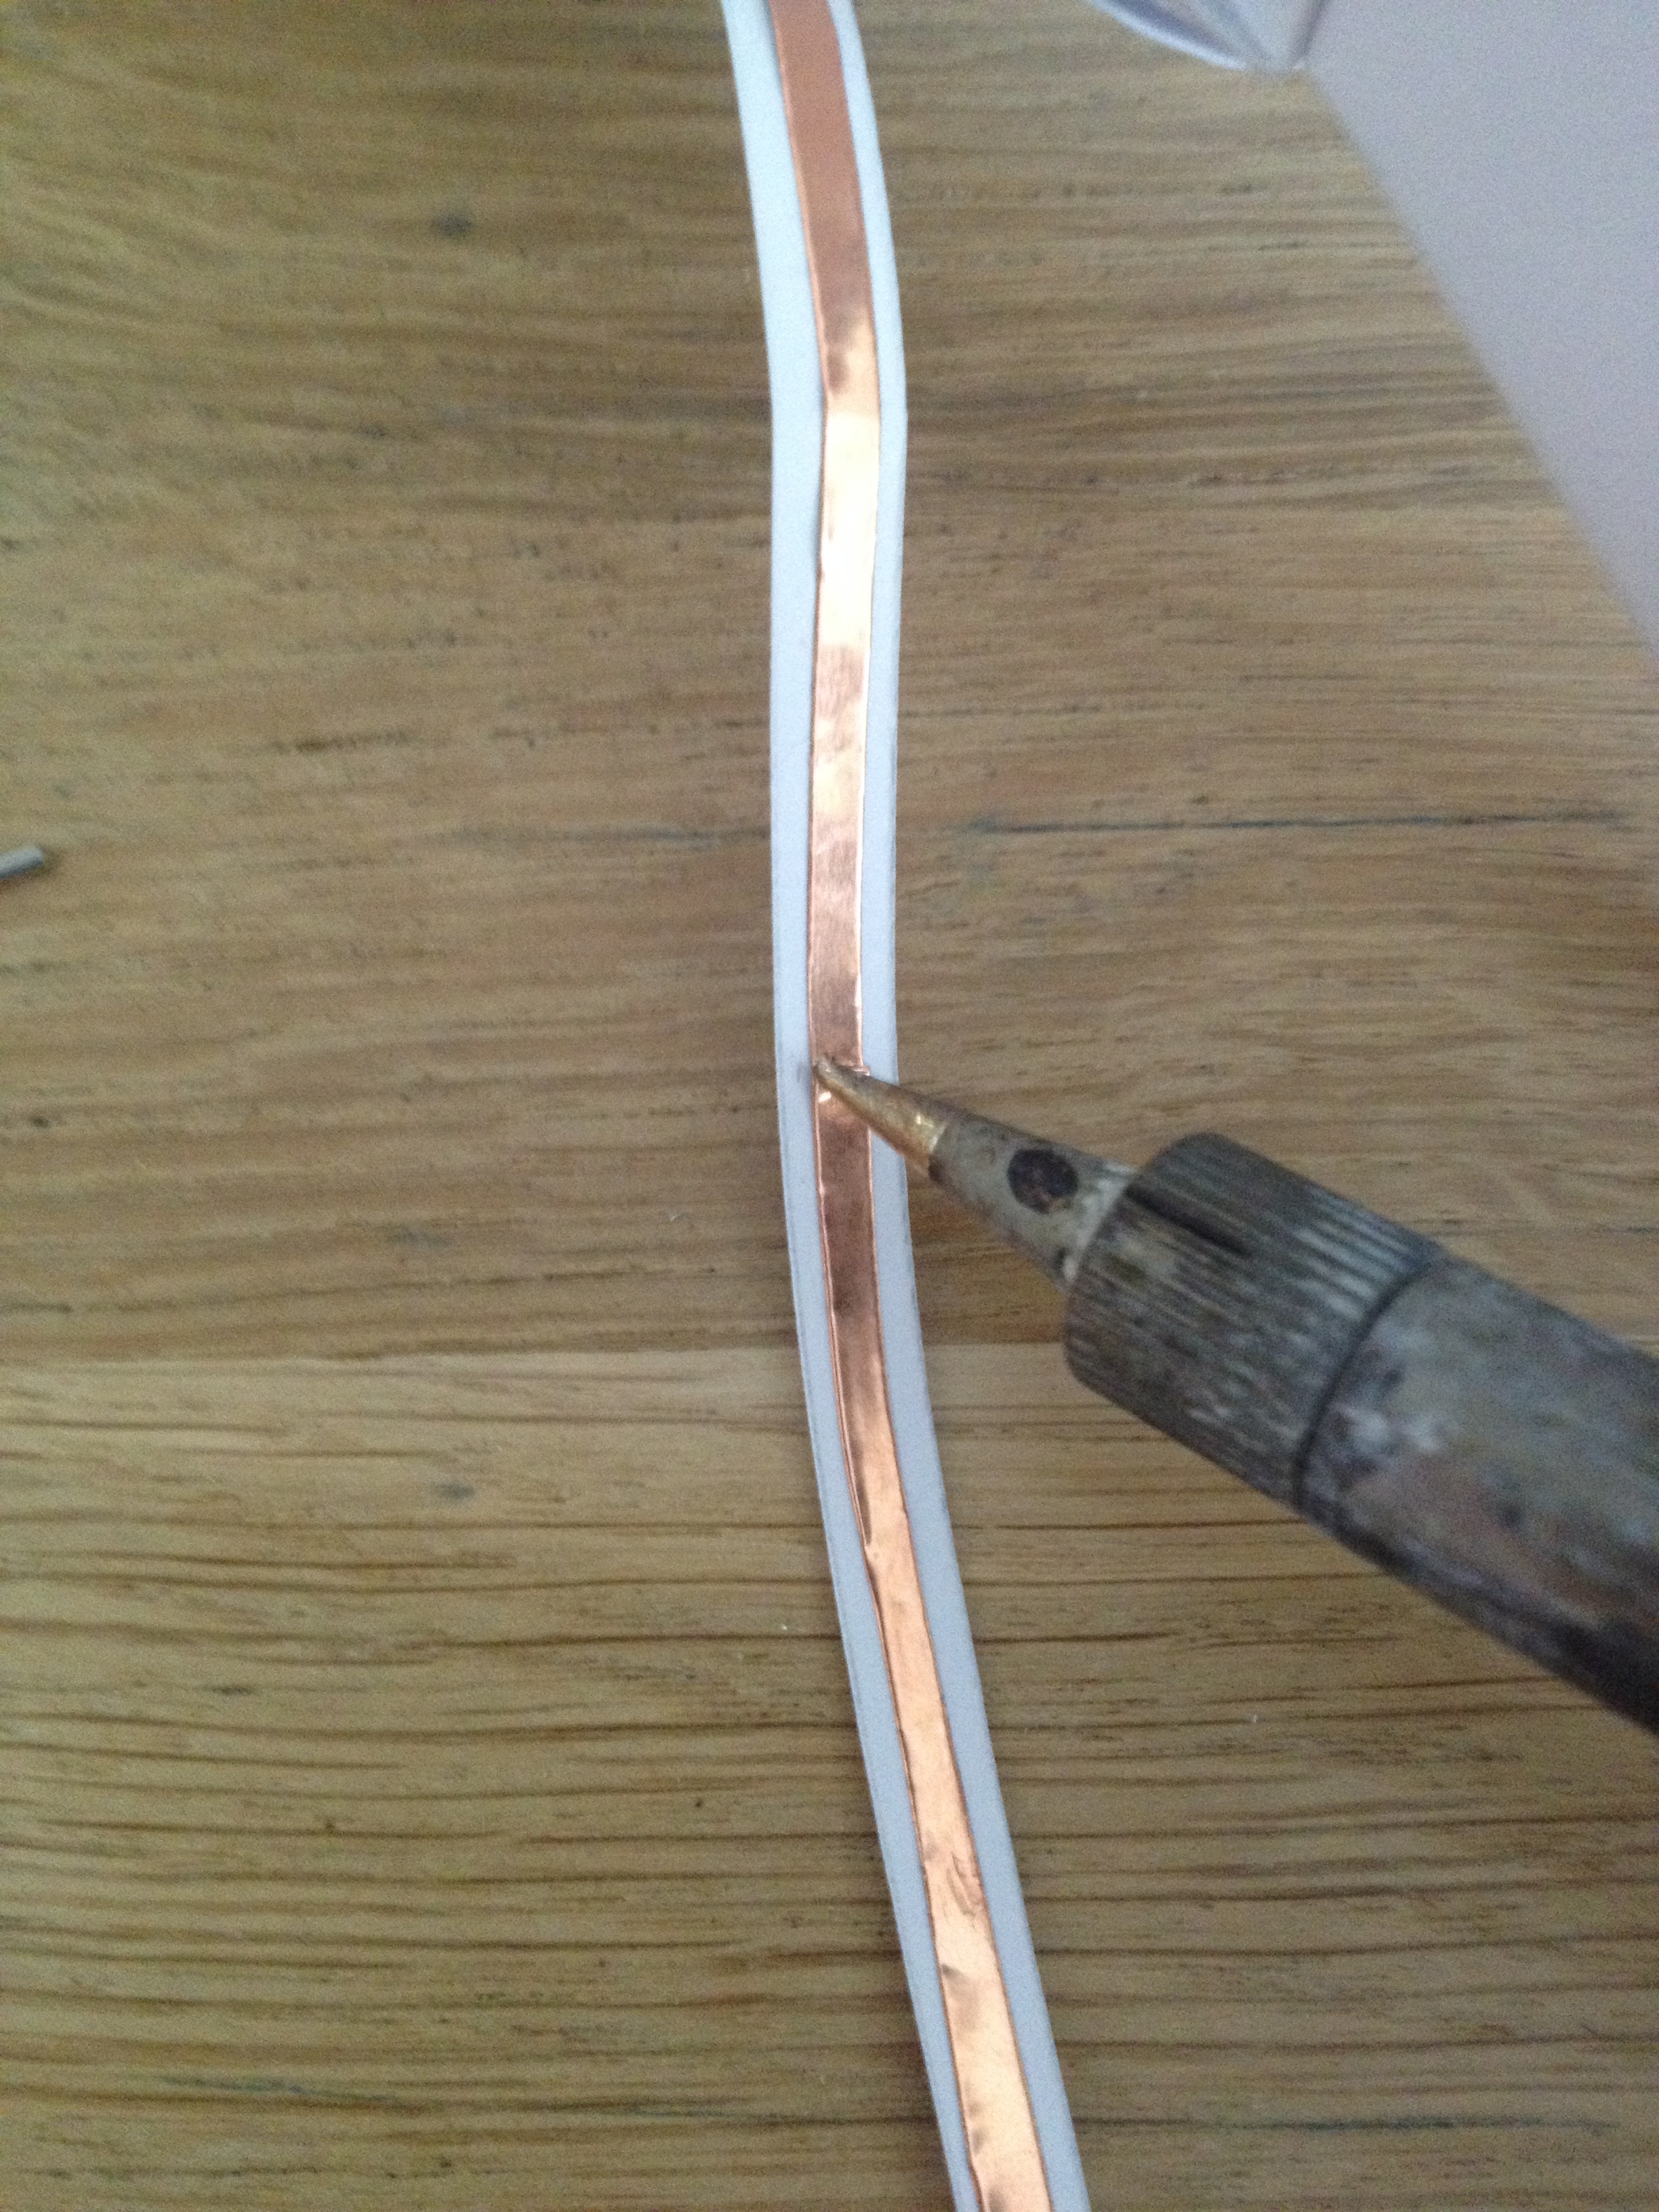
Now you can stick on your conductive tape from just under the end of the LED leg down to where you want to attach your reins, then continue by just folding your tape at a 90 degree angle onto the rein.

Now you will have to complete your connections by soldering on top to make sure the path is complete.

Don’t forget to solder over the places where you had to begin a new piece of tape!

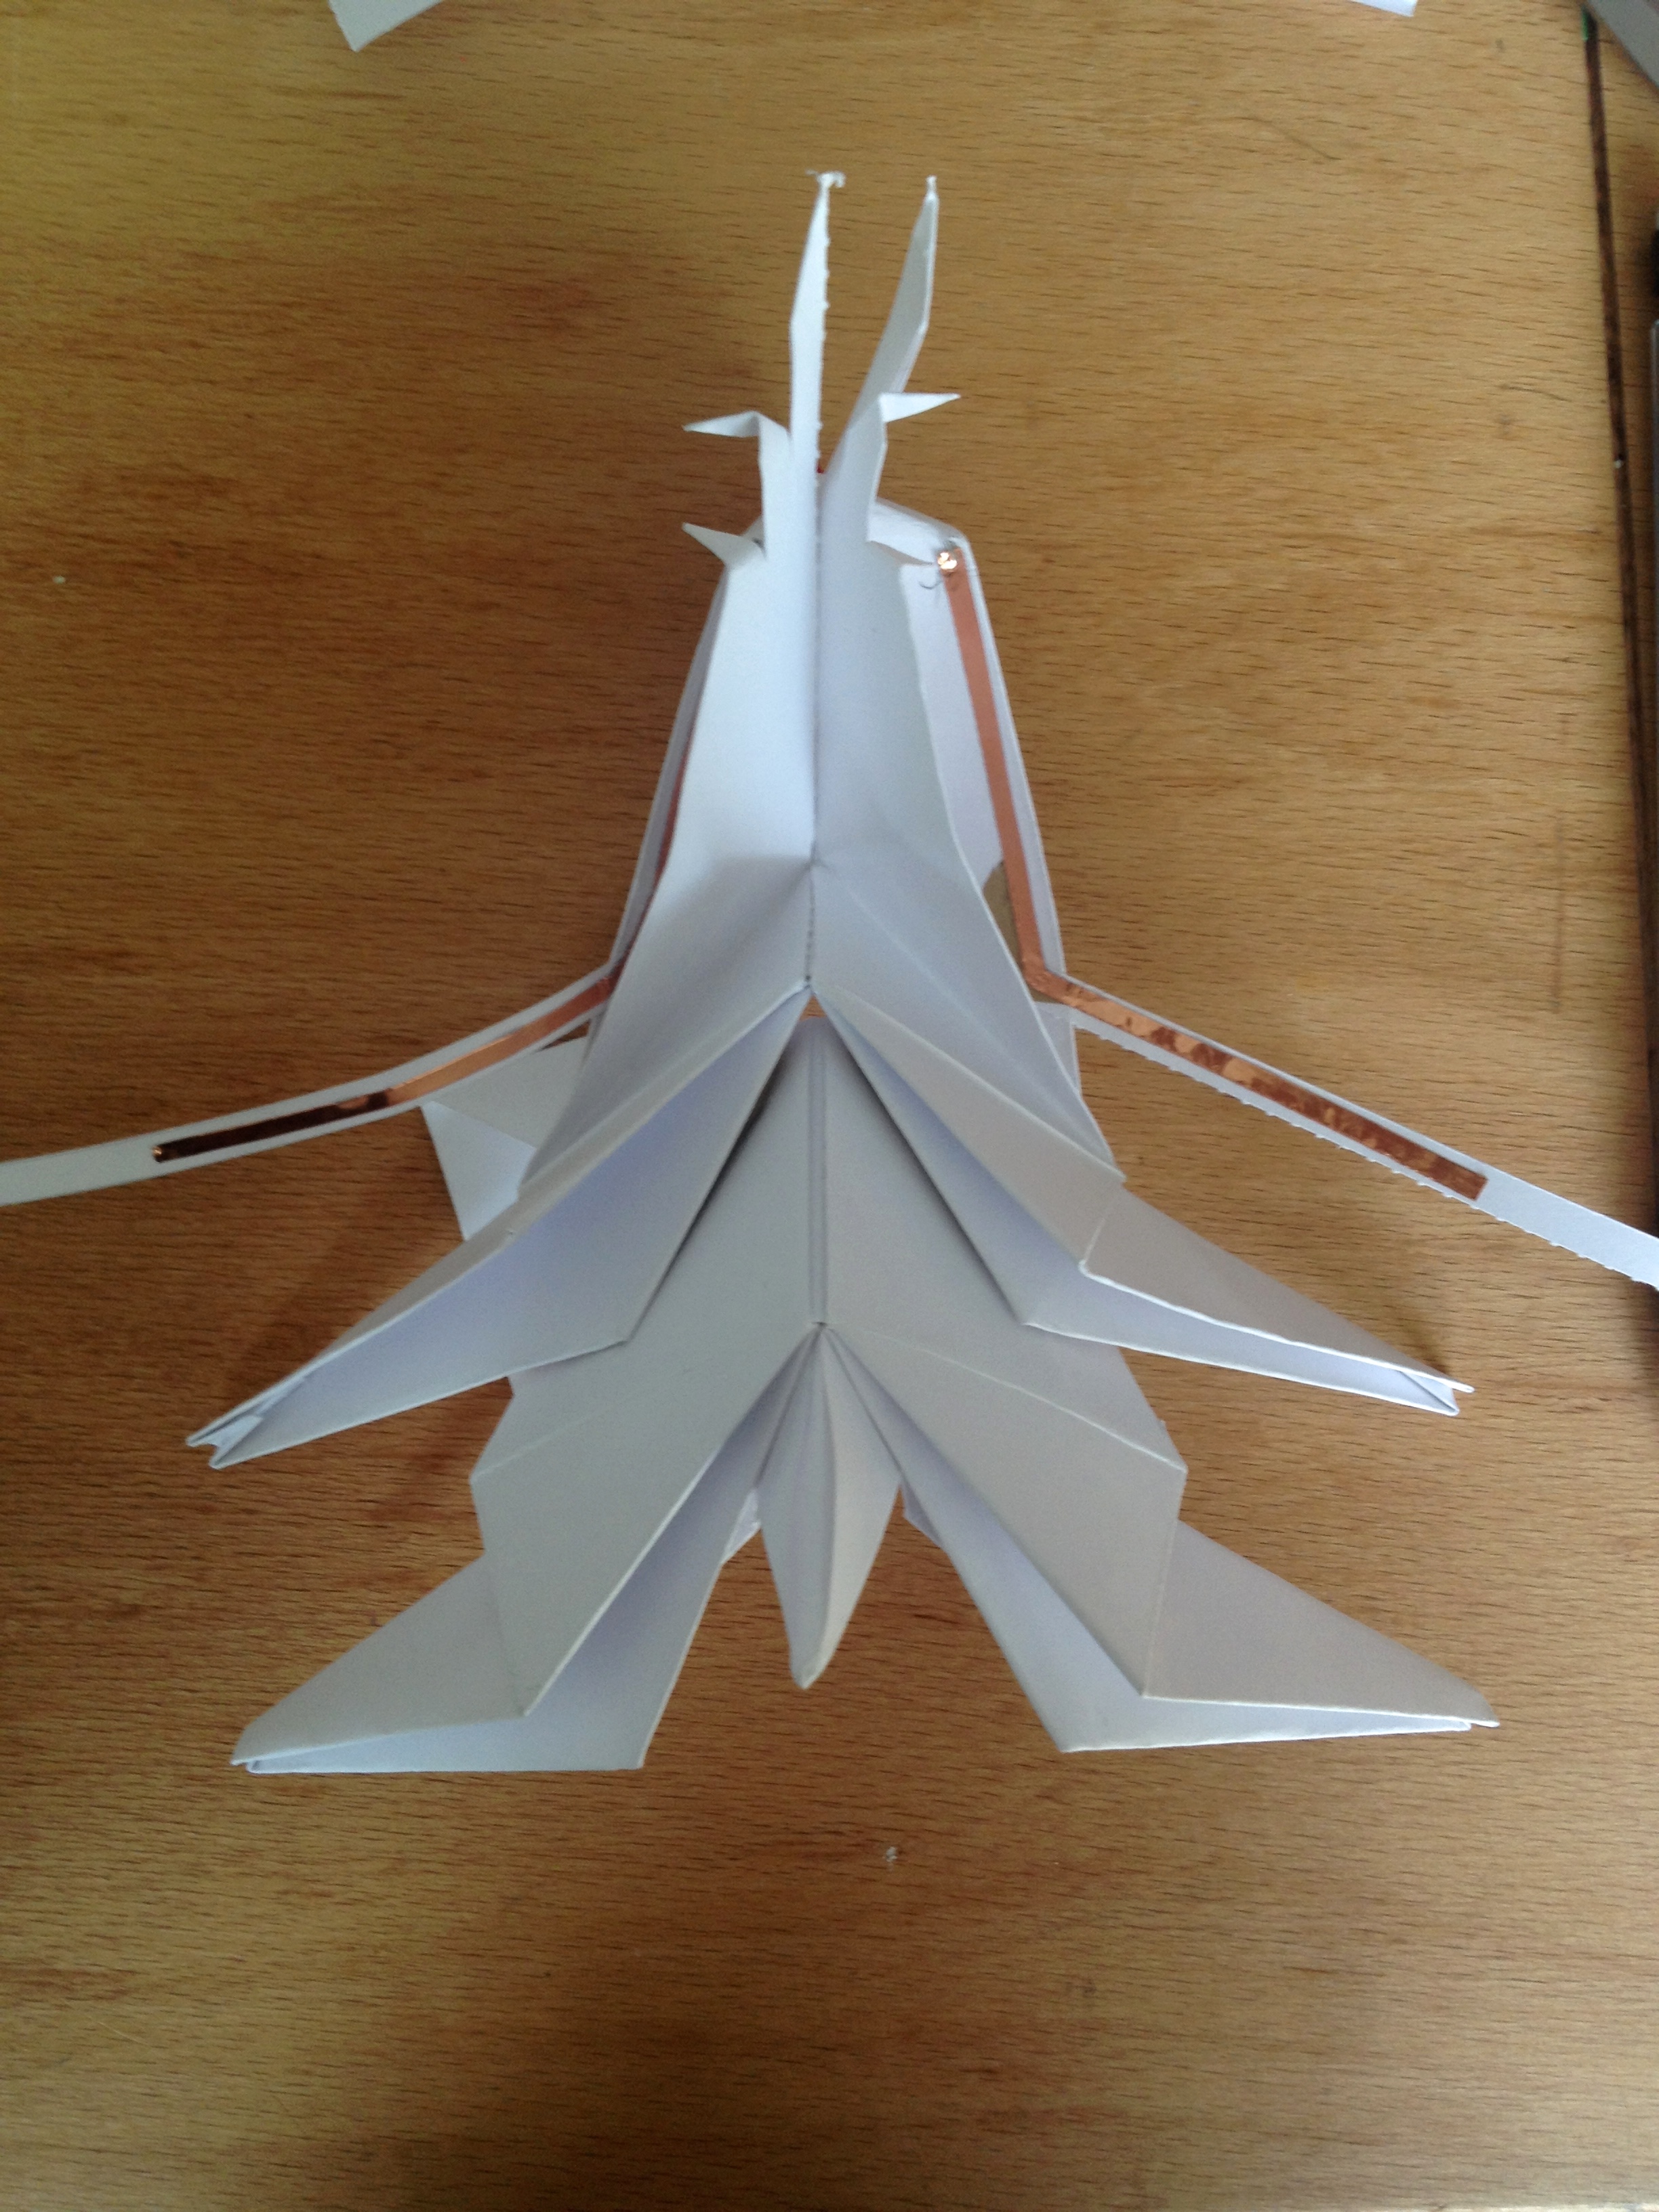
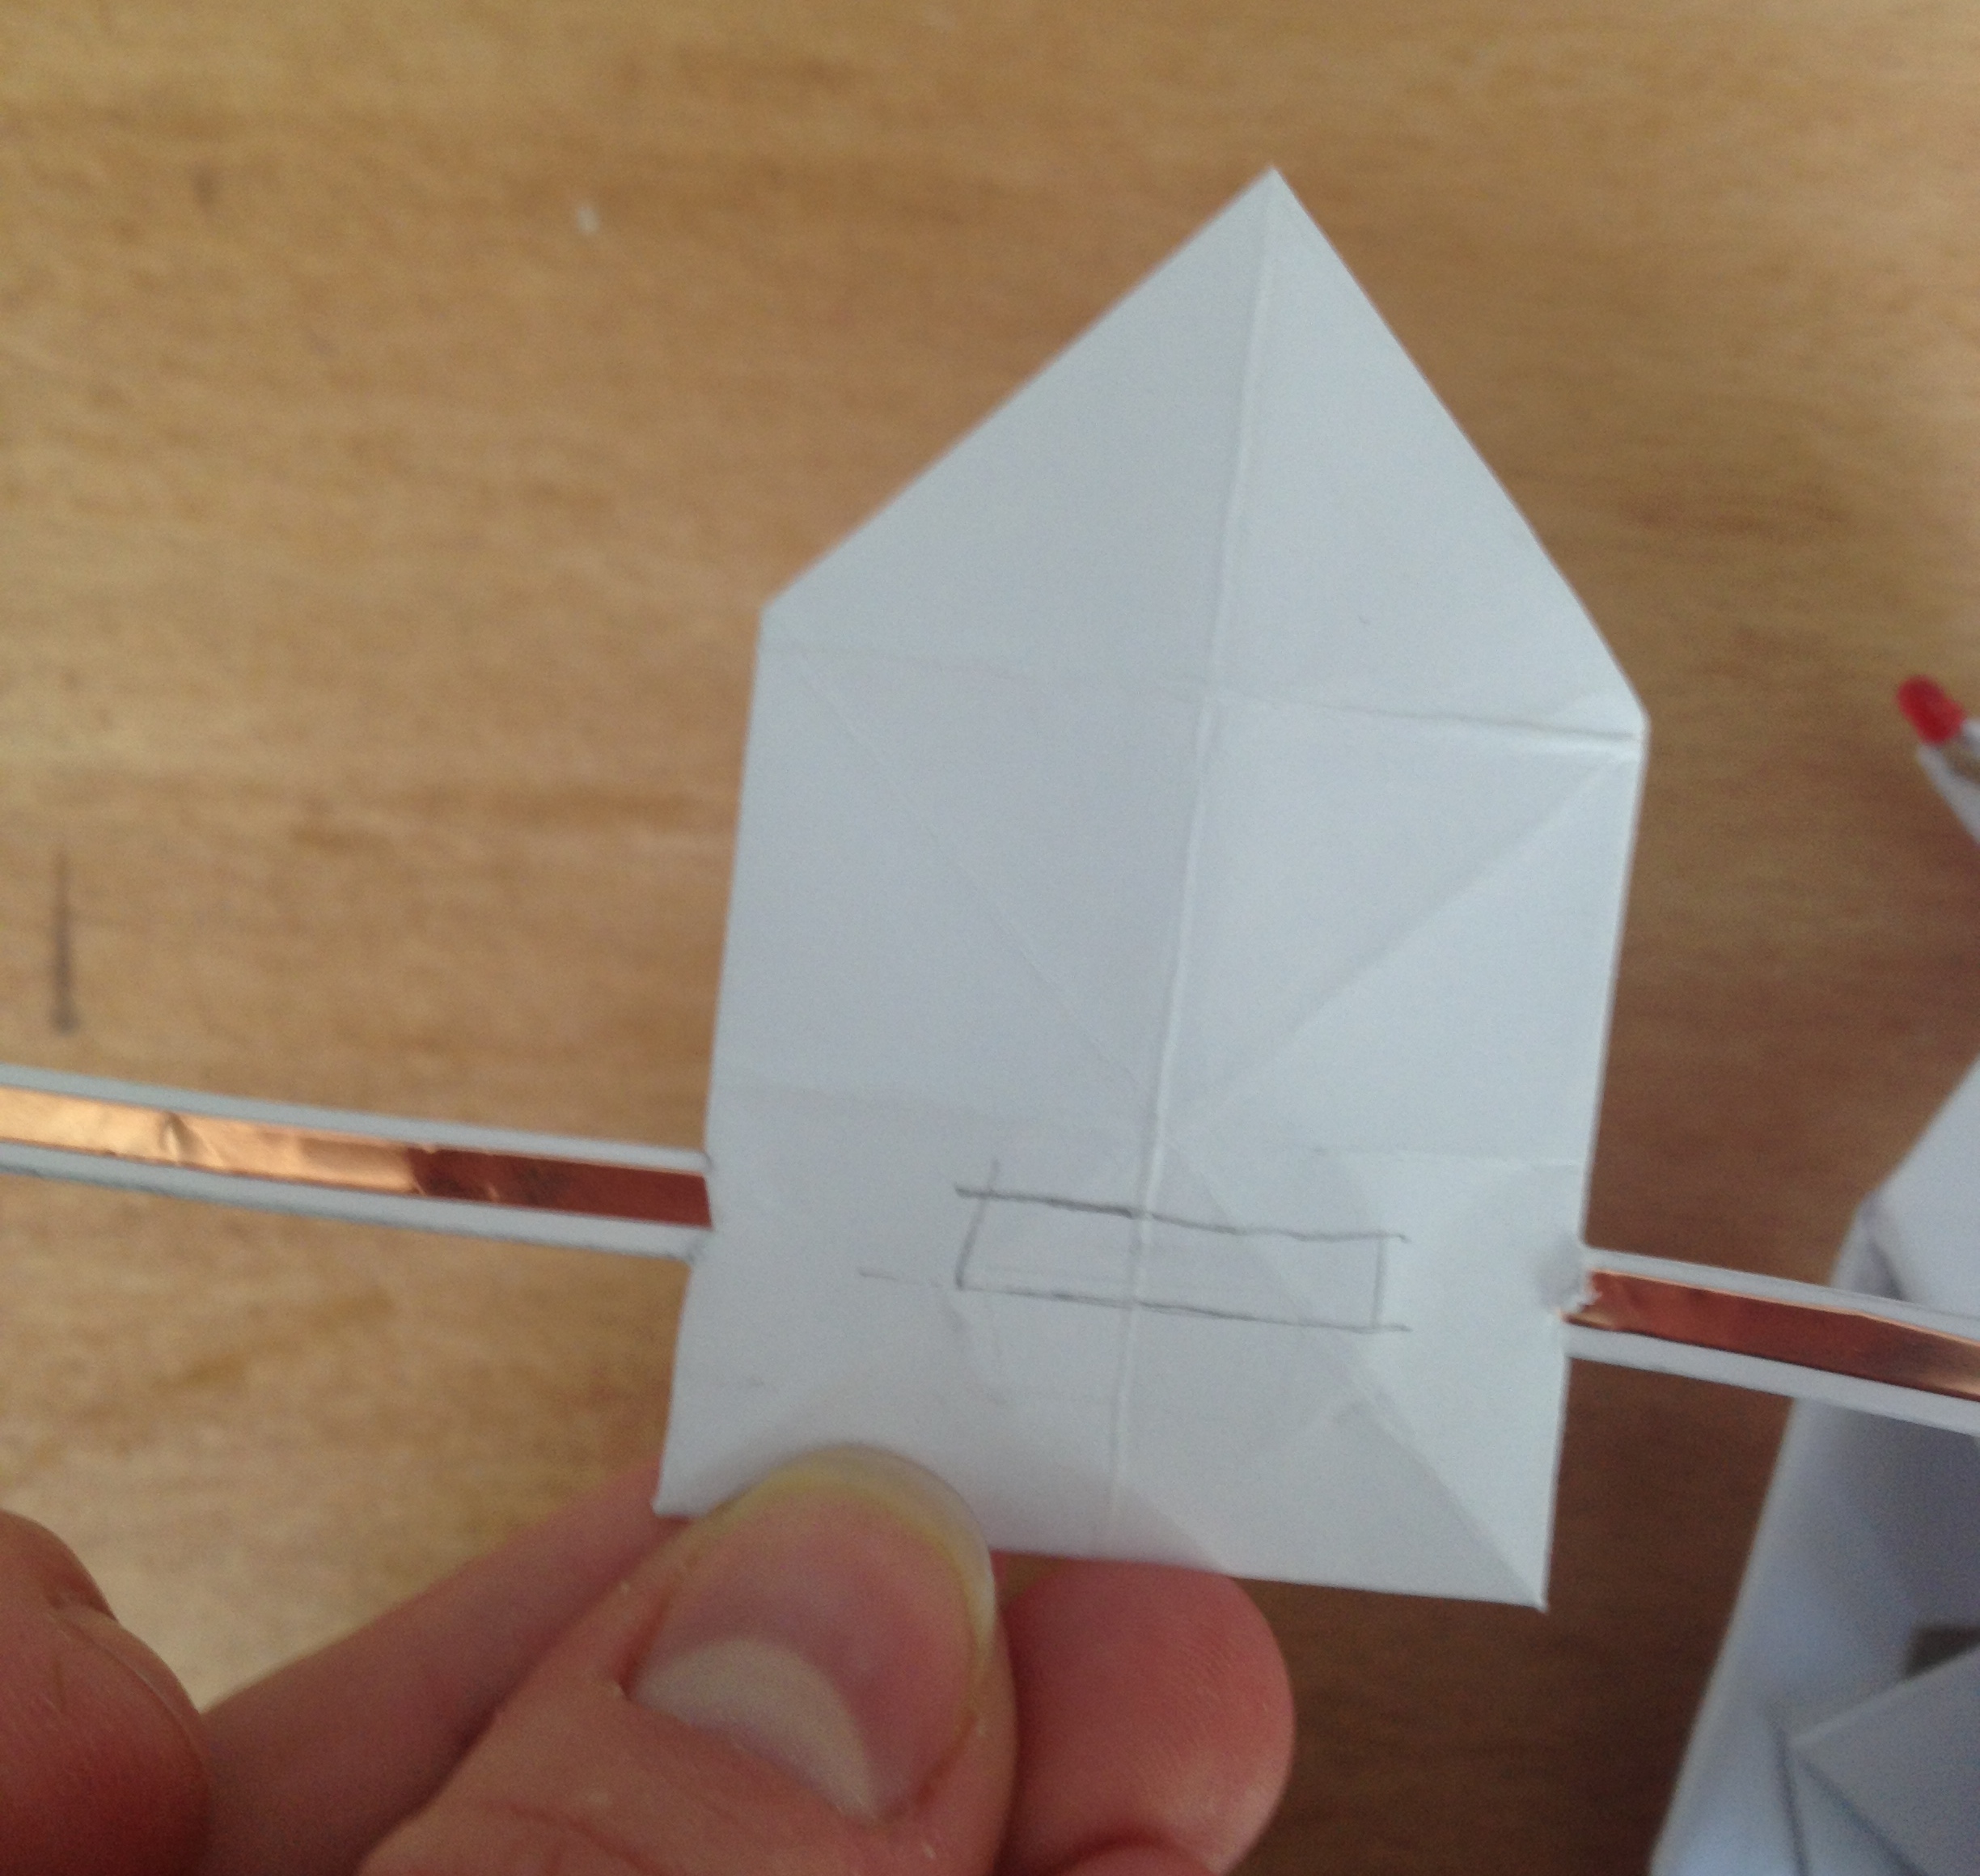
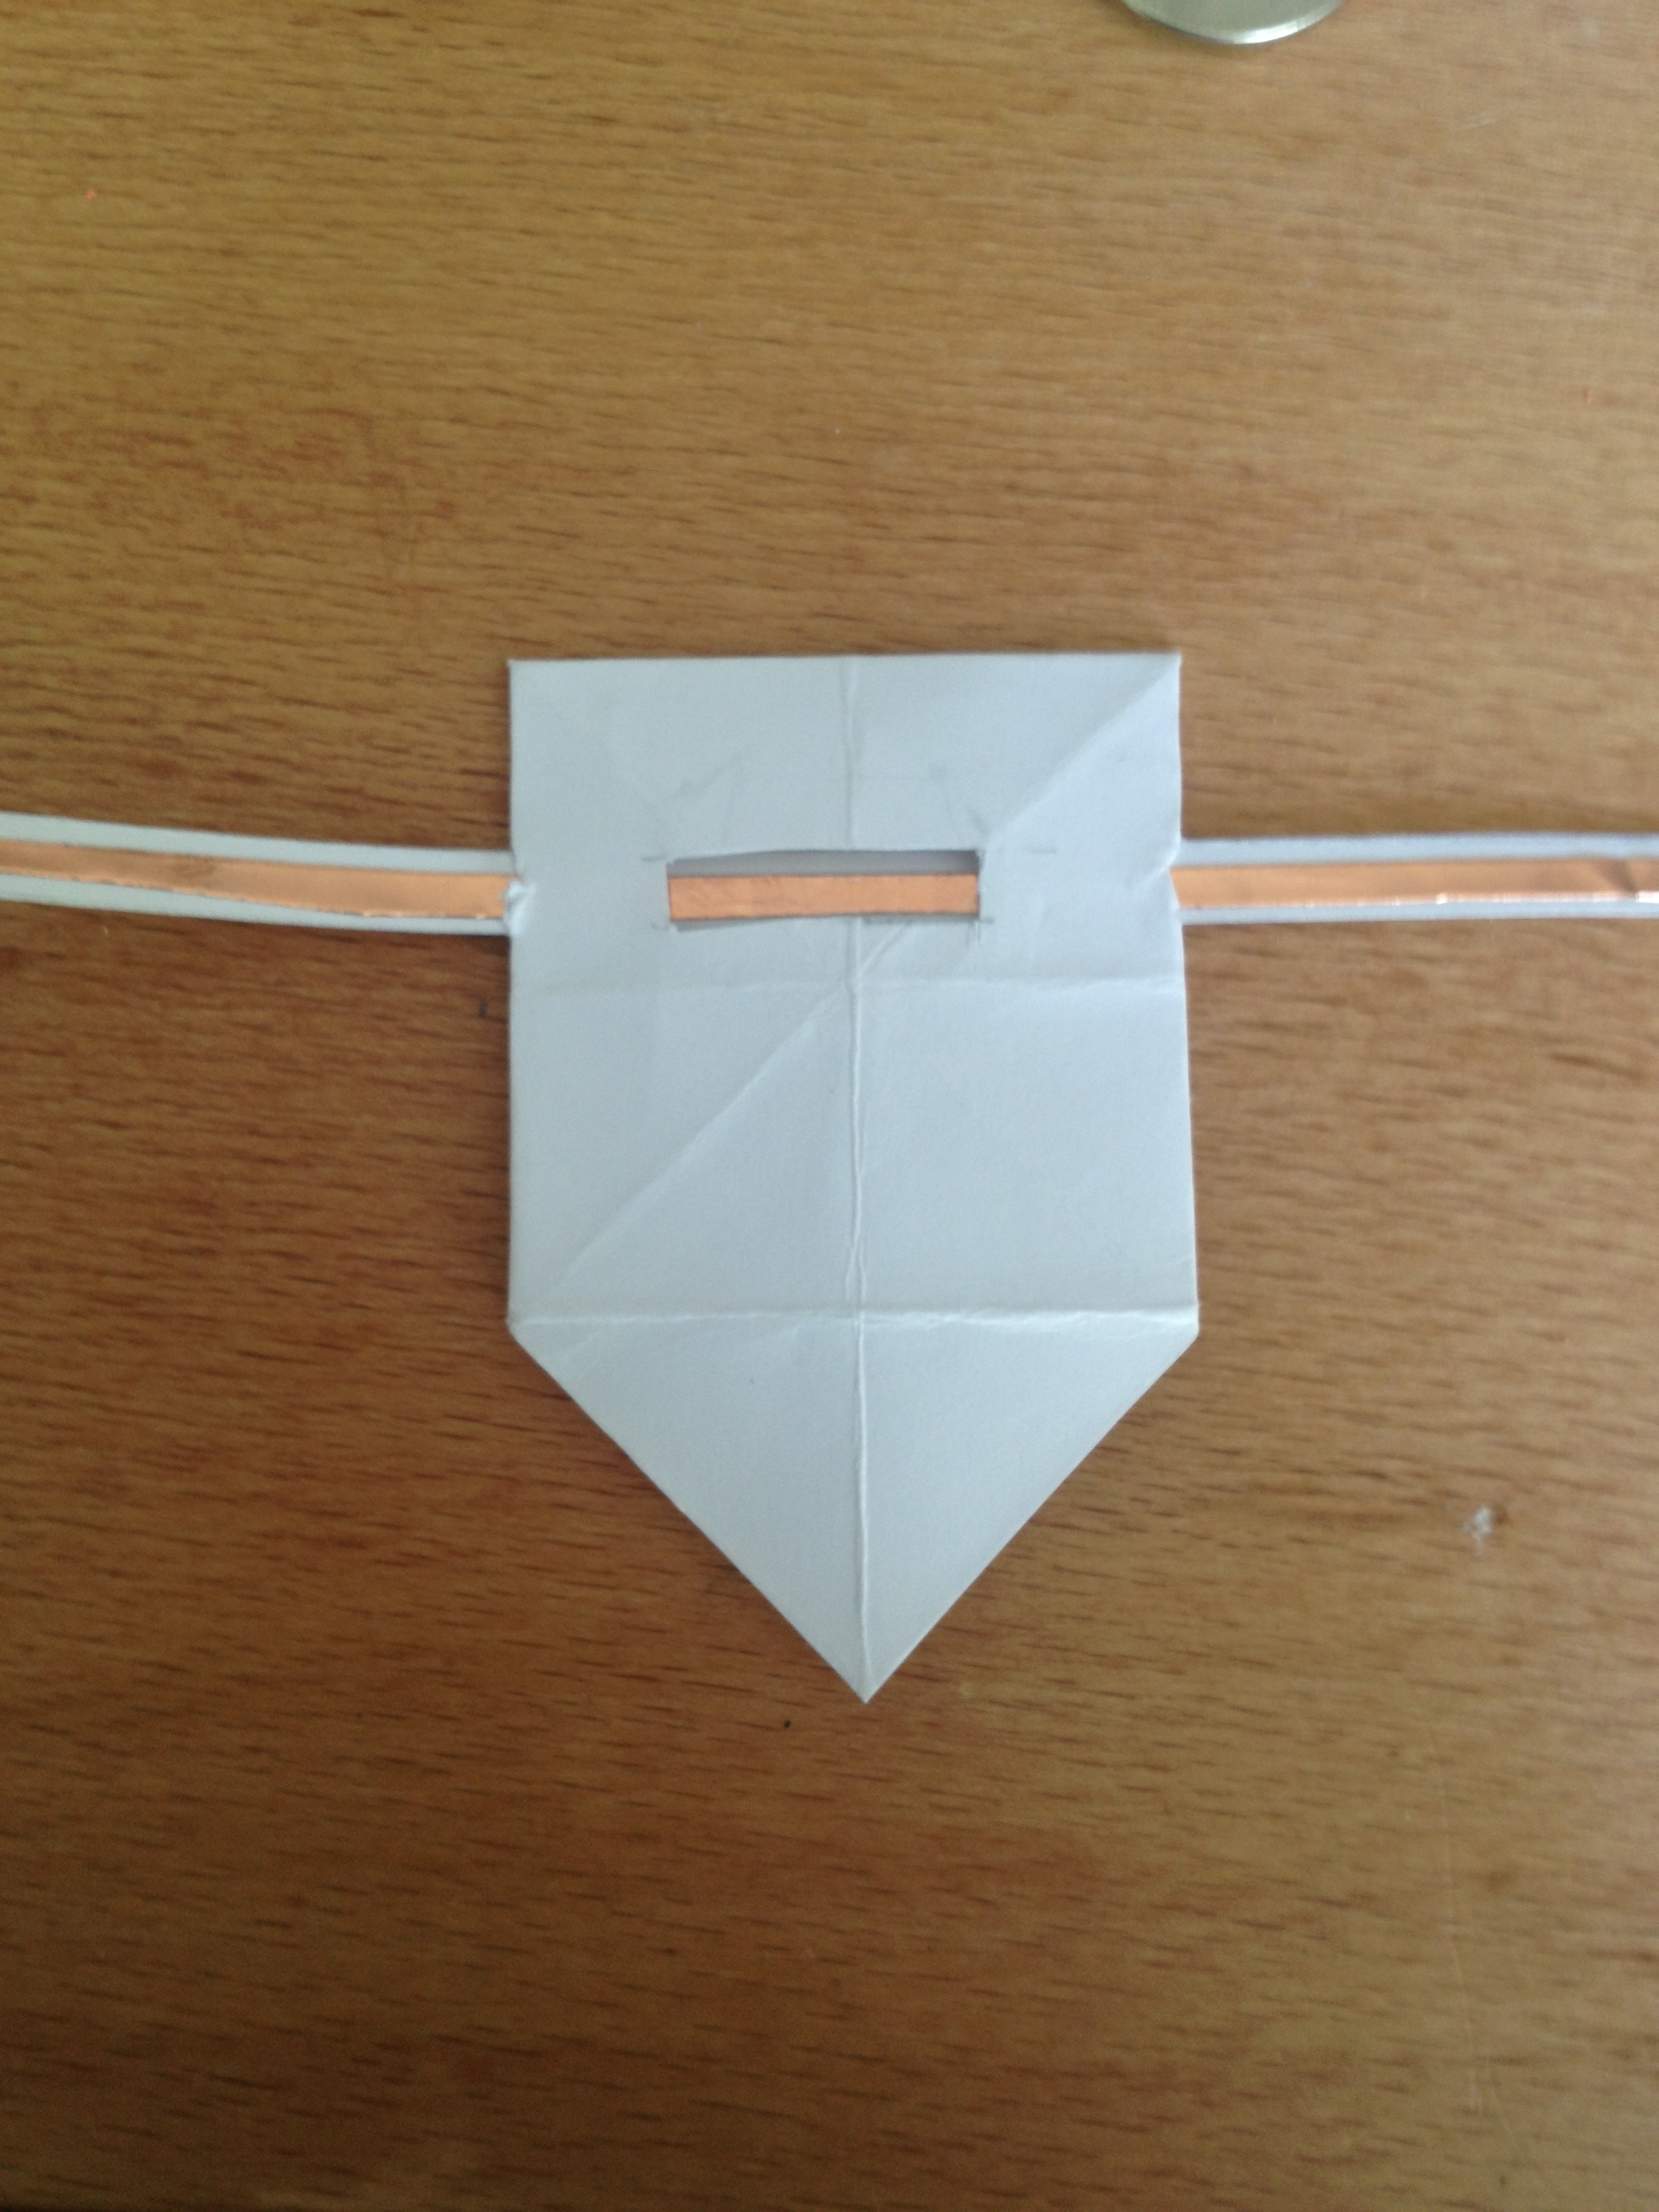
Now for the battery pouch- or envelope to be precise.
Make a small square (twice as big as your battery) and fold both ways by half and each way diagonally.
Then fold up all four points to meet the center. Tape three in place.

Cut two small slits in each side of the envelope for the rein to feed through in order for the conductive tape to touch the side of the battery that matches the leg of the LED it is attached to (+/-).
Then decide where to cut a slit in the back in order to touch the other rein to the other side of the battery.
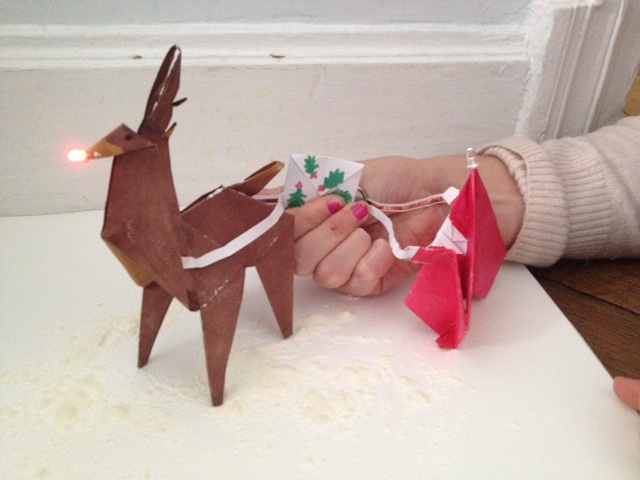
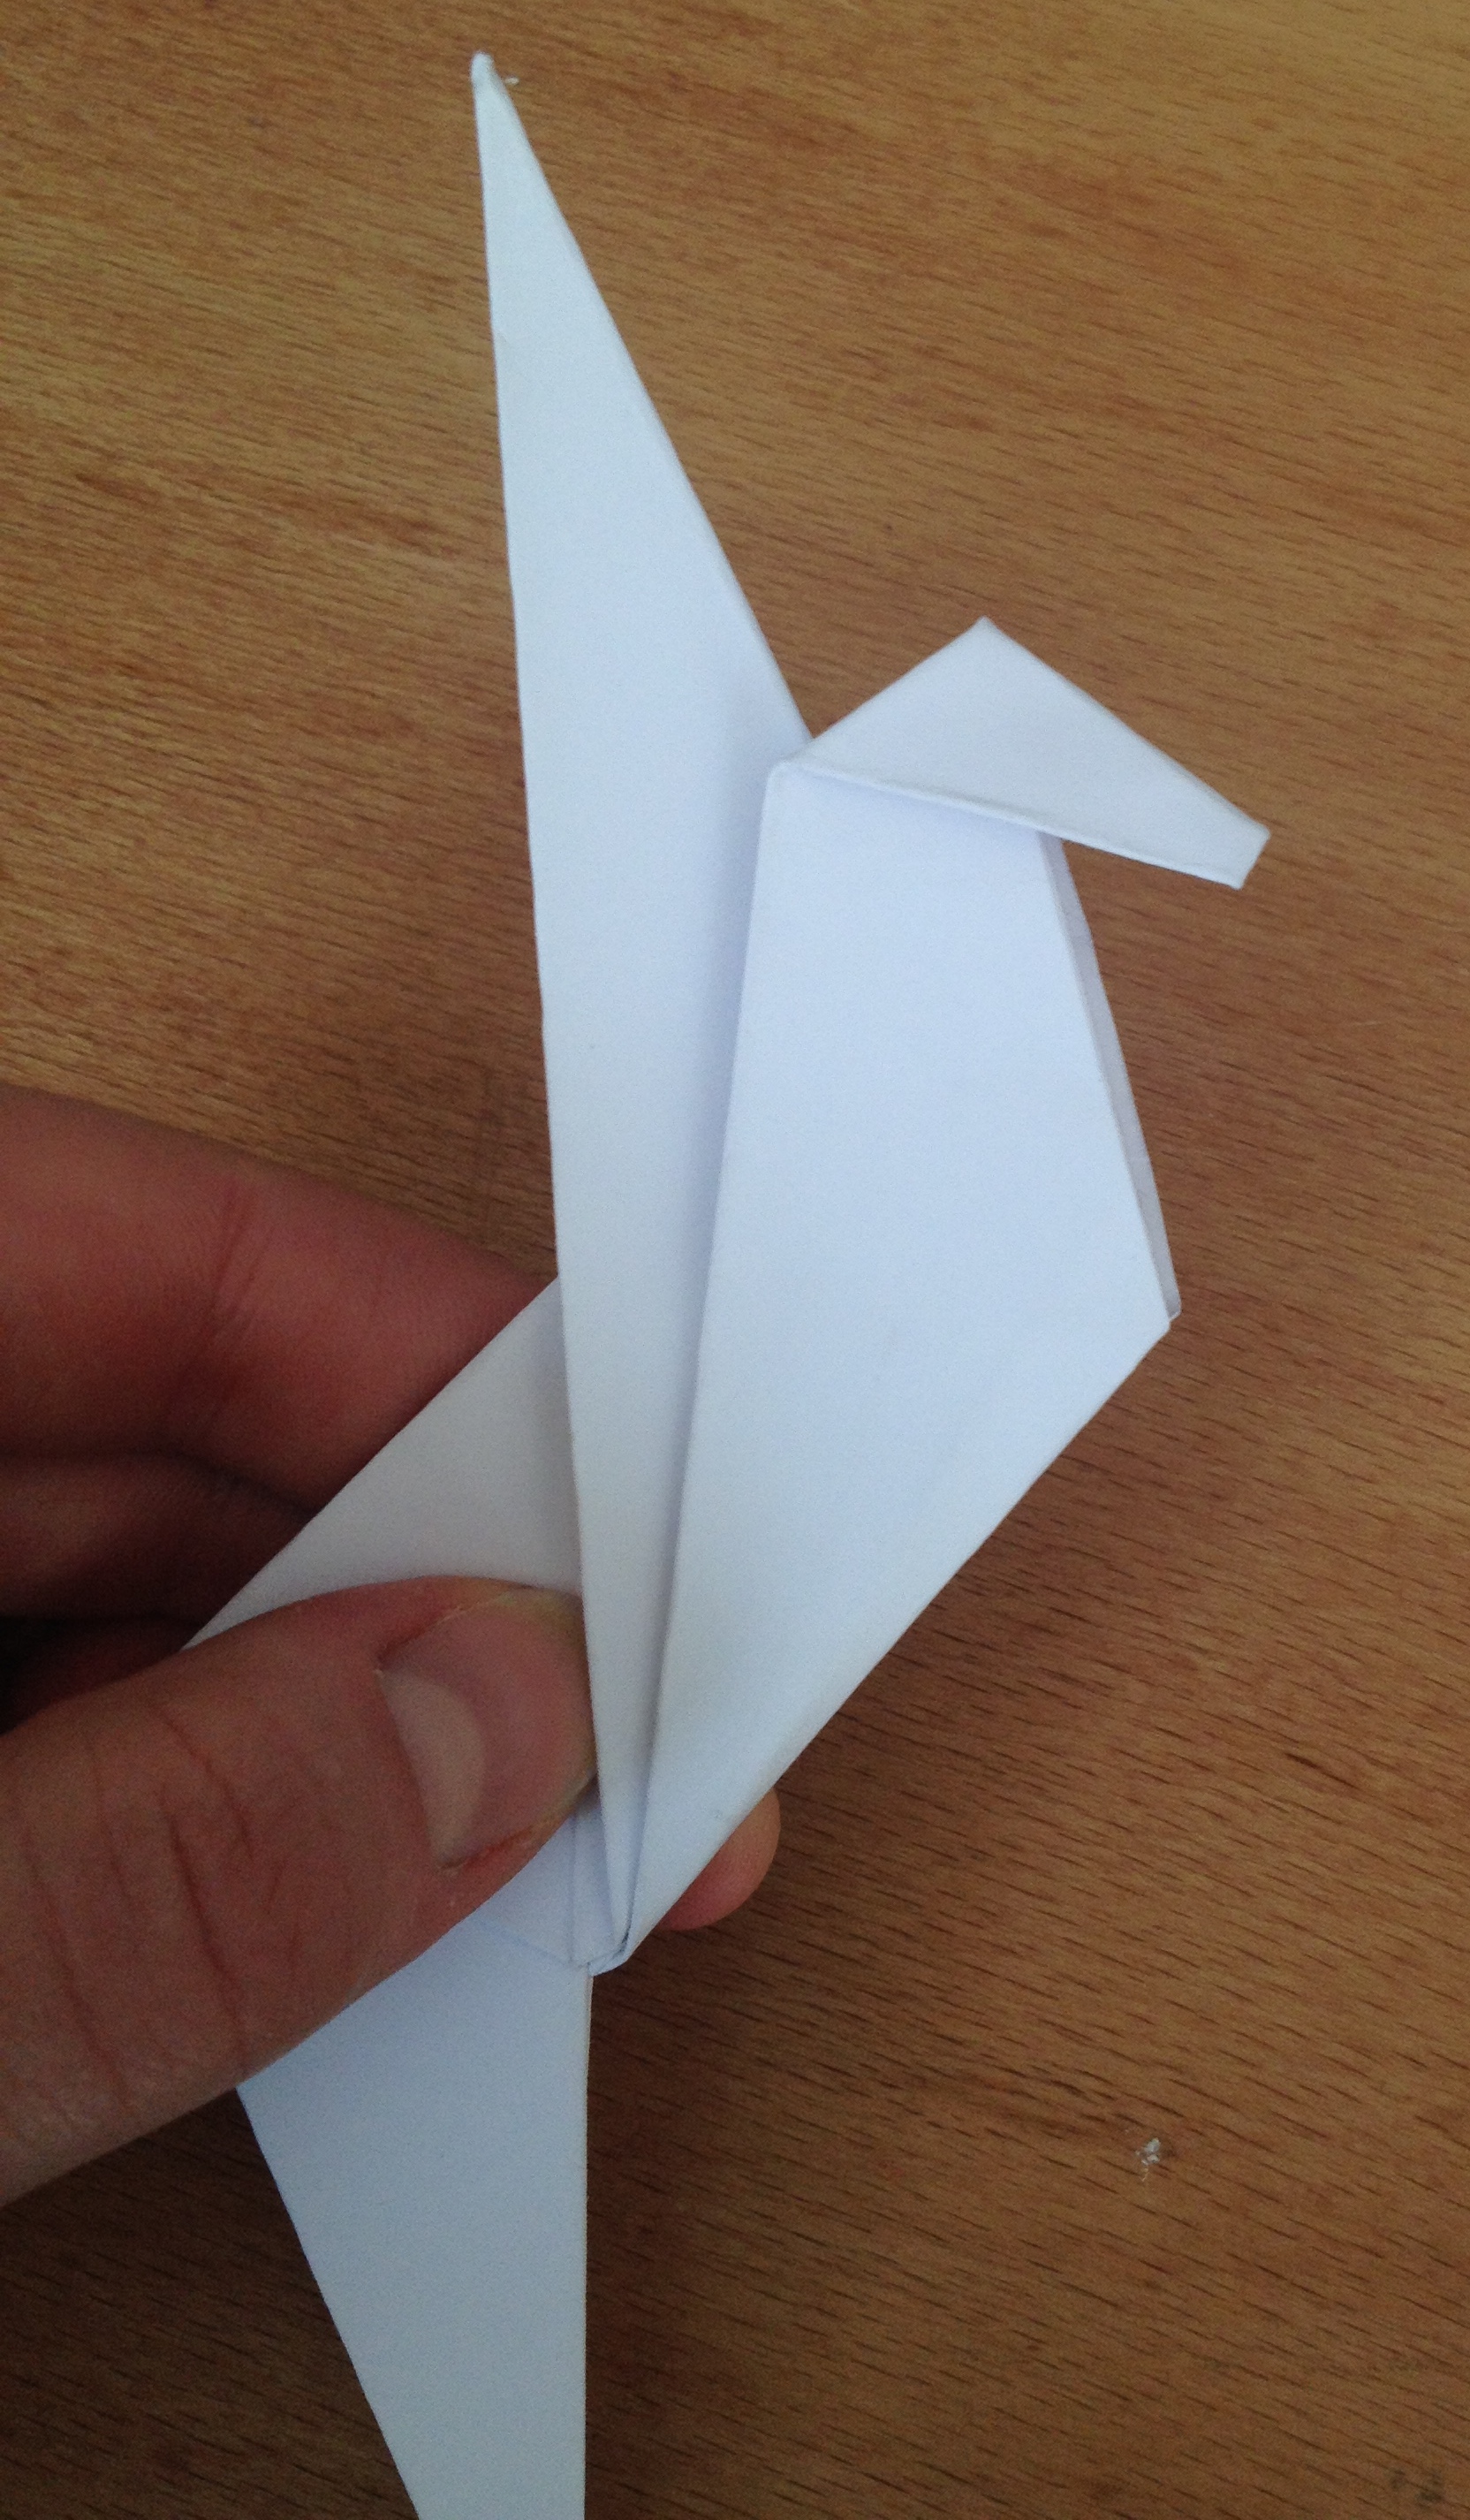
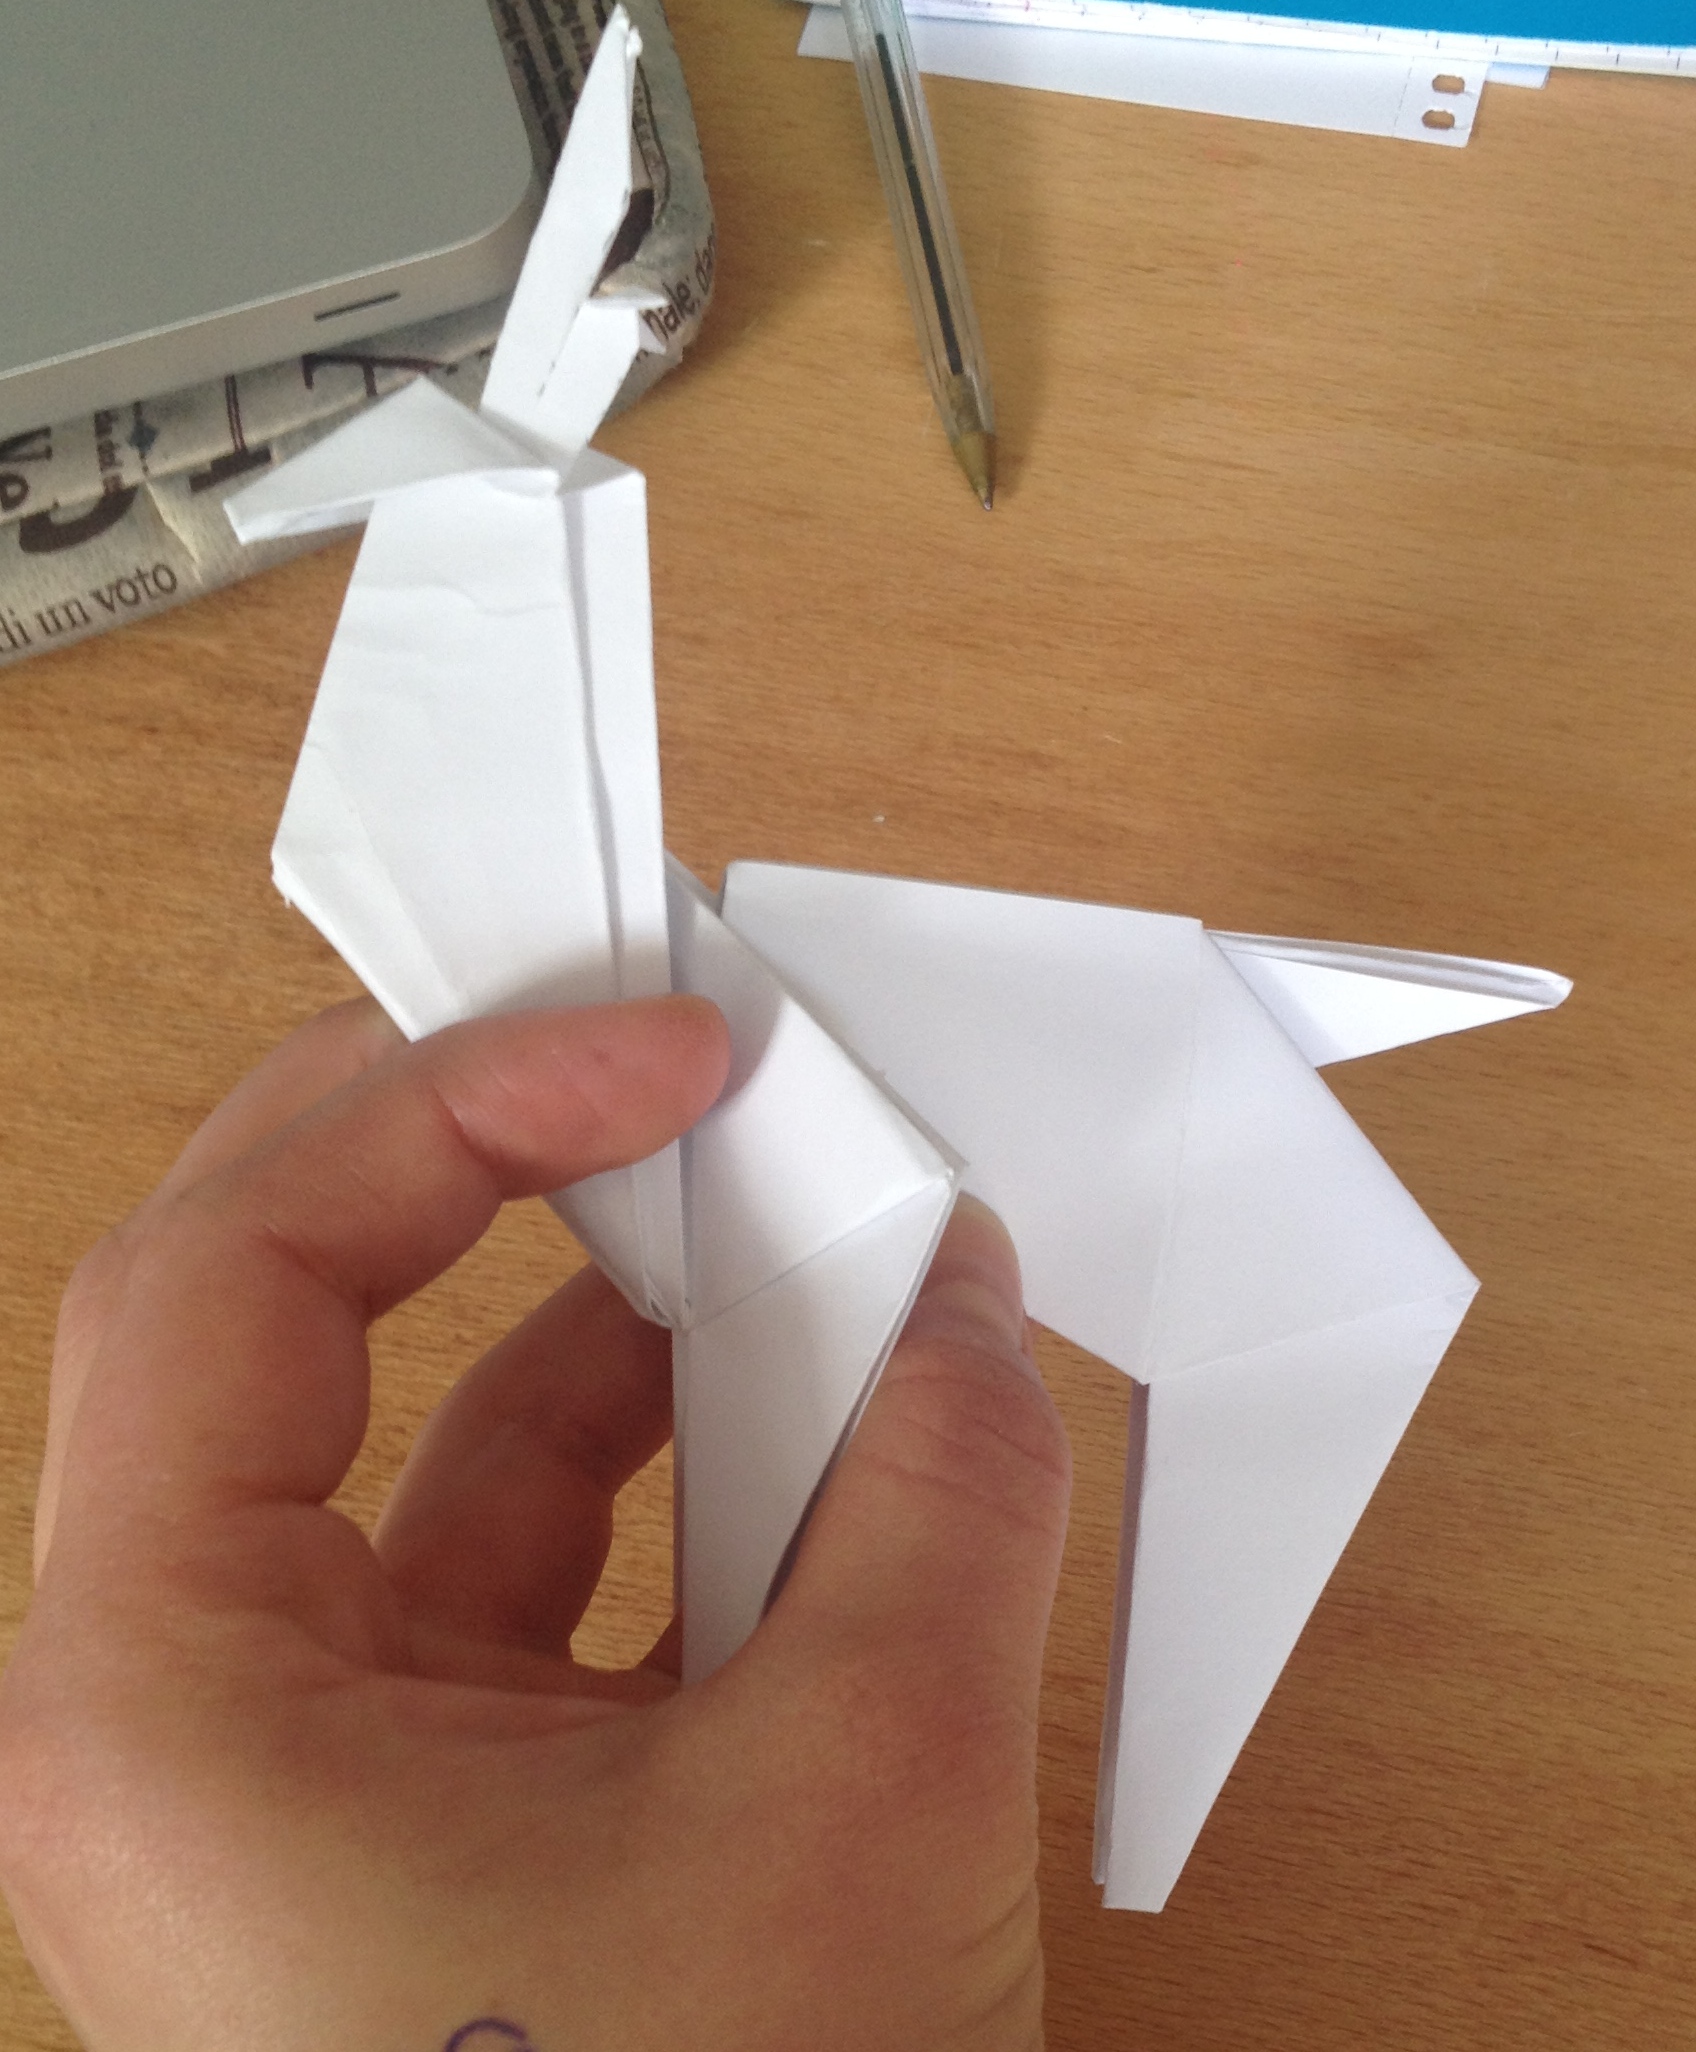
Your Rudolf should look like this, awaiting Santa.
Here is a short clip of Rudolf functioning solo:
DON’T FORGET TO CHECK OUT Santa Claus and Rudolf Are Coming to Town (Part 2), to make Santa and watch our finished video!