
HEY!
Remember those paper fortune-teller thingies that we used to make in middle school? No? Well I do! So too fucking bad, we’re gonna make one.
When you’re done it will look like this

HOLY HELL, that looks good. So maybe it wont look that nice.
Instead of teaching you how to make these things step by step, I will send you on the same journey I found myself on, watching this YouTube video made by a child, as if to prove you are absolutely worthless for not making a video, let alone a time-based tutorial for this project. ENJOY!
So as it turns out these things are also known as Cootie Catchers.

Anyway, what would a modern, adult cootie catcher be without LED lights? Well, that’s what I asked myself, and that’s why we’re going to make one. SO LET’S GO!
OKAY!
If you’re so dumb that you couldn’t figure out that you’d need paper scissors and the ability to fold, you should probably stop now.
Other things you will need:
– conductive copper tape
– a soldering iron
– solder (duhhh)
– LED lights
– coin batteries
WHAT TO DO:
So dumby, you got all that? Good.
When you’re making your cootie catcher, you will want to fold and construct it out of two identical sheets of paper. Don’t ask questions now, just do it.
Once you’ve made your cootie catcher from two sheets of paper, separate the two and choose one on which you’ll make your circuit. You’ll want to be working on the underside of the catcher, which means the side of the paper exposed to your hands. I’m not posting a photo of that, you seriously need to get it together, I can’t teach you life, this is easy.
Now look at this:
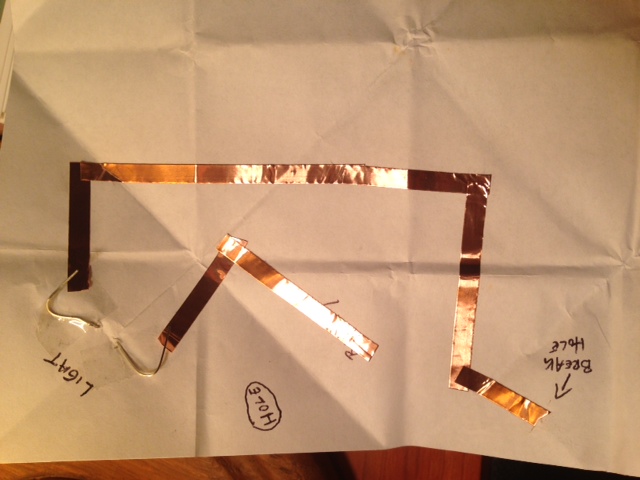
Lay down strips copper tape so that they lightly cross at intersections. Don’t worry too much about how much the copper is in contact, you will be soldering these joints to ensure conductivity.
The paper should have symmetrical folds, so you can start working on any side you look. Think of your paper as broken into a grid.
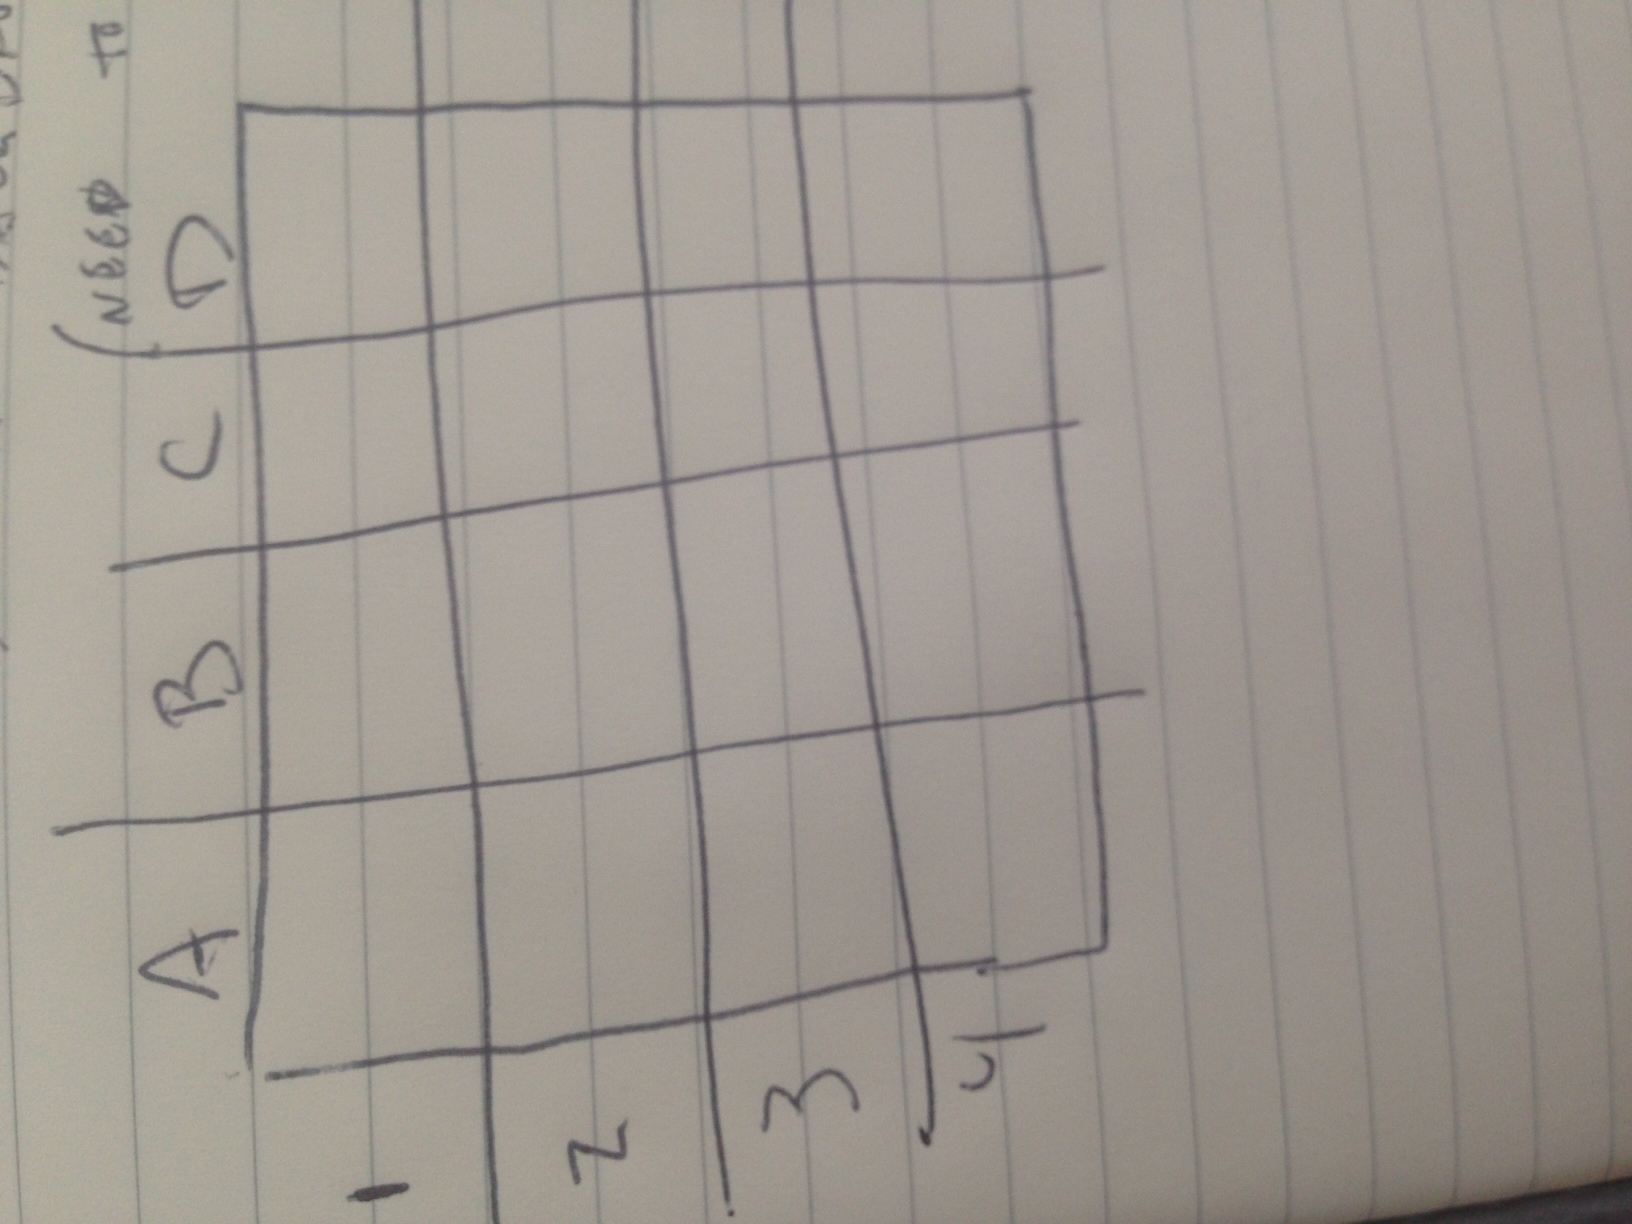
You need to a hole in A2 and A3, breaking a small slit to wrap a piece of conductive tape to the other side.

The reason?
You are using the folds to close the circuit for your LED light, shown below. Your battery will rest inside the folds of section A2, with the positive and negative strips of tape separated by the folds.

Now you’ll need to solder all your connections, including the lights.
Repeat this circuit as many times as you want around the paper. It is just important that your connections don’t cross, even when folded.
How do we achieve this?
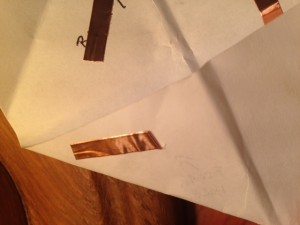
Remember that second piece of paper? You are going to cut section A2 out of the paper, and any other segment where the patter is placed, so that the second piece of paper is not covering the connection in your folded pocket. The possible squares to cut from my design are A2, B4, D3, and C1. Place the paper underneath your cootie catcher and fold them back up together. This second paper layer will protect your copper tape from crossing breaking the circuit to that powers your LED lights.


Now write some positive fortunes for those who choose to play with you. In my design, the LED lights alternate as the hand is spelling out the chosen words.


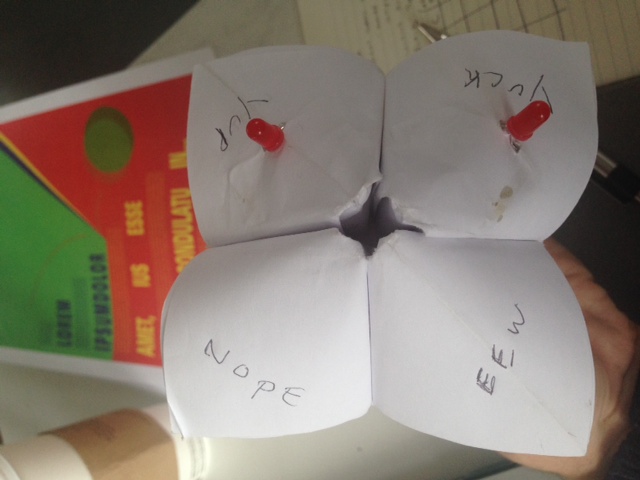
There you go. Your cootie catcher lights up all on its own. What a thrill.
So why did we do this?
This project should demonstrate at the very least how alternative circuits (such as the paper one we’ve built here) can be integrated into previously analog and nonconductive forms.