DABBLING IN LASERCUTTING
Get together a selection of fabrics that you would like to test out with the lasercutter.
Materials:
– synthetic felt
– cotton denim
– cotton silk
– leather
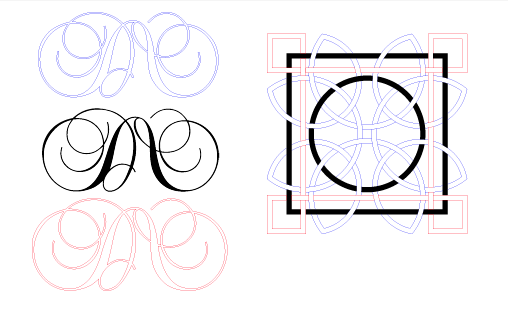
Prepare your Illustrator file:
File > New > name your file > size (W: 609mm H: 457mm) > orientation: landscape > color mode: RGB > resolution 300gpi > open
Color Specifications:
Delete all your swatches. Create the four below:
Laser cut: red 255, blue 0, green 0
Raster Engrave: red 0, blue 0, green 0
Vector Engrave: red 0, blue 255, green 0
Blank Space: red 255, blue 255, green 255
*make sure to use .001 stroke thickness for red and blue. black is only fill space with no stroke.*
Open your illustrator file on the lasercutter’s computer and send it to print.

This will open up the lasercutter’s print program in which you can change the setting for the laser.
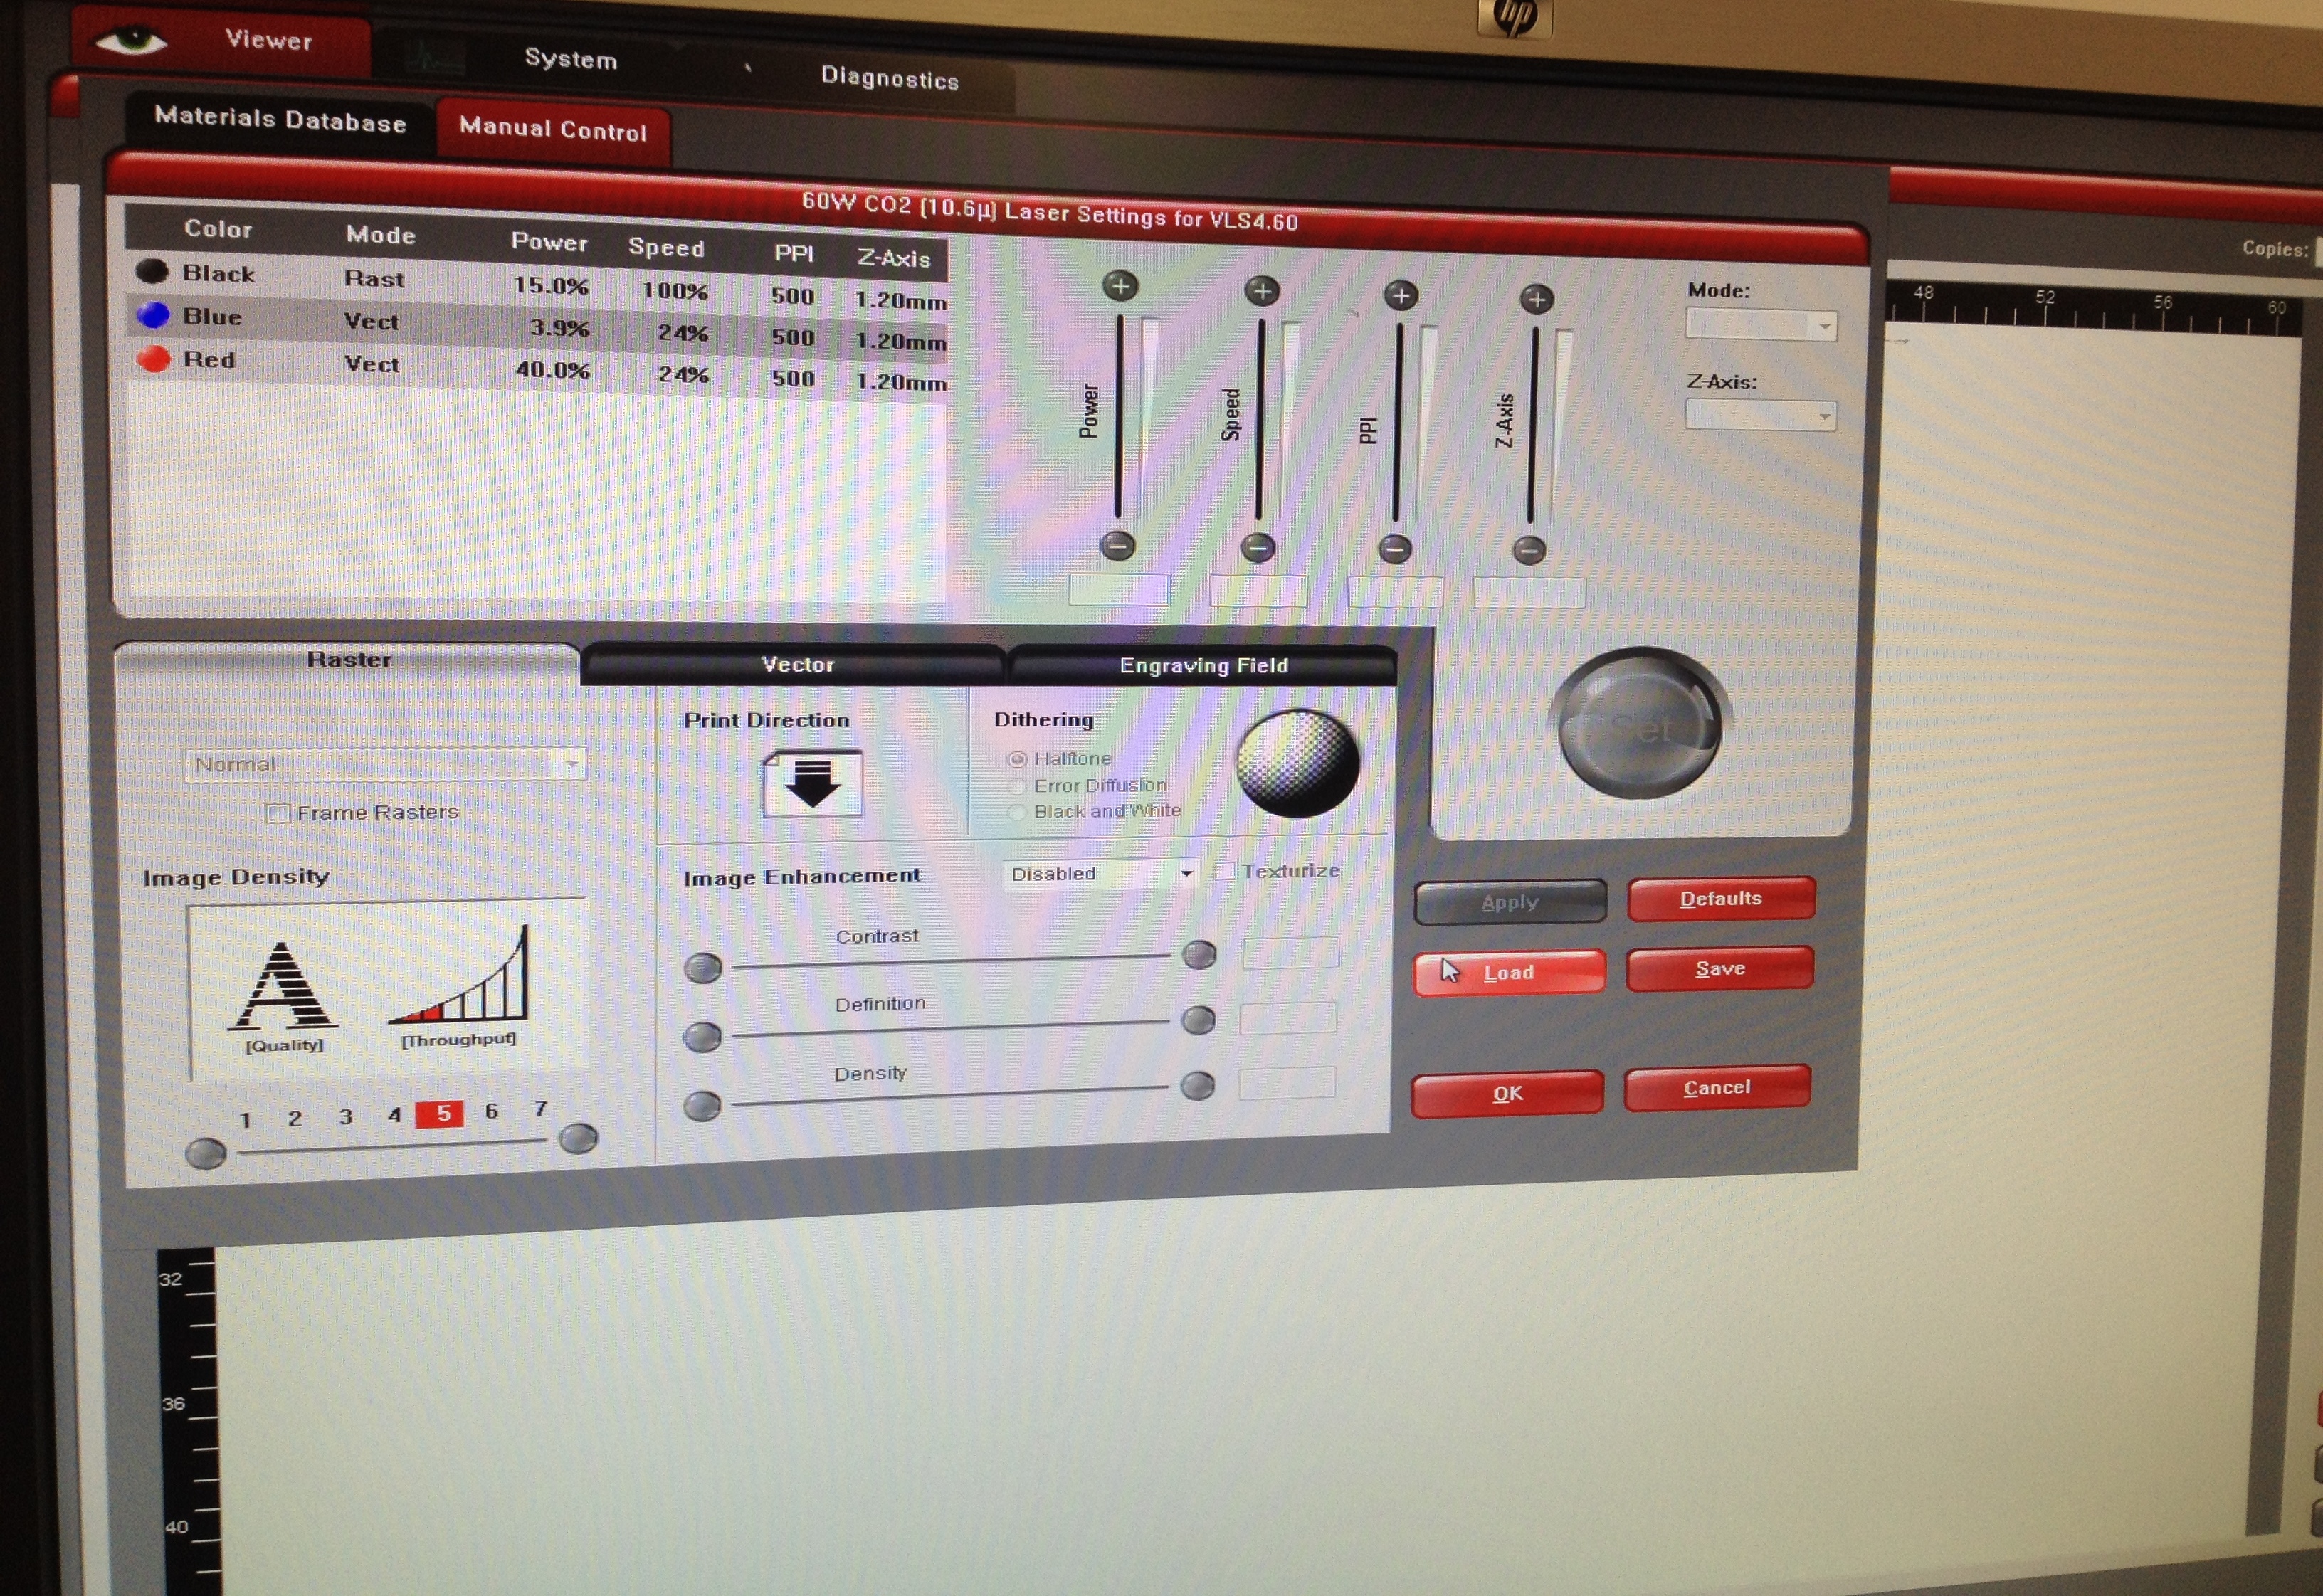
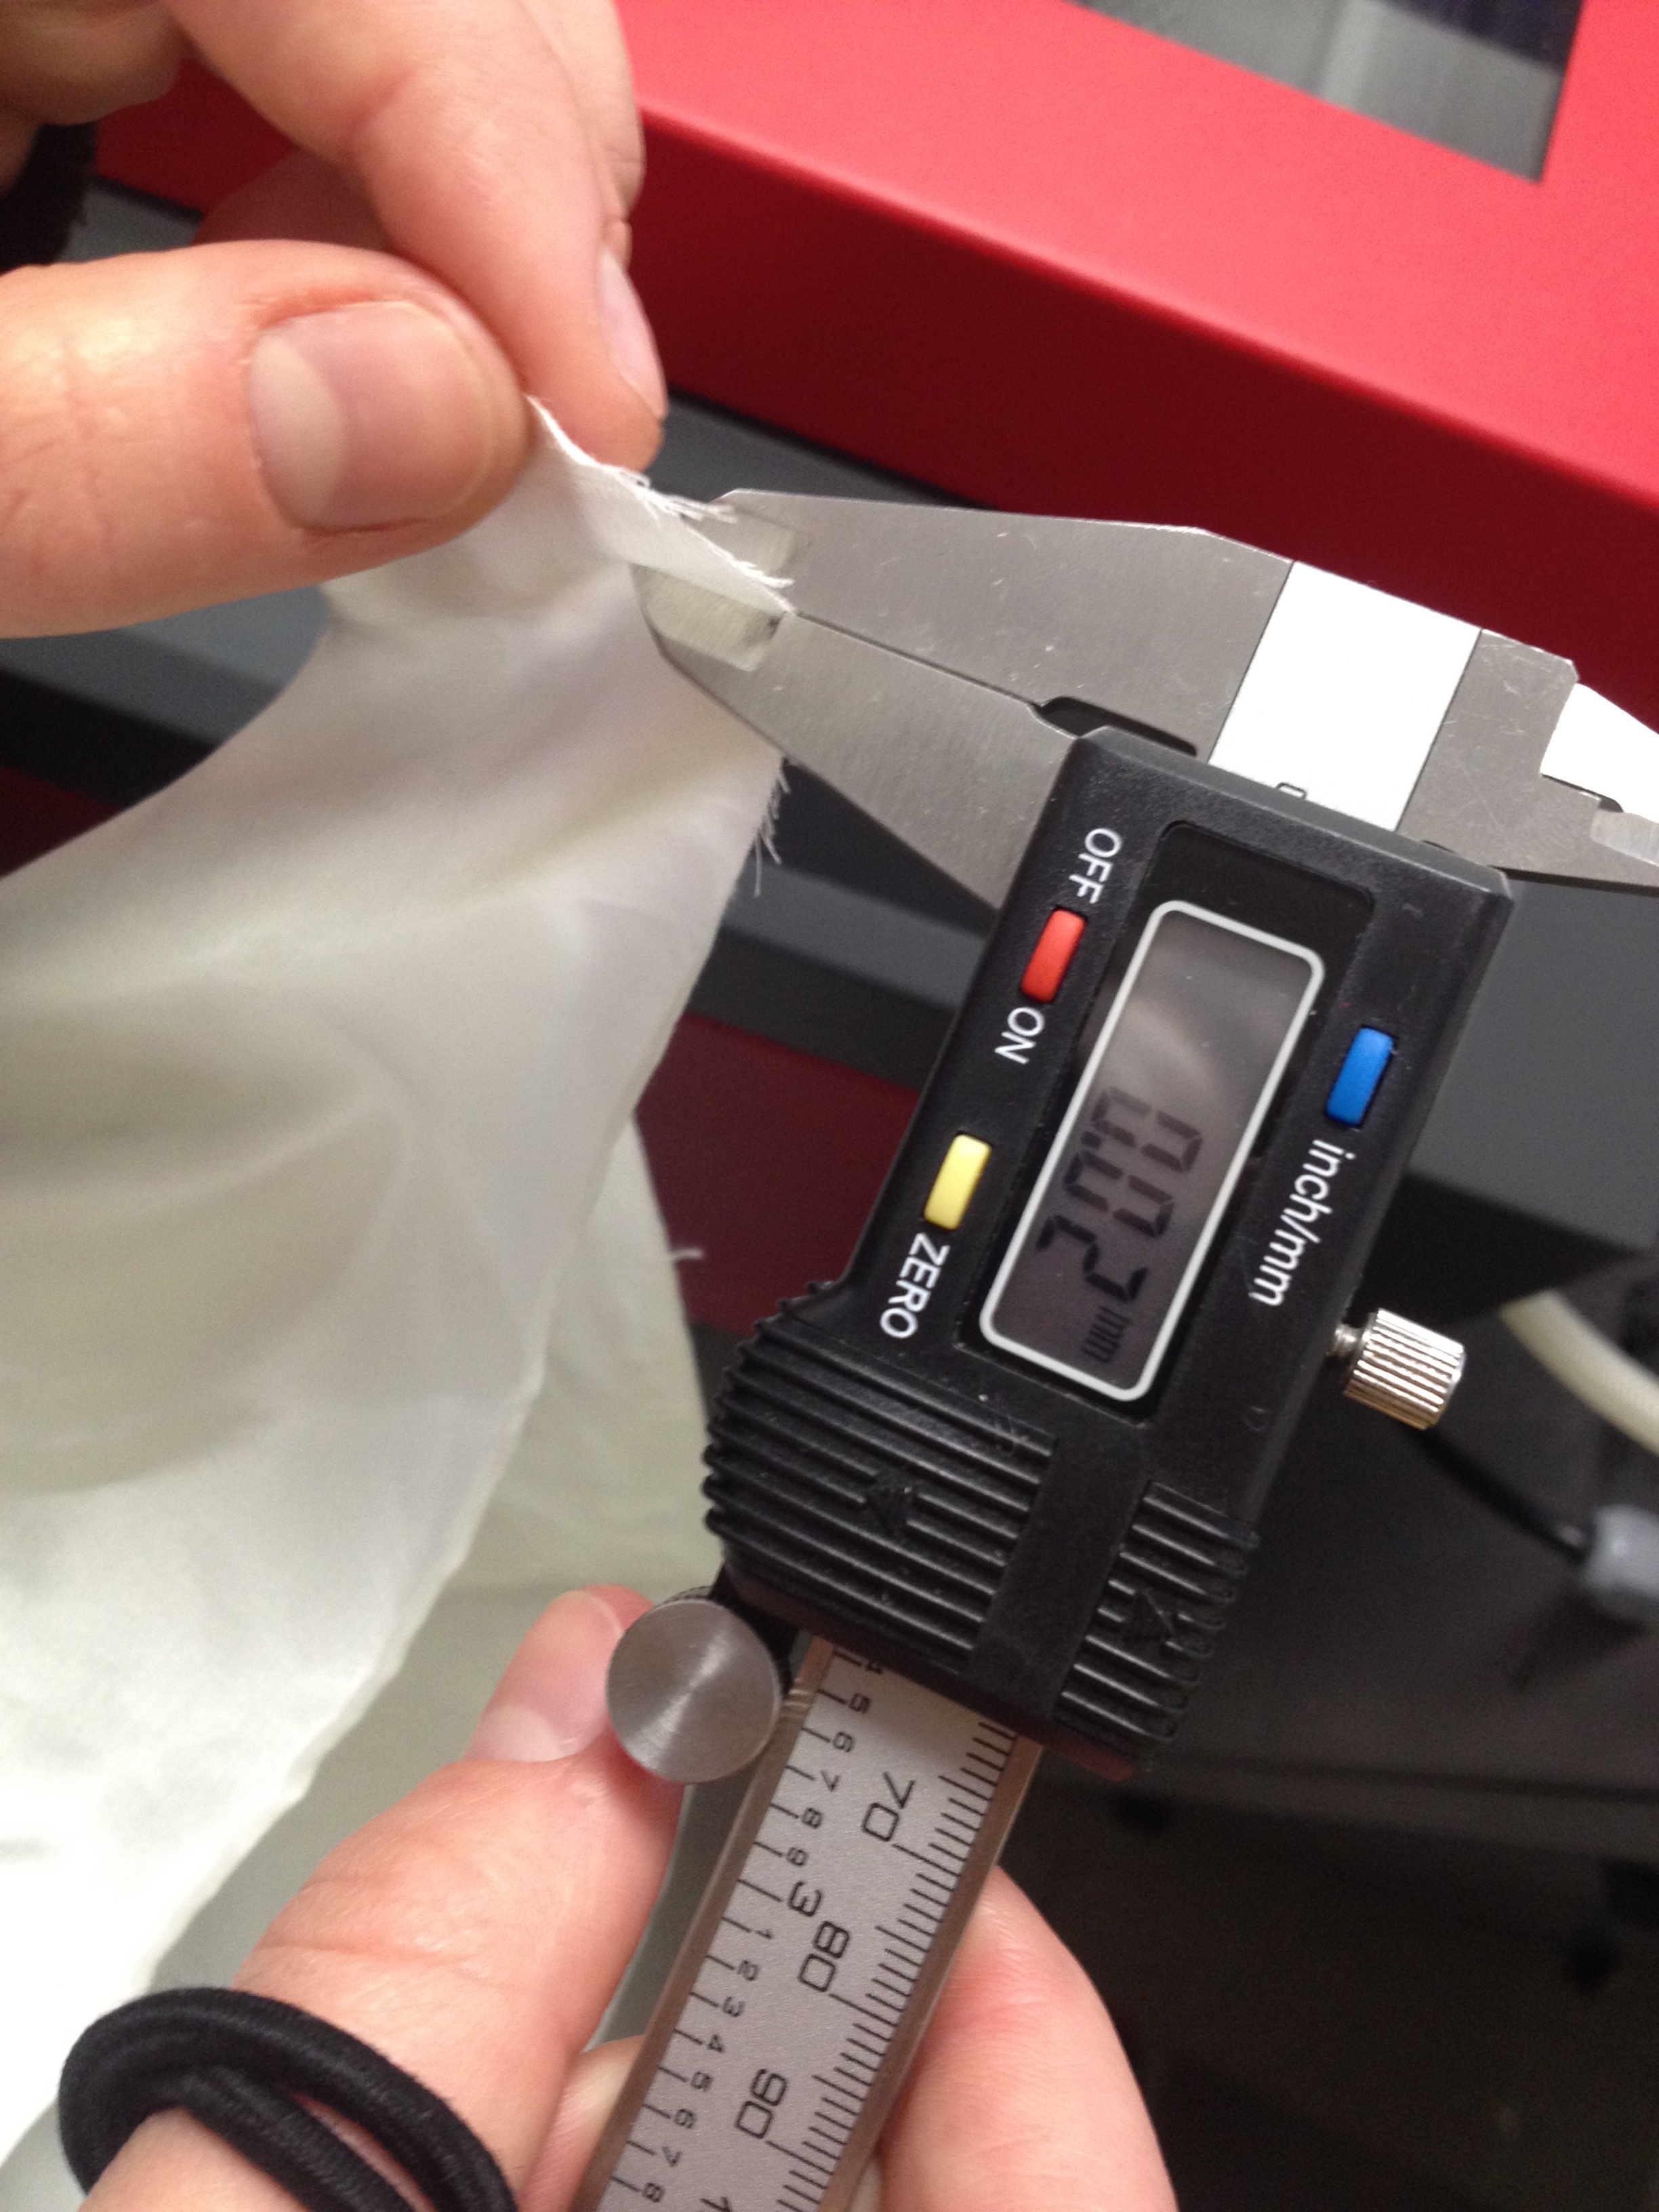
In these settings you must specify your material and measure it’s thickness
Before sending our final designs to print we had to make test swatches on each material until we achieved the laser affects we liked best.
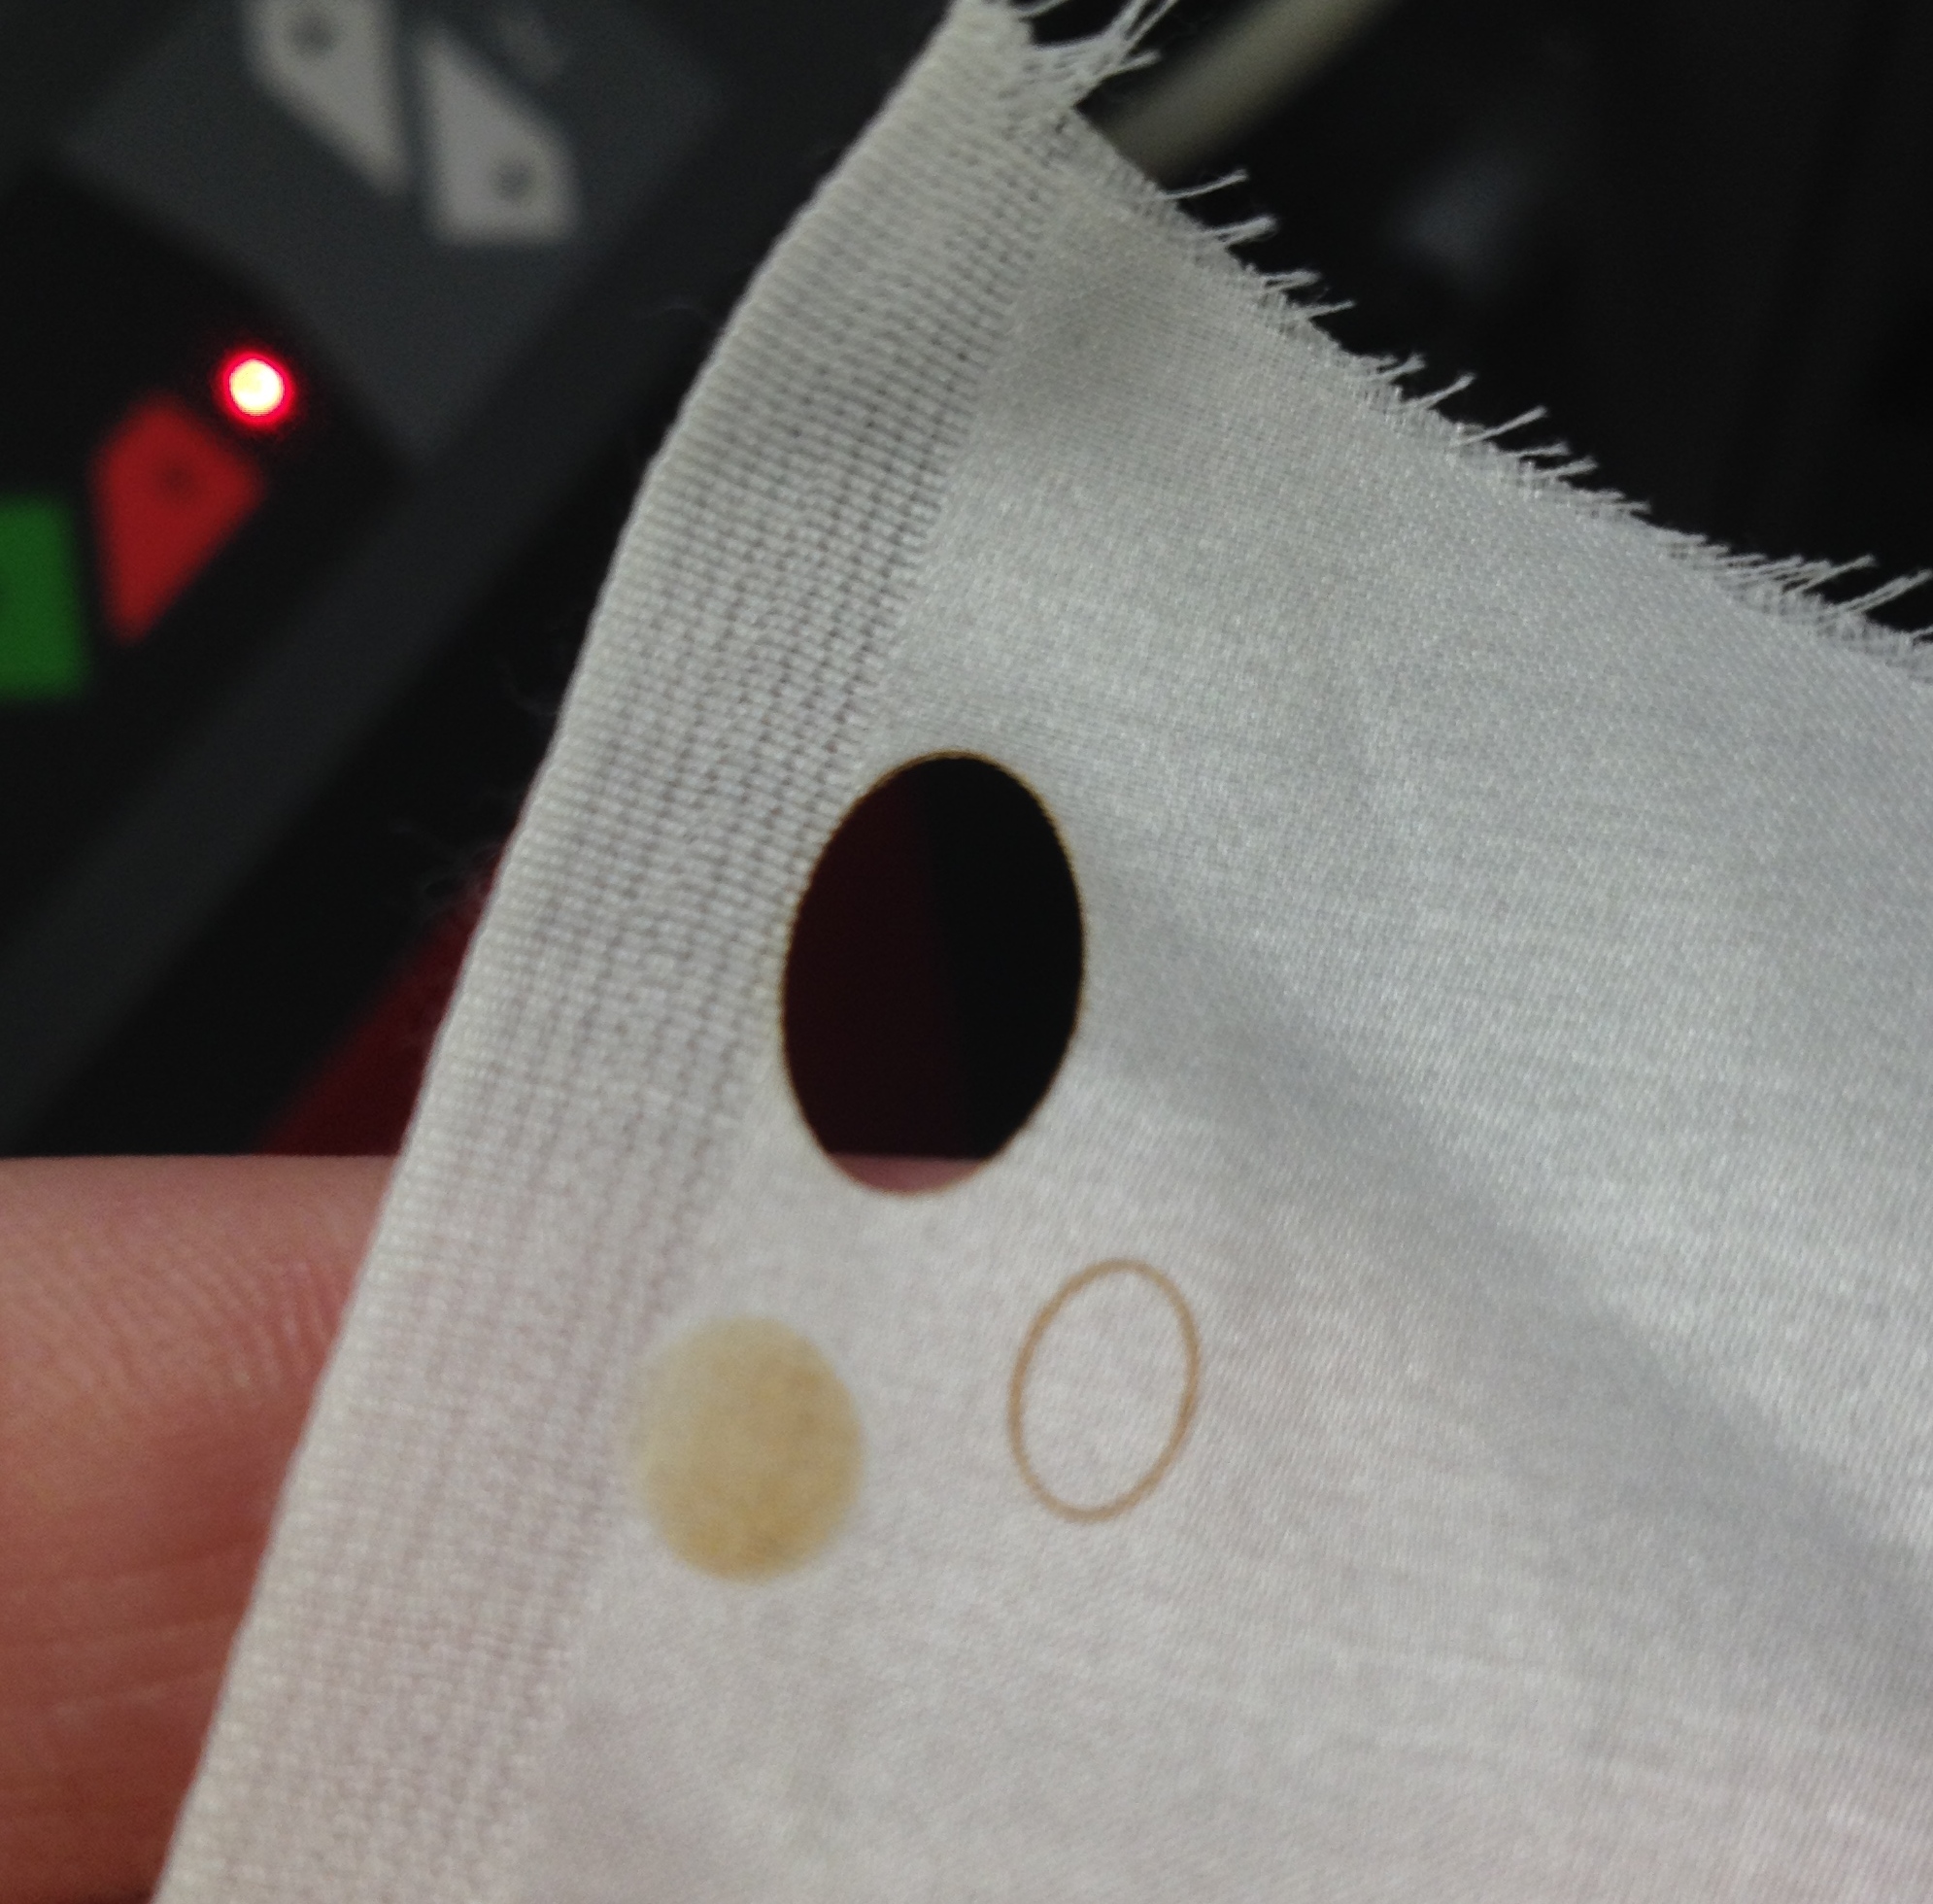 cotton silk
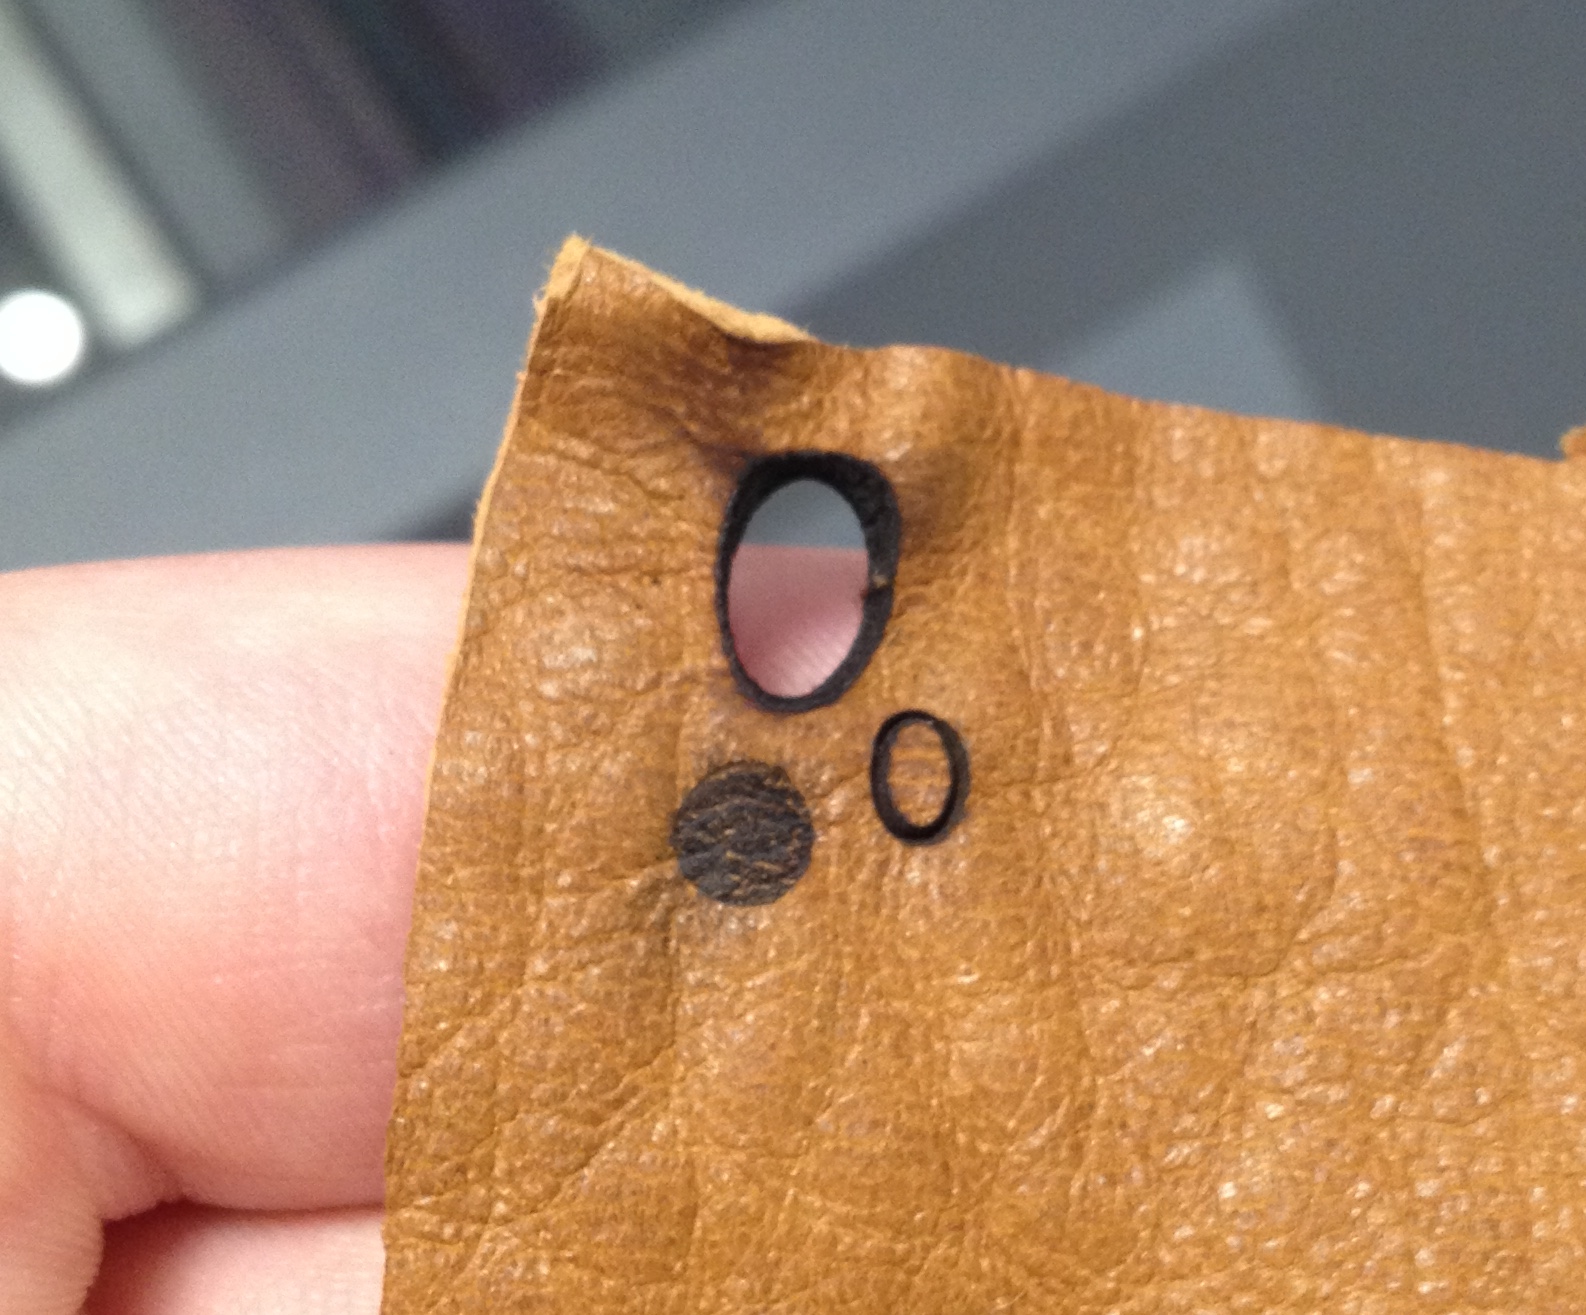 leather
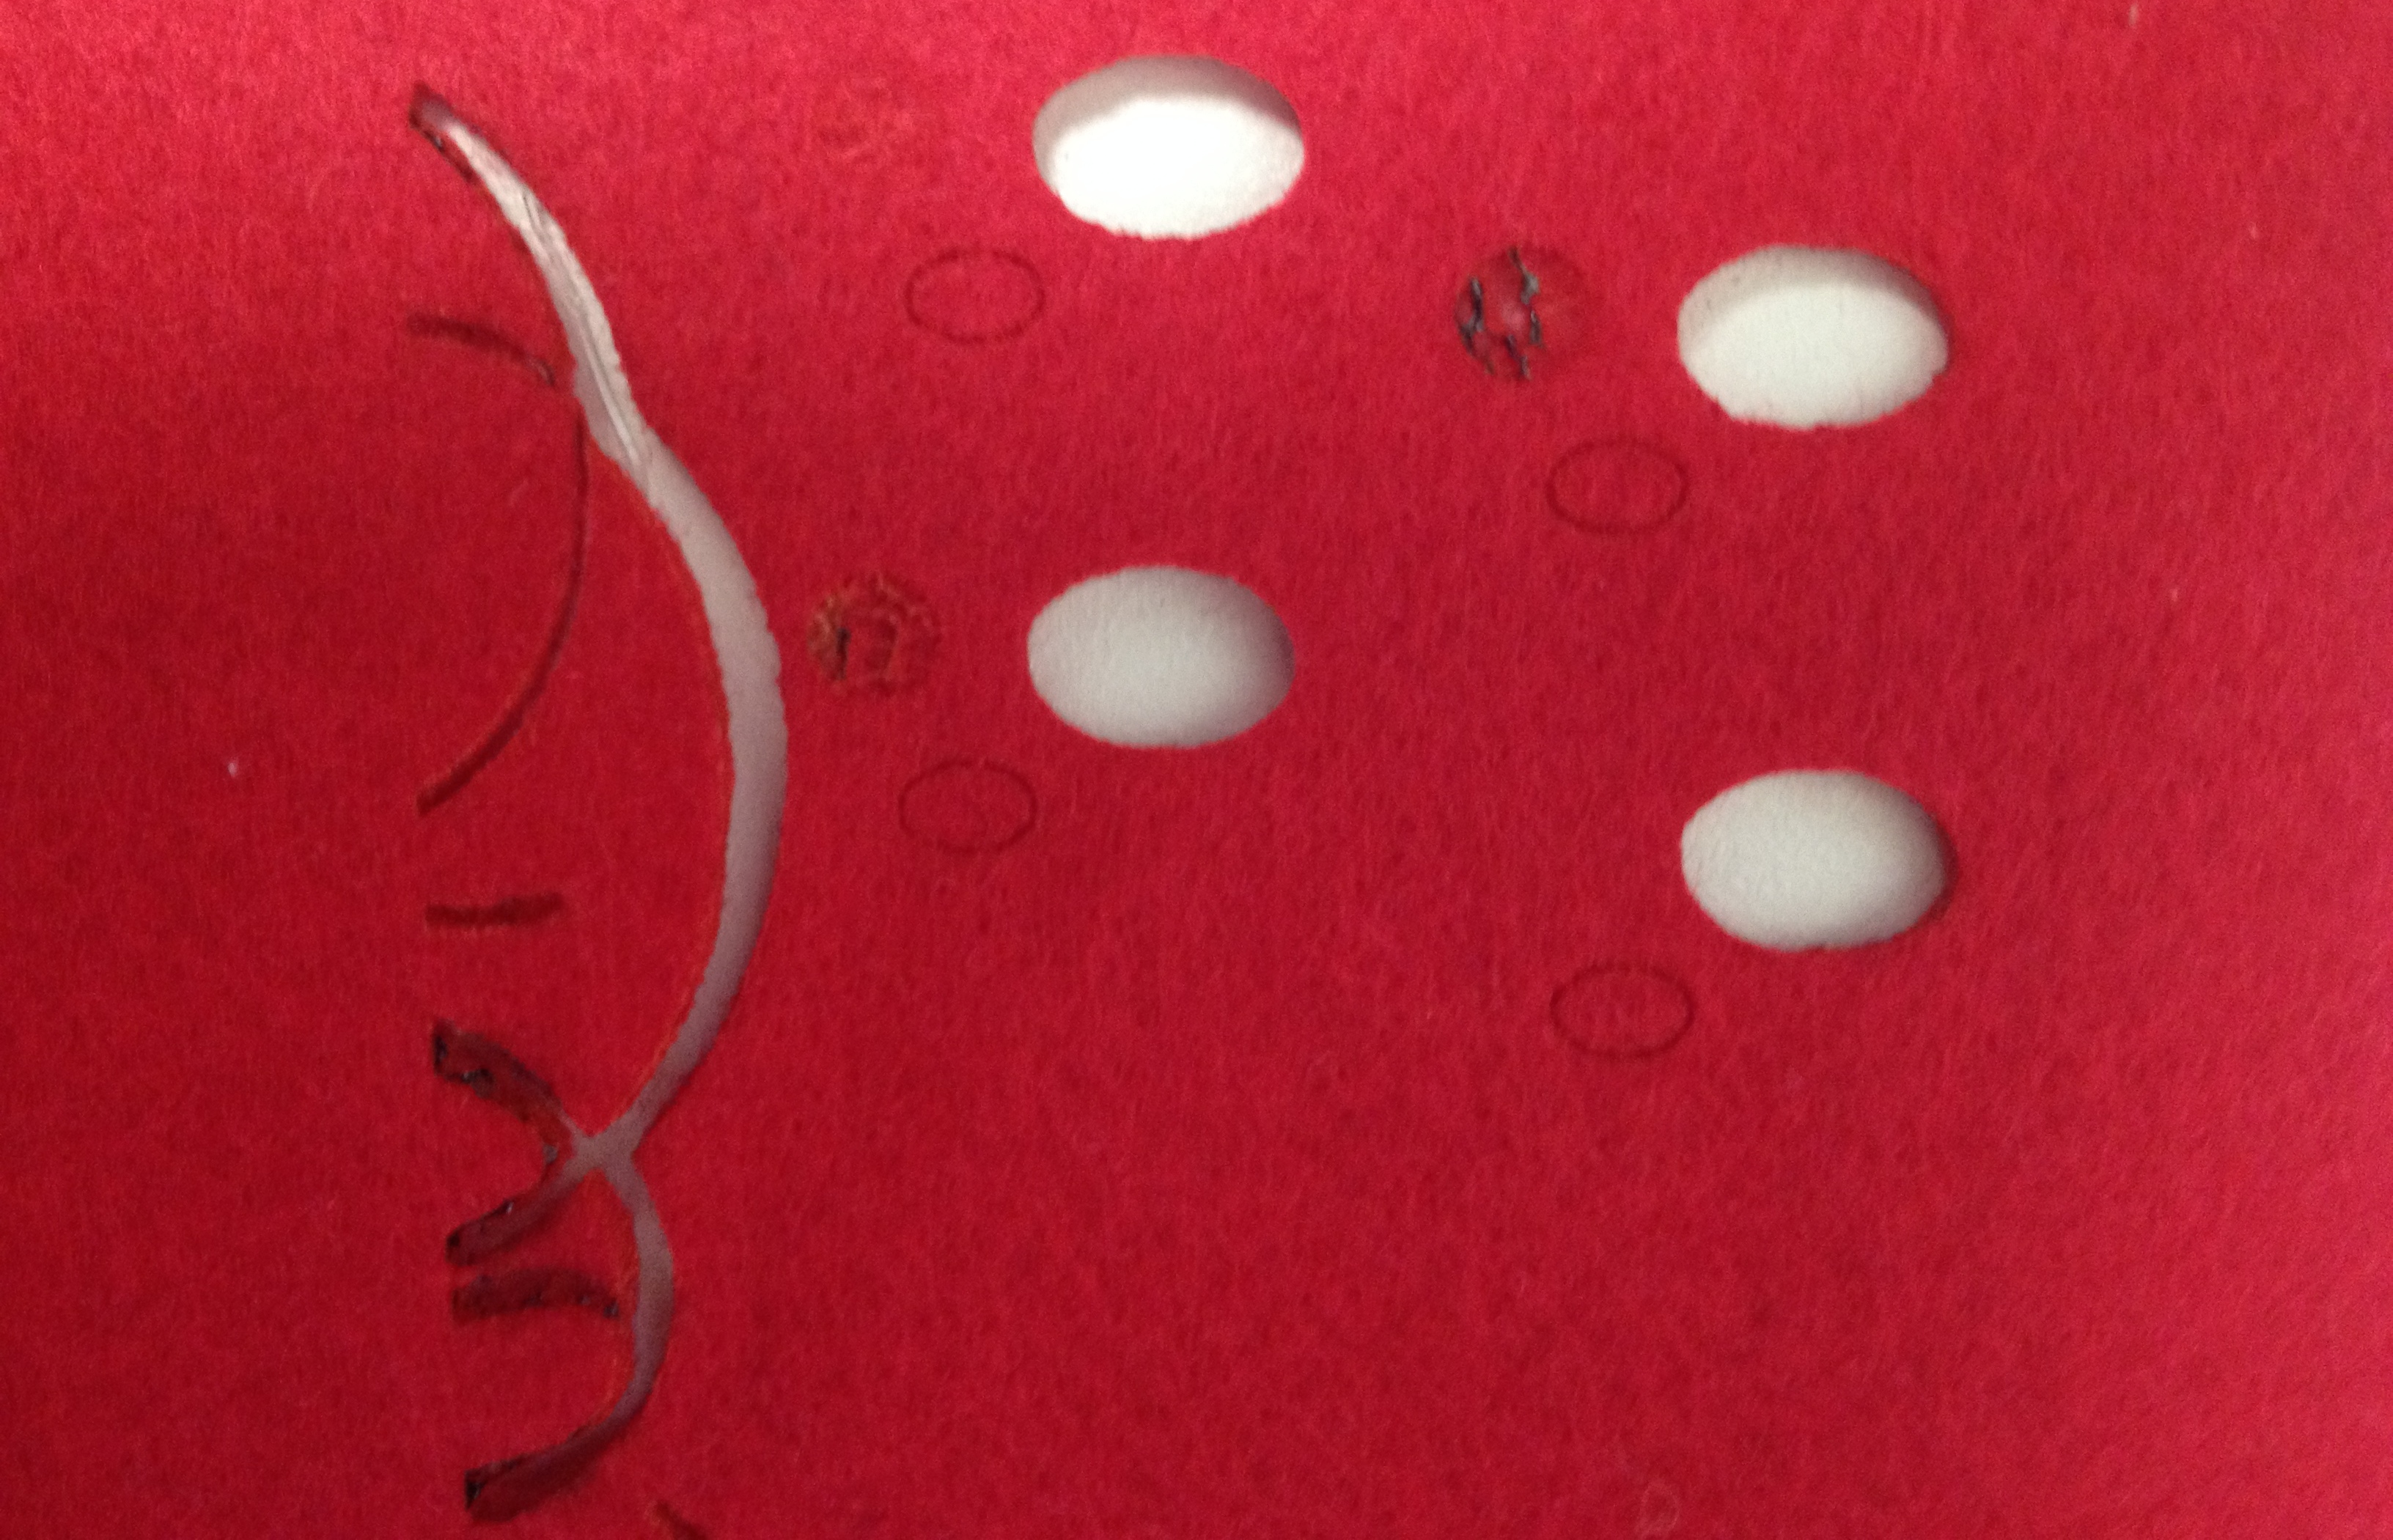 synthetic felt
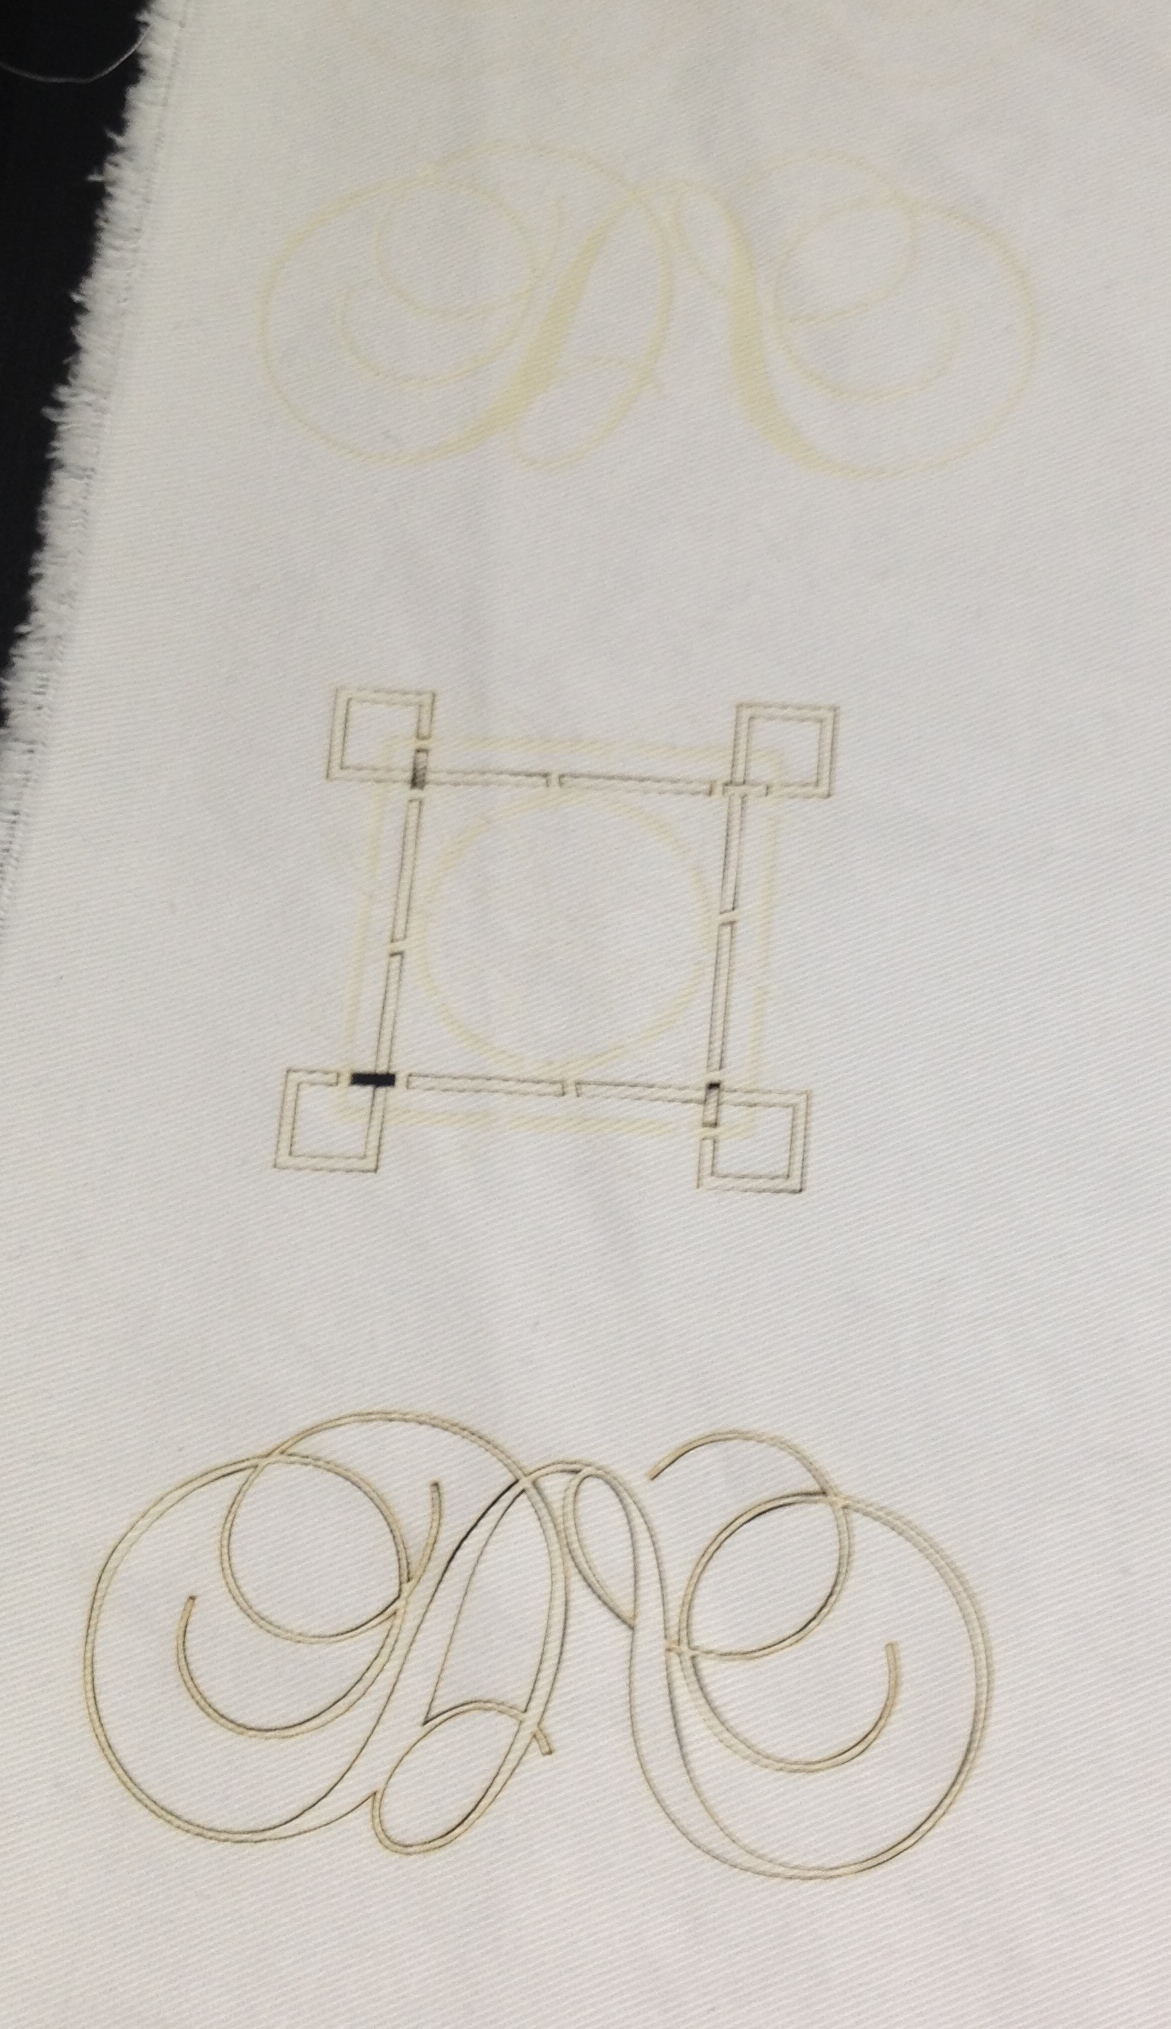
 cotton denim
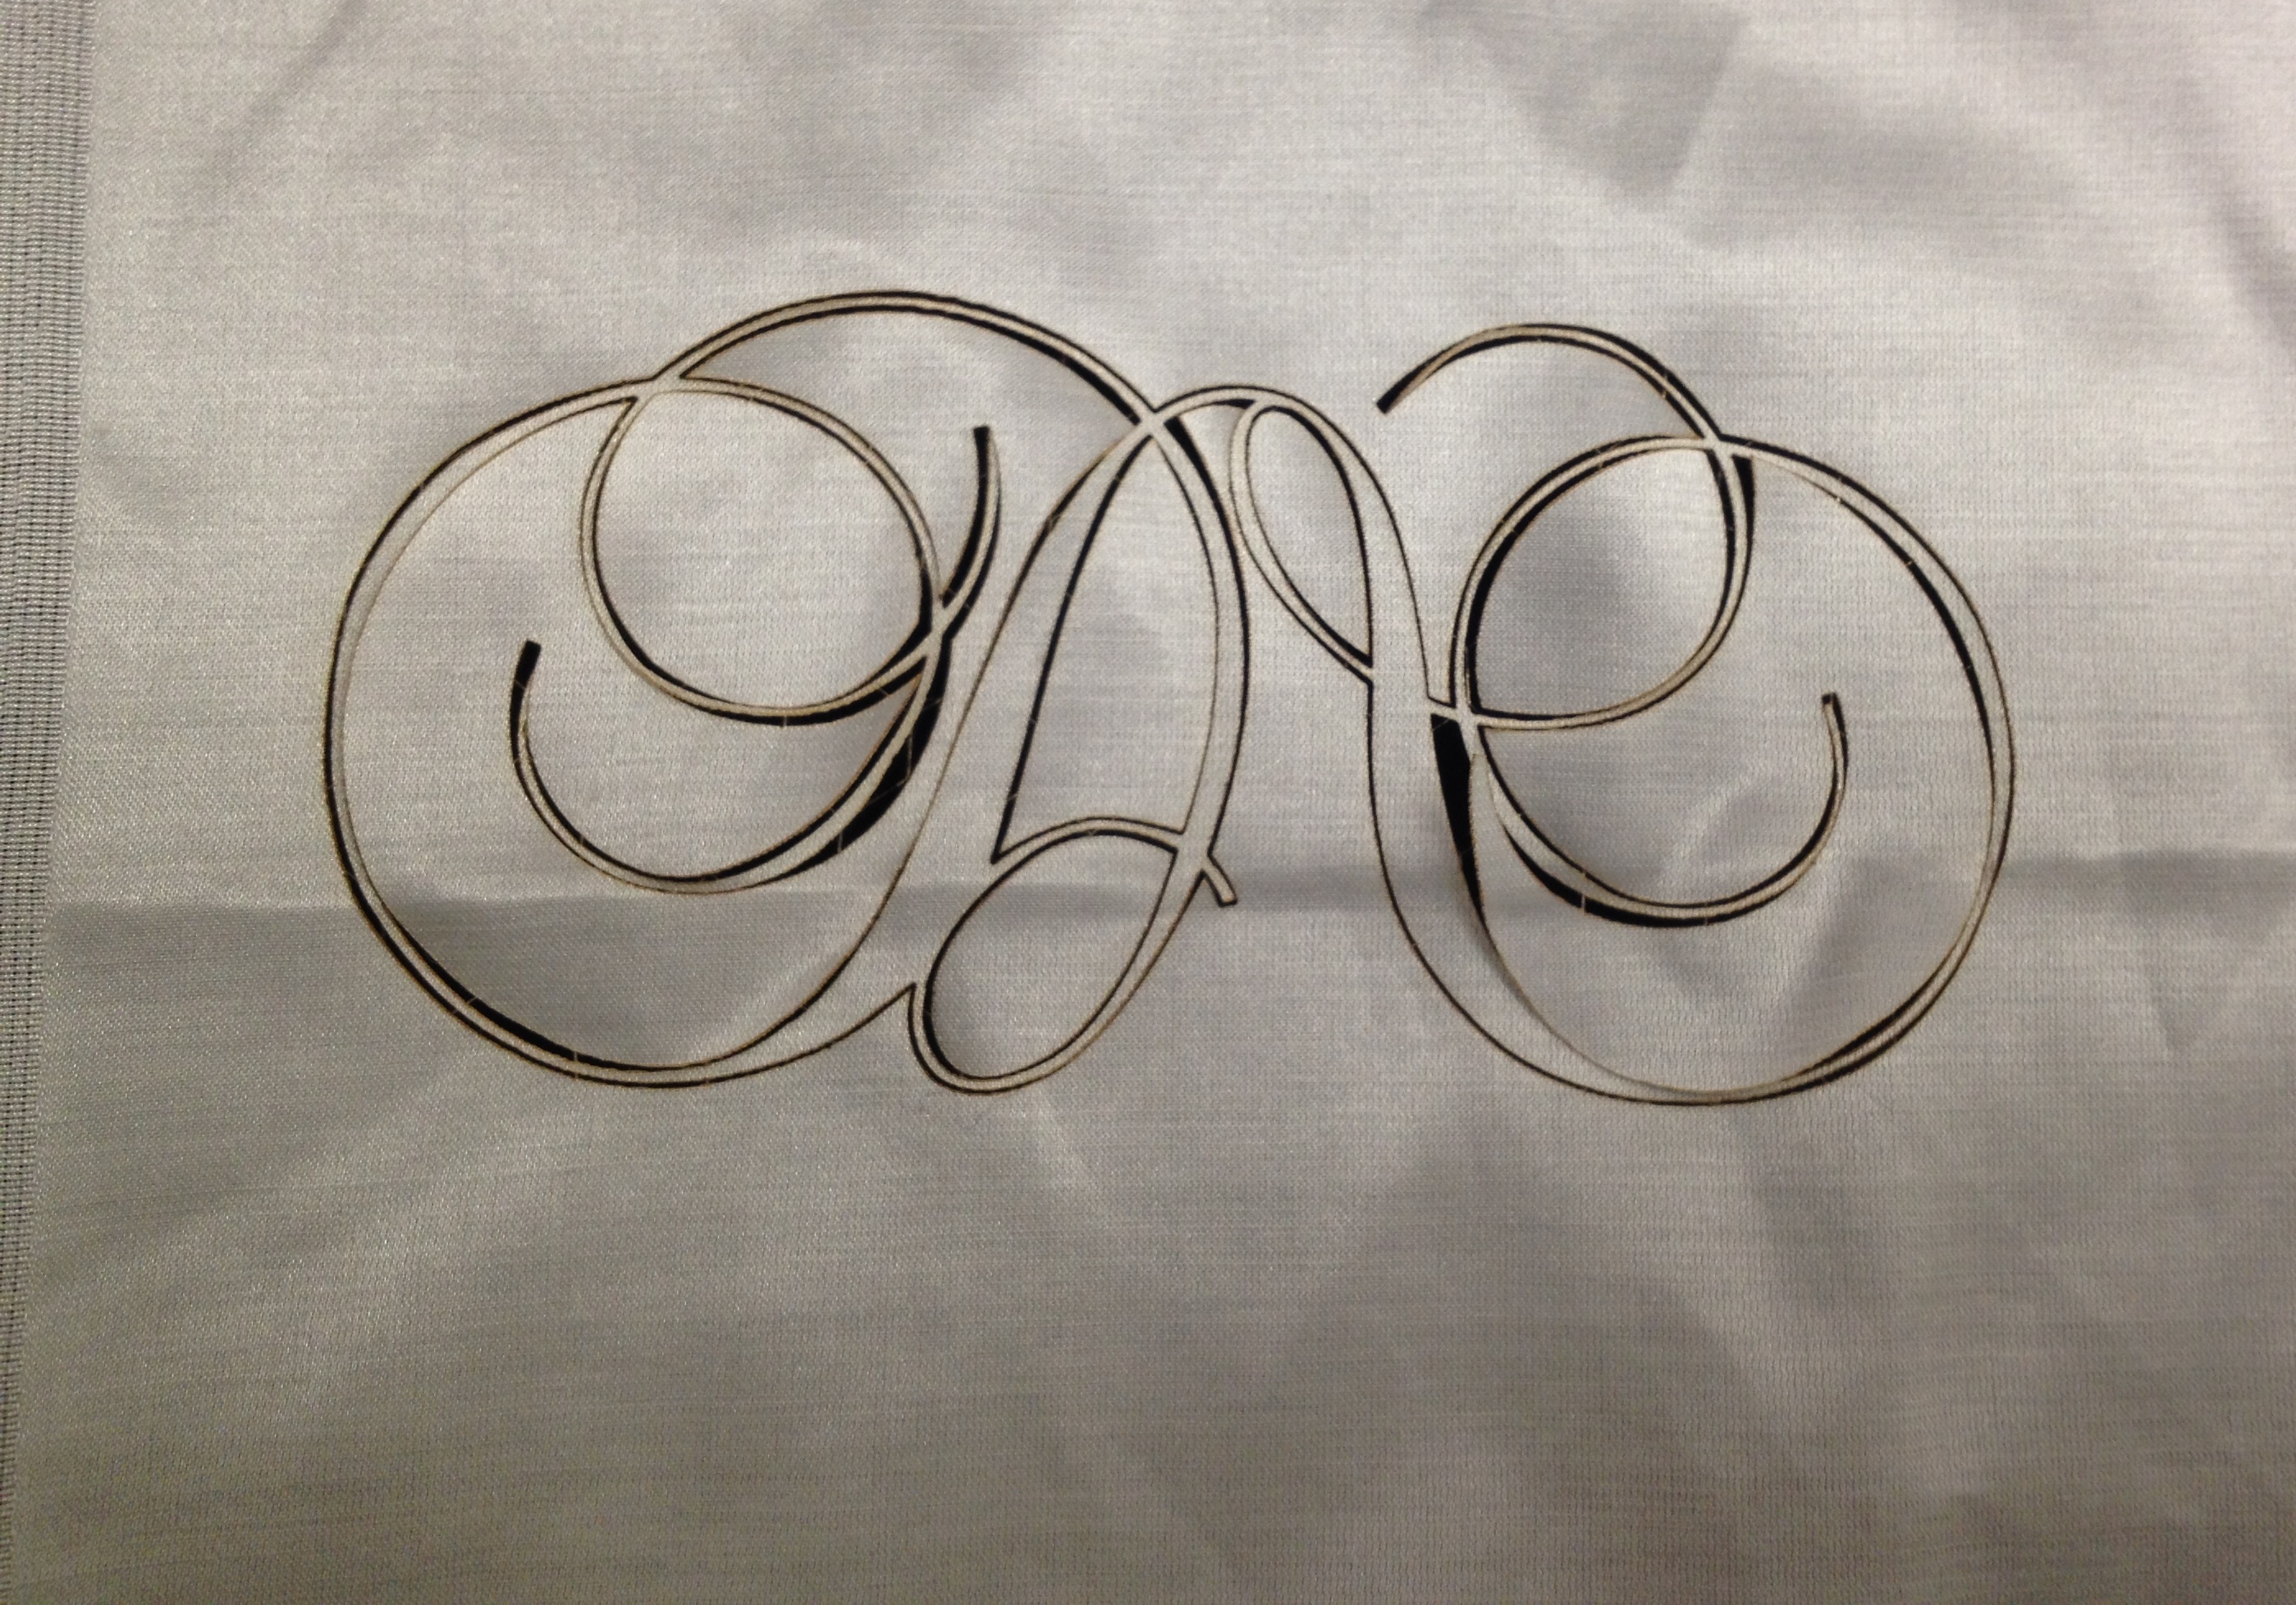
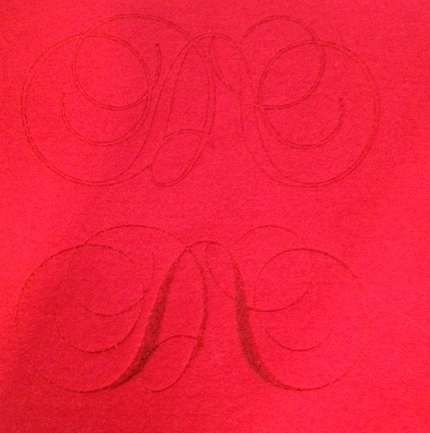
Once we had achieved the power we wanted, we sent out designs to the lasercutter:
Final Dabbling’s:
Felt:
- Thickness: 1.20mm
- Raster: -50
- Vector: -50
- Manual: 18% power

Denim:
- Thickness: 0.70mm
- Raster: +30
- Vector: +50
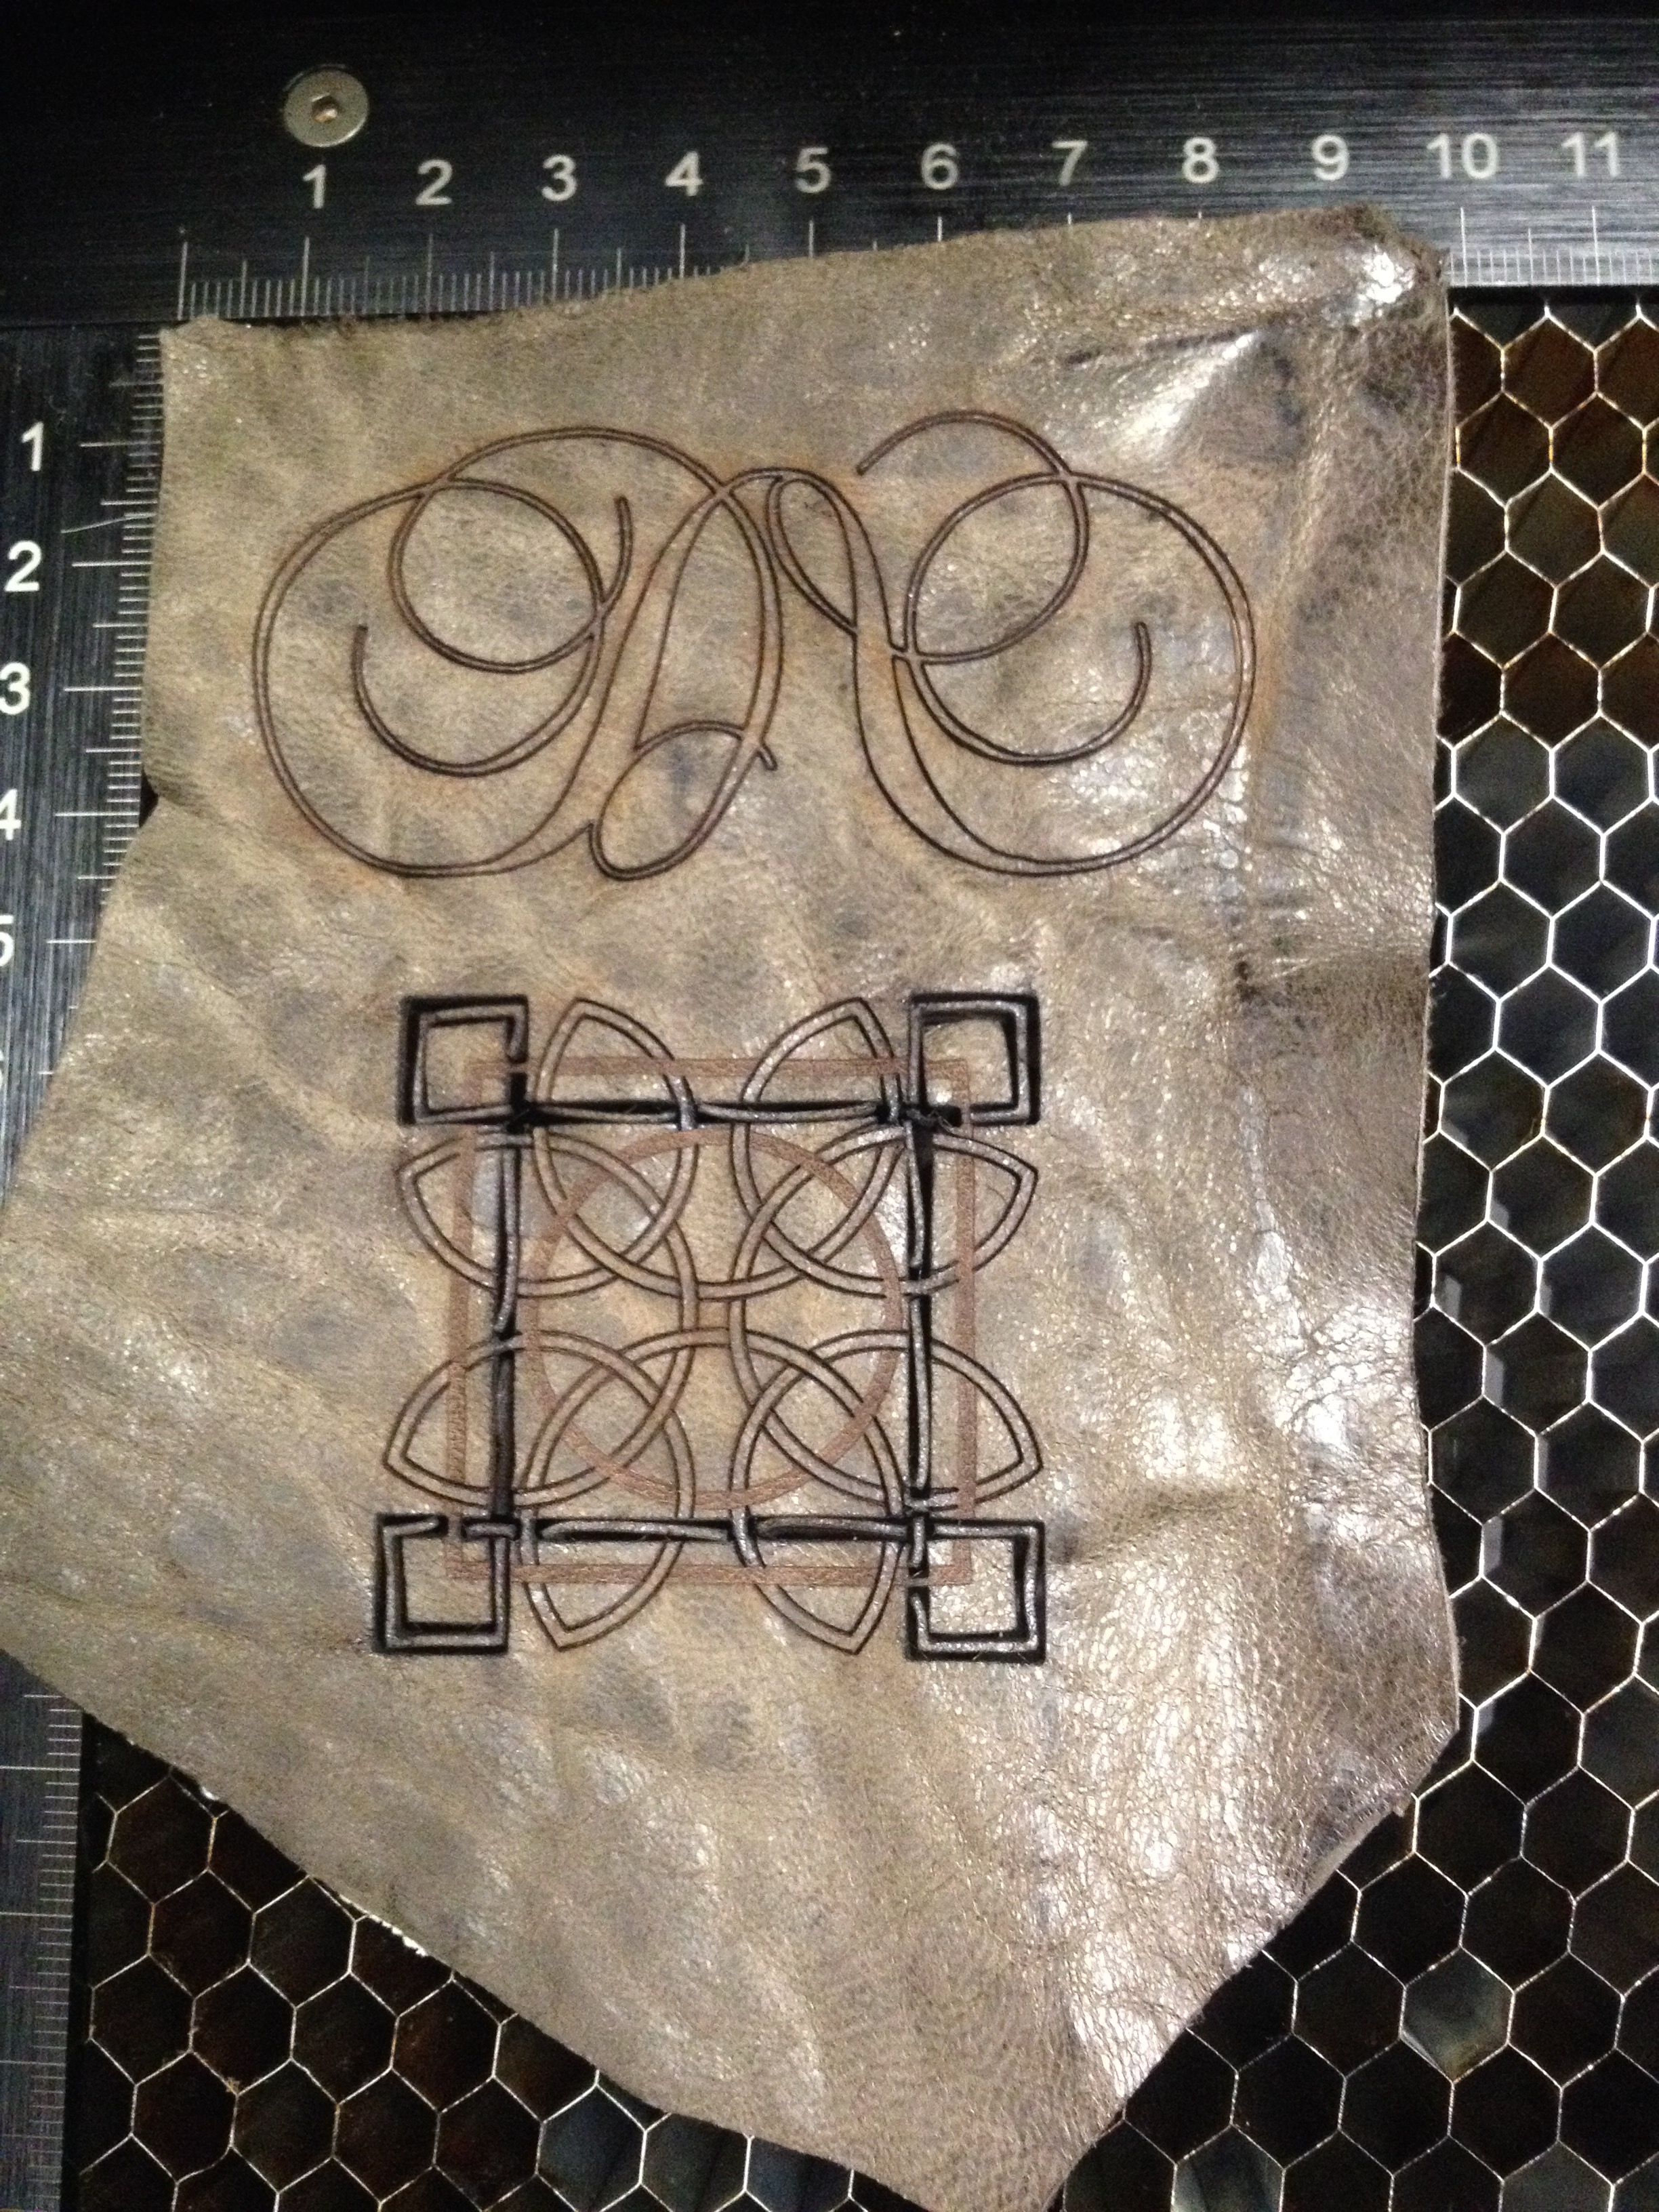
Leather:
- Thickness: 1mm
- Raster: +20
- Vector: 0
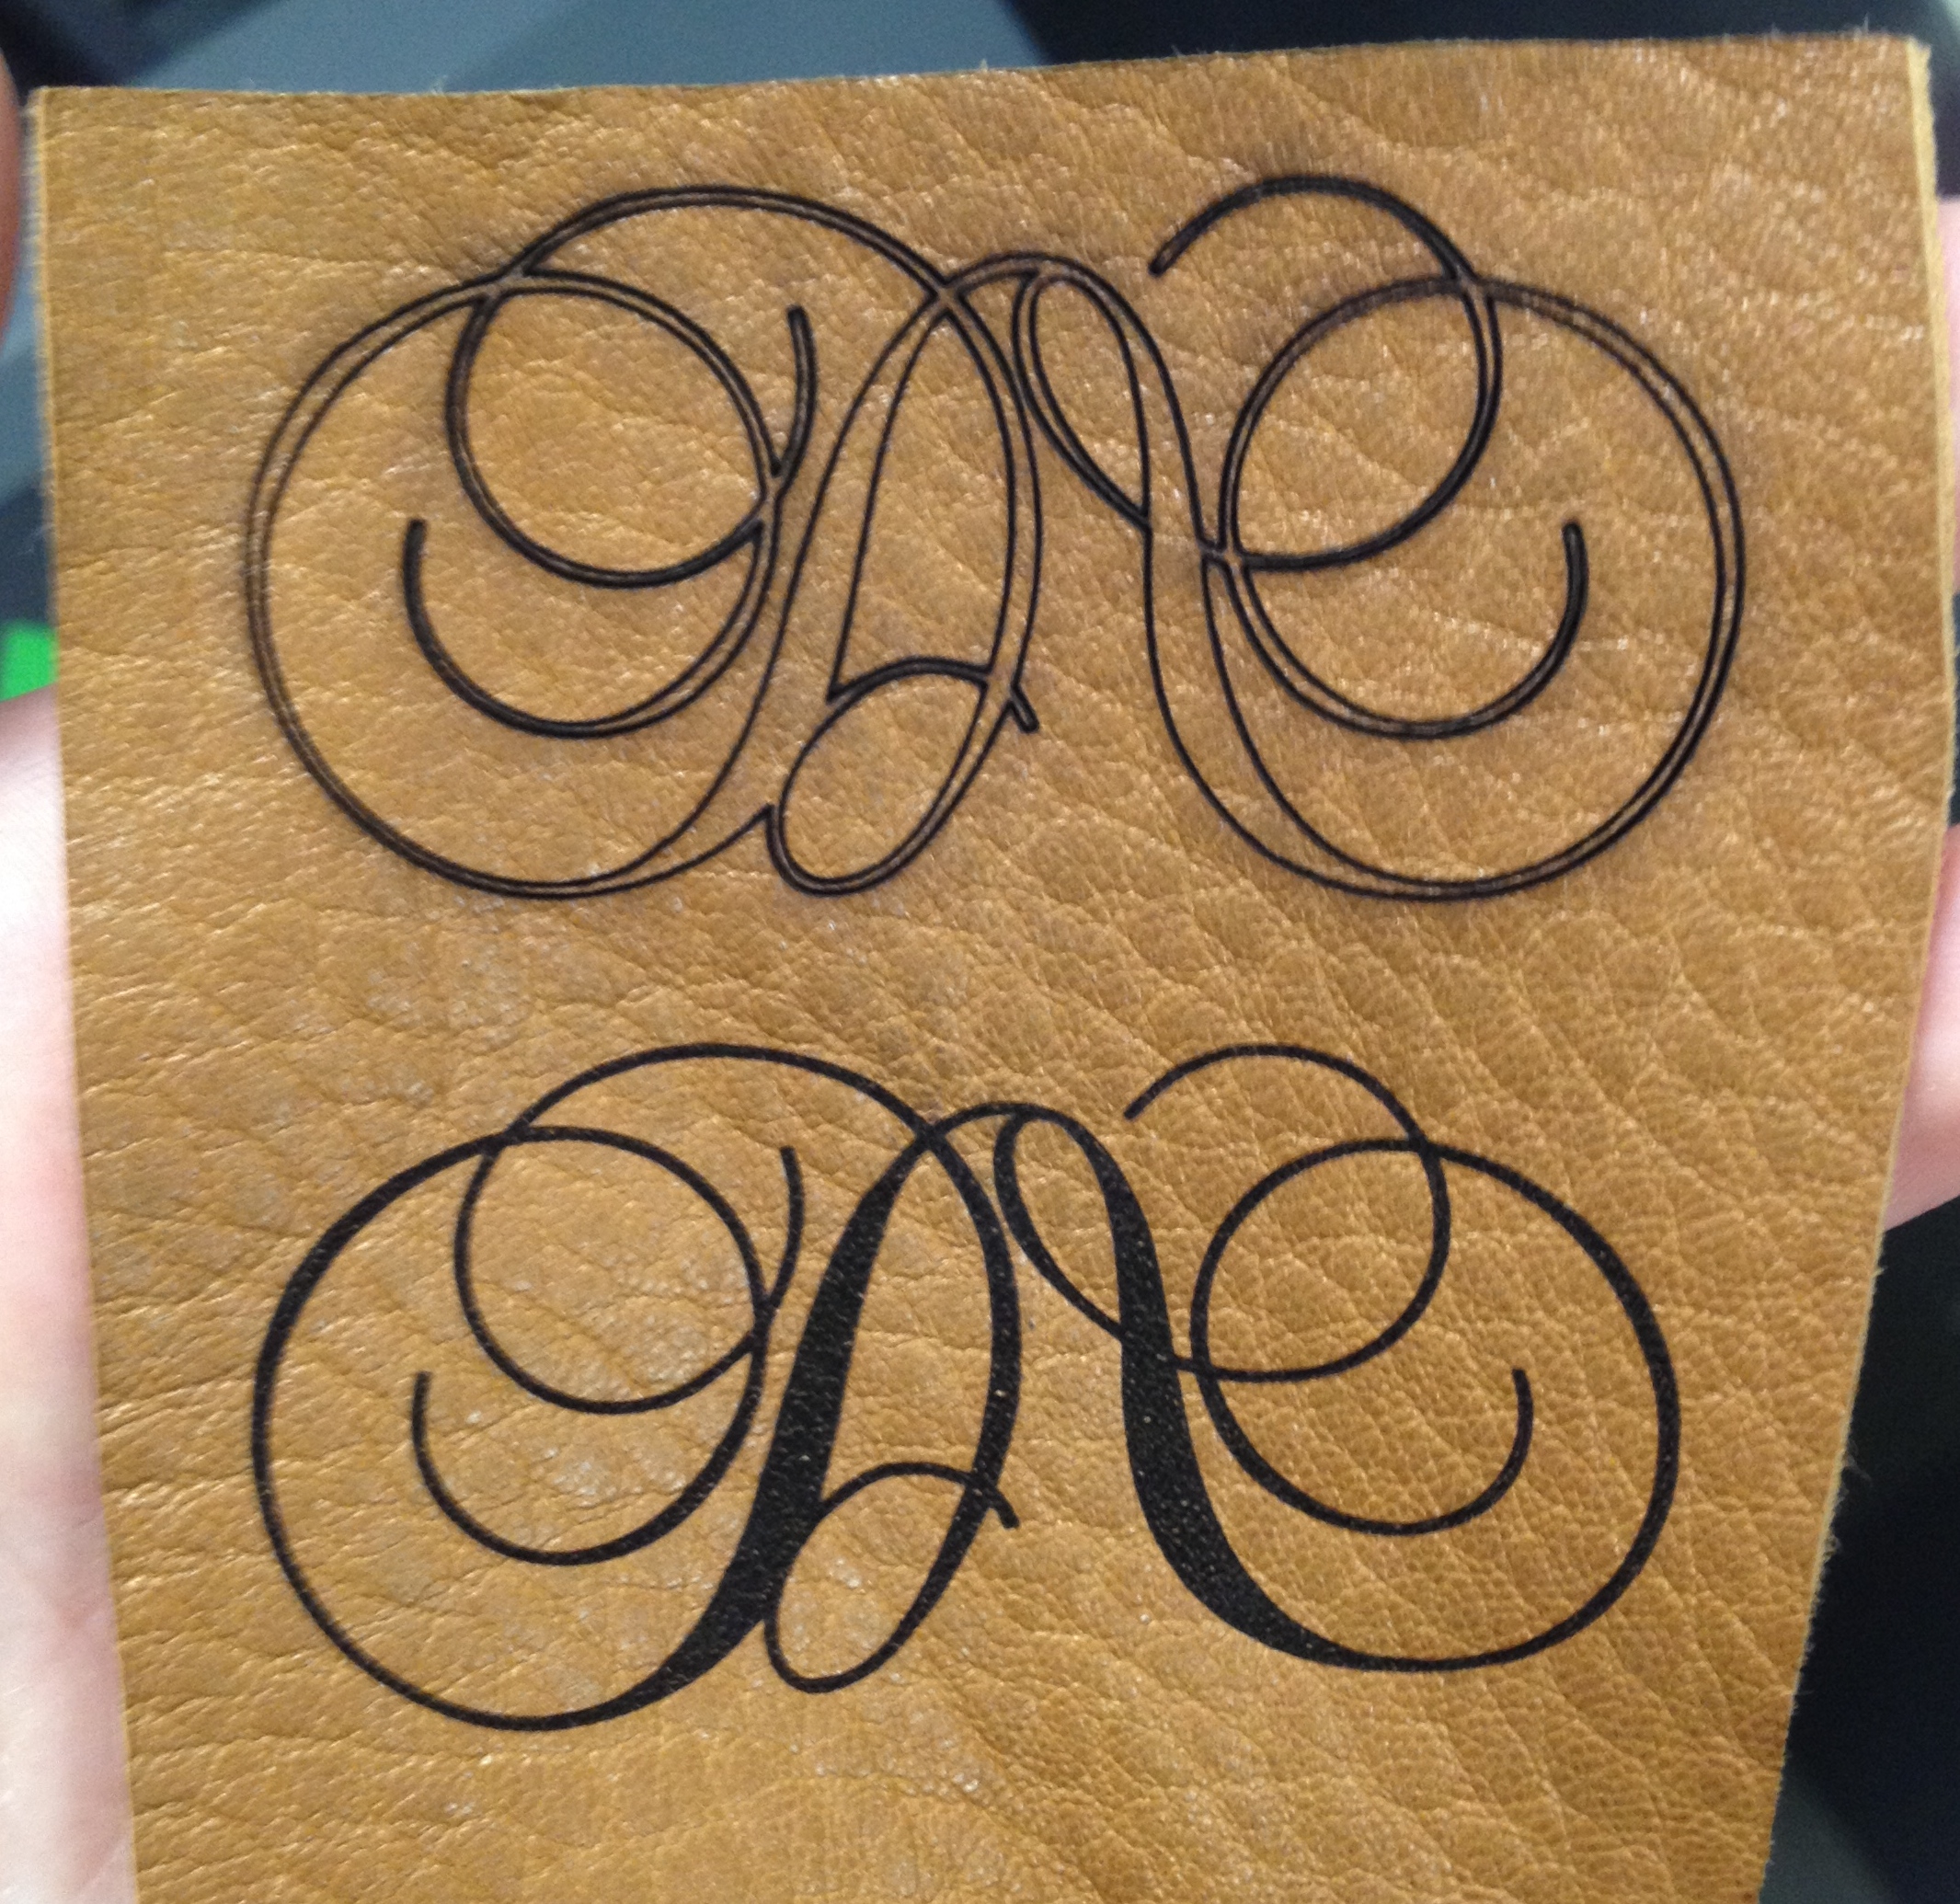
Leather:
- Thickness: 1.30mm
- Raster: +30
- Vector: +10
Cotton Silk (we used the settings for Copier Paper):
- Thickness: 0.02mm, we used 0.2mm
- Raster: 0
- Vector: 0