
If you are lucky enough to have access to a laser, you may be overwhelmed by all of the possibilities and not know where to start.
Basically, you need two things: a file and a few materials to play with.
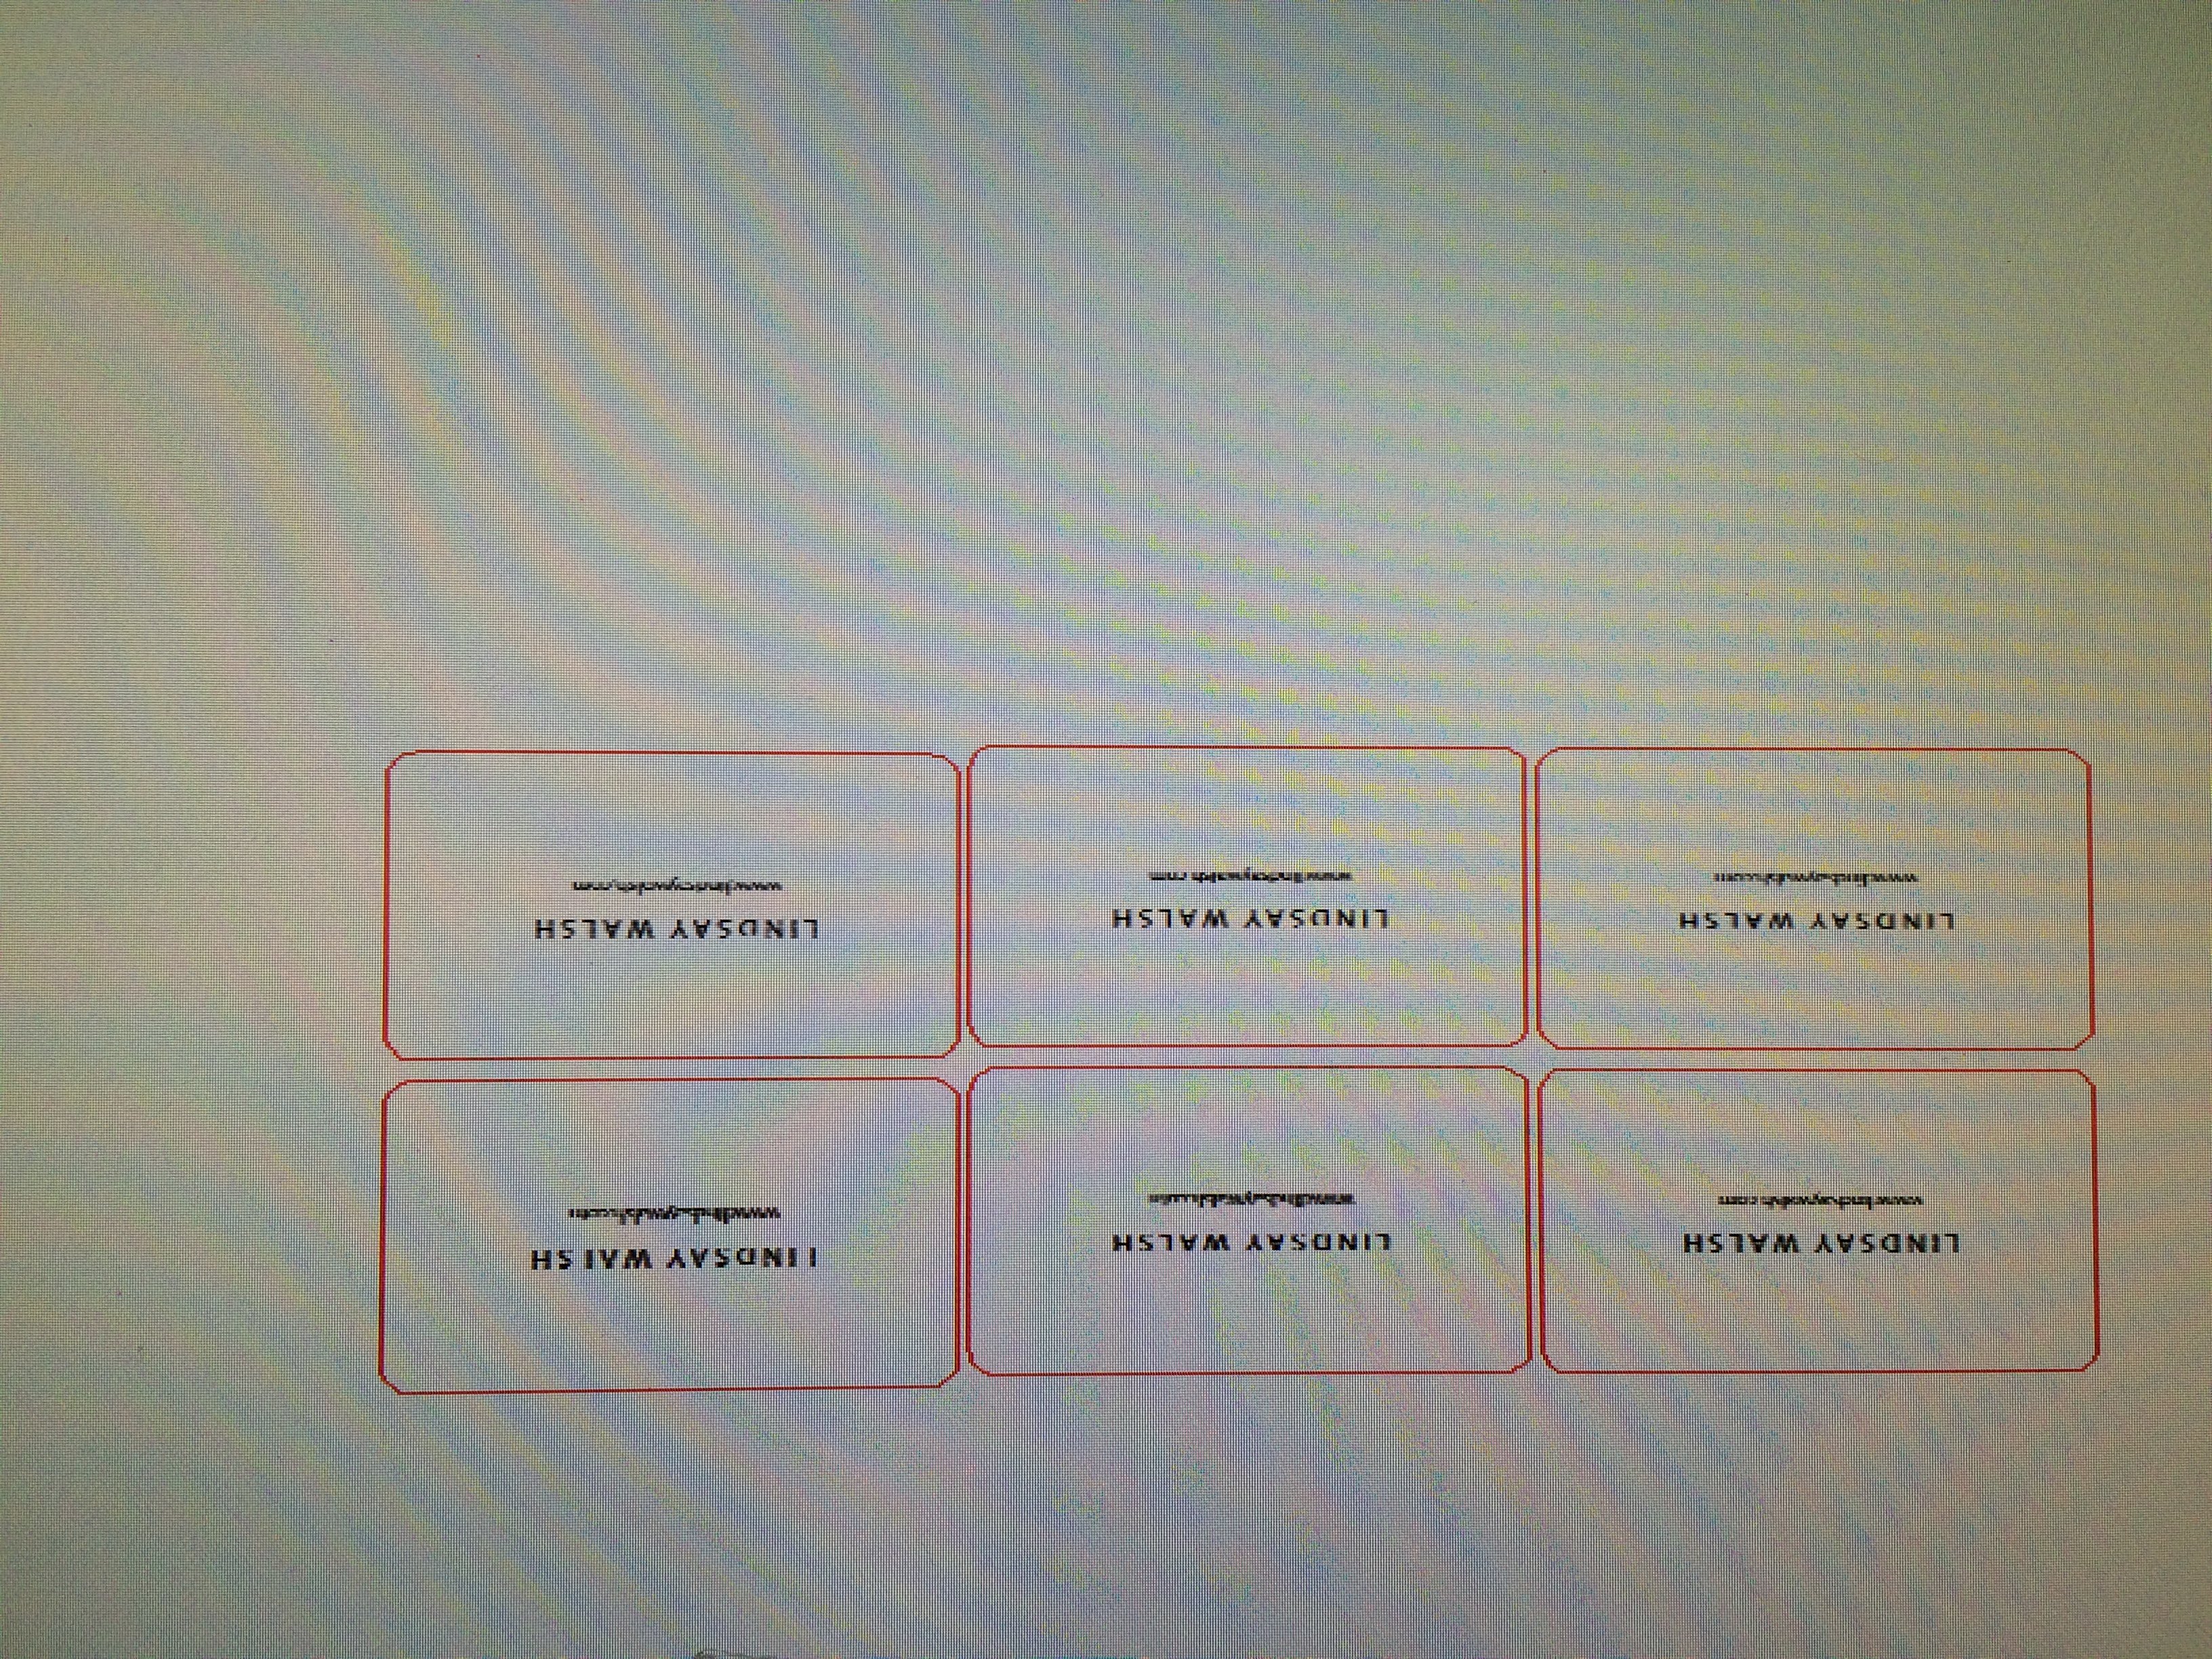
Preparing your file in Adobe Illustrator is relatively easy. You begin with a pre-prepared template that uses only 3 colors: red indicates a cut line, blue indicates a vector line (used for engraving outlines) and solid black indicates a raster area (used for larger spanses of engraving).
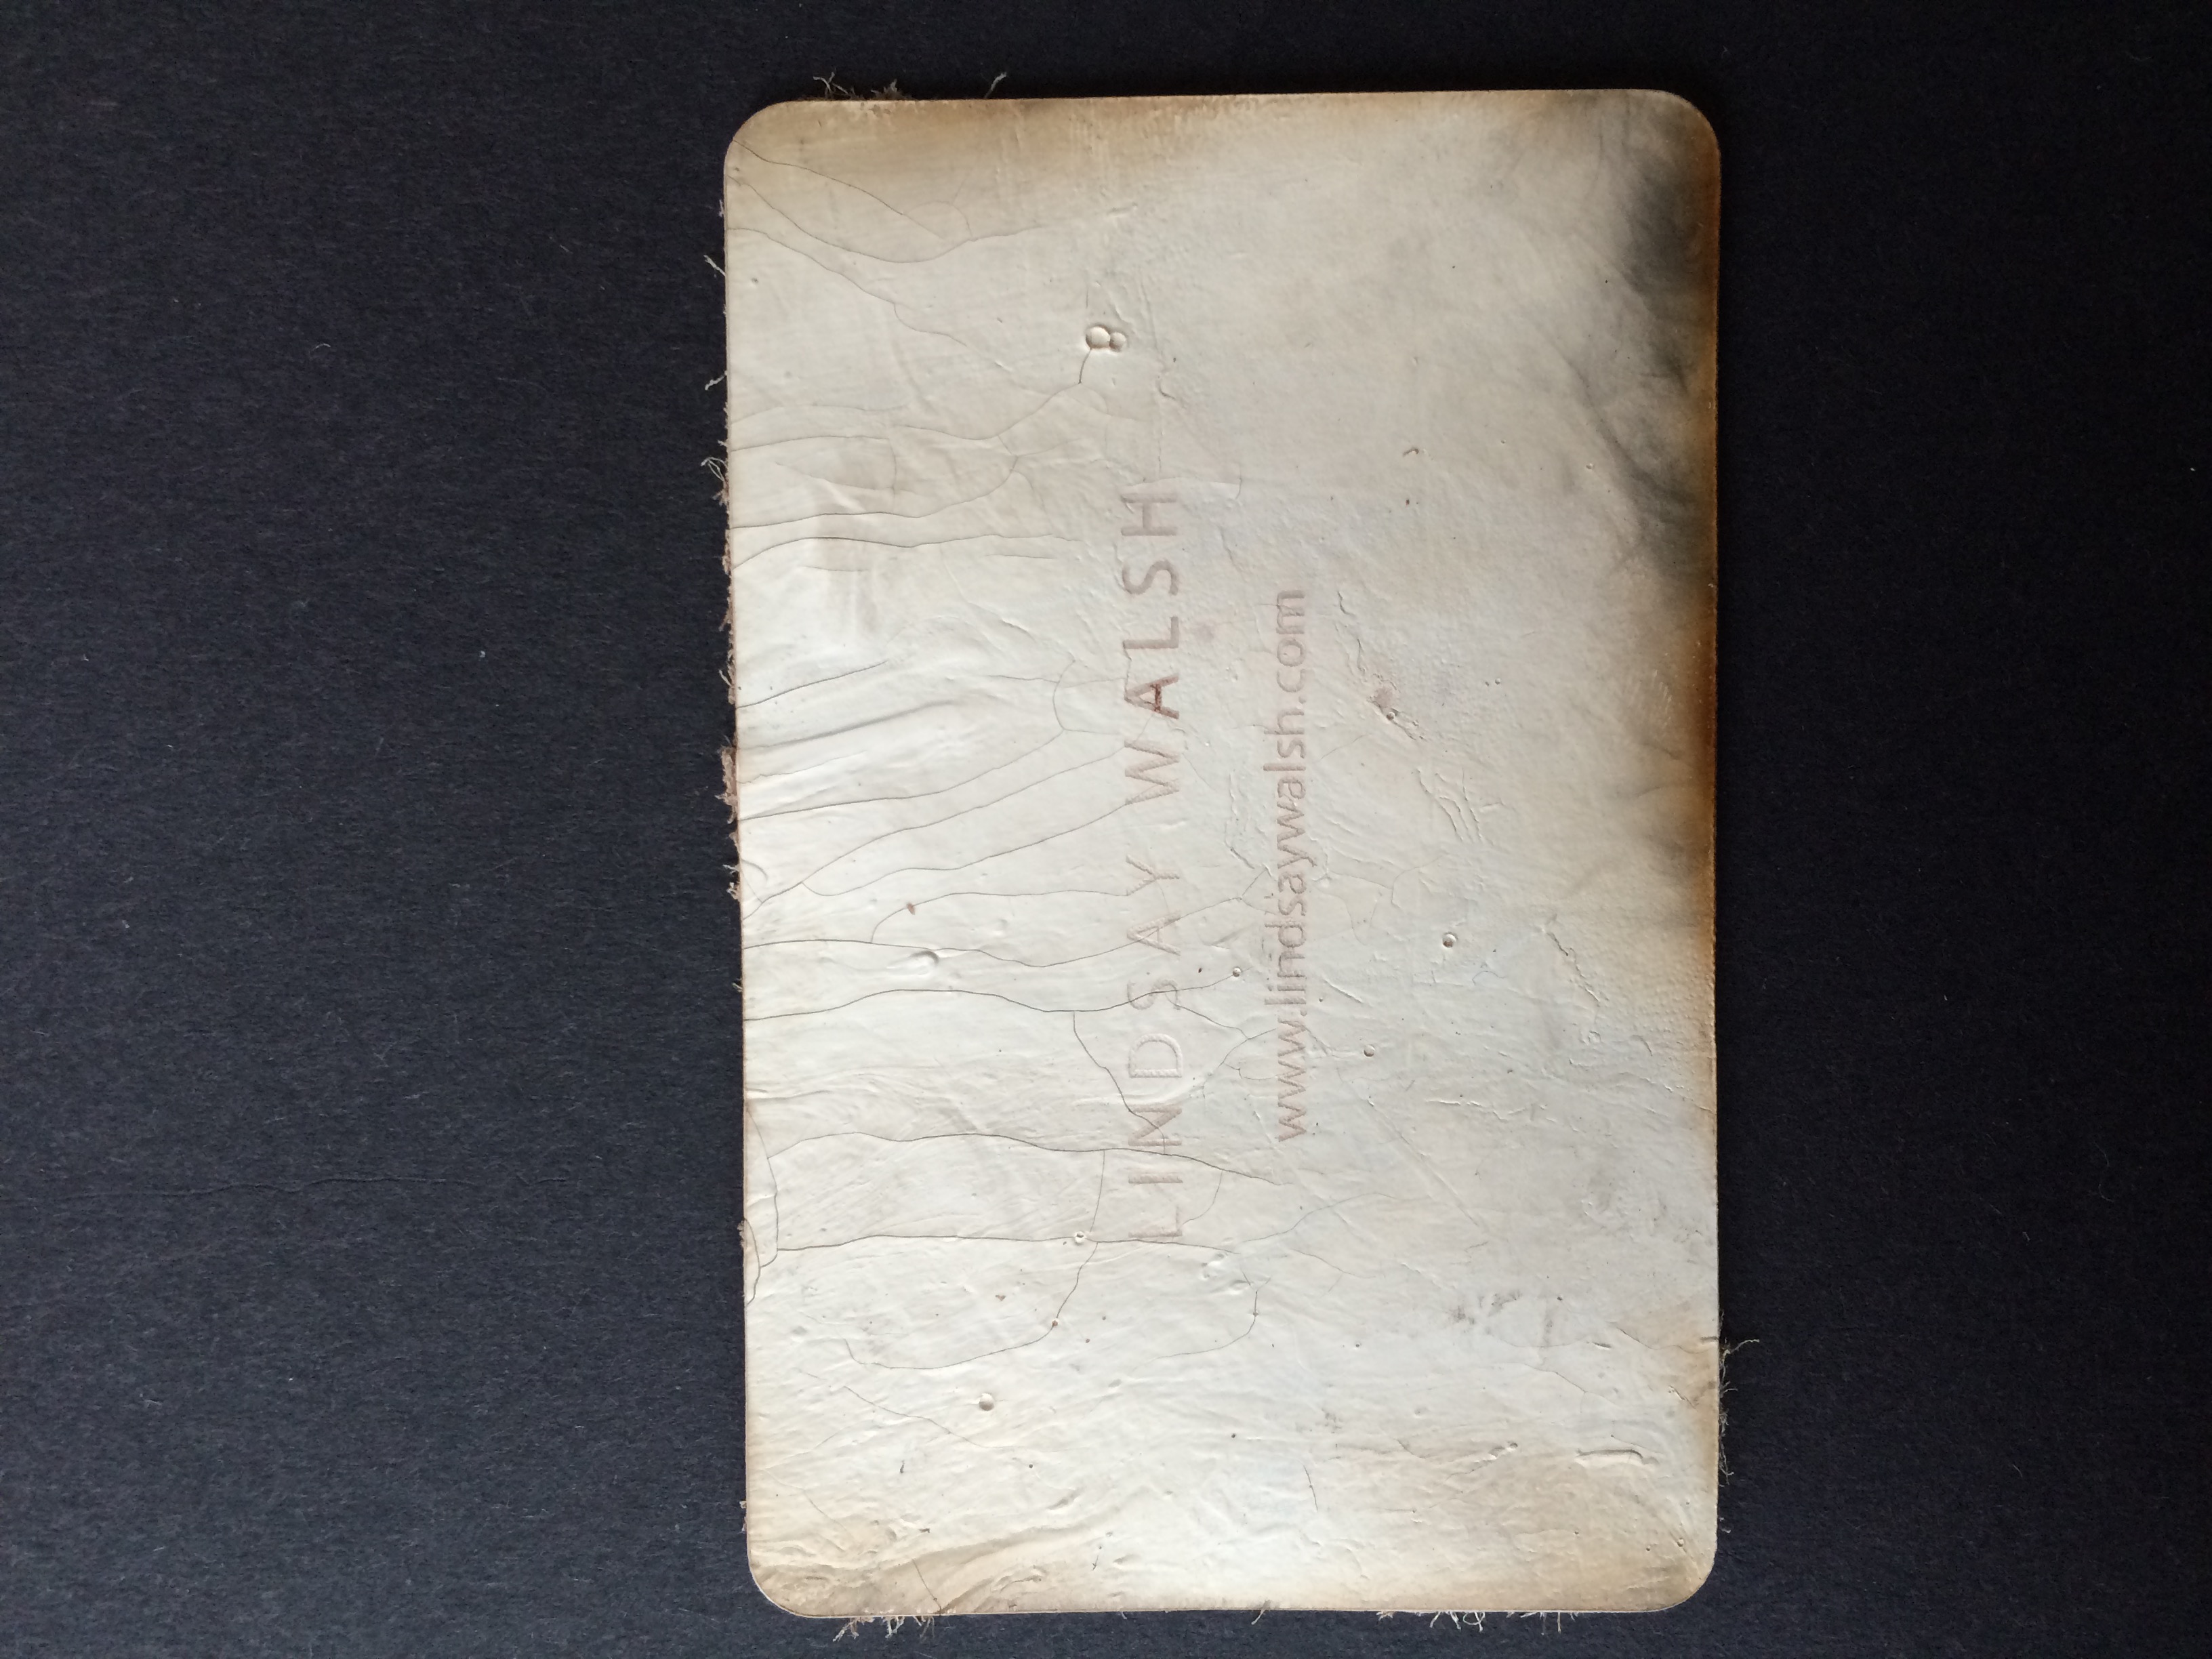
I elected to do a business card, so I used a red outline to indicate the border of the card where it would be cut, and a blue line to indicate my name and website address. I copied and pasted the file five times so that I could cut in bulk, and then I put the file onto a USB thumb drive and put it into the computer associated with the laser.
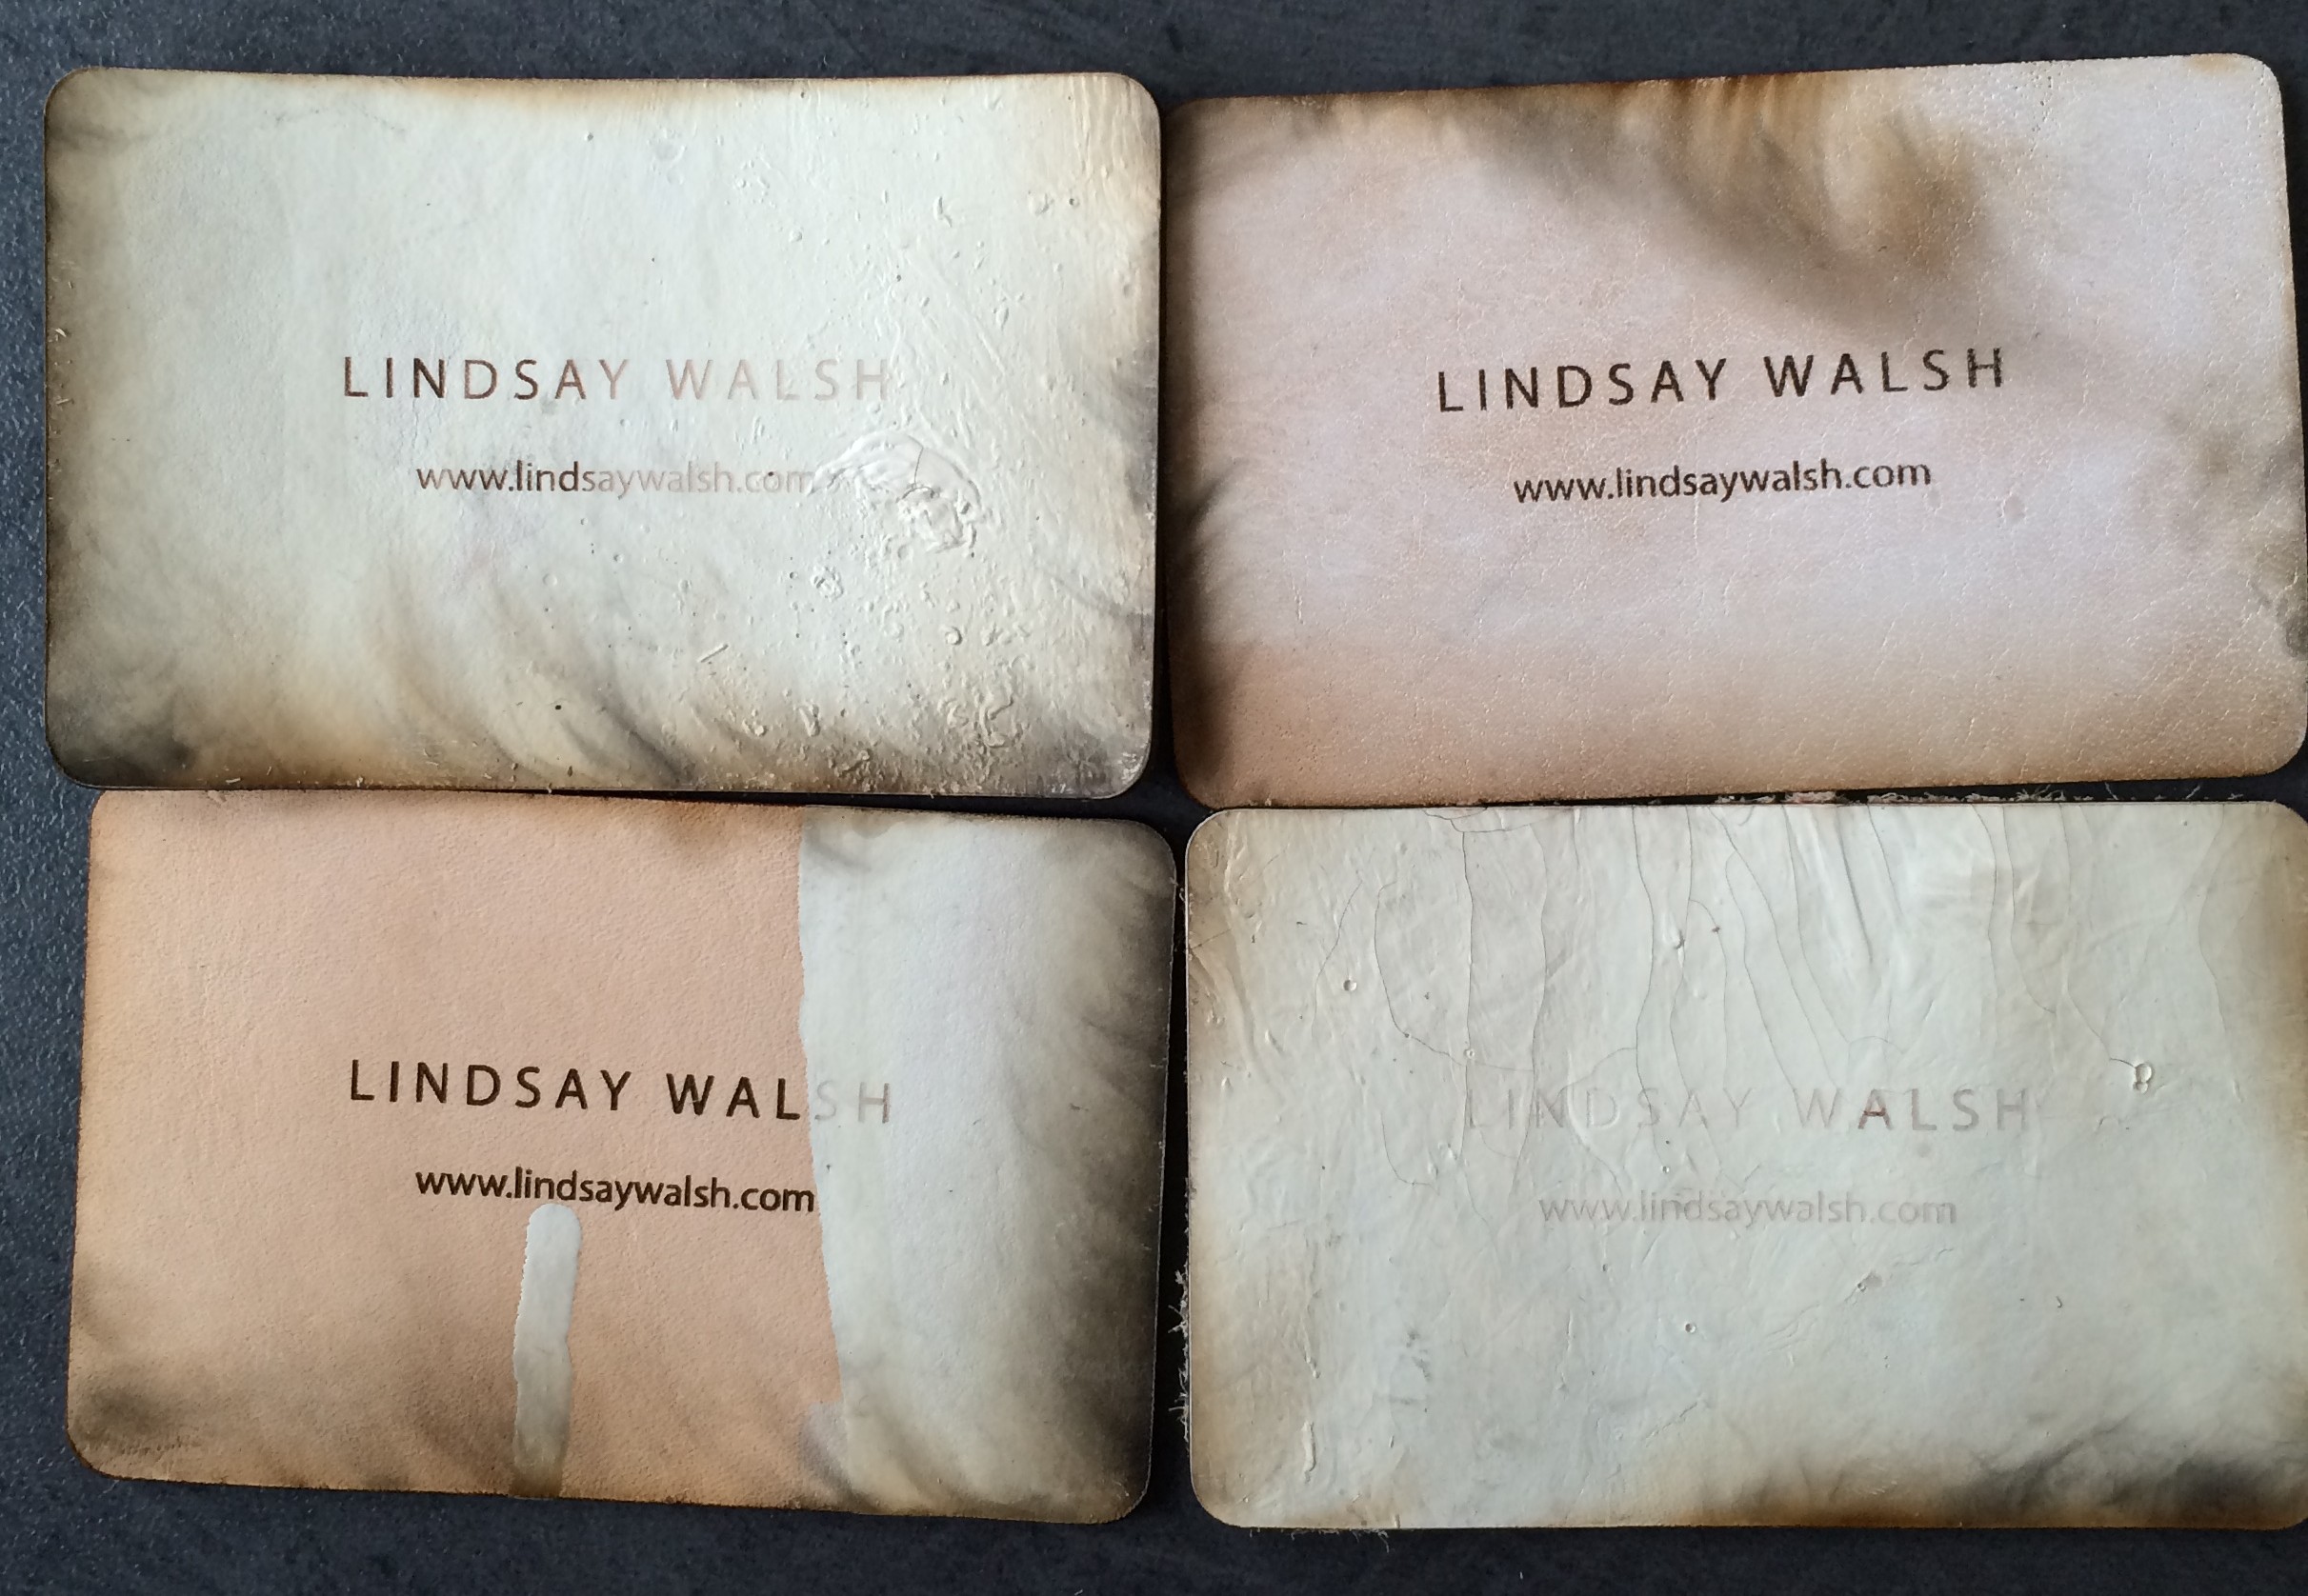
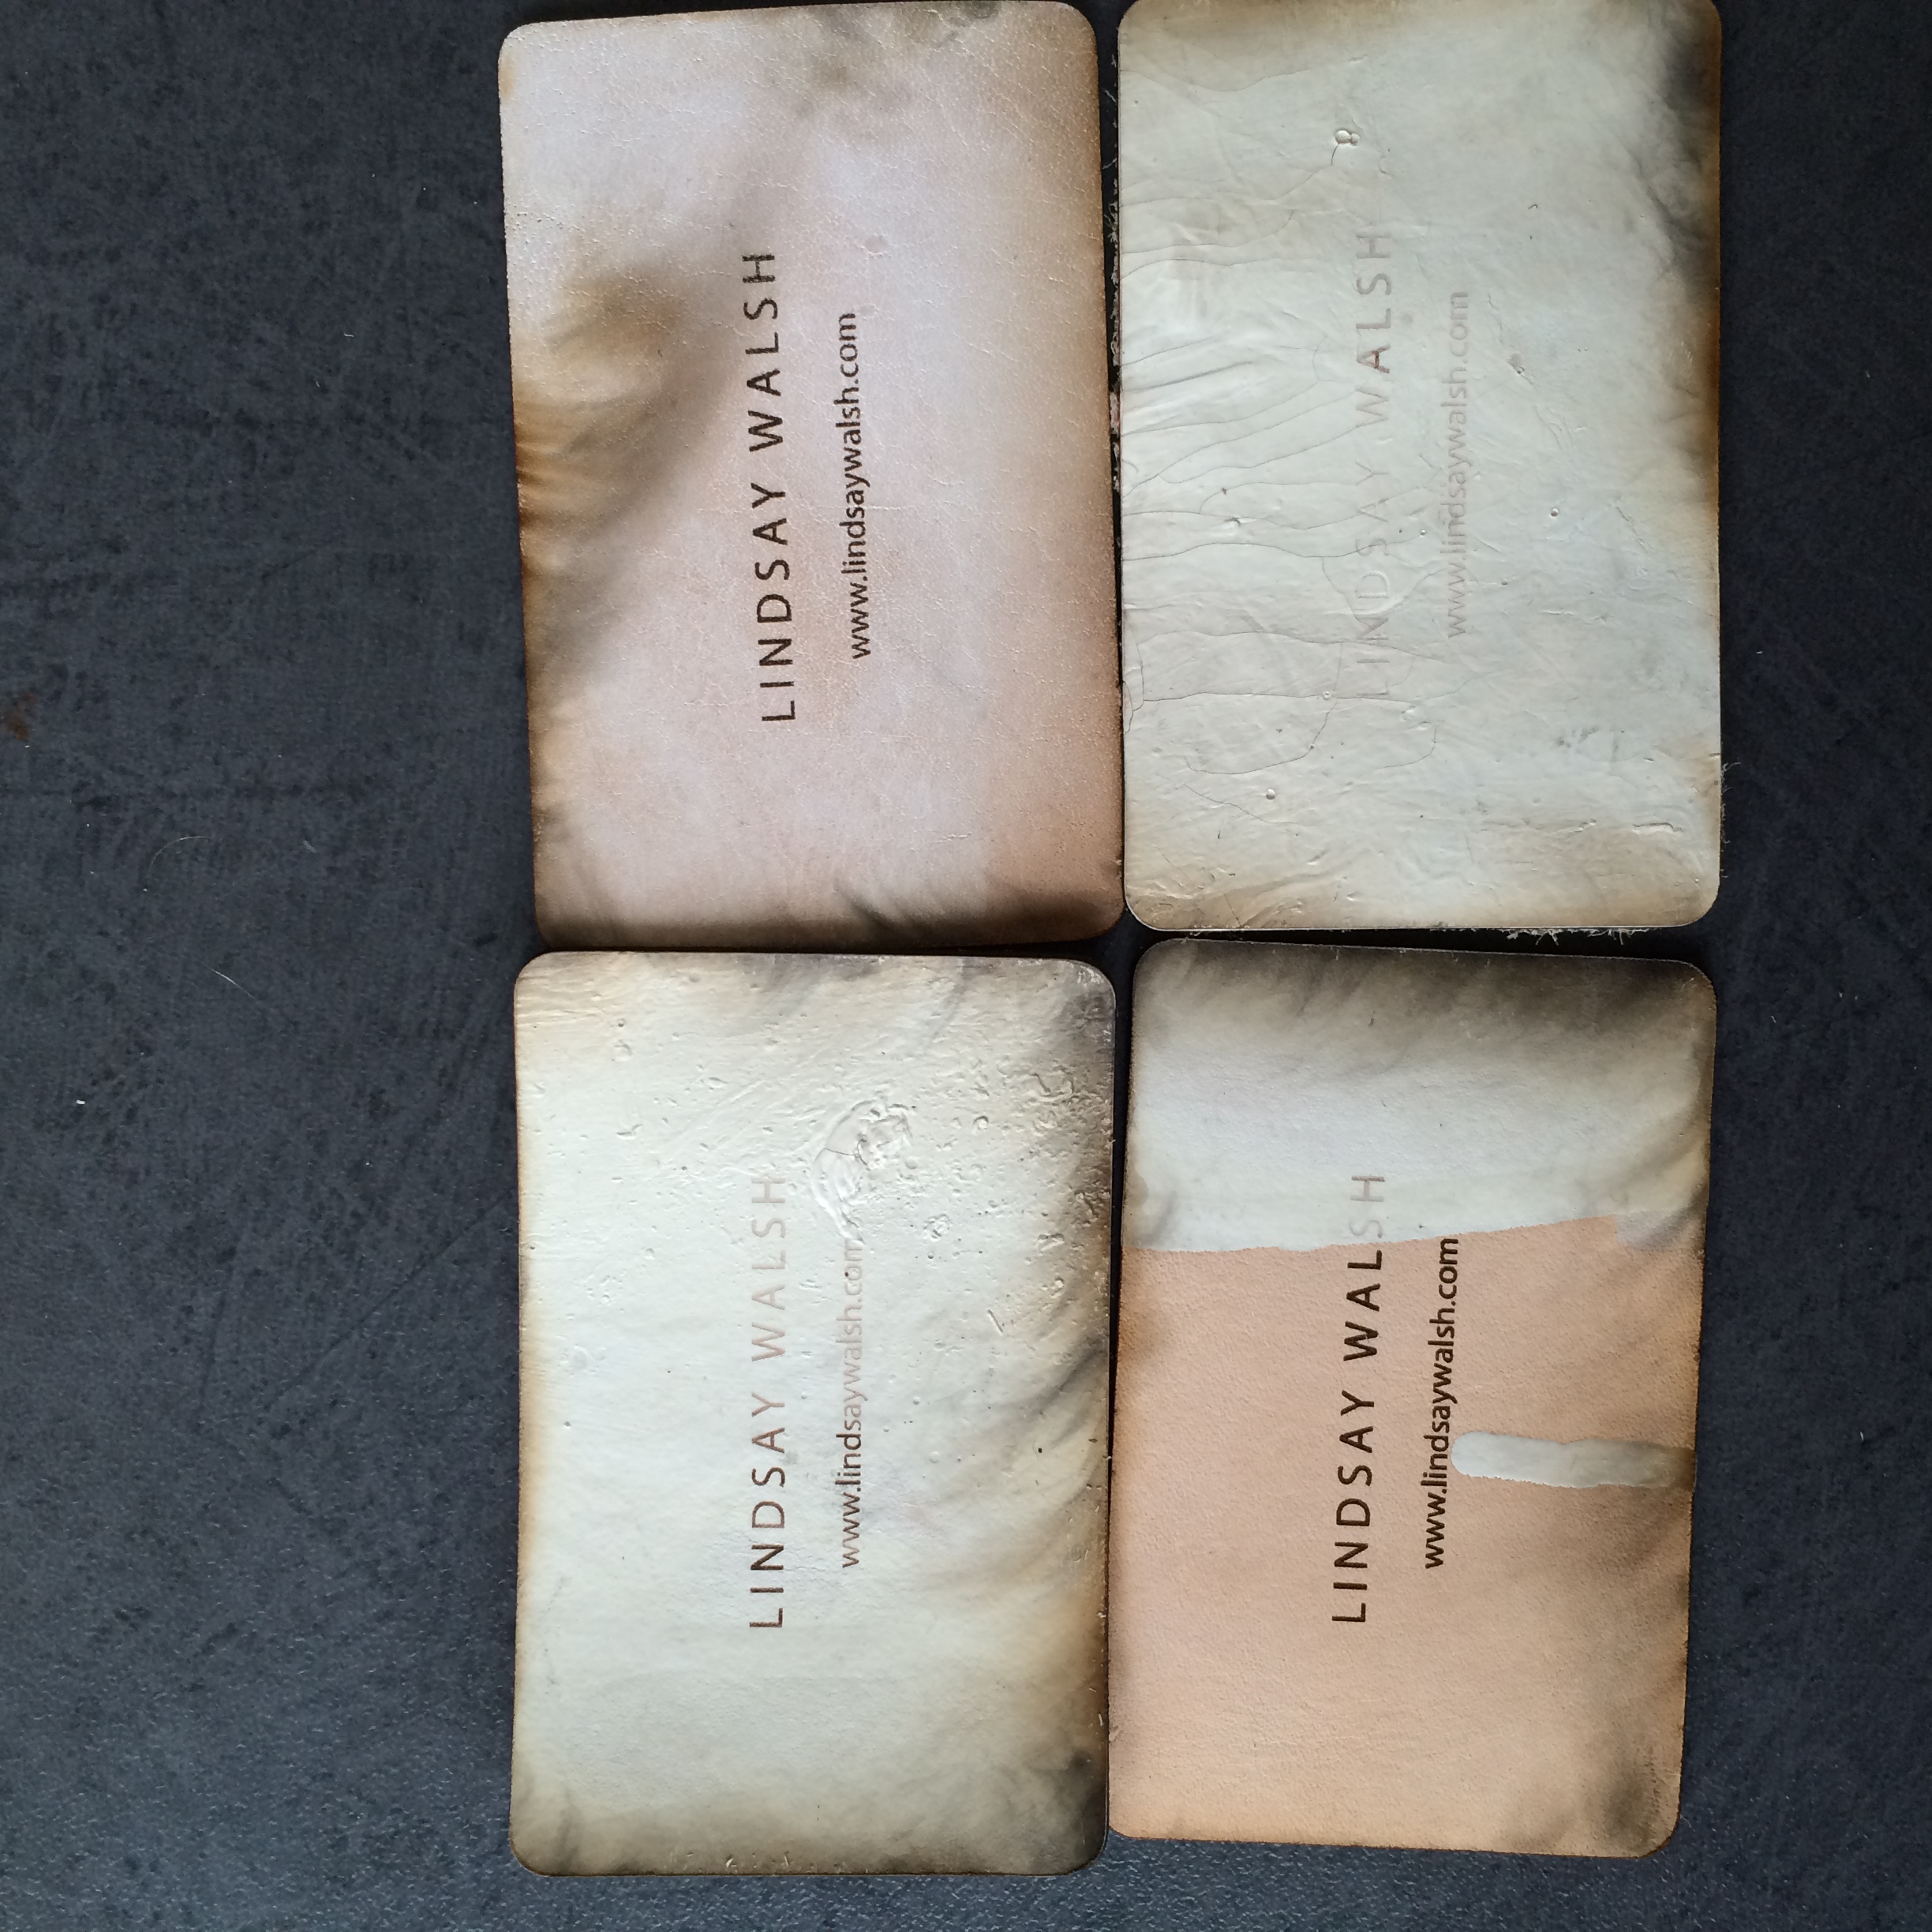
From there, I started playing with materials. I had a piece of undyed tan veg leather that I’d prepared with white ink and let dry for about 2 days, and I really wanted to play with the parts of the skin where the ink was making interesting textures, or wasn’t fully covering the leather.
Gauge the thickness of your material before putting it onto the laser bed. mine was 1.23 mm. Also be sure to tape down the edges of your material to the laser bed so that the material is as flat as it possibly can be– my leather was particularly wavy after it had been dyed.
Choose your material on the program (leather was listed as an option), be sure to input your material thickness, and position the laser using the laser’s software to the area of the laser bed that you’d like to work on. As I wanted to play with specific areas of my leather, this was particularly important to me. Be sure to check all edges of your file so that you can be sure that the laser never goes off to one side of your material.
Check your estimated time, close the laser, and hit play.
You can see the laser’s progress on the screen. The first thing will be any engraving, which you can see in the video posted below:
https://www.dropbox.com/s/29crmi65pj2kgxl/Video%2020-10-2014%2011%2036%2035.mov?dl=0
The final step is the cut, as seen in the video below:
https://www.dropbox.com/s/5m4oqfgvitp9j75/Video%2020-10-2014%2011%2043%2039.mov?dl=0
My final results were interesting, because the ink and the leather reacted differently to the laser engraving, making my font show up in two colors on some of my cards. The ink also stained a great deal during some of the cuts, which in the end gave some of the cards an interesting texture. Using a pre-prepared material also allowed me to get unique results on each card.
Here are a fre of my twelve examples:
BONUS: here is a bonus experiment of the laser cutting a super thin nylon polyamide:
https://www.dropbox.com/s/khknjzcfuhh8mkv/Video%2020-10-2014%2011%2059%2042.mov?dl=0