
Thesis Collection Accessory.
LEARNING OBJECTIVES:
Software:
-Rhino
-Makerbot
-Laser cutter print program
-3 dimensional model making
-Illustrator, adapted for laser cutter
CONCEPT:
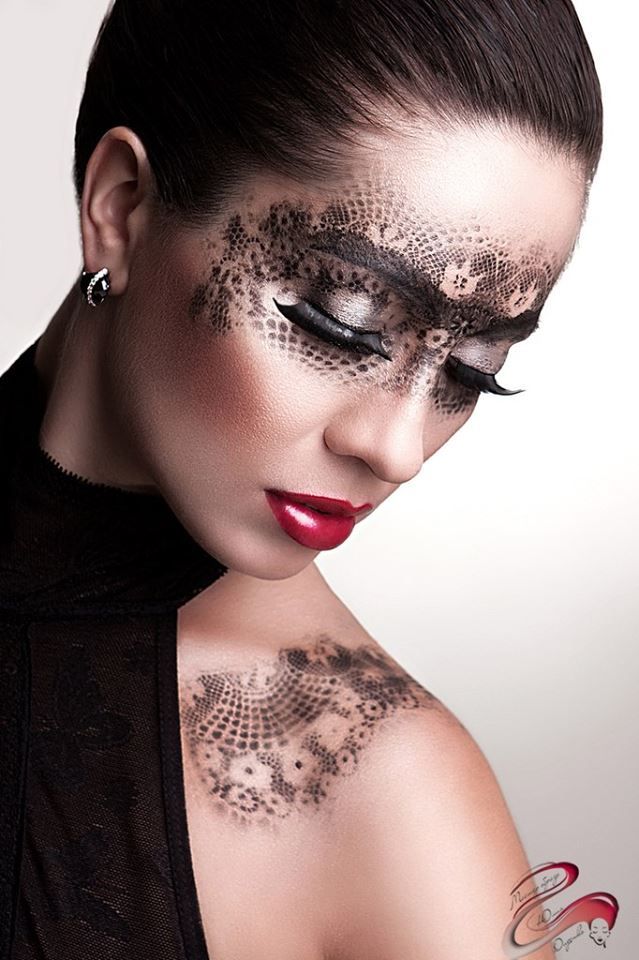
I love lace. From the beginning, I knew I wanted to have lace somehow in my thesis collection. Not just any lace though. I didn’t want floral, classic lace. So I tracked down the perfect lace. It is organic in nature and beautiful.

But after trial and error I found that lace on my garments just might be too over done, so I decided to incorporate it in the accessories. This is where my final project for Artisanal Tech began…
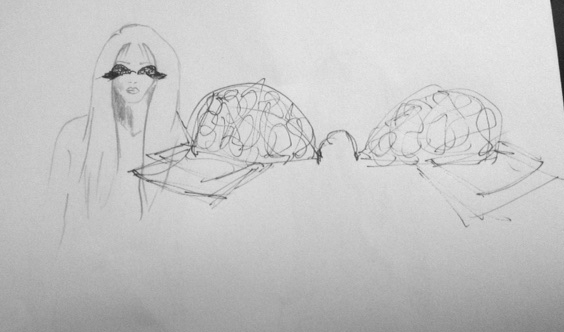
I was inspired by the oversized portrayal of women’s eyes and eyelids in cartoons and magazines.

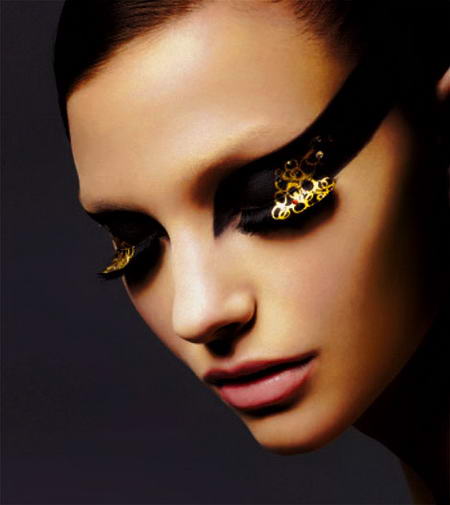
As well as the elegant idea of placing lace over the eyes. But I wanted to modernize it.

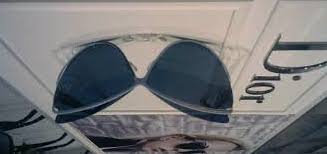
So I looked into sunglasses and futuristic glasses to find new shapes.


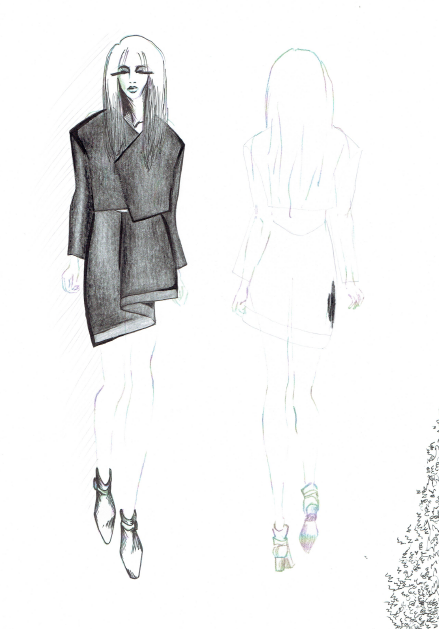
And then I started sketching, always keeping in mind the mood of my collection.
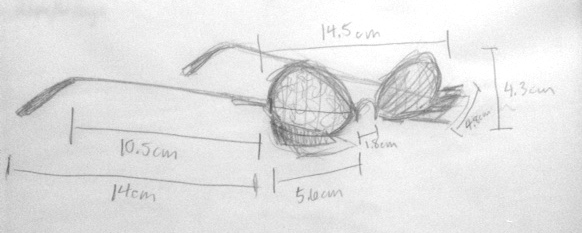
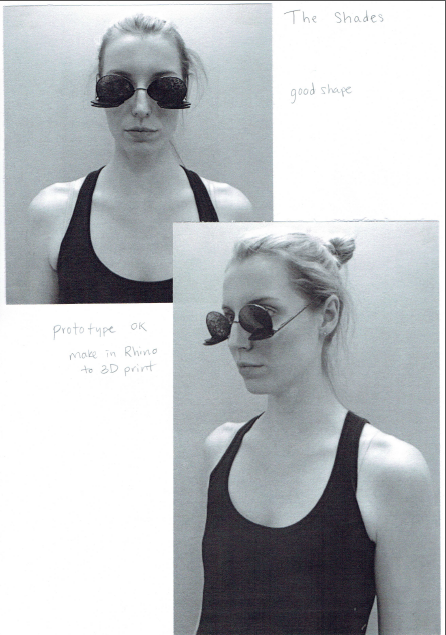
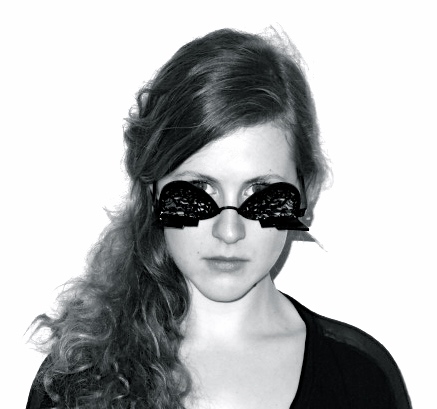
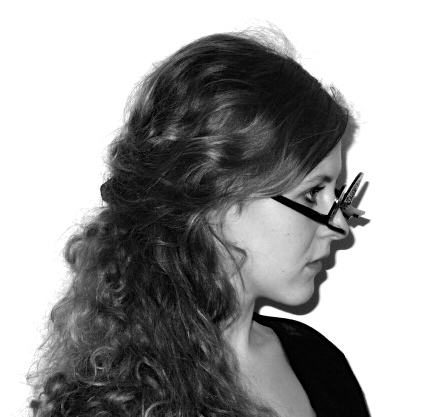
And decided to just go for it and try to make a prototype with a pair of old sunglasses.
I turned the sunglasses upside-down and used pliers to bend first the leg end shape into the right direction to go over the ear. Then the nose support into the shape I wanted it.
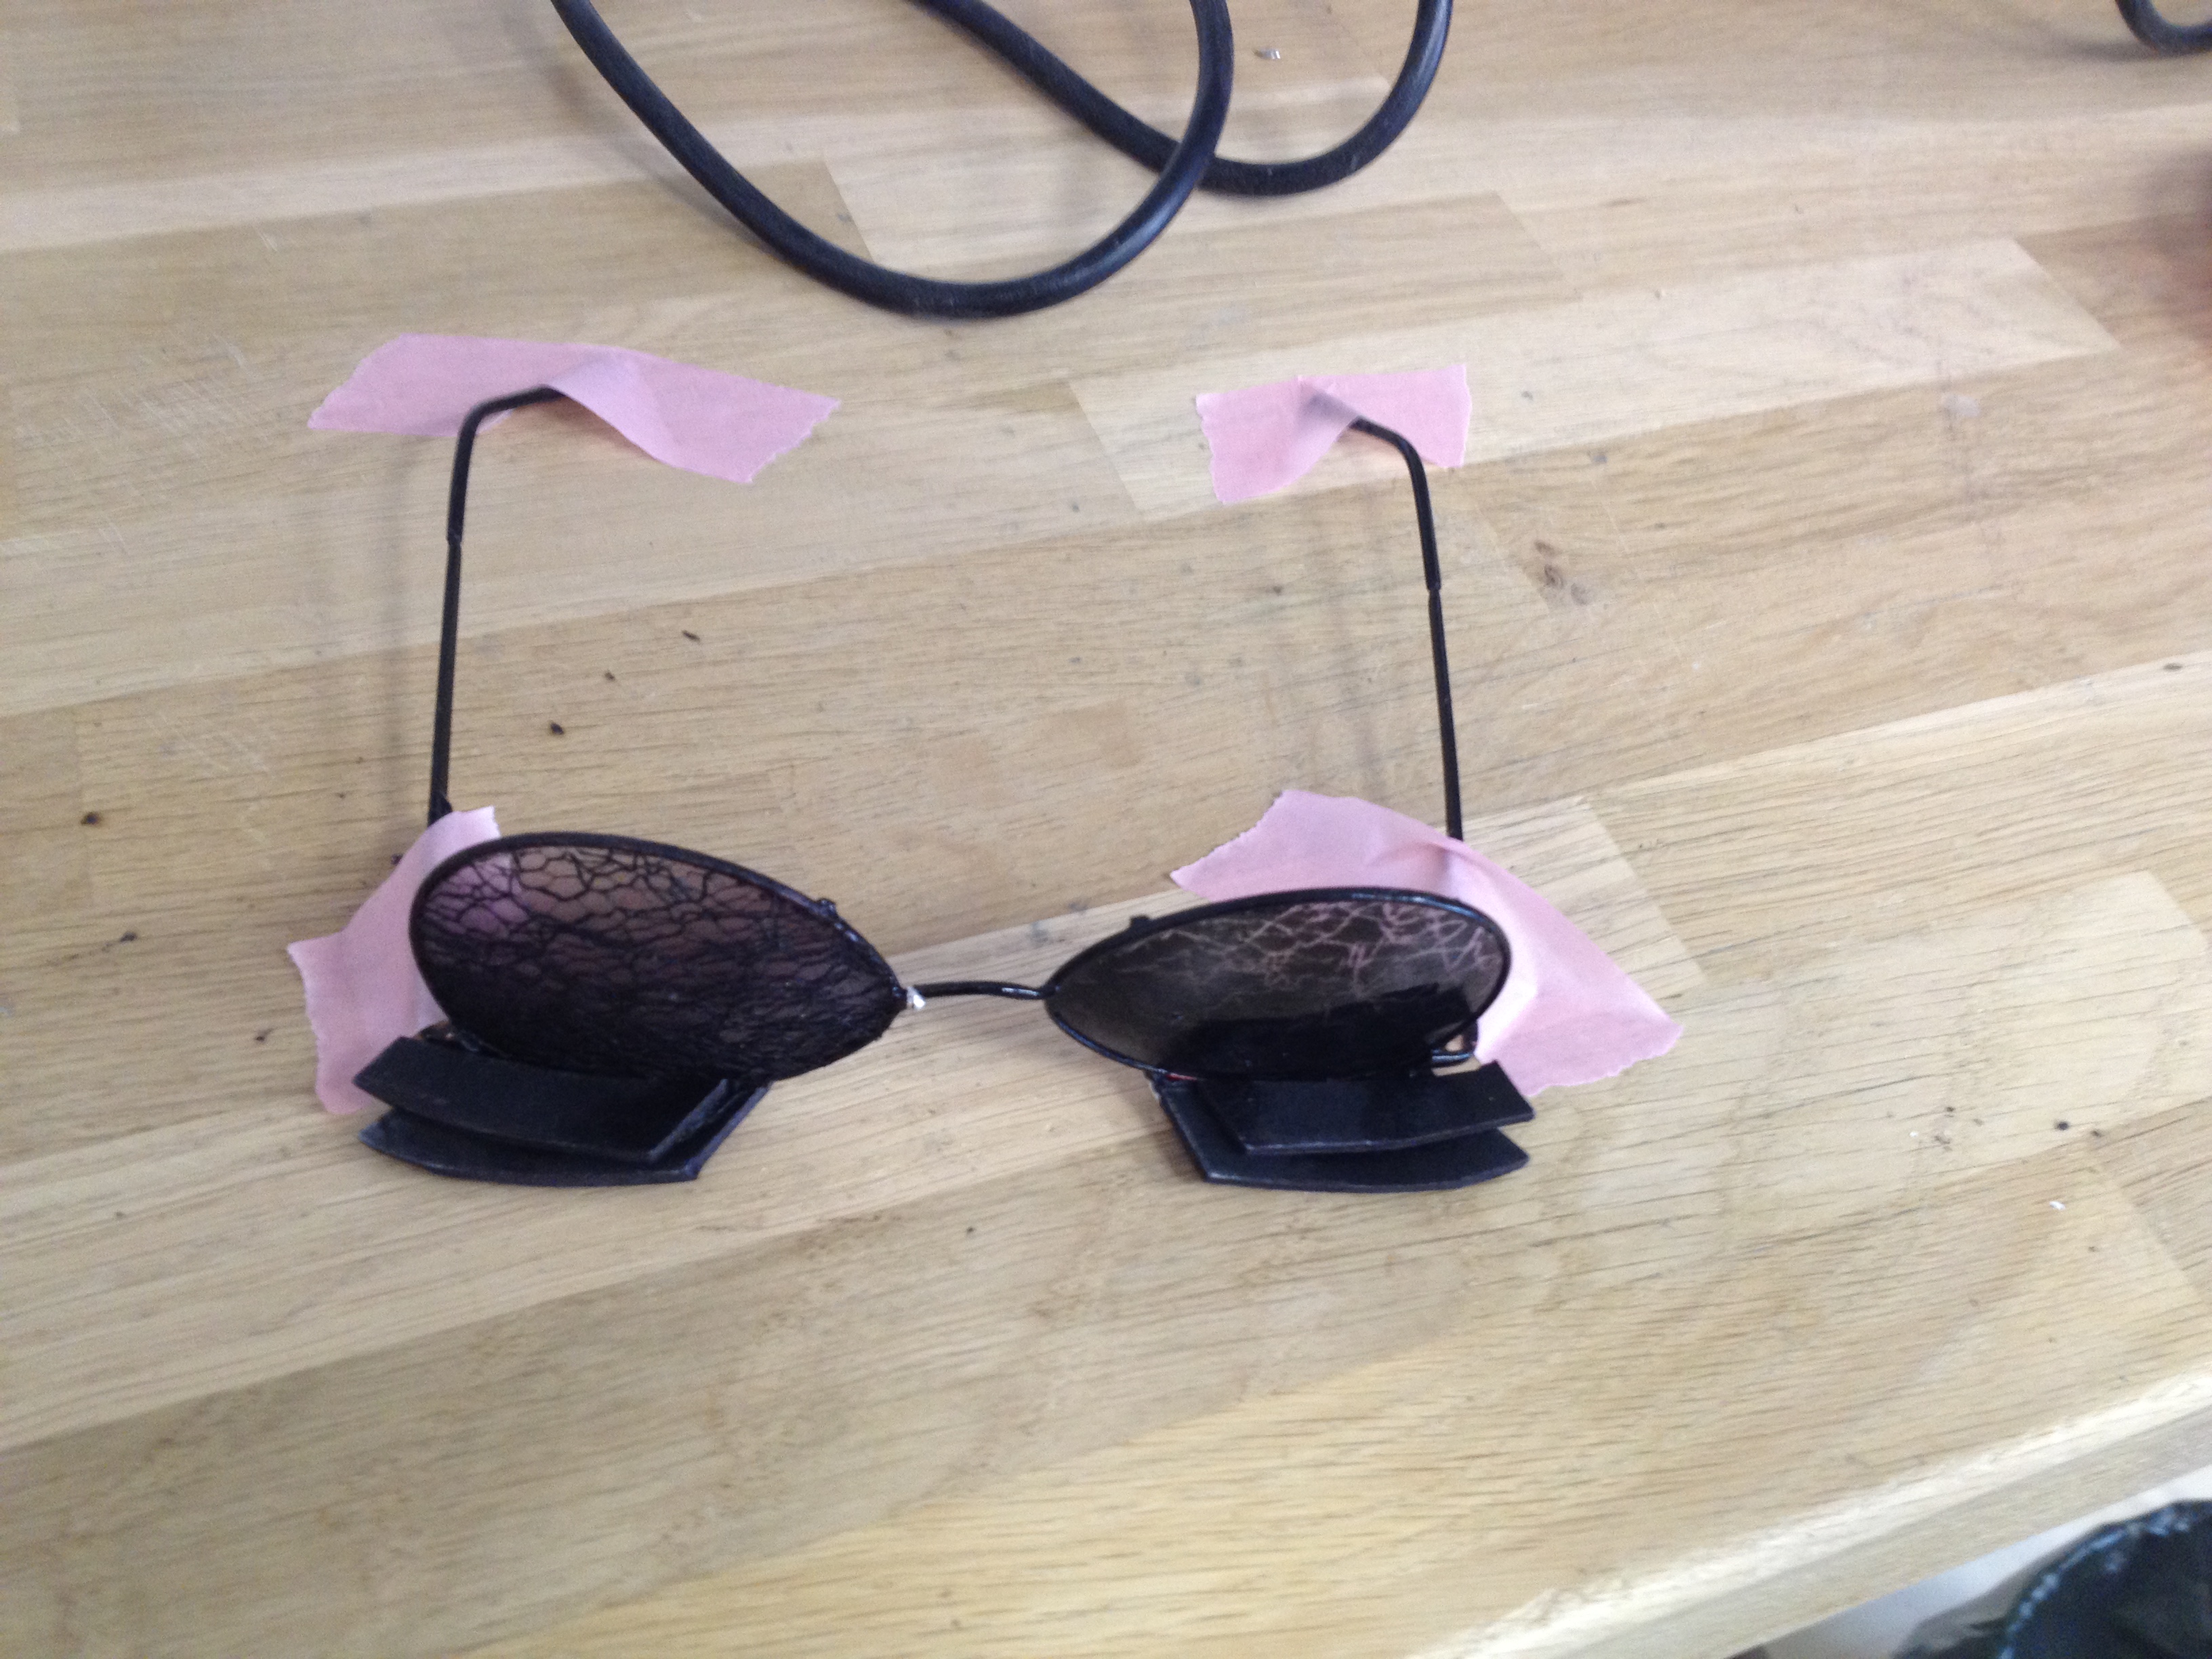
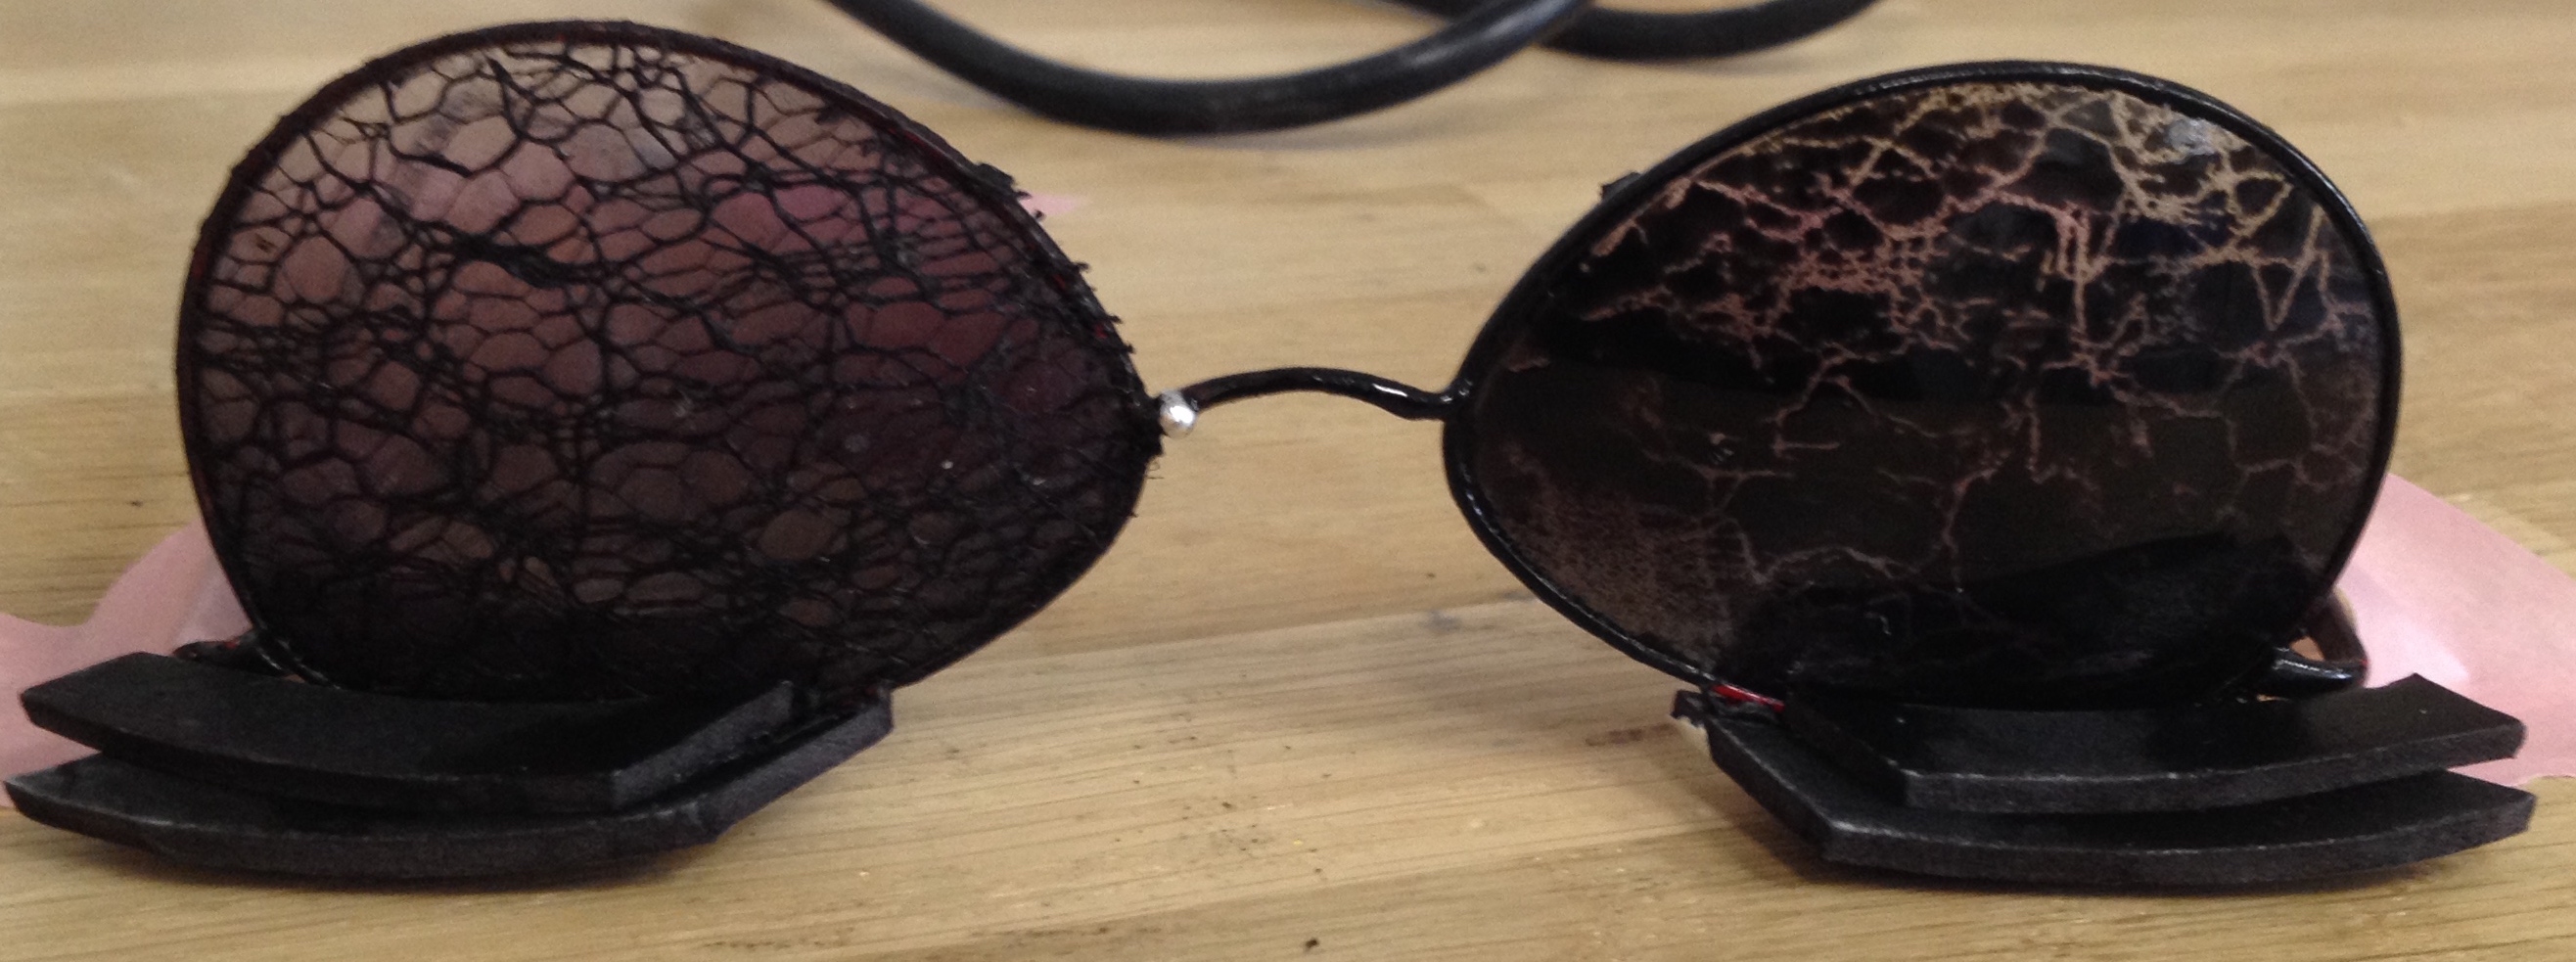
I cut, and shaped small foam paper pieces into my modernized eyelash and attached them to the lens.
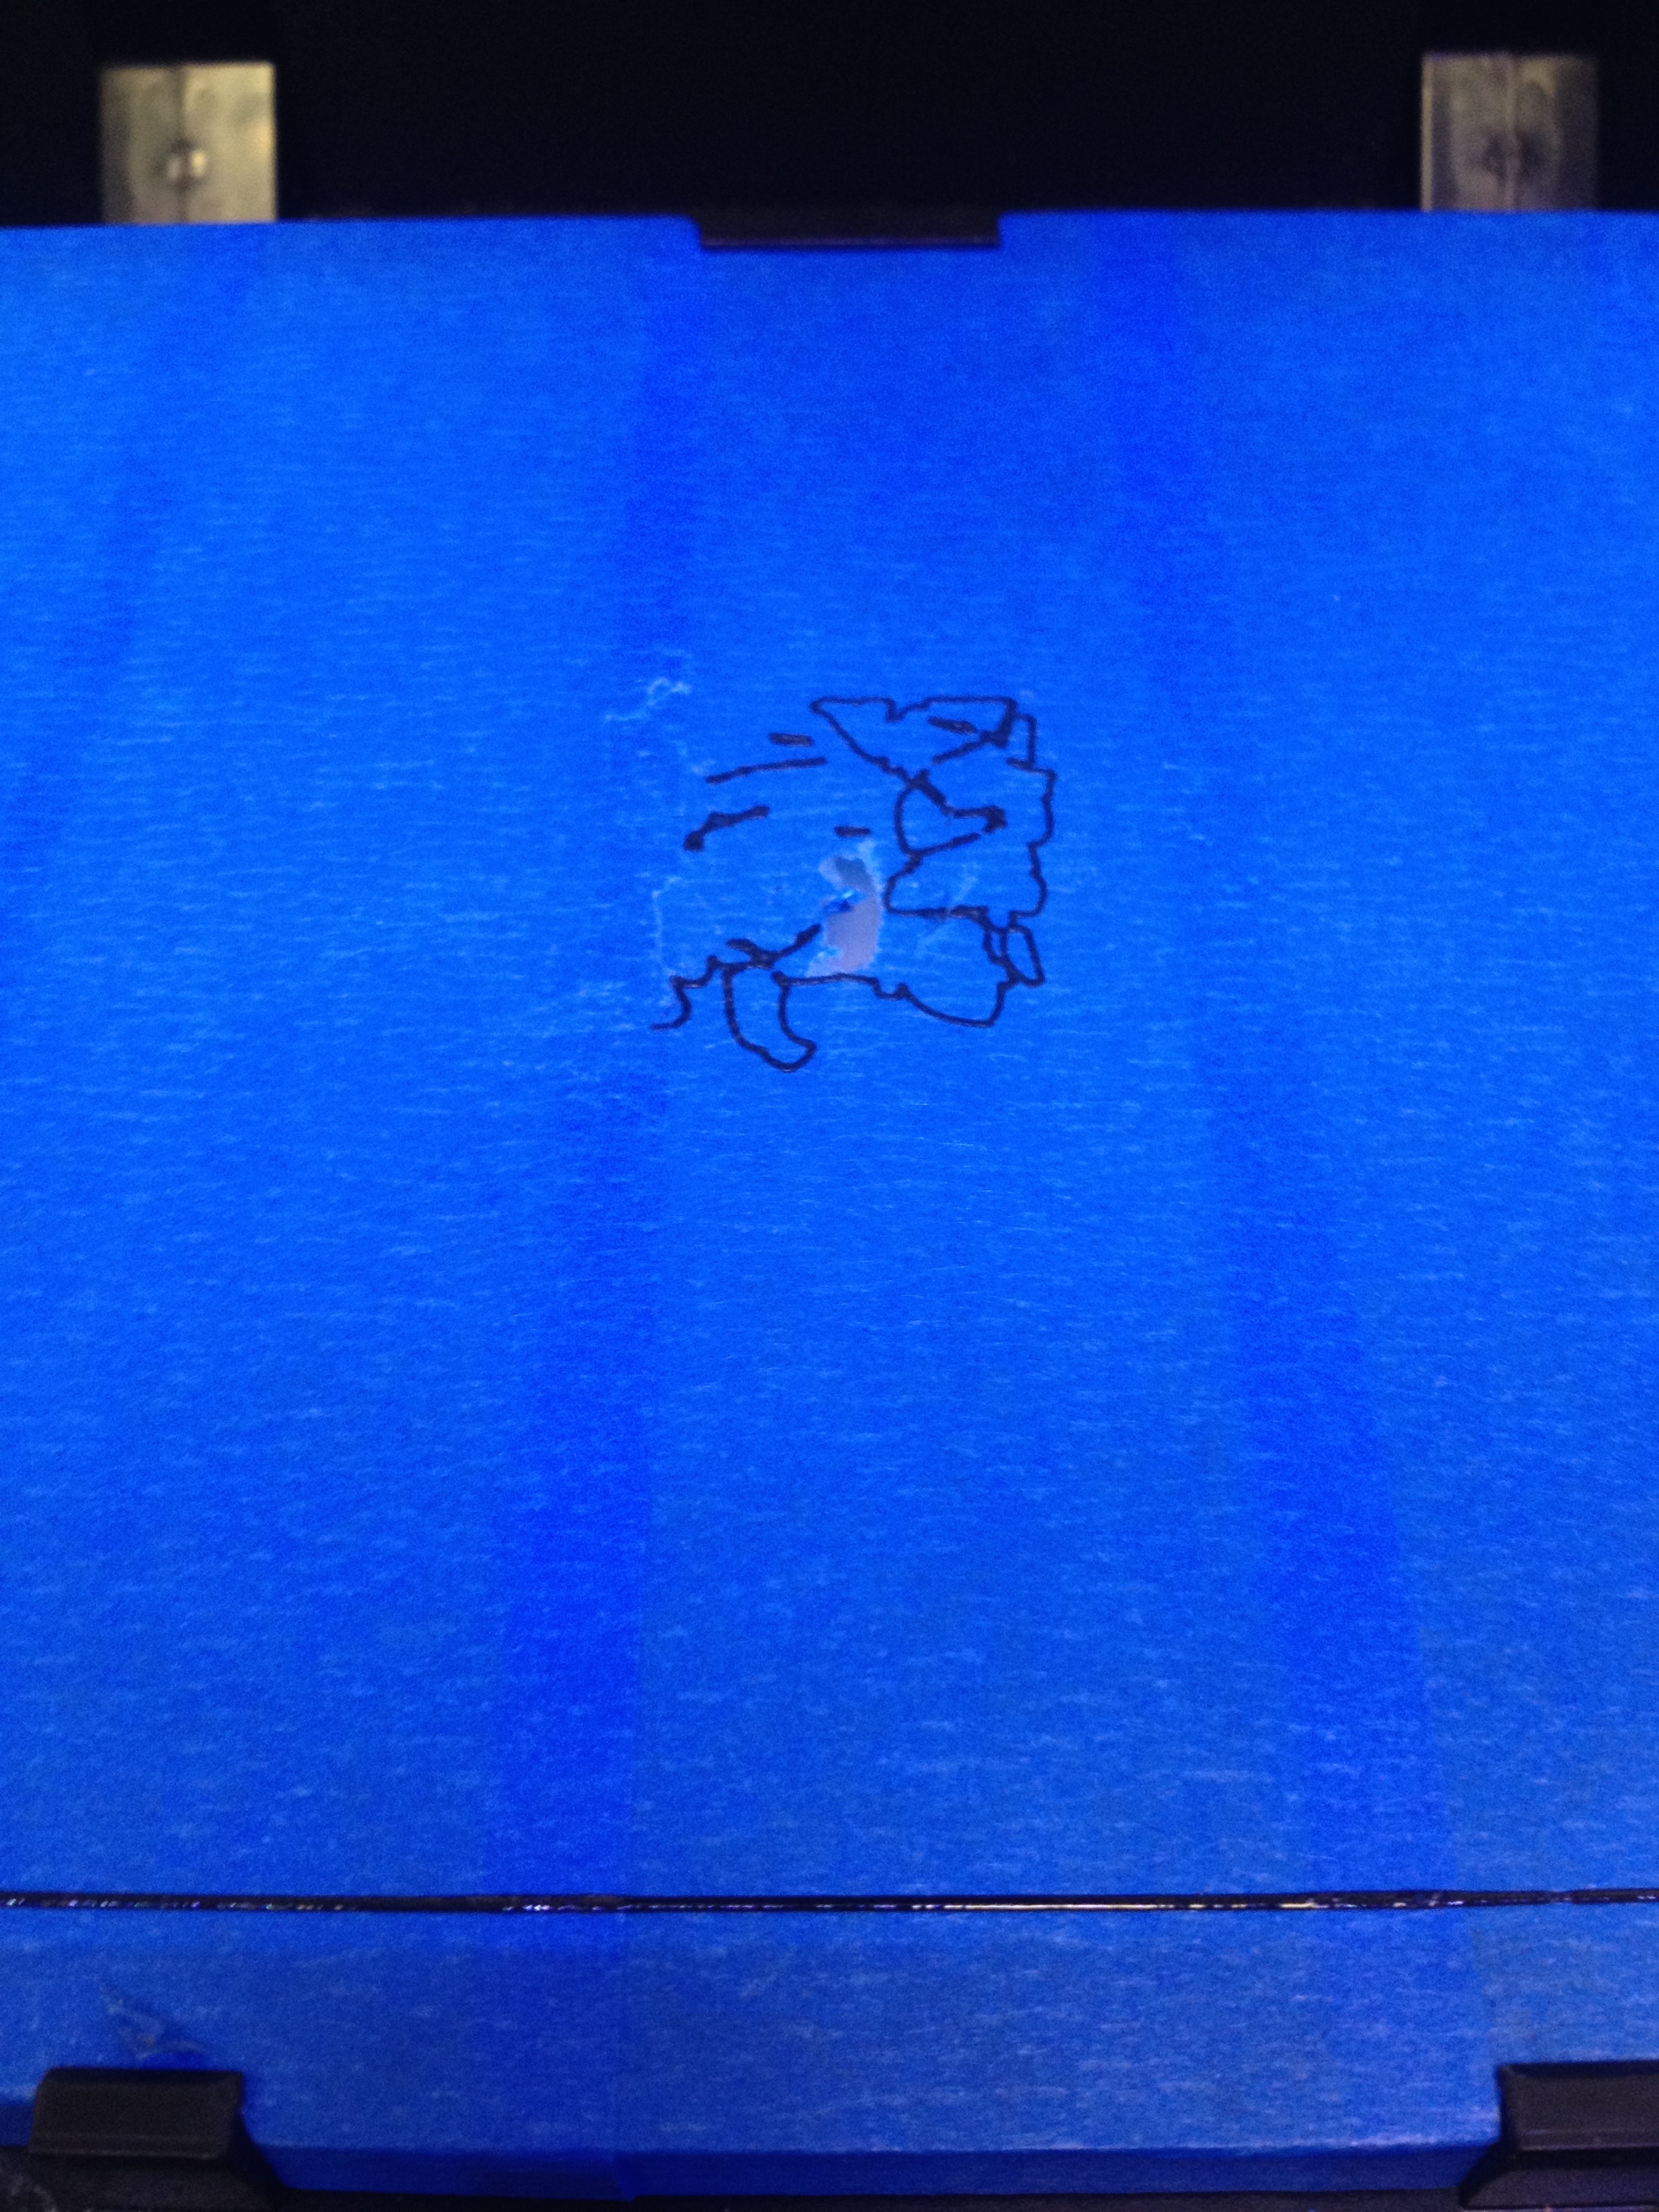
In order to see the effect of the lace, I spray painted one lens using the lace as a stencil and for the other lens I attached directly the lace. I prefer the effect when the lace is glued on.
Finally, I had to solder back together the point which adjoined the nose bridge to the lens.
Overall, the first prototype turned out pretty well, I am happy with the shape.

Now I need to learn how to use Rhino so that I can start prototyping with the 3D printer!
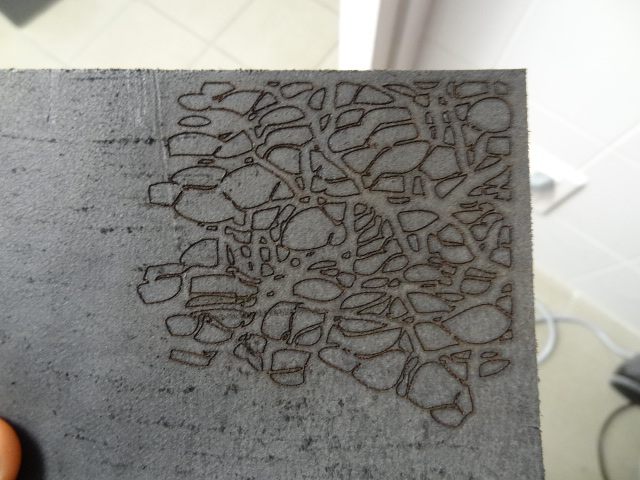
While waiting for the day of the Rhino workshop to arrive, I decided to experiment on the laser-cutter to see what effect that would give me.
I created a lace file on illustrator and opened it on the laser cutter computer.
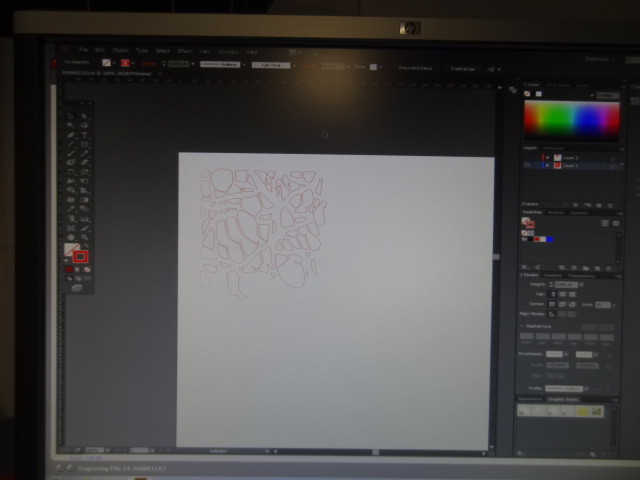
Then I selected to print it from the laser-cutter,
which opens up the laser-cutter dialog box of settings.

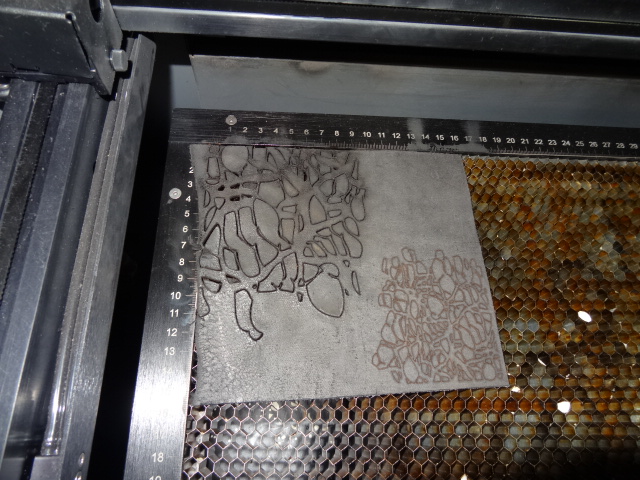
Natural material: Leather
Thickness: 2.3mm
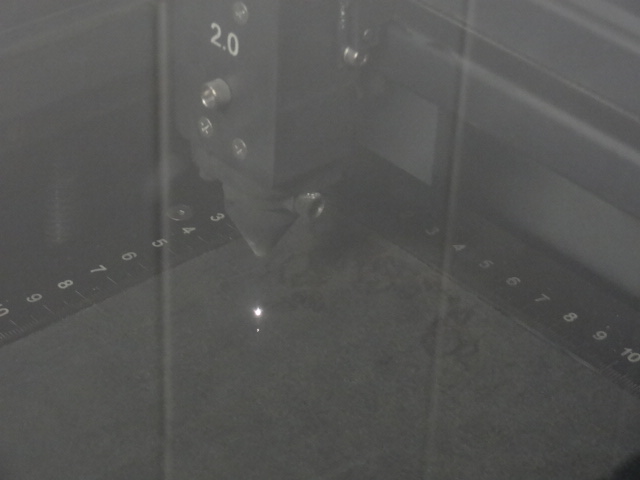
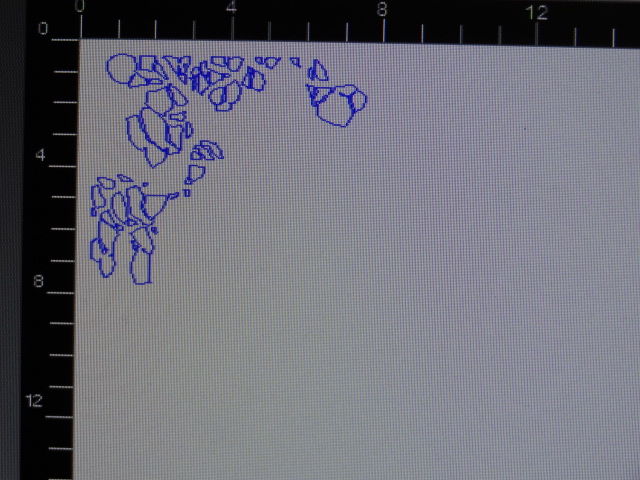
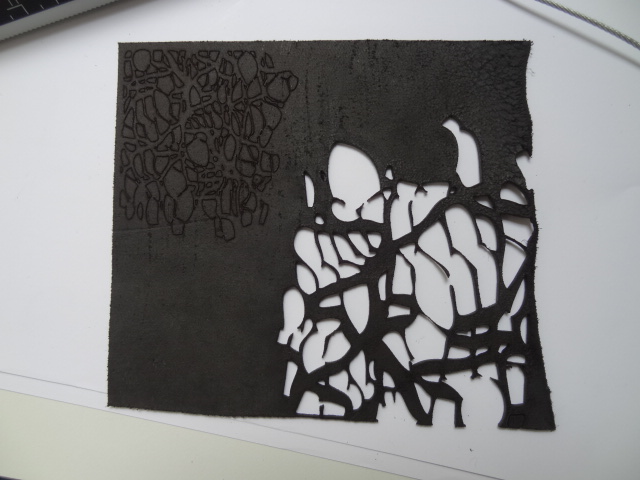
Then I tested it out in both vector engrave (.001 line thickness at R = 0, G = 0, B = 255) and cut (.001 line thickness at R = 255, G = 0, B = 0).
SO the Rhino workshop was cancelled…
I had to attempt to use it solo (with Martin’s help of course).
I made a simple piece of the lace on illustrator (the same pictured above for the lasercutting)
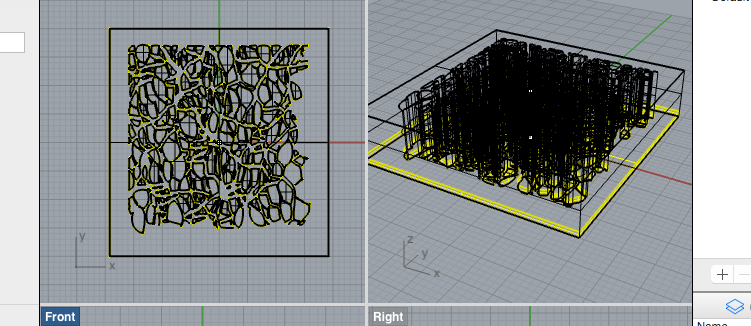
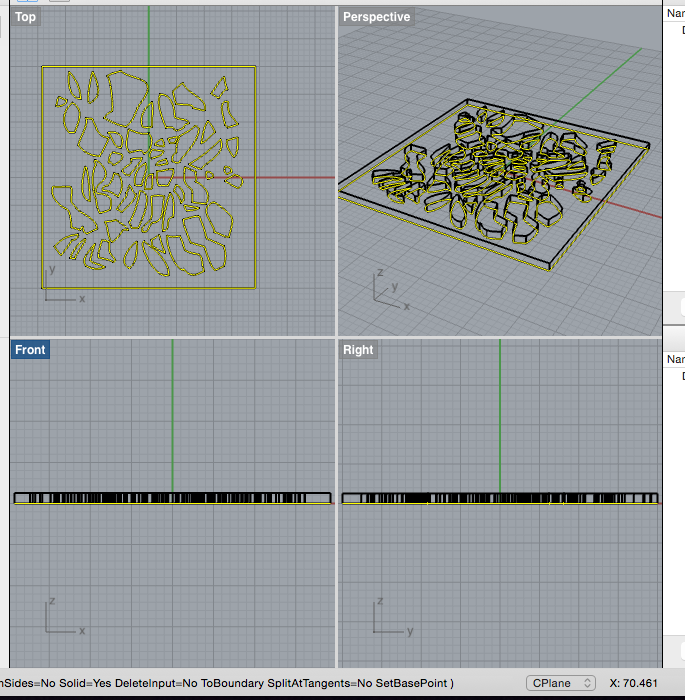
Then opened it in Rhino and selected the whole flat shape…
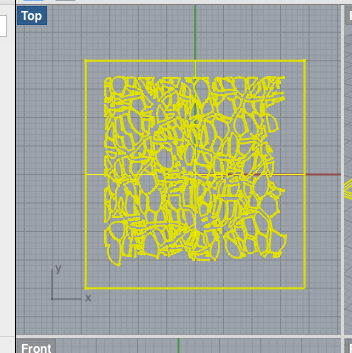
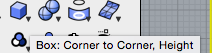
Clicked and held down the cube icon and selected <extrude closed planar curve> which allowed me to add depth to my lace design, making it 3dimensional.
Then once I had the height I wanted, I exported my lace file as a .STL file in order to be able to open it in the Makerbot application.
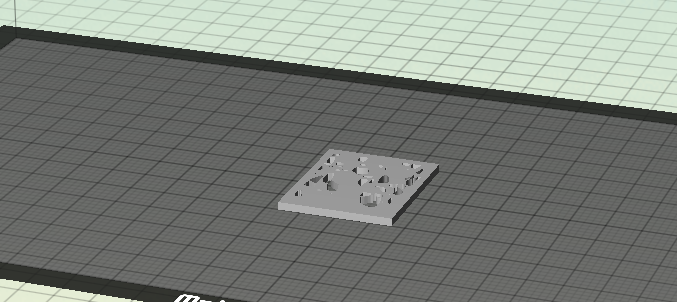
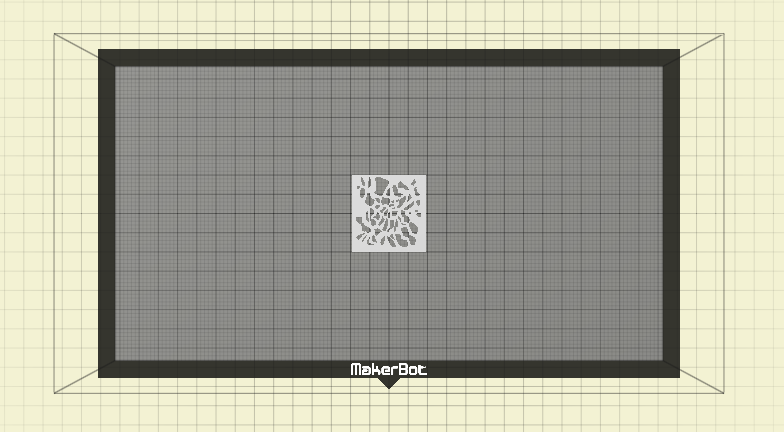
Next, I opened the Makerbot application and imported my STL file. I then can look and see what my object looks like on the tray of the 3D printer, as well as scale the item if I wish.
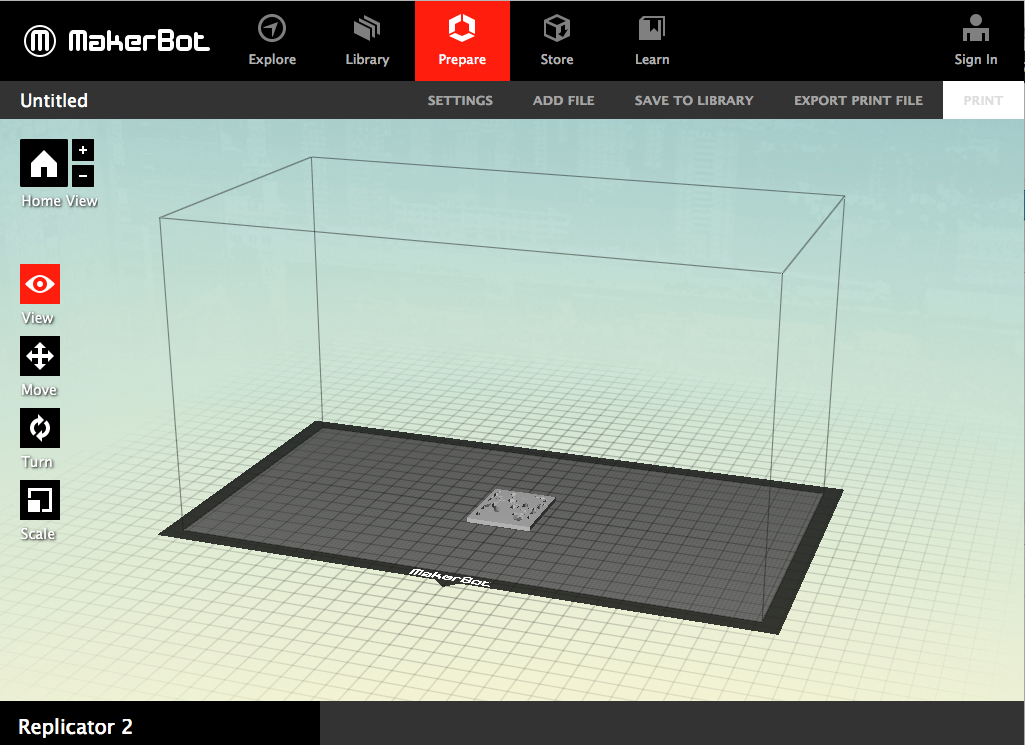
The final step is to assess whether I needed stints to hold up the object or a rafts to support it. I didn’t need either since it was a flat object.
Then I selected < export print file >
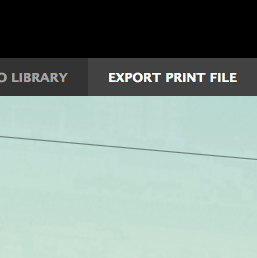
This exports the file into an extension recognizable by the makerbot.
I popped out the memory card from the 3D printer and loaded my file onto it, then replaced it back on the machine.
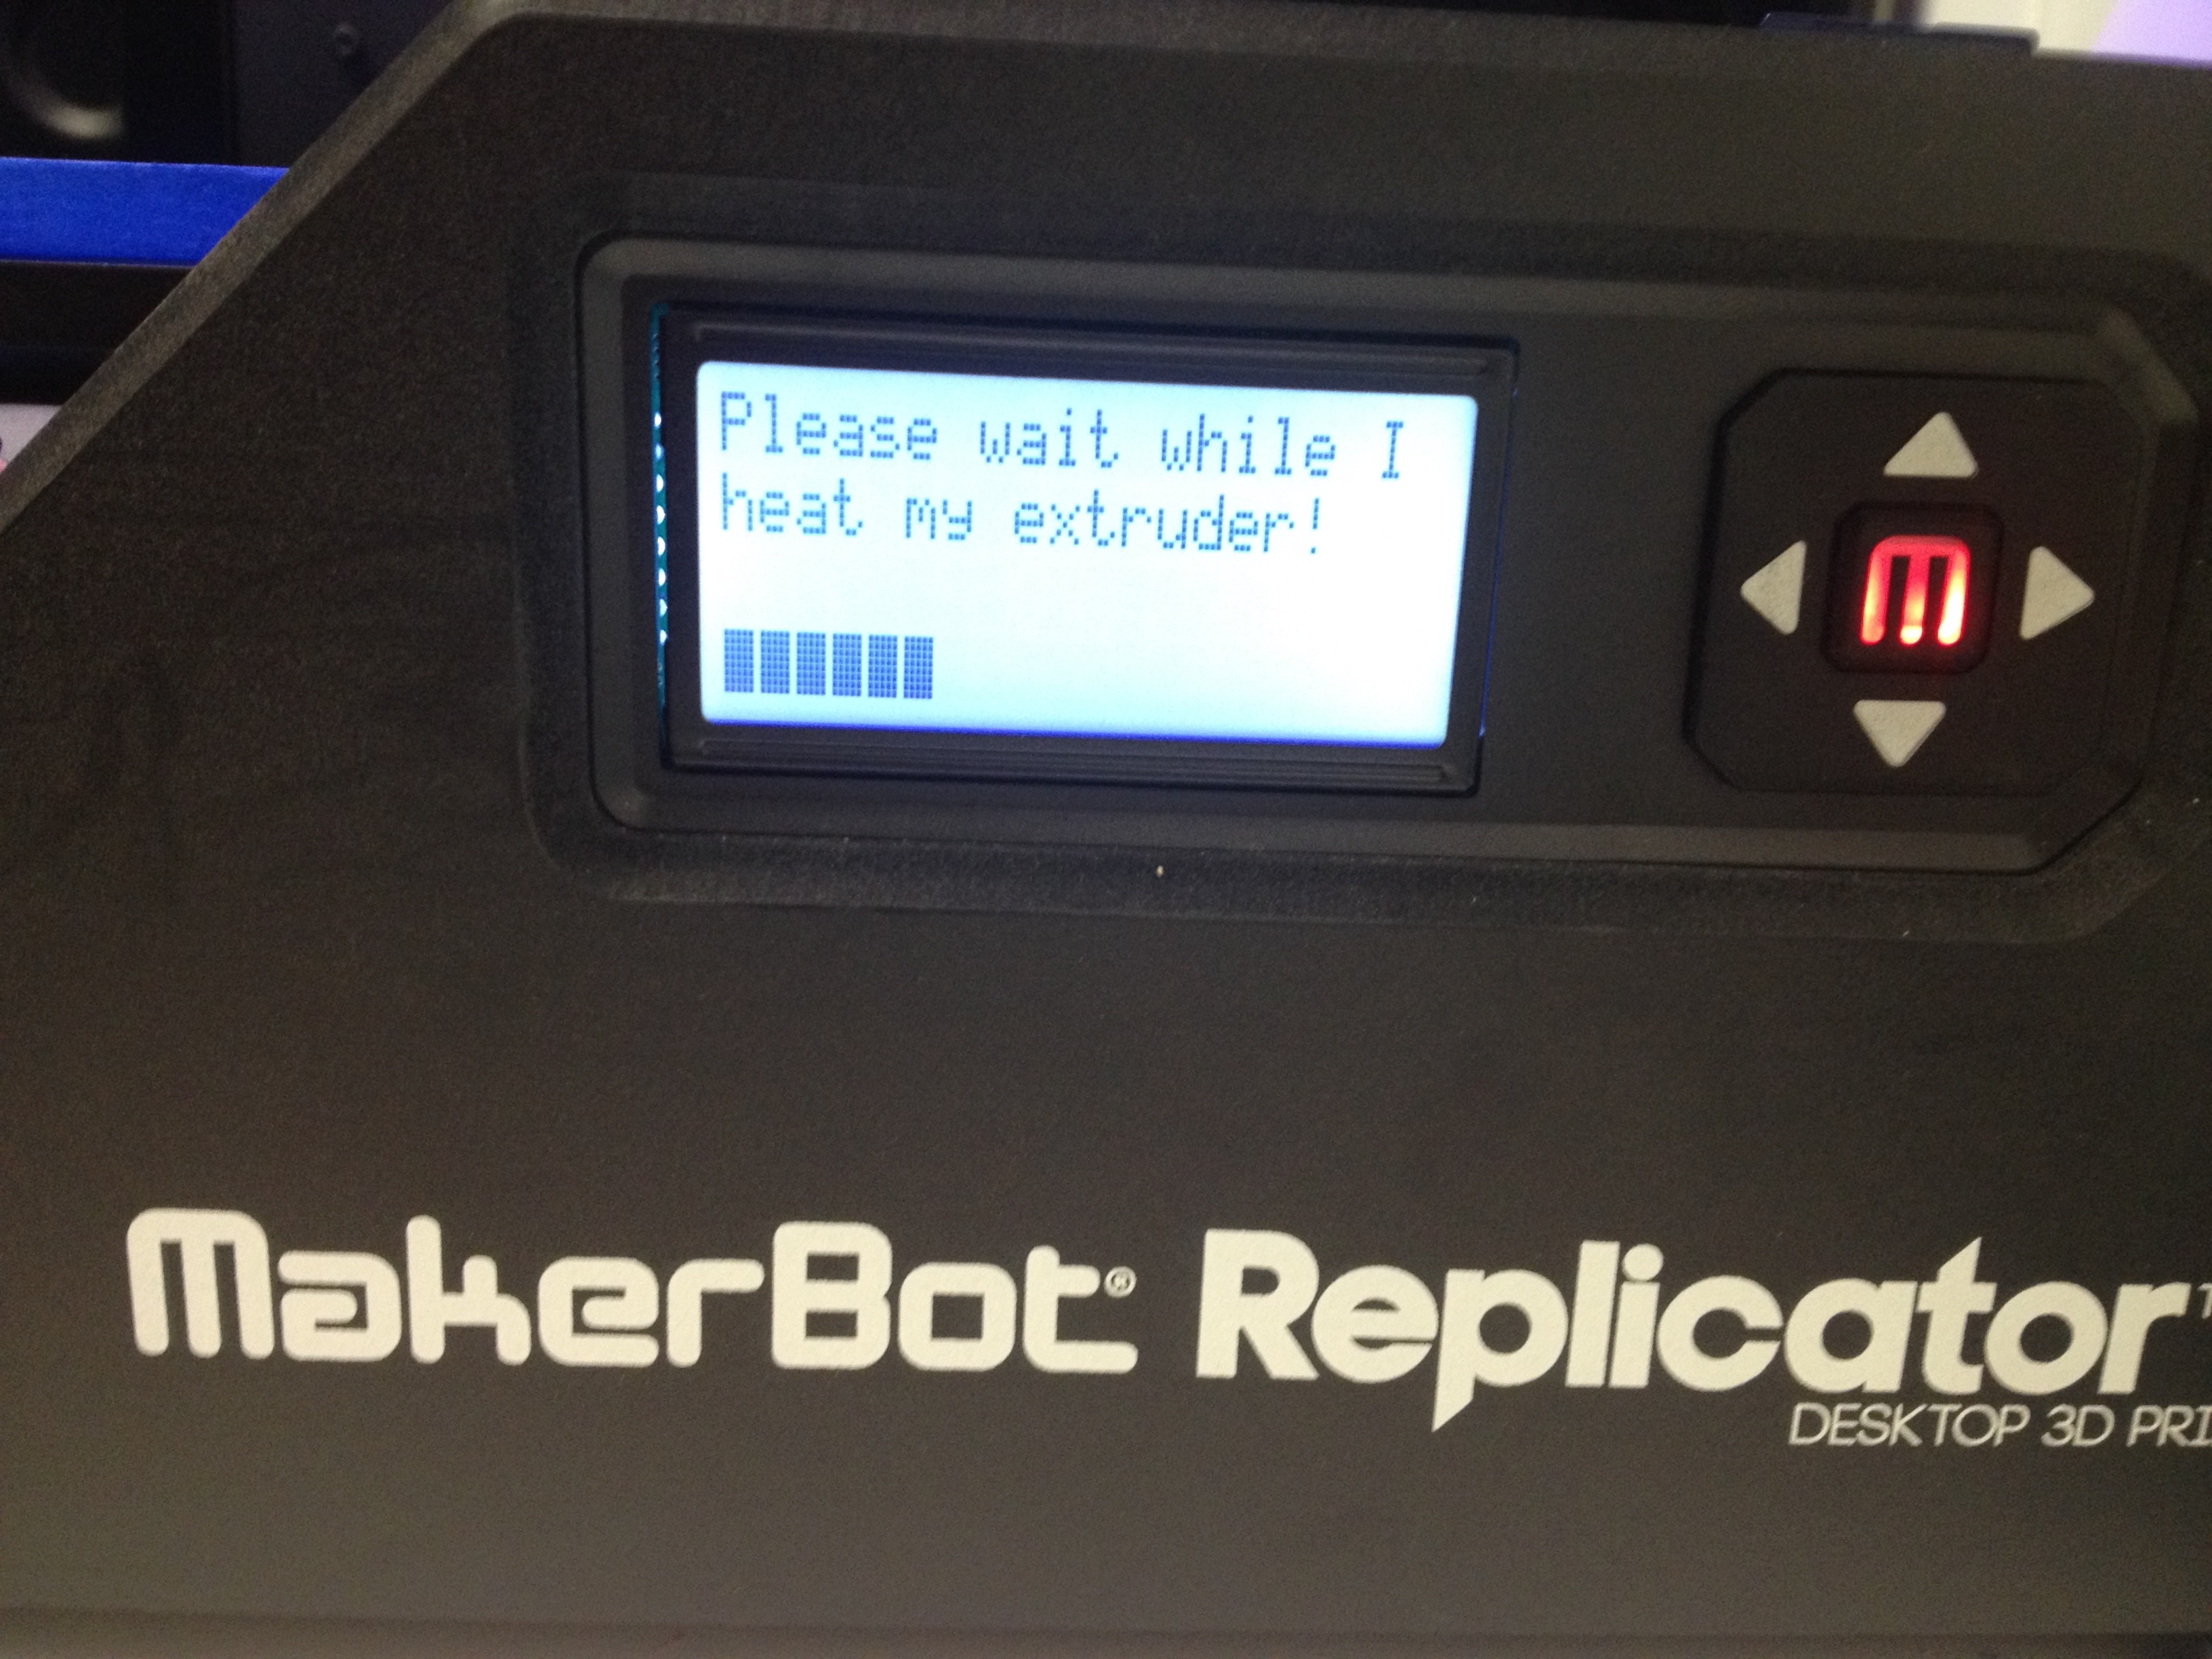
The next part is done directly on the machine using the printers controls to select to read a file from the memory chip and then to select your file to be read.
FIRST, be aware that you may need to change the color:
I changed the color plastic to black, which needs to be done step by step via the printers controls as well.
Then I printed (which took 30 minutes!)
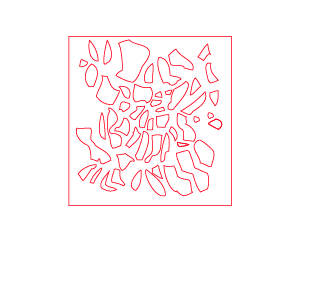
After re-looking at my illustrator file (and my 3D printed lace), I decided it could look better.
I also realized that someone my lace pattern had duplicated forms on top of either other which made my file far too complex for Rhino to export nicely.
So, I simplified my shapes and deleted the duplicates first on illustrator…
Second, I imported it to Rhino to add depth.
(I found out that I had <snap to grid> selected which was making it hard for me to make the lace super thin, so I deselected that and proceeded with <extrude planar curves>.
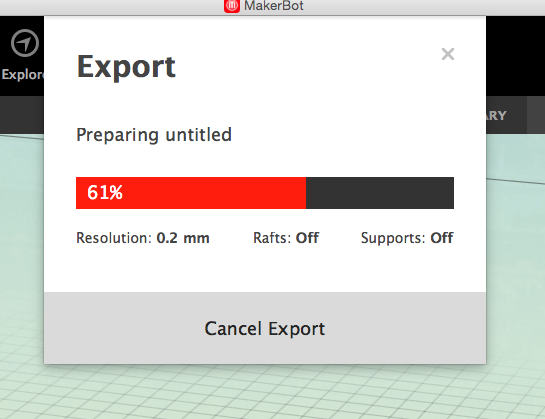
The last step, I opened to new lace .STL file into the makerbot software and saw a much better result!
Since I had simplified and made it thinner, it also claimed it would only take 2 minutes to print!

Just as a last experiment with the 3D printer, I selected one of my shapes from Illustrator and opened it in Rhino to add depth…
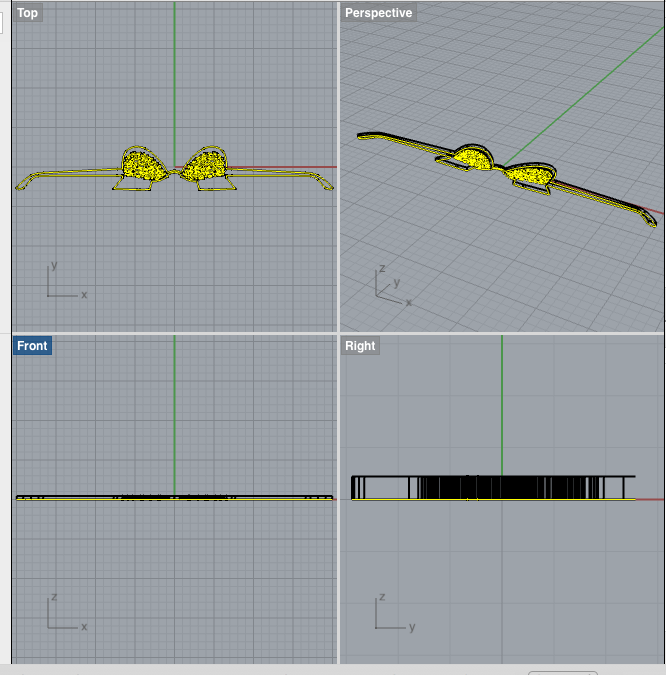
Then imported it to Makerbot to scale the glasses to the right size and export them with the good extension.
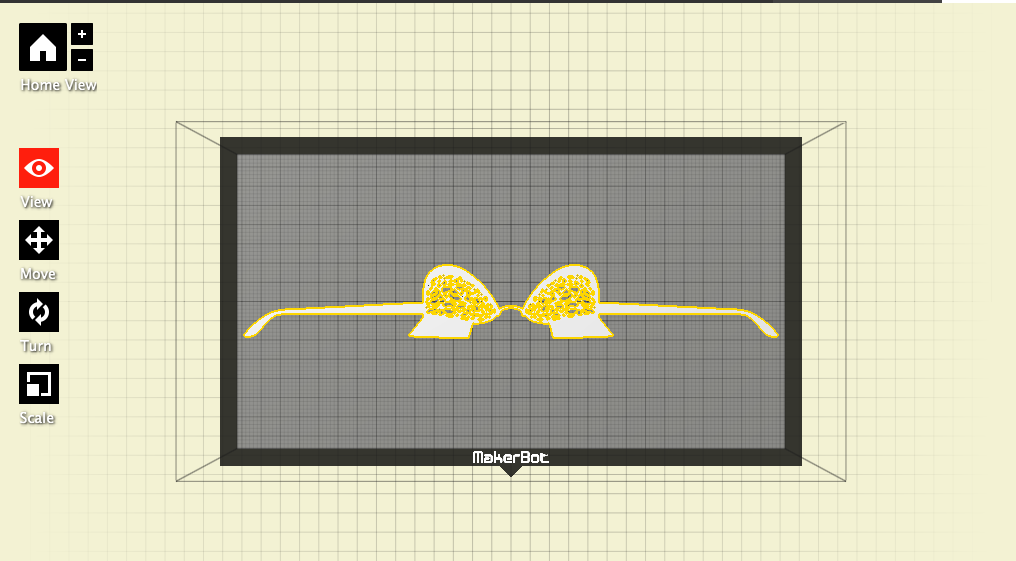
However, I clearly do not have good luck with the 3D printer. My file was somehow corrupted and this is as far as the glasses got before the machine just stopped moving…
NOW that I only knew how to do one action on Rhino, I knew I was not going to be able to have all the skills necessary to design my 3D glasses, so I began thinking of solutions.
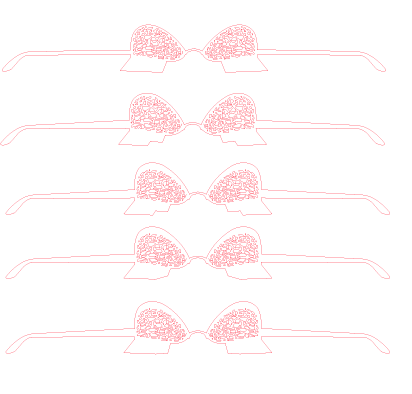
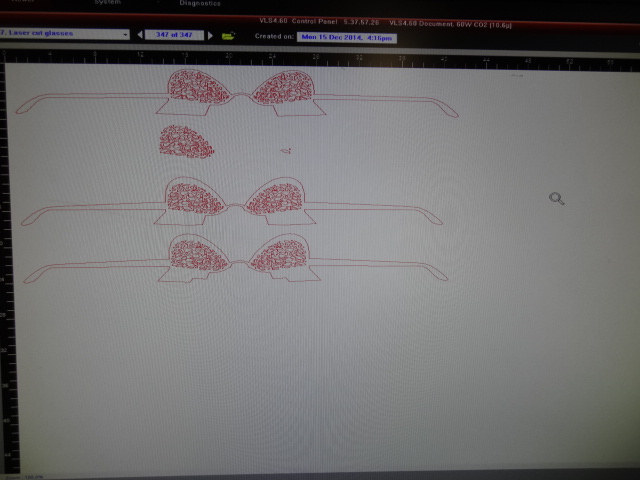
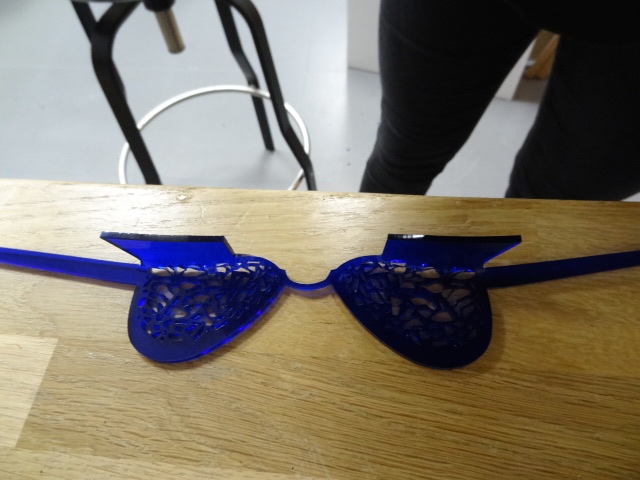
I decided I would try to laser-cut them. Using the measurements taken from my very first prototype, I designed multiple variations of shapes for my lace shades on Illustrator.
My new idea was that I was going to laser-cut them flat in plexi (or Quinn) board and then use a heat gun and pre-made angle to bend them into the shape I wanted.
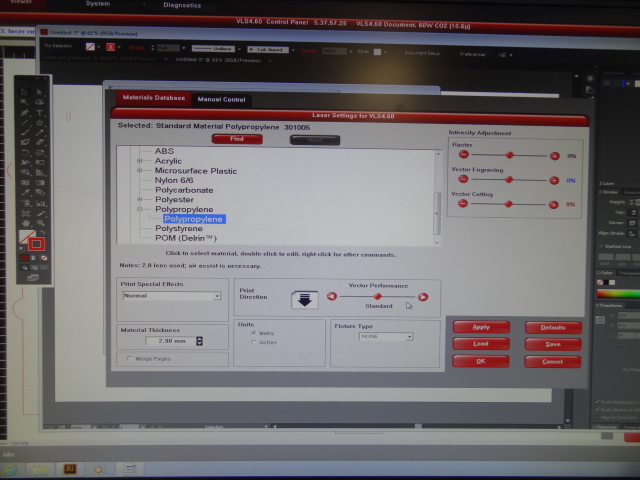
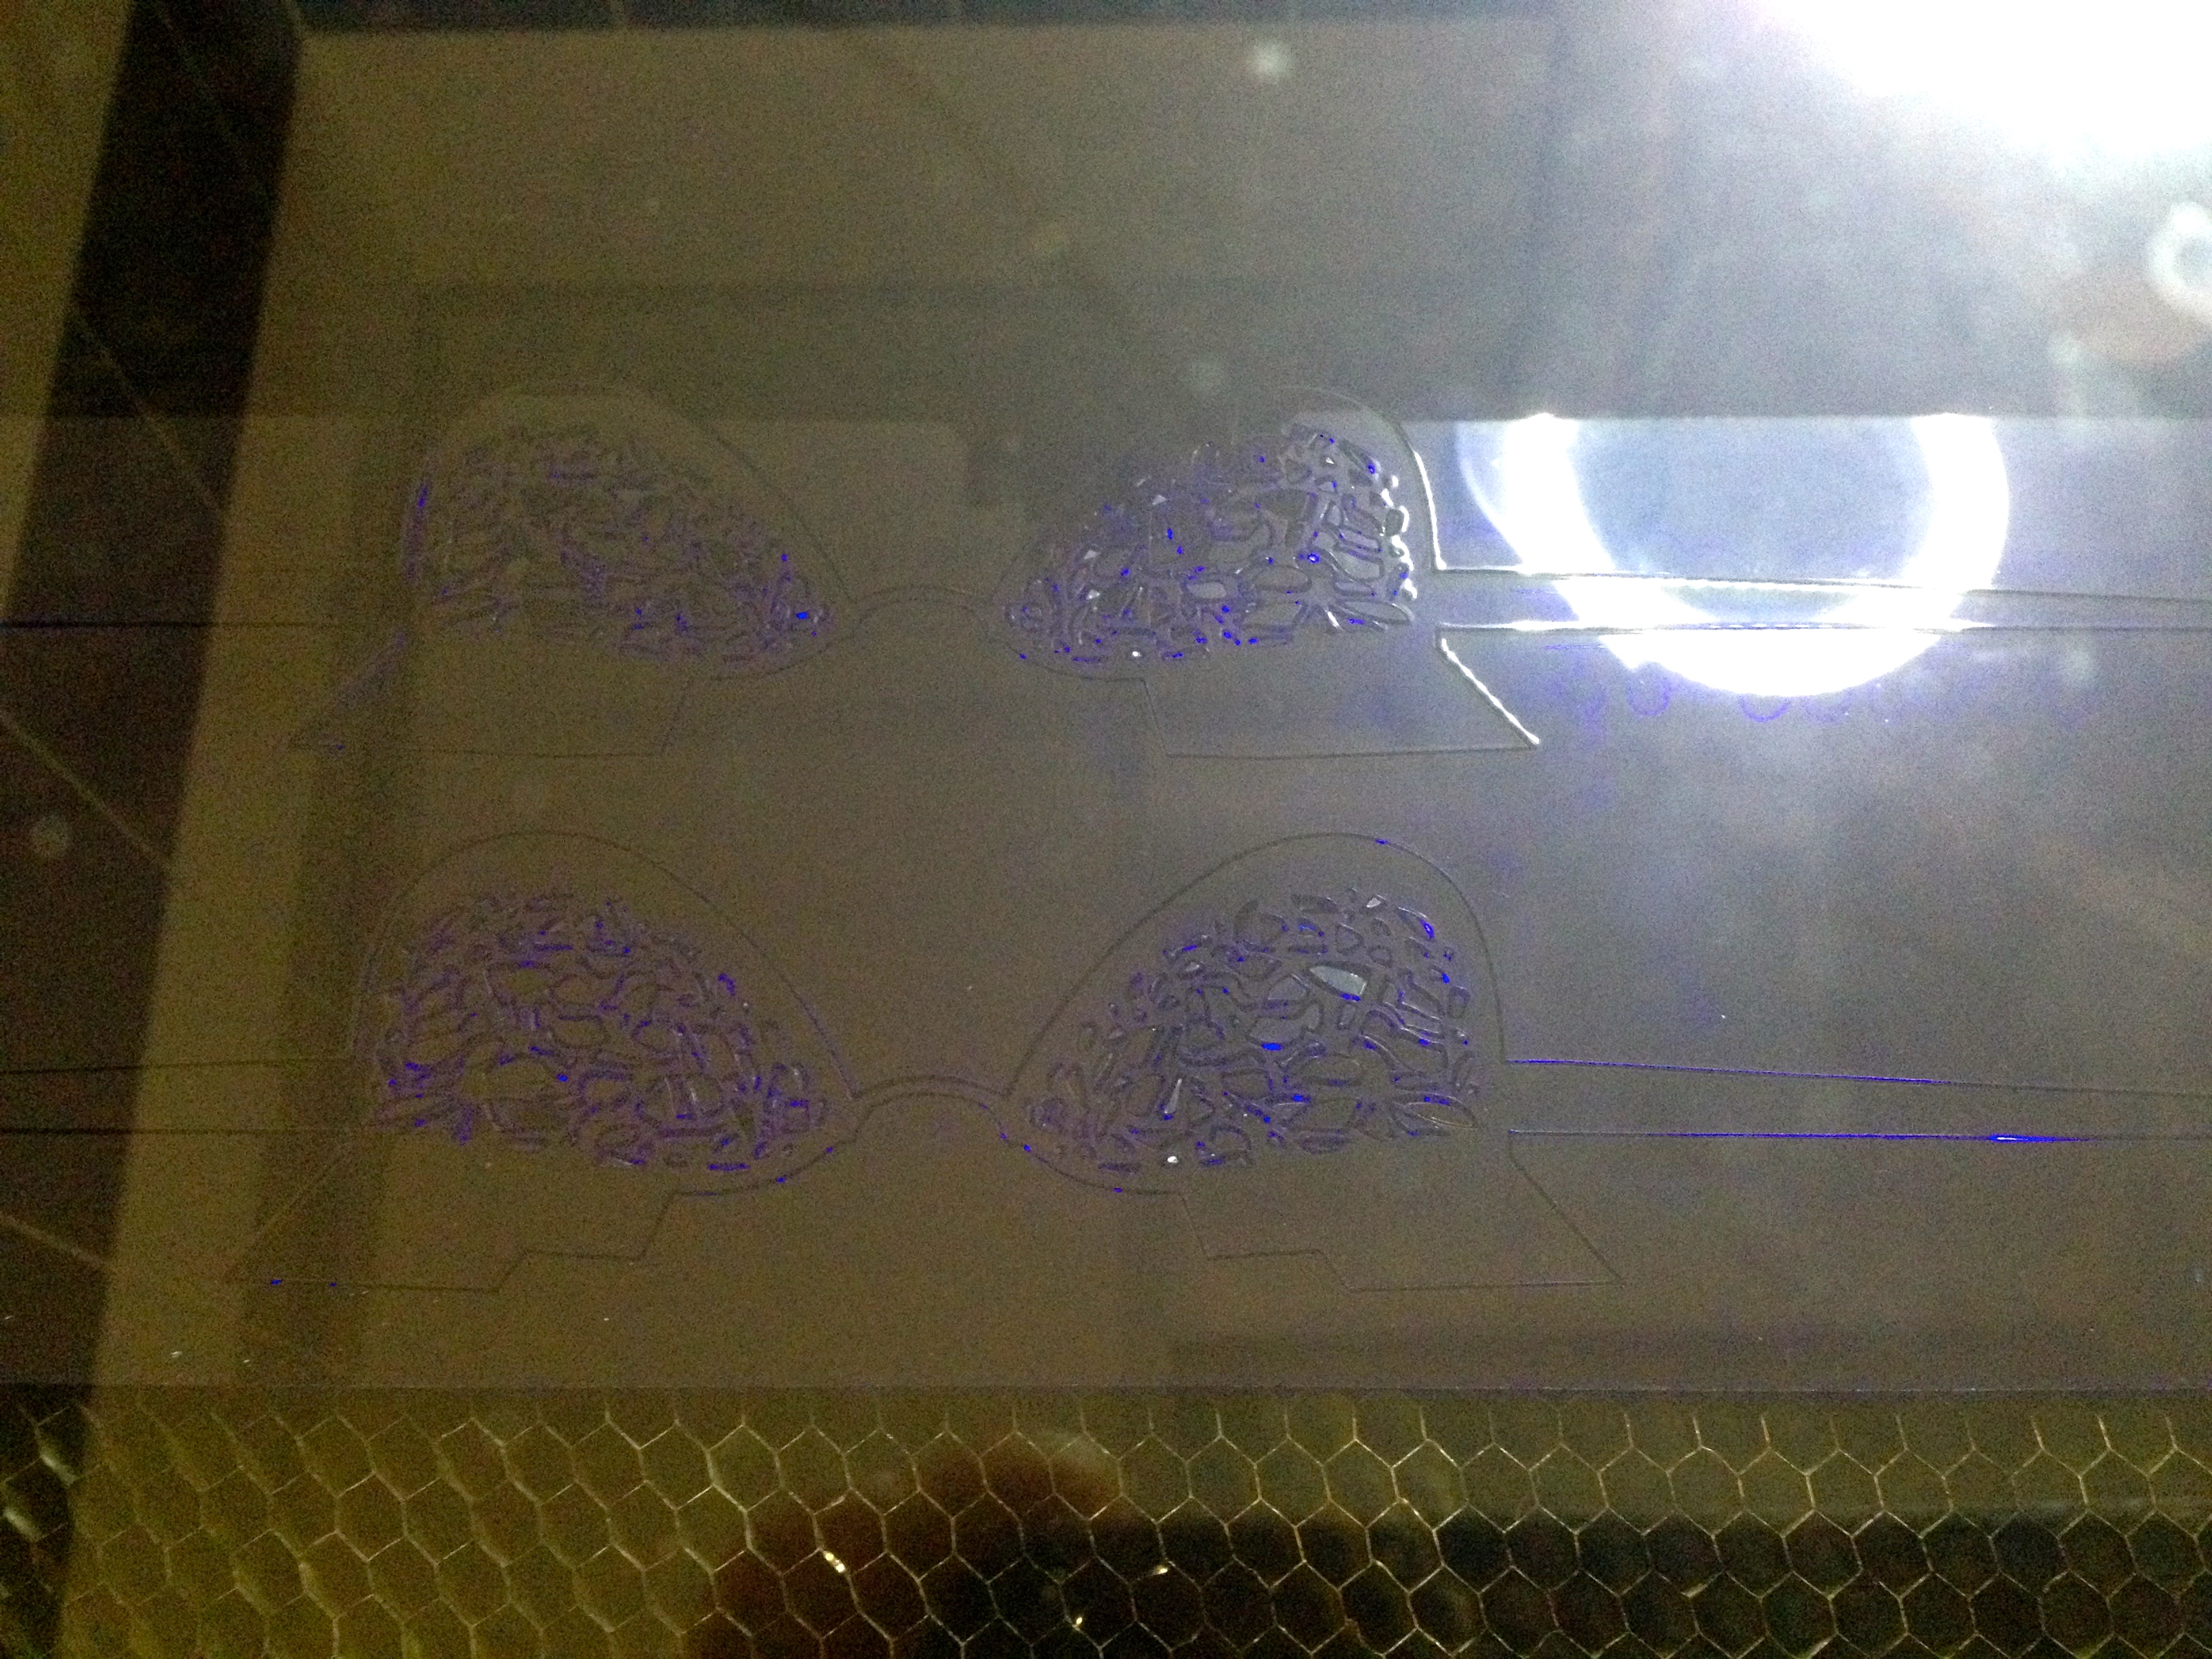
I procured some Quinn polypropylene board and got laser-cutting !
Well actually, first I took the thickness of the material: 2.8mm, so to be safe I set it to 2.9mm
And selected polypropylene as material.
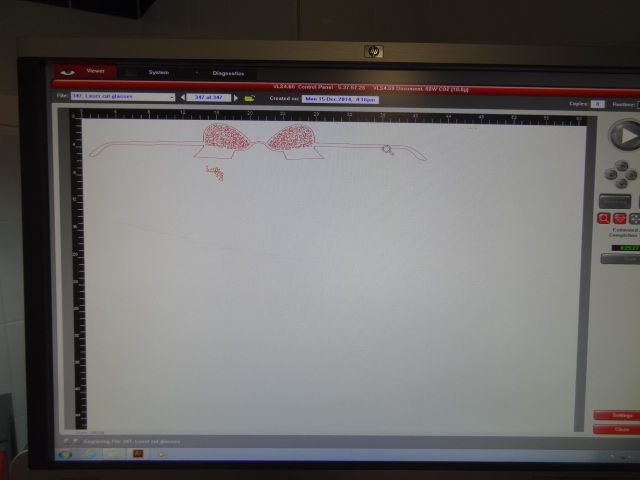
Once verifying that these settings made a clean cut through, I launched my illustrator file.
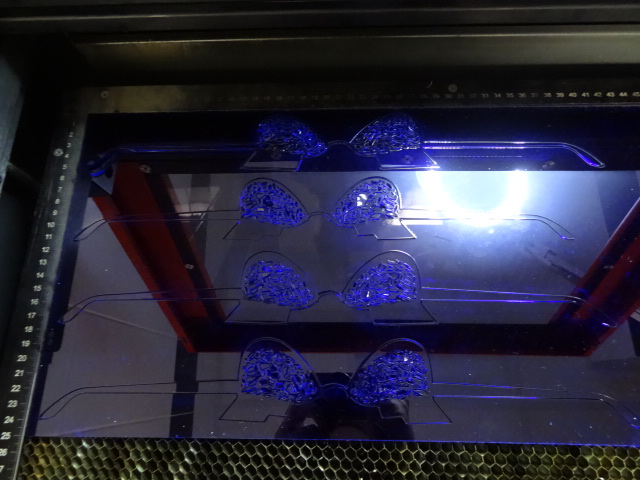
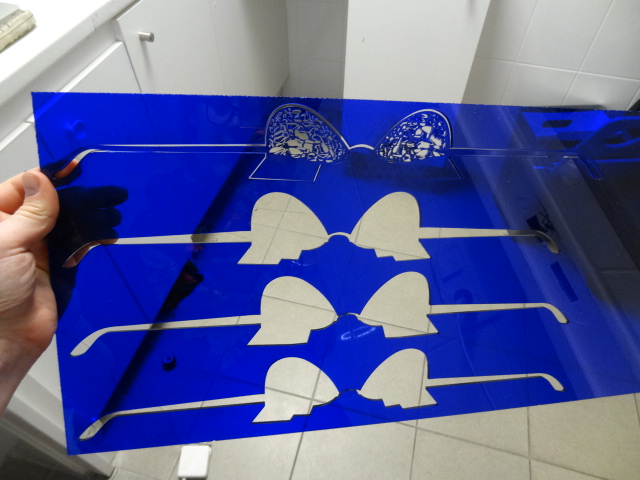

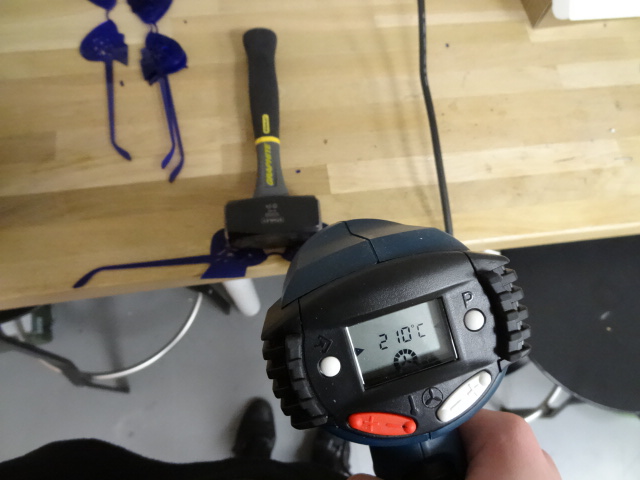
Now that all of my glasses cut out nicely, I headed into the Make Lab in search of the heat gun.
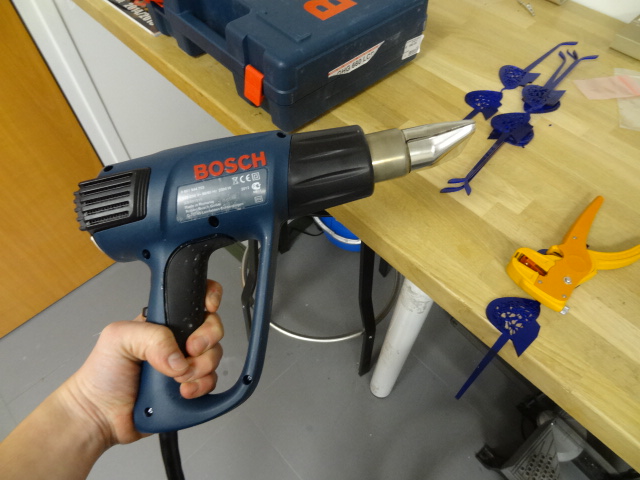
I used the edge of the table to create the 90 degree angle bend for the ear pieces and the ‘eyelashes’.
I used a hammer to hold the glasses in place and then pointed the gun in the direction where I wanted it to bend. Easy as that.
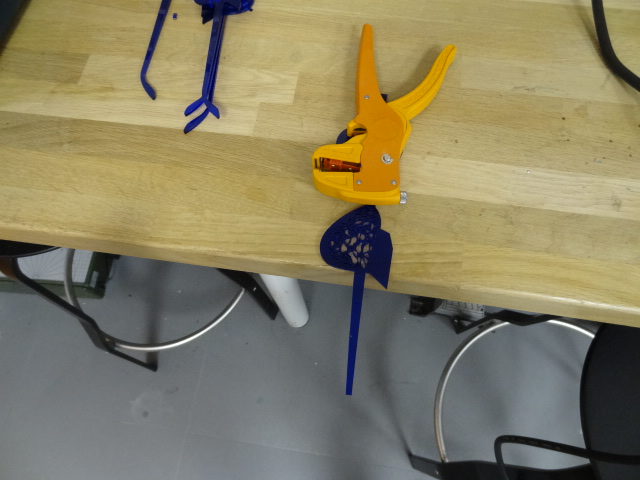
Also, held it in place while it cooled off to make sure it held the form.
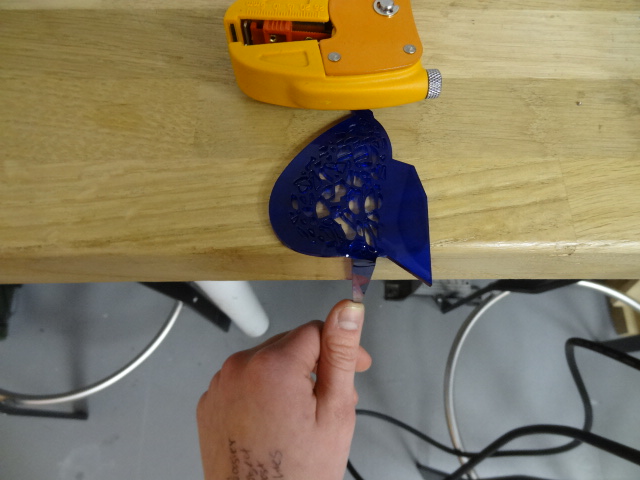
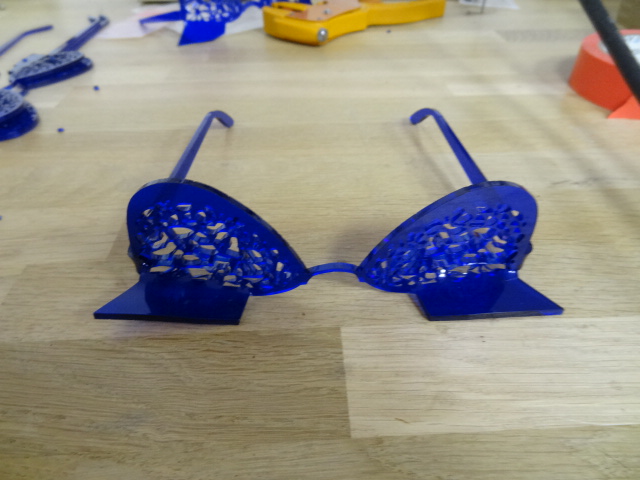
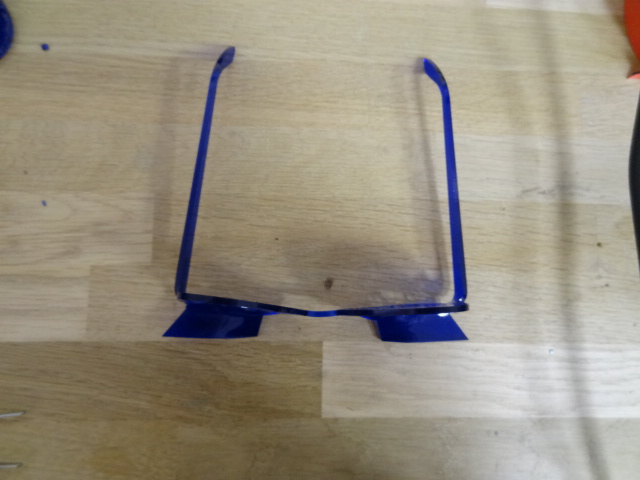
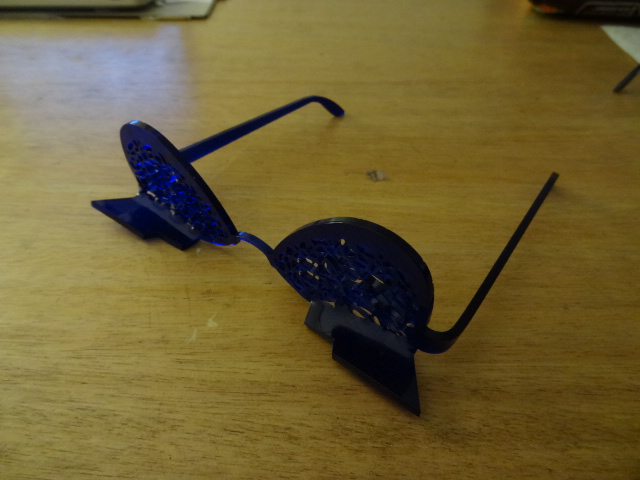

Et VOILA. Mission accomplished !
Merci pour tout Martin !