wooden arduino case


In total, I tried 3 different boxes. They were all using the same finger-slot template from makeabox.io, but all featured different materials and styles.
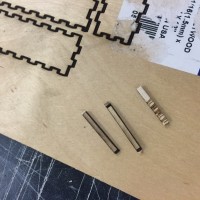
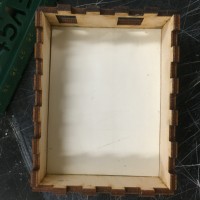
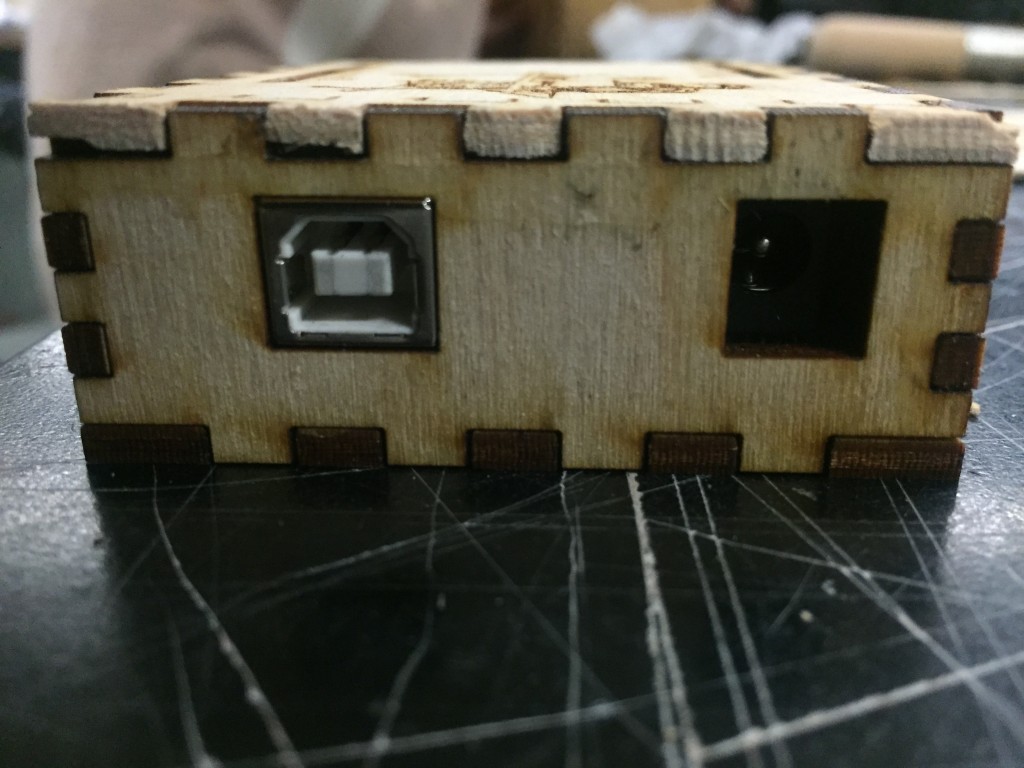
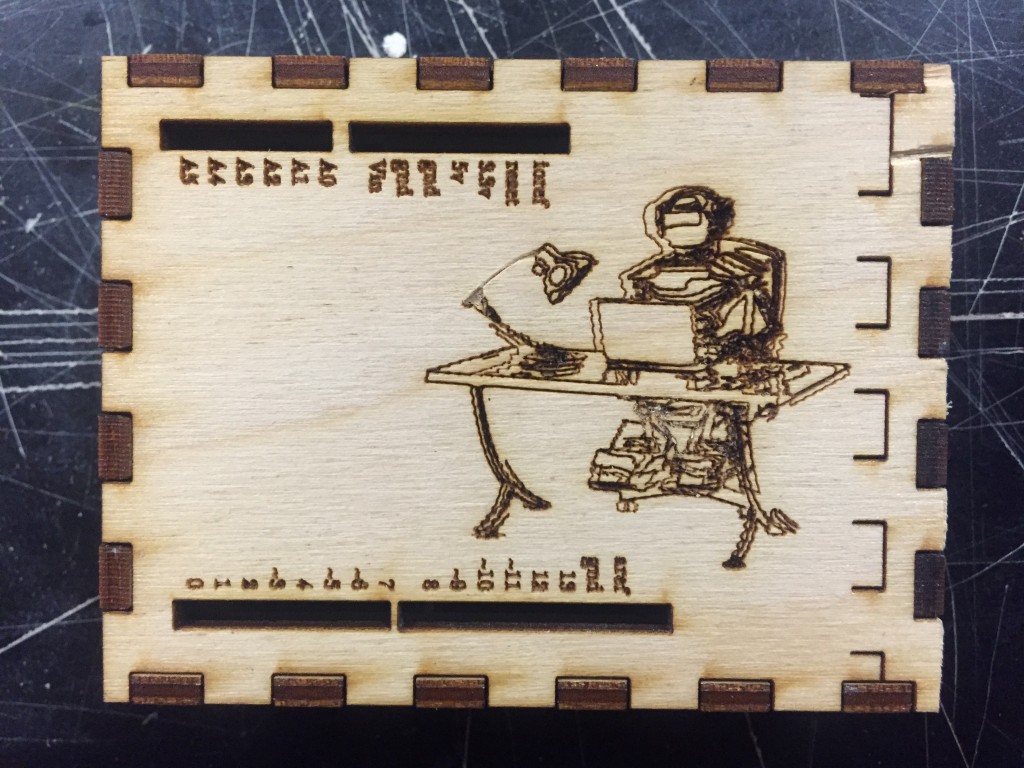
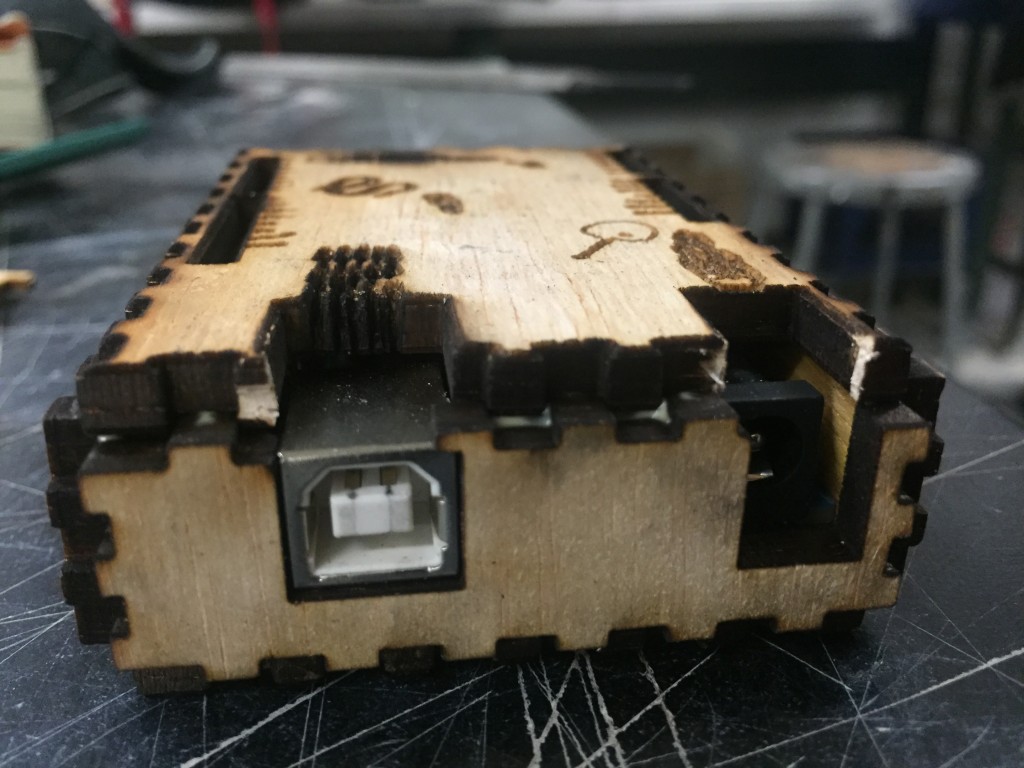
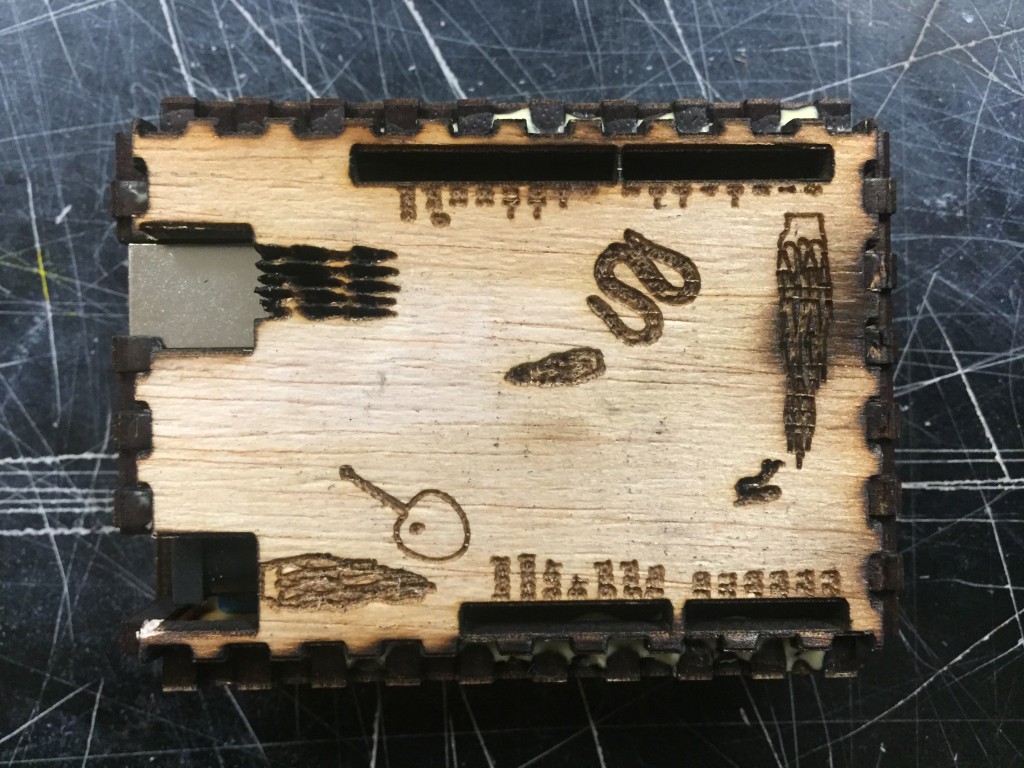
The first box is this hard-working robot box. I used craft plywood, 1/8’’. The problem here was my measurements for the inputs. Lining up both these and the pin columns required precise attention to both the height and width of the box. It is always tempting to leave ‘wiggle-room’ when making a case, but this changed my measurements much more than I wanted. I had minimal problems with the laser cutter – other than one unfinished edge, which was a quick fix.
For the second box, I corrected my measurements and switched up the design. I used birch plywood, 1/16’’. This is where I ran into the most problems with the laser cutter. Although my wood was thinner, the cuts would never make it thru to the other side of the board, even after running it through several times on many variations of settings. I used the pieces for scrap and supplement to the robot box, my first iteration.
In my third attempt, I tried some thick 1/4’’ hard wood from the scrap bin. The rest of my measurements remained correct, but I forgot to change the thickness value on the makeabox template. So, the fingers barely touched each other upon gluing. I also tried cutting out the parts that would give the box unnecessary height, so that the pin columns could be more easily reached. I think this attempt was counterintuitive because the wood made up for the saved height in its thickness. I had some issues with the laser cutter settings – from what I can tell, due to the detail of my etchings paired with a grain that is way too wide.
All in all my experience was really informative! I have learned about many different woods, and what works best with each kind. The laser cutters are still somewhat mysterious in their ways, but the student workers are always pretty helpful.