Project Date: Spring 2013 & 2014
Project Directive
Use your initial theme research to inspire a collection of textile designs. Your collection may be based on a formal or conceptual idea related to the theme.
Step 1: Digital Mosaic
- Design four digital pieces, each 10 in x 10 in.
- For each piece create a different planer structure in illustrator.
- The structure must be regular and be based on the repetition of squares, triangles and hexagons.
- Develop a “rule” to fill in the shapes with white and black. For example “alternate every other shape black and white.”
- Choose a starting point on the plane and play out the rule across the plane.
- Print four pieces separately as color prints. Trim carefully!
Student Examples
Step 2: Asymmetrical Motif
1. Reflect on your research question and topic. Formulate a connection between your topic and textile design. Imagine a goal for a pattern collection that is connected to your topic. For example if your topic is Gender, perhaps you will make an androgynous pattern collection. Or if your topic is related to organic form you may make a pattern collection inspired by a bug wing.
2. Develop an asymmetric motif related to your topic. You will use this motif in later weeks to make patterns. Think of the motif as a number that will get plugged into a pattern equation. The most basic element that can be repeated in a pattern to create symmetry is actually asymmetric. Simple motifs have been used throughout history to build complex pattern and communicate symbolic content. Check out the variations of FLAME motifs as seen in the Handbook of Regular Patterns by Peter Stevens. All the motifs honor the role of the fire element are have been used to create textile pattern in the middle east. How are the motif forms similar and different?
 |
 |
 |
 |
 |
 |
3. Design a motif that meets the following criteria:
- Your motif will be an abstract shape.
- It will be simple, simple, simple!
- It will be black and white.
- It will be asymmetrical.
- The form will relate to your topic.
4. Sketch many iterations of your motif in your sketchbook. Make a final digital version with the pen tool in illustrator. Save this file and bring it to class.
Student Examples
Step 3: Color Palette
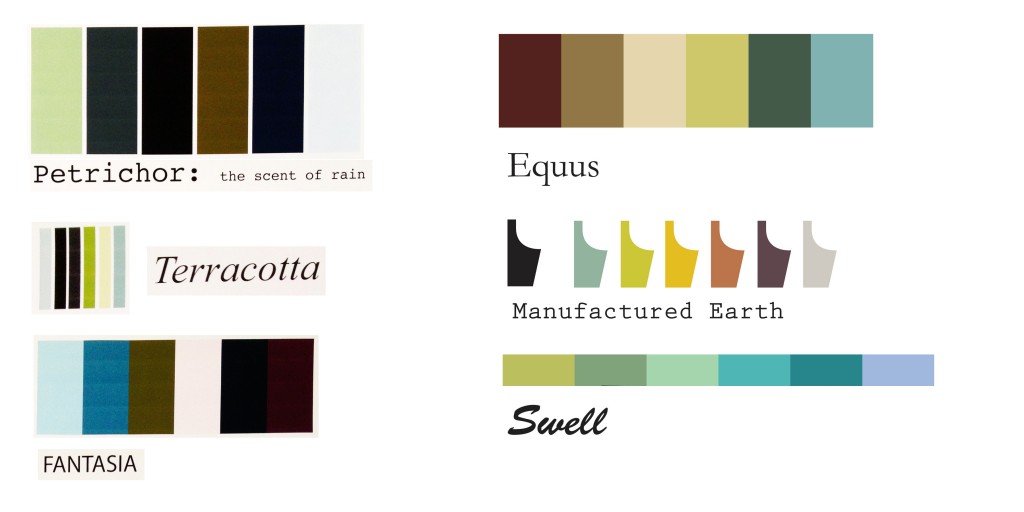
1. Create a palette of six swatches, based on your topic.
2. The palette must include warm/cool, intense/neutral and light/dark relationships.
3. A fun method to finding colors is to eye drop color from photography. For example, find an inspiration photograph related to your topic. Bring the photo into photoshop or illustrator. Use the eye drop tool to select colors from the photo.
4. Print the swatches 8.5 x 11 in.
Student Examples
Step 4: Pattern Construction Worksheets
Complete the following worksheets via Canvas Links.
4. Resolve 4 excellent patterns, made from the most interesting results from the worksheets. The patterns can come from any repeats of a point group, repeats of a line group or plane groups. Make as many patterns as needed to get to the final 4.
5. For each of the 4 excellent patterns make one color variation (using live color in illustrator). This equals 8 patterns.
Student Process
Step 5: Image Choice Pattern
1. Make an image-unit related to your topic that will be repeated.
2. Fill a basic geometric shape, such as a square, triangle, hexagon or diamond with representational image or texture. Possible methods to get the unit include:
- Crop a photograph fragment.
- Draw or paint a realistic element, such as a flower or person.
- Draw or paint texture, as in spilled ink, blotted paint, or charcoal rubbings.
- Draw or paint a pattern.
- Carve a wood or lino block.
- Cut paper pattern.
- Make a vector artwork in illustrator.
- Make patterns in illustrator.
3. Scan or save the digital image. Make sure that the file is well edited.
4. Repeat the image as the unit in the plane group or line group worksheets. Or make a simple repeat tile or an alternating brick pattern using the pattern tool in illustrator.
5. Make 4 excellent patterns using the same process.
Step 6: Swatch Book & Renderings
- You will make a small flip book. Each page will be 4 in vertical and 11 in horizontal.
- It is suggested that each page will be printed and then mounted on thin illustration board, or heavy bristol board. (It also works well to have the pages printed on card stock at a print shop.) Each page will have a hole punched in the top left corner. All pages will be joined with a binding ring.
- The first page will be a cover/ title page. Name your collection, thoughtfully. Make sure that the title relates to your topic. The cover is the place to frame the meaning behind your collection. Give the title a great font. Put it over a pattern or one of your inspirational images.
- The second page is your color group of 6/ 8 swatches. Maybe include a part of one of your inspirational photos.
- The next pages will showcase your patterns. You will have 2 color variations of each of your 4 planer patterns. You will have 4 image-choice patterns. This equals 12 pattern pages.
- The last 4 pages will show 4 looks that utilize your patterns. You may work with hand drawing, digital rendering, or a combination. For example make the whole figure in illustrator and fill with the pattern. Or sketch a garment by hand, scan and digitally apply the pattern. You could even print the pattern and cut and paste collage with drawings.
Student Examples Final Books
Student Examples Patterns
Student Examples Garment Renderings


