Inspiration resources:
I was inspired first by the gathered neckline drawstring halter dress, but the zero waste aspect of the project guided my solution to become more structural. I came up with the solution of create the front and back panel the way one would create a drawstring gathered halter dress, but decided that the panels could not attach at the side seams so I played with the idea of placing the front and back bodice panels flat. In order to have opened sides, I looked to designers like The Row and decided that I would create a fitted bodice bandeau to attach to the panels laid over it. I also was inspired by the above designs to create a laid-back look that can read as relaxed or upscale. The extra length was inspires by the length of the tops from the Row Spring 2015 and the dress from Valentino Haute Couture 2014.
Sketches:
Pattern-making process:


Completed Muslin:


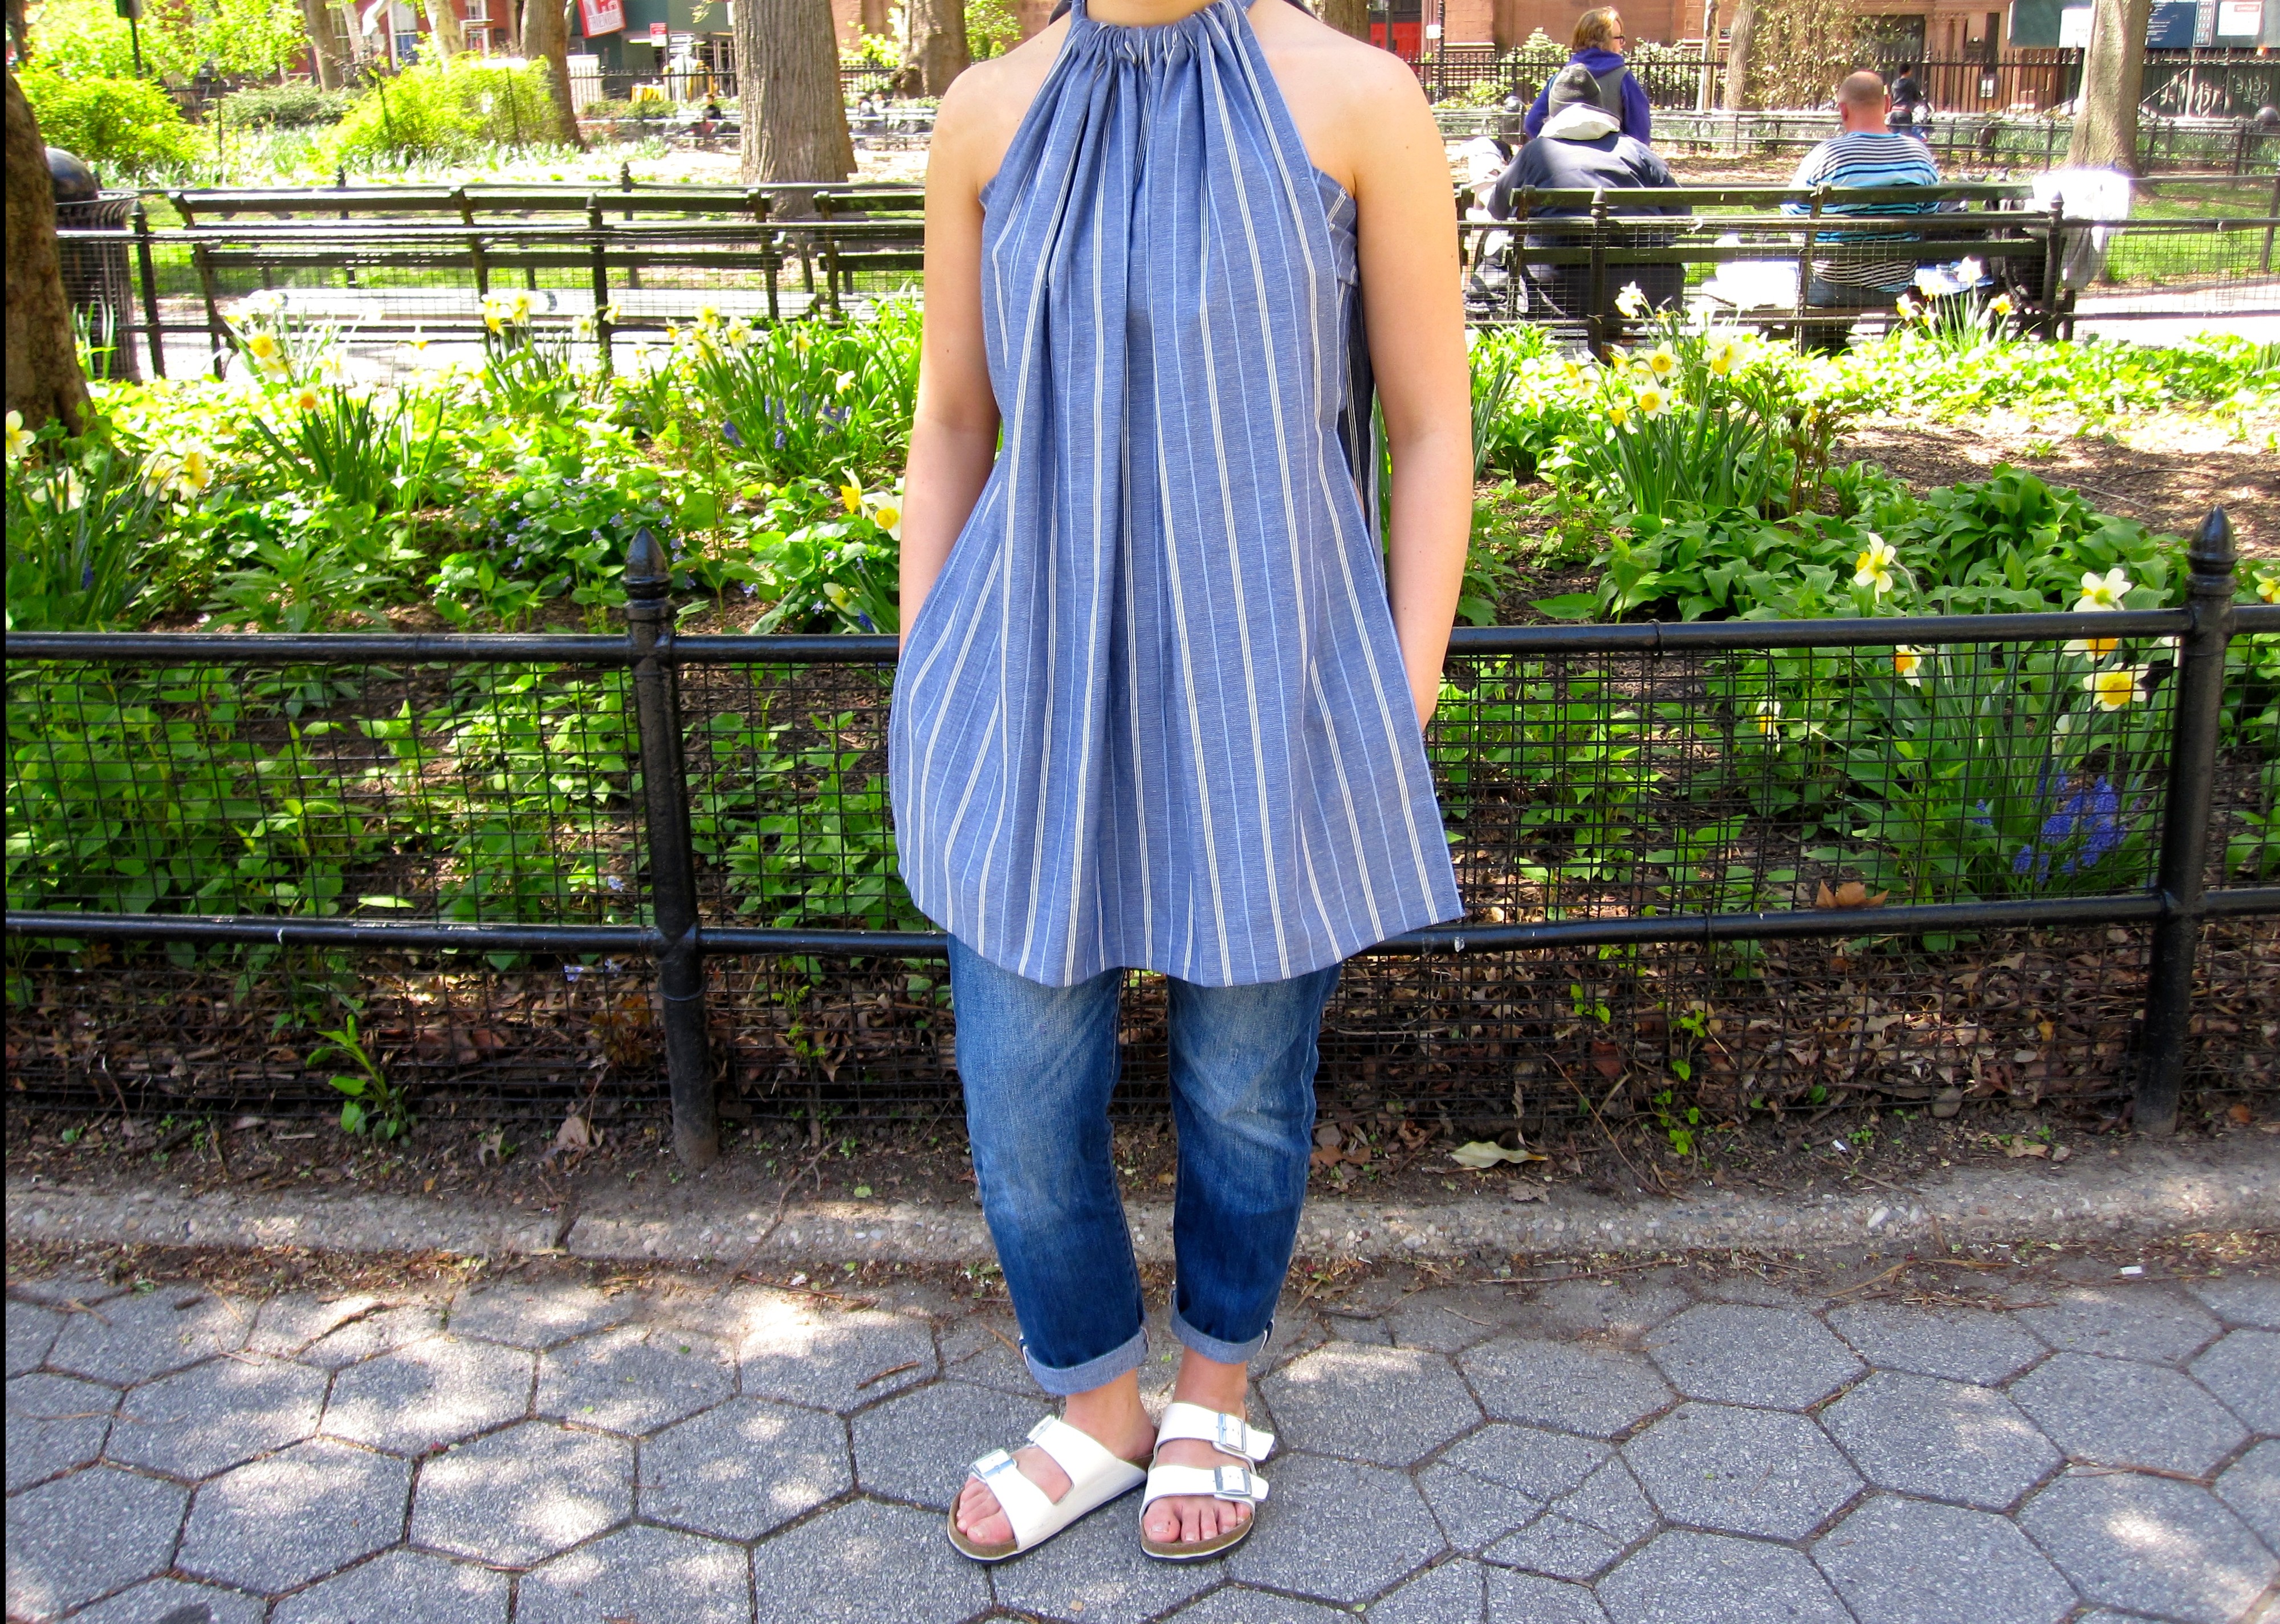
Fabric Choice:
I chose a cotton striped shirting fabric for my garment. This fabric has a woven striped pattern that alternates three small white stripes and one thin light blue stripe against a washed out blue background. The background color has this washed out effect because white and blue threads are woven together to create the textile. The warp threads are blue and the weft threads are white. I chose this light cotton fabric that is typically used in men’s shirting because it has structure but also has a soft quality that allows it to drape nicely. This drape will work well with the design of the cinched neckline. I also think the more traditional striped shirting fabric mixed with a modern design creates a sporty garment that can look casual or dressy depending on the other garments it is paired with.

Process:
Sewing Instructions Powerpoint- Zero Waste Garment
Final Process Reflection:
Throughout the final process I faced challenges in which I had to alter the garment to create a more successful fit. In the original prototype, the closure for the bodice was at the side seam. With the overlay panels, it was a better idea to cover the closure and make it at the center back so the panel would hide it. In order to create this closure at the center back piece, I had to cut the back panel in half and there was not enough seam allowance. I took out the back darts and used this fullness for the seam allowance with the closure at the center back. To close the garment, I used hook and eye tape and sewed it along the inside of the garment so the pieces are successfully meeting. I had to resew these to make the fit perfect because the waist needed to be tapered towards the bottom. To execute this, I turned the seam in more towards the bottom so it created a diagonal line. Another challenge was tacking the front panel to the bodice because I wanted it to lay perfectly flat, but the back was more of an issue and I decided to leave it untacked in the back. This way, the panel flows behind the garment and the front piece remains tacked and creates a slight hourglass shape. Overall, I think the hardest part of the garment was creating a pattern using the entire yardage because I based the shapes of the pattern off of the amount. Thinking about this technically and conceptually was a challenge, but I tried to think geometrically and use techniques like the gathered cased with a strap to create a shape. The end result was different than what I expected to design, however, I think I ended up with a successful and original design that can be very wearable.


