For this project we had to work on our manifesto and create a t-shirt and small token for our classmates that represents it.
I chose to embrace contradicting and conflicting beliefs inside me, I chose to embrace different personalities I have and find balance within me.
Masculine, feminine. Listen people, listen your heart. Be alone, be connected. Be patient, make fast decisions. Trust life, question everything. Live now, remember past, create future. Embrace my multiple personalities, find a balance. Combine intelligence, emotions and spirituality. Share your knowledge. Inspire and be inspired. Be happy.
I decided to work with soft circuits, as a good representation of conflicting mediums. I made a research and decided to have a heart sensor, that measures a heart beat and gives a signal to led lights for visual representation. Soft circuits is still relatively fresh experimental field, electro conductive thread has some challenges in working with, also there is a question in how to attach a battery pack, not all electronics have little holes to sew them to fabrics. Also when you permanently attach board to a fabric, you can’t wash it. There are companies now working on series of electronics to make them detachable to solve that.
I picked up my old fav shirt, and started by mapping electronic parts on it to fins best location. I also had to solder wires to heart sensor receiver. I had only 12 sewable LED’s, as they are still quite expensive and also it takes a lot of time to attach. I experimented with different possible positions and ended up choosing circle or sun symbol, I made a fast pattern in illustrator and printed it out to position lights on t-shirt.

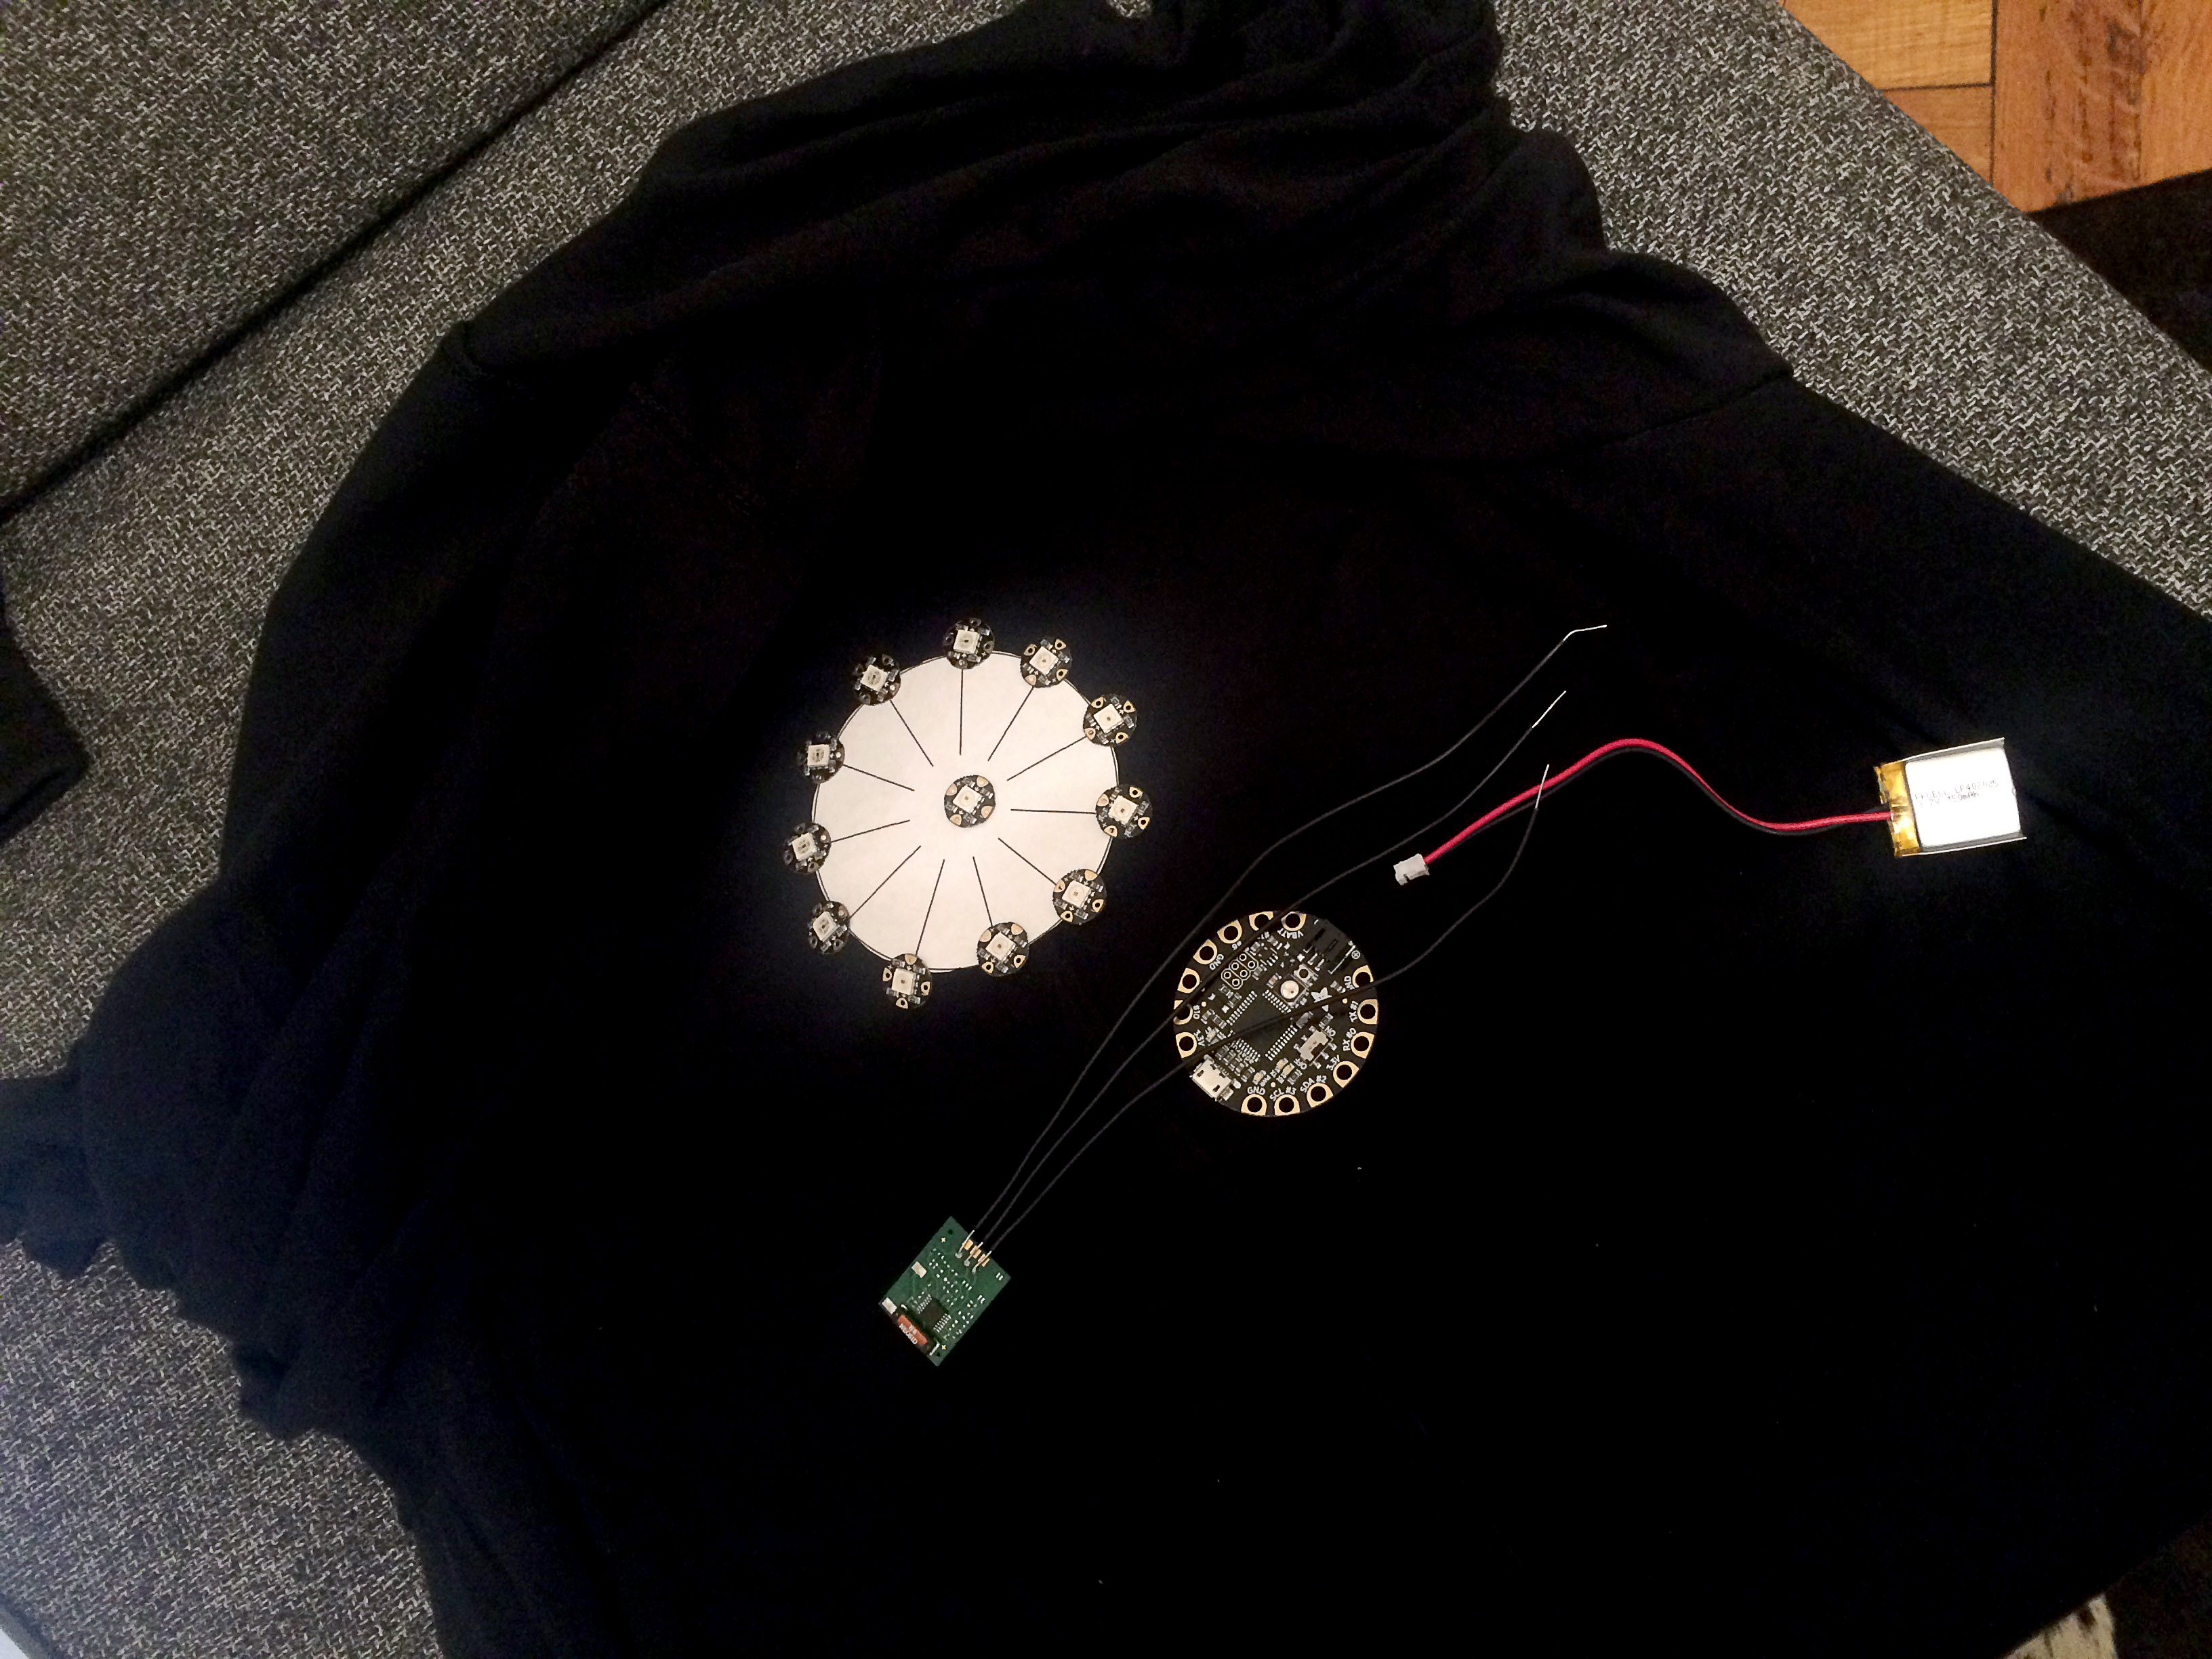
After I was happy with LED’s position I started to attach them. These LED’s are addressable which means they can be programmed to be different colors. That means there are 3 paths for sewing.

I uploaded the code to Flora chip I took from Adafruit website, and changed number of LED’s as they were using less.
/*
Heart Rate Badge with heart-shaped neopixel display
written by Becky Stern for Adafruit Industries
Based on sample code from http://learn.parallax.com/KickStart/28048
*/
#include <Adafruit_NeoPixel.h>
// Parameter 1 = number of pixels in strip
// Parameter 2 = pin number (most are valid)
// Parameter 3 = pixel type flags, add together as needed:
// NEO_RGB Pixels are wired for RGB bitstream
// NEO_GRB Pixels are wired for GRB bitstream
// NEO_KHZ400 400 KHz bitstream (e.g. FLORA pixels)
// NEO_KHZ800 800 KHz bitstream (e.g. High Density LED strip)
Adafruit_NeoPixel strip = Adafruit_NeoPixel(12, 12, NEO_GRB + NEO_KHZ800);
//Definitions
const int HR_RX = 2;
byte oldSample, sample;
void setup() {
strip.begin();
strip.show(); // Initialize all pixels to ‘off’
colorWipe(strip.Color(20, 0, 0), 50); // Red
Serial.begin(9600);
pinMode (HR_RX, INPUT); //Signal pin to input
Serial.println(“Waiting for heart beat…”);
// Wait until a heart beat is detected
while (!digitalRead(HR_RX)) {};
Serial.println (“Heart beat detected!”);
}
void loop() {
sample = digitalRead(HR_RX); //Store signal output
if (sample && (oldSample != sample)) {
Serial.println(“Beat”);
heartBeat();
}
oldSample = sample; //Store last signal received
for (volatile int i=0; i<strip.numPixels(); i++){
strip.setPixelColor(i, strip.Color(20, 0, 0));
}
strip.show();
}
// Fill the dots one after the other with a color
void colorWipe(uint32_t c, uint8_t wait) {
for(uint16_t i=0; i<strip.numPixels(); i++) {
strip.setPixelColor(i, c);
strip.show();
delay(wait);
}
}
void heartBeat (){
Serial.println(“heartbeat”);
for (volatile int i=0; i<strip.numPixels(); i++){
strip.setPixelColor(i, strip.Color(255, 0, 0));
}
strip.show();
delay(10);
}
Here I tested one LED by connecting power and ground before going further with sewing.

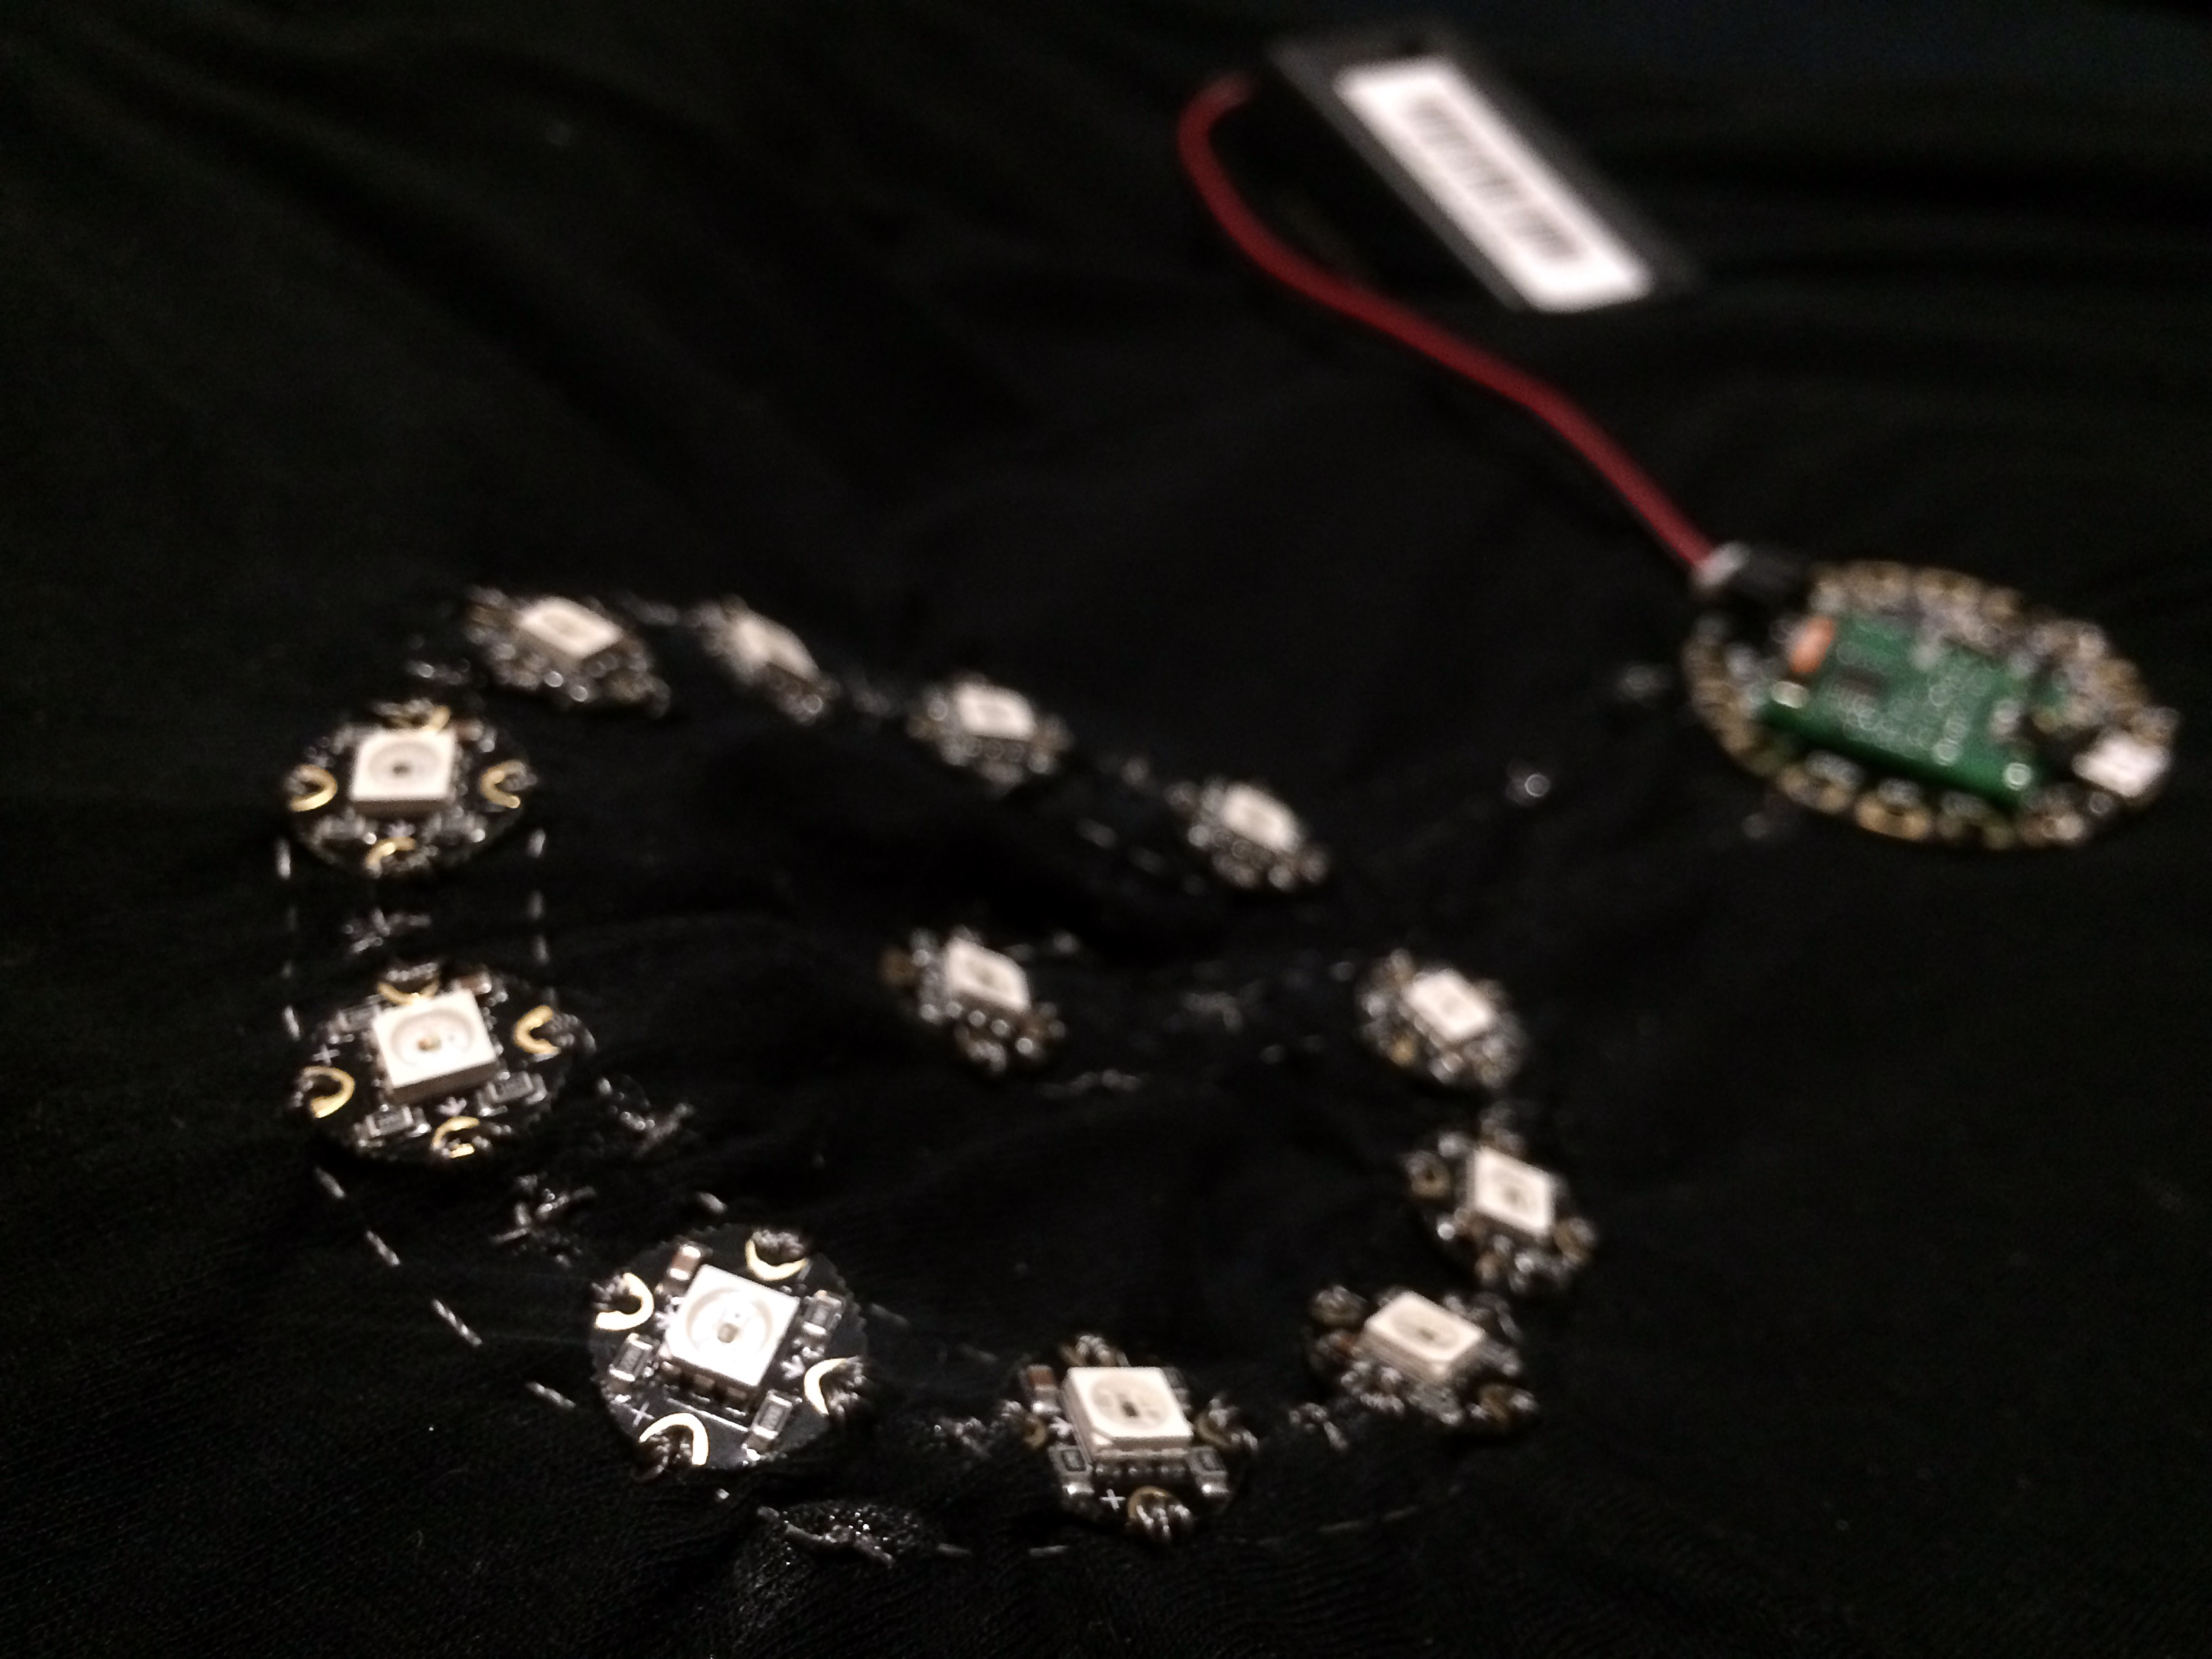
Here is a circuit before the battery was attached.


This short video shows LED’s blinking synched to heartbeat:
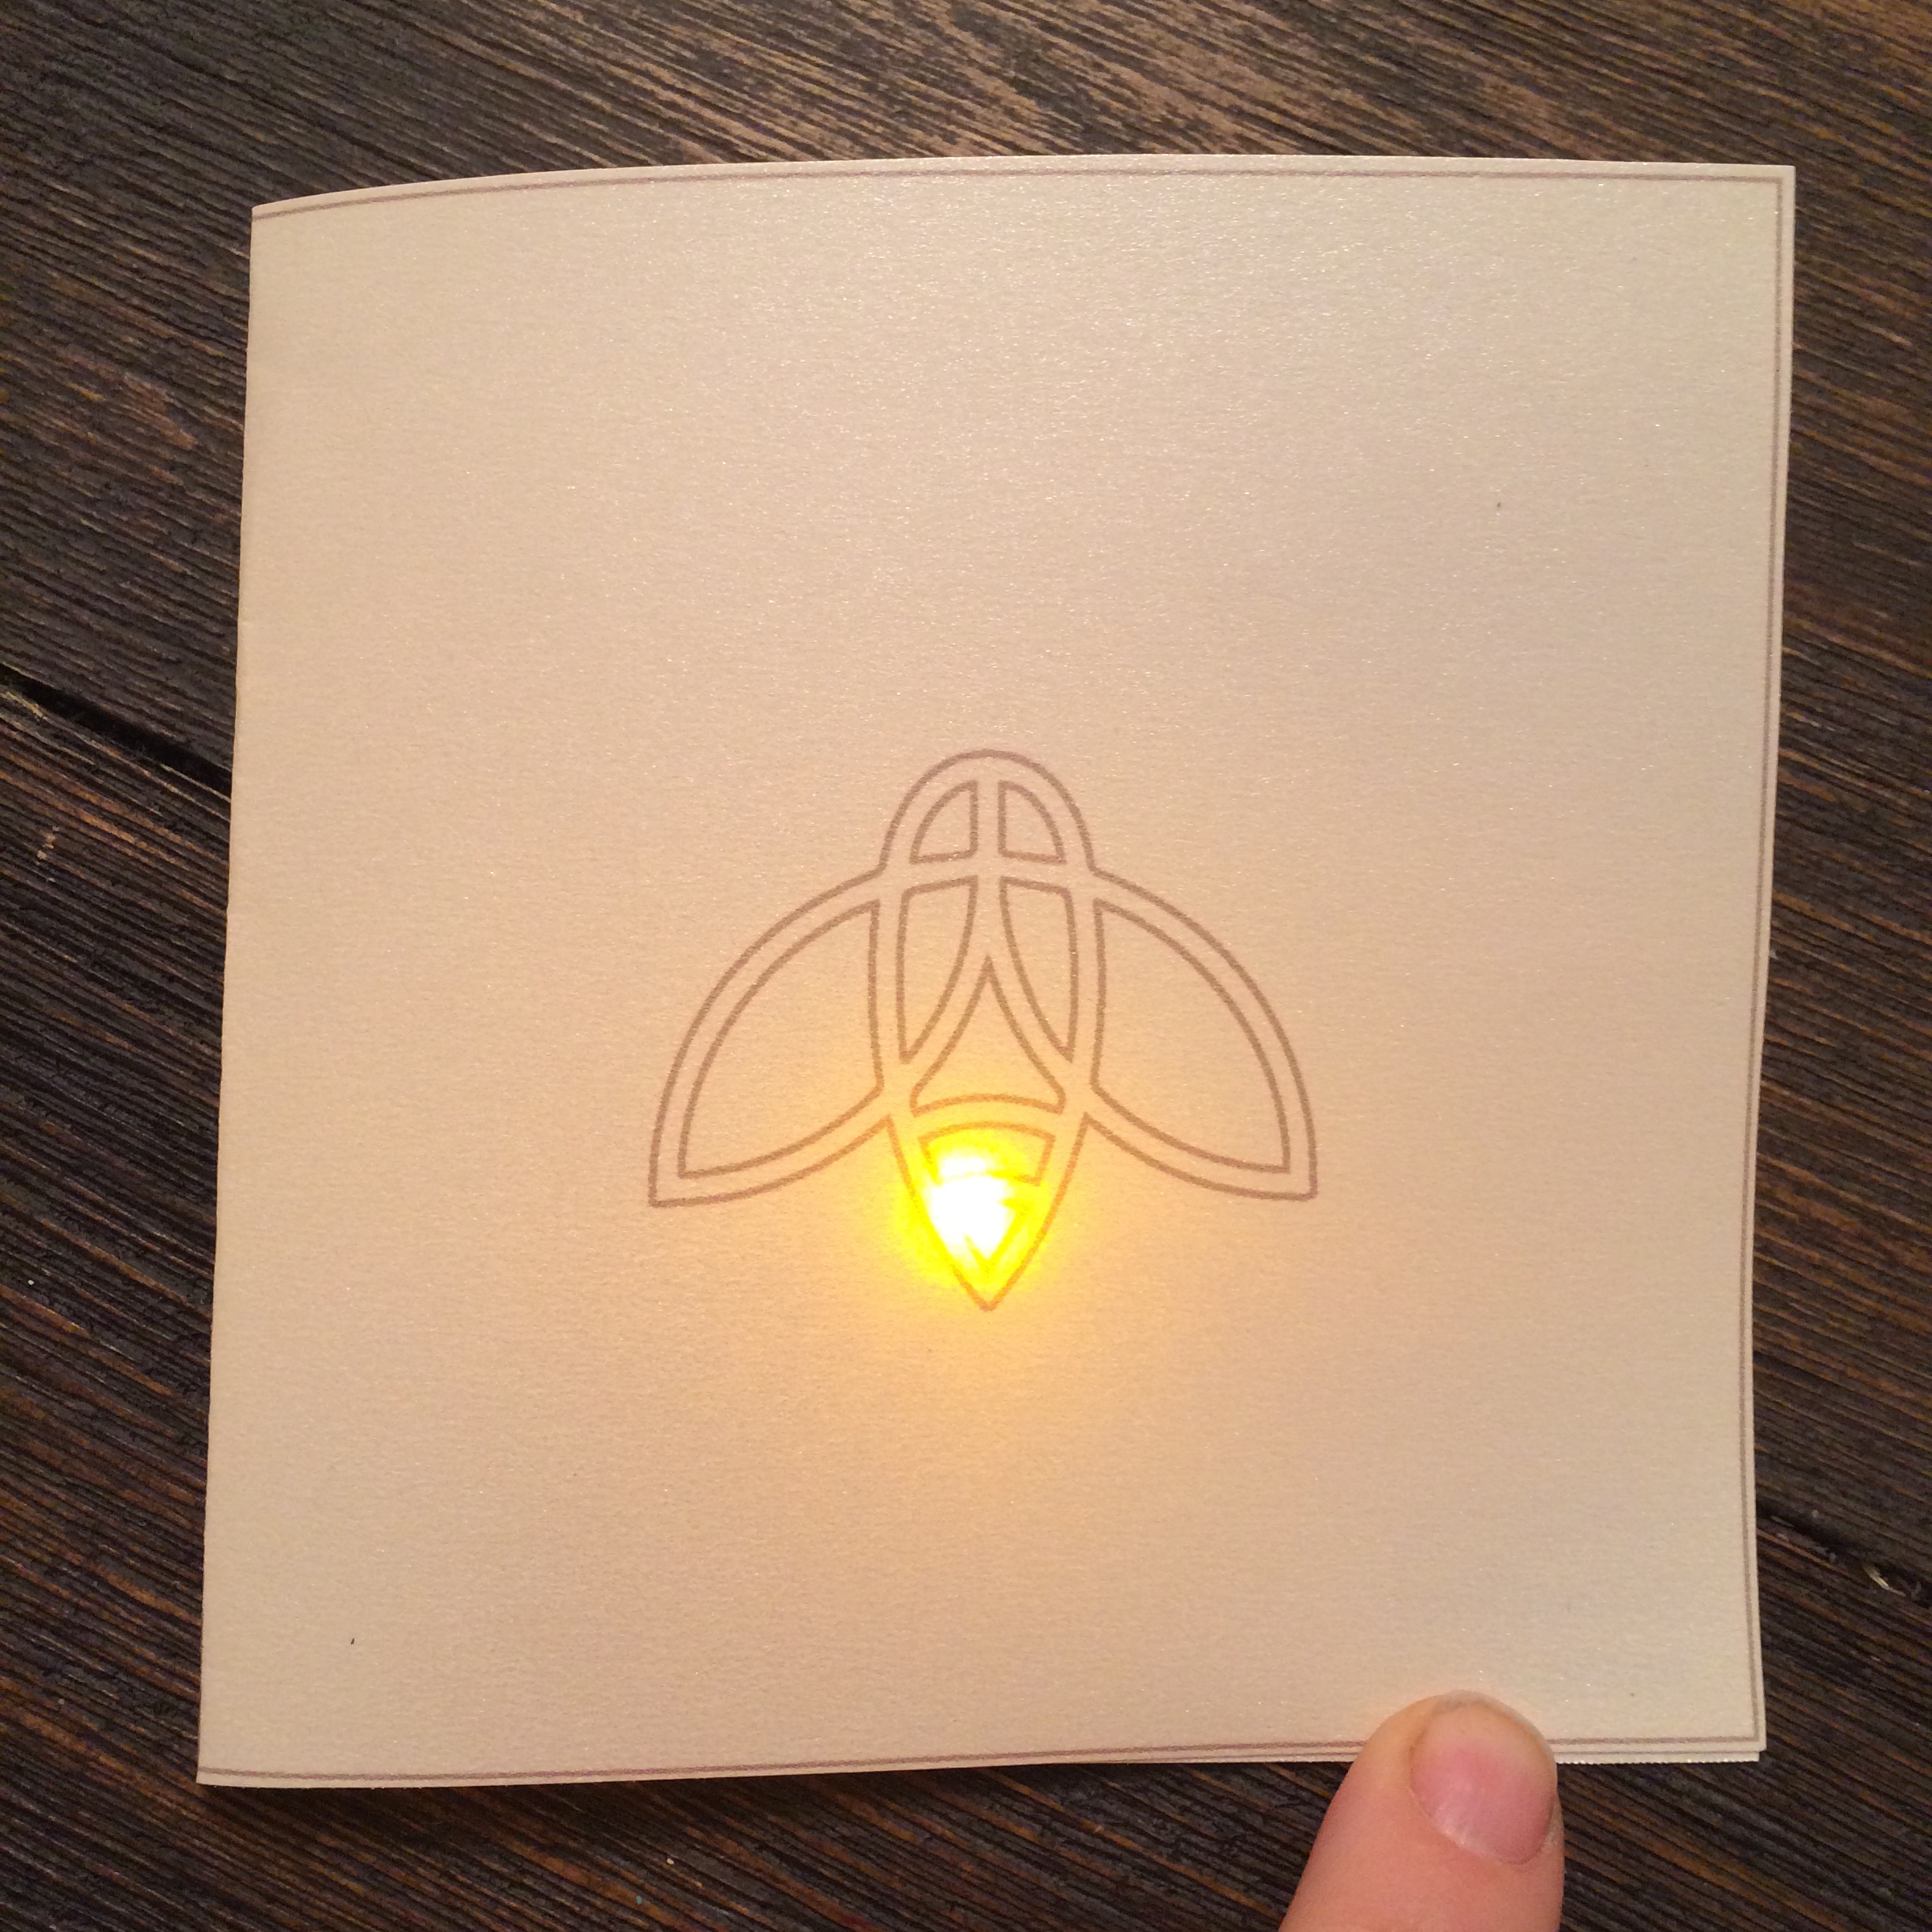
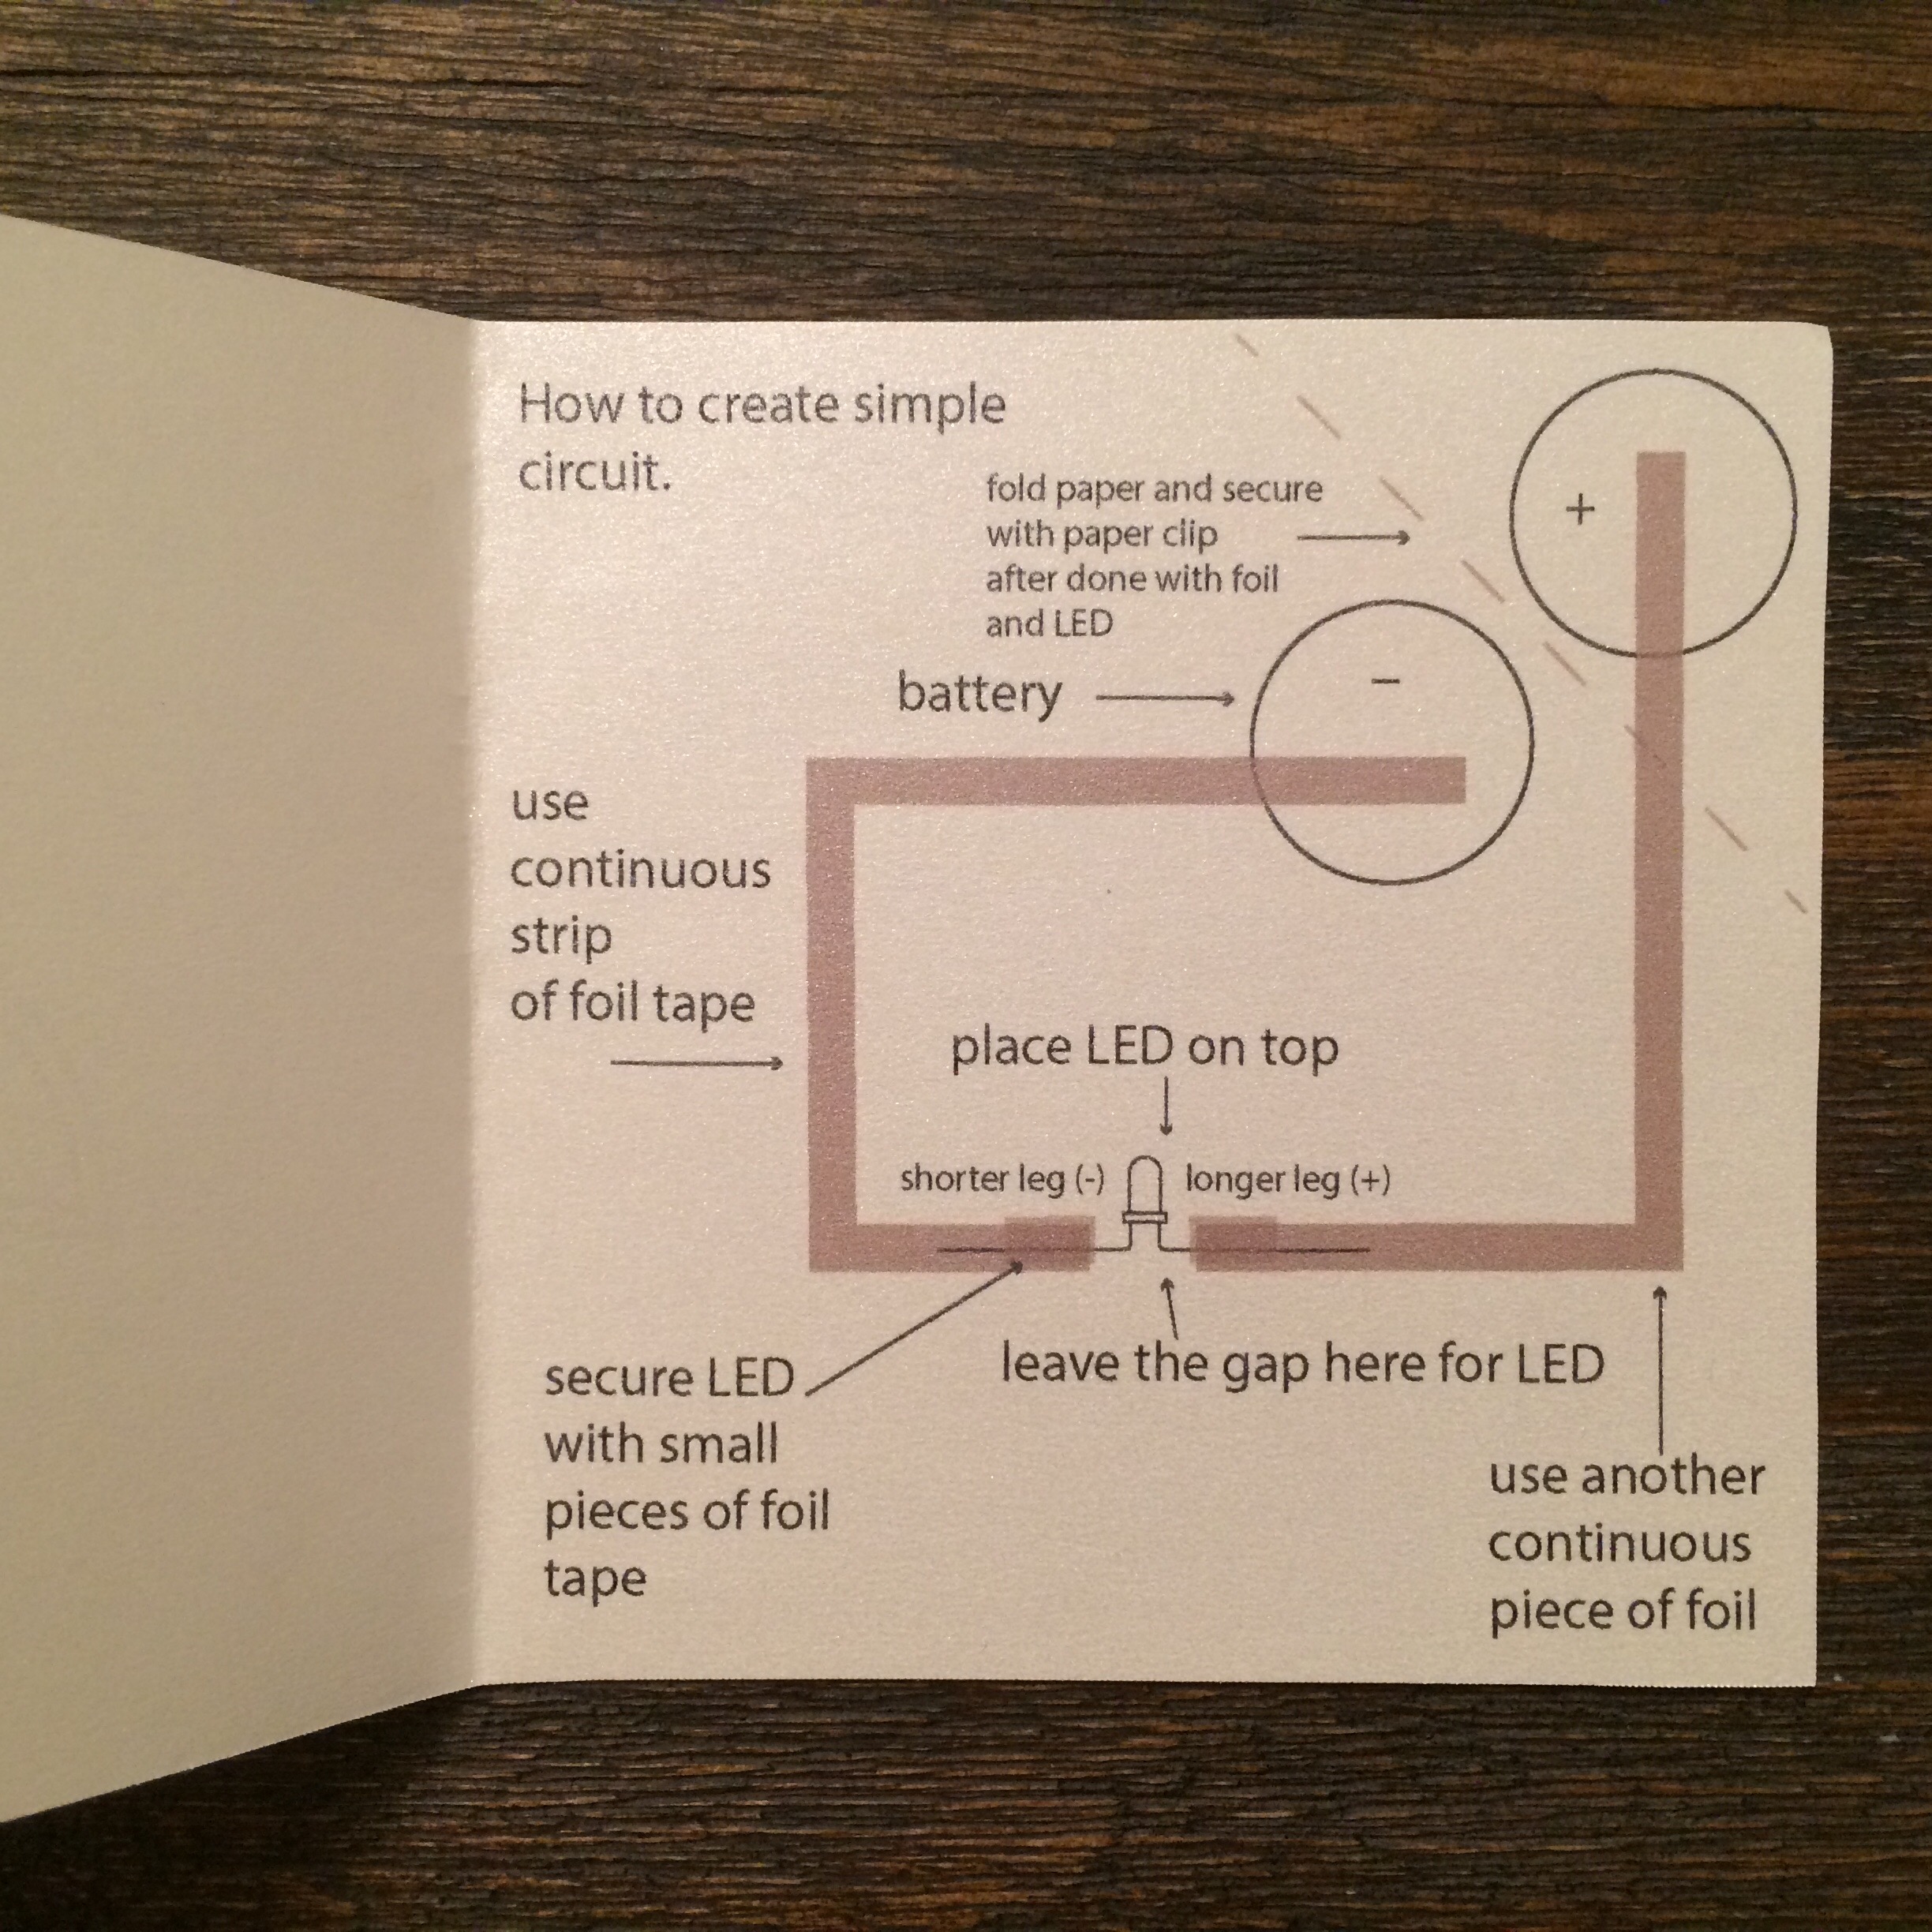
I decided to keep the circuit idea for my tokens design. I think a lot of people can’t begin working with electronics thinking they have to be engineers, and actually it’s relatively easy to include simple electronics in your designs, that’s why I wanted to create little interactive postcard, which will have all components and descriptions needed to create a simple circuit.
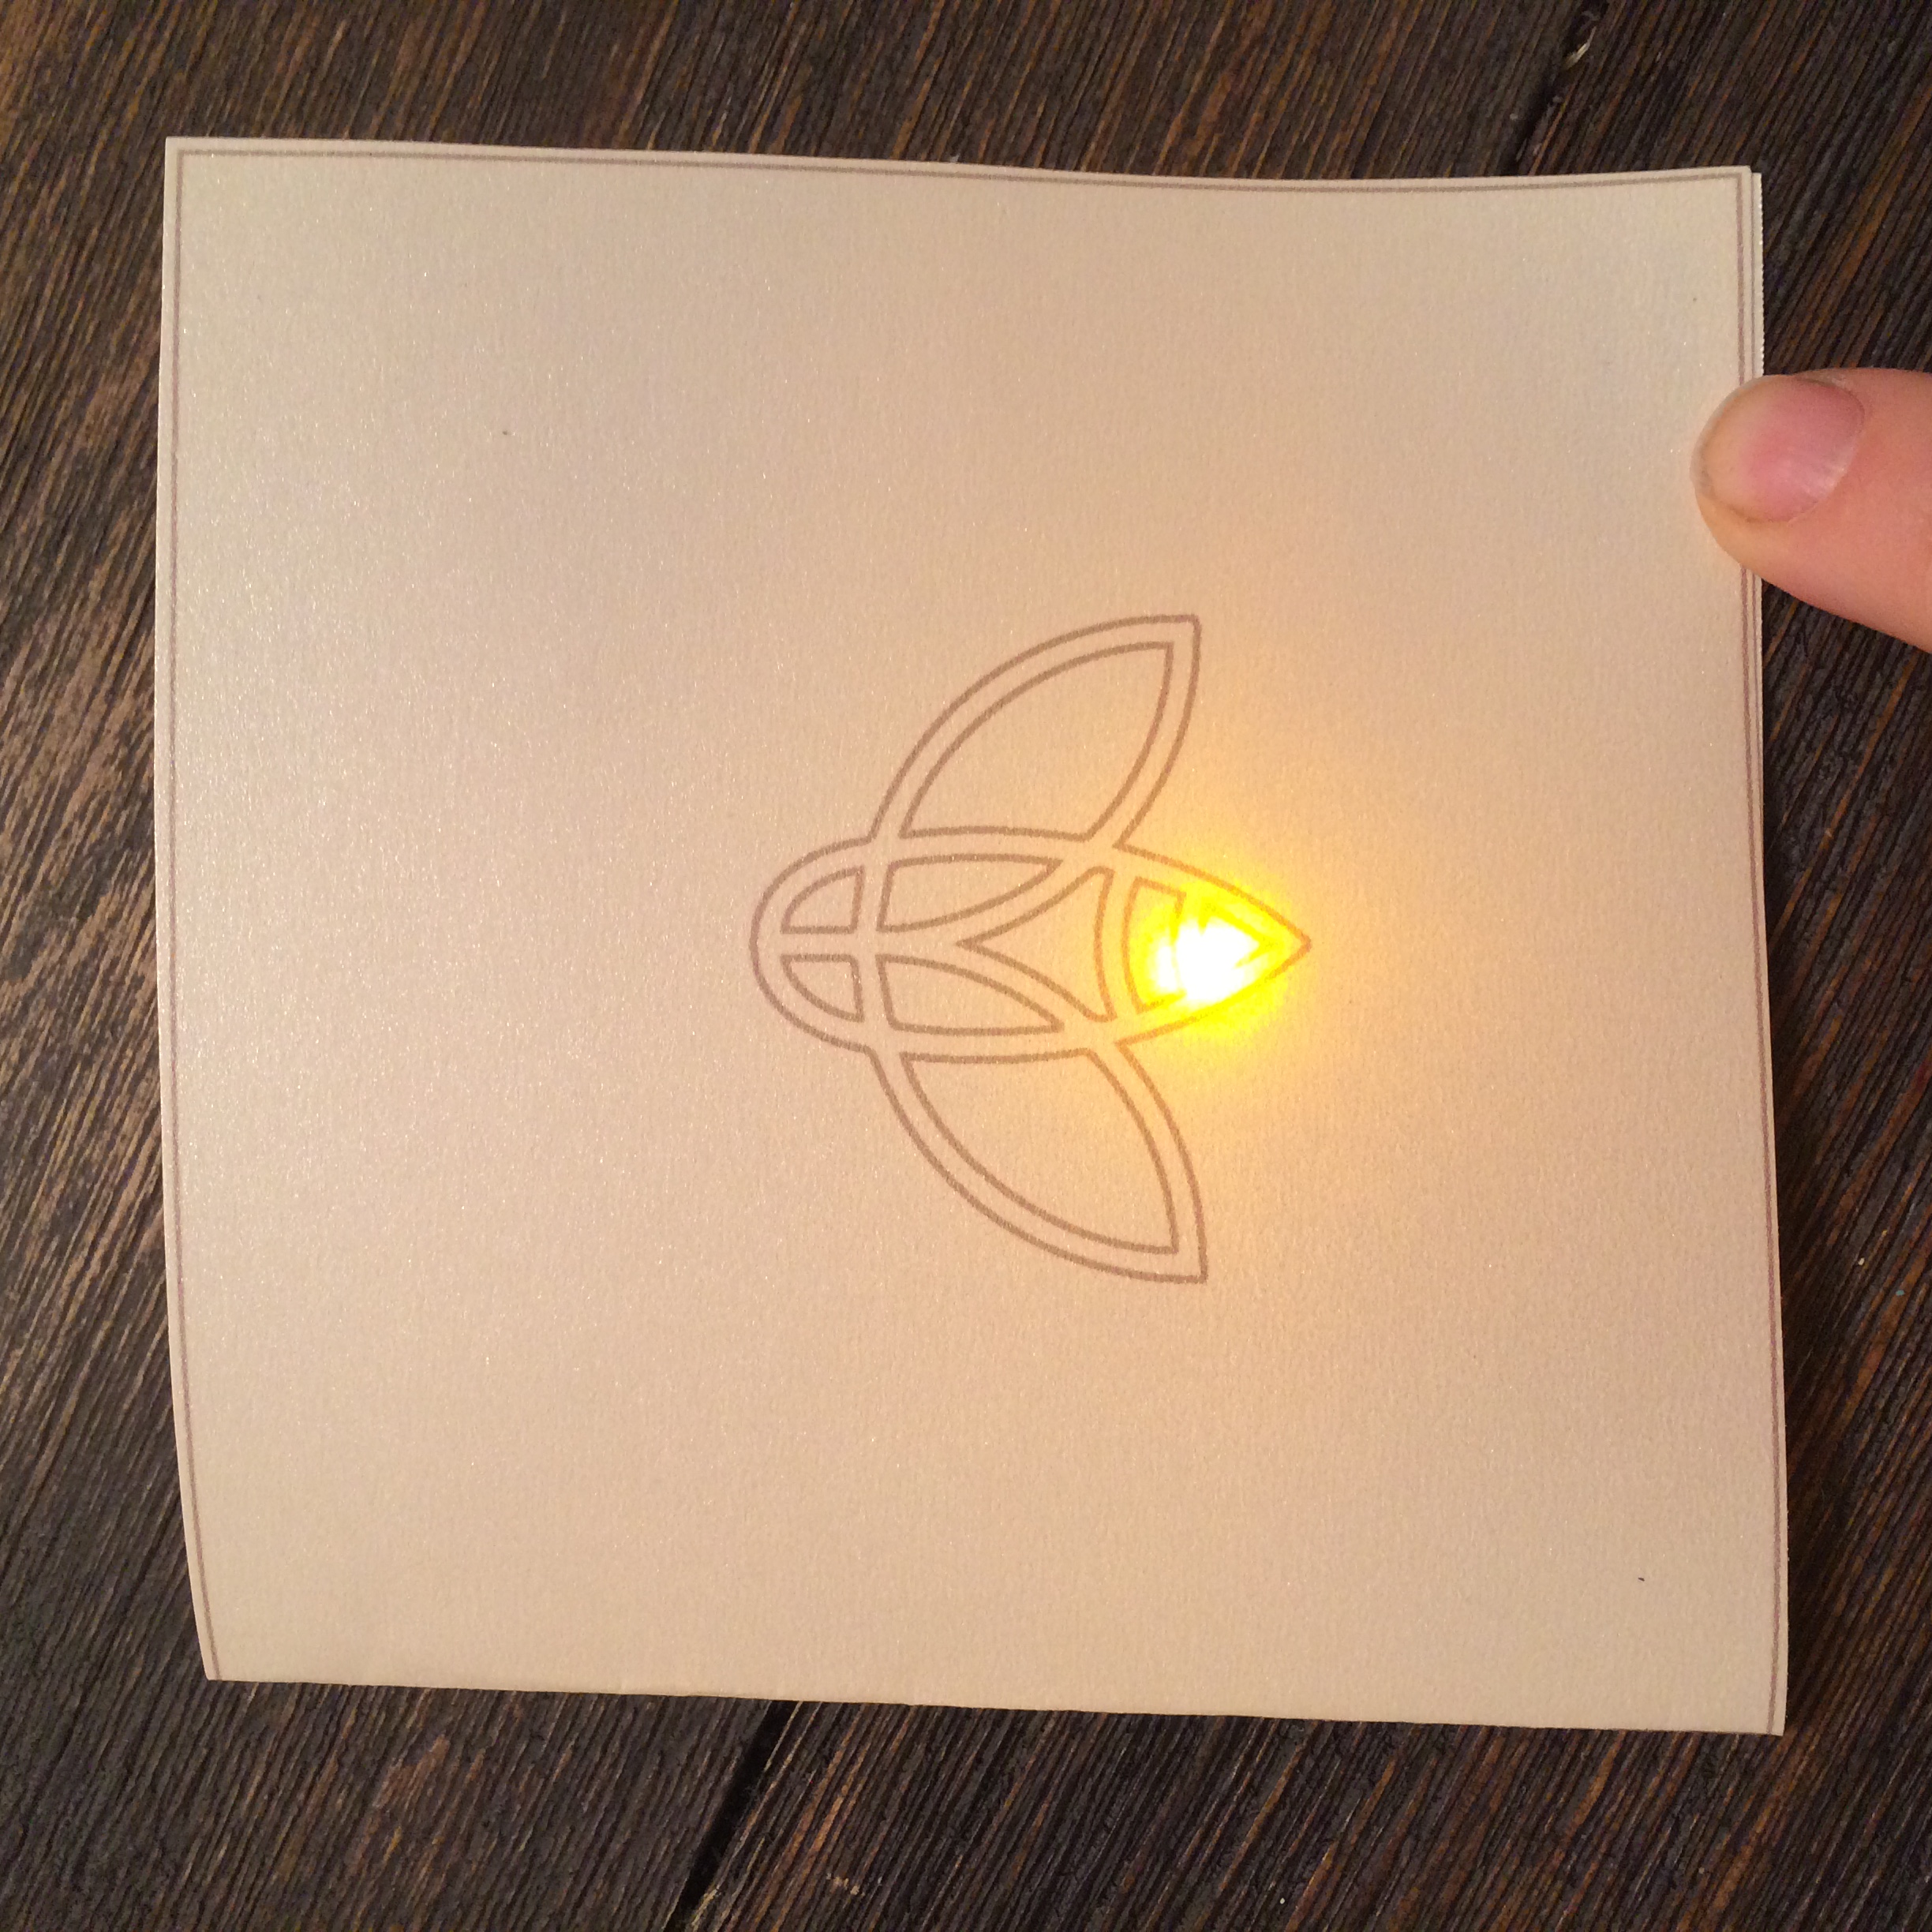
I chose butter gold shine paper and a fire bug for the cover. I think we associate fire bugs with magical moments.

Here are circuit instructions:
And parts:

Here how it looks assembled: