This class blog is created through CampusPress.
This is basically WordPress which is a blogging platform, but it is run through the New School network. This is similar to the way that our Google Network exists within the New School.
You may already be using a blogging platform or something similar (Blogger, Tumblr, WordPress.com, etc) so much of the logic of this platform may not be surprising to you, but it may take a little bit of getting used to. WordPress is a little more complicated than a service like Tumblr, but this is primarily because you have more options. Every platform has its advantages and disadvantages, but here are a few advantages of WordPress:
- You have more control over the look of your posts and pages
- You have greater flexibility to build in navigation that makes it behave like a website
- You can export your site and upload it on your own server if you like.
How to create posts on this blog
Each of you have the ability to post content to this blog as Authors.
This means that you can upload files plus write, publish and edit your own posts. You can’t modify anyone else’s posts. If you create your own blog you have the role of administrator which means that you have TOTAL CONTROL.
Creating a post on the Time Blog
you can get a pretty thorough overview on posting on wordpress here
Publishing Your First Post it includes brief videos on creating a new post and using the post editor.
Here are a few specific notes from me:
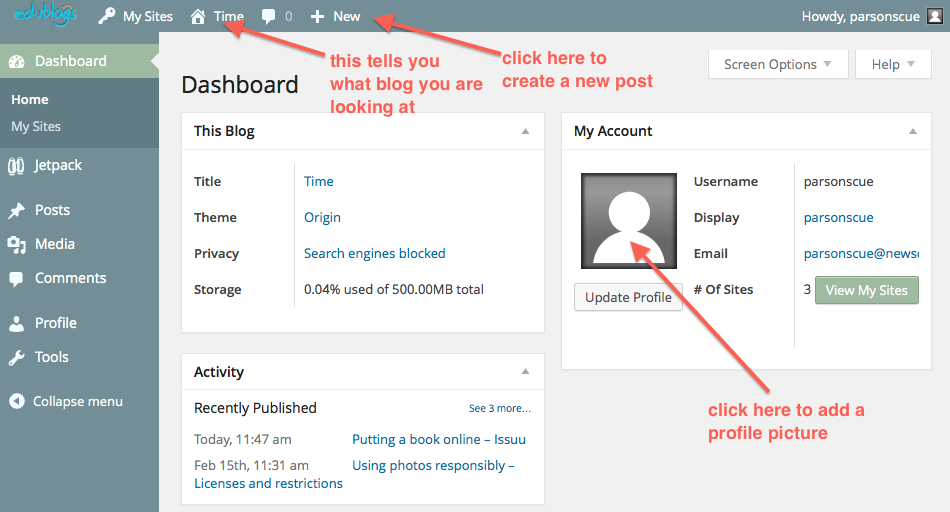
The Dashboard
This is basically where you have access to the tools. You can modify your profile, add or edit posts, add media, etc. If it is your own blog, you would use the dashboard to edit the look and feel of your blog. The easiest way to create a new post is to click the + New at the top of the interface.
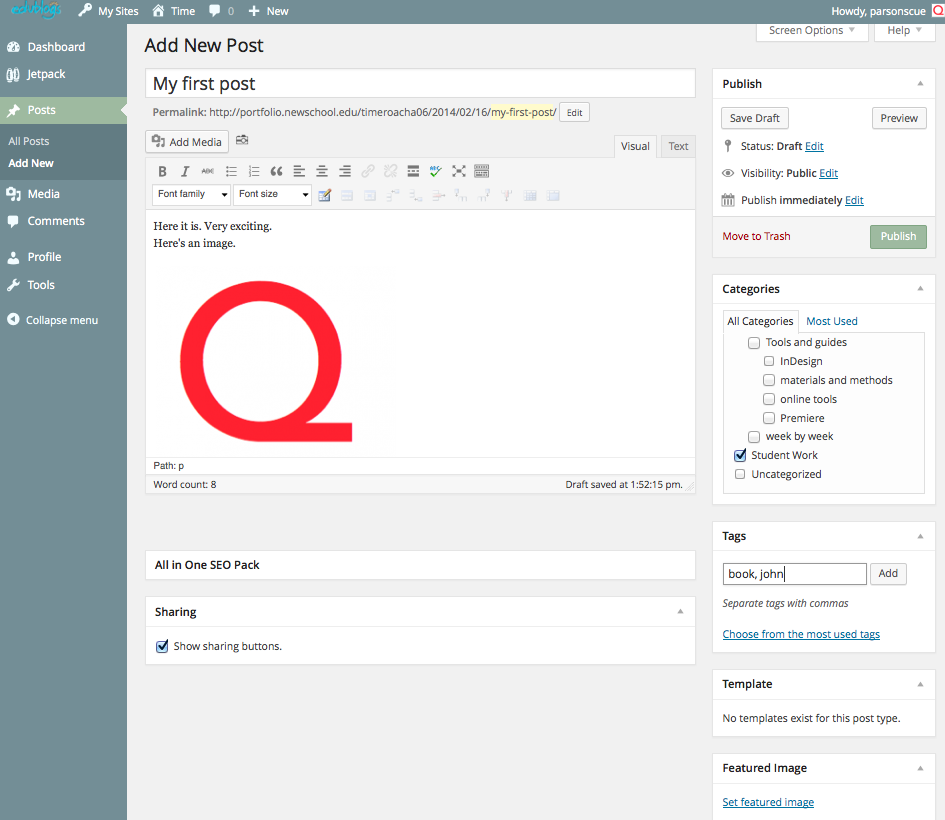
When you add a new post here’s the new post window.
- Be sure to give your post an appropriate title.
- Use the visual editor to add content.
- To add images, use the Add Media button.
Do not upload any images larger than 1MB!
A few notes about adding content
- Use the visual editor to add content including images via the “Add Media” button.
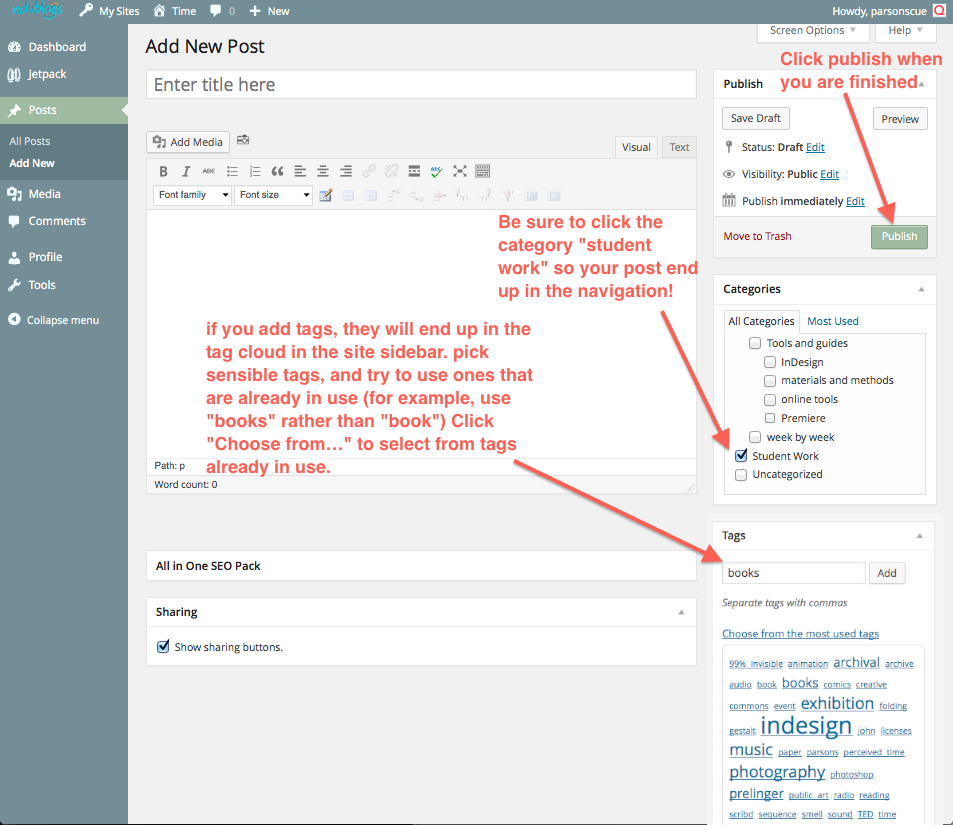
- be sure to select the category “Student Work” This is important because it will put your post into the right part of the blog.
- Add tags
- Be sure to either click Publish to put your post on the blog of Save a Draft to complete later.


