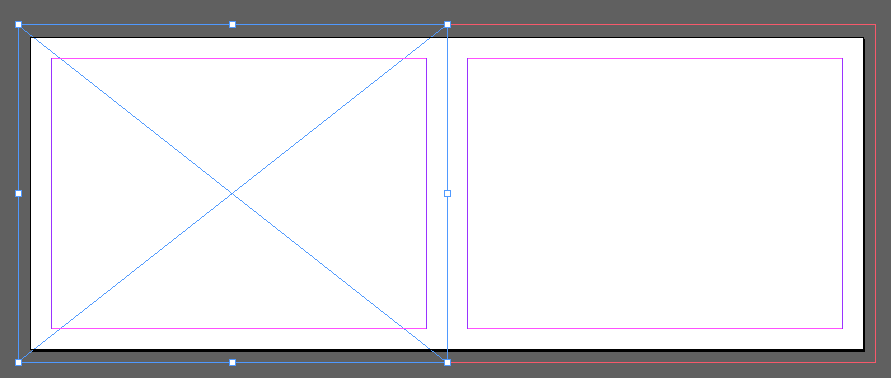
These are directions to create a small booklet in InDesign. The details are specific to the project we are doing in class, but the instructions are applicable to any other printed book project you might like to do. The trick is that the way a book is printed and the way you lay it out visually are different. This is because the pages themselves are folded, stacked and then stapled in the middle of the fold.
The way the content or artwork is organized sequentially is called pagination. To put it simply, the pagination in your design file and the pagination in the file that will be printed need to be different.

notice that when you take a booklet apart the facing pages are not consecutive.

In this illustration you can see the front and back page numbers.
Steps in this tutorial
1. The details of the book
2. Setting up your document
3. Creating pages in your book
4. Add artwork frames to your pages
5. Use Bridge to add images to your pages
1.
The details of the book. The book itself
is small and has artwork on every face.
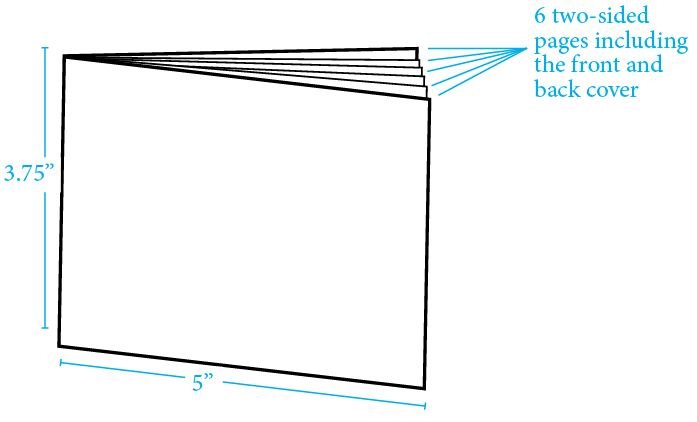
- The book dimensions will be 5″ wide by 3.75″ tall.
- The book has a total of 6 physical pages when assembled.
- Each page has artwork on the front and back.
2.
Setting up your InDesign
file for your book layout.
Change the units to inches
Go to the InDesign Preferences and select “Units and Increments”
Because we are creating a 3.75″ x 5″ book we should change the units of measurement so we know what we are doing! It’s hard to measure in picas!
In the Units and Measurements preferences change the ruler increments to inches.
Once you do this it will change all of the measurements in InDesign to inches.

Create a new document
In the “File” menu, pull down to NEW and select “Document”
Enter the right dimensions for the document
In the “New Document” window be sure to enter the following
- be sure Facing Pages is checked
- in the “Width”, type 5
- in the “Height” type 3.75
- in “margins” type .25 (that’s 1/4 of an inch)
- click the little triangle in front of “Bleed and Slug” to reveal these options.
- type .15 for the bleed.
(wait, what is bleed?)
The results
Click “OK” and your file should look like this:
3.
Create your pages
Open the Pages Palette.
If you do not see the pages palette in the right sidebar you can open it by going to the “Window Menu”
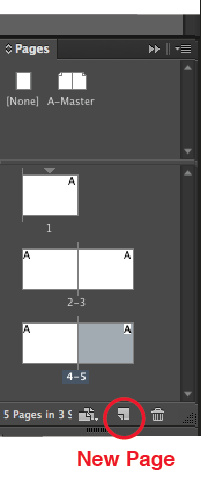
Add Pages
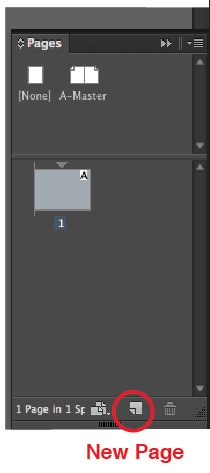
Click the “New Pages” button at the bottom of the palette.
Click the button repeatedly until you have 12 pages total.
Notice that:
- the pages are numbered.
- there are single pages at the top and bottom of the palette (pages 1 and 12)
- the remaining pages are paired and appear side by side in the palette, these are called “spreads”
more here about pages and spreads
 |
 |
4.
Add frames for your images to your pages
Create rectangle frames to add artwork
There are many ways to add artwork to a layout, but this is a good method for a book layout like this.
Frames are containers that you place artwork into.
- Select the rectangle frame tool and draw frames where you would like your images to appear.
- If the artwork is meant to extend the edge of the page be sure to create your frame to the red bleed lines.
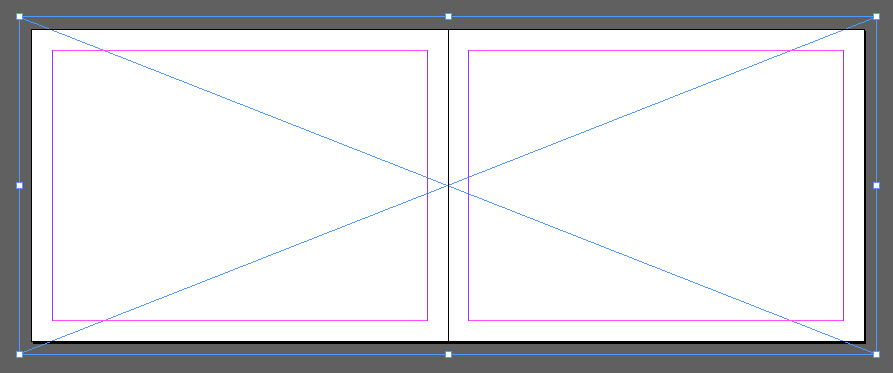
- You can extend a frame across two pages, or a spread.
5.
Using Bridge to add images
Open Adobe Bridge and locate your folder of images
There are many ways to add artwork (for example File Menu > Place) but this is a very simple method for adding images by dragging and dropping. You can use Bridge which is a standalone image management app or you can even open the very handy Mini Bridge right within InDesign (Window Menu > Mini Bridge)
Drag and Drop onto a frame
Locate an image in Bridge and drag it onto a frame on a page.
Drag and Drop onto a Spread
If you create a frame that cuts across a spread you can drag an image across these two pages,
6.
Add text
Use the text tool in the tool palette to create a text box.
Note that unlike Illustrator, you HAVE to create a box for text to flow in to.
7.
Re-paginate your book
Here’s where the magic happens.
Remember that the layout file (which has all of the pages in a logical viewing order) will need to be different when you create your print out for a final assembly into an actual book. Thankfully InDesign has a nice feature called Print booklet
In the Edit Menu select “Print Booklet…”
Set the file up to create a PDF (not print!)
In the window that appears, first click the Print Settings. In order to create a PDF you’ll need to create something called a PostScript file. To do this you need to choose a printer.
In the Print Settings Window, in the “General” tab:
- Choose “Printer: PostScript File“
- Choose a PPD. This is actually the driver for your printer, it determines how a file is “ripped” or formatted to actually come out of a printer.
- What if you don’t have a PPD????
This problem is simply that you haven’t set up a printer yet. You’ll need to install a printer before continuing.
Your best bet is to go ahead and set up your printer for wireless printing at the New School. The instructions are HERE. You’ll need to download the software, which you will find on the links on the left side of the Wireless Printing page.
The Settings
Here are the various settings in the Print window that you can use to create your file (click an image to see it larger):
When you are Done, click OK.
This will bring you back to the Print Booklet window.
Some Book-Related Resources
How to bind a book.: a 10 step guide
This is a different method, it uses InDesign, but the pages are printed individually instead of as spreads and it is not saddle stitched, but instead uses a Japanese method of stitching.
How to Make a Book : Saddle Stitch with Thread
Here’s a good video about saddle stitching a booklet via youtube.
Book making tutorial links
Sadly some of the links here are broken, but it is a great resource nonetheless.
Book by its cover
Book By Its Cover is a site devoted to showcasing creative publications. While digital media is flourishing, this site hopes to bring attention to the beauty of the printed page.
Japanese Bookbinding
Good site for many Japanese methods of bookbinding.


