Transparent Illusion
–What is a short overview of the assignment(s)
Transparency, scale, placement, and perspective was considered.
Cut out the stickers and placing them on to a surface, so we see what you want to make a part of your life. Images will be placed on the transparent acetate
-Personal purpose?
My purpose with my first design was to remember my dogs who I miss a lot, they are back in Peru and they are very active that why I decided to put wings on them and place it on my window.

My second designs were a bird that I located on the corner where my hamster cage used to be. This was in order to create an illusion of the eagle about to “get’ my hamster, but in a friendly way, that’s why the eagle carries a shirt with a happy face on.

My other designs showcase a woman smoking from the window and a guy peeking over the last floor of the building they are parallel and located on the perfect distance where it creates a juxtaposition between the New York/old building background with cartoonish people. I kept the gloomy effect on the top of the image below, I think it gives more of a storytelling look and makes the audience wonder what is the guy about to do.
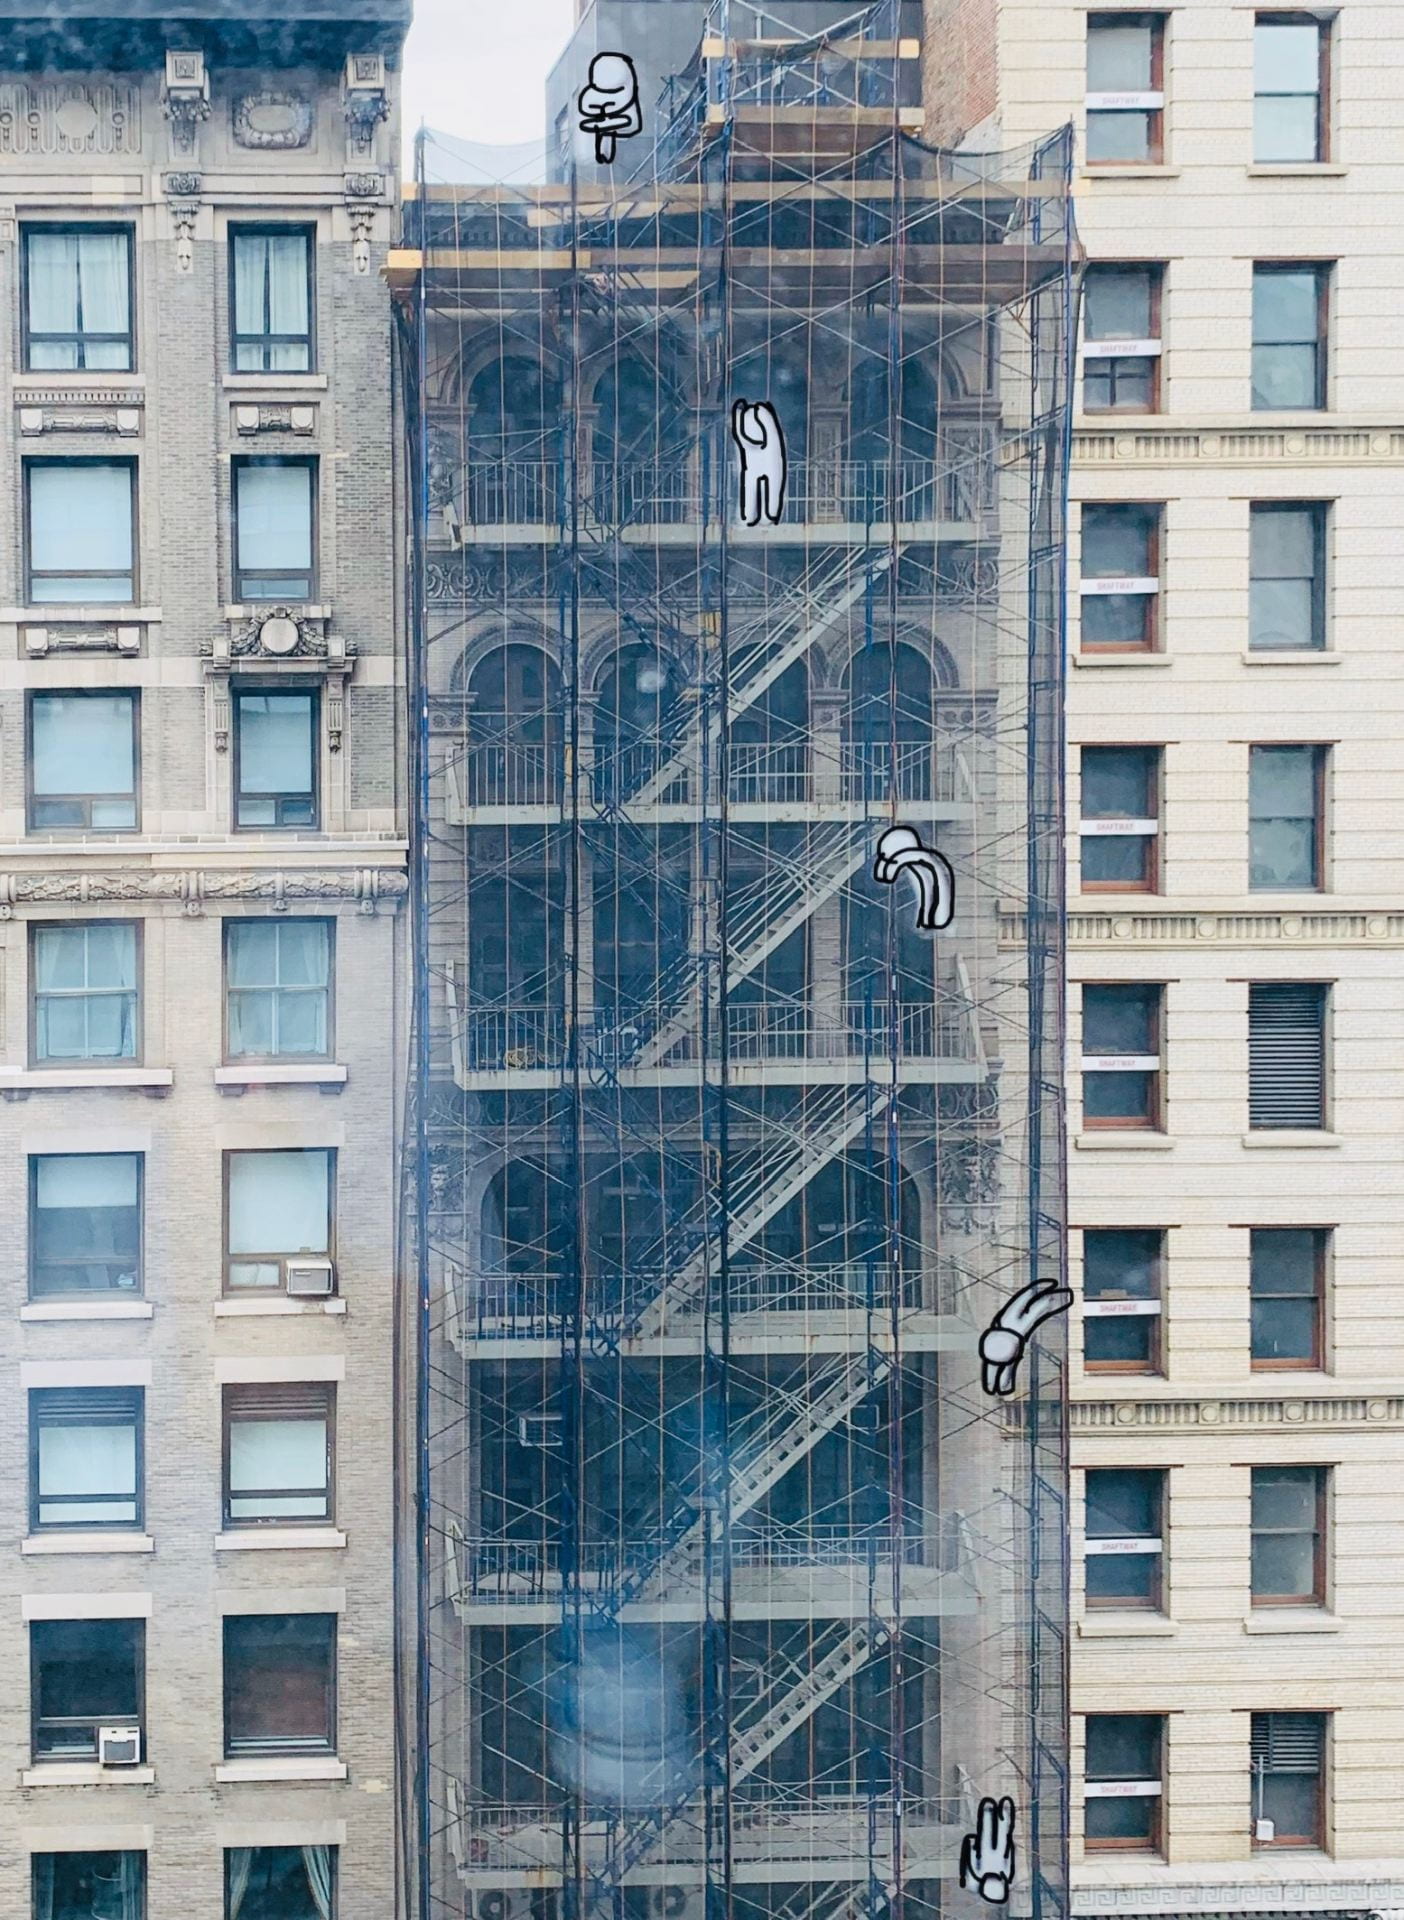
 My last design showcases little people doing different actions on a building, the top one meditates, the ones in the middle wonder and prepare to dive down, just like the bottom ones are doing.
 Tools applied on the stickers: Paint, sharpie marker, and color pens.
Steps:
2. Choose two or three windows in your home with appealing views.
3. Choose subject matter such as an object or person, which could appear as if it were part of the scenery behind a window. Come up with 3 images. Each will be used for the final. Complete the preliminary drawings in your sketchbook. The images should be in black and white lines or silhouettes.
4. Decide if you would like to draw your three concepts directly on a part of the acetate with the marker OR complete the three drawings using Illustrator and print them on the acetate.
5. Complete the assignment by taping the acetate pieces on your windows and taking photos, so we have a view into your perception of the world around you. Upload the photos and Illustrator document on Canvas before the start of class.
SUPPLIES: Inside out/sticker
 -Medium weight permanent black sharpie
–A sheet of acetate (included in the package I mailed to you) Cut the size to 8 1/2 x 11″ if you are using your printer.
-Clear scotch tape
-Sketchbook
-Adobe Illustrator
-Adobe Acrobat
-A black and white inkjet printer (if you have one) If not, you can draw by hand
-Ruler
–Straight edge
-Smartphone camera
Steps:
Choose surfaces in your home where you would not mind attaching a sticker.
Choose subject matter (such as people, places, or things), which could serve as a sticker. Each will be shown at the start of class. The images can be in black lines and any color medium you have at home.
Draw the two concepts directly on the sticker paper.
Cut out the stickers and placing them on to a surface, so we see what you want to make a part of your life.
SUPPLIES: Outside in/acetate
 -Medium weight permanent black sharpie
-Two sheets of sticker paper (included in the package I mailed to you-hopefully)
-Adobe Illustrator
-Adobe Acrobat
-A black and white inkjet printer (if you have one) If not, you can draw by hand
-scissors or cutting knife
–cutting board
-the color medium of your choice
-What did you focus on? Concept? Goals?
I focused on mixing the cartoonish look with real life, I worked with the concept of contrast this was the correlation between the acetate and the sticker designs as the cartoonish look in my designs is consistent. To achieve this goal I made sure that all borders and details that my designs have were traced with a sharpie pen.
-How do you feel about the outcome(s)?
I really liked the outcome and enjoyed taking pictures of it, the different gradients and filters one can put on the design really change the overall feeling that my designs give, I think this was a successful project, definitely the process of making it was the most fun.
Process and Final Photos