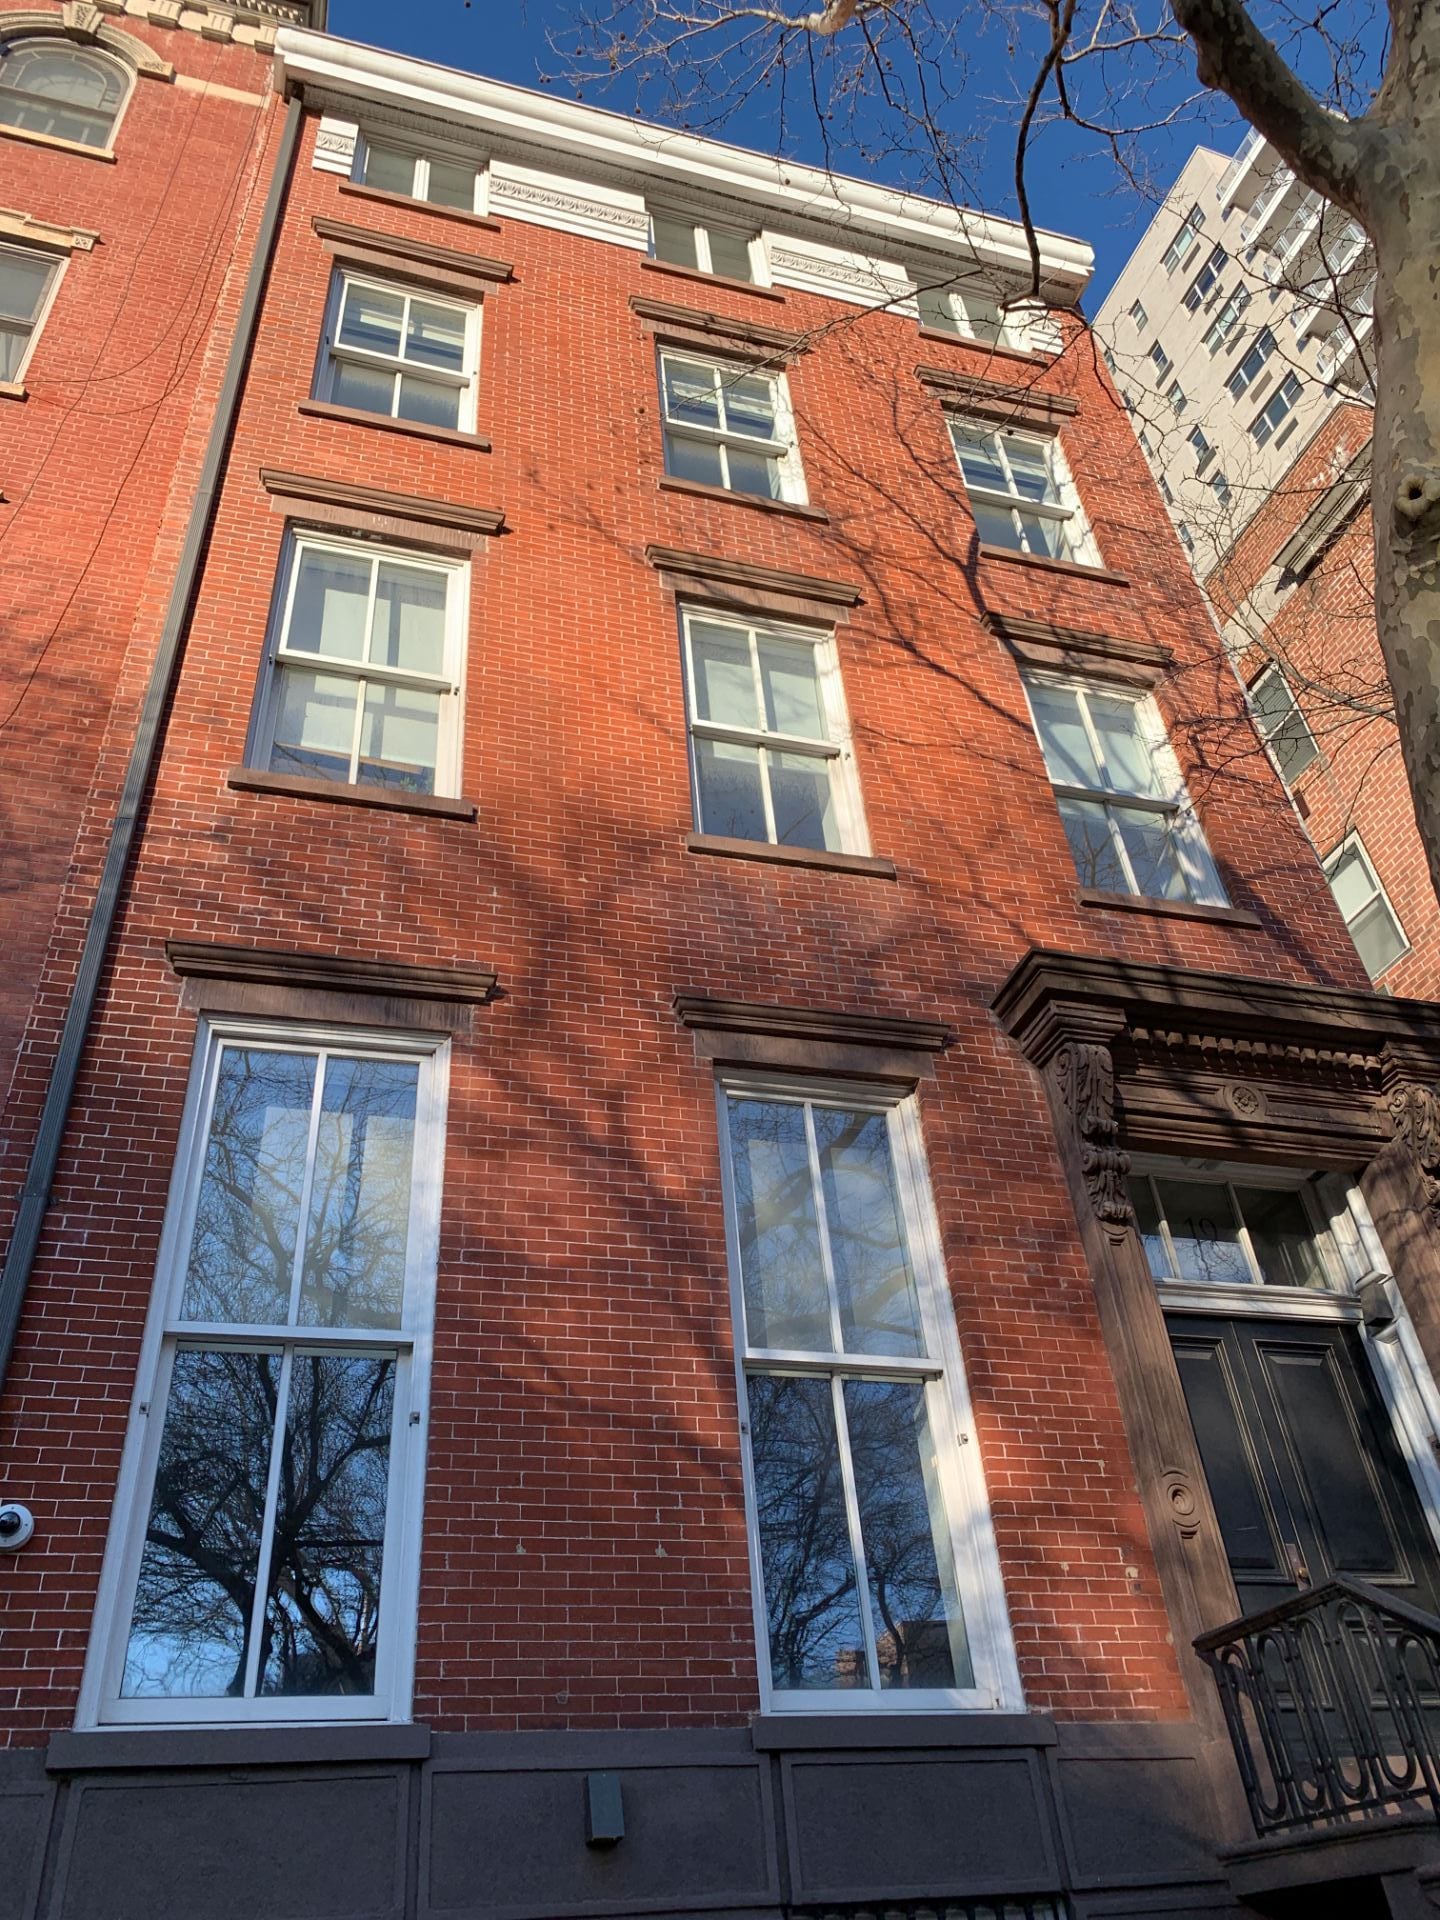
I was introduced to the wet shop, more specifically the ceramics lab, by getting the assignment of building a NYC architectural structure out of clay and firing it to become bisque ware. I went online and looked through a walking tour of Greenwich Village and decided to base my sculpture off of the row of houses in Washington Square North. (photos 1 – 5)
Instead of referencing all of the homes, I chose to model my building off of 19 Washing Square North specifically. The Greek Revival style home was originally built from 1828-29, widened in 1859 and a 4th story was added in 1880. It was the first house built on the north side of Washington Parade Ground. The bricks were placed in what is called the “Flemish Bond” style, the ends of one row of bricks, in the middle of the ones it’s sandwiched between. The windows were once ornately decorated with metal railings and awnings but they have since been taken down. The homes are now owned by New York University.
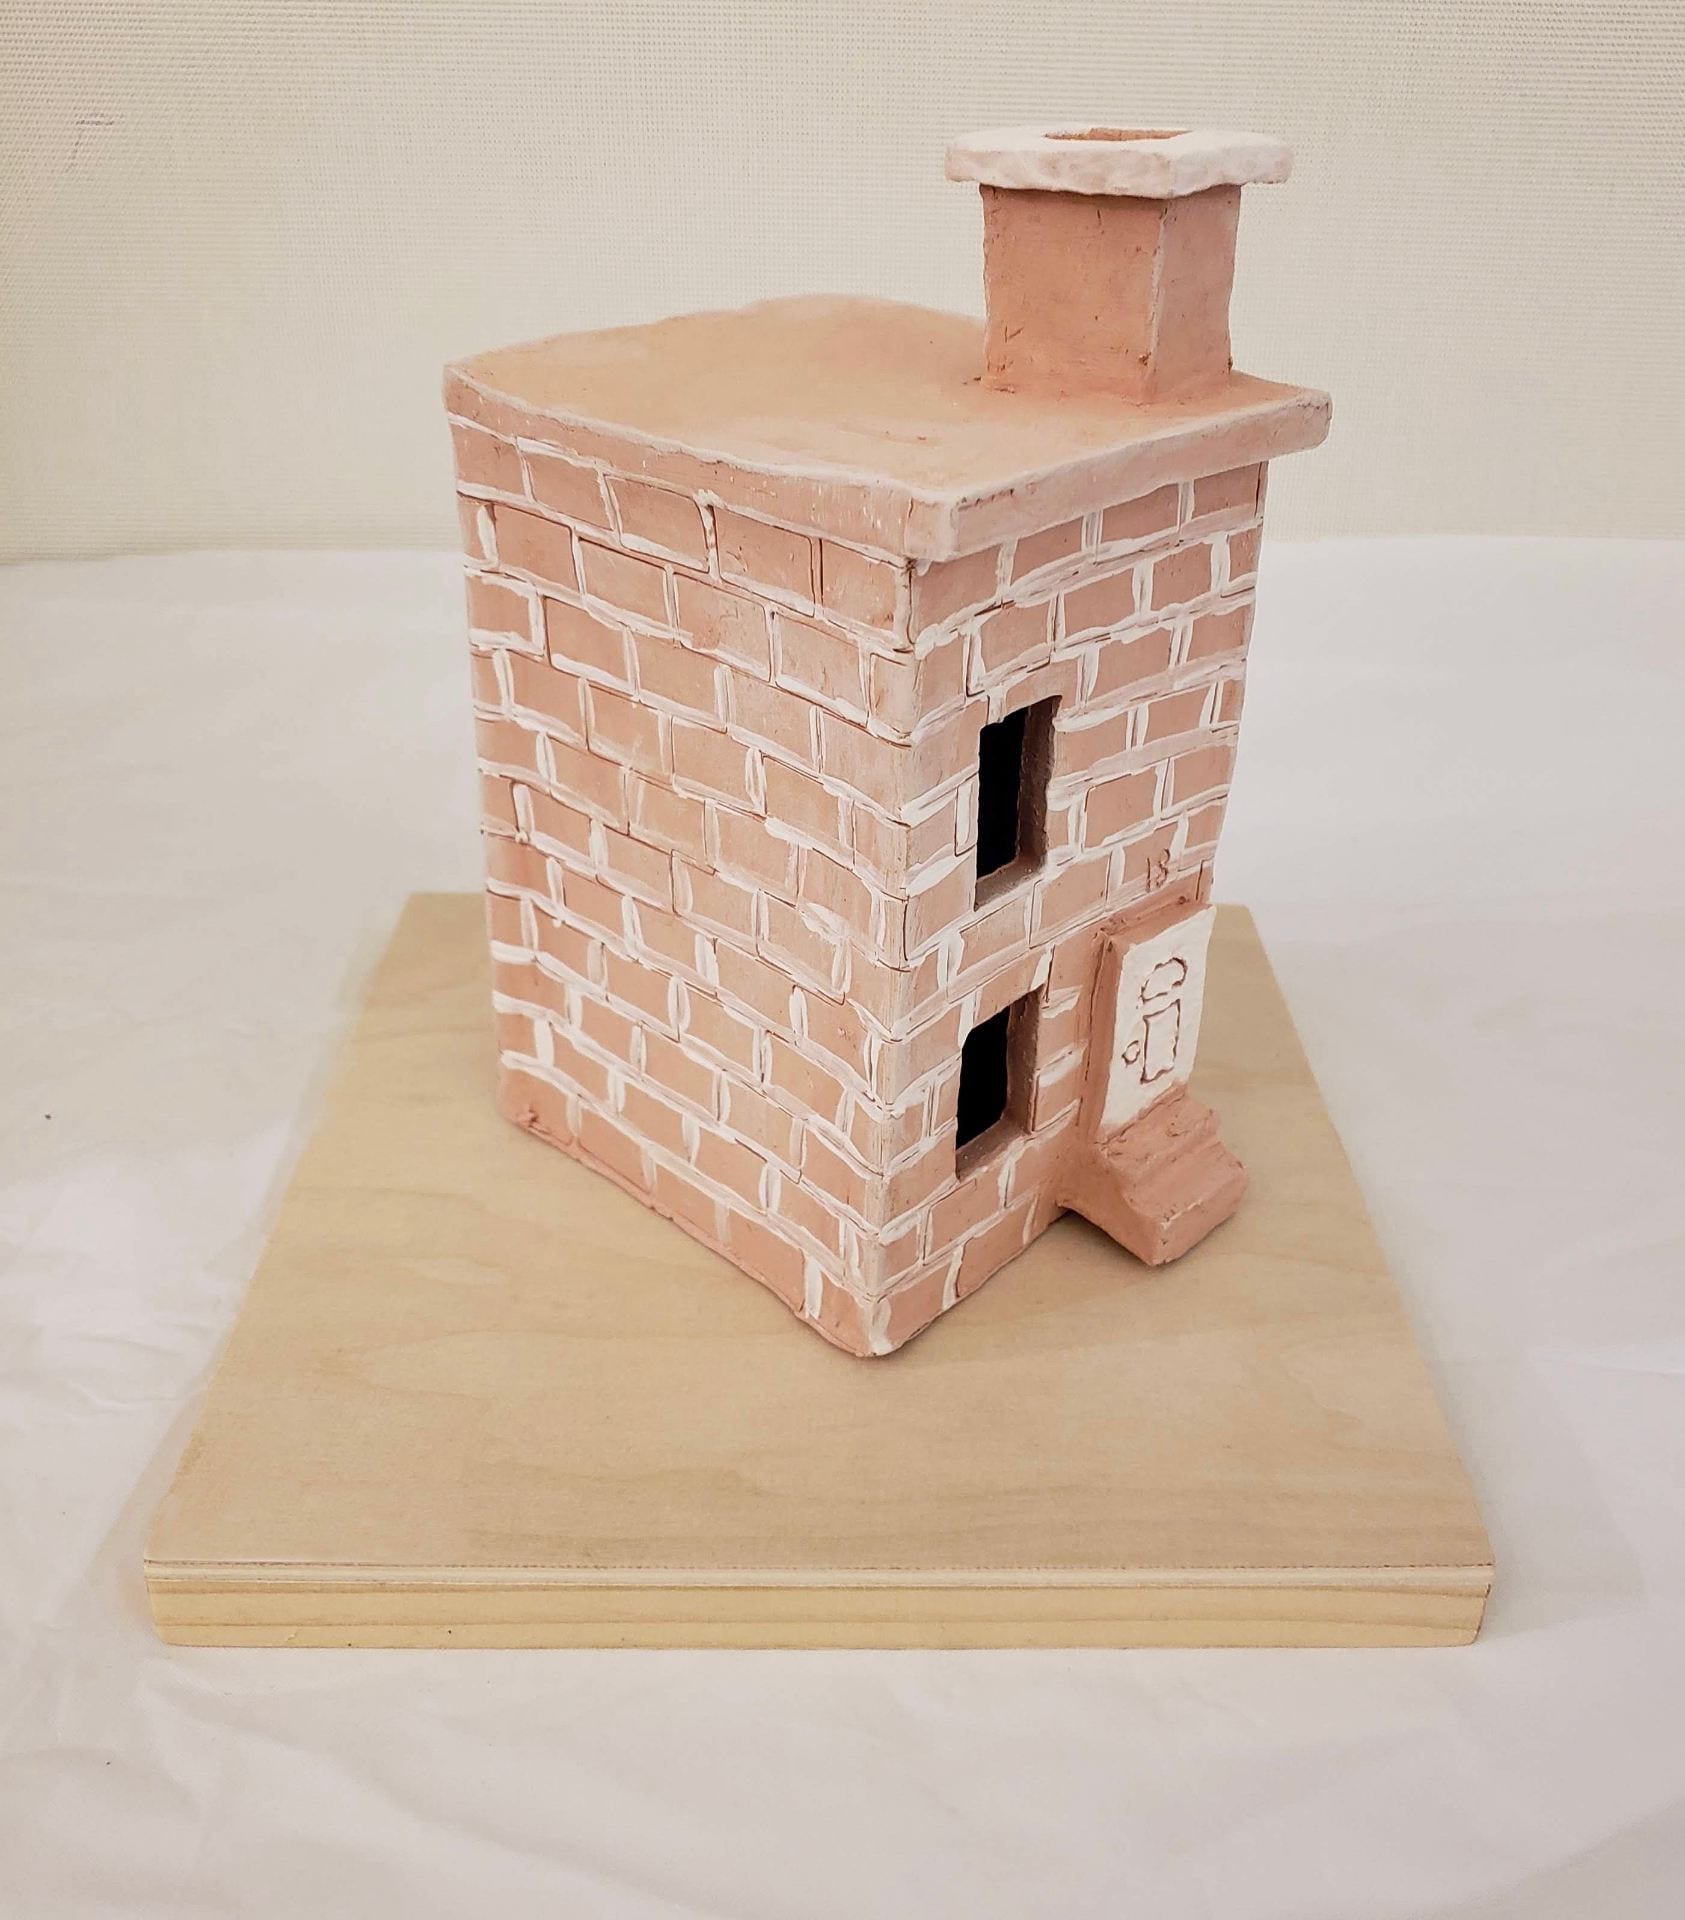
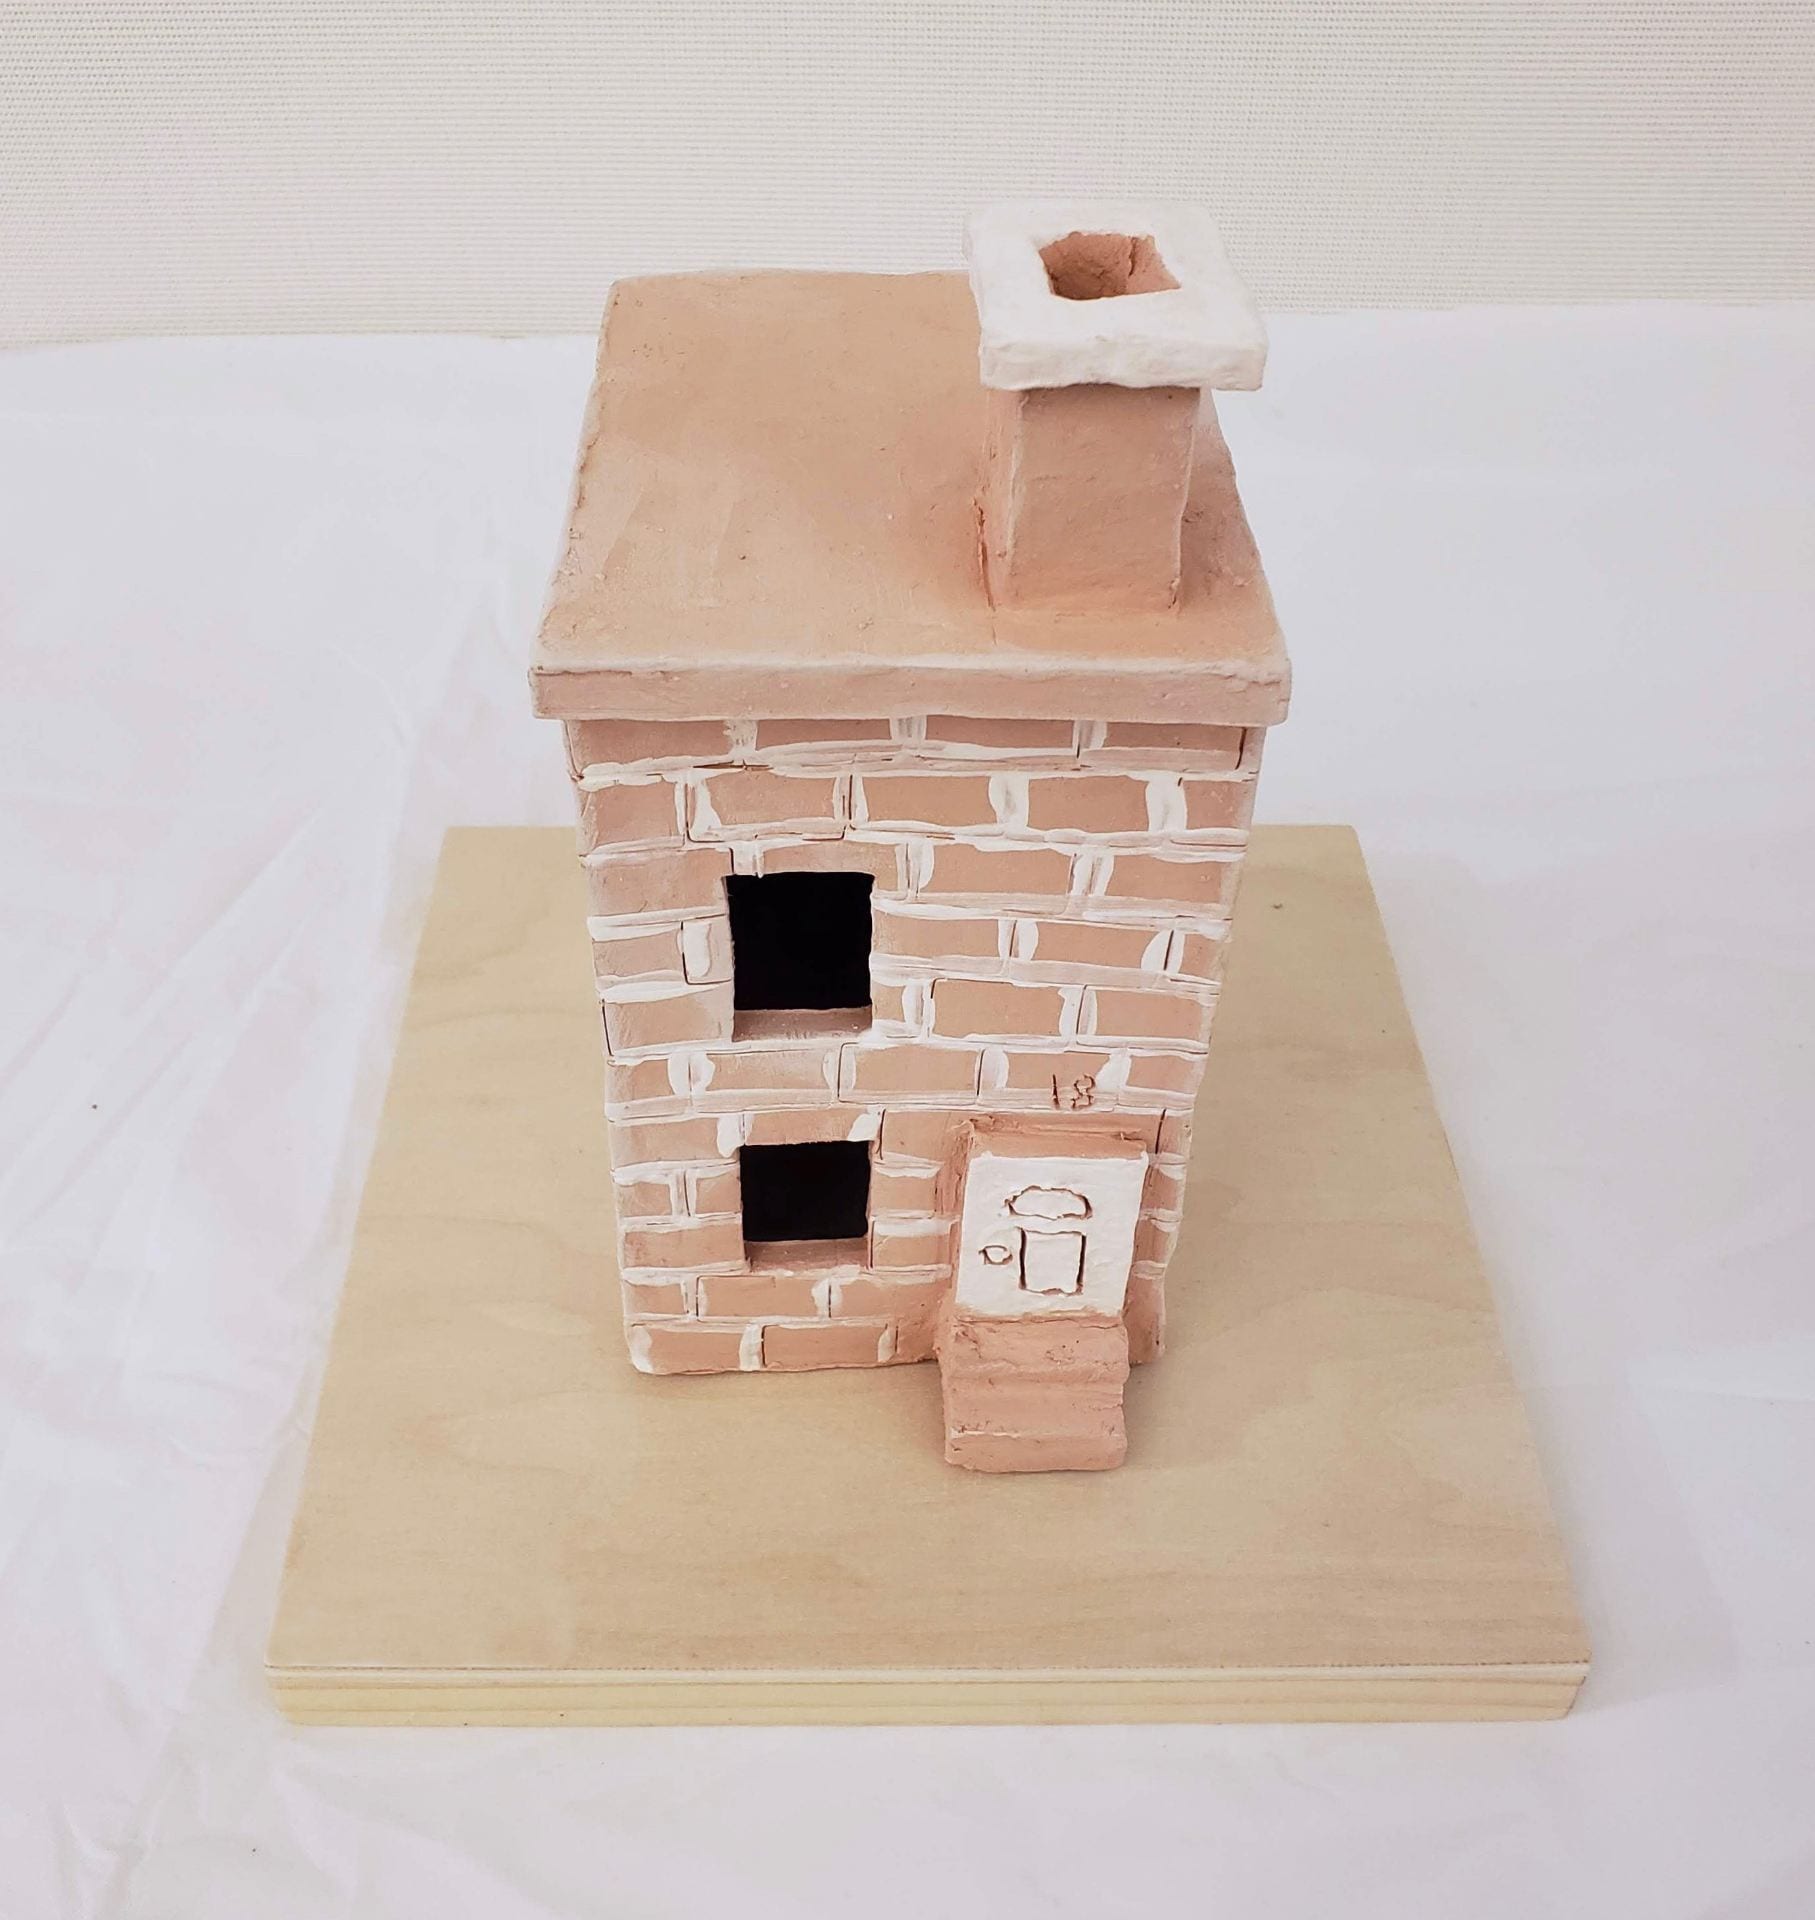
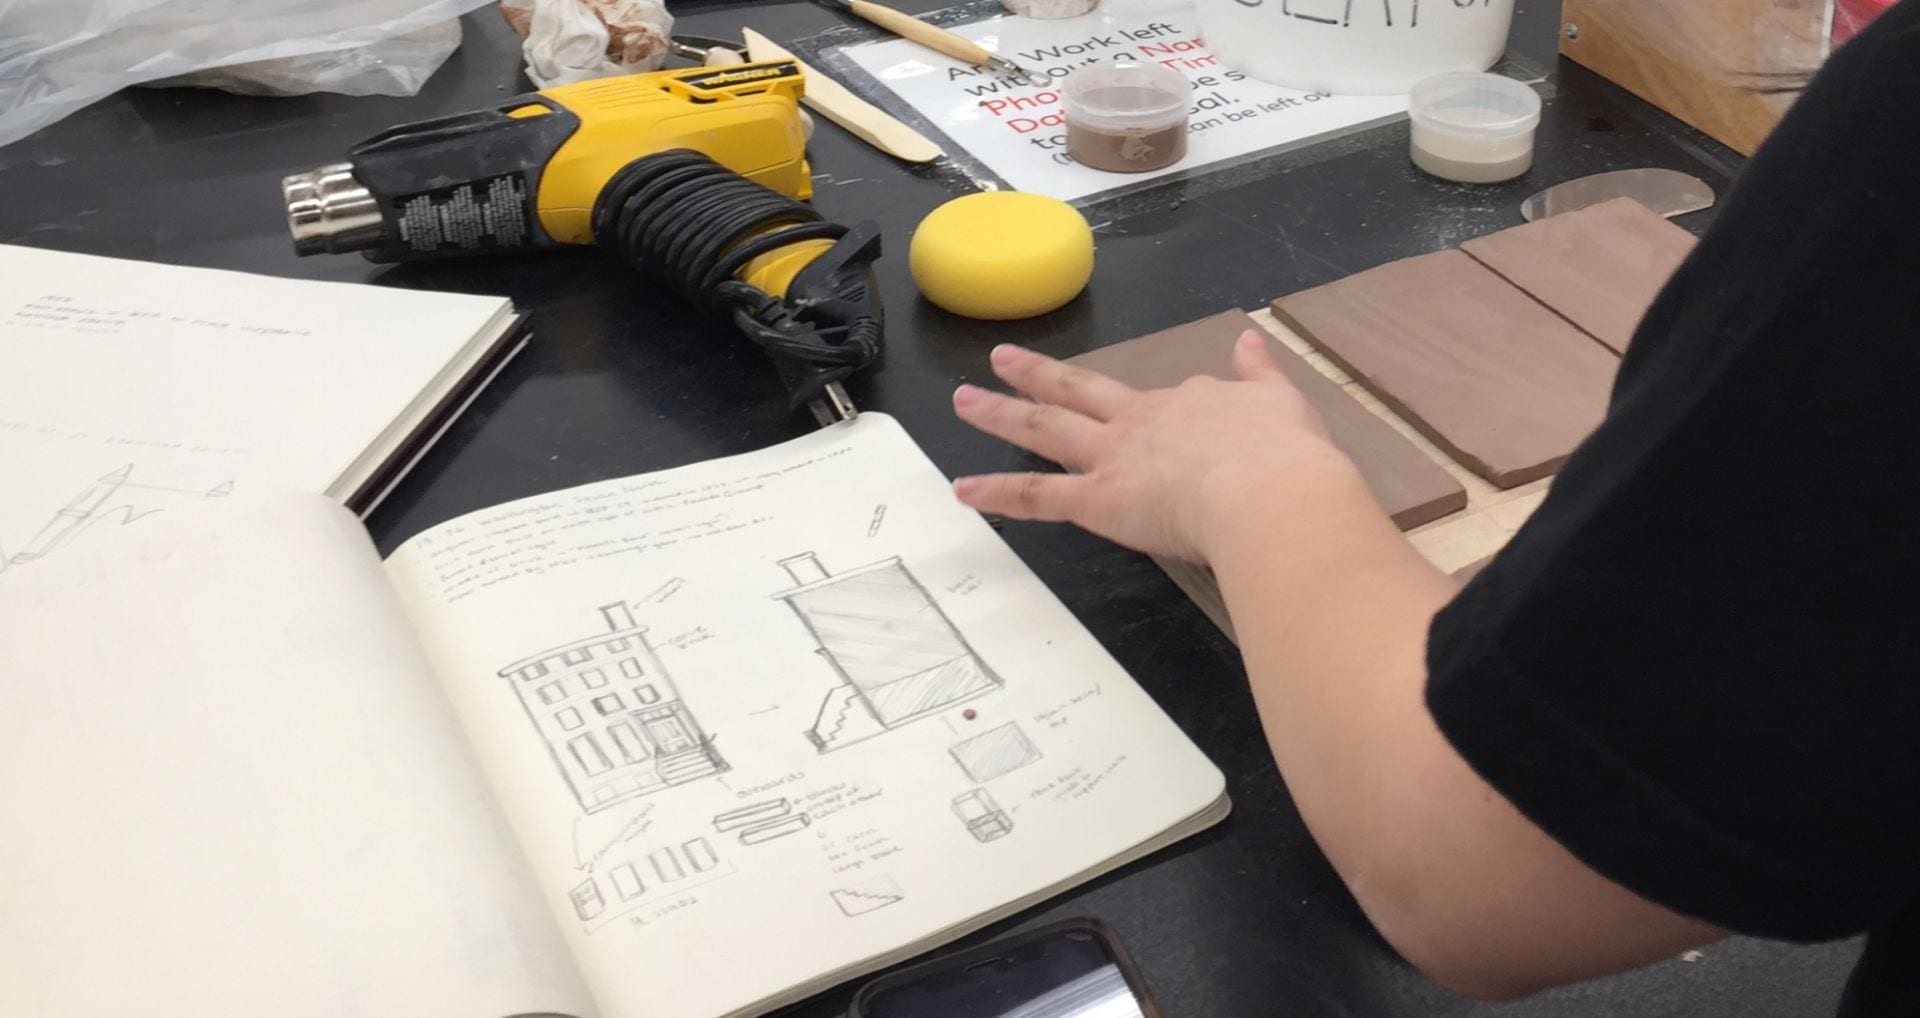
After sketching the model I wanted to create, I used red clay to build it, the color mimicking the red brick of the original. I used multiple techniques shown during demos to help me construct the final product. To create the walls I used the slab roller to get even pieces of clay to cut. I measured each one with a ruler to be 3×6 inches. Before attaching the walls and roof together, I cut out the 2 windows on the front side. Not knowing the material and how it would hold, I decided on only 2 because I was worried the clay would warp and not be able to hold itself up, but after seeing other final pieces I definitely could have added more windows to give the building more space and openness. I attached the 4 walls together by scoring the sides and using slip and the watered down clay as a “glue”. I added the roof as the final part of the main structure, on day 1 at the end, but did not measure the slab right so I redid it on day 2, learning from my previous error. The sculpture was sturdier the second day I worked on it so I added the detail to the walls and the smaller structures. For the brick pattern I tried to use the pattern roller but I did not like how it looked so I hand did them. I used a small rectangle metal “cookie cutter” and pressed them halfway into the leather dry clay to create the imprints. I applied white slip to act as the “glue” that typically holds bricks together on real buildings. I made a small chimney in the same fashion as the actual building part, using larger rectangle cutters to make the sides. I added a door as well with steps leading up to it. I did stray away from the original design and put my own twist on the building by adding fewer windows, larger bricks, and the number “18” instead of “19”.
Originally I wanted to stick to a pretty clean cut copy of the original building, but I shaped the final product a lot based on how the material could be used. I made the walls shorter and thicker, allowing less flexibility with the window options because I thought they would not be supported enough to stand up. I learned I could have put more windows because of how sturdy I made the rectangular structure. Considering that my sculpture was going to be viewed in the round, I also added more brick pattern to the side walls, even though the original had a blank concrete wall on one side, the other not visible because it is attached to another home. I discovered how difficult it was to create intricate, precise detail on slabs, and it is much easier as the clay becomes drier. The final product was very much based on the clay’s durability, malleability and characteristics, and I think it strengthened my piece because the material challenged me to work with it.
Reference Photo – Close up of front

Reference Photo – Front view

Reference Photo – 3/4 View

Reference Photo

Reference Photo – Side View

Sketch
Process

Process

Process
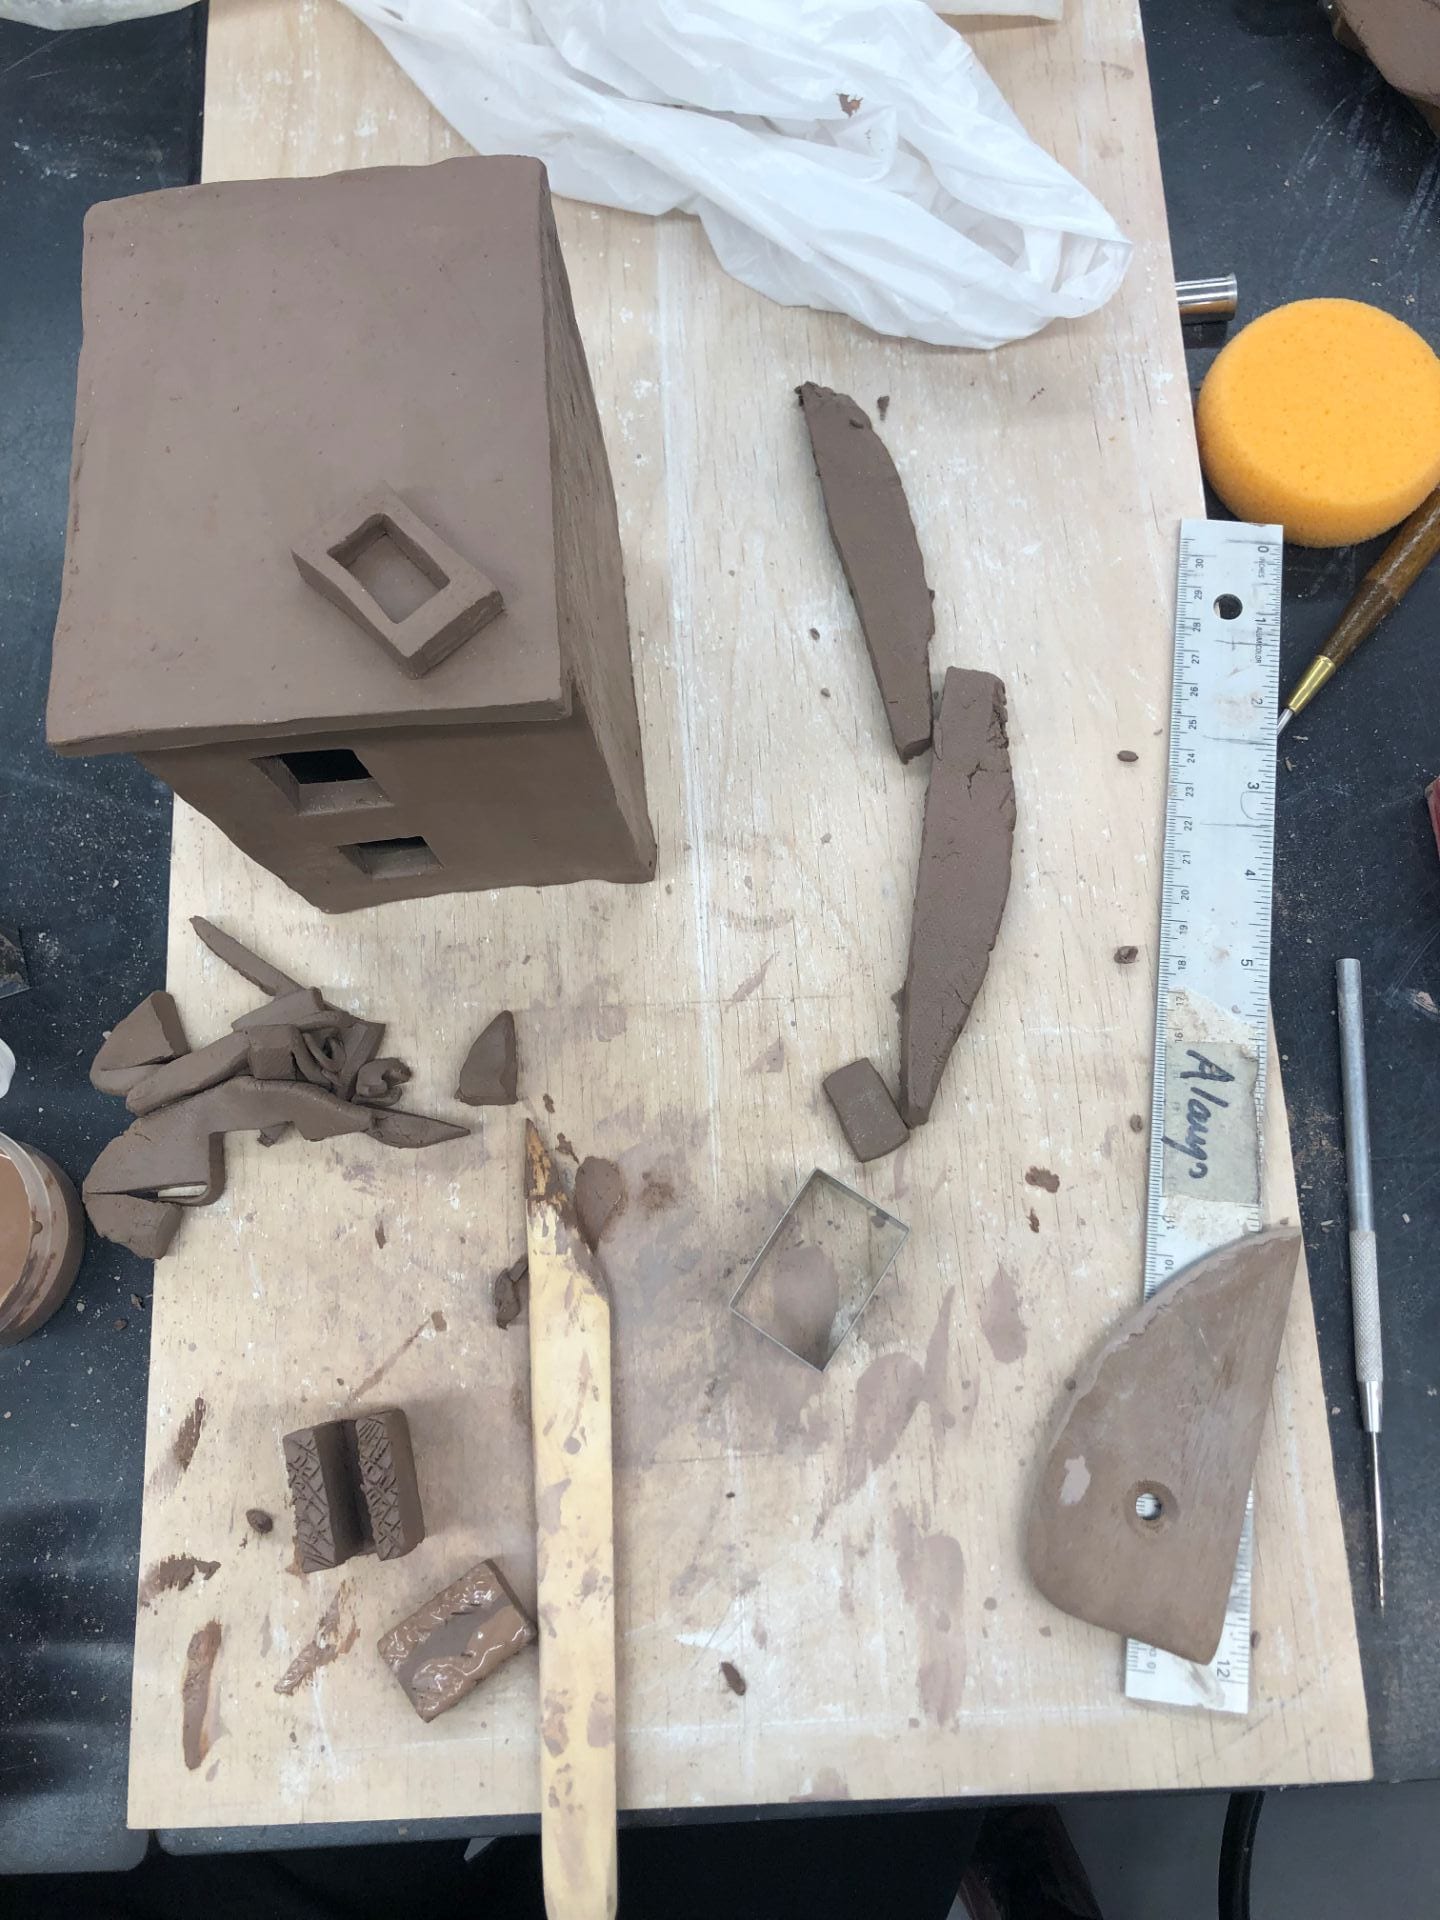
Process
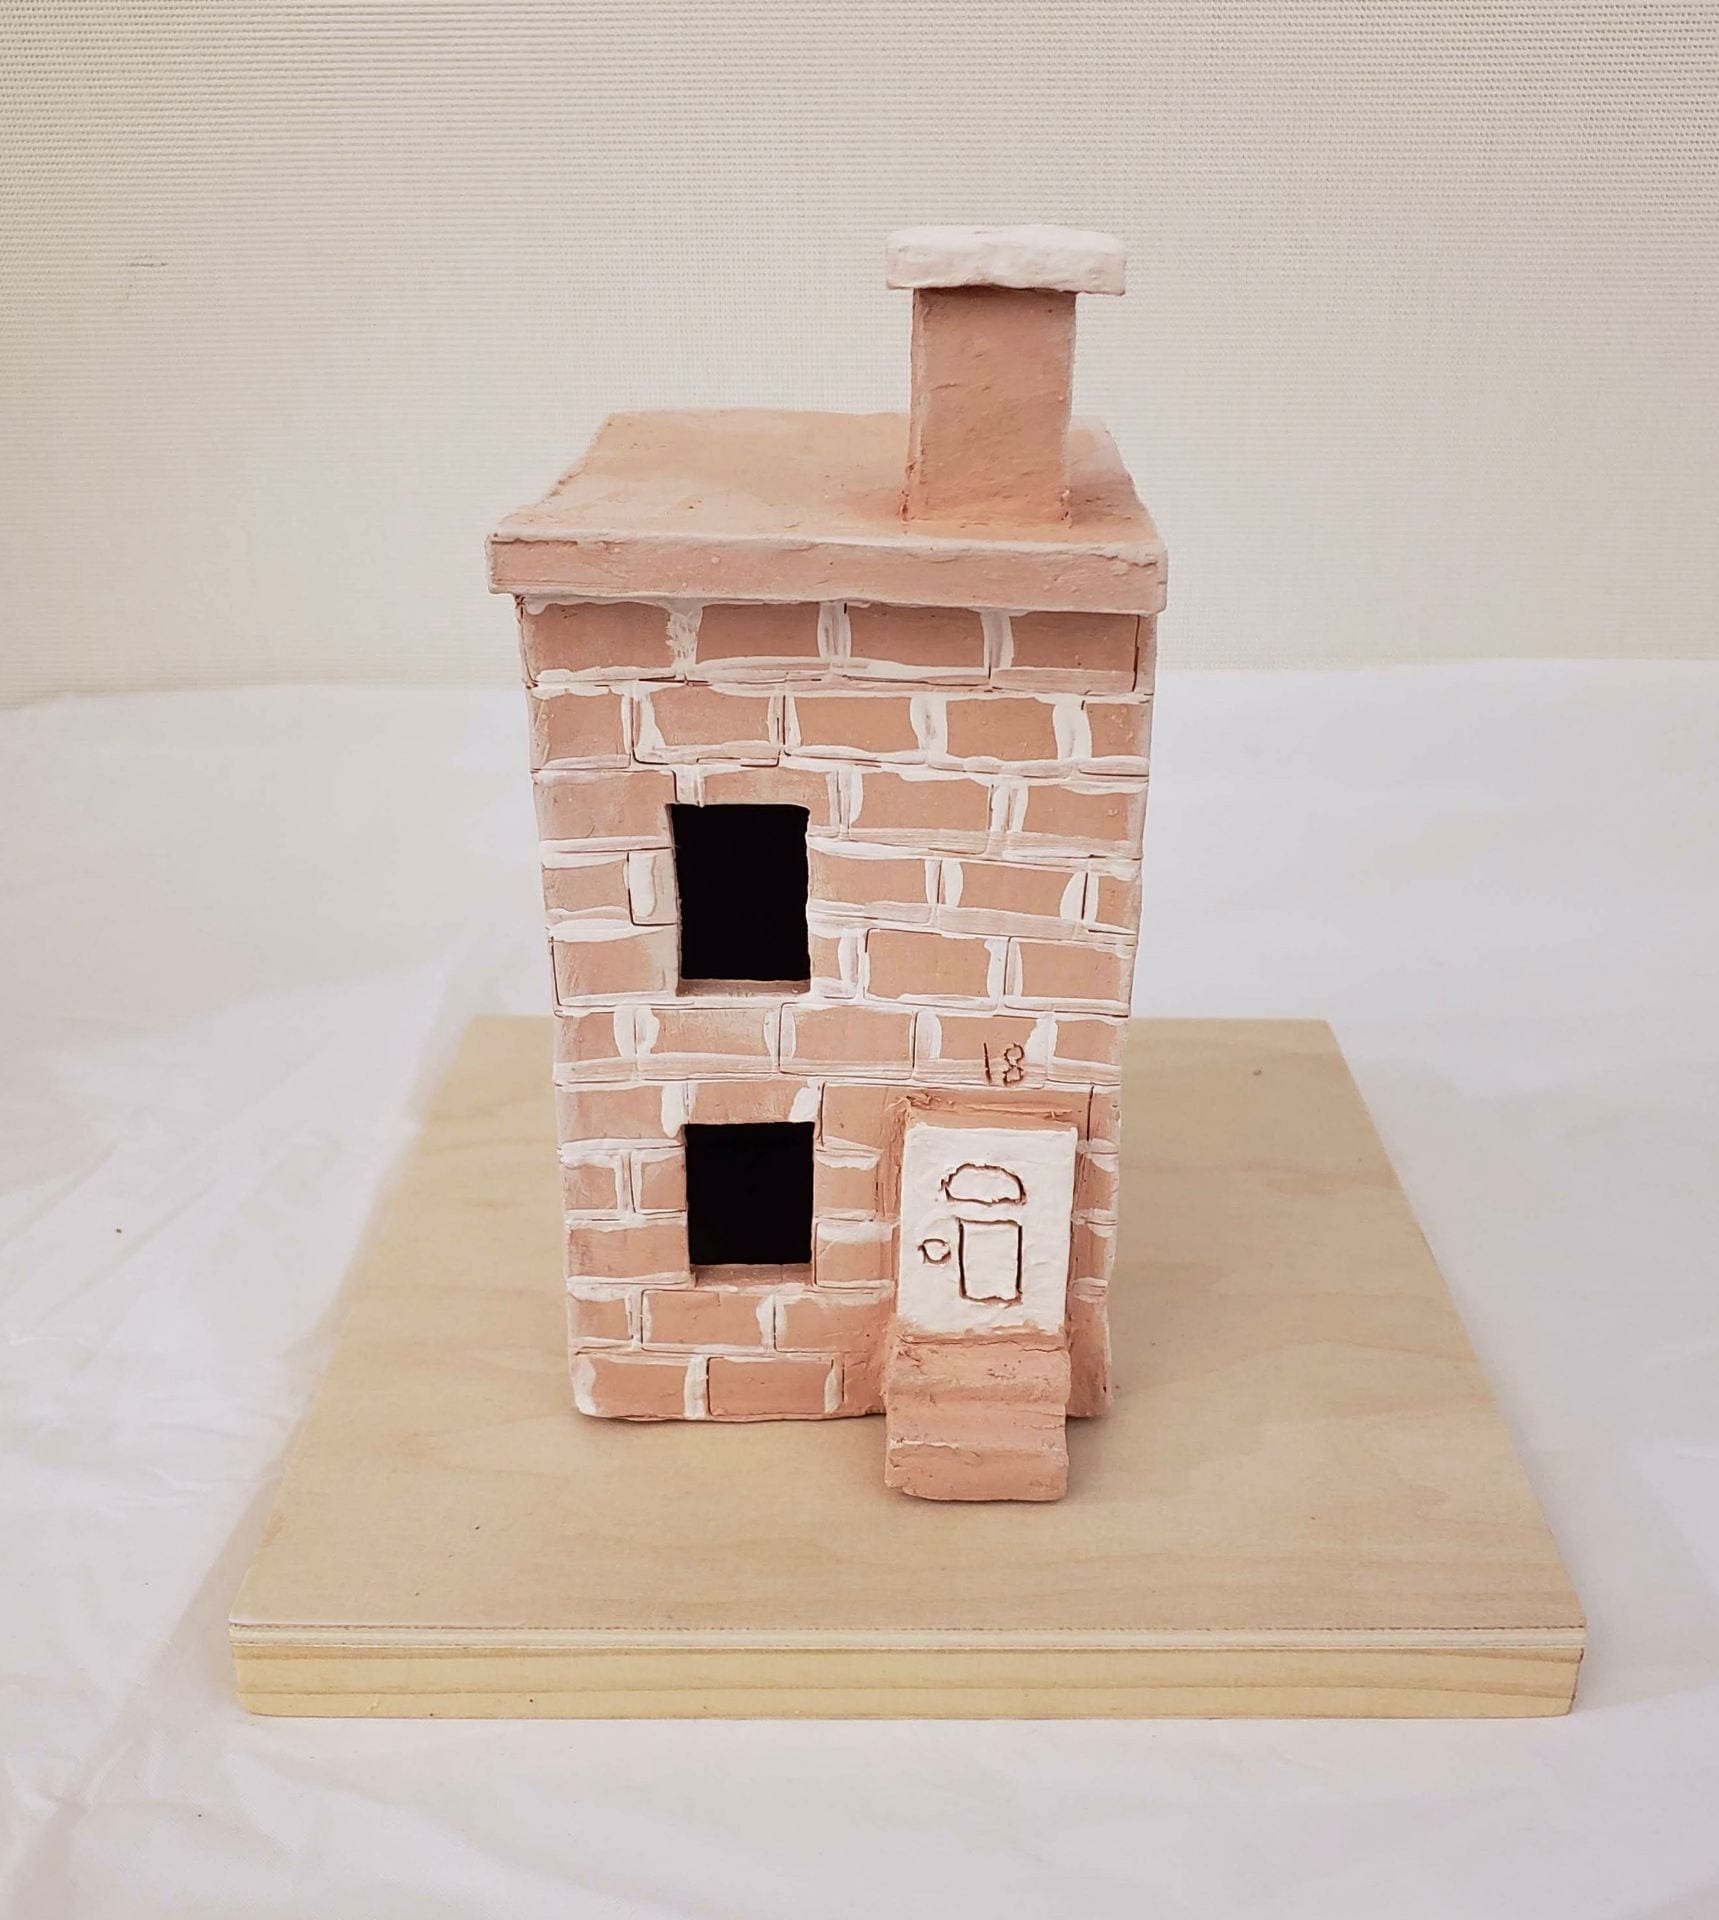
Front view