Our next assignment was to learn and play with other options to attaching objects together. To create the polyhedrons using only a chipboard, we had to trace the original image onto a chipboard. We then cut out all the extra pieces such as the inside of the polyhedrons, so it is easier to connect the edge pieces together. We were given the task to use envelope pins or round head fasteners to attach the sides together. I also had to cut out a thin piece of cardboard to create like a joint for the pieces to connect, and I cut out a piece of whole with an olfa knife so it would be easier to insert the round head fasteners.


I first started out by creating a cube. Because in the beginning, I was using a thick cardboard to try and create joints for the square pieces, I thought I could use an alternative method to join the sides together. I inserted the round head fasteners into the sides of the squares. Then I pressed down on them so they were flat and then I inserted a pice of yarn into the sides of each so it acted as a joint similar to the cardboard. I then tied the yarn pieces together so they stayed in place. Then I flipped the rest of the round head fasteners so they created more of a punk-ish look.


For the next one, I decided to try the original method with the triangle. I used a thin piece of cardboard to act as a joint.


My final piece is an octahedron. I used the same method using thin cardboards as joints to combine the sides together. I like this piece the most because the round heads create a circle at the top, and the design is very cool looking.


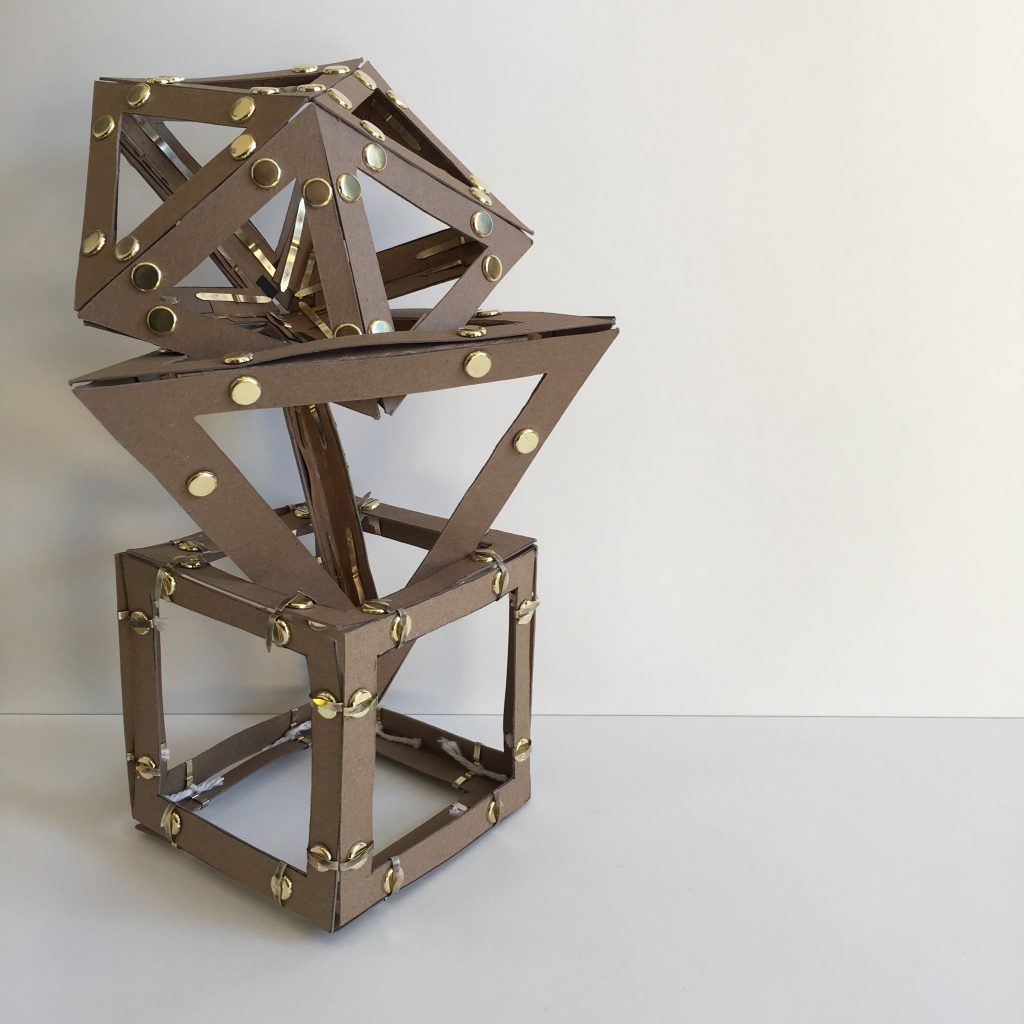
These are the final shots of the pieces when I stacked them on top of one another.


I think that this project was very fun because the satisfaction in the end was good. The pieces look very well made and look professional. These look like they can be hung up as decorative pieces. I can also spin lights through them to create shapes on the walls.