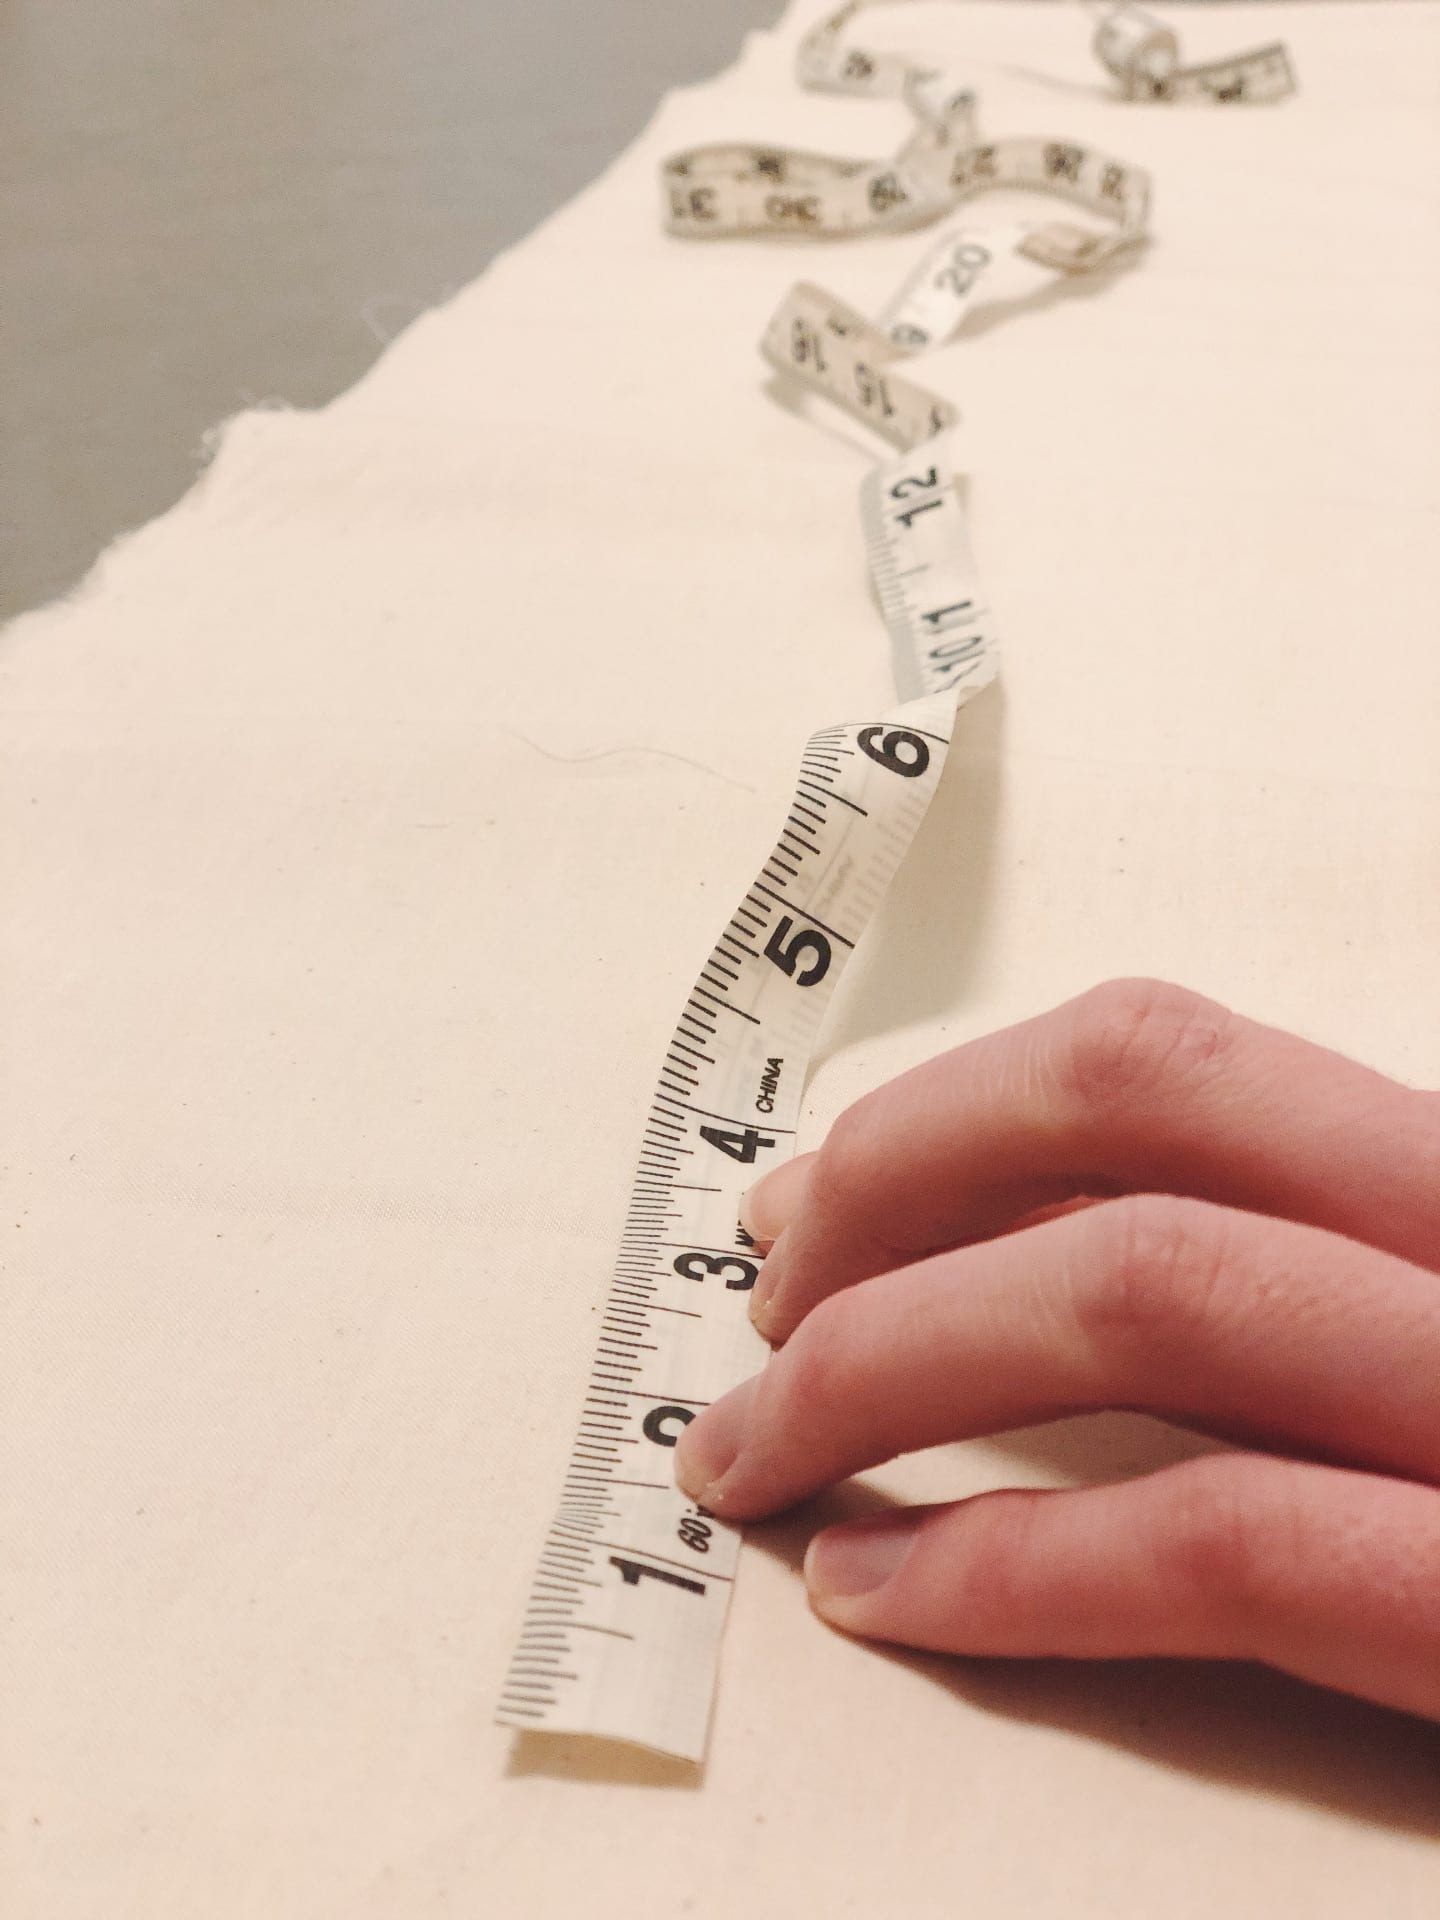
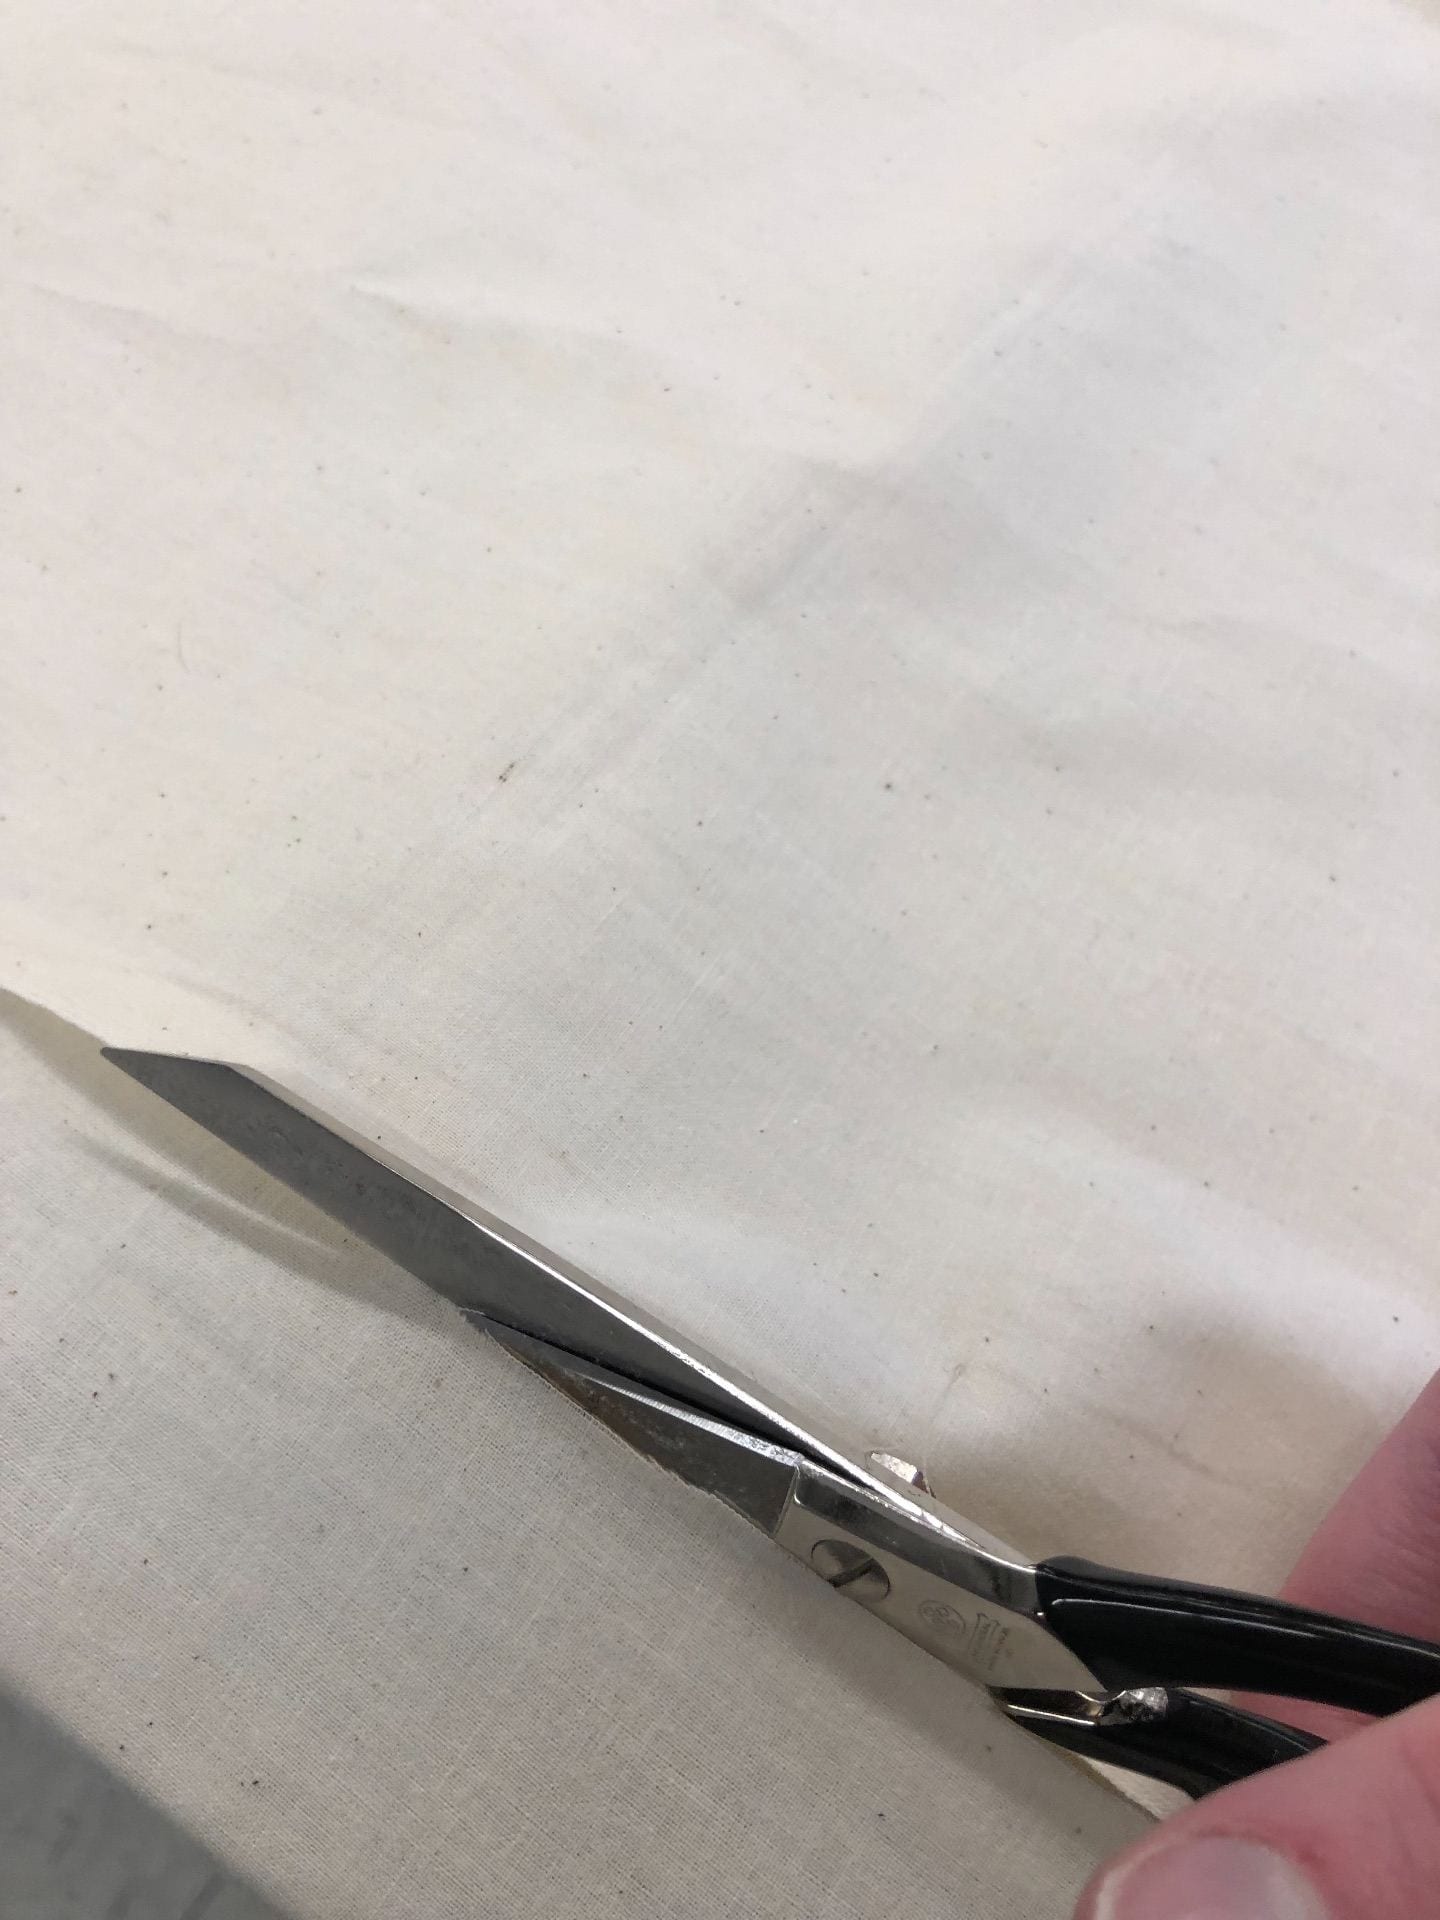
Sitting at a sewing machine for the first time in nearly 8 years seemed horrifying, but this bag definitely reminded me of a past love for the medium. To make the drawstring bag to carry the wood, first I measured and cut the muslin, after ironing, to the appropriate width and height (54″ x 28″).

It was very helpful when working with my classmates to help me measure and mark the seam depth.
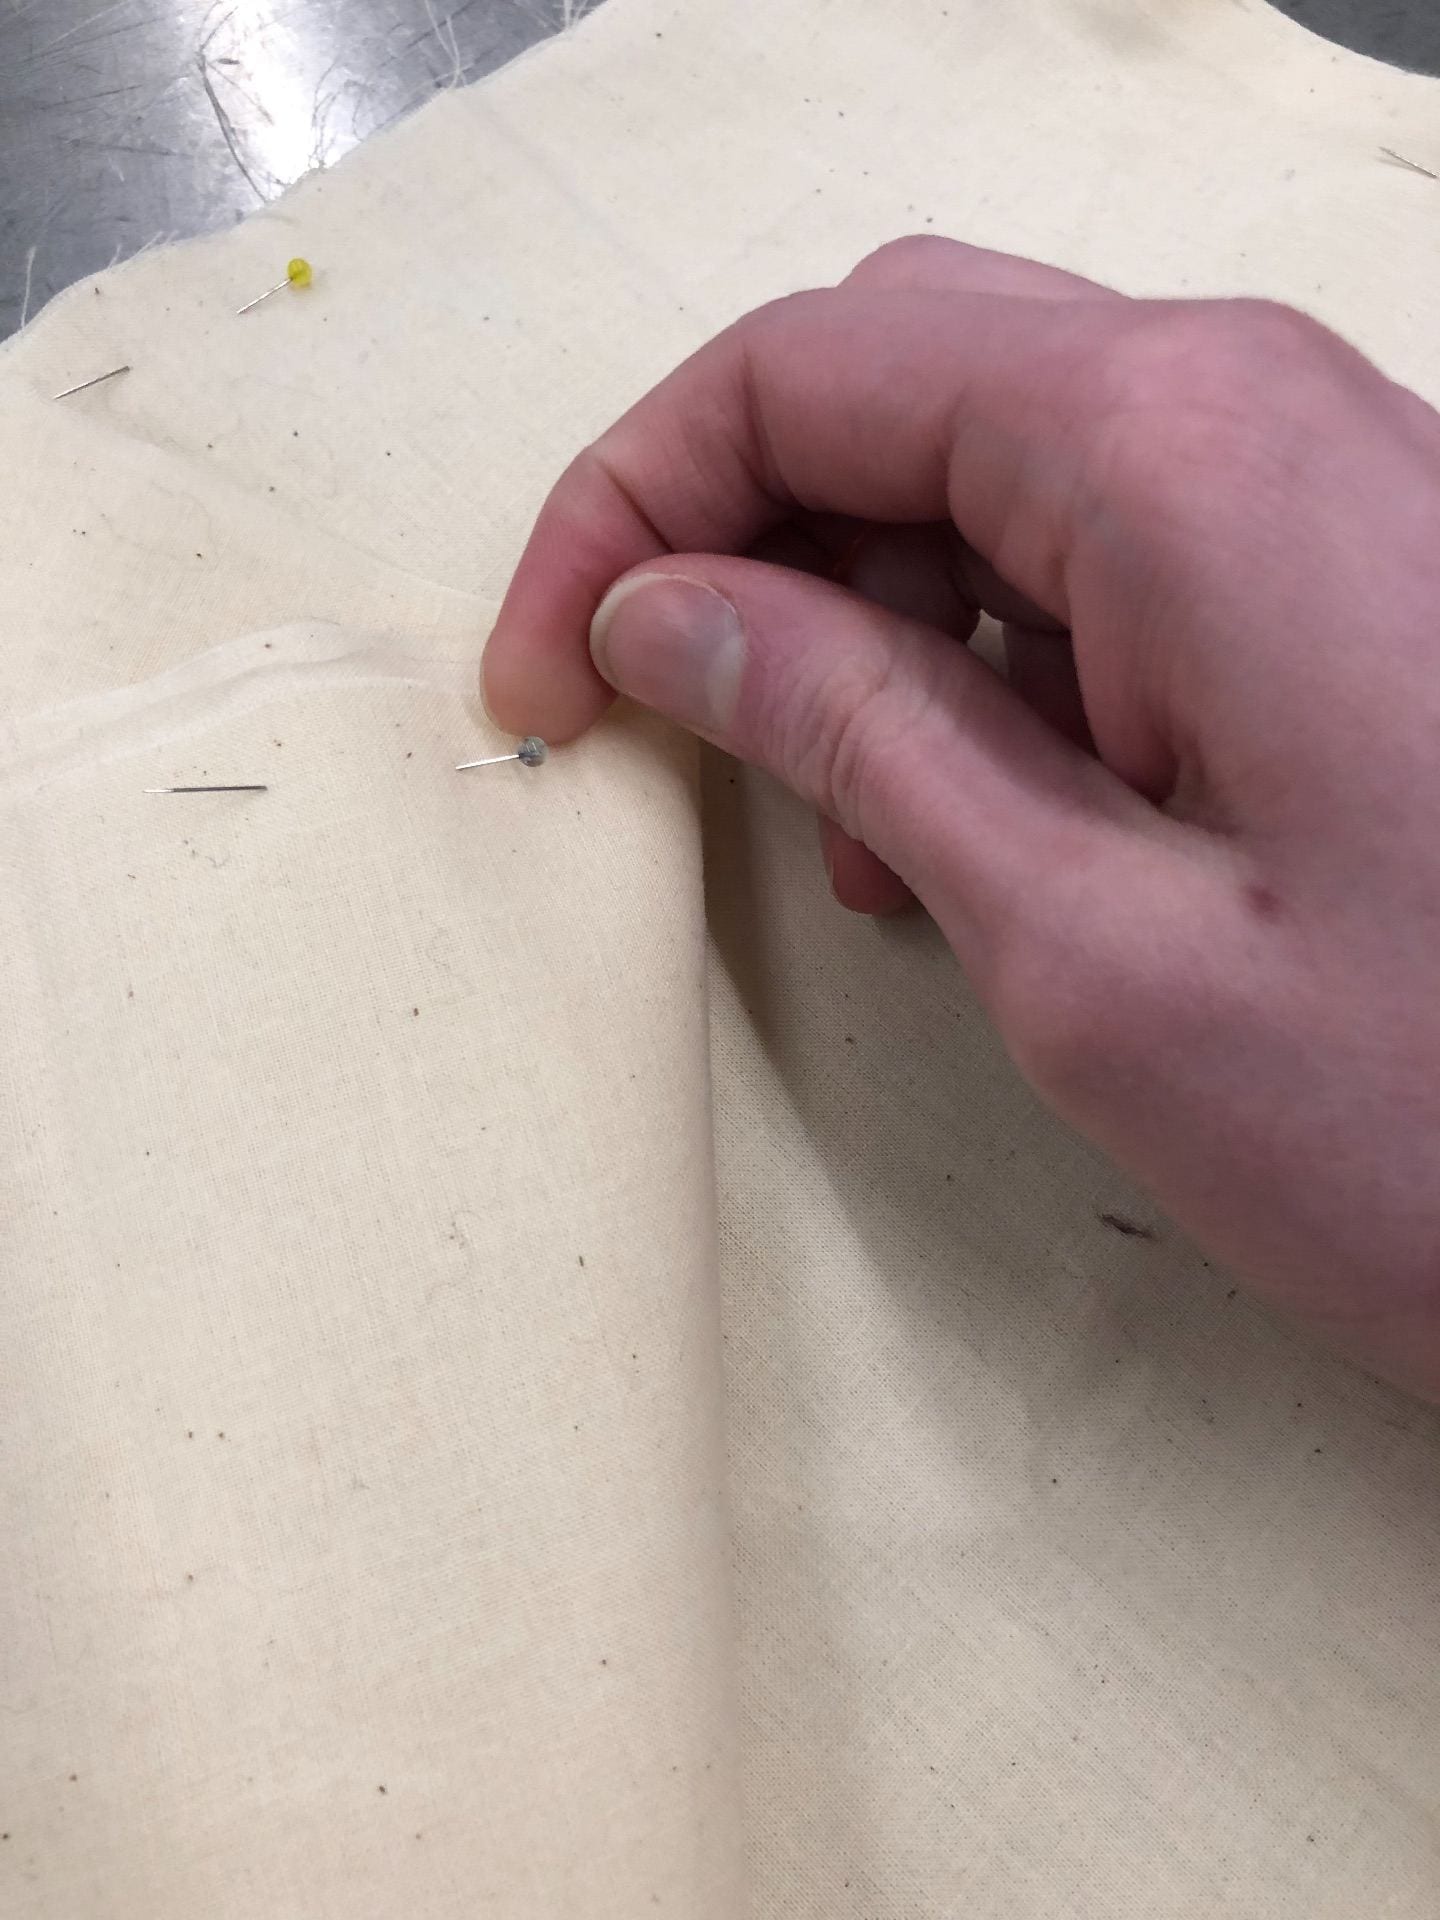
Then, on the long side fold, I pinned the fabric at 3/8″ to hem the raw edge.
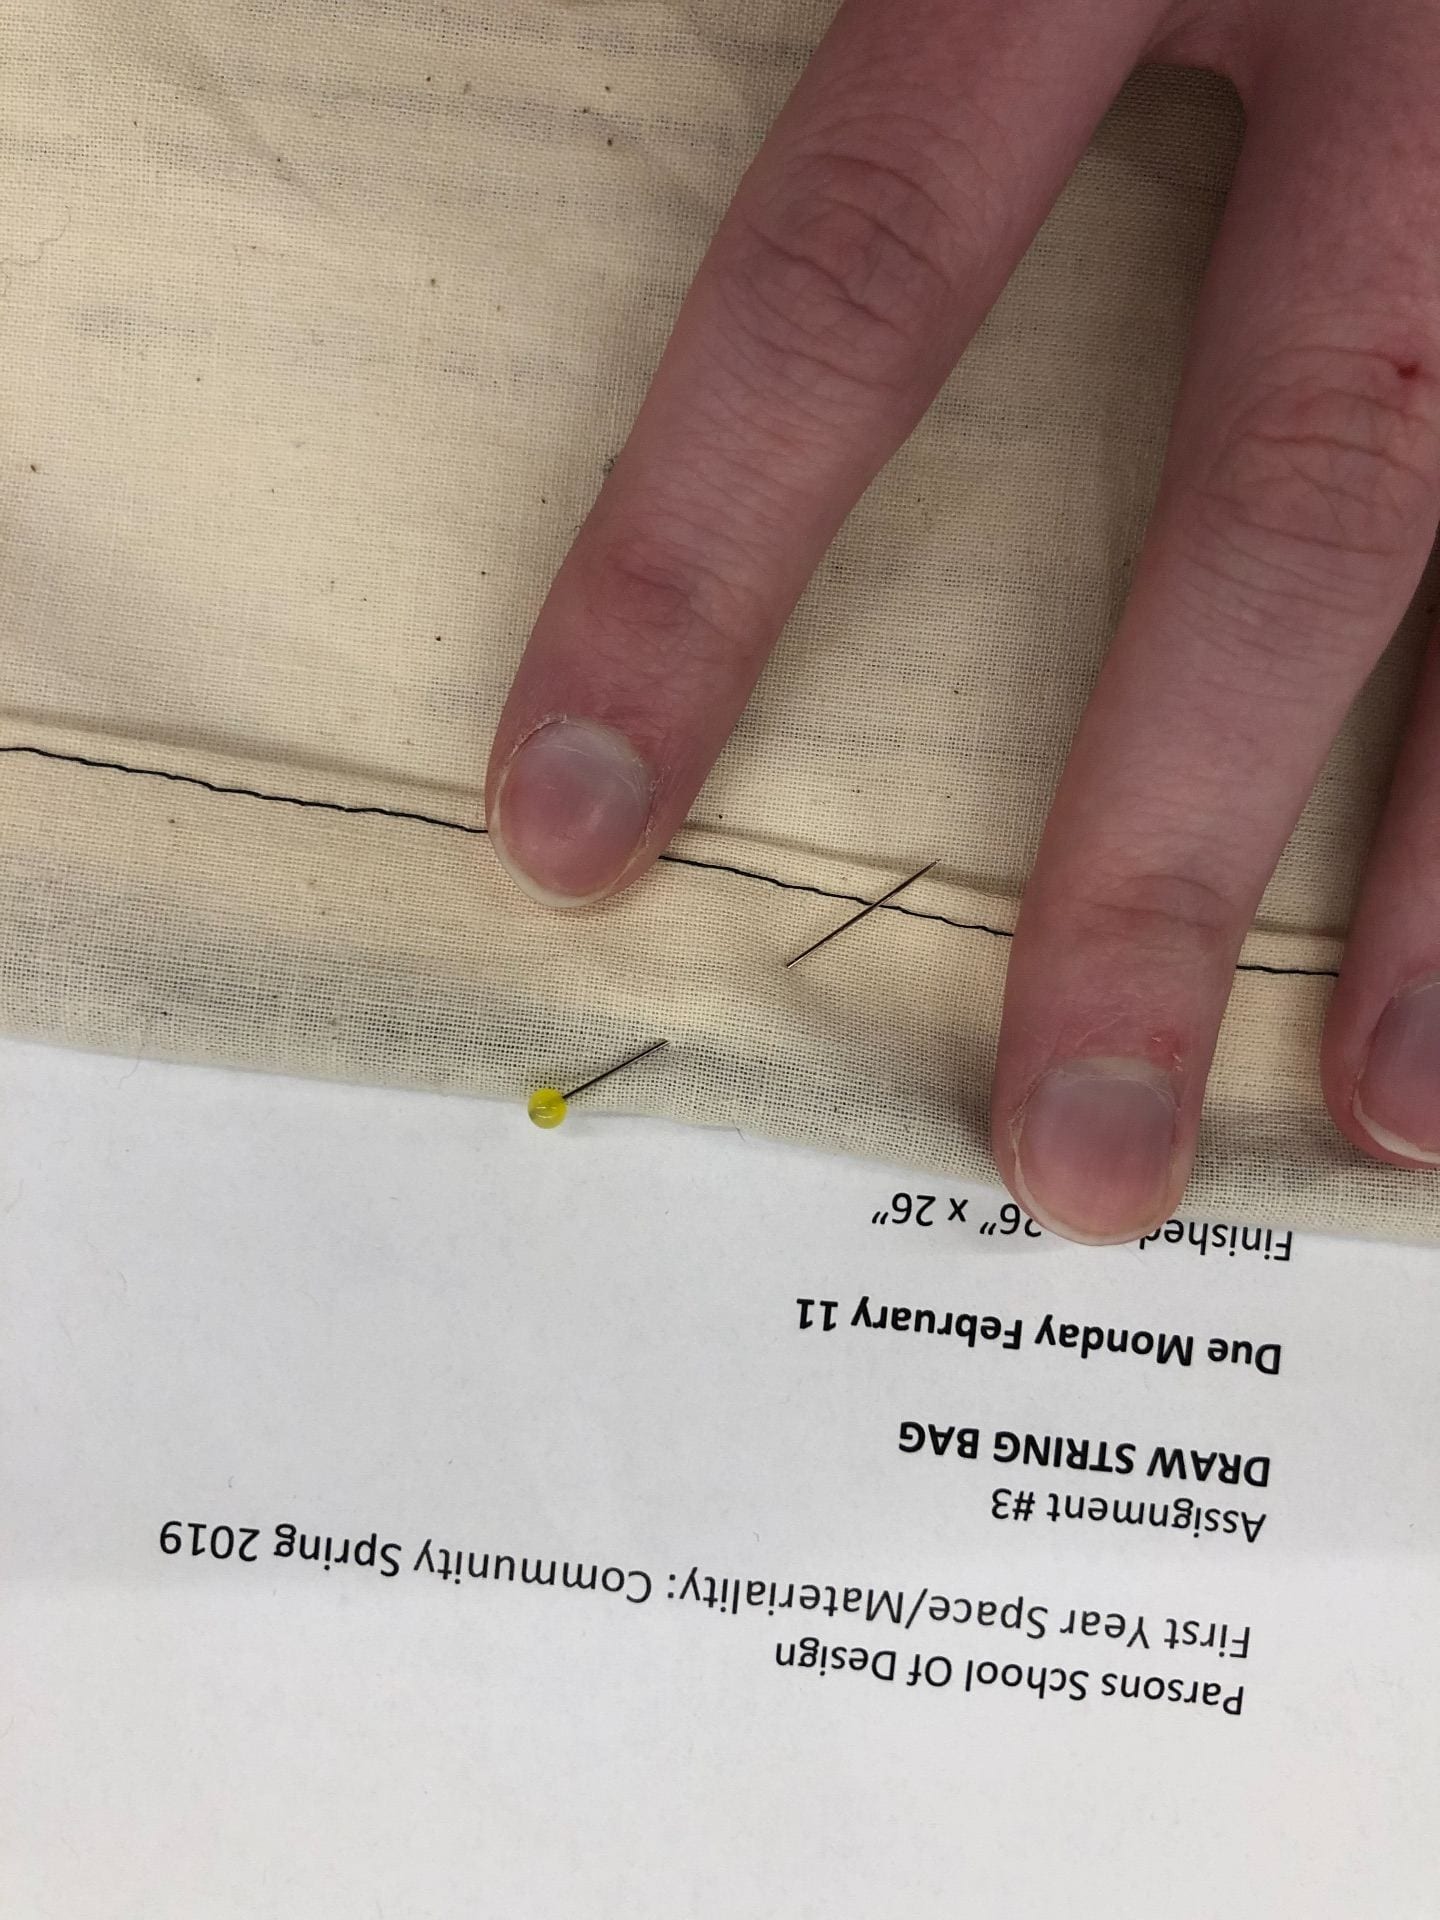
I then machine stitched 1/8″ from the initial line to make the cavity, making sure to pin in the cord ahead of time to save myself the hassle of having to bunch and work the cord through the cavity with a wire.

gif: IMG_3474-1ewztl4
After pinning the other edges of the bag together, I made sure to machine stitch and reverse stitch the beginning of each so that the bag would not rip at the corners. During this step, I managed to machine stitch 1/4″ from the edge on the remaining sides of the bag.
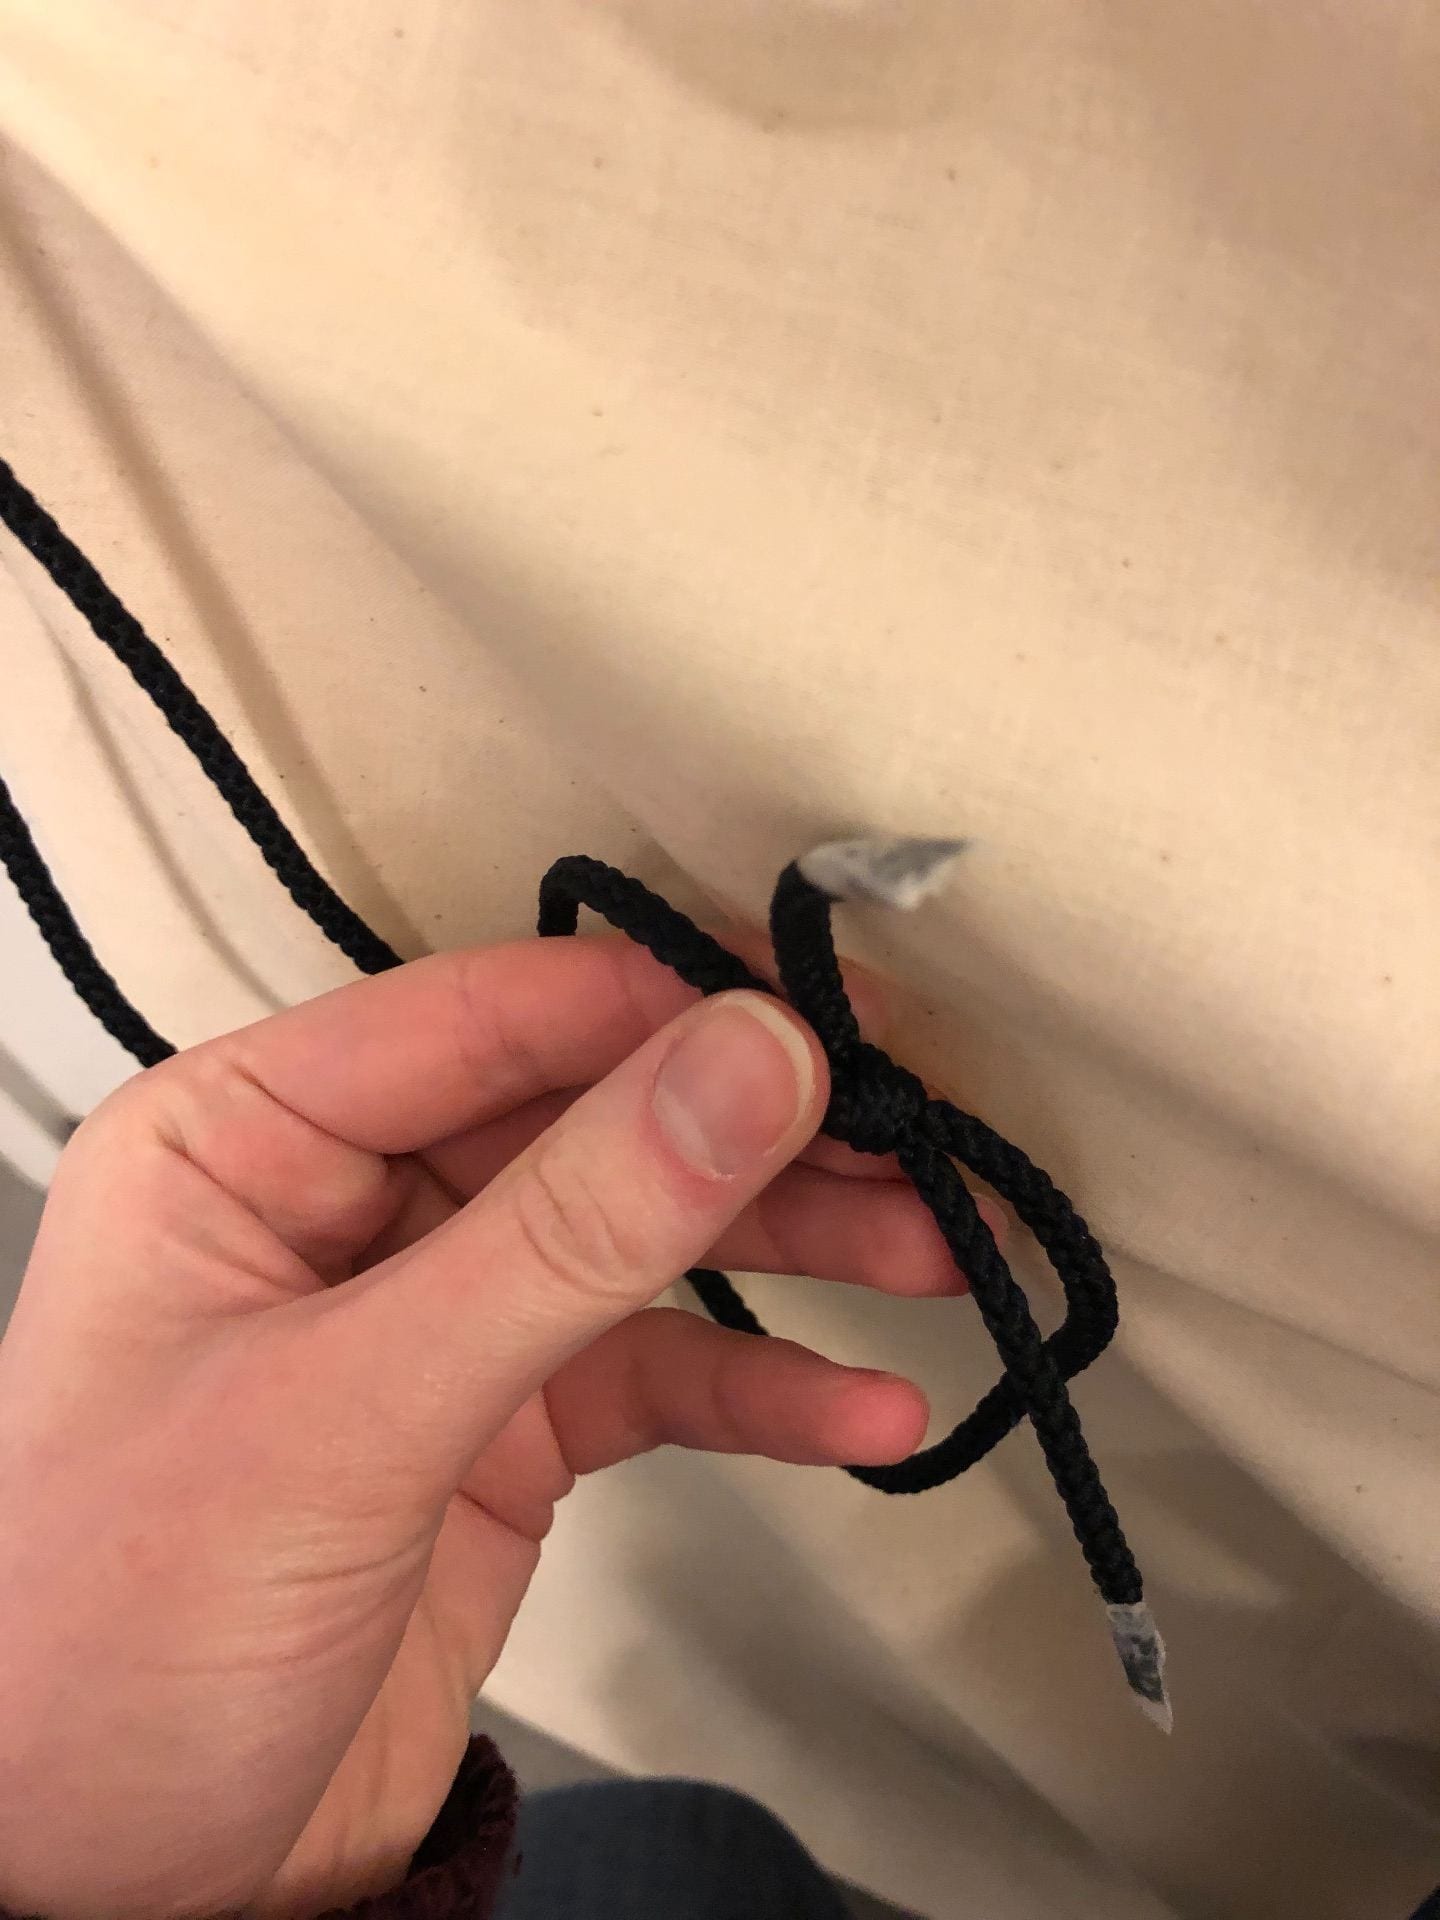
I then turned the bag inside out and opened the bag fully before cutting the cord length and tieing the string ends together.
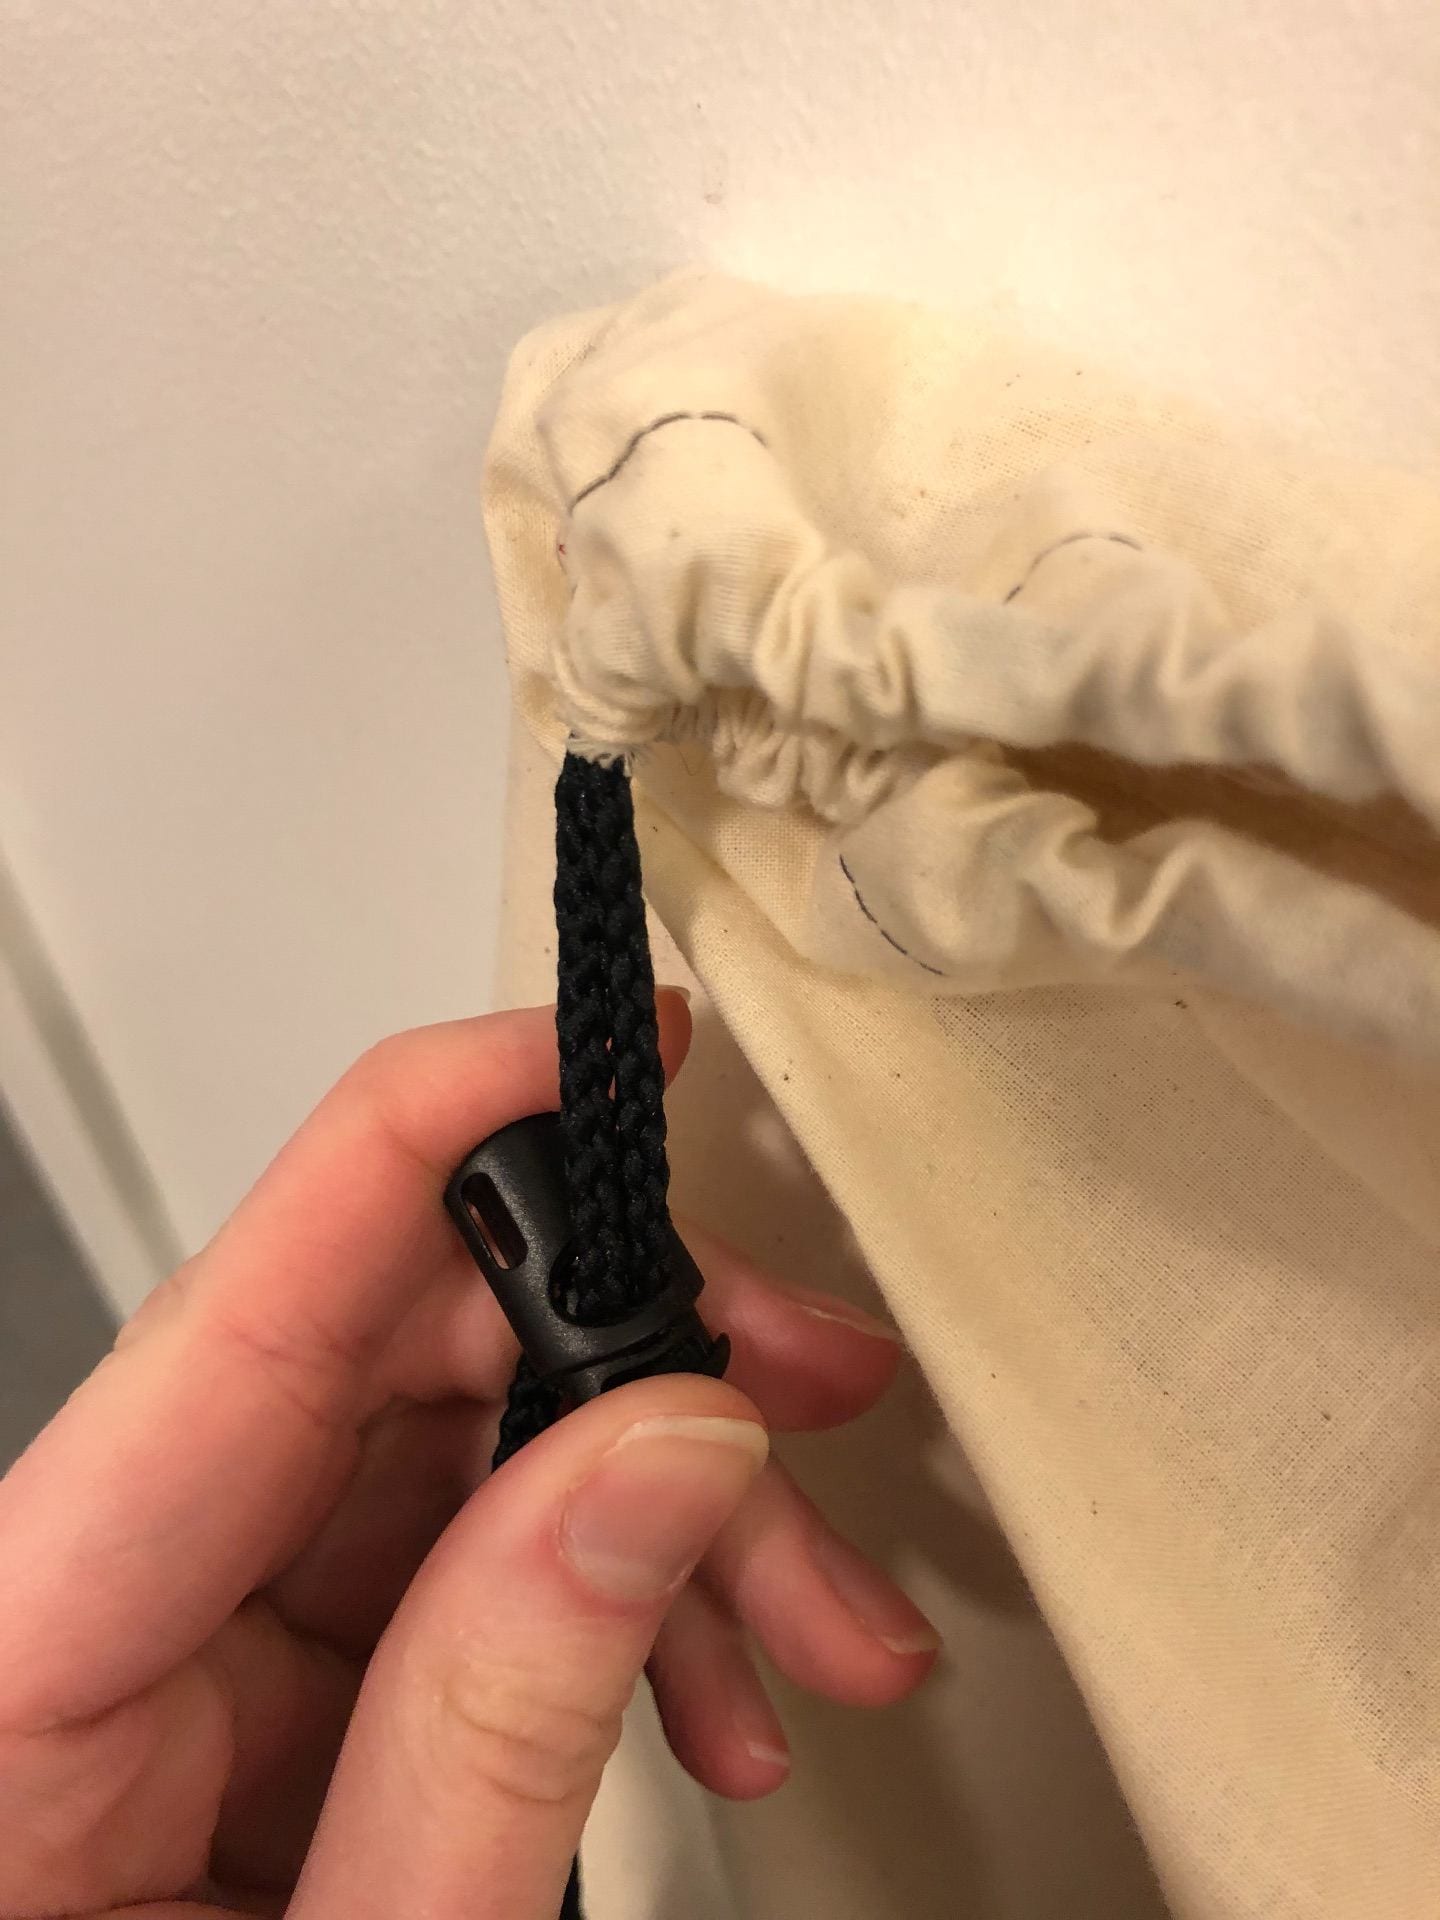
Finally, I added the cord lock and put in my piece of birch!
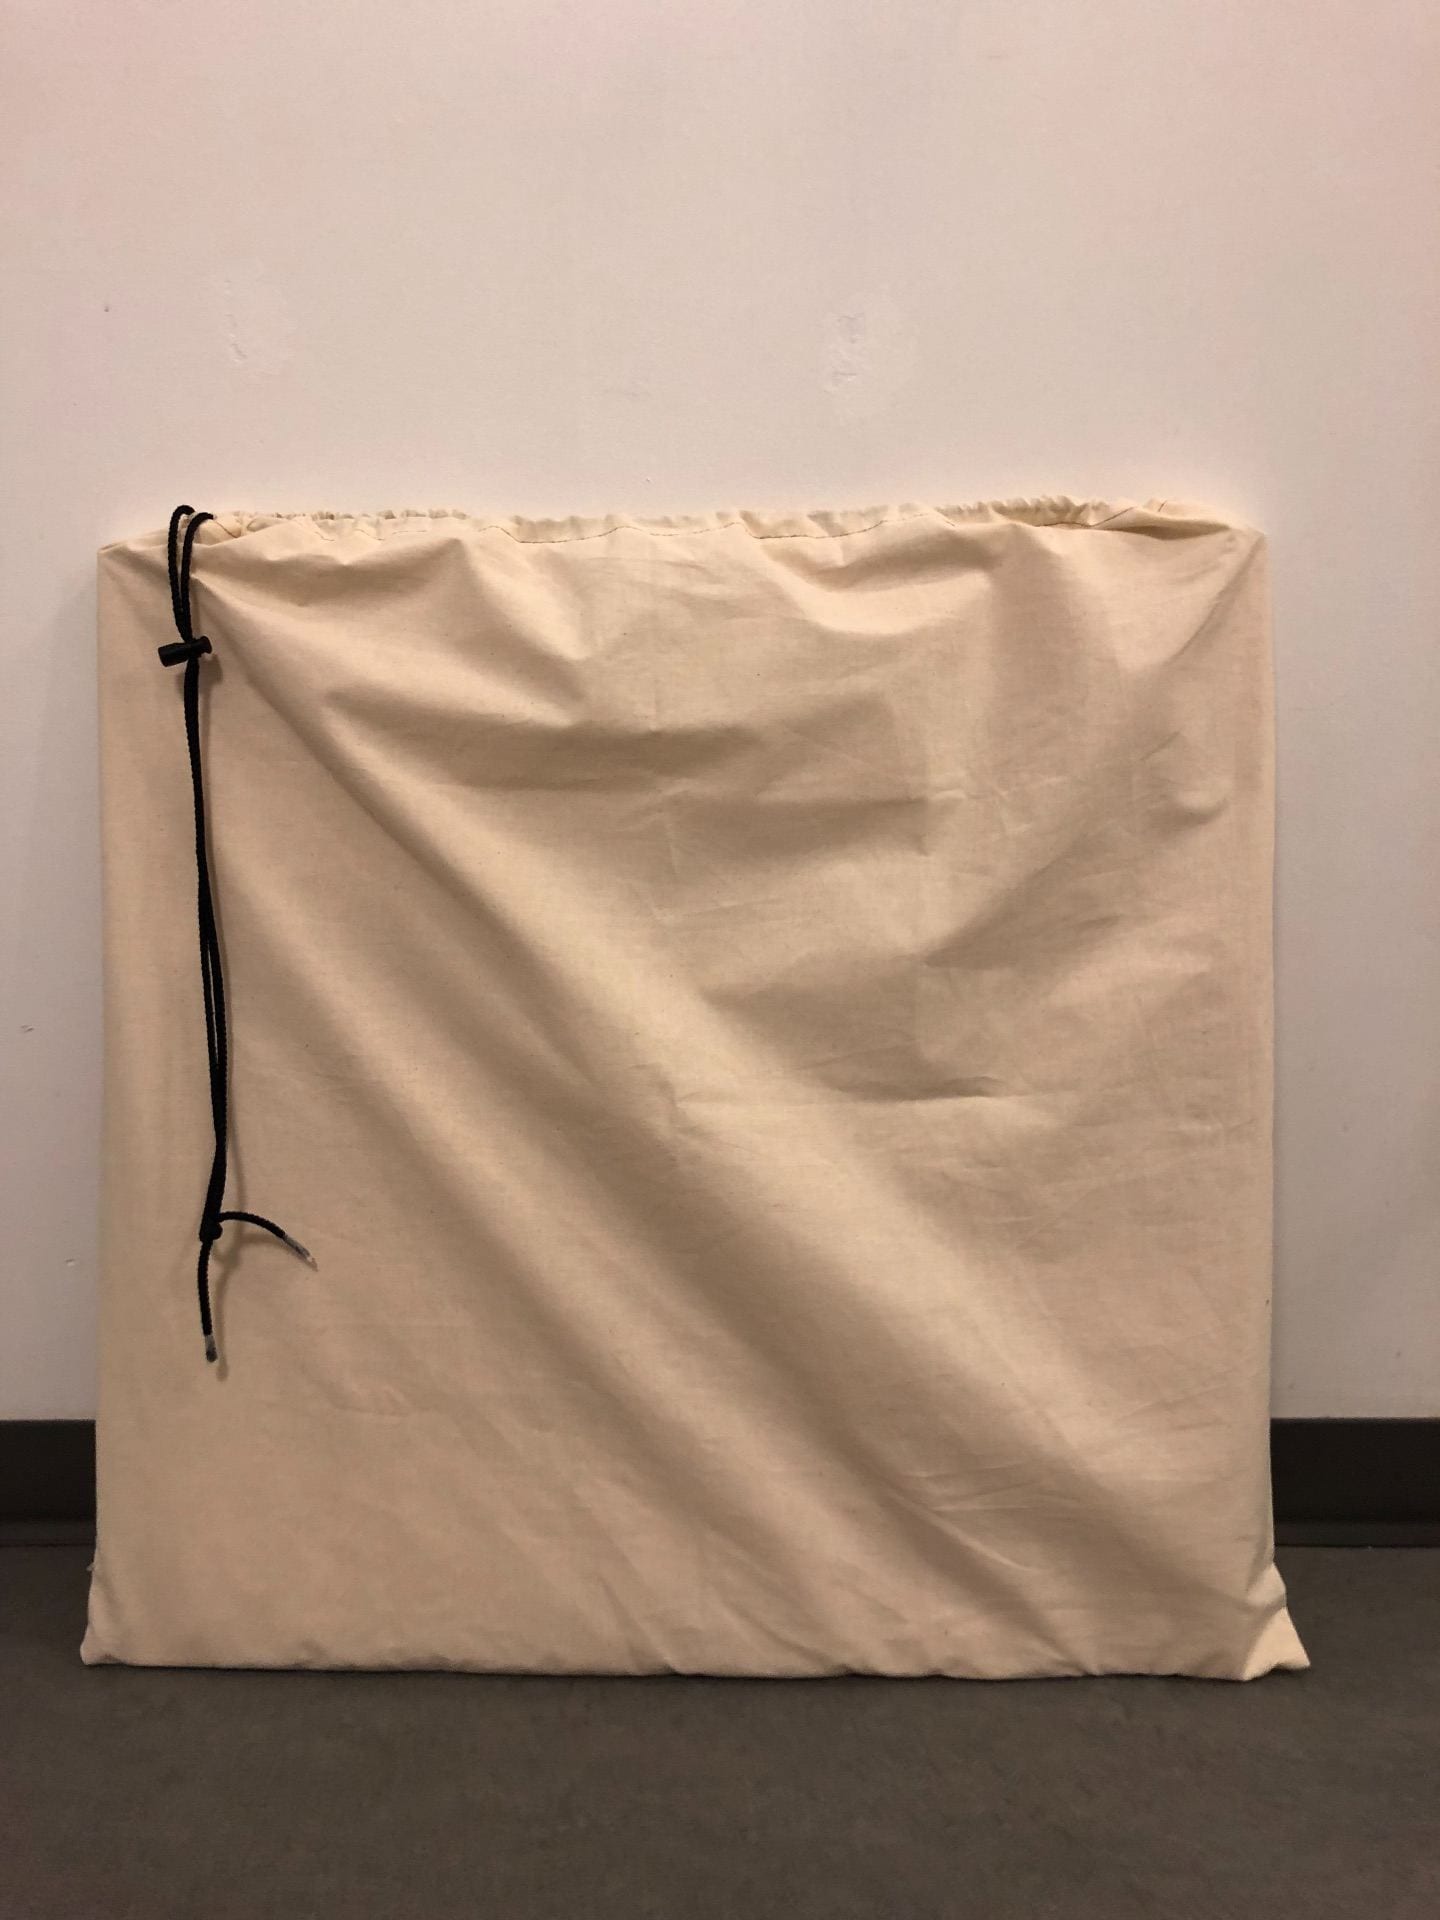
Overall, this was a very helpful and simple introduction to sewing. Yes, the small errors with improper distance from the fabric’s edge did make more trips to strengthen and reverse stitch the tops of my corners, but definitely taught me a lot about measuring and estimating wiggle room with the fabric.