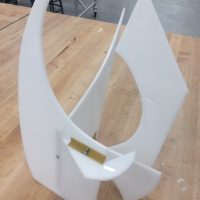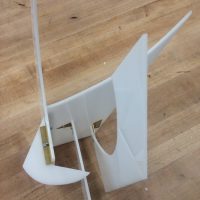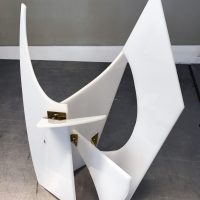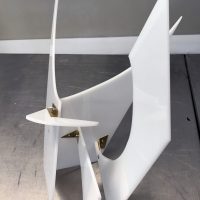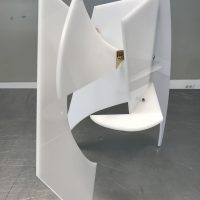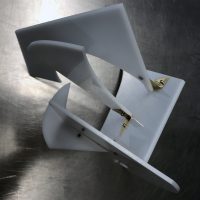
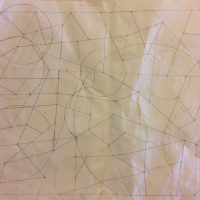
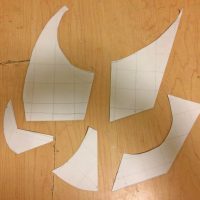
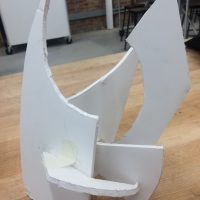
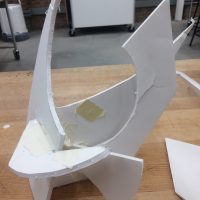
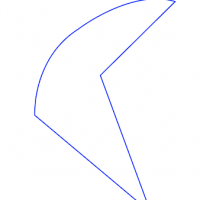

The original drawing I made with my golden section calipers was quite straightforward, so I ended up picking 5 relatively simple shapes of varying sizes and scaled them up by 1.5 times and cut them out to make a model with, as seen in the second picture.. I used 3/16″ foam board to make my first model. I wanted to create a really open and balanced composition, in terms of the shapes and sizes of the piece. I tried to have the different pieces more spread out, so it would make for a more stable base, however although I used a combination of masking tape and wire to try to hold them in place, the model wasn’t very stable. I realized that some of the shapes needed to be modified so they could be more easily connected, for example, changing them from a point to a flat surface, so there would be more surface area for connections. So I tried making a second model, again using foam board. But while it was a lot easier to connect the shapes, the model itself wasn’t very stable and it wouldn’t stand on its own. Therefore, I decided to modify the shapes even more for my final piece. As I really liked the clean and minimalist effect of the foam board and I needed a slightly thicker type of material so my piece could stand, I decided to use 3/16″ white opaque plexiglass for my final piece. Since I would be cutting it in the laser lab, I decided to scale up my piece a bit more, so it would be easier to connect. I also made a few changes to my shapes in Illustrator. Unfortunately, I scaled them up too big so I had to recut them to a more appropriate size.
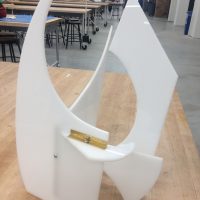
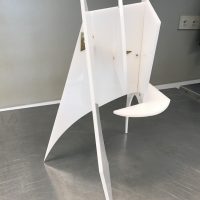
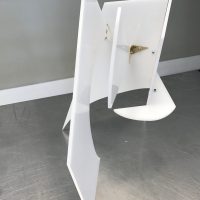
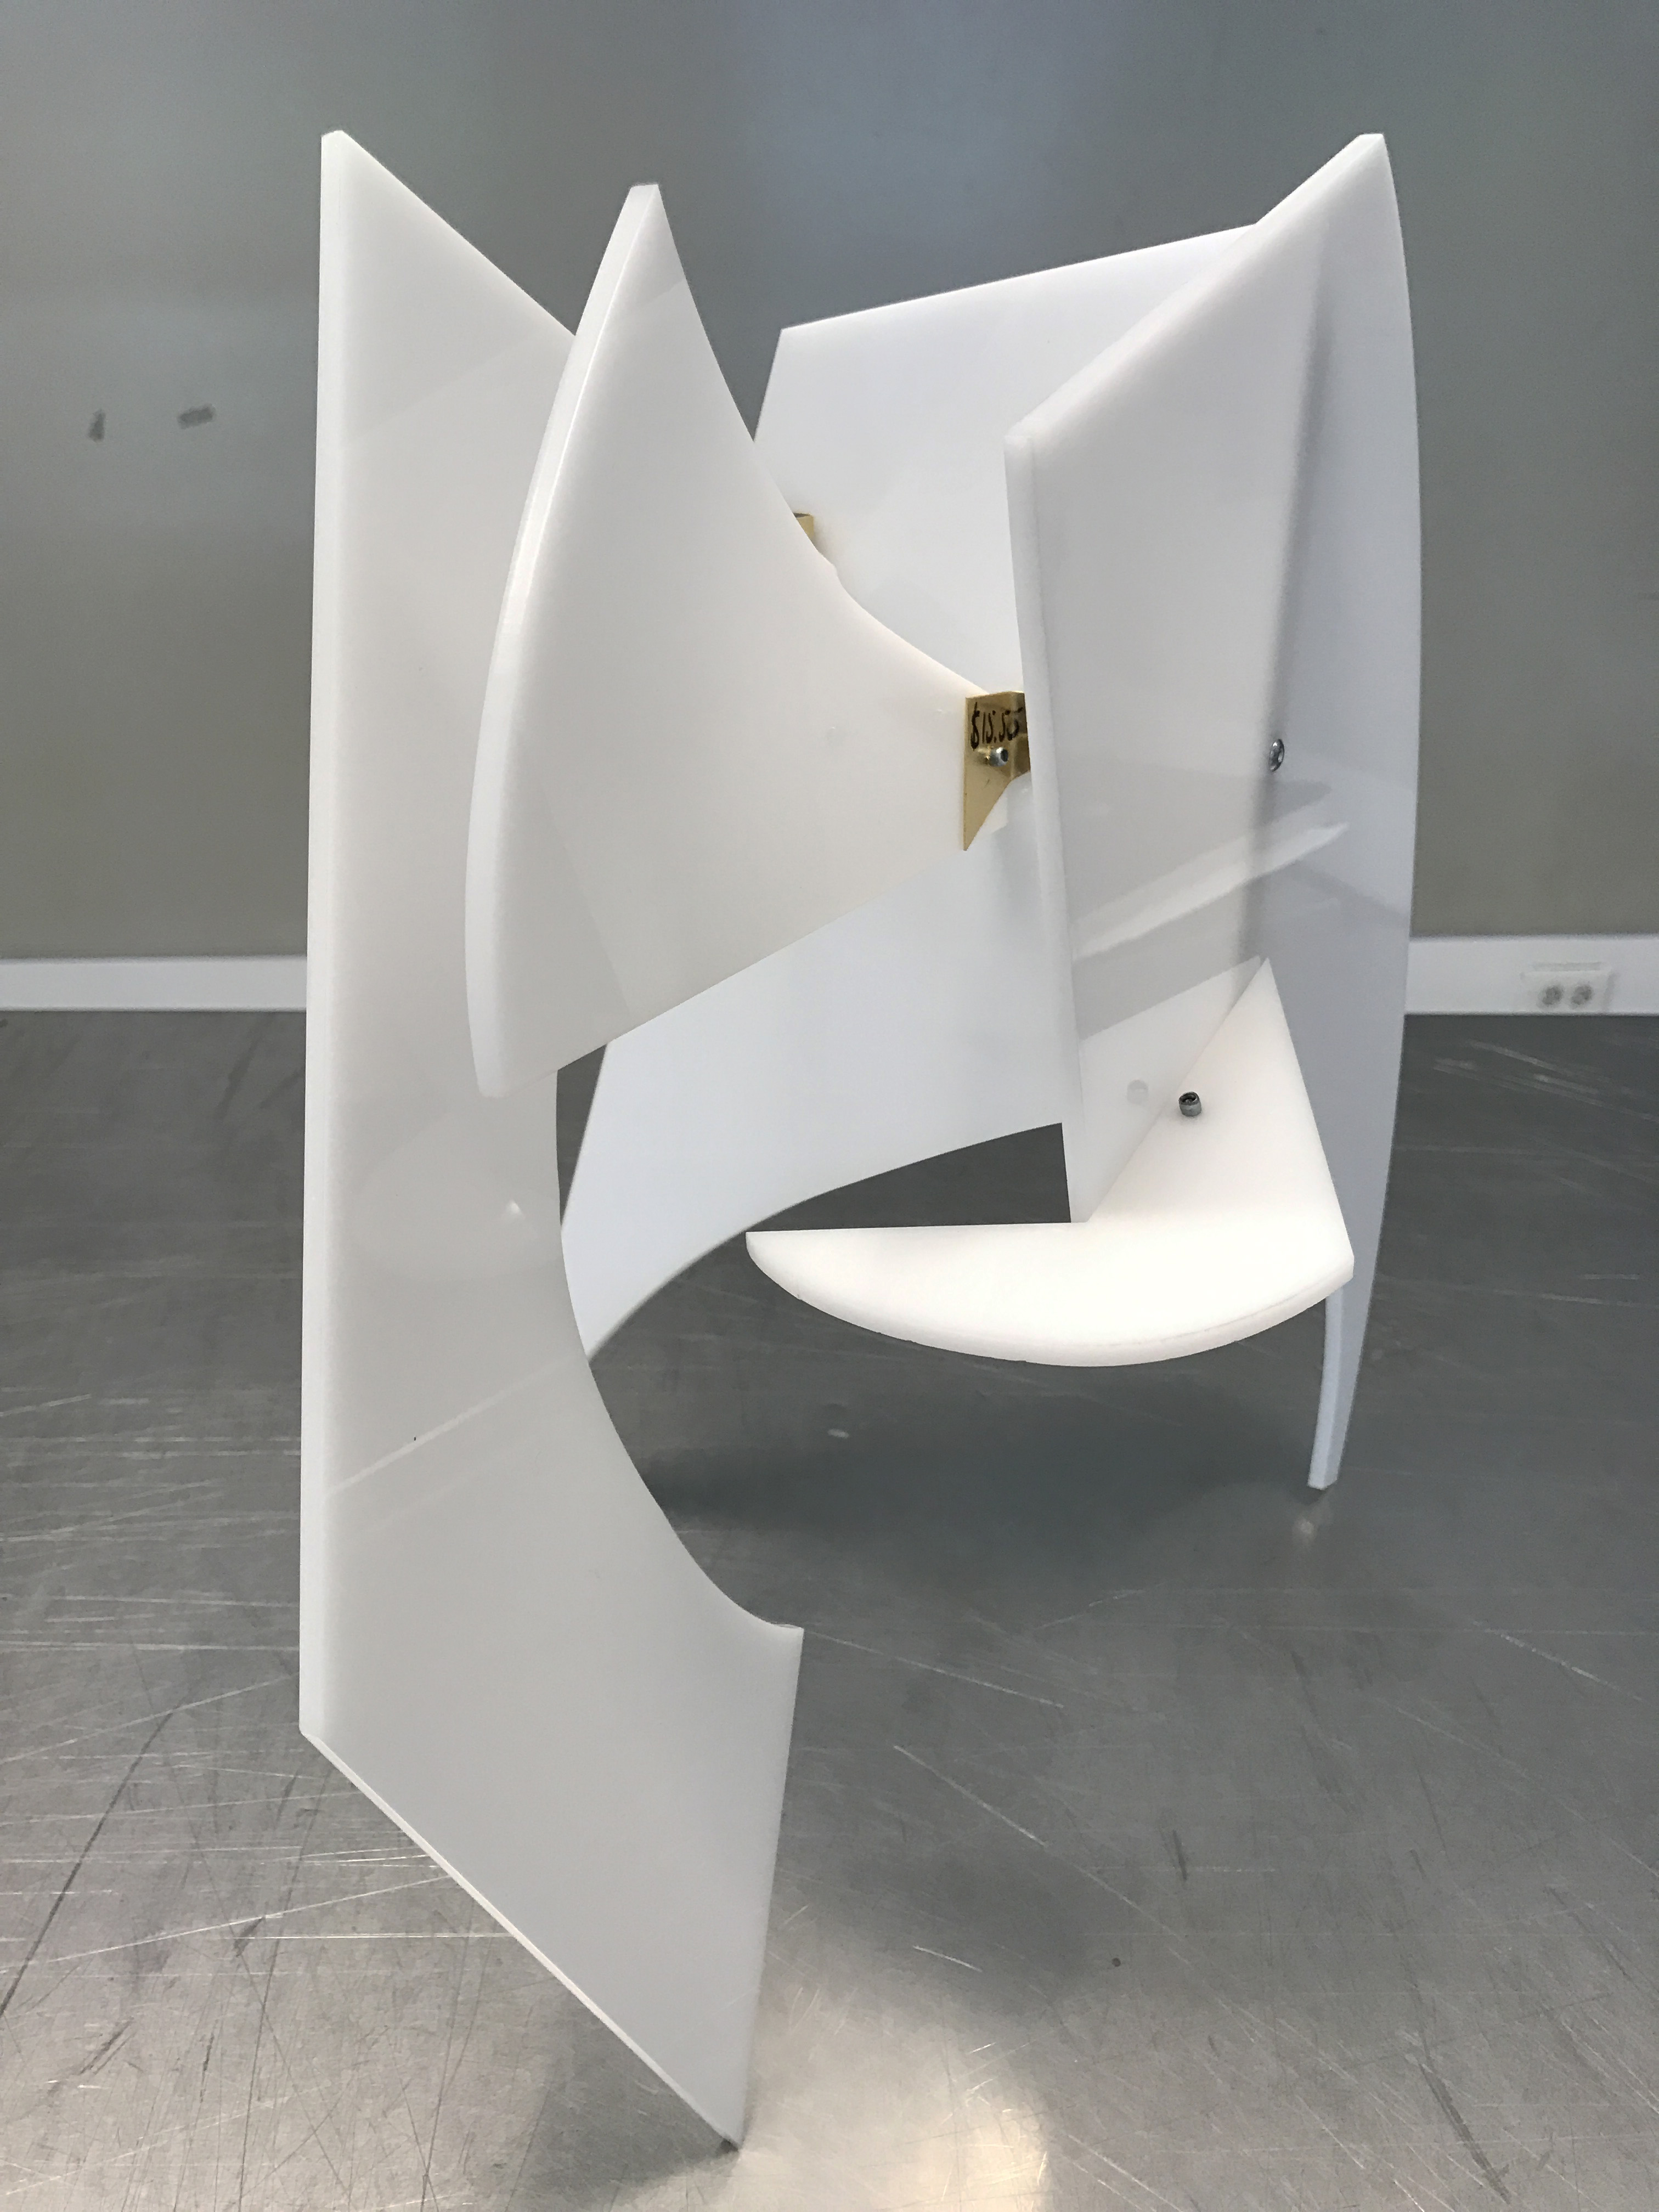
In class, we learned about using rivets and bracket connections, so I tried using that for my final piece. I ran into a lot of trouble with the rivets because some of the connections were at weird angles and I didn’t quite have enough strength to properly break it off. It was also quite challenging to line everything up correctly and make sure they were able to stand. Initially, I made the mistake of using a thinner type of brass which was not strong enough to support some of the pieces, so I had to remove it and remake the bracket using a thicker brass – something my teacher suggested doing. Luckily, this was enough to be able to support the pieces and I managed to complete the piece the way I envisioned it, although it took longer than I expected. Additionally, I would really like to credit my teacher Derek who helped me a lot during moments when I was frustrated and didn’t know how to move forwards.
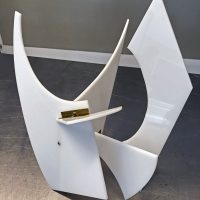
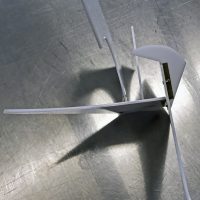
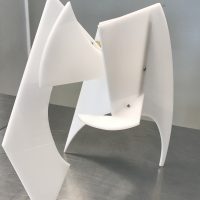
If I were to do this project again, I would do more pre-planning in the beginning and maybe try envisioning different ways to position my piece. For example, during critiques in class it was brought up that my piece might look more interesting if it was upside down, so the energy would be at the top. I never actually considered that, but when I tried it out, it actually looked a lot better than my original design. This was because something I had misgivings about in my original design was that while it looked good at certain angles, when you look at it from a front view, the big piece in the front dominates and covers up the other pieces, so you wouldn’t be able to see much of the other pieces. However, turning it upside down, or even at an angle solves this problem.