![[ D&I] PLANAR PORTRAIT](https://portfolio.newschool.edu/saskiawulandiarti/files/2019/04/IMG_0024-1pgzzad.png)
DIGITAL DRAWING:
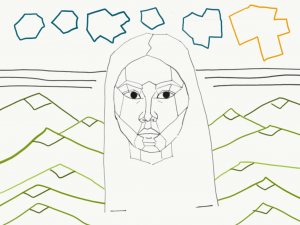
First Digital Planar Drawing

Second Digital Planar Drawing using the Pen Tool
PROCESS:
First, I choose a picture of myself, and started to observe the planar areas. I drew it digitally on the iPad and with Adobe sketch. Then, I took the first version to illustrator for me to be able to fill out the planar areas. Tracing the first drawing with the pen tool and then choosing the colors to fill in. I decided to use different tones of green so that it can blend with the mountainous background. I found it challenging at first, however, I got the hang of it after filling out half of the face.
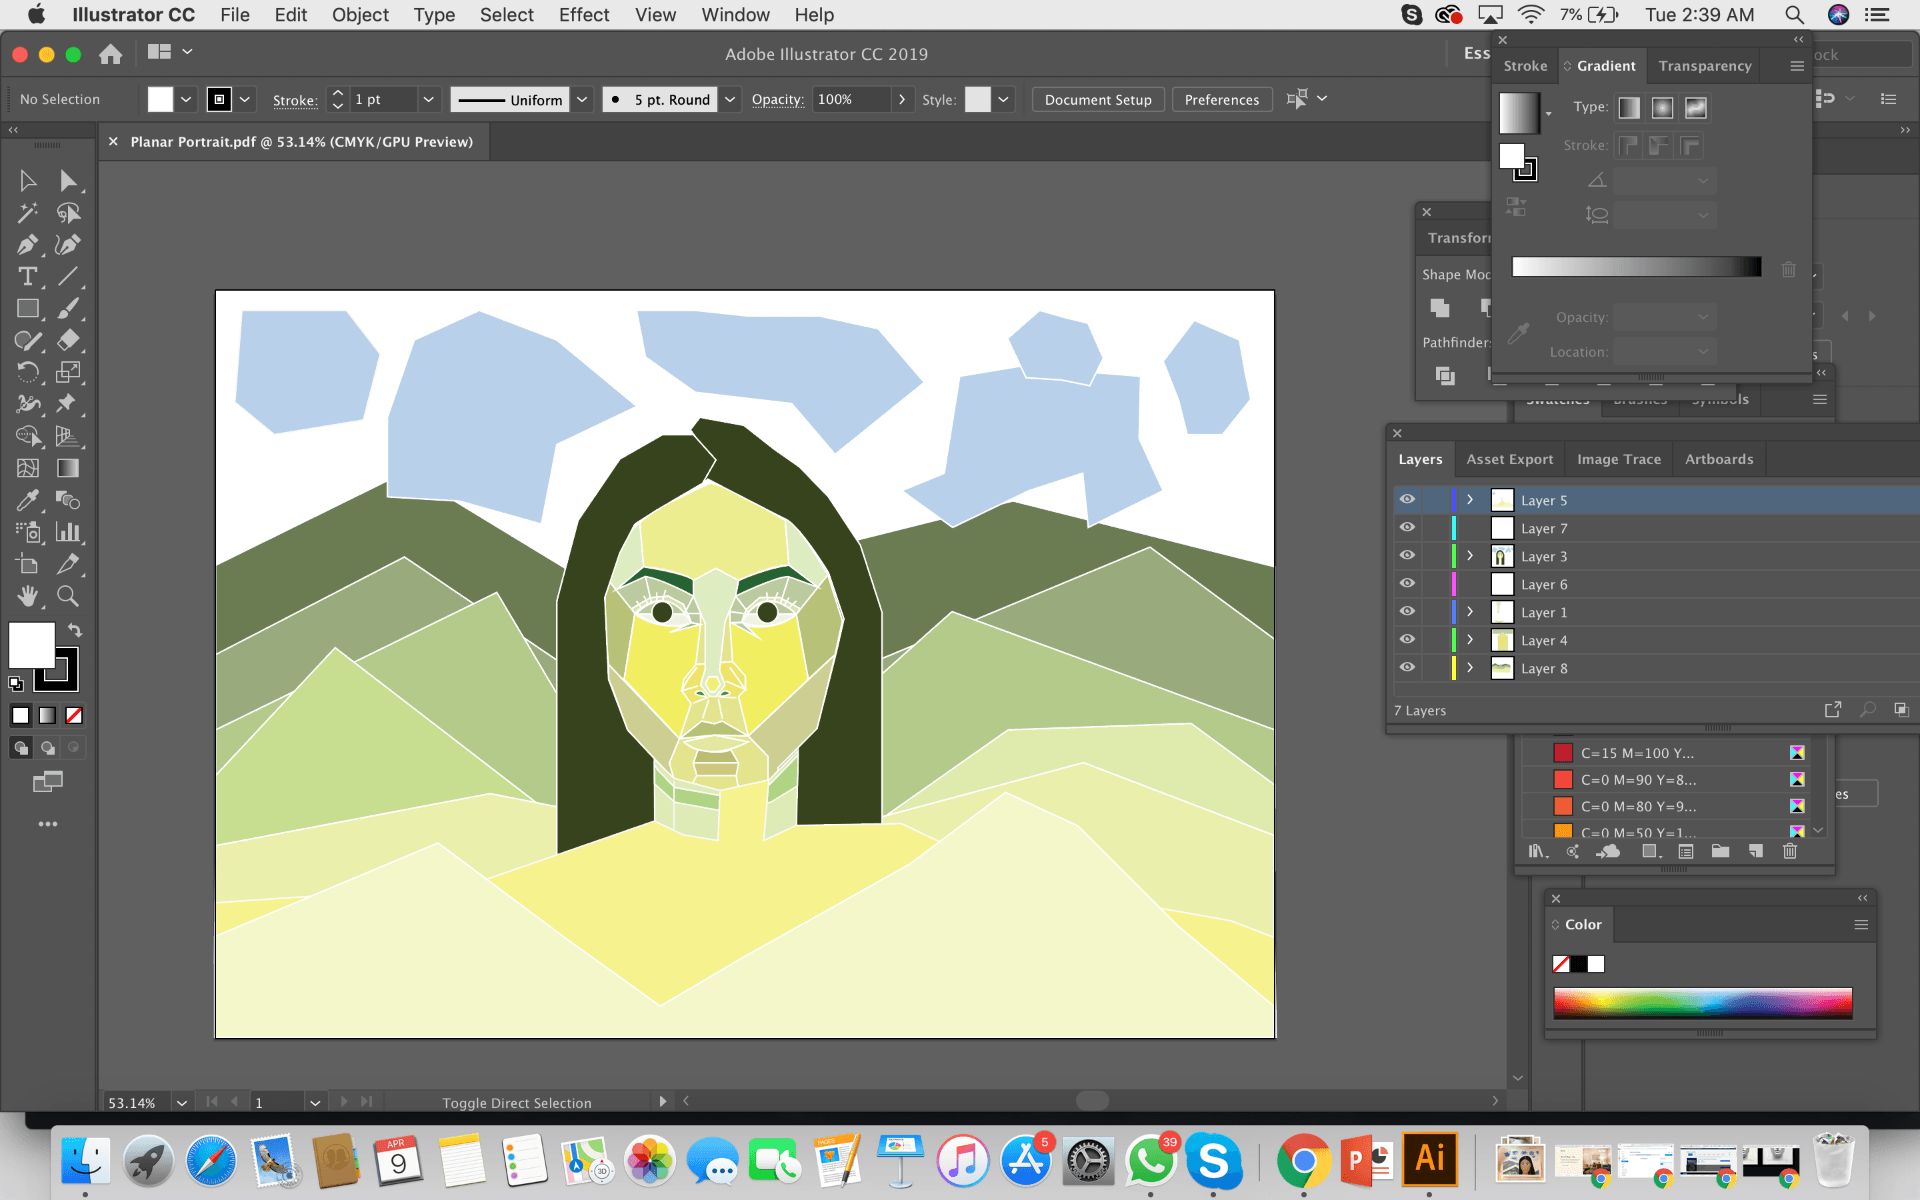
process of the First Digital Planar drawing put into photoshop to fill in colors
PAINTING DRAWING:
FINAL PIECE:

Final Planar Portrait Painting
PROCESS: I tried different colors for the face, however, i didn’t like how it turned out so I kept redoing the painting.

REFLECTION AND PROCESS:
The Planar Portrait Project was really fun and interesting to me, again touching on analog and digital. However, this time the process was reversed, we started from working digitally to painting. I really enjoyed painting again, I surly need to get the hang of things again, but I think this is great practice. I had a hard time picking out the colors for my painting and I didn’t like how it turned out, so I kept redoing it and stuck the portrait I’m satisfied with on top of the old one.
I knew from the start when I had to choose a background that I’m going to paint the mountains, because I came from an area with lots of mountains with tree plantation and rice fields.
I am pretty satisfied with the outcome, but it could definitely turn out better.