- On the first day of classes, we were prompted to wear our favorite shoe. Little did I know what I was getting myself into! I ended up wearing my gladiator sandals, which was a nightmare to do a technical drawing of. After a failed attempt, I switched my shoe toe a simpler bright yello flip-flip from Zara.
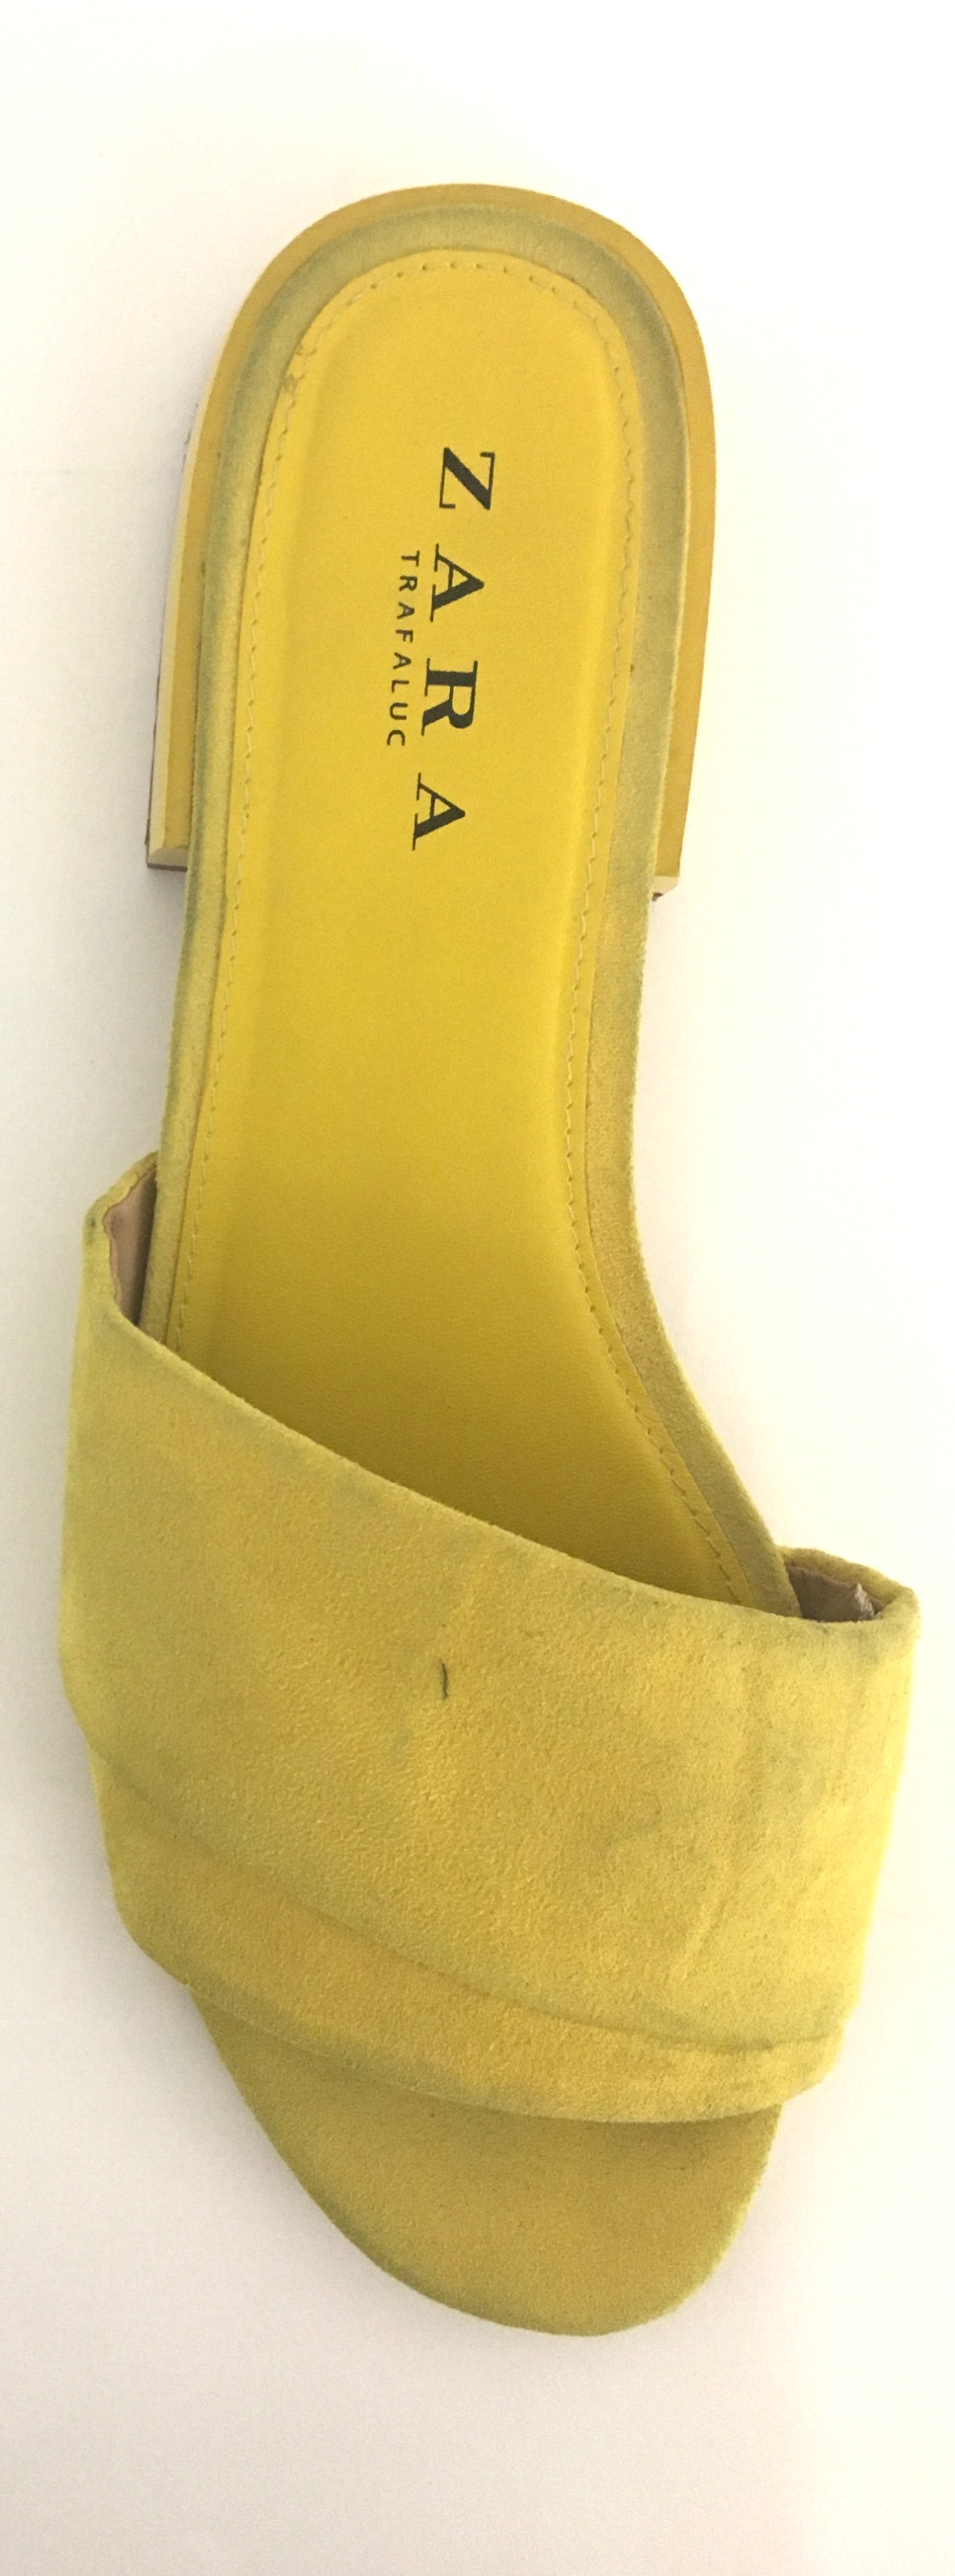
Top view of the shoe I used for this project
We started the technical drawings of this project by measuring heights of the shoe from a 90 degree angle. We transferred this into different views by reflection, including both sides, front, back, top and bottom.
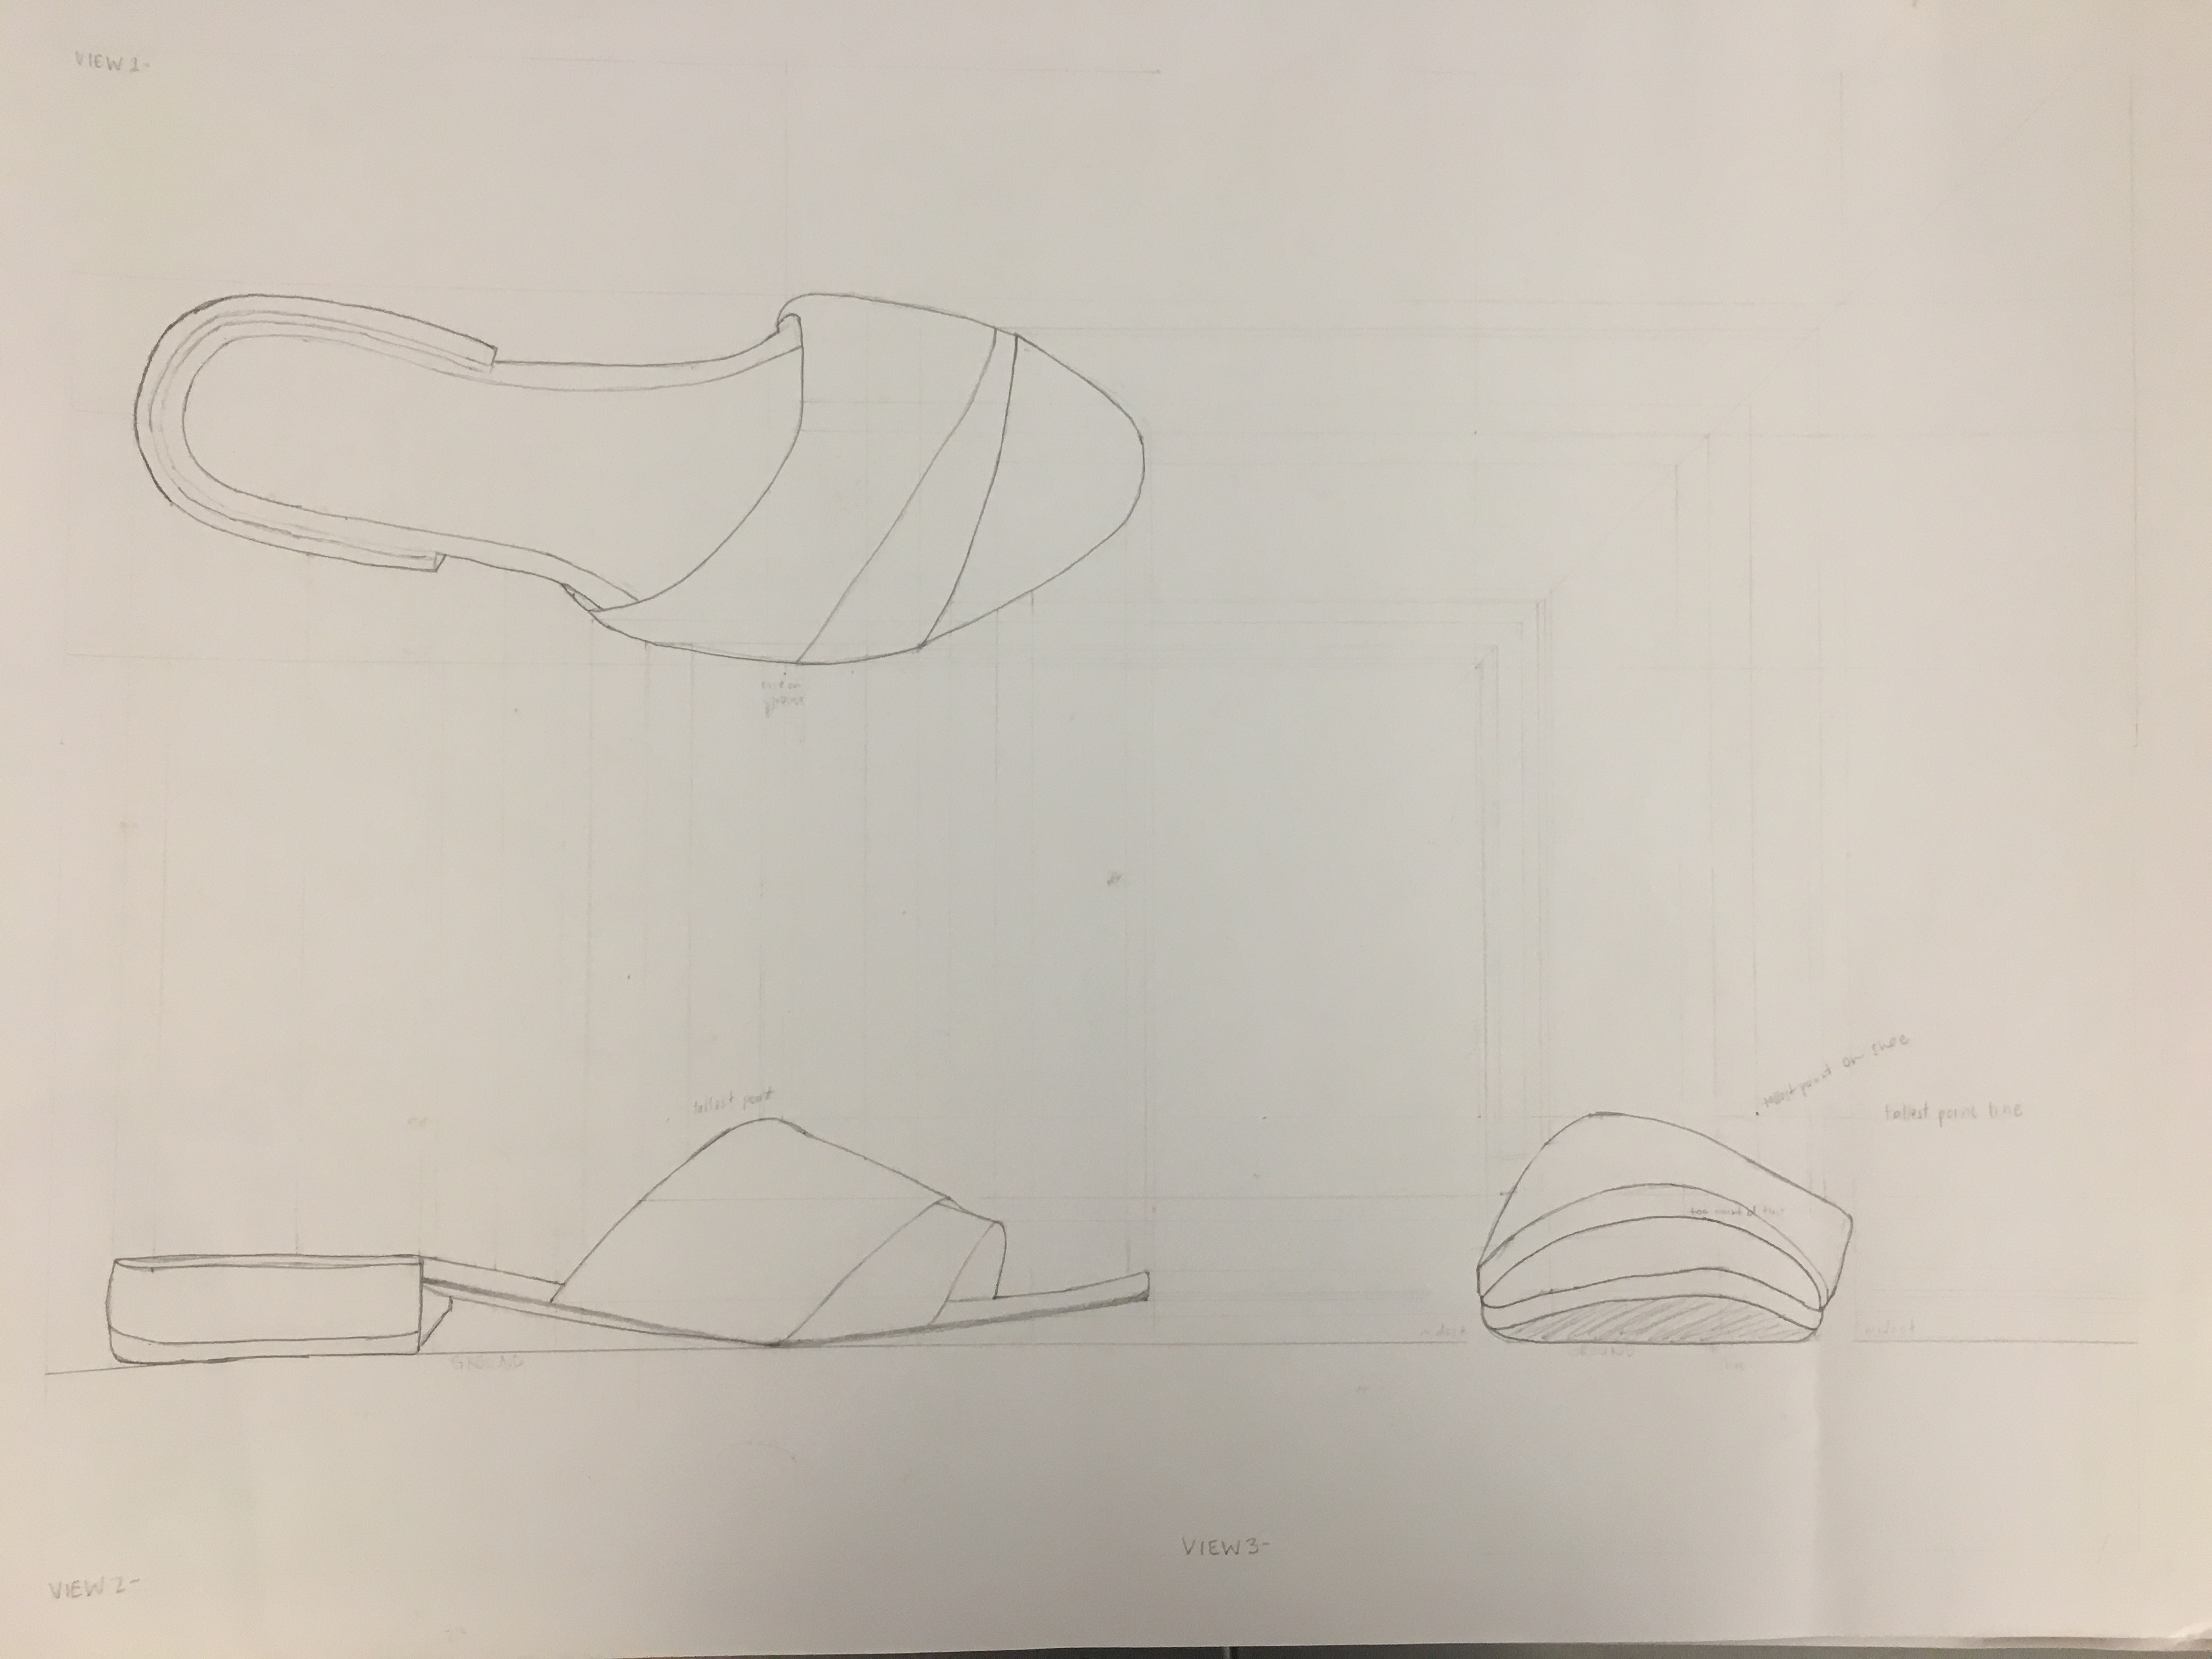
Top, right side and front views technically drawn

Bottom, left side and back views technically drawn
The demonstration we recieved in class on how to wrap wire was undoubtedly the most helpful part in completing my final project. Learning how the wire can be used to fully show the construction of the shoe and not just the exterior was also helpful in letting me look past the drawings when I was making the shoe (as the drawings were measuring the exterior.) Finally, learning how to measure and curve the wire from the shoe itself definitely helped me to get to my final product.
After completing the shoe, I realized that I should have been with my dad in the garage more growing up! I was very proud of my final product and even missed my jewelry-making days a bit.
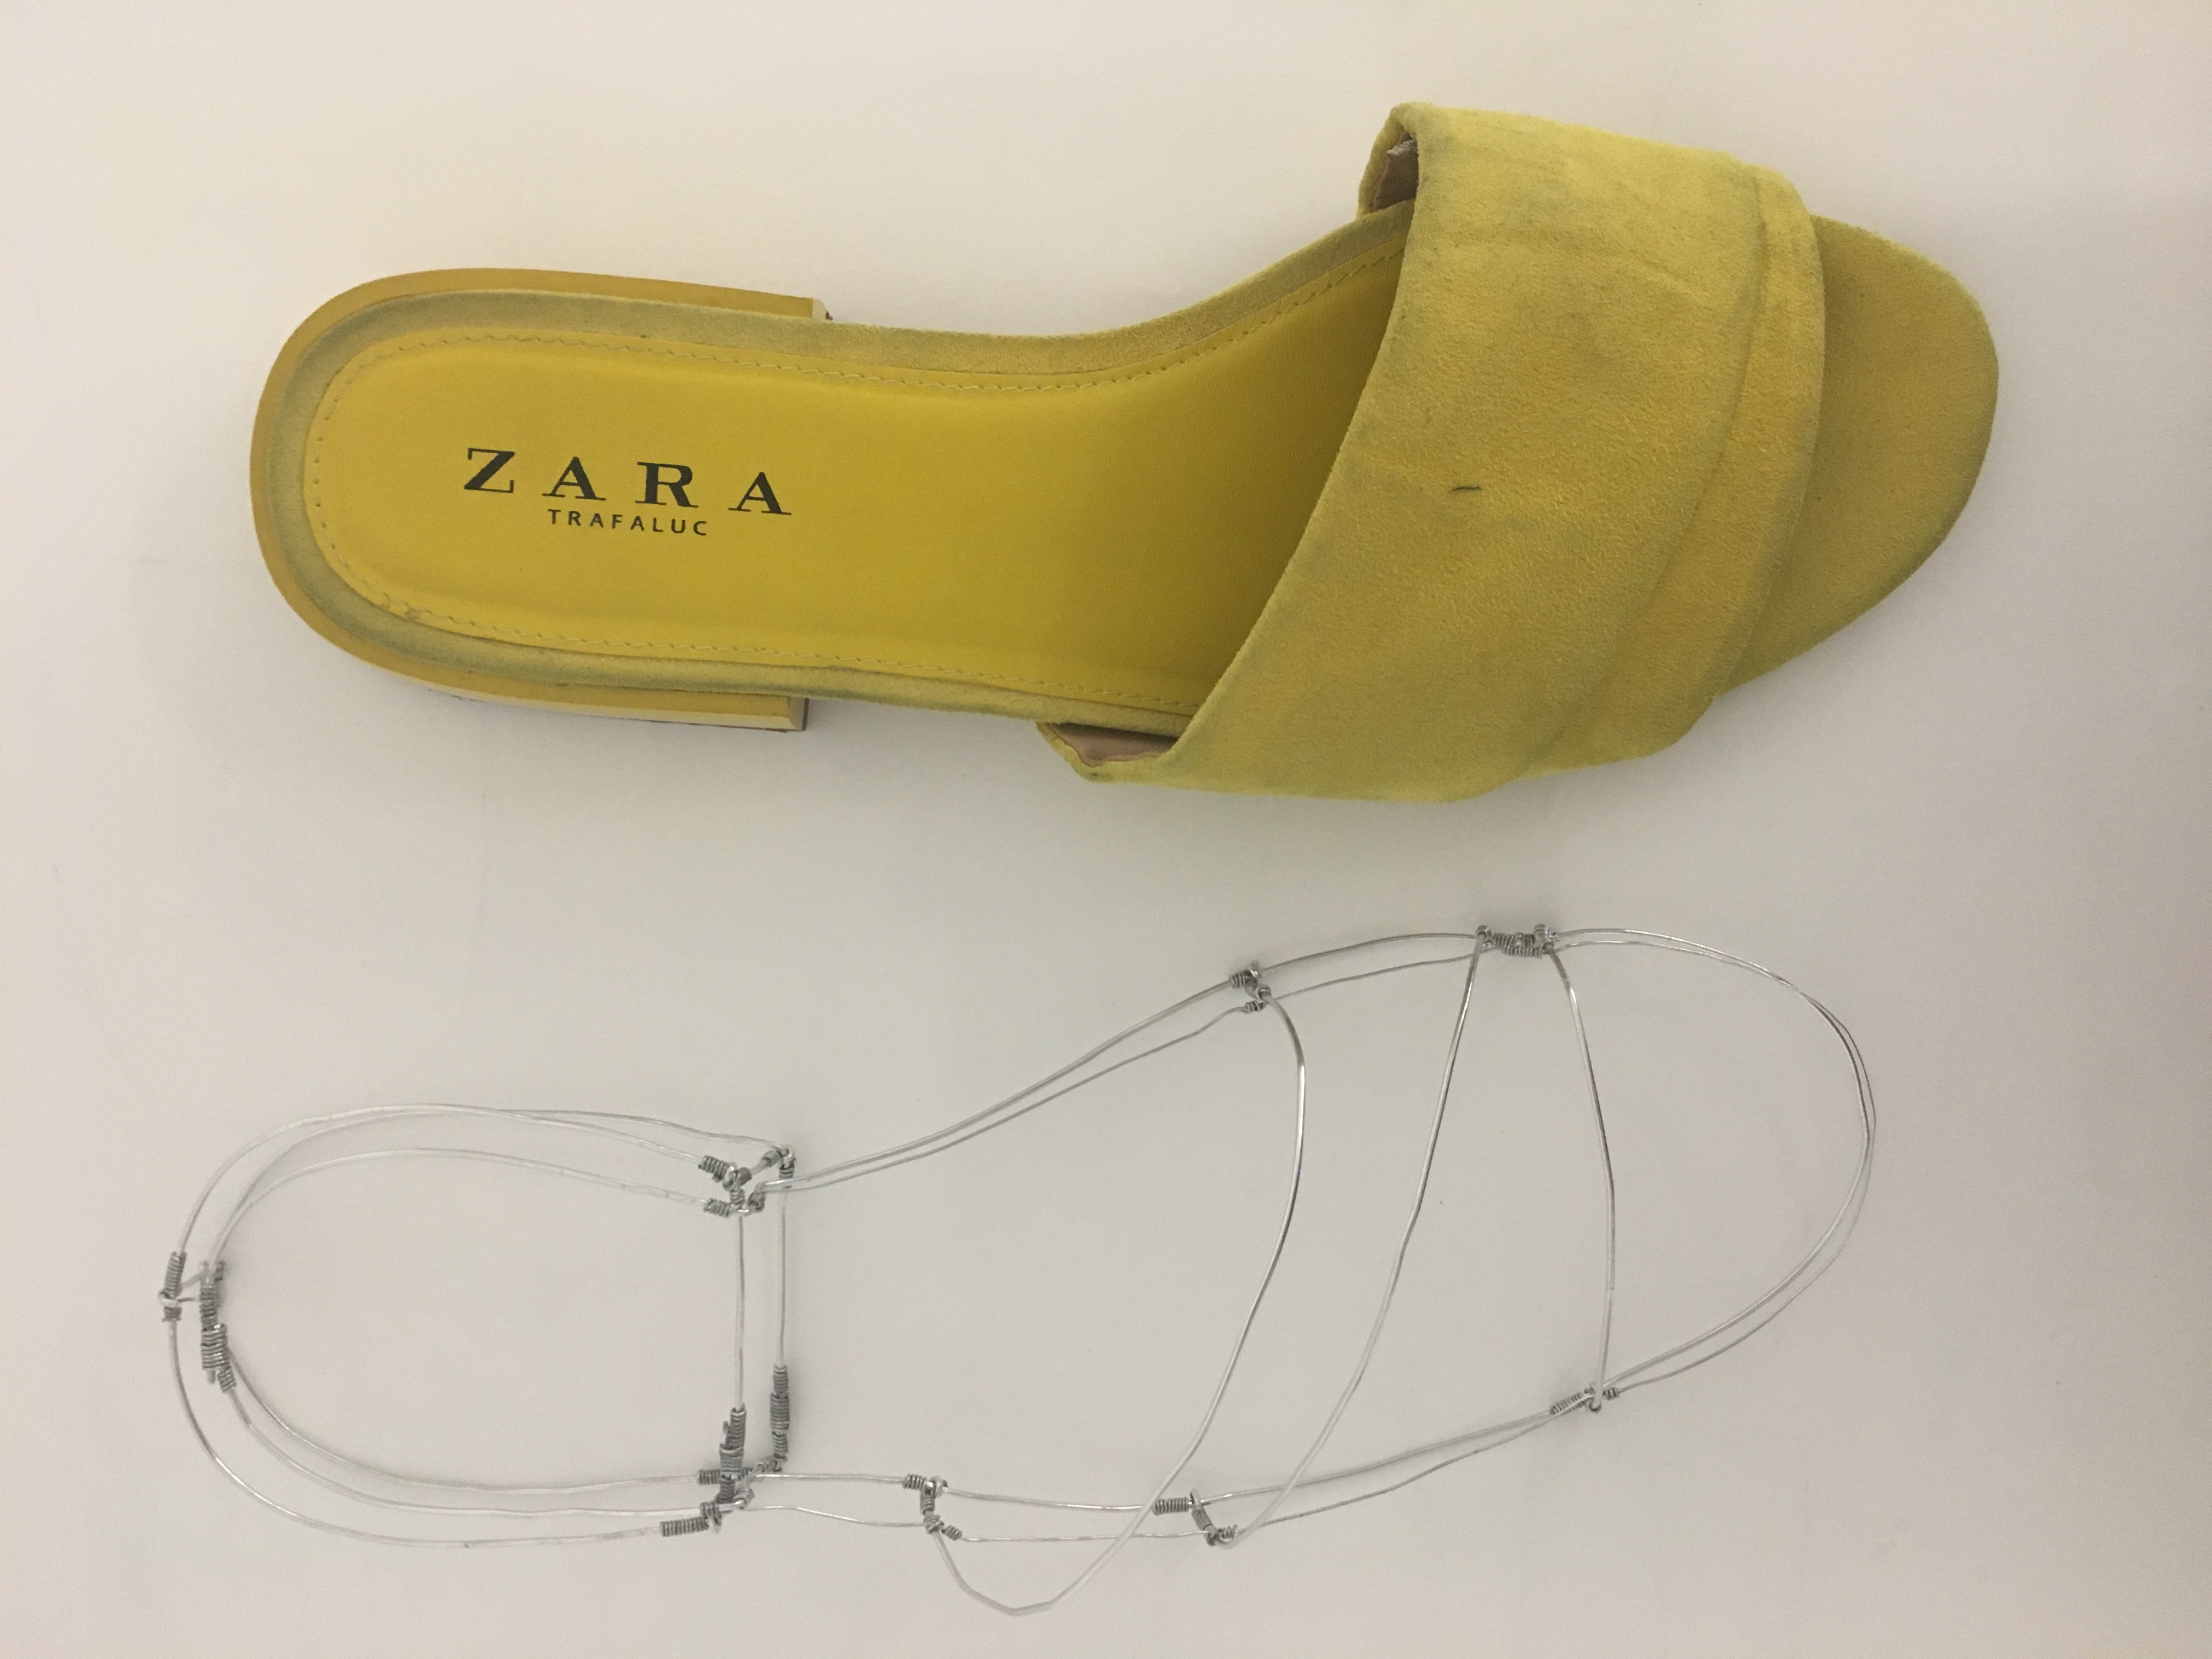
Top view of my final wire shoe next to the real shoe
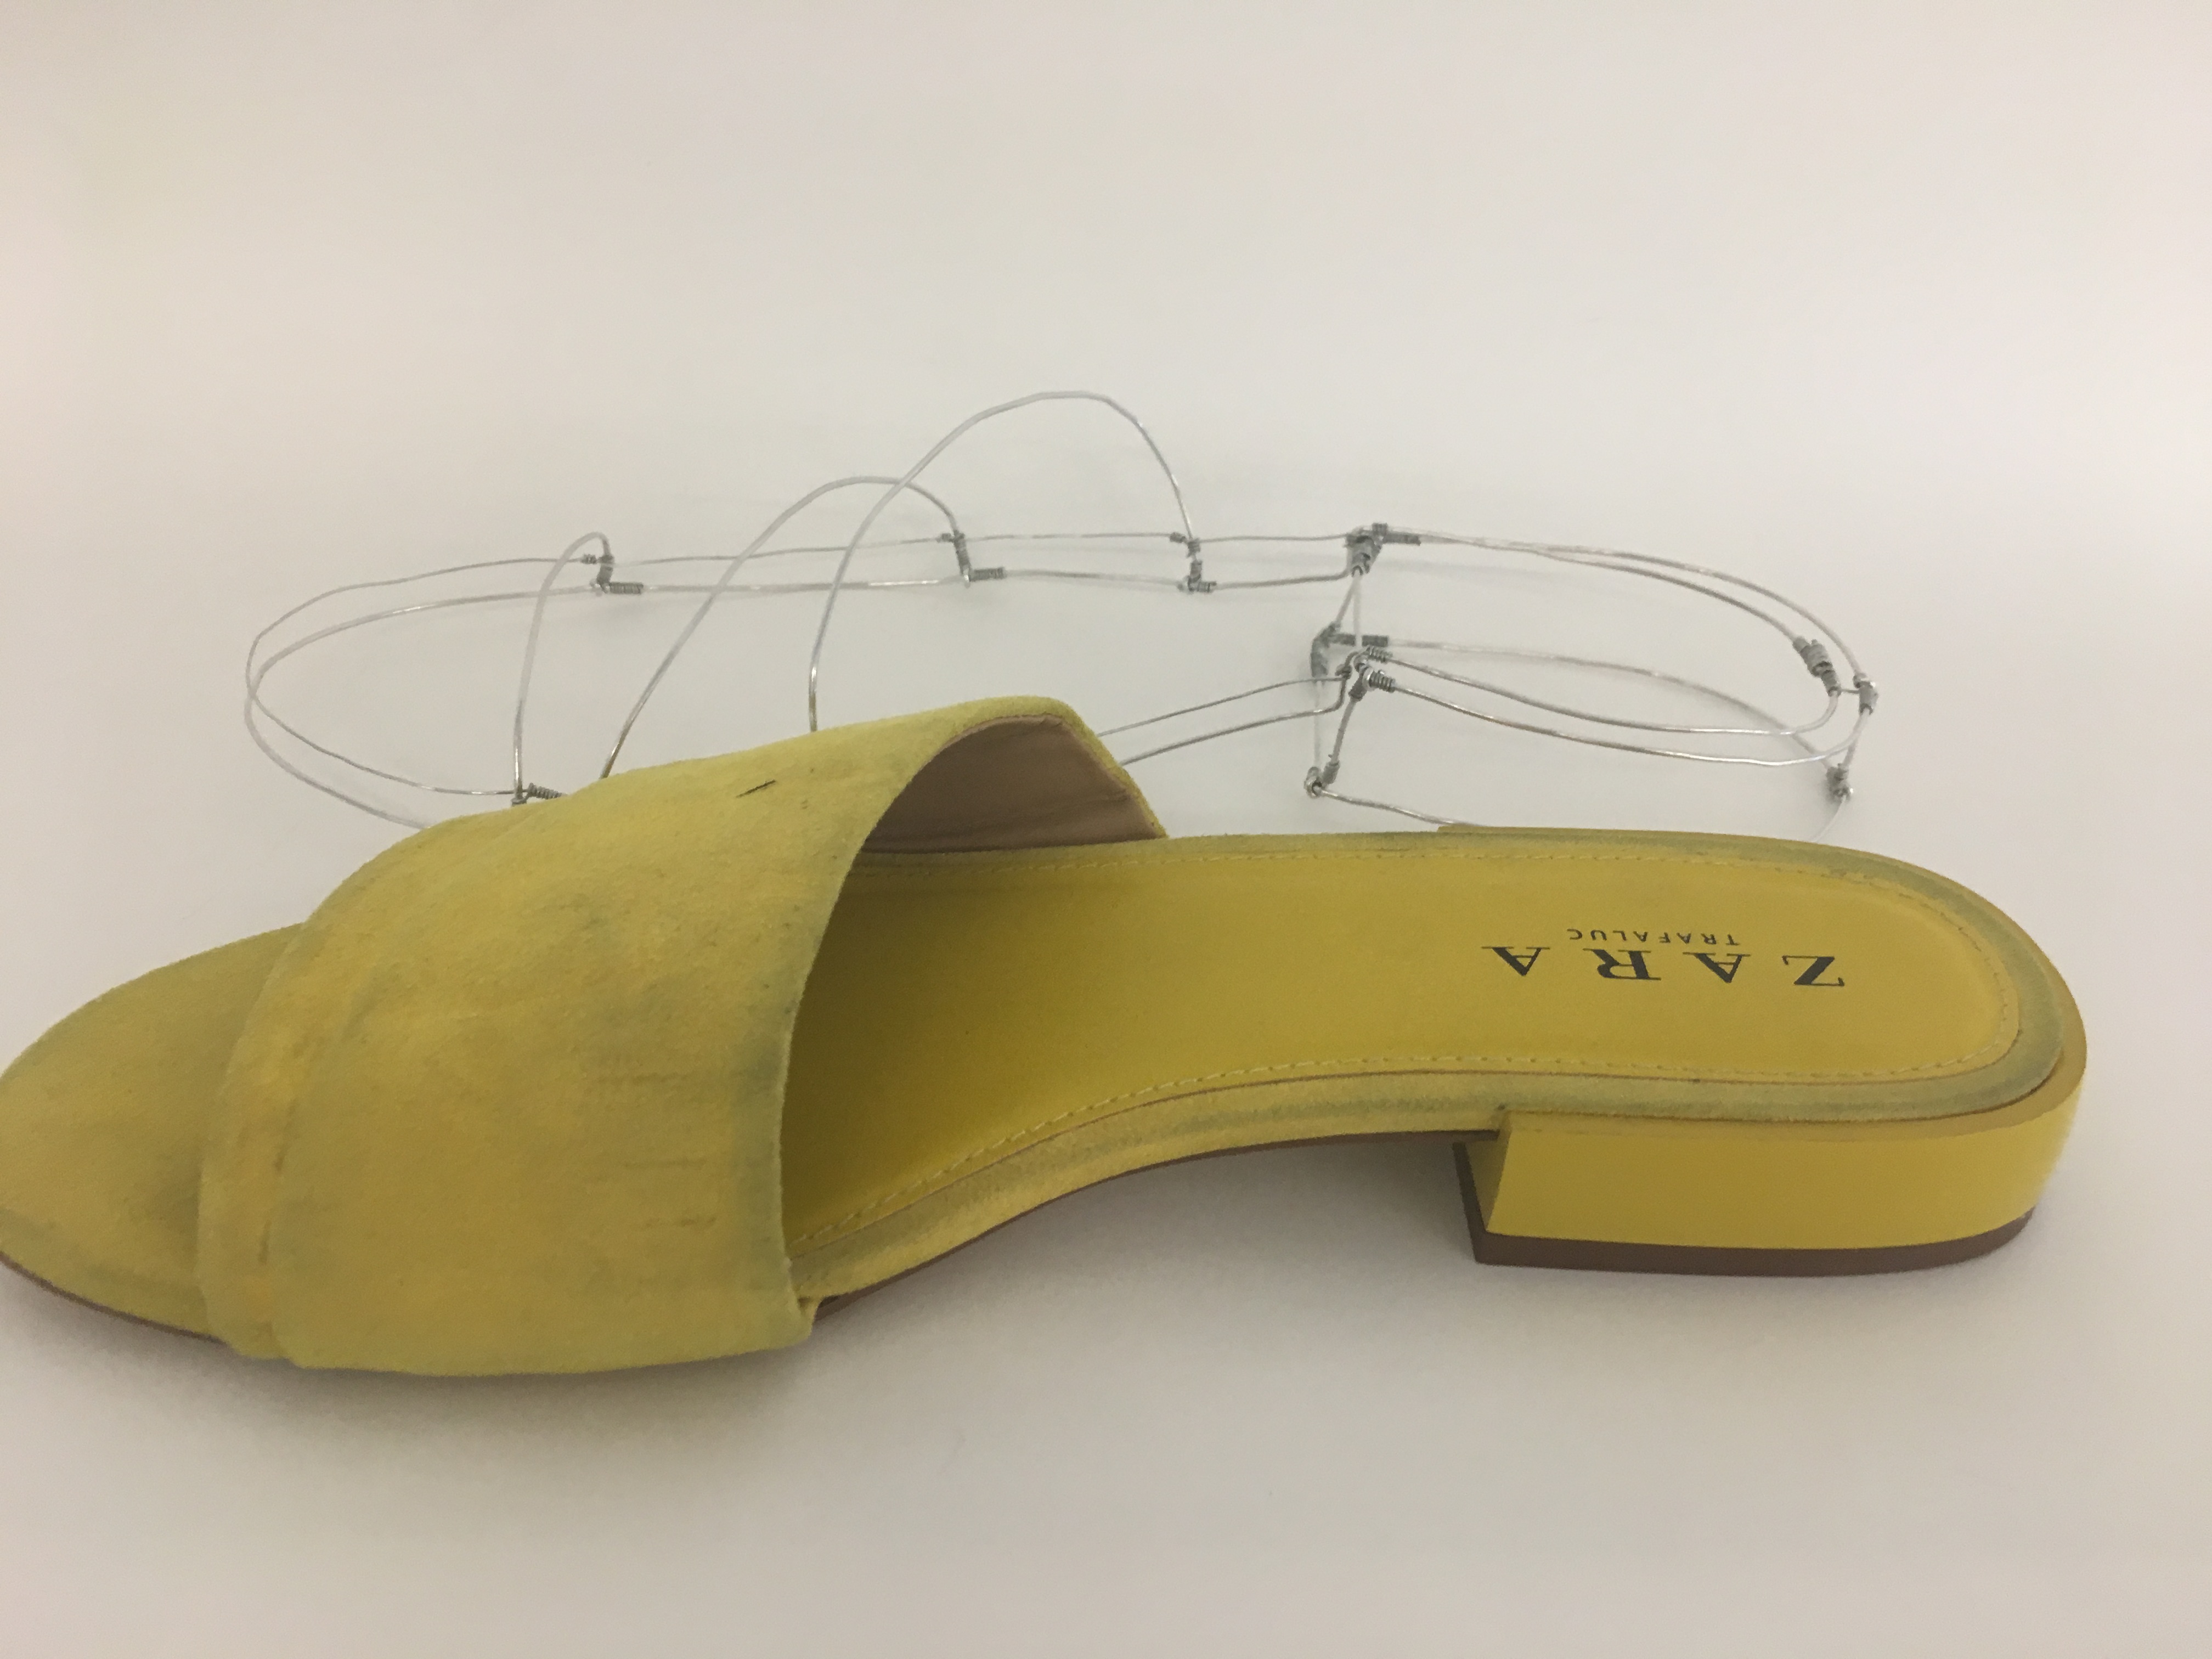
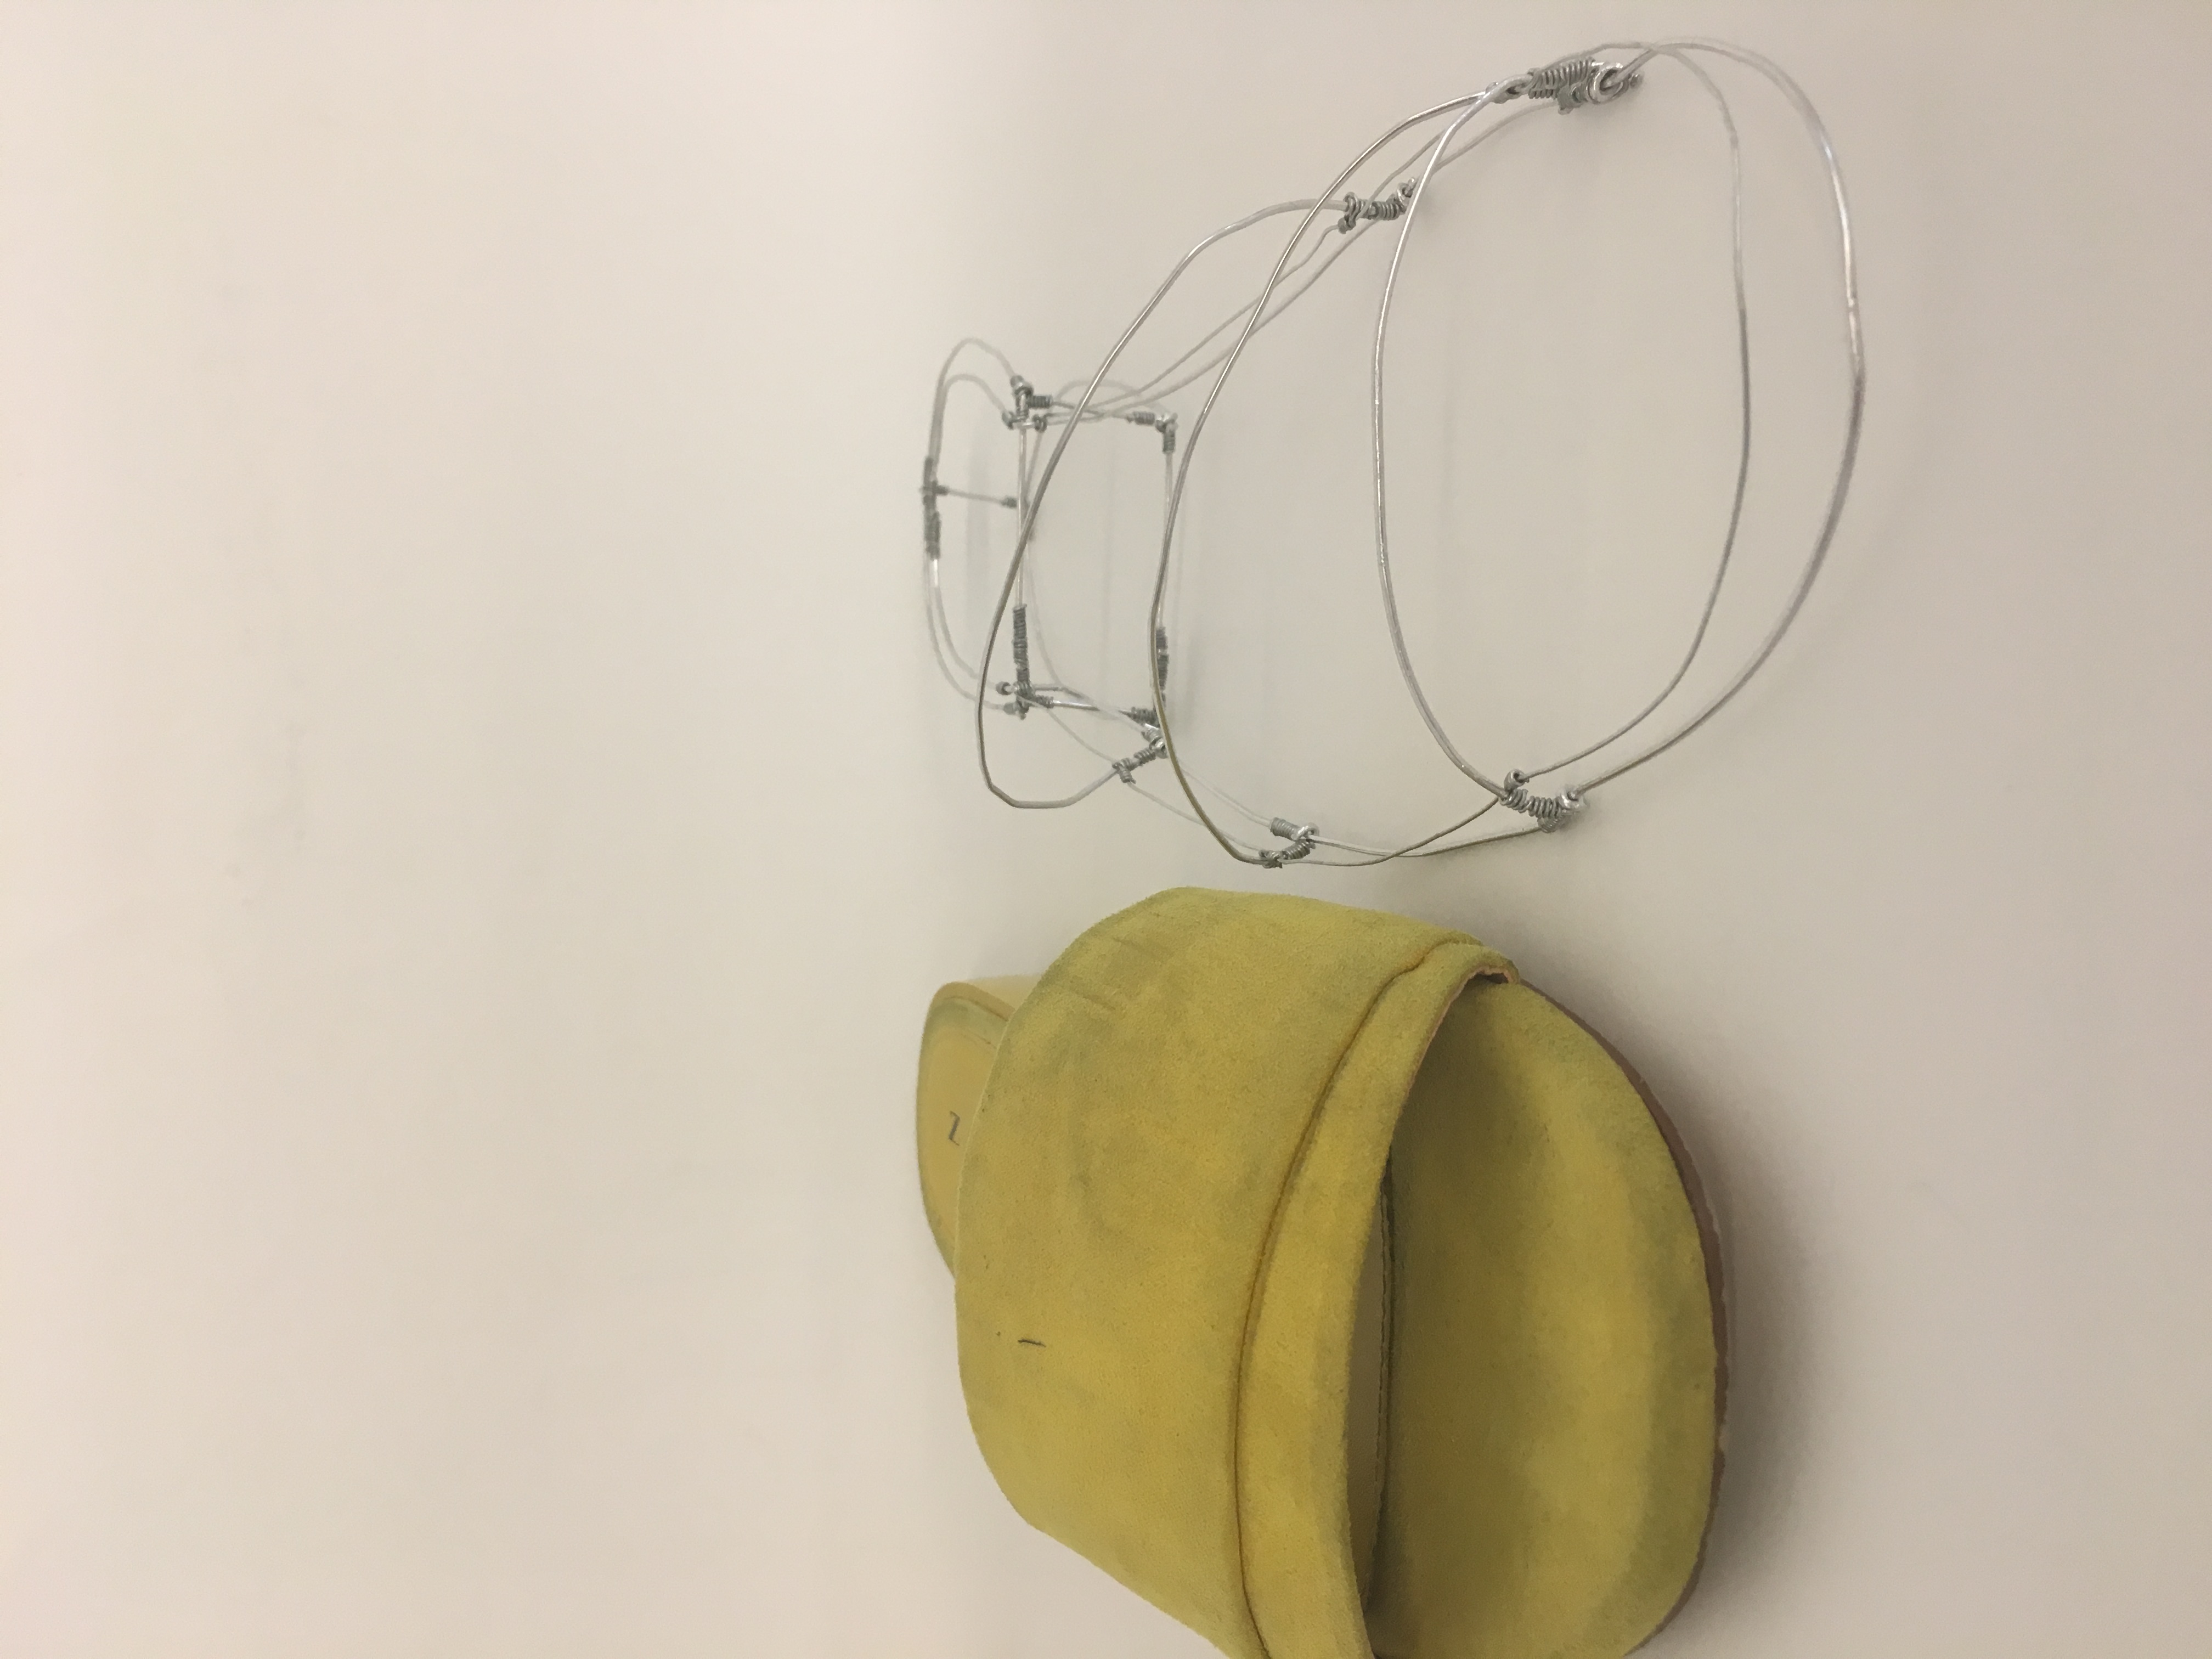
Side view of my final wire shoe along with the original shoe
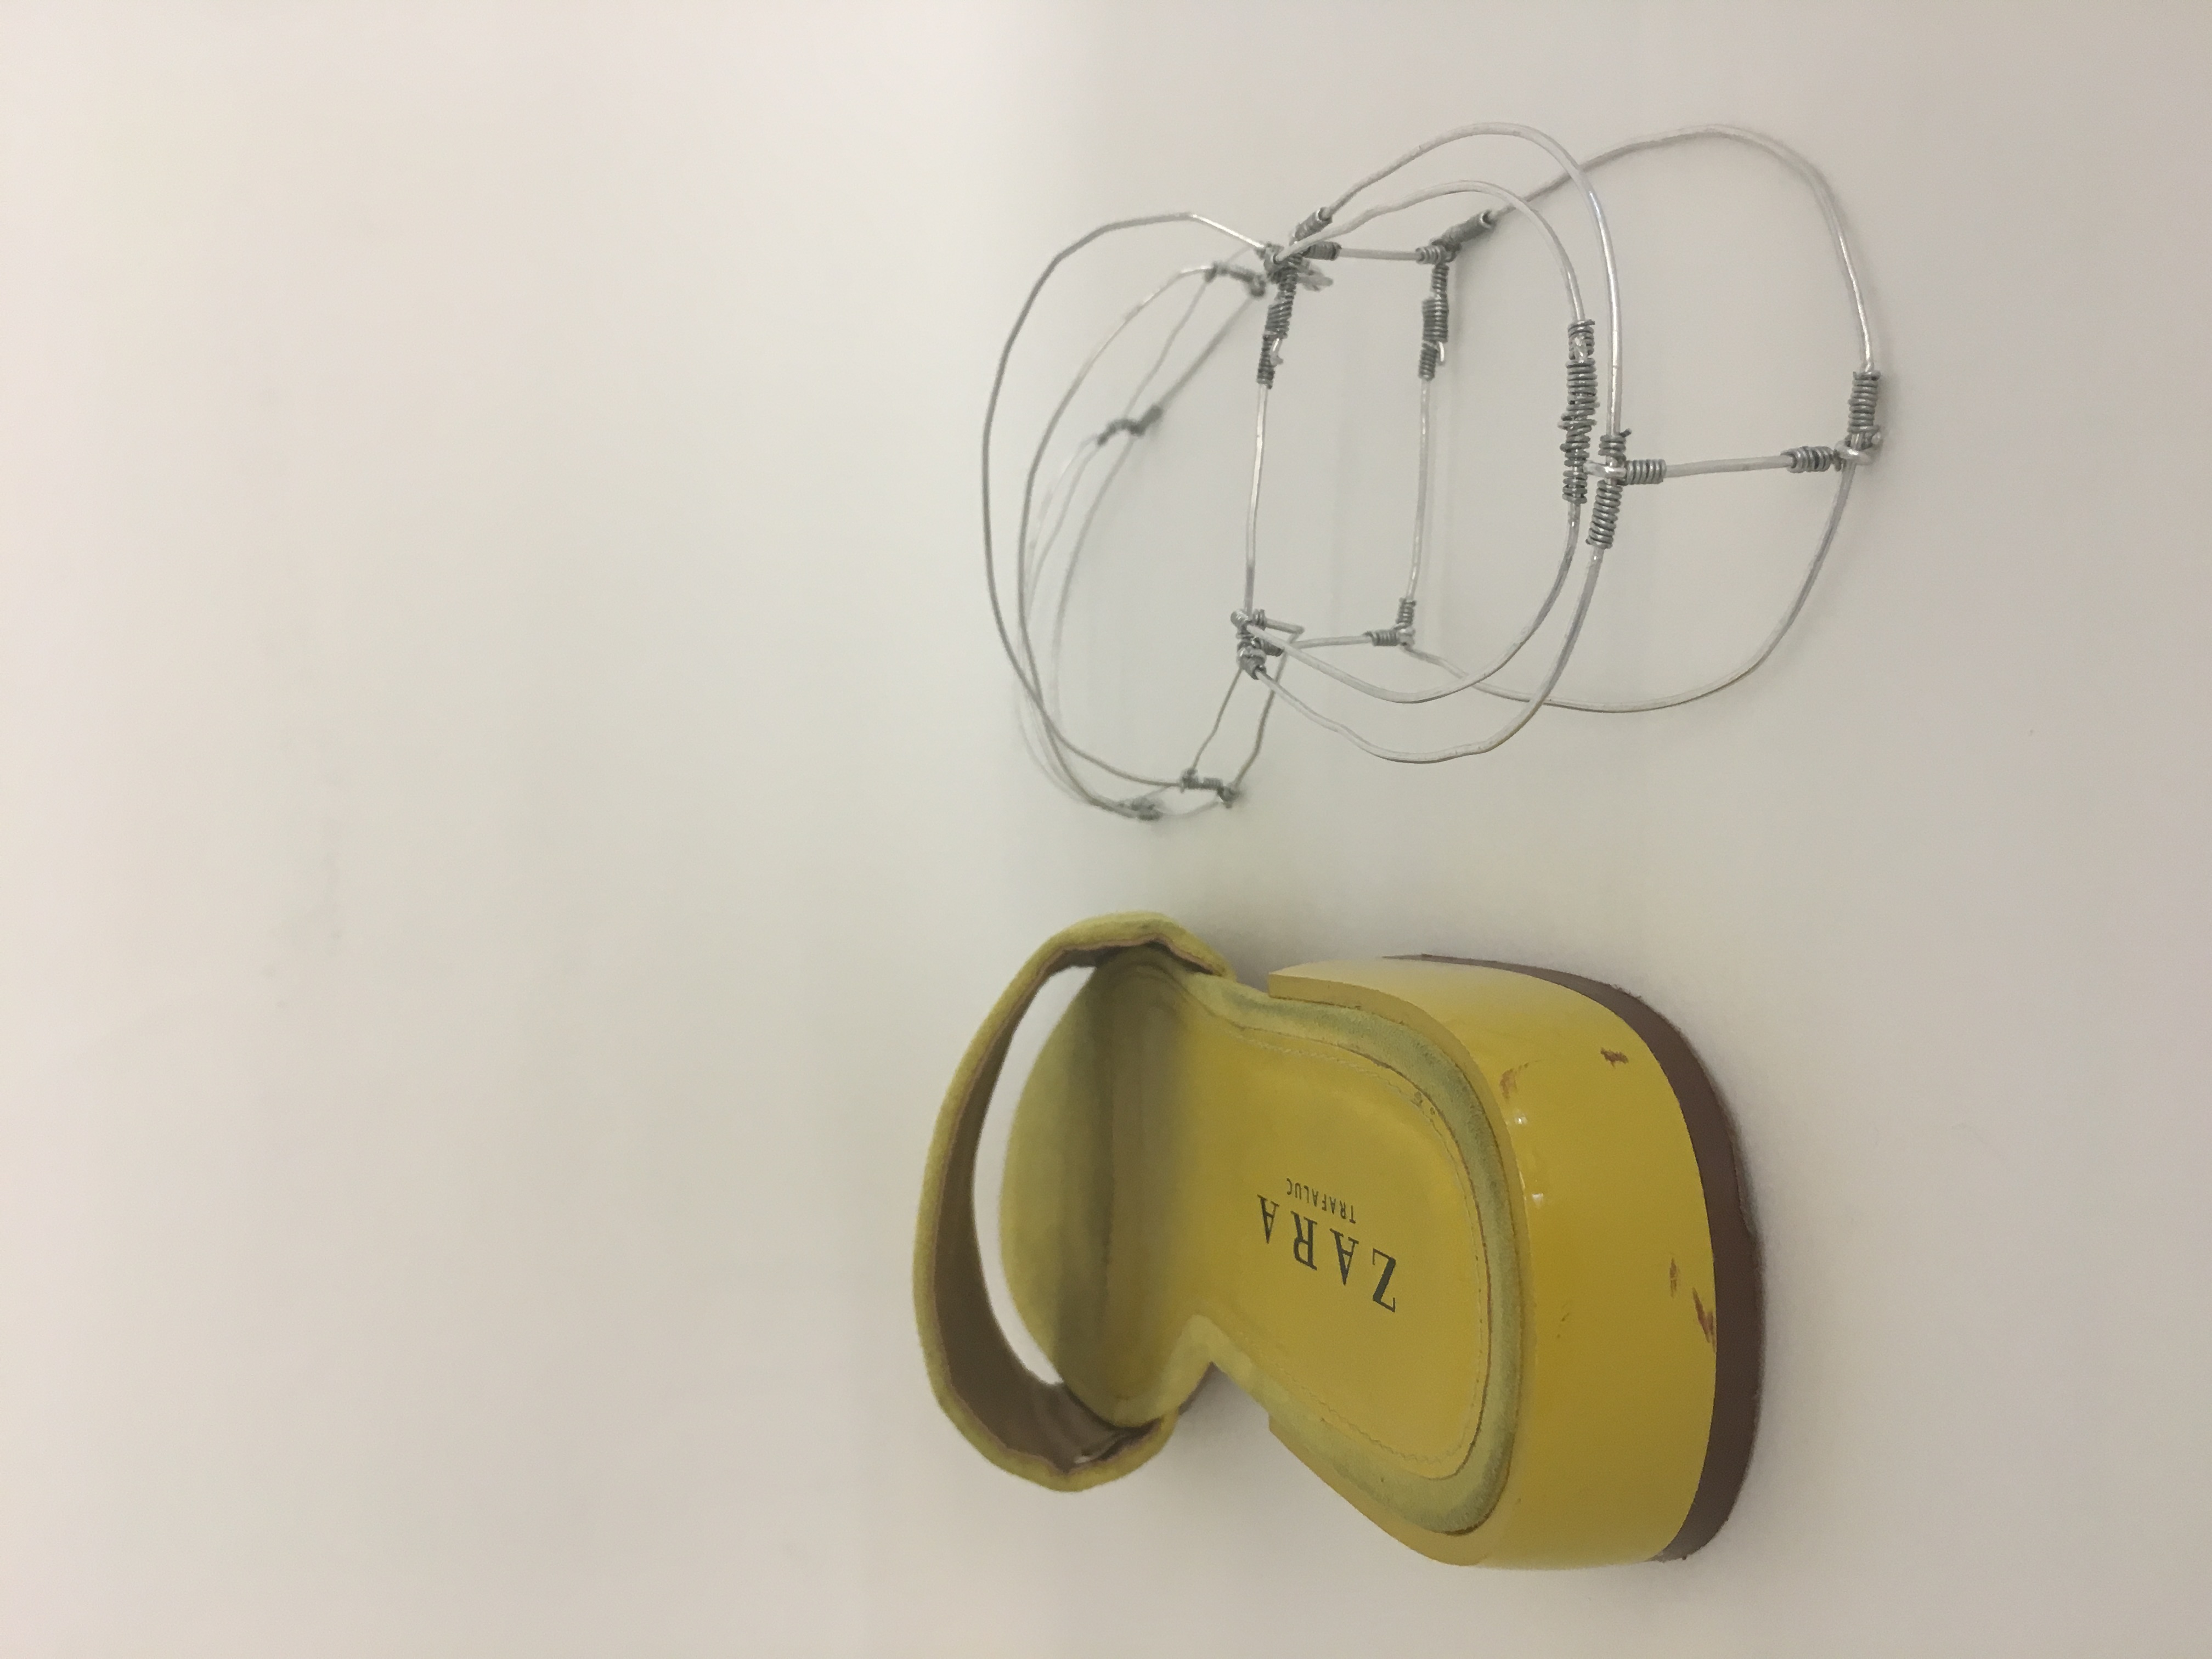
Back view of my wire shoe along with the real shoe.
Front view of my wire shoe along with the real shoe
My favorite shoe in class was definitely Maren’s. Her careful choice of wire thickness along with attention to detail made the shoe appear as if it was a prototype for the real shoe! I admired her craft and time put into the project.