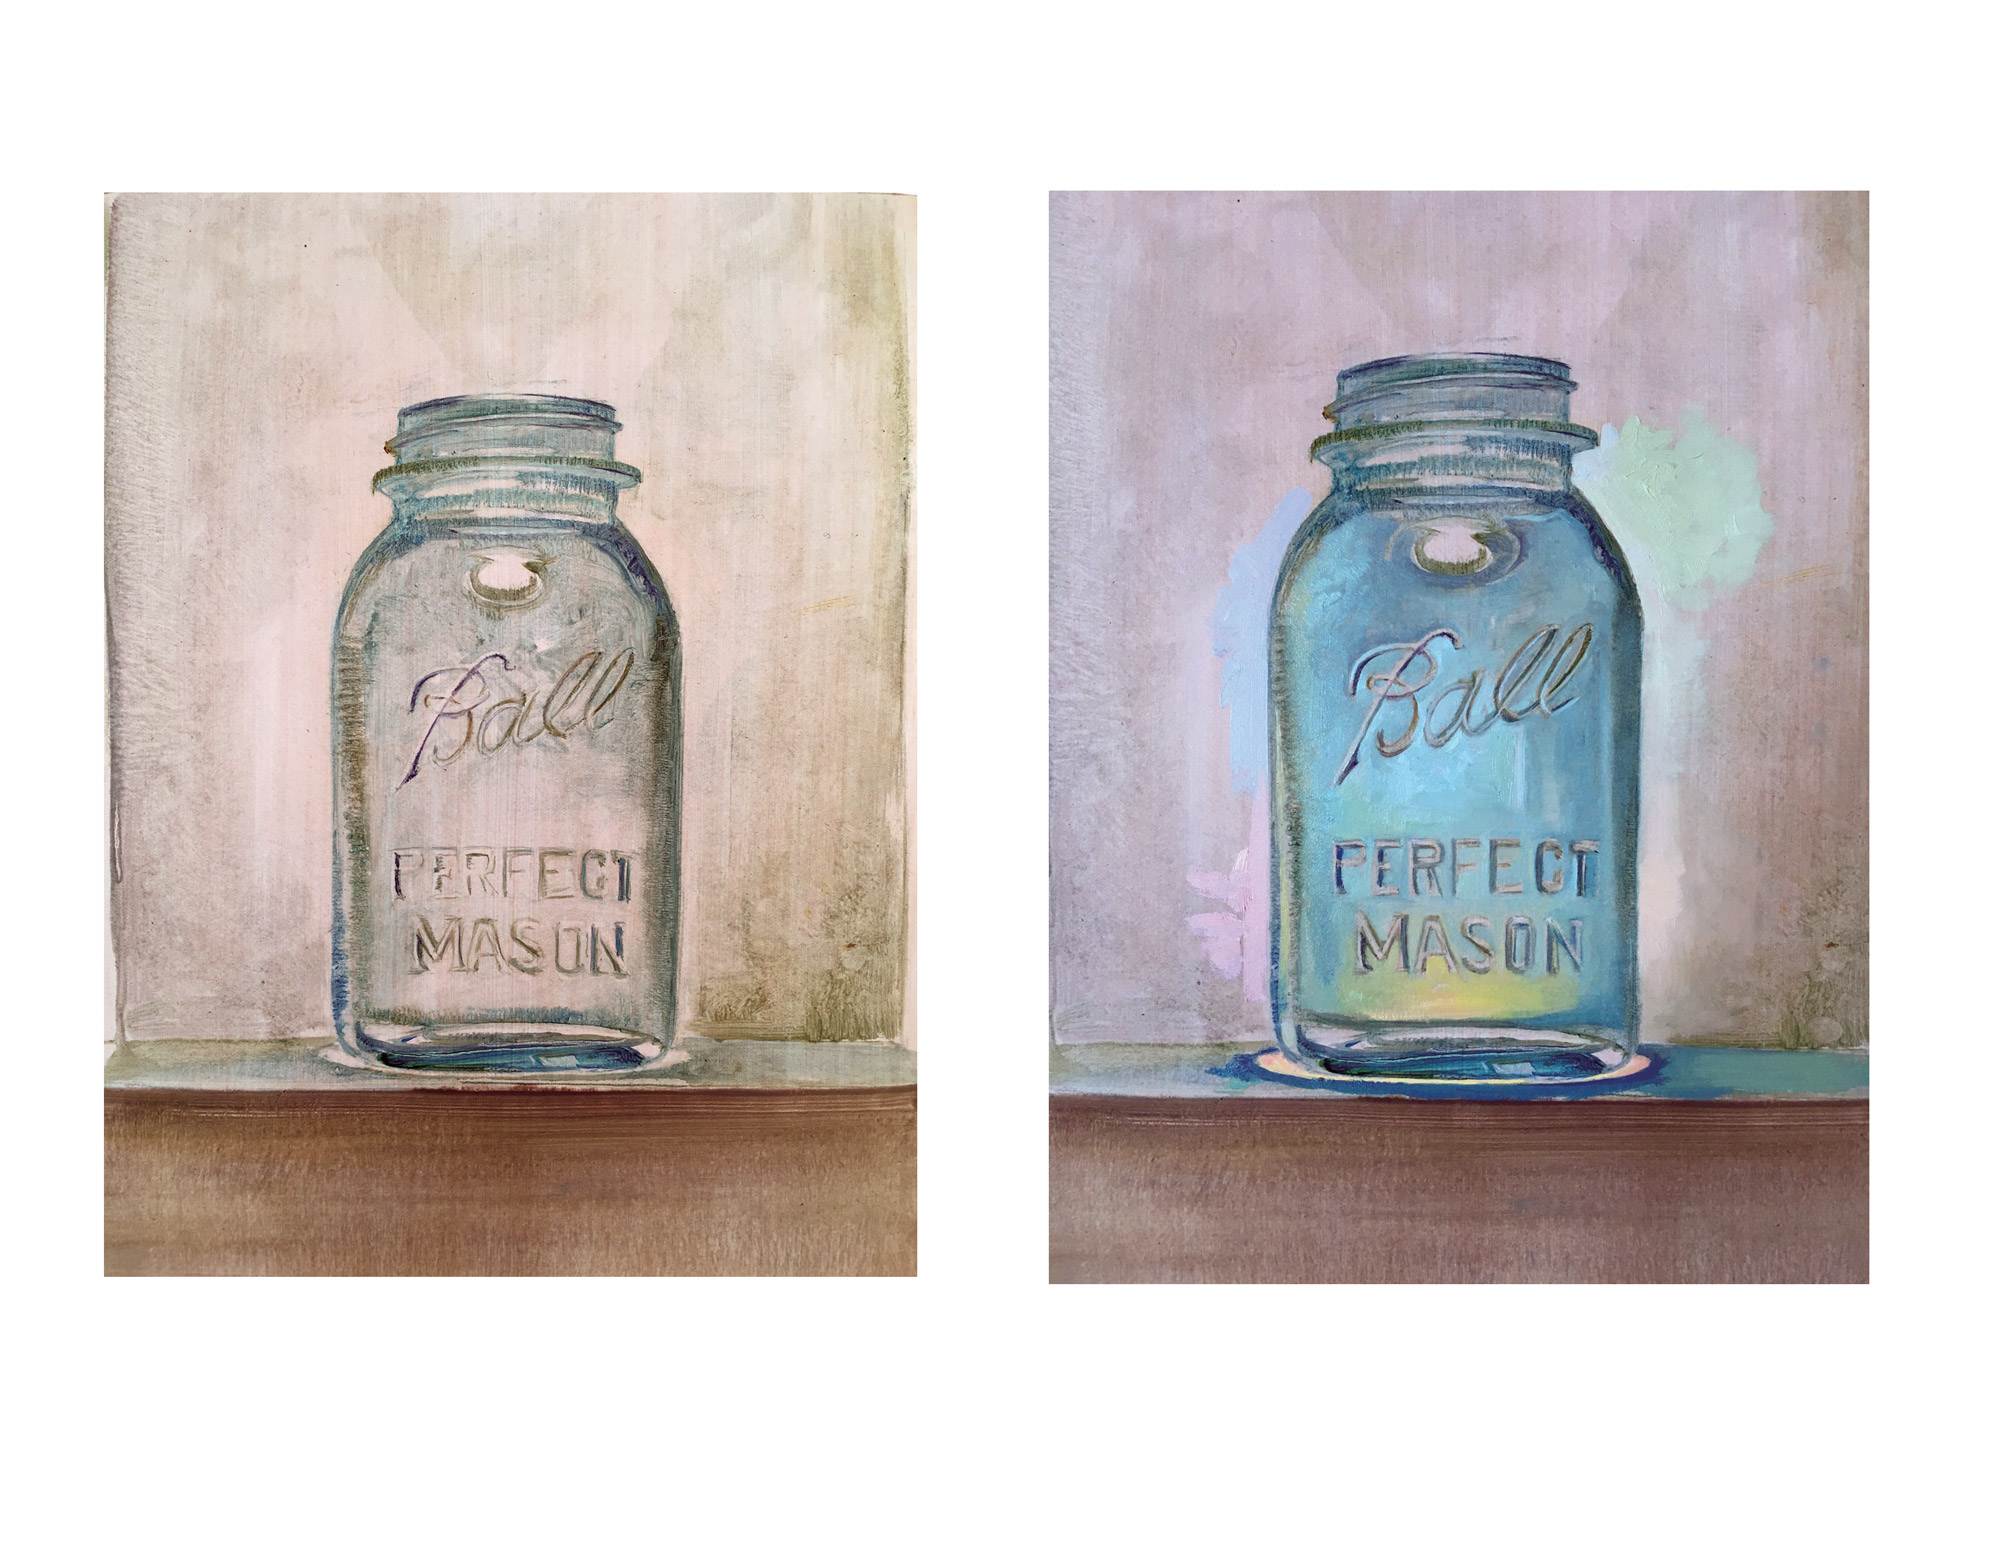
Embodiment Project, How to begin.
PDF Handout
Step One, the Painting.
- First, set up a still life of object of interest, choose a light source and eye level that makes your piece feel larger tha life or iconic ( low eye level or mouse’s point of view)
- Begin with a clear sketch of your object.
- Transfer object to Bristol.
- Begin to paint in what you see as the dark or shadows first, think of drawing with the darks, leaving the light mass alone until the drawing is set.
- Create a mixture of the “local color” of your object, then create a value scale of that, at least three values.
-
- In the Layers panel, select the top layer of a pair of layers you want to group and choose Layer > Create Clipping Mask.Ask your self the following question, Is it this part lighter or is is it darker than the part next to it. And, similarly, is it cooler or is it warmer than the plane/passage next to it.
Step Two, Preparation for Three digital Iterations altered in Photoshop.Explore the psychological aspects of color in your new versions.Each new version derived from the original painting needs to explore a different mood.You may conceive of this as three of the four seasons.
- Spring
- Fall
- Winter
Convey the feeling of those seasons through thoughtful corresponding color sections and the environment (background) of the object.
Or you may just simply create a list of three different moods you wish to convey.
- Scared or Fearful
- Calm and Serene
- Joyful and Animated.
Or three times a day
- Early morning
- Noon
- Midnight
Then convey the feeling of those seasons through thoughtful corresponding color sections and the environment (background) of the object.
For Thursday make sure to have a high res Scan of your painting and a collection of photographs for your new Versions.

First Photoshop Iteration
Document Set Up:
Create a new Photoshop document for each variation.
Make document 8.5 x 11 inches at 300ppi, choose CMYK (for print).
Name new document: Your_Name_Iteration_IFormat and Place the scanned image of your painting into your new document.
Then place the other images you will use to alter the piece with.We will explore selection tools, namely the magnetic lasso tool, how to inverse selections, add and subtract selections.
Editing Selections:
Adding to selection with Lasso tool, click the shift key.
Subtracting from selection tool, click the option key.
Clipping Mask:
WARM UP EXERSIZE
Choose one image and place into a new document.
Create a new duplicate layer of this one, name this layer as well as all layers.Create a new layer, select the Text tool and type one letter at 500pt.
Make sure the Text tool is in the layer under image you wish to place it in.To make a clipping mask do one of the following:
- Hold down the Option Key (alt on PC), position the pointer over the line dividing the two layers in the Layers panel then click.
We will continue to explore, selection tools, namely the magnetic lasso tool, altering selection:
To Add: Shift To Remove: Option,
Also we will focus on manipulations, such as cropping, scaling, flipping and rotating, mask to edit selections, clipping masks, blends, cut, copy, paste and transform again. - In the Layers panel, select the top layer of a pair of layers you want to group and choose Layer > Create Clipping Mask.Ask your self the following question, Is it this part lighter or is is it darker than the part next to it. And, similarly, is it cooler or is it warmer than the plane/passage next to it.
