NYC LIVING ROOM-GRAPHIC NARRATIVE
[Exploration of Egg Tempera]
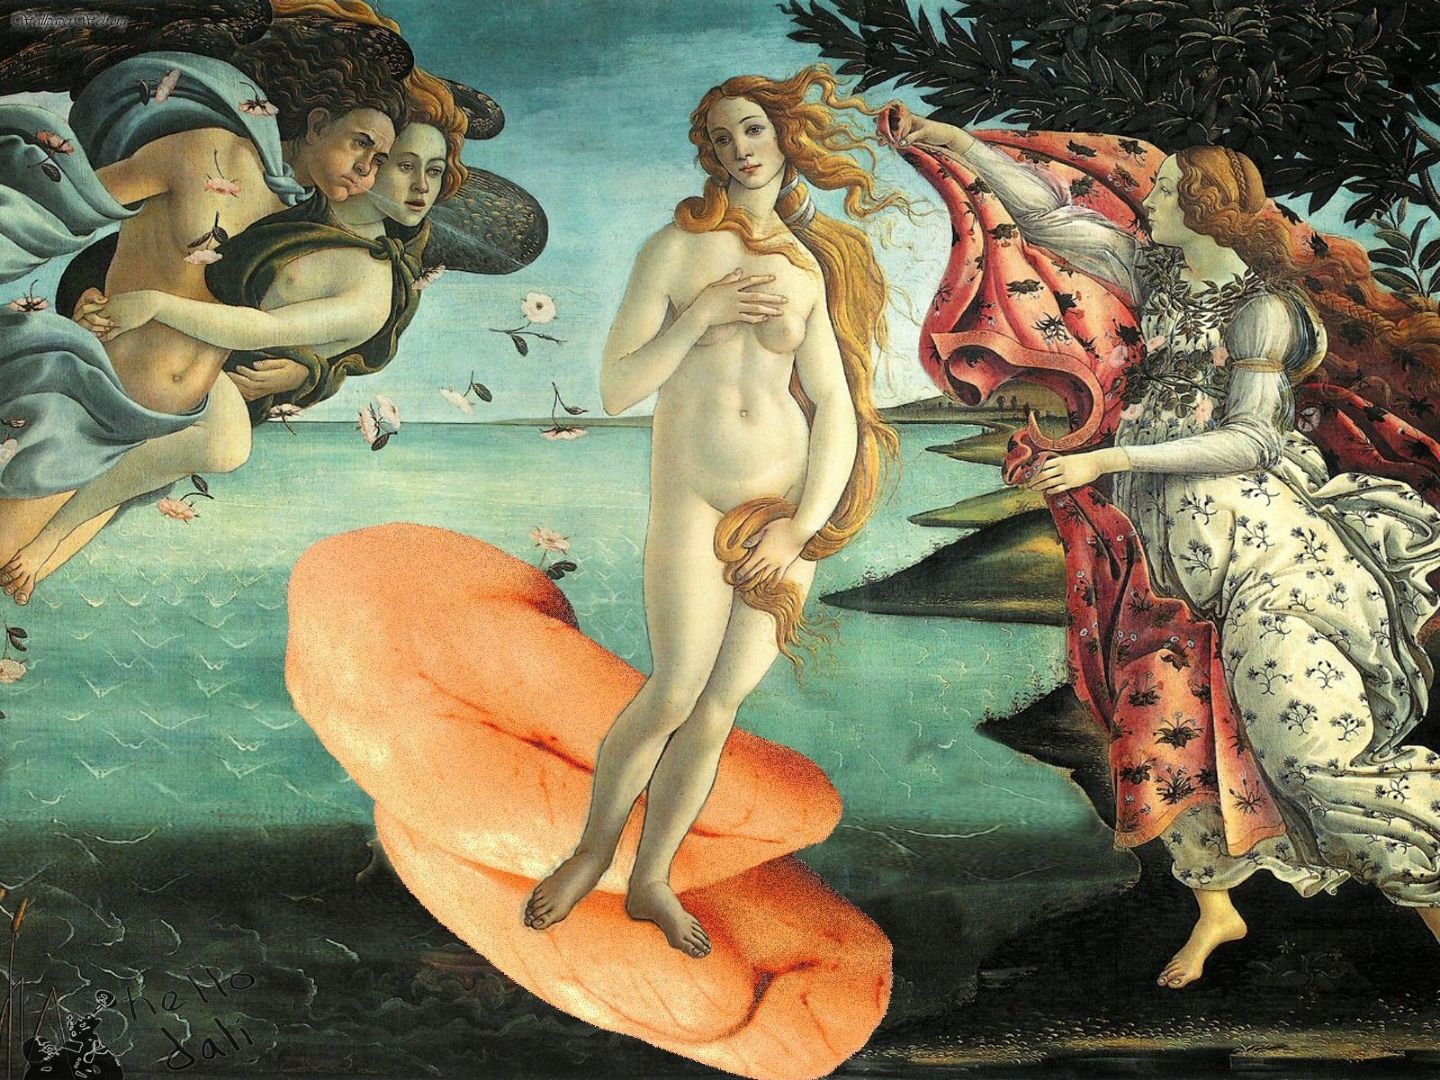
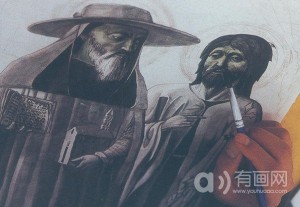
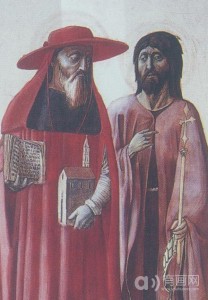
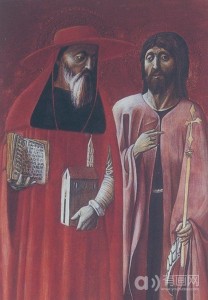
The NYC Living Room-Graphic Narrative project mainly focuses on the way to combine a timeline with a piece of art work together, in an other word, showing the time sequence in the art work. I chose to use a character from the Renaissance who is new to the New York City even new to this world to illustrator my idea. The reason for me to choose someone from the Renaissance was that the period of the Renaissance was when culture changing greatly, especially in art. The place our group chose for the group project was CBGB, which was also a place in the U.S. where changed the music industry. Combining these two typical places/time period together would create another type of feeling to my audiences and they will feel a strong idea of change within my work.
Choosing Media, for me, is always an important issue before doing an art work because it is the key factor of how you interact with your viewers. For the graphic narrative project, I selected egg tempera as the method I painted.
Egg tempera is an ancient painting method flourished during the Renaissance(14-16 Century). The pigments used in the painting were combined with egg yolk or egg white so that the painting will be created a sense of transparency and can be preserved for a long time. Old egg tempera painting has a strict rule for every steps, however the invention of oil painting gradually replaced egg tempera because oil painting is quicker simpler and can create almost the same feeling as egg tempera does. So there were not too much artists still doing egg tempera these days. The rise and fall of egg tempera also reflects the element of the painting. CBGB met the same situation which used to be a touristy place for artists and musicians but right now it is abandoned.
Step 1-Sketch
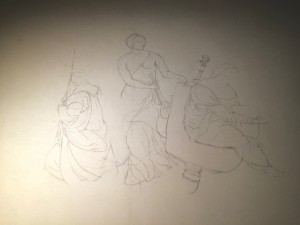
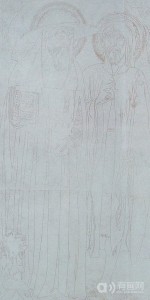
Sketching is one of the most important steps while painting by egg tempera. The sketch acts as the determination of how the painting is going to be organized and painted. Normally, the sketch for egg tempera is done on another piece of paper because the transparency of paints might make the sketch shown on the final piece. In this painting, I did the sketch on a bristol paper by 2B pencil.
Step 2-Transfer Preparation
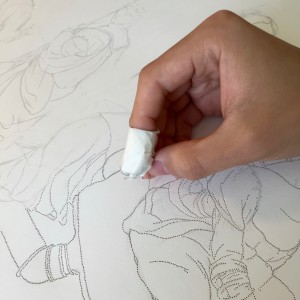
The method of transferring sketch to the gesso panel was an ancient way done by sharp needle. Records show that Leonardo da Vinci used to use this method to transfer the sketch to the painting since it would show all the details on the sketch and would not leave any pencil traces after finish painting. Using the needle to make holes follow the sketch lines, the holes need to be medium size which charcoal powder can go through. The effect will be better if the whole process is done as carefully as possible. The disadvantage of this method is that it takes a long time.
Step 3-Transfer
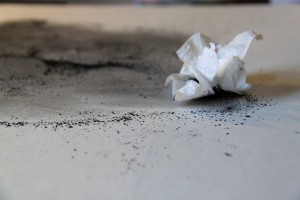
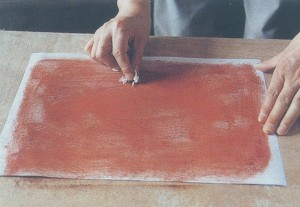
In order to make the transfer image clear and as detail ad possible, using paper tape to stick the original sketch bristol paper to the gesso panel and make sure it will not move. Scatter the charcoal powder on the bristol paper and make sure some of it go through the holes that made in the previous step. The process do not need a log time but make sure not to move the upper bristol paper while the transferring process is still going.
Step 4-Egg Yolk Separation
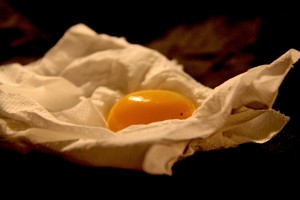
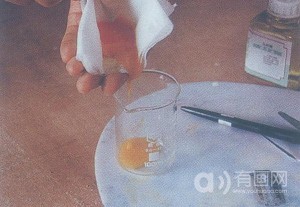
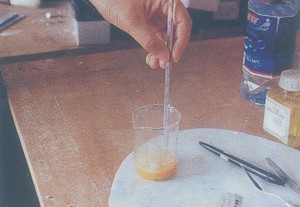
In egg tempera, both egg white and egg yolk can be use as medium of mixture. The transitional way will mostly focus on the egg yolk because the color will not be effect that much as the protein does. Carefully divide egg yolk and the protein into two parts and only select the egg yolk. Putting the egg yolk on tissue or other material that is soft and good at absorbing water so that the out layer of egg yolk will be dry.
Step 5-Egg Yolk Pouring
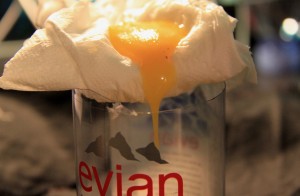
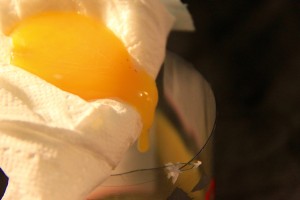
Carefully breaking the layer covers the egg yolk and slightly pouring it to a container. The container should be extremely clean so that the mixture of egg yolk and pigments would be pure and the effect shown on the panel will look nice.
Step 6- Mixture with Water
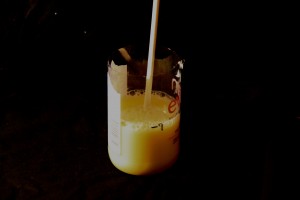
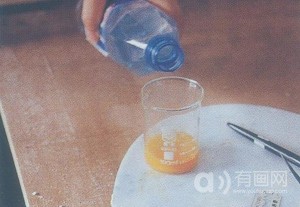
After pouring the egg yolk into the container, it should be mixed with amount of water depending on with layer on egg tempera you are painting. On the first layer, the proportion of egg yolk and water should be one to nine which the mixture is extremely thin. This mixture is ready for combining with different kinds of pigments but during the process of painting, the mixture should be mixed for several times so that there will be no deposition with in the liquid.
Step 7-First Layer
One of the most important restrictions for egg tempera painting is that it should be painted on a special panel which painters used to make themselves but now is hardly found in store. The panel is called gesso panel. The first layer on the gesso panel should be light and thin. The thin pigments concocted in the previous step will make the first layer looks transparent.
Step 8-Second Layer
The proportion of water and egg yolk for the second layer should be six to one, the color is darker and by adding another layer on the first layer and with its characteristic of transparency, the three dimensional feeling will be created.
Exploration of Egg Tempera
1.1 Water Based Egg Tempera
Concoct the emulsion-Selecting a fresh egg and remove its egg shell and egg white. Putting the egg yolk on napkin to absorb the extra egg white. Carefully remove the out layer of egg yolk and pour the egg yolk into a container.
Mixing the emulsion– Adding distilled water into the container by proportion and mix the egg yolk with water. The mixing process needs to follow the same direction. The emulsion should be placed into refrigerator to keep it fresh, it will not go bad within one week. If the emulsion goes bad, it can no longer use in the painting because the ability of adhesion will not be that good. Also, if the container used to have bad emulsion in it, it can no longer contain fresh emulsion because it will speed up the fresh emulsion going bad. Every time after the container is used, it should be cleaned carefully and sterilized at high temperature, because mistakes in each tiny step will cause the whole painting can not last for a long time.
Transferring the sketch– Completely Transferring a sketch on the gesso panel surface is the first step of making a nice egg tempera. The method painters used to use in ancient mural and egg tempera was to making holes on the painting following the main outline of the sketch. Using black or brown powder to let them go through the holes and transfer the sketch on the panel. Right now, artists prefer to use the carbon paper or copy the sketch on sulphuric acid paper, covering the back of the paper with ferric oxide powder and using hard pencil or ballpoint pen to transfer the sketch from top to bottom or left to right.
Finalize the sketch on gesso panel– Using dark ink to cover the line sketch and creating the shadow on the painting(Simply paint the whole painting by ink). The black and white ink version should be done carefully because it is the determination of the next egg tempera painting process. After drawing the general shadow relationship, the outline of each object need to be sketched by iron pen.
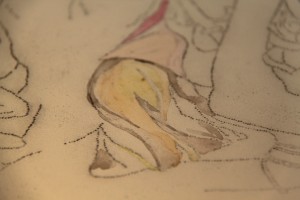
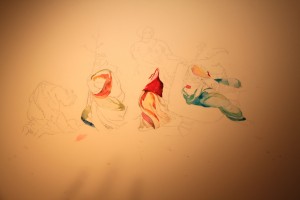
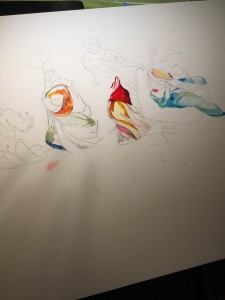
Coloring the first layer- Using the thinnest color to paint largely on the gesso panel, this step needs a big amount of water contain in the brush so that the first layer on the gesso panel have a feeling of lake surface. The brush should be controlled really well and there should not be any white blank or traces of brush on the panel surface. Each time of using brush, the speed should be quick and settled, do not worry that the water may be flow to somewhere that not with in the object. The proportion of egg yolk and water in the first layer emulsion should be one to nine. Each individual color should not be combined with other colors or the whole painting will lose its characteristic of transparency. Using the same color as what you are going to paint except for the skin of people by using the color of dark green. The color should be painted evenly and the brush can not be used back and forth.
Coloring the second layer- As for the second layer, the proportion of water and egg yolk should be six to one. By using this proportion of emulsion, the dark space on the painting should be darker and the light space will be lighter. The use of color on the second layer should be warmer than the first one and change gradually from the first layer. The technic of rubbing with finger or applying with brushes can be use when the emulsion is still wet.
Coloring the third layer- For the third layer, the proportion of water and egg yolk need to be three to one, this kind of emulsion can be used for details on the painting but to set the basic or general shape, one to six emulsion is necessary. To make the whole painting deeper, the thin brushes can be used by cross way instead of previously purely drawing short lines. Using emulsion with this proportion, the surface of the whole painting will shine a little bit.
Coloring the forth layer- The forth layer is the last layer that done on the painting by colors. The forth layer needs stringy emulsion to paint the outline of objects and very detailed things, Coloring the details back and forth for several times using the smallest brush to add thickness of object and make the whole painting vivid.
