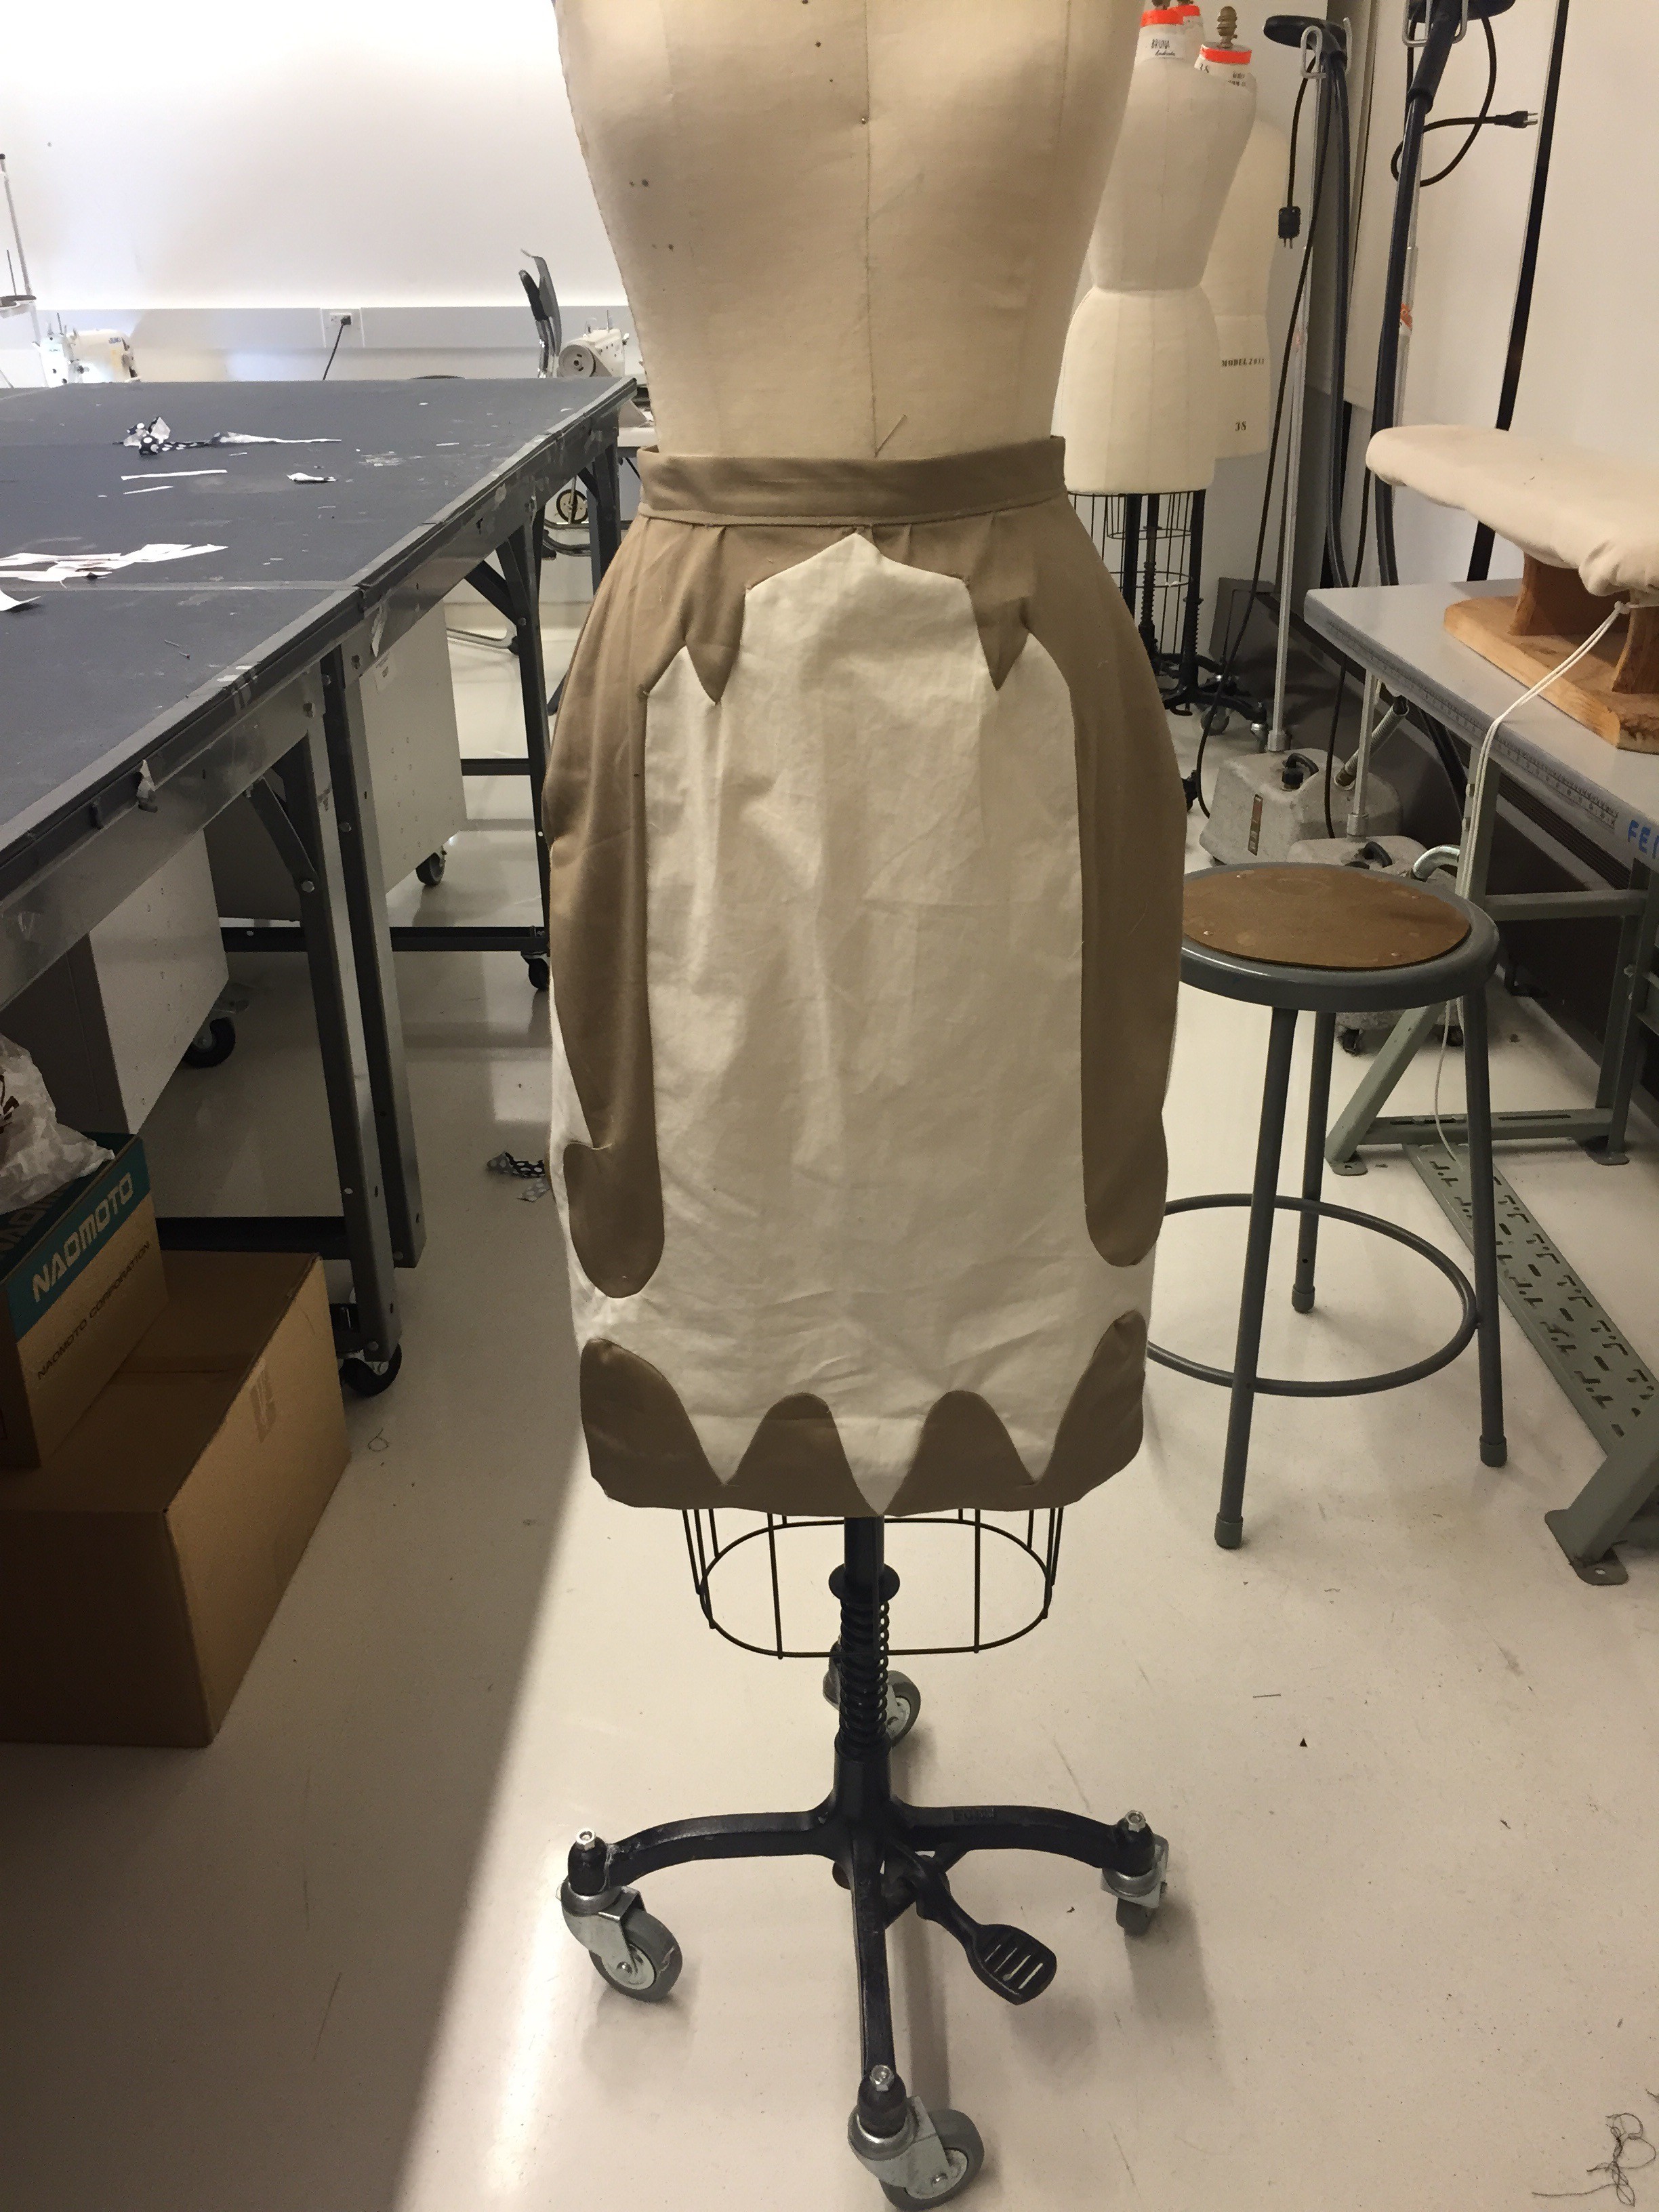
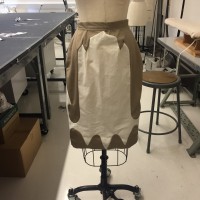
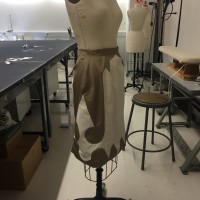
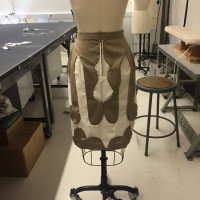
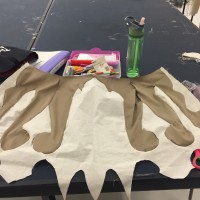
The Finished Skirt
The Process


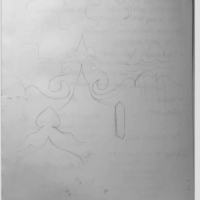
While examining architecture around The New School, I came across a beautiful Gothic church a few blocks away. This church, First Presbyterian Church, had beautiful windows and motifs that were repeated in the surrounding fence. I used this church as inspiration for my Body as Architecture/Shingo Sato Dart Elimination skirt.
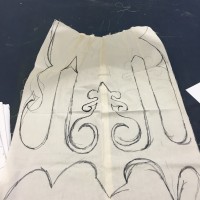


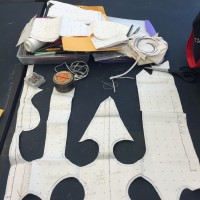
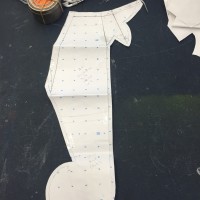
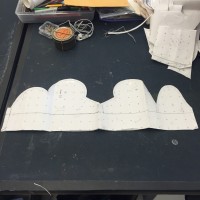

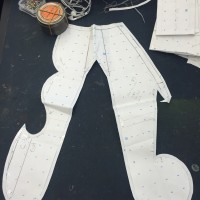
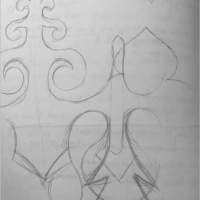
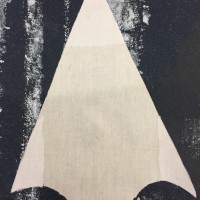
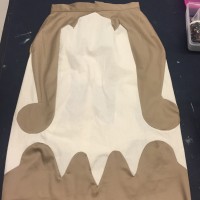
At first, my style lines were very intricate and similar to the church’s architecture. However, I had to simplify my style lines to make them easier to sew. There was one large floral design that was simplified to a triangle shape and a large swirly piece was simplified down to a few lines. While preparing the pattern, a few pieces had to be changed a bit in order to touch the darts, but I kept the design the same.
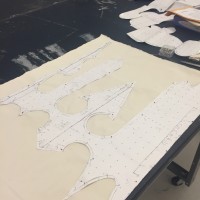

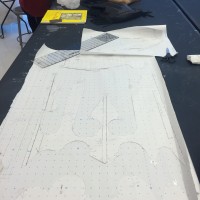
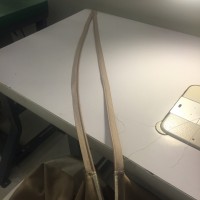
Once I began cutting the fabric, I was aware of how difficult this skirt was going to be to sew. I had been informed of this difficultly well in advance, but I was far too stubborn to change the design. I also like to be challenged, no matter my skill set, as I find pushing myself farther than I probably should helps me learn quicker and advance to more difficult techniques. This skirt was quite a learning experience! When I started pinning the pieces together, I realized I could not pin the entire piece (the big piece made from muslin) and then sew it together. I needed to pin parts of it, then sew those parts. Instead of sewing the whole piece in one go, I had to sew it little by little, which really tested my patience. Also, since my design had many curves, I had to make a lot of notches so the pieces could fit. Some of the curves were very tight and were a huge challenge. One piece would not fit for some reason, so in my impatience, I began cutting down the piece. After that, I realized I wanted to make this correctly, so I recut and re-pinned the piece. It finally fit.

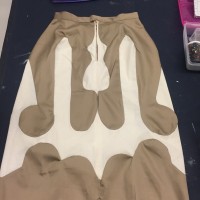
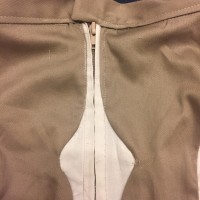
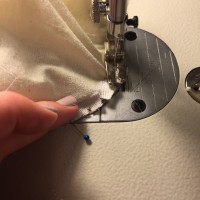
All the curves and triangular pieces were difficult to sew, so the process of sewing was a very slow one. Finally, I was able to sew the zipper and the waistband, but I noticed the waistband was an inch too short. I had to recut the waistband and interfacing, but in my sleep-deprived state I applied the interfacing on the wrong side, which attached it to the press cloth instead of my fashion fabric. This caused me to recut and reattach the interfacing, then finally sew the waistband to the skirt. Something about the waistband didn’t look right, so I took it off and sewed it on a second time.
The next day, while examining my skirt, I realized the zipper was slightly uneven and the waistband was still messy. I still had to hand sew the tight corners of my design that I didn’t want to mess up by machine sewing, so I took this time to decide if I actually wanted to redo the zipper and waistband. I knew I wouldn’t want to turn in a piece I wasn’t mostly proud of, so I removed the zipper and waistband. Since I accidentally bought a separating zipper, it was a little difficult to sew on compared to the sewing practice one, and the pull actually came off the zipper. The zipper end had to be cut off in order for me to put the zipper pull back on the teeth, but I was able to sew the zipper on for a second time, and I was much happier with the outcome, despite making many sewing errors while trying to reapply it (kept my foot on the peddle while using the hand crank and sewed through the skirt; the other side of the fabric got under the part I was sewing; thread came out of the needle). Then, I had to reattach the waistband. Somehow, it seemed like the waistband was a inch too short again, even though this was the same waistband I attached the first time. I fidgeted many times to make the waistband fit, sewed one side on, then began topstitching. I actually undid this waistband twice before finally deciding to deal with however it was sewn so I could finish the piece. I hand sewed the trouser hook and eye, then the hem, pressed the finished skirt, and called it a day.
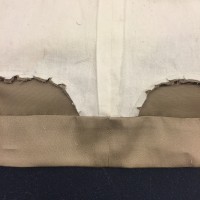
Finished Skirt