Still life
I started by making several rough sketches of the still life while changing the angle at which I was looking at the setup to get as much variety as possible.


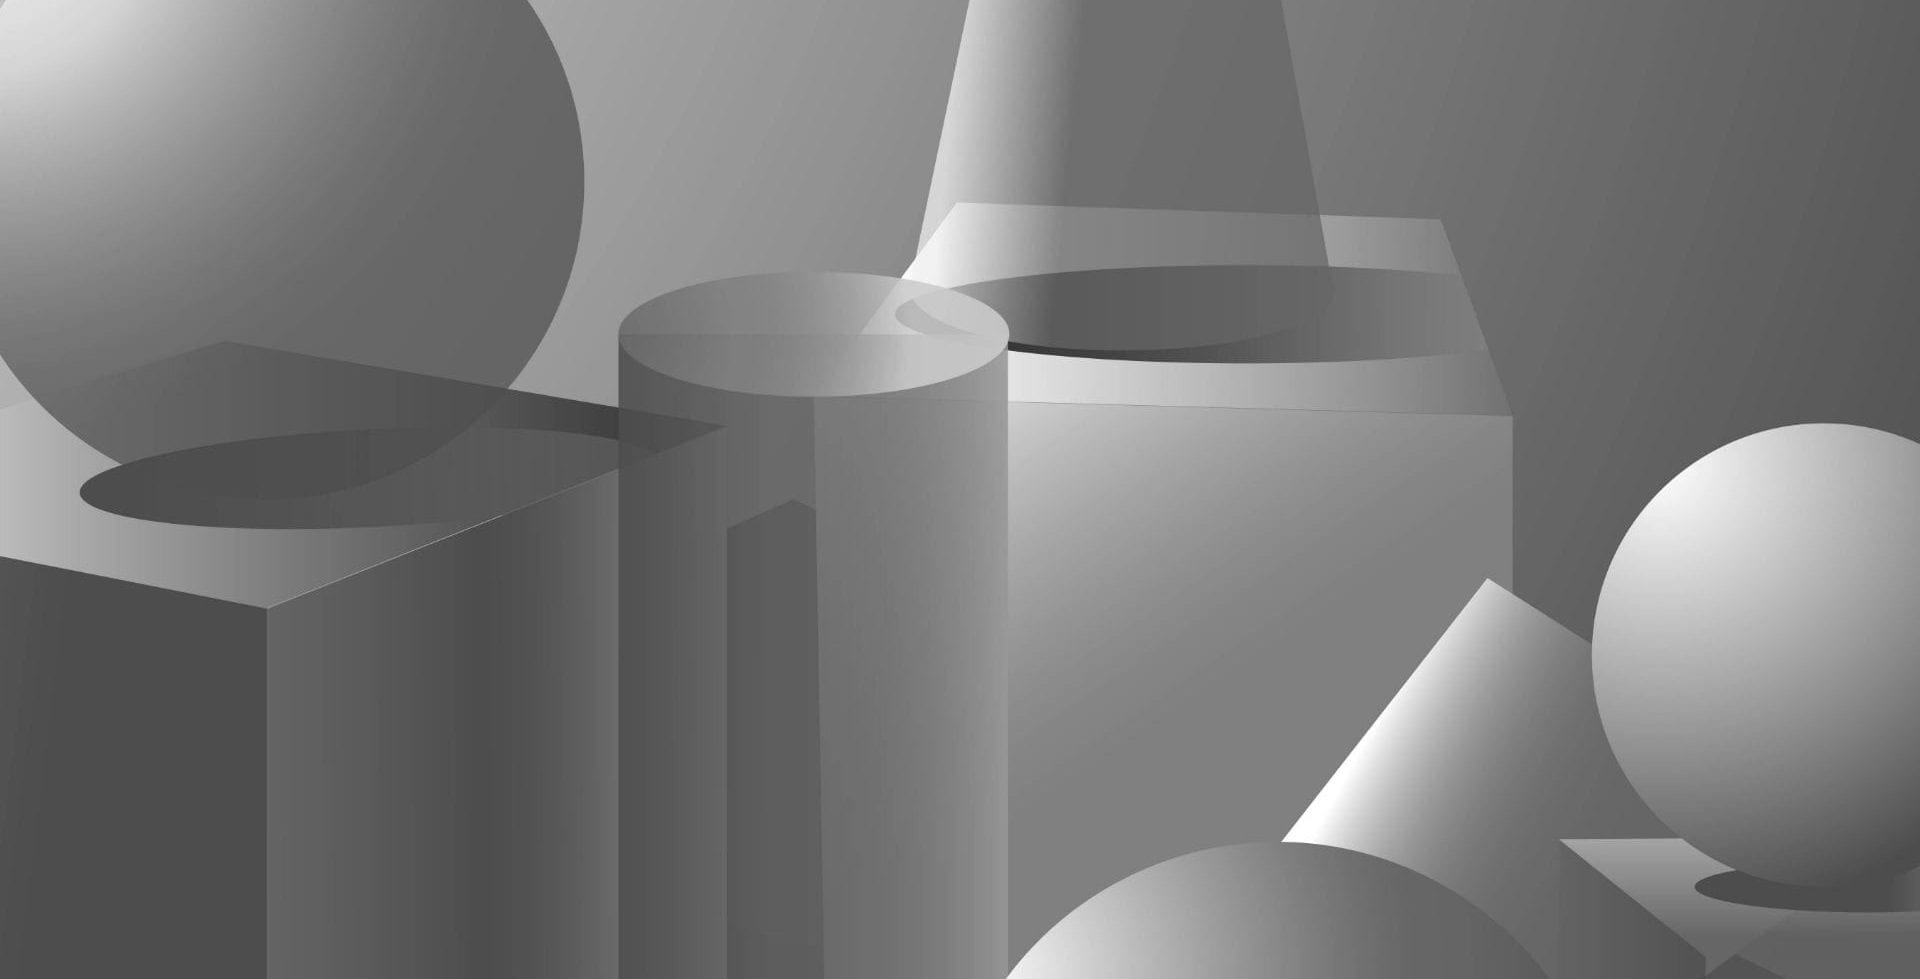
Then I picked one that I liked the most and outlined the objects in Illustrator by using different shapes. To add depth to the outline drawing, I thickened the lines of the objects in the front and made the lines in the back thinner. I also put a fill of white in every shape so the objects in the front would block out the ones in the back.

The next step was to add some gray tones, which made some of the objects (squares and the cylinder) look more dimensional while it left others (balls and the cone) flat.

To create more natural shadows and add even more depth to the picture I added a gradient to all on the surfaces. To be able to do that I put the original photo in grayscale to see the tones better. I also changed the composition by bringing the objects closer to the viewer and cropping the picture. As the last step, I made some of the objects more transparent than the others to make the image look less cluttered.

After presenting the first final version, I tweaked some of the shadows to make them even more realistic and changed the scale to make the object closer and the composition more interesting.
