
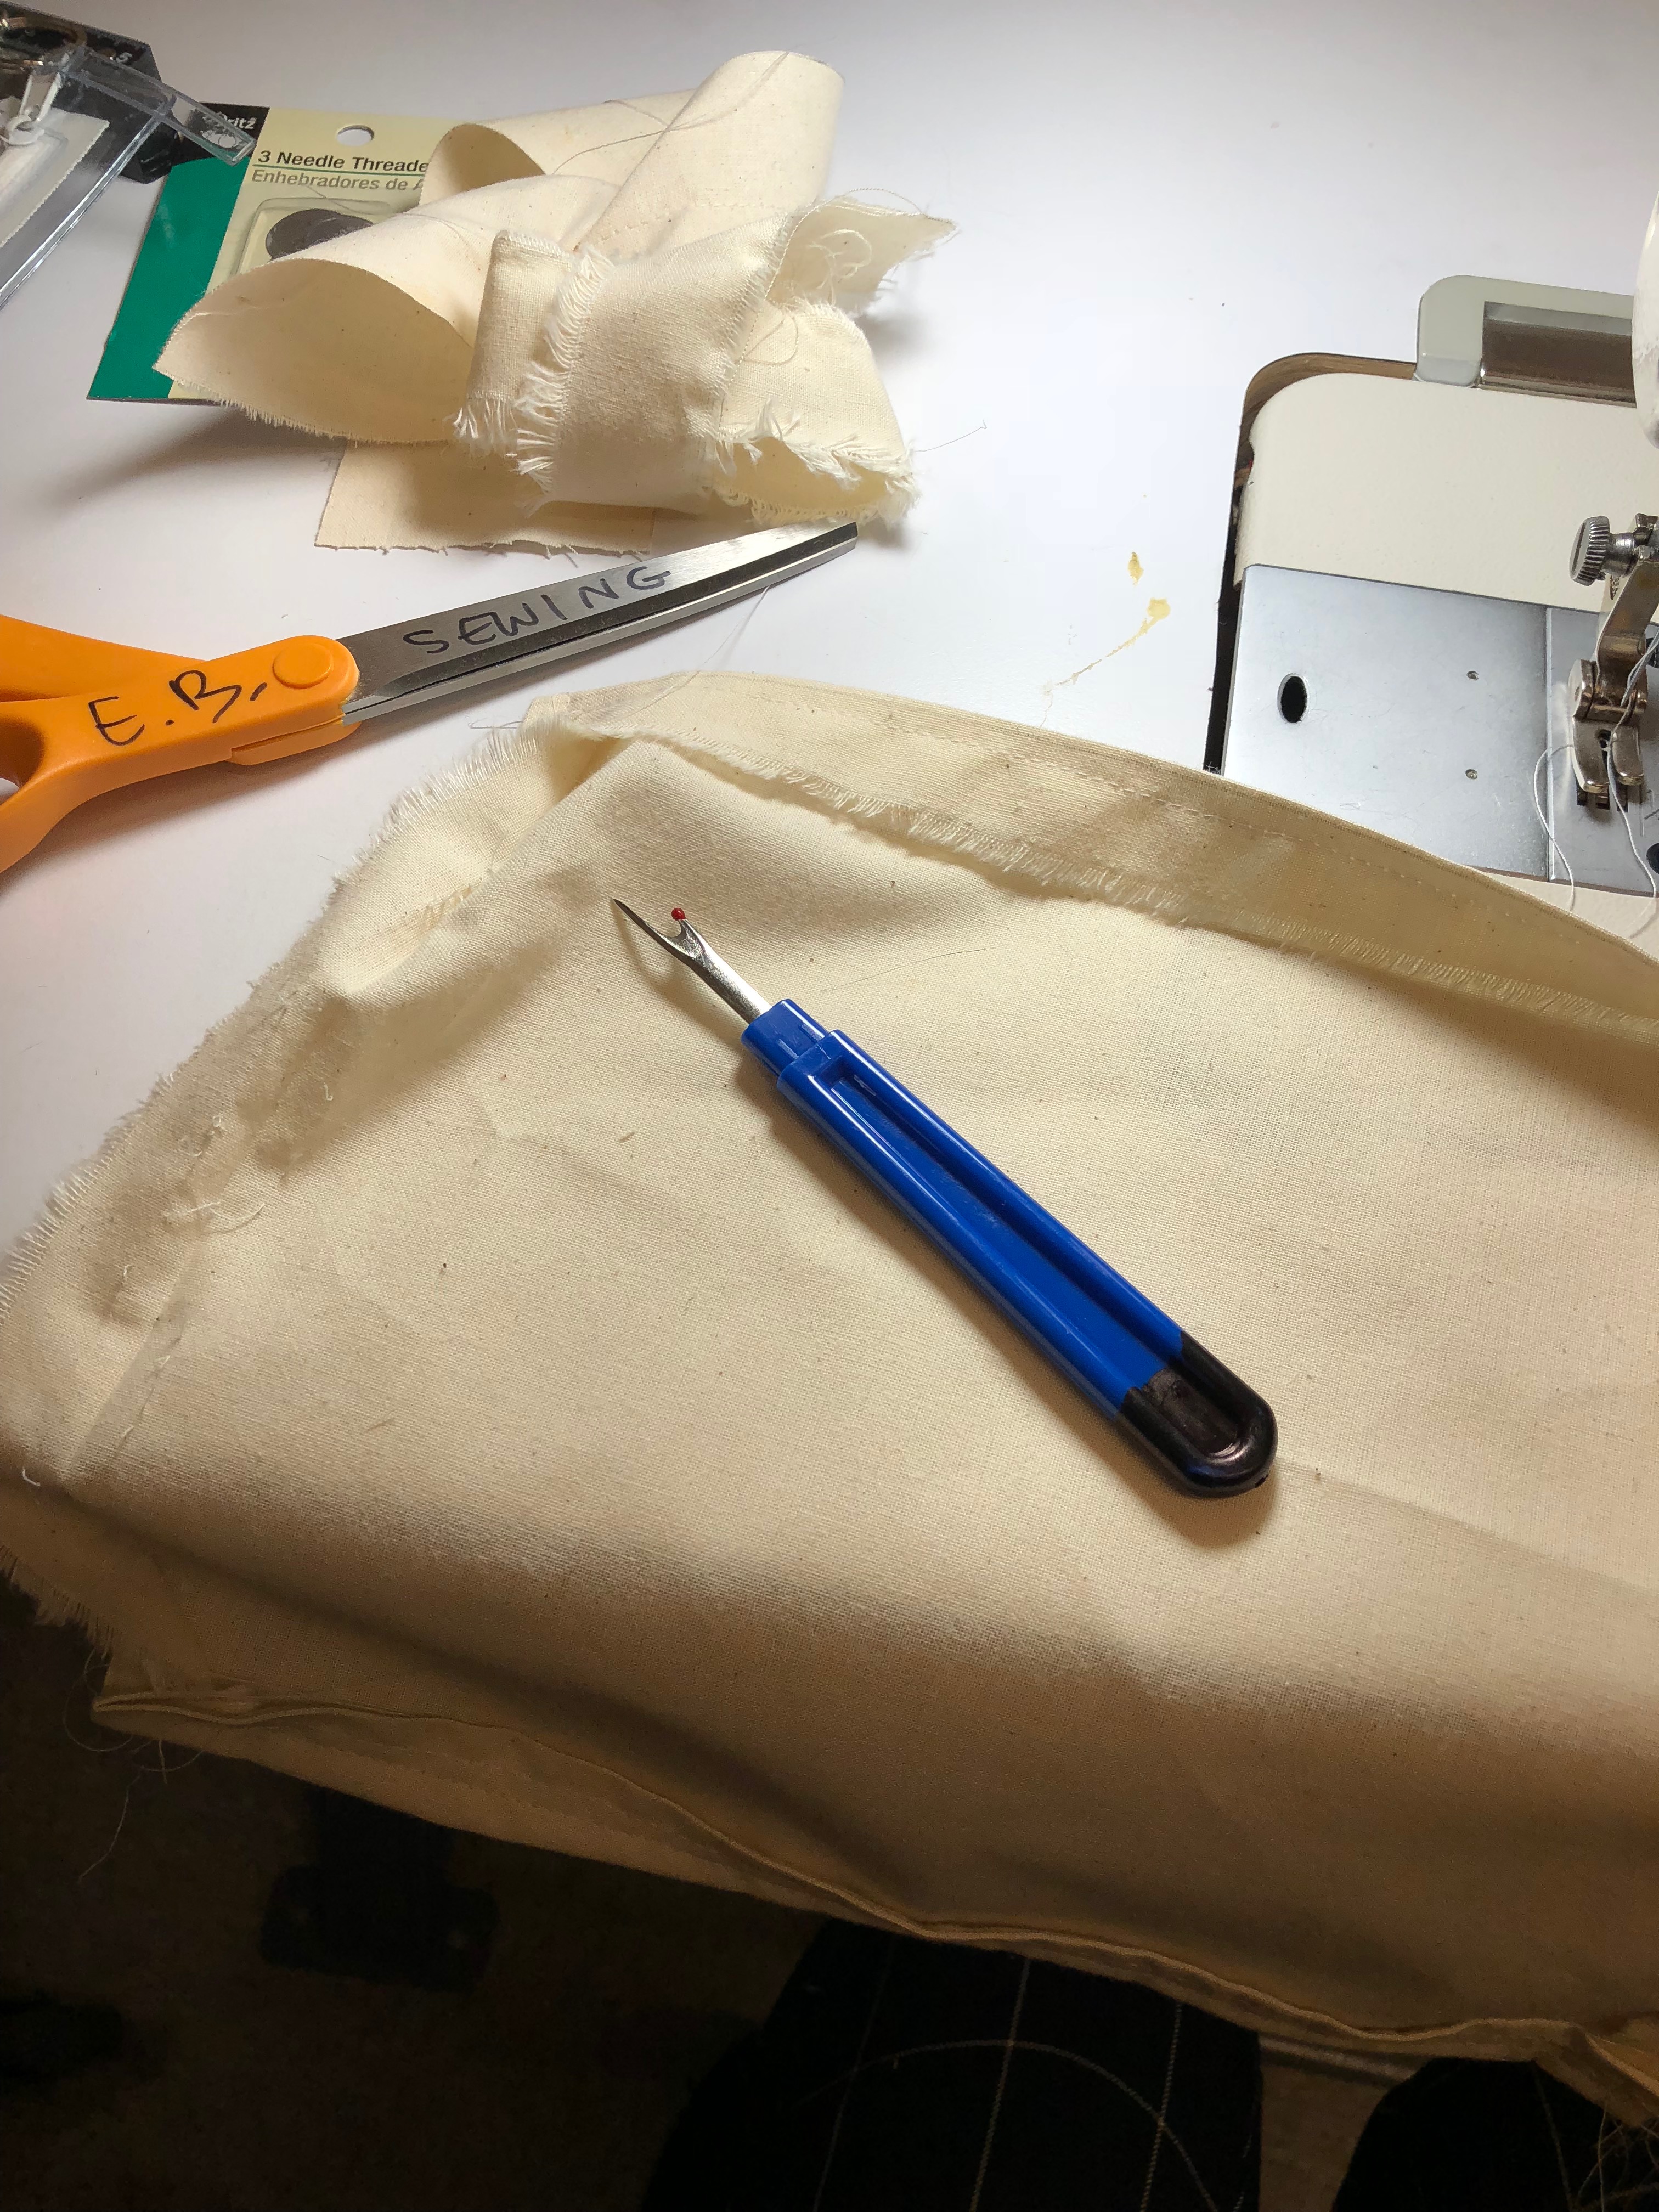
Step 1
I quickly cut a square of muslin and made a small maquette to see how I would begin to construct it.

Step 2: I cut each of the muslin weights into a 13 in x 13 in square and ironed it flat.

Step 3
I drew a half an inch border on each side and I began to fold it over and hemmed it twice. This was way too bulky so I undid it. Instead, I folded it over twice (to hide the edge) up to the half inch point, and I ironed it so the folds would stay flat.

Step 4
I sewed it along the hem. this way, it’s not too bulky, but the raw edge is still hidden.
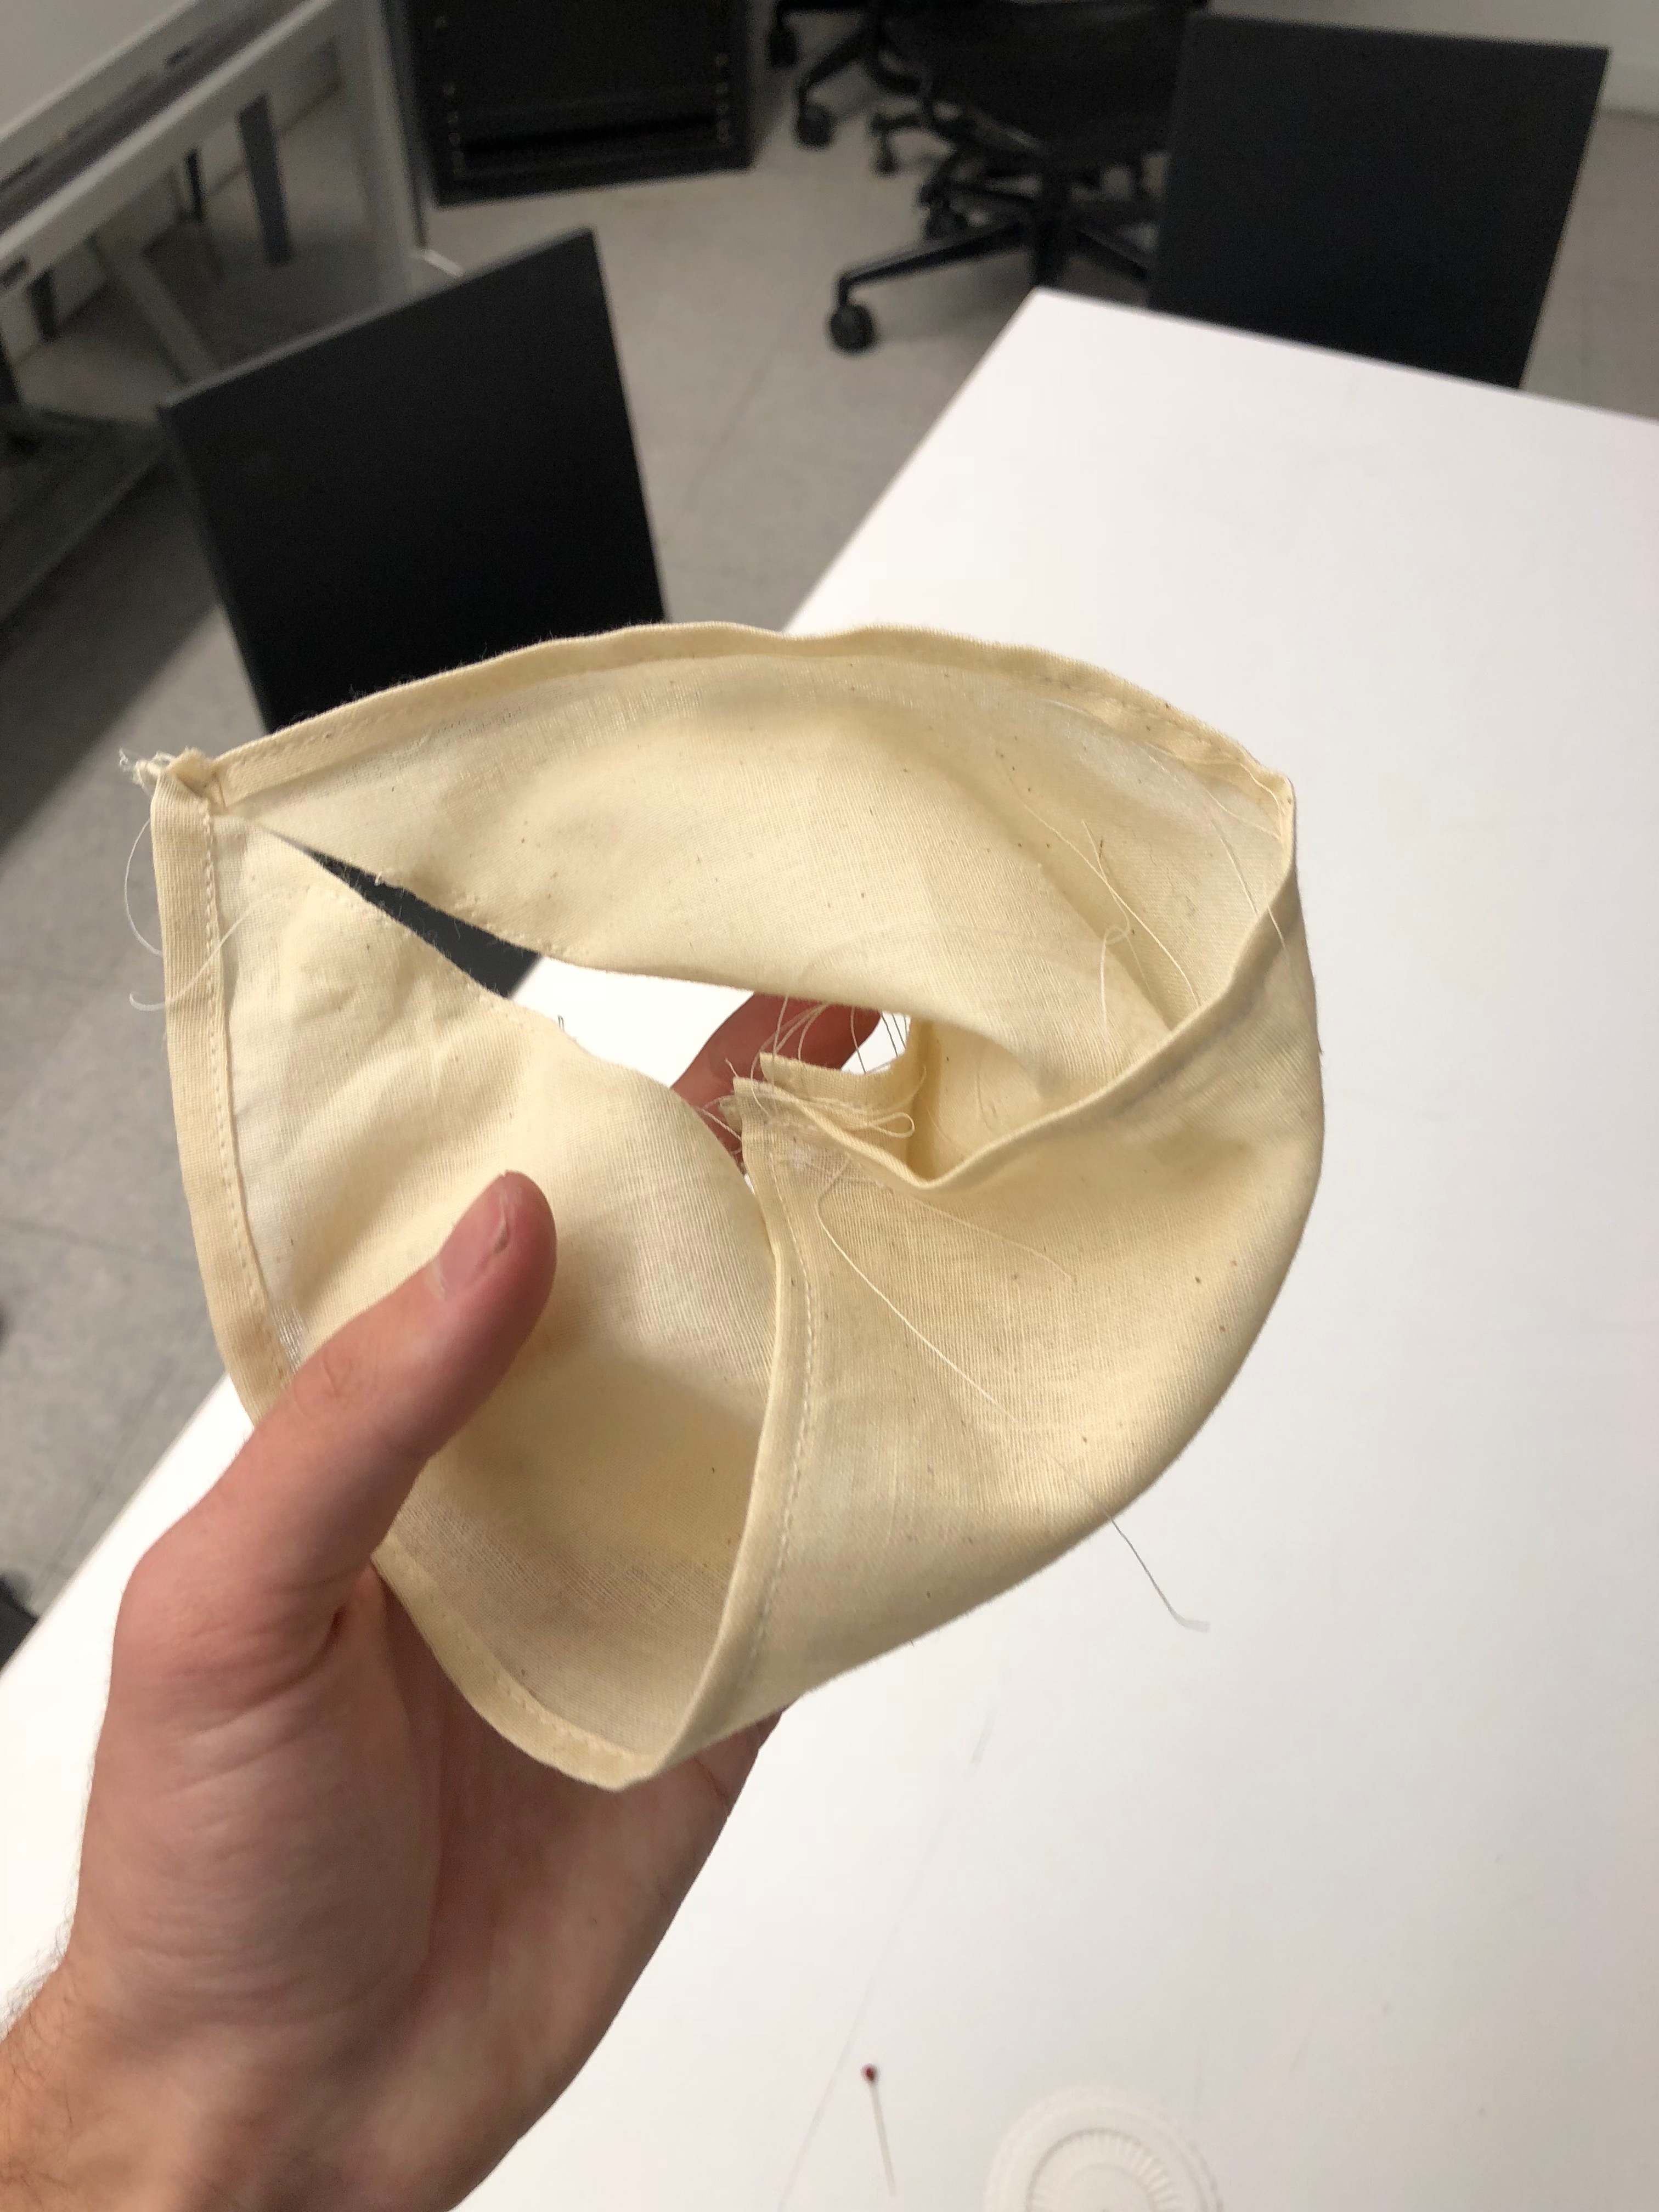
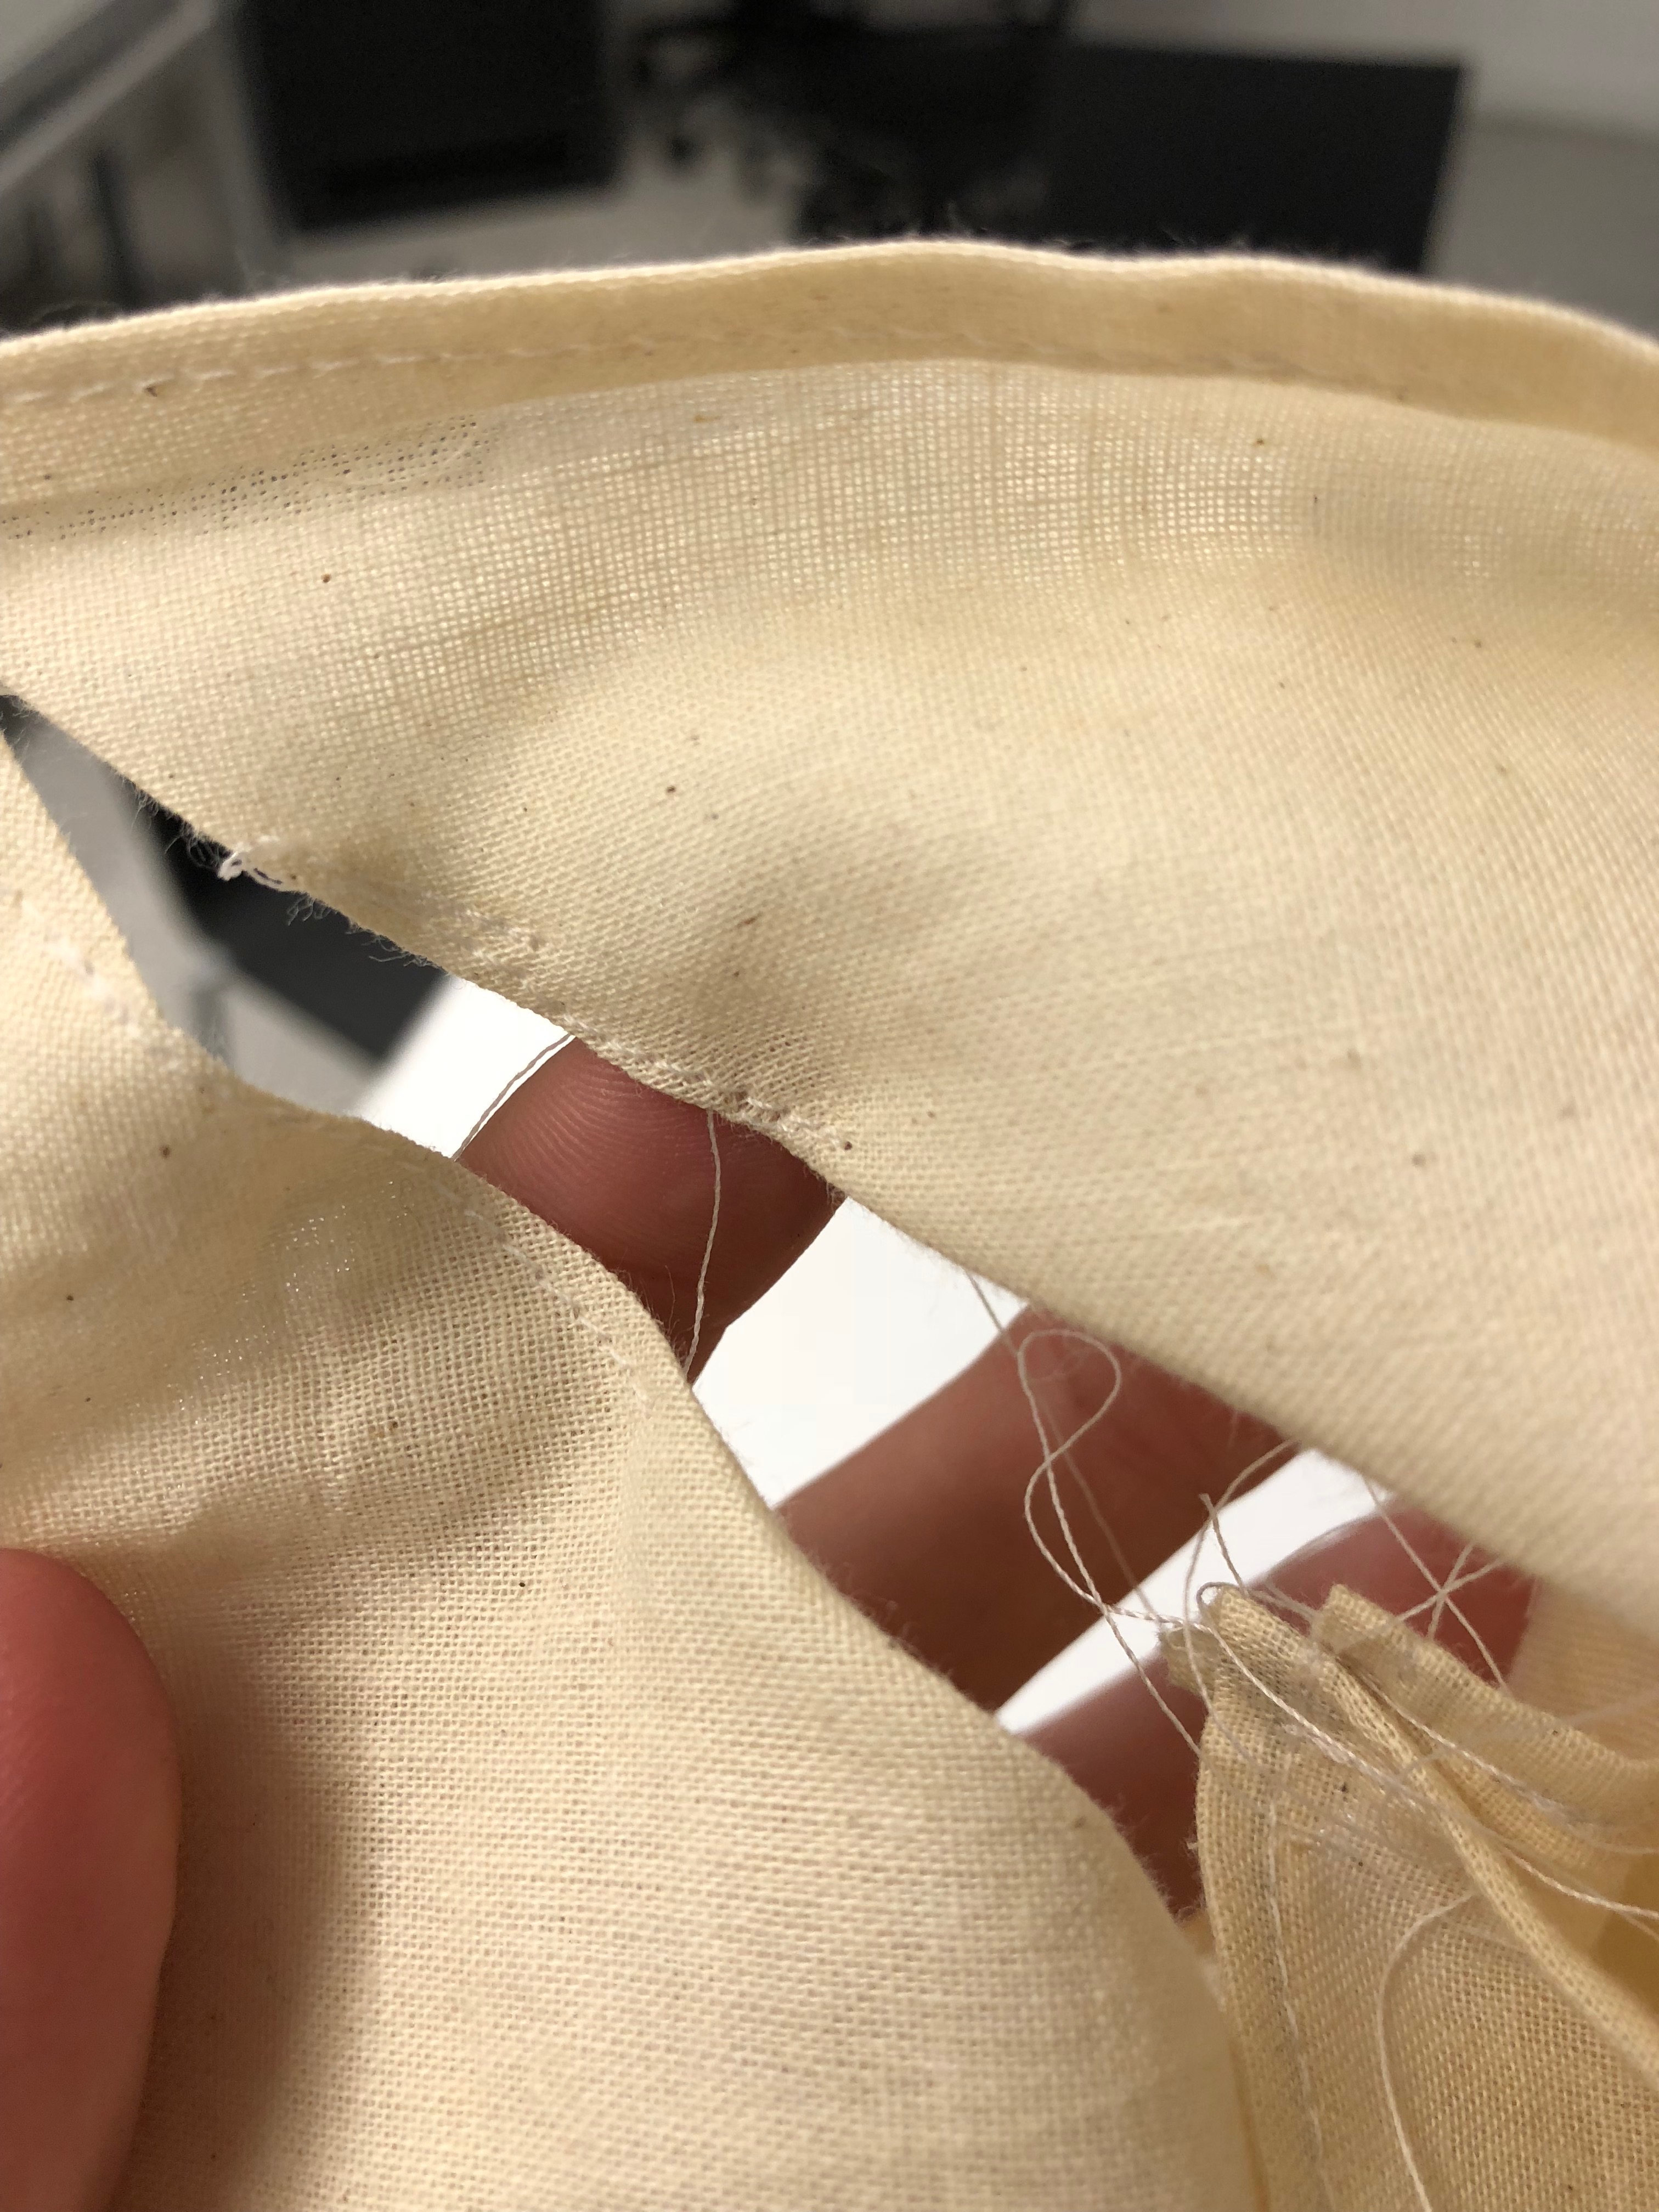
Step 5
I constructed the design out of each weight. The light muslin didn’t hold the exact shape so I added a reinforcing stitch so it would stay rigid.