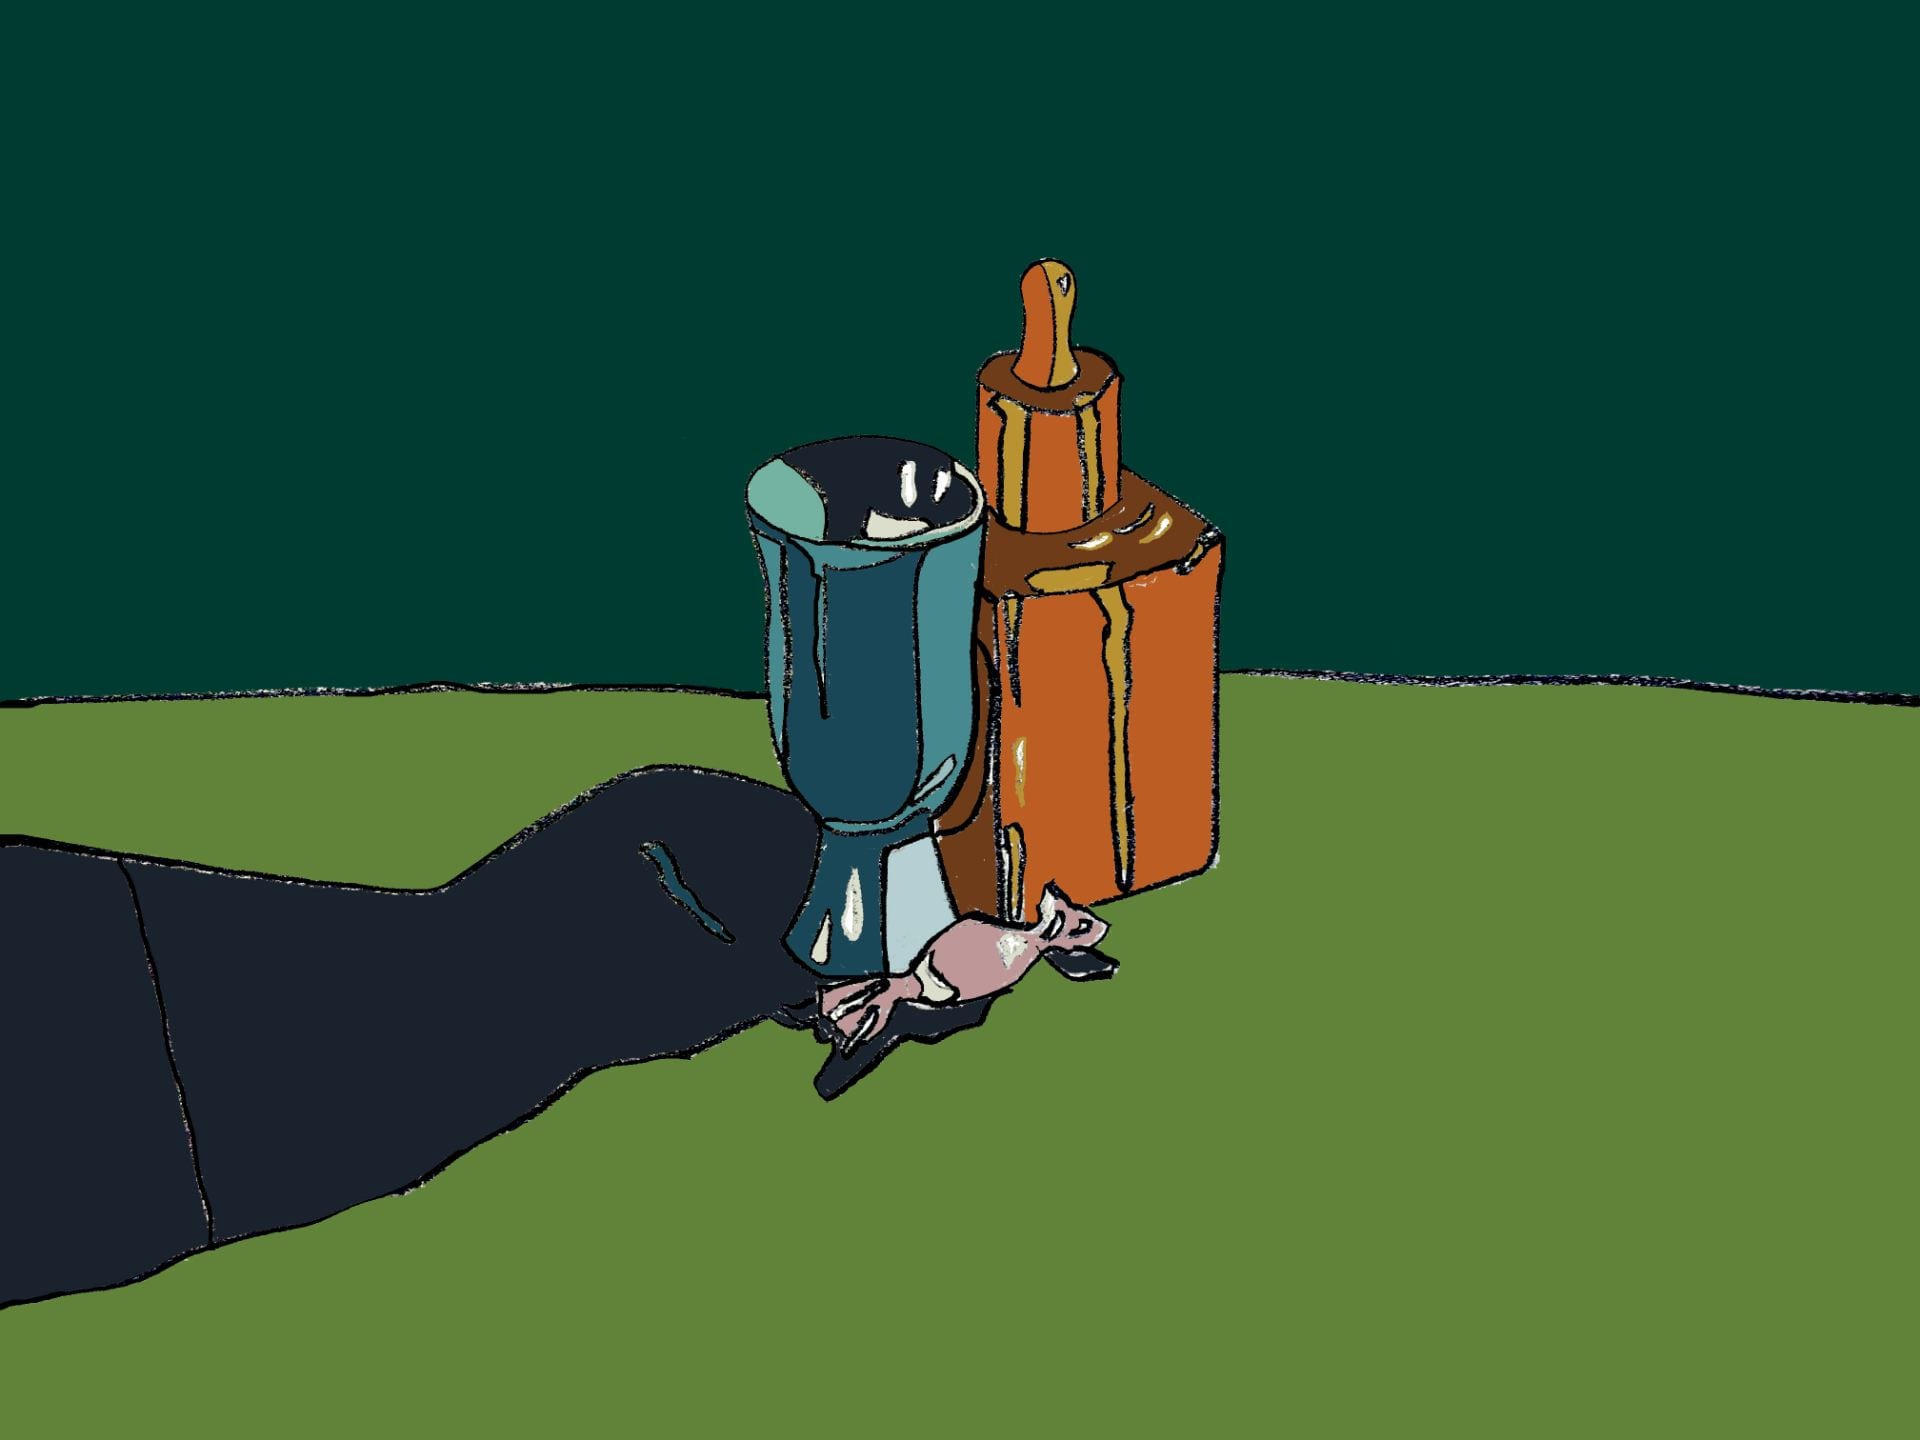
Photoshop was a new digital design software that i had never worked with before. It was very challenging at first, understanding each of the key’s purpose, working with layering and masking and learning the short cuts to accelerate the creative process. The first illustration was I think the one that took the longest only because I had just started using the eyedropper tool or the mask tool. Getting the hang of the repetitive different steps and their particular order was frustrating at first but by the end of the assignment everything flowed and made sense. The shortcut keys really facilitated the process and made it more enjoyable as a whole.
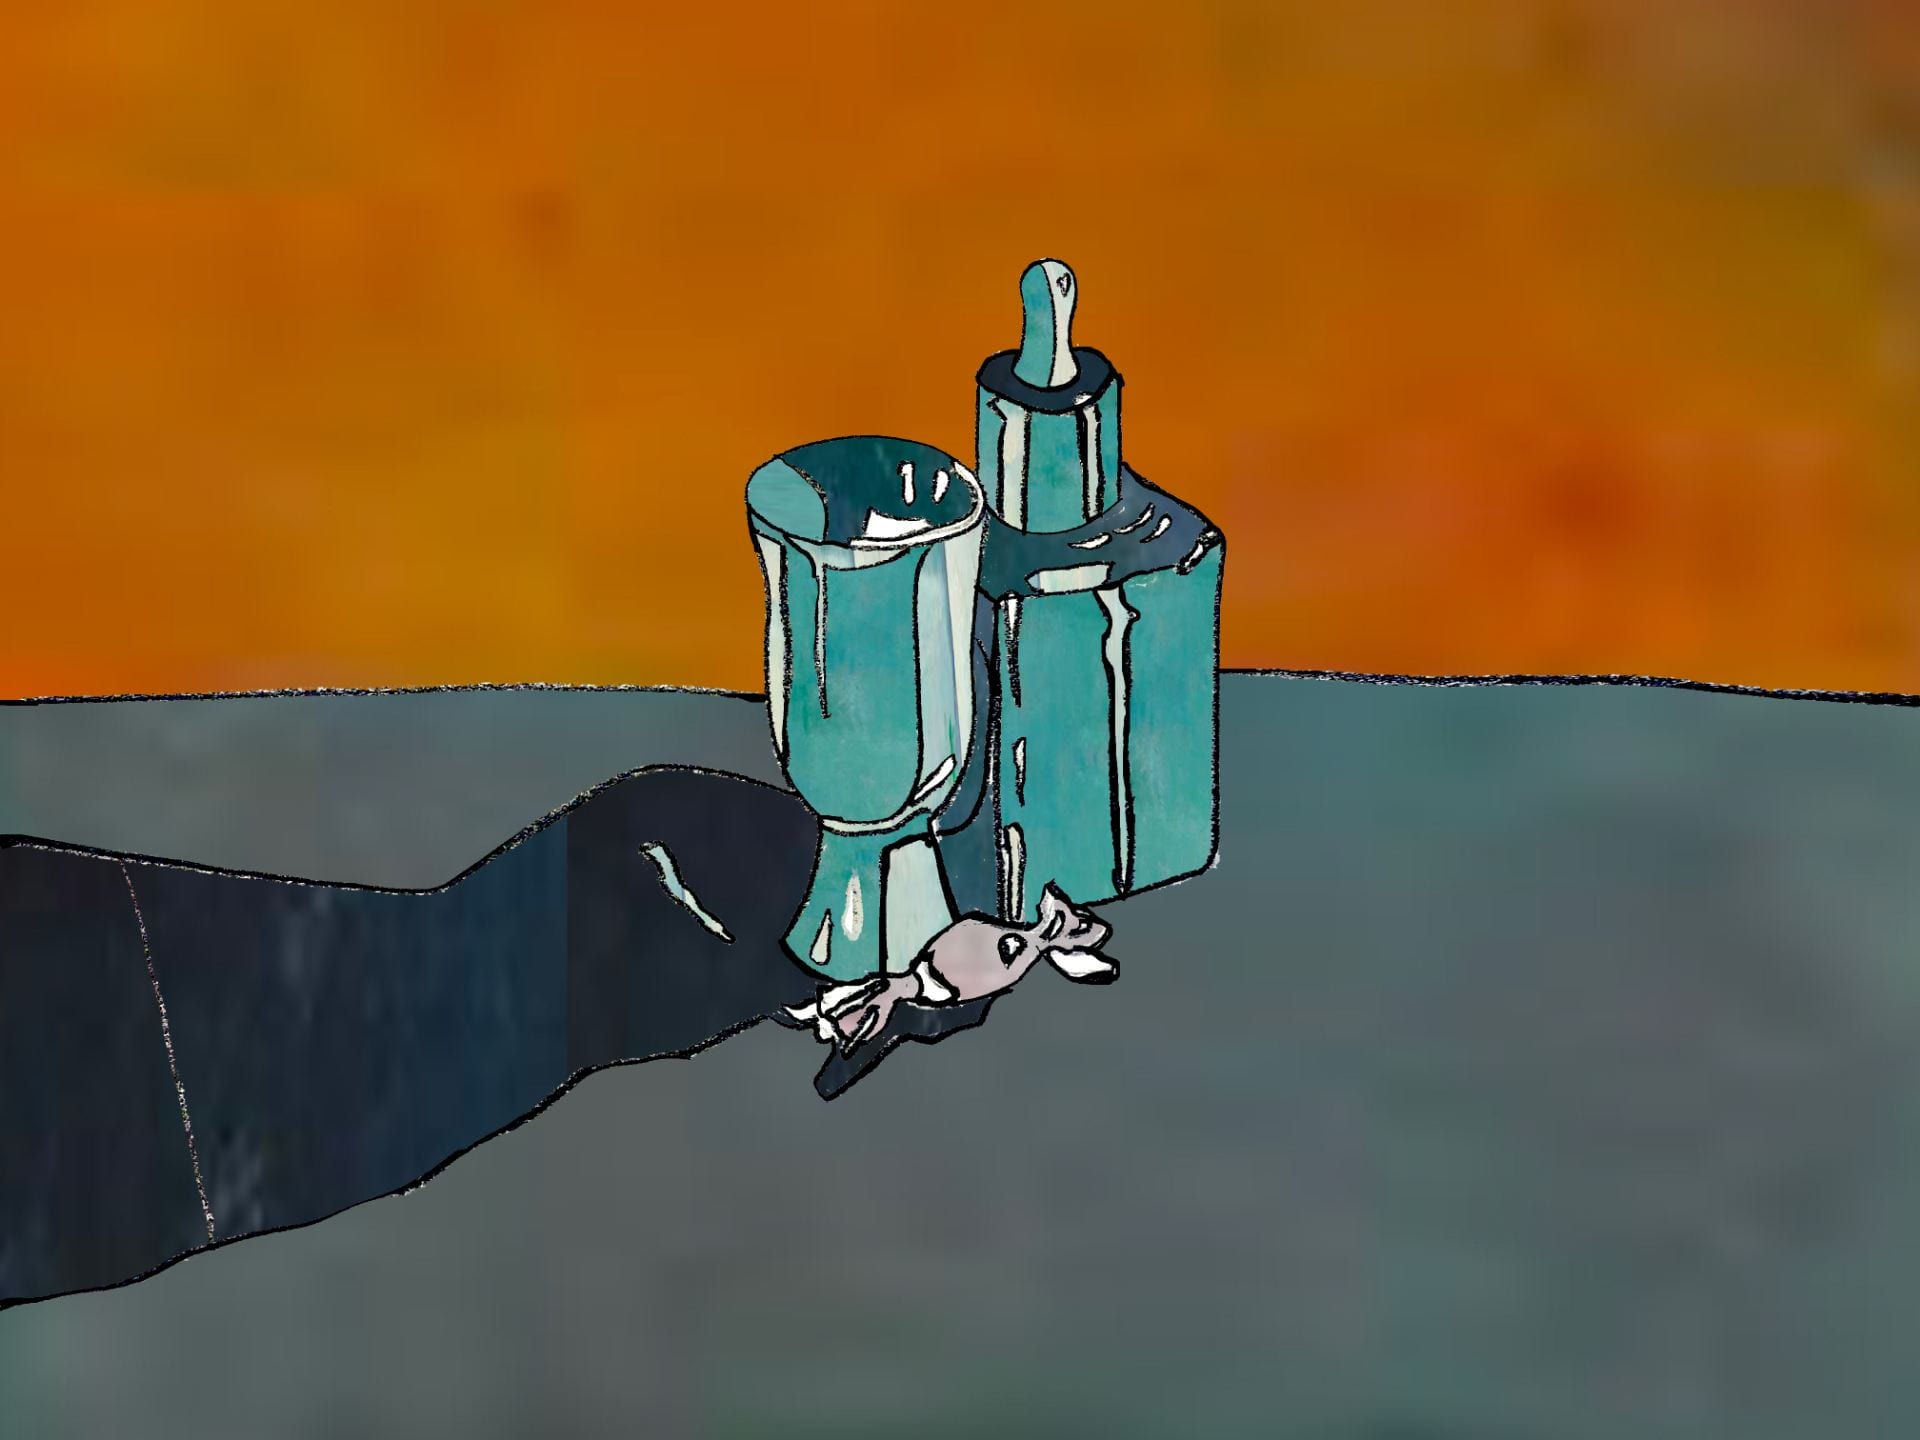
The first step to this process was really paying attention to lights and shadows of each object which would eventually really help make it more three dimensional on Photoshop once I would fill each area with different hues of the same color. What I hadn’t realized was that the magic wand tool only detected areas that were very clearly traced out in black. As a result, with the help of the pen tool, I had to passover a few of the lines to section each area thoroughly. Adding onto the different tools I had just learned to use was the brush tool that helped integrate texture into my digital illustrations. It was interesting to see how I was able to reconfigure the palette of the original painting into my own illustration. Playing with the layer visibility equally helped me see which area I selected with the magic wand tool and where I would be applying the color.