Description:
- Learn how to draw a proper orthographic projection in the way we were taught in class.
- Practice and gain familiarity with carrying a technical drawing into 3D.
- Draw Orthographic Projection views each of the following 3 Isometric views. Show all your construction lines. Show dimensions. Try to fit the drawings into a tracing paper. If the layout is larger, connect a few sheets together.
In the second part of the assignment , we asked to creating orthographic projections.
Orthographic Projection views:


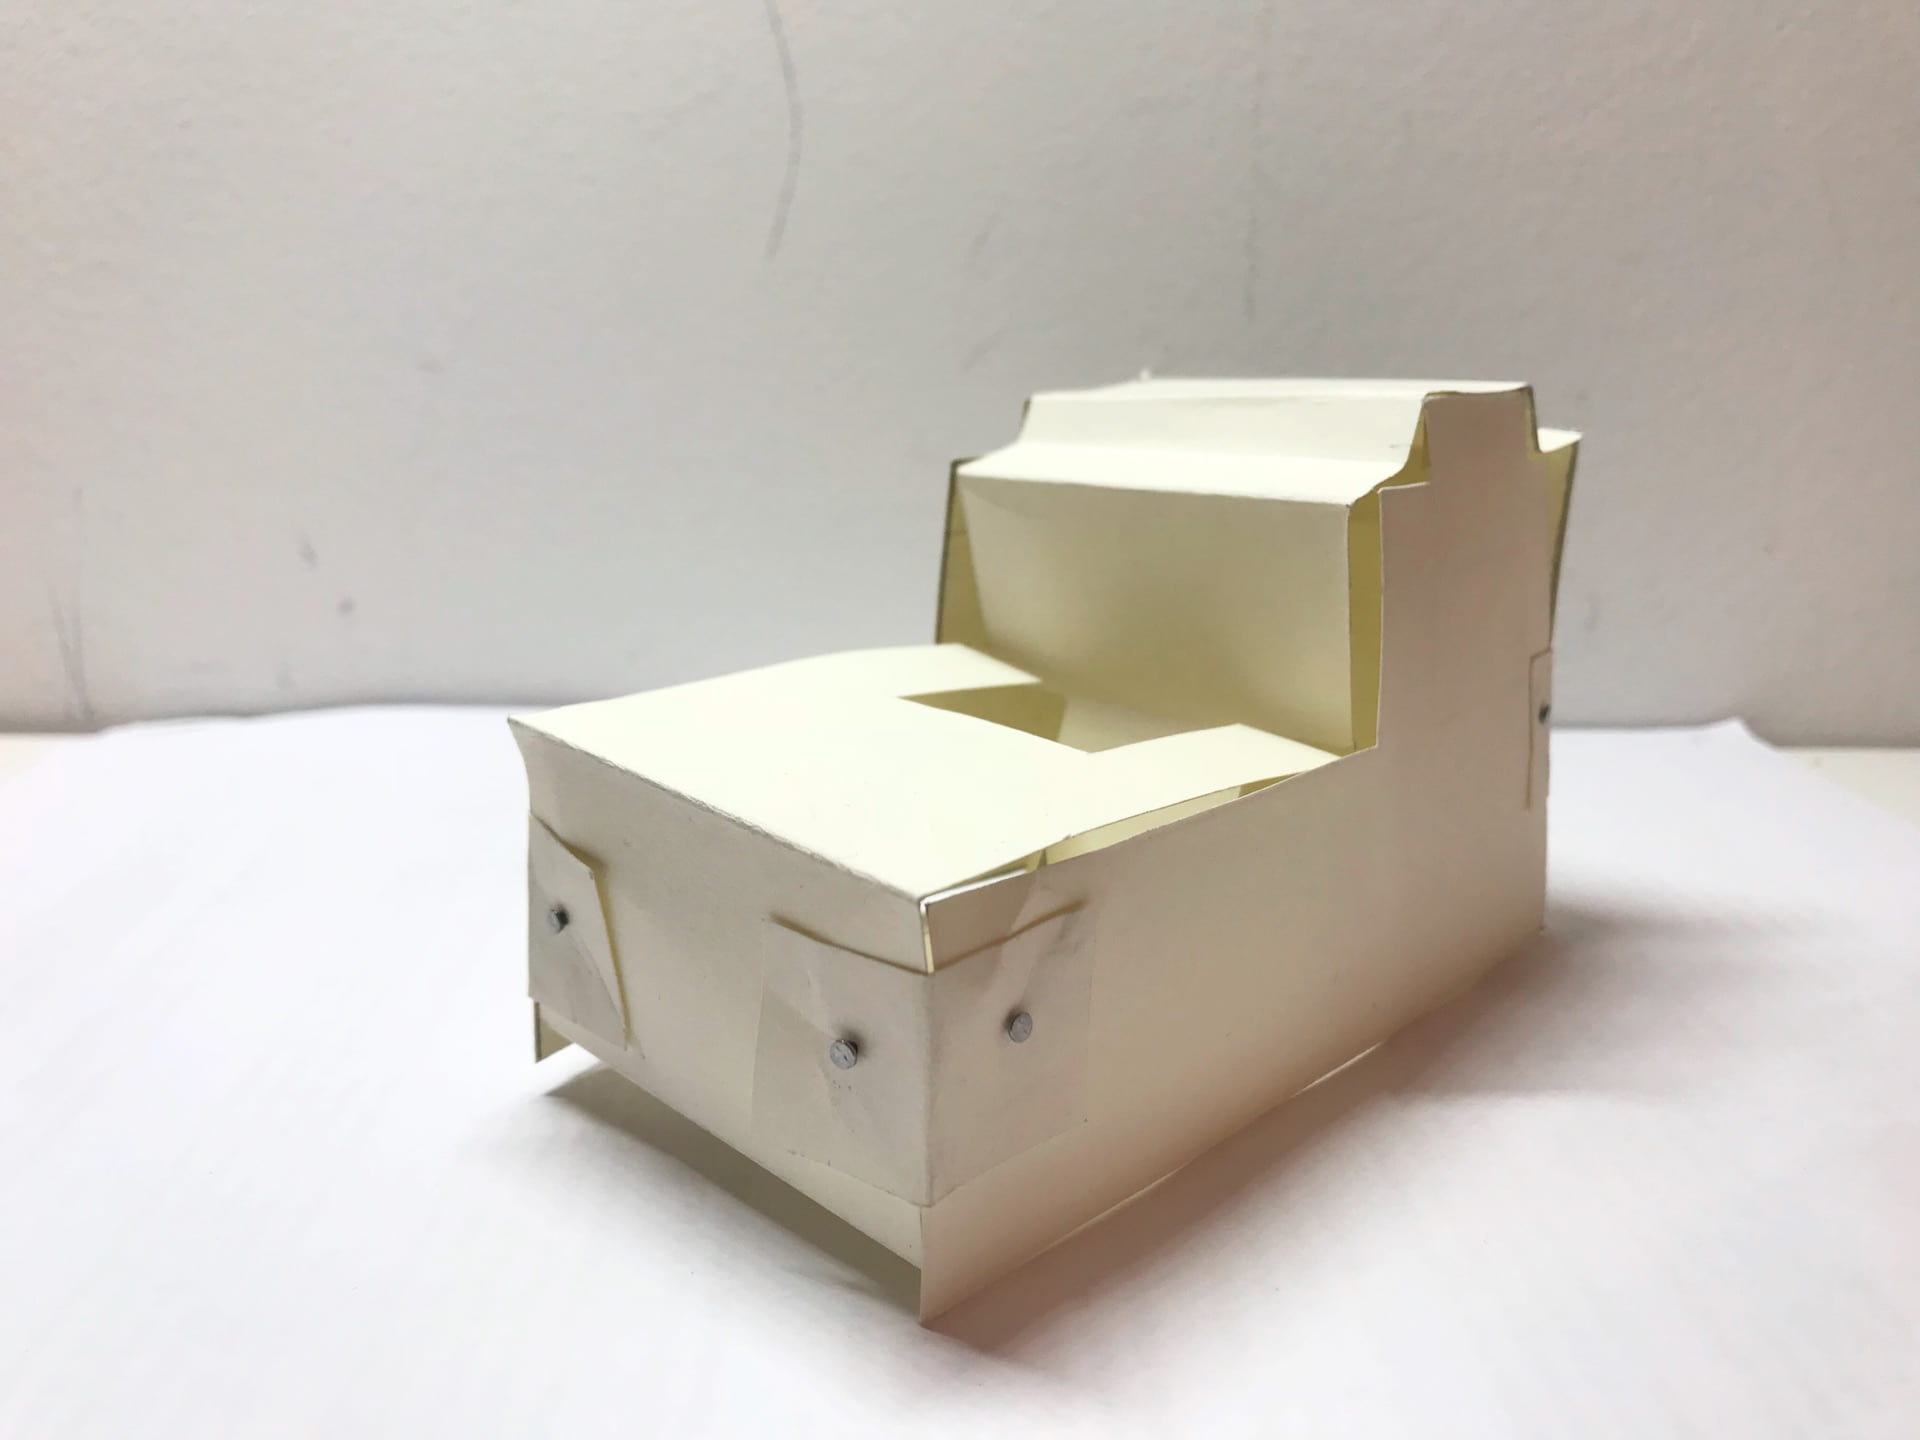
3D objects:
- Use the Orthographic drawings completed creating a 3D form of the drawing.


Reflection:
When I did second part and third part together, I thought I was a professional engineer. I created the Orthographic Projection views and made an object. It was fun project to practice our logical thinking and the 3D views ability.
