I have finished constructing the diorama and the figurines. The process took a while, but the experience was invigorating and fun.

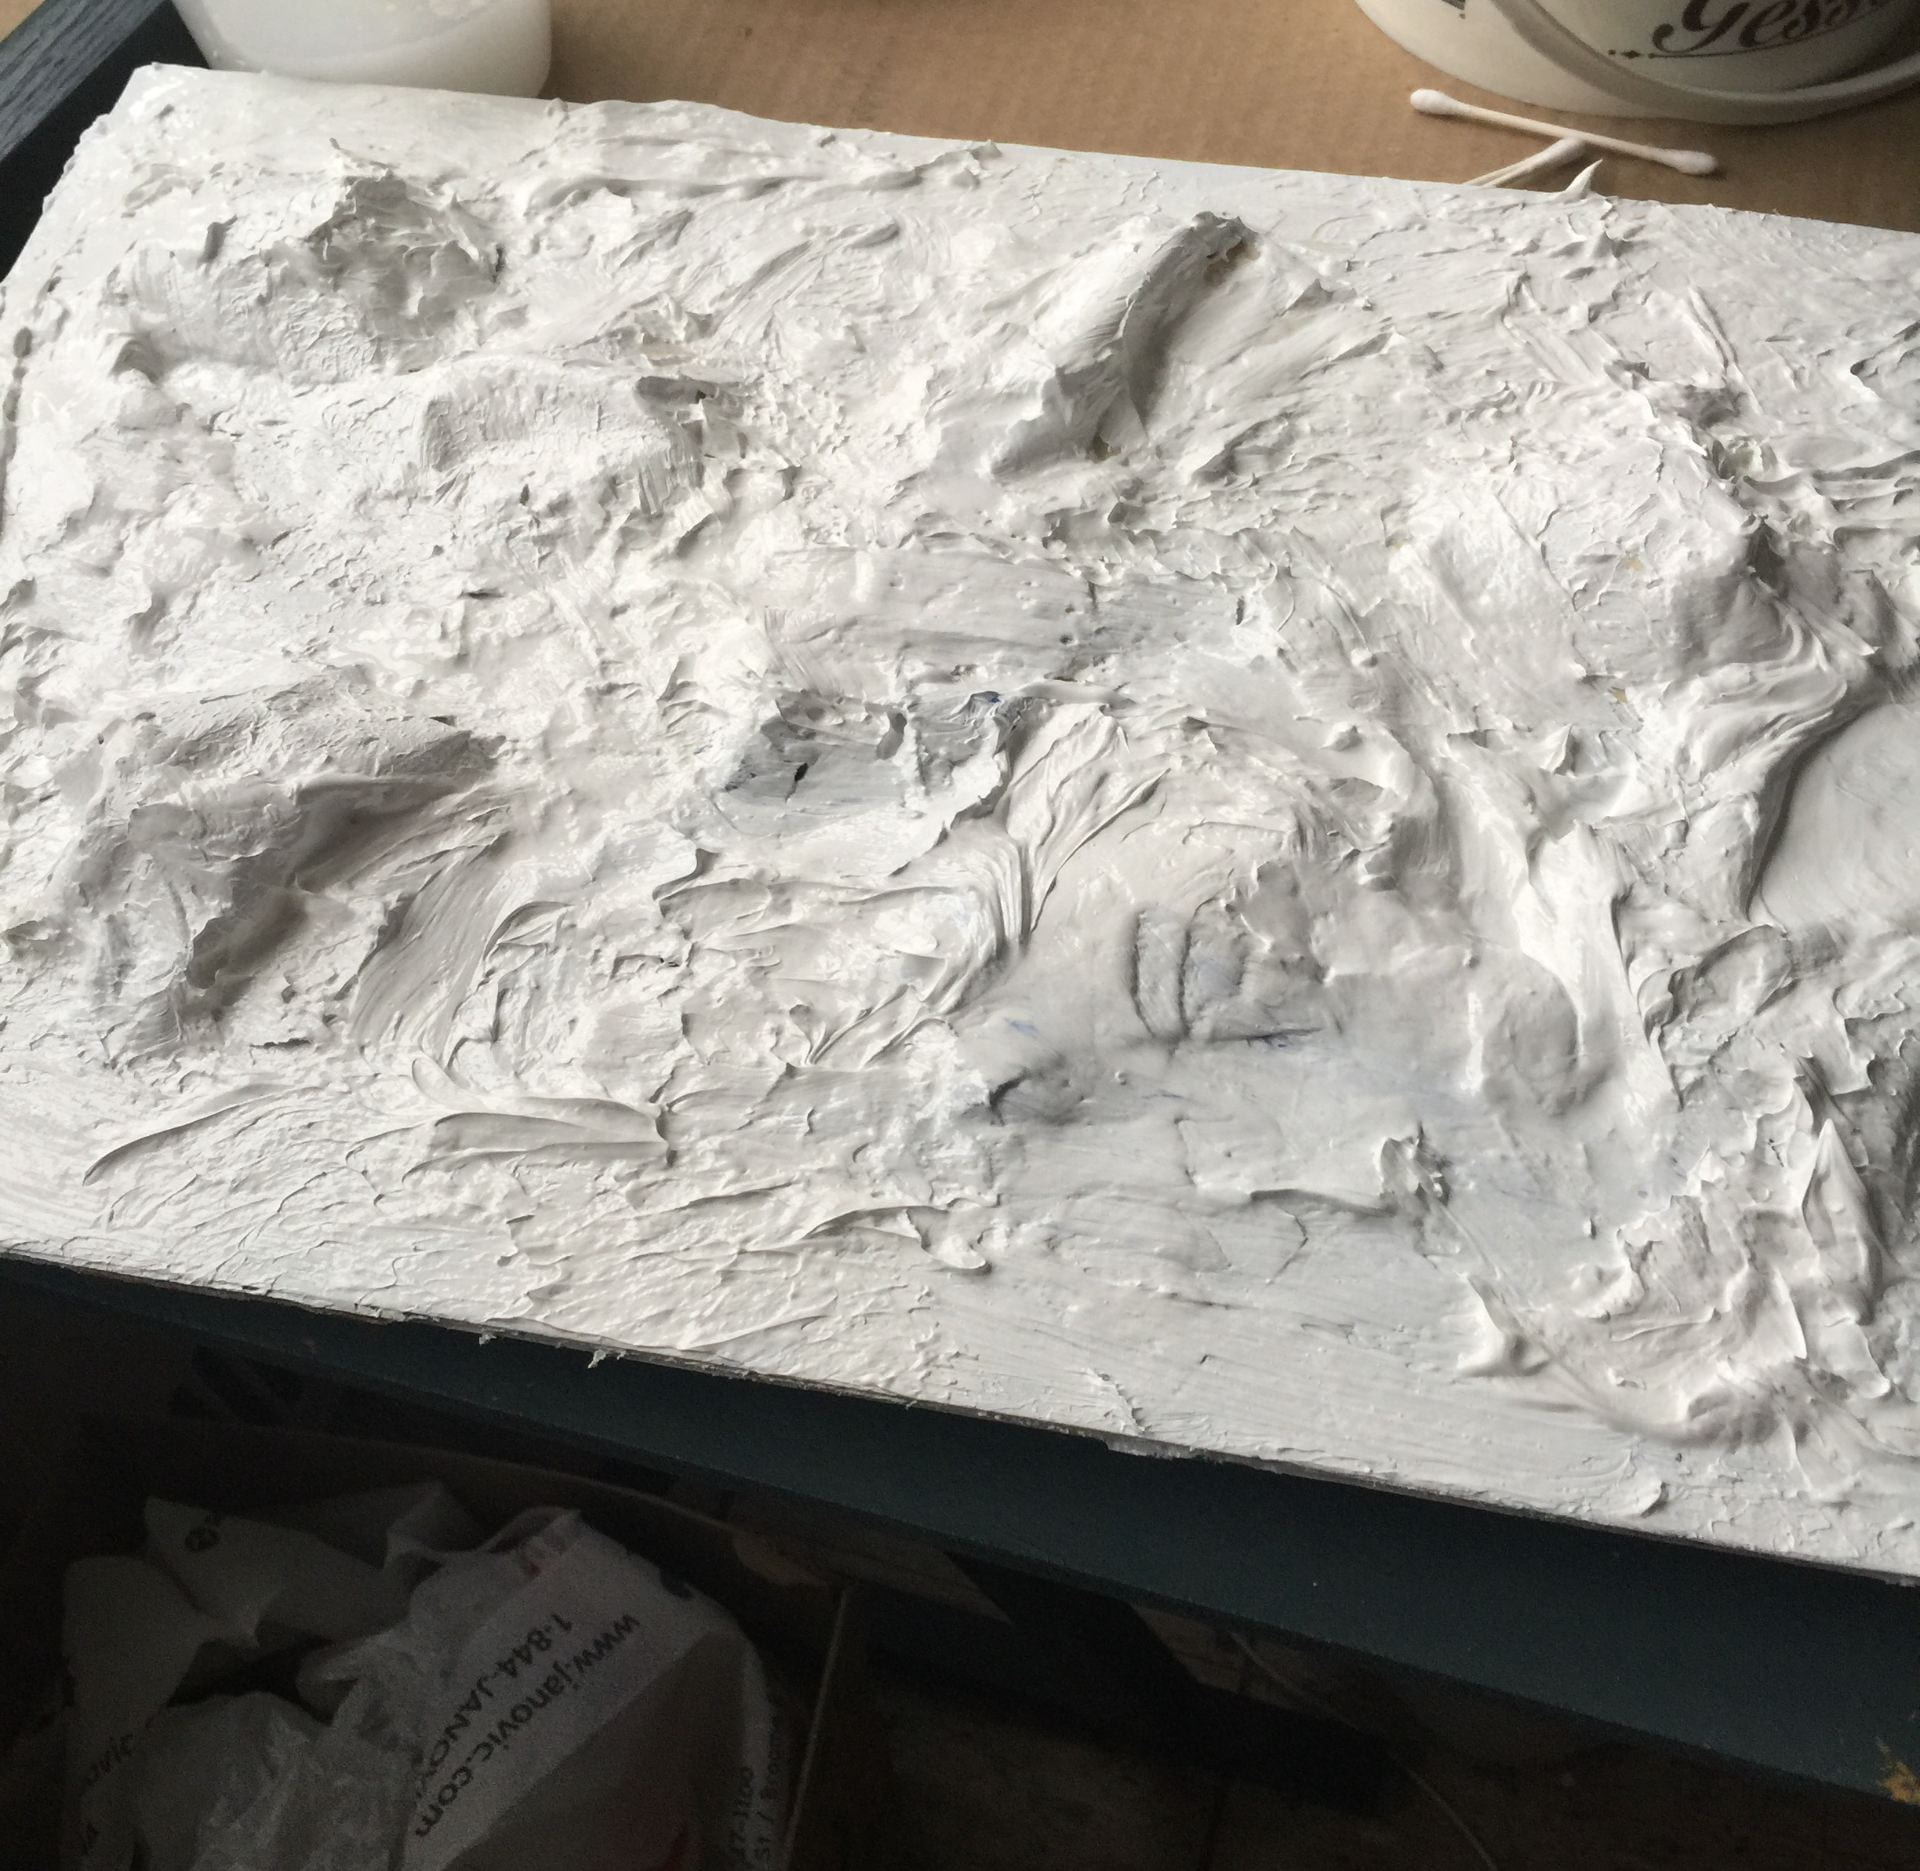
It started with the creation of the base using foam-core, white copy paper, tape, and acrylic gesso.
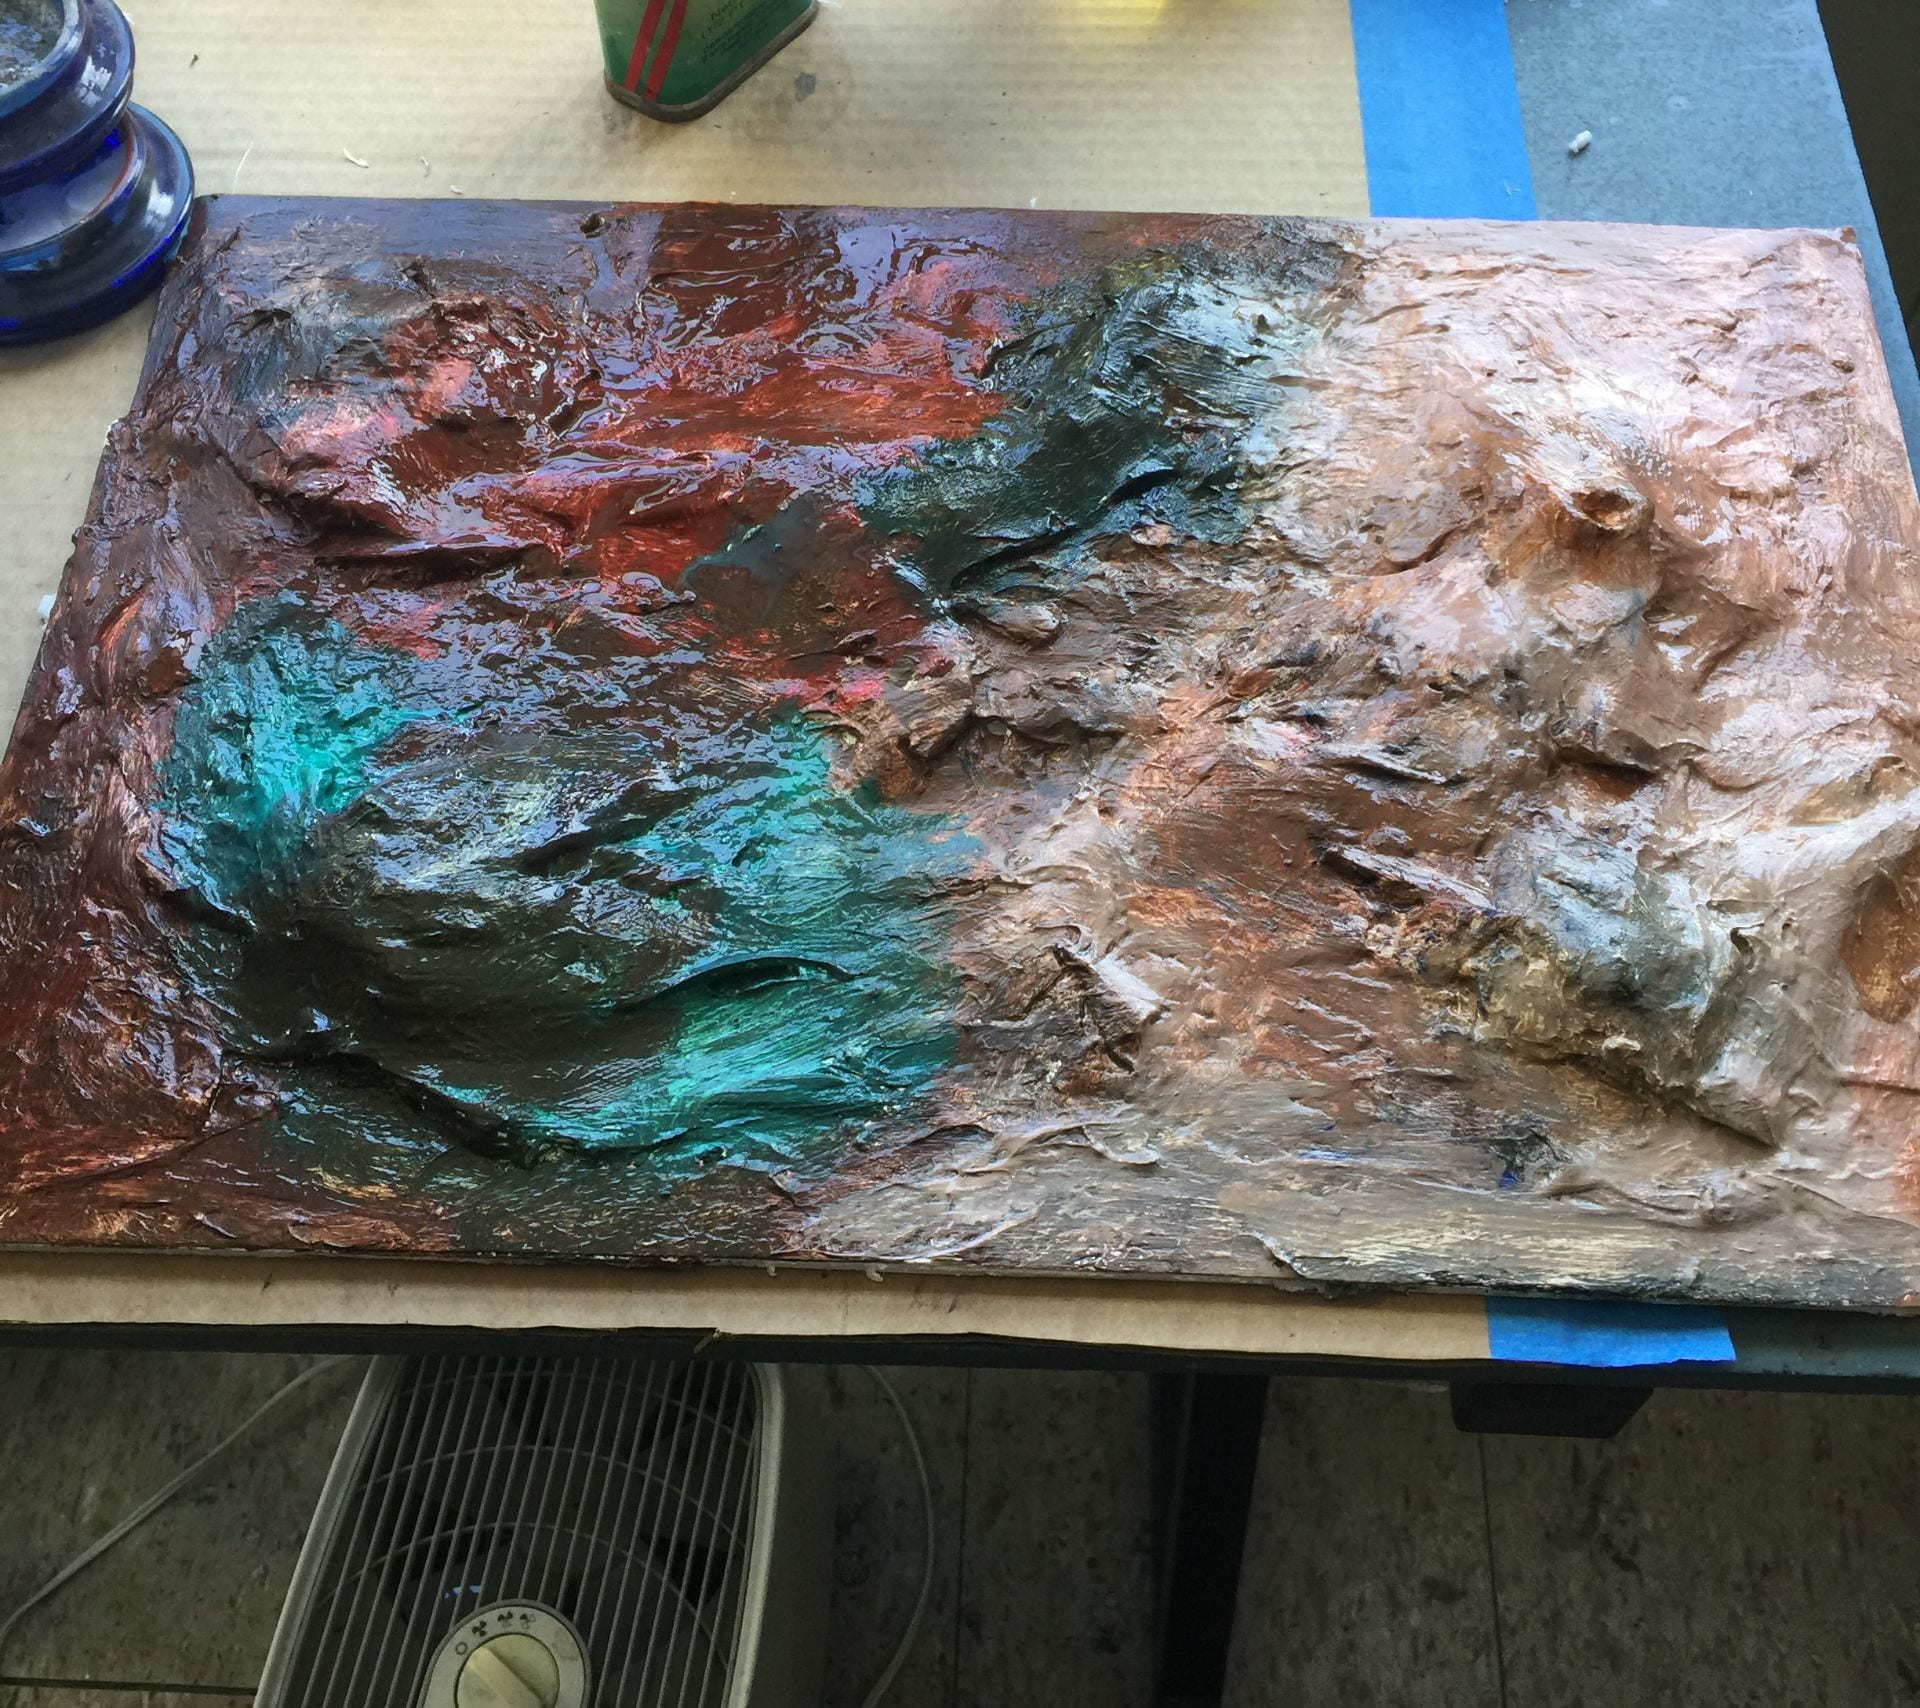
Then I began to paint the set using oil paint.
Eventually, I created the figures and the trees for the base in addition to the memory bubbles. I also took the liberty to create the object that would allow the character to access the portals. This is all part of the main narrative. That object was a stone which had an eye carving on top.


These were the first figures that I used, but I ended up scrapping the middle and the left one. I decided that it was best to keep the figures as simple as possible. Then I remade two new figurines that were more proportional to the rest of the diorama.

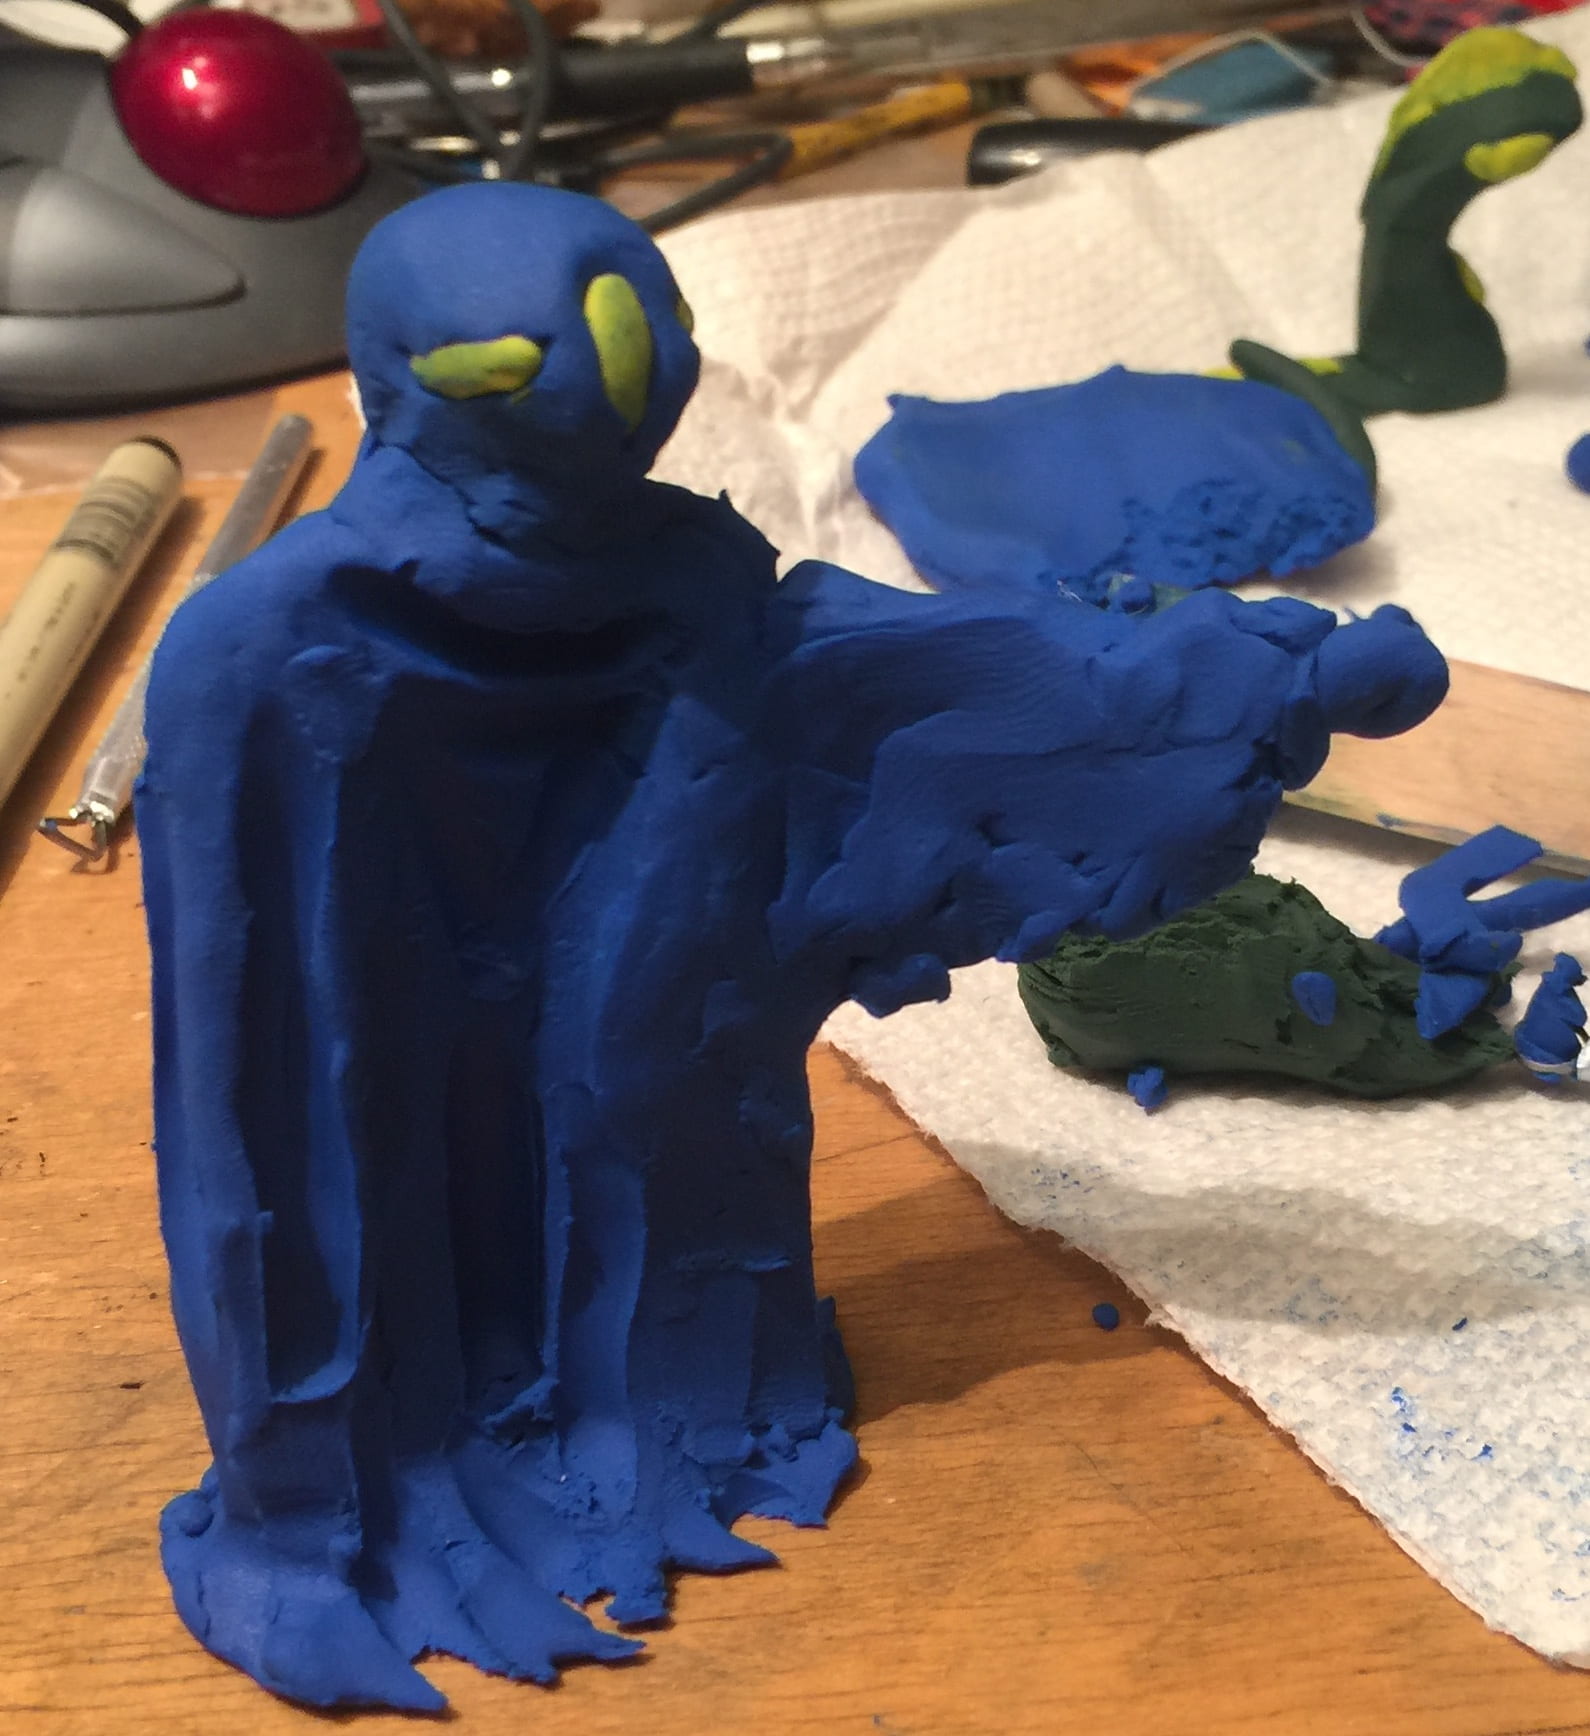
I also made the figures pose in some way to make the scene more dynamic. I just made one additional edit to the main character which included a green arm.
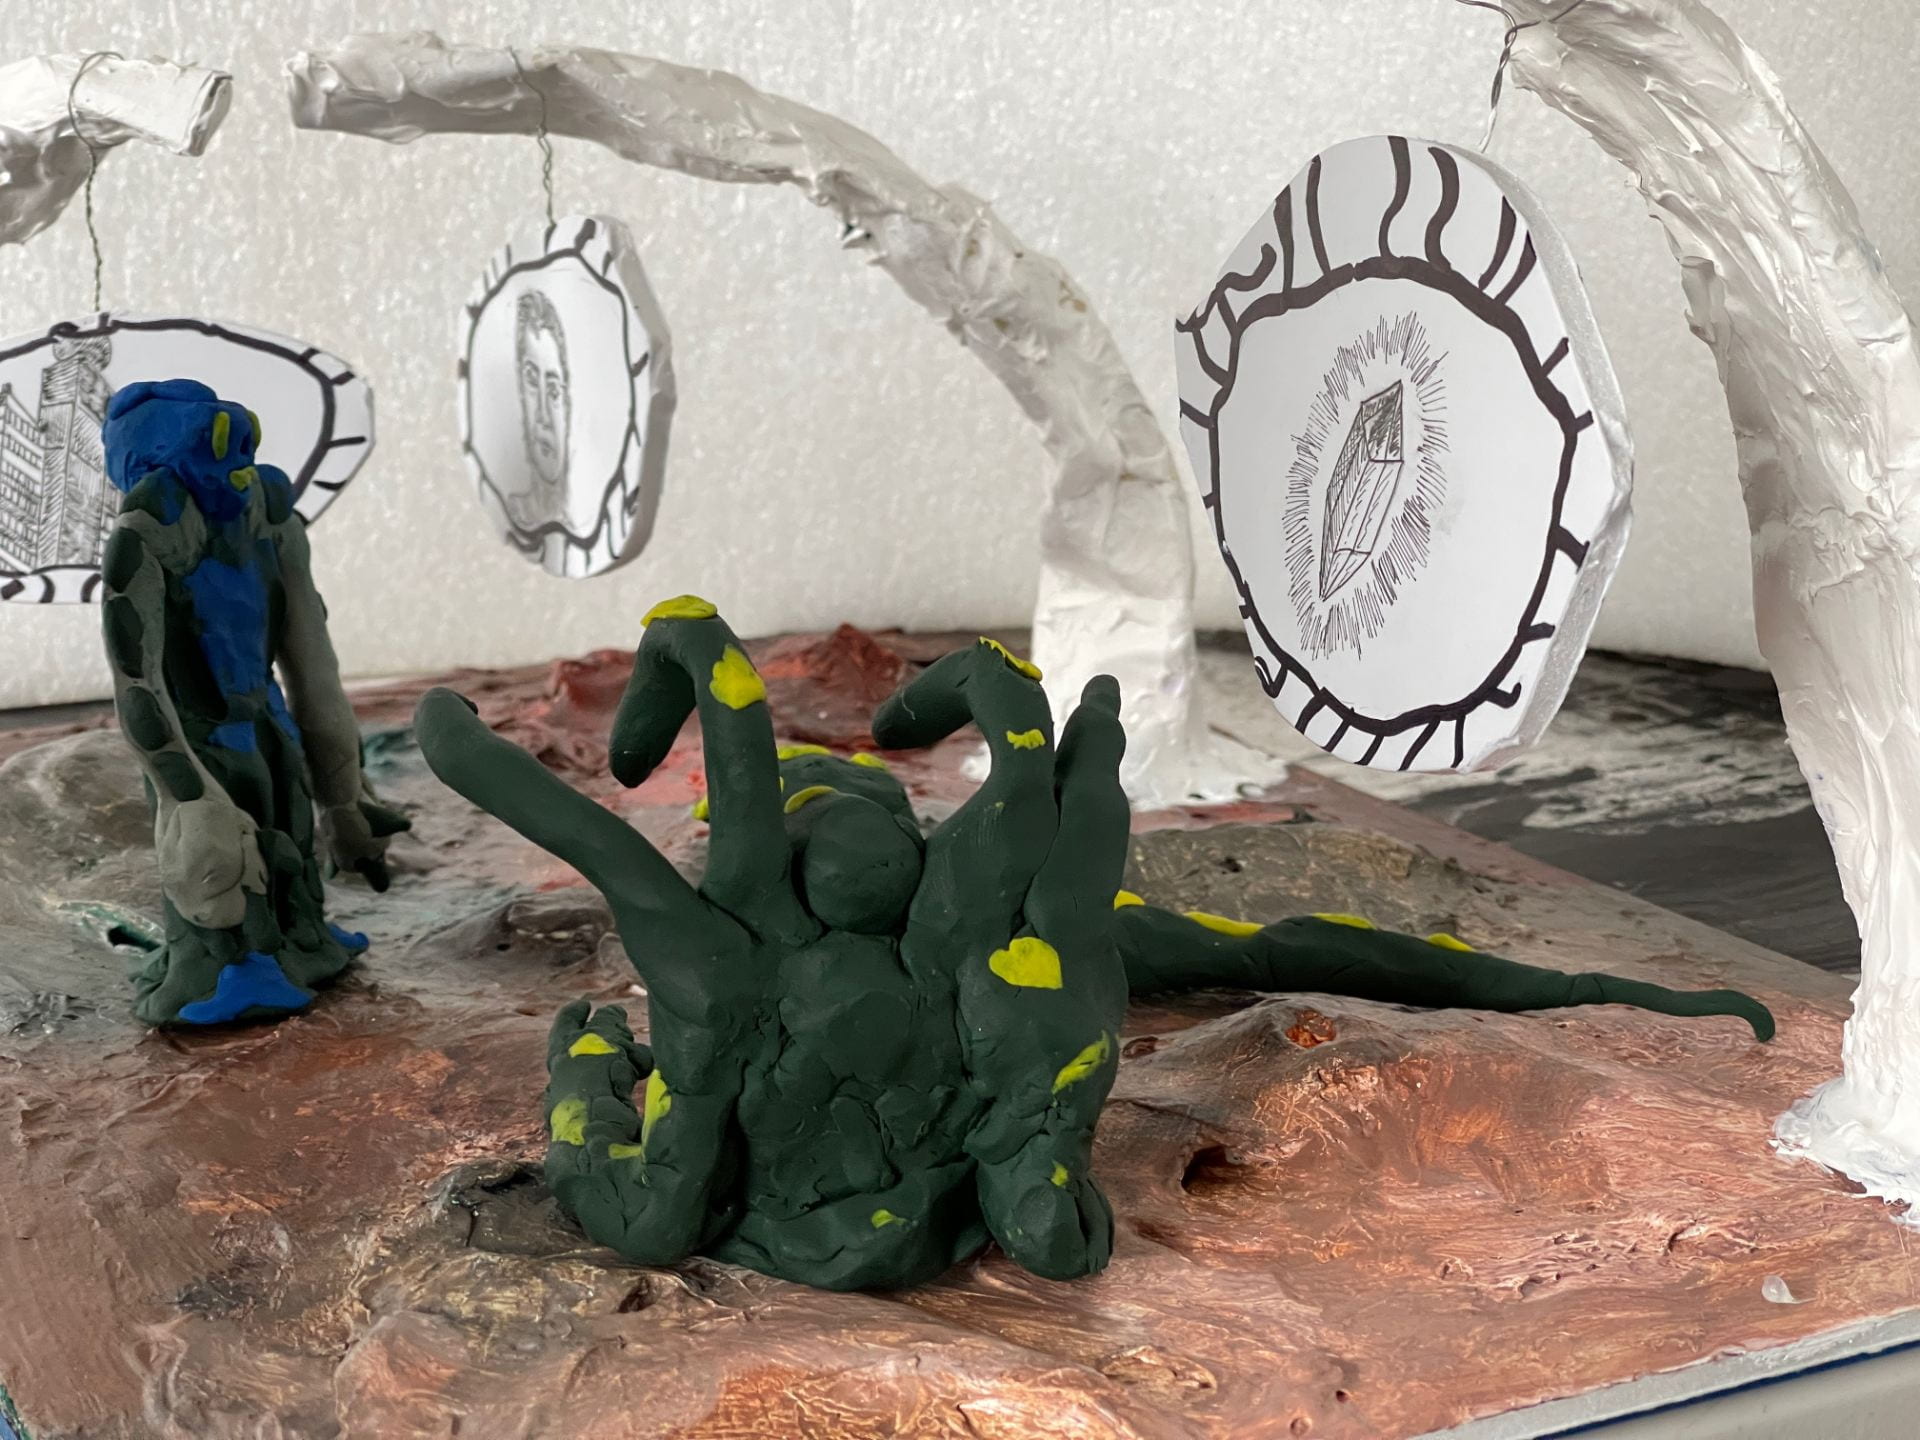
I made the bubbles using leftover foam-core board pieces. Then I drew on them using sharpie marker and pen to illustrate the memories.


These four images show the completed set. One of the trees kept drooping so I had to place a screw inside to keep it from going down. I had to attach wire to the tree and then I had to tape it to the white board to keep it from falling down. For the next step, I edited one of the images using Adobe Photoshop to present it as the main focal image.

I painted the white background using more or less the same colors as the base. In my opinion, it works very well as a potential presentation of how an idea for a theater play or film set might look like. In addition to the base, one should consider how the rest of the background should look like when the final product will be shown.
I have just attached the final animation piece.
I have also finished the puppet and the mask. I finished making the clothing for the puppet and I finished adding the few fabrics to the mask. I used a toilet paper roll to create a means of holding the puppet and it worked rather well. I rolled it around the center chest piece of the puppet.


I first began with the step of mask construction. I made it using the paper-mache technique, using a combination of magazine and white paper. I then added some fabrics.
Then I started to create the puppet using armature wire.


I then reinforced the wire using plasticine. Then I began to work on the clothing.
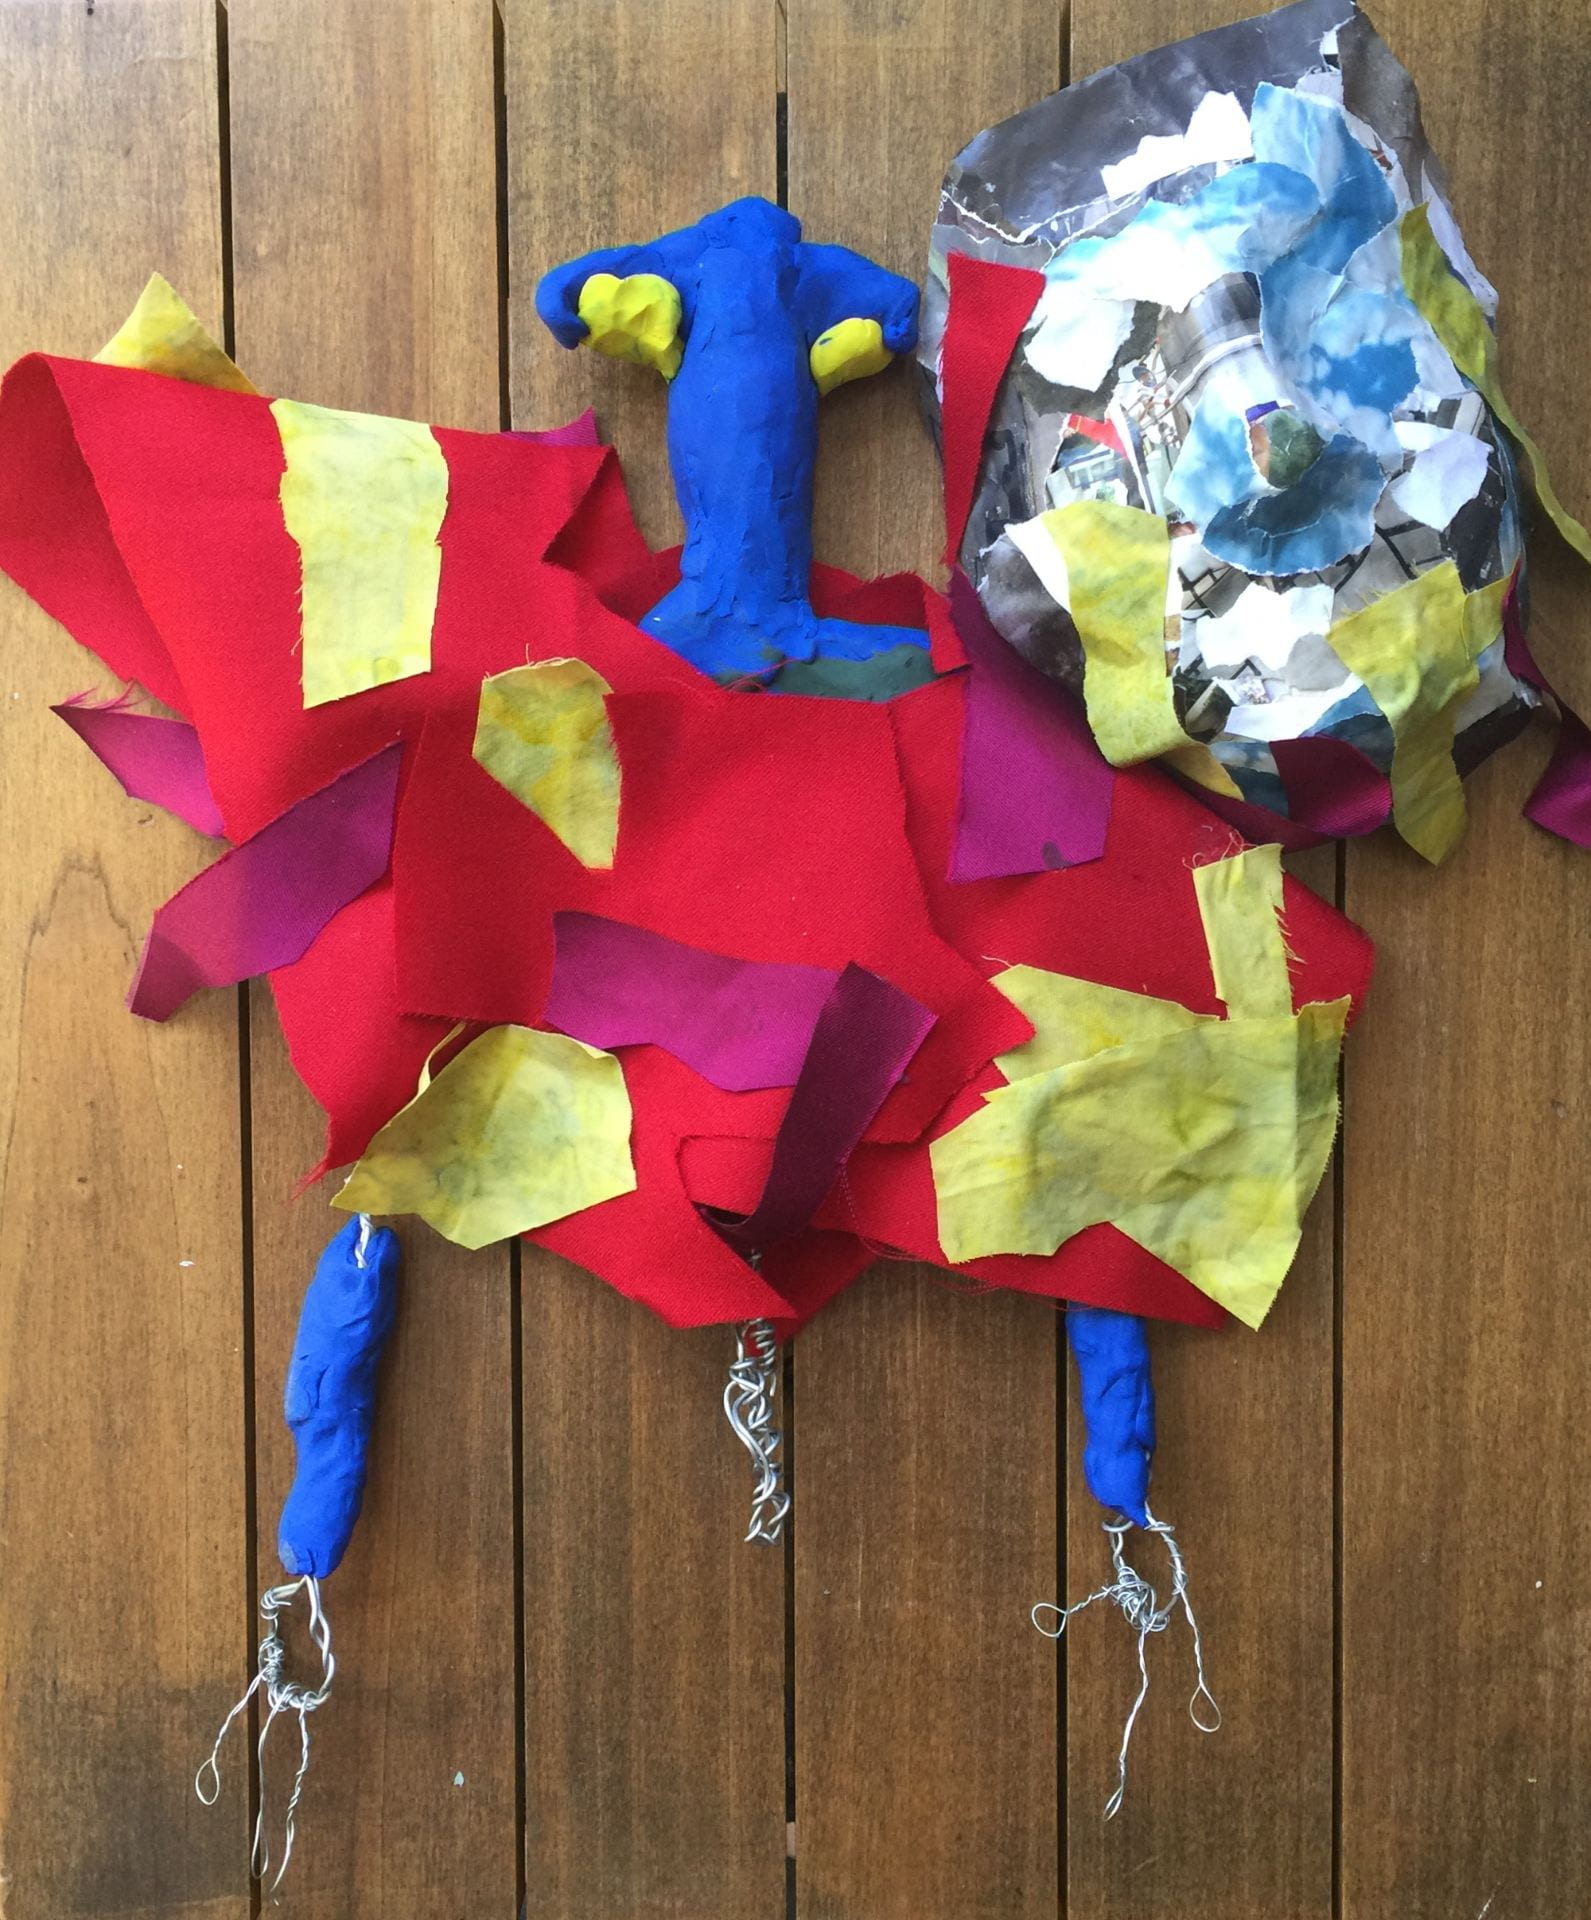
This is how the final puppet looks like. I will admit that creating 3D work is not a specialty of mine, so I did not expect the puppet itself to be well-done. But I tried to be as ambitious as I could be while trying to make it simple at the same time.

This is the final image of me holding the puppet and wearing the mask.