1st step – From the images given to us, selecting a few images that i want to work with into making a final book:


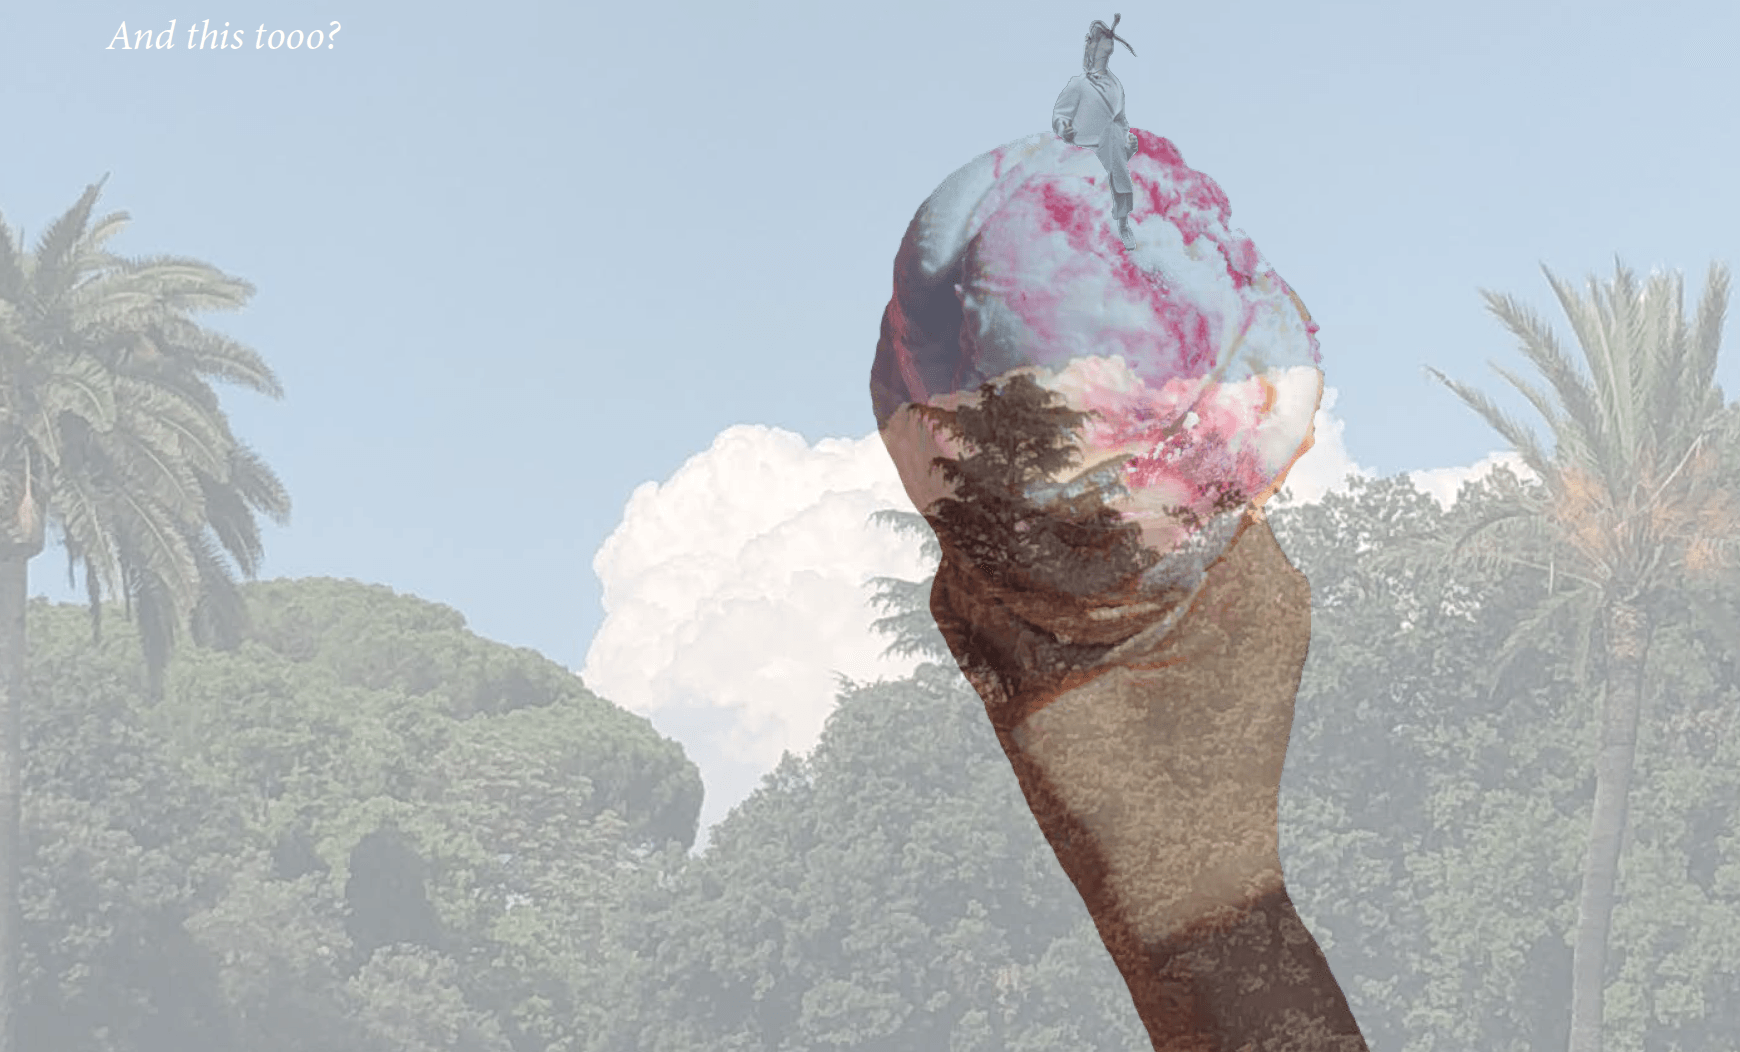
2nd step: Manipulating them in Photoshop:


3rd step: Making a prototype of the book in indesign to show for critique:


4th step : Writing the synopsis for the book and getting it edited by the professor:
A travel journey with me and my ninja along the west coast. From beaches to hill stations, we cover it all. A road trip you’d want to take. Sit back and enjoy the trip you’ll get to experience while sitting on your couch. Bonus: Try spotting him in every image.
Edited:
A travel journey with me and my ninja along the west coast. From beaches to hill stations, we cover it all. A road trip you’d want to take. Sit back and enjoy the trip right from the comfort of your own couch. Bonus: Try spotting the ninja in every image.
5th step: Printing and binding the book :
I used spiral binding as a method to bind my book and printed it in the UC.
Final Book made in indesign and the printed and bind:


Pop up elements of the book:


1 longer written component of the process:
The process of making this book was along one. But through every step of the way I got better and better. I worked and learnt a new software, Indesign. I also made a physical book for the first time in my life and then binded it myself too. The first prototype of my book was way different to my final book. This was because of the help of my professor, Daina Mattis and because of the critiques in class. I also added a 3d element in the book by making certain things in it pop up as shown above in the images.