
This project has definitely been the most challenging for me since starting fashion school. It was the complete opposite of how I normally work; I had never sewn knits before and my design patterns usually leave a lot of waste behind. On top of that, since we had a snow day before spring break and lost a class, we had to finish the dress in just a week. My designs tend to be on the complicated side usually but I was feeling very anxious about not delivering on time, so I decided to keep it simple for this one. As we were talking with my professor about the project, she mentioned how rare it was to use circles in zero-waste patterns since they leave a lot of excess behind. I thought the idea was very interesting and took on the challenge of using at least one circle in my pattern pieces to create the dress.
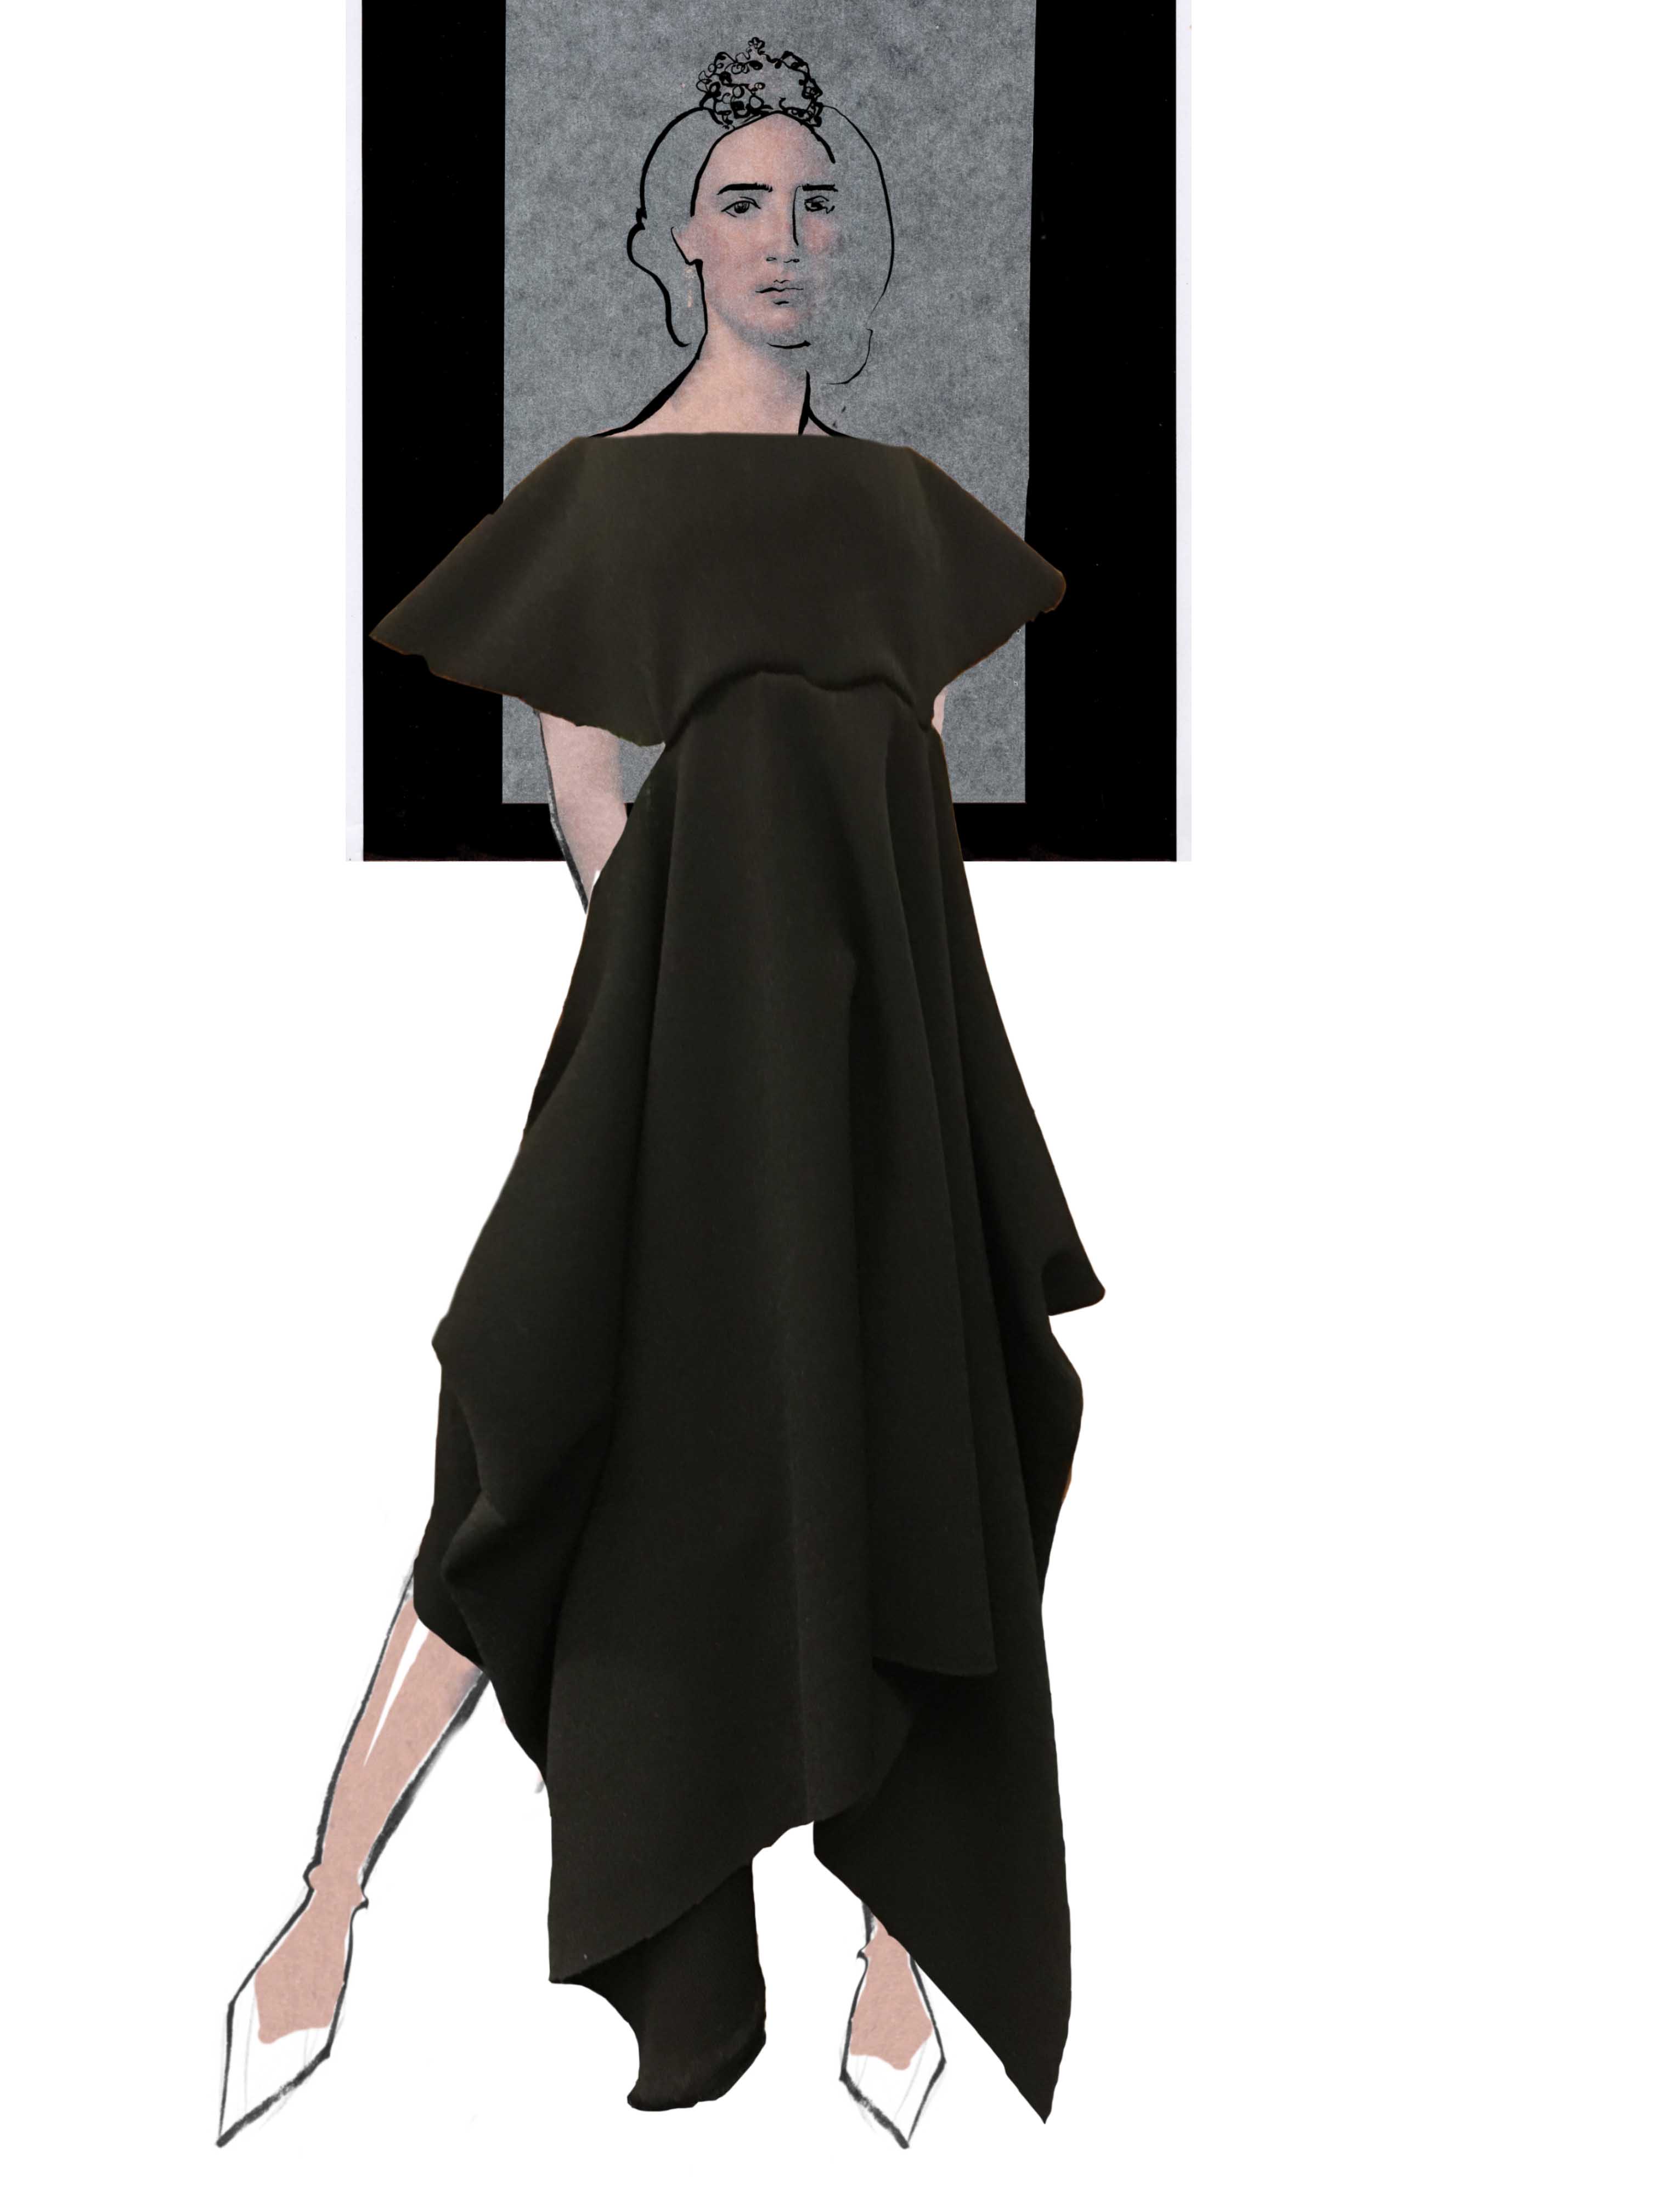
I started thinking of how I could incorporate the circle into my design and it actually did not take long for me to get an idea of how I could do it. I was not sure if it was going to work though. So, I decided to create a small mock-up of how the dress would look if I cut out the pieces that were in my mind. I pinned them together. It did work after all! I tried it on a water bottle since I did not have a half scale mannequin handy at the time. I photoshopped the drape onto a model and created a very nice preliminary sketch the design would look on a person.


After that, it was time to start working on the actual dress. I went on to buy the knit, since I thought that the fabric that I had chosen before was not a suitable fit for what I wanted to do; I needed something that draped very well and that had weight. I ended up choosing an Italian black jersey that had about 60% of stretch going sideways, while having less than 20% stretch vertically. It was perfect since I was concerned that any other knit fabric would get too stretched when I attached it to the front of the skirt.
Then I went back home to start cutting it. First, I I wanted the circle to cover the complete upper part so I measured my mannequin from the pit of the neck down to the waist. I folded my fabric in half and made sure the ends were squared. I used the measurement I had taken to draft the circle directly on the fabric by using a string anchored by a pushpin with a white color pencil on the other end.


After finishing cutting my major pattern pieces, I made the slit that was going to convert into the neckline. Initially, it was only going to be 8 inches long in total. But after putting it on the mannequin, I decided I wanted it to be longer, both on the front and on the back. I also changed the boat neckline in to a plunging one since I felt that this created a top that felt more harmonic with the skirt.


After I put in all of the finishings for the knit dress, I decided that I was going to finish it off with a gold trim, to hold the skirt in place. This attachment made the dress highly adjustable, as the straps can be lowered and tightened as needed to fit different model sizes.

